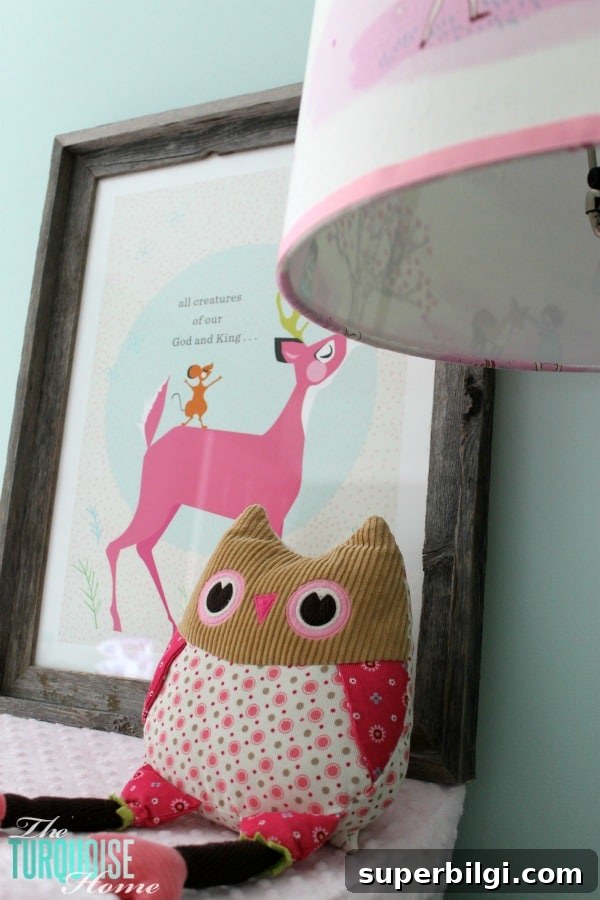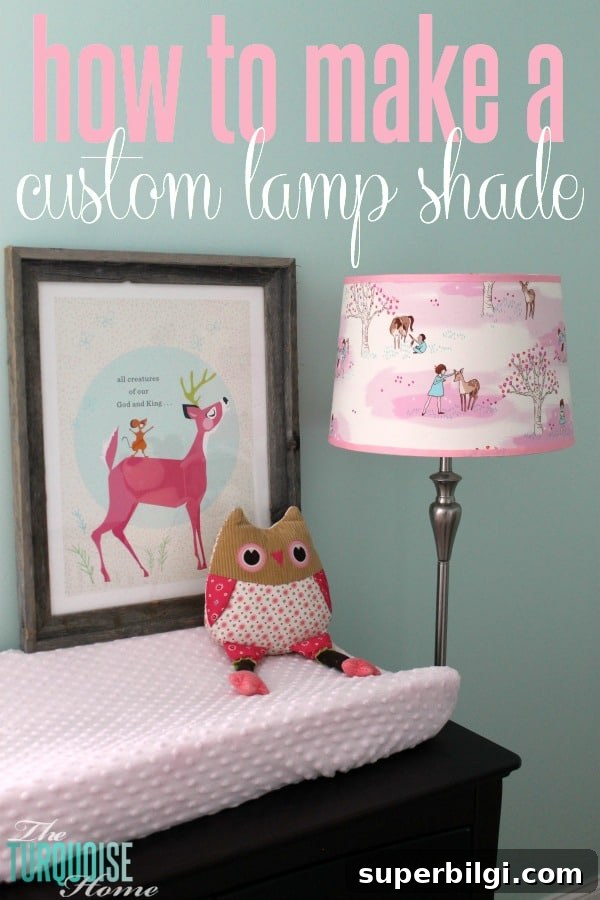
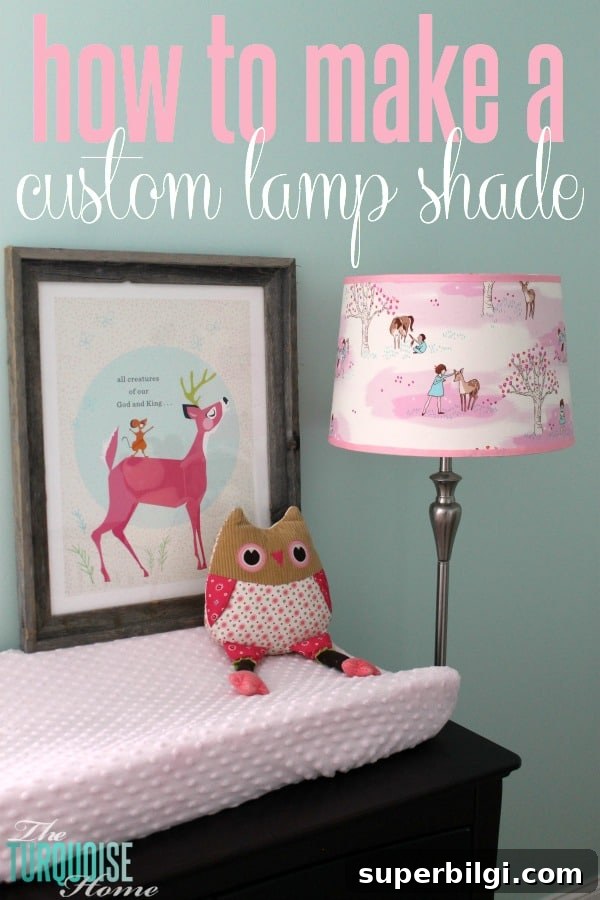
Use your own fabric to create a custom lampshade that adds personality to your home.
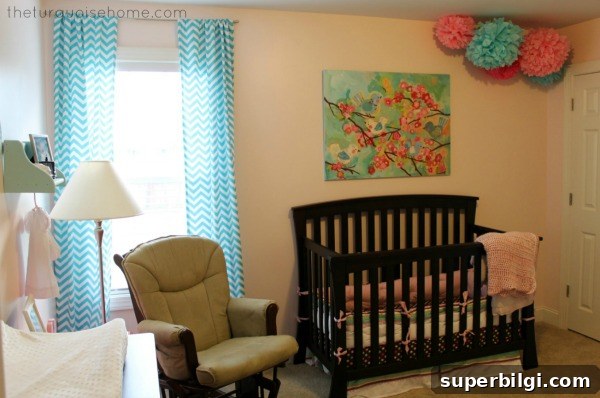
I love finishing projects that have sat on my to-do list for years — the relief, the satisfaction, and the little nudge of “why didn’t I do this sooner?” One of those projects was making a custom lampshade for Miss A’s nursery. The lamp base has been with me since college and the shade had been swapped several times. The most recent shade was an ill-fitting empire style that simply wasn’t right for the room and would have been difficult to cover with fabric.
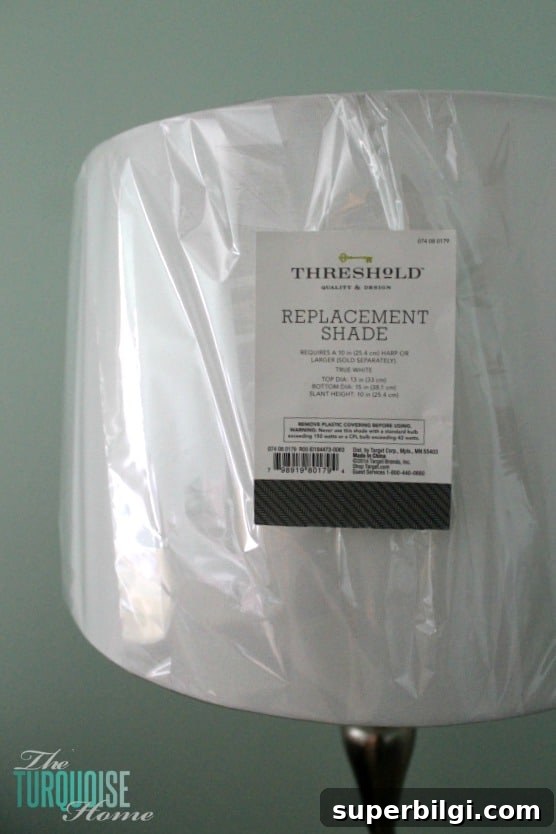
I’d intended to buy a simple drum shade for ages and finally picked one up when I was working on Baby G’s nursery. They were on sale, so I grabbed a basic drum shade for around $12 — an inexpensive starting point for a custom DIY lampshade.
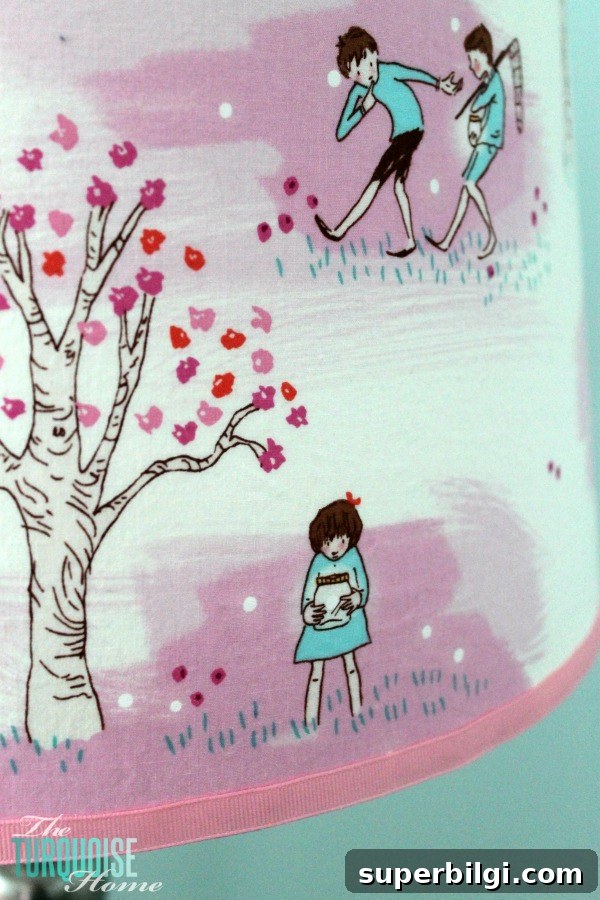
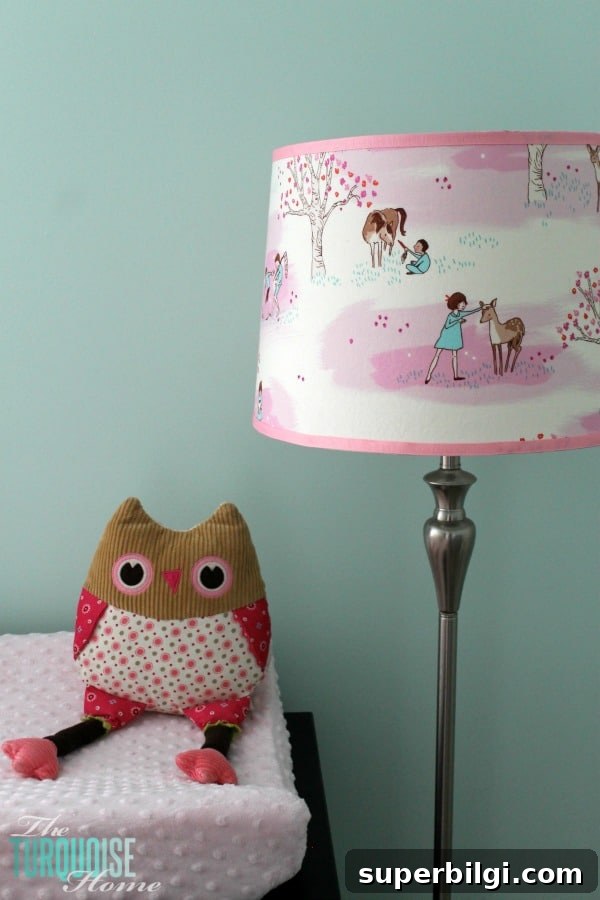
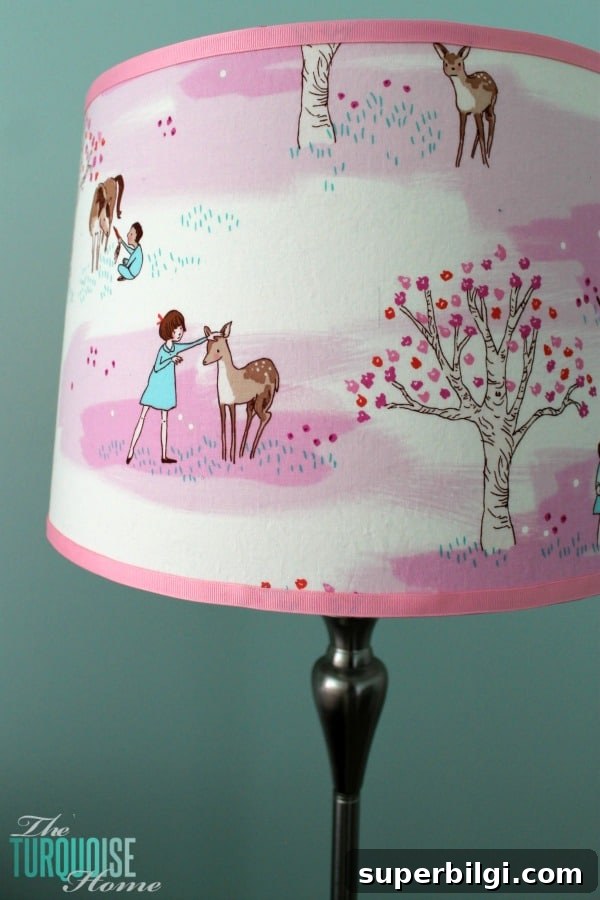
Next came the fabric. I originally had another pattern in mind for the nursery, but I fell in love with a sweet woodland print featuring a girl and a deer — perfect for the theme. I ordered Michael Miller Wee Wander Woods Petal and knew it would bring the right charm to the lamp.
Michael Miller Wee Wander Woods Petal — perfect for a woodland nursery
With supplies in hand, I set out to finish this long-overdue project. The process is straightforward and yields a polished, custom look.
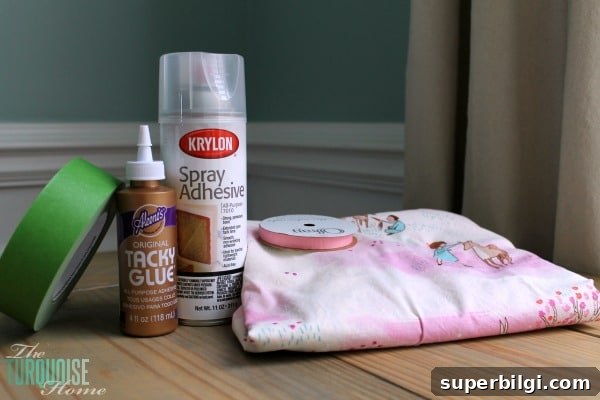
Supplies for your Custom Lamp Shade:
- tacky glue or fabric glue
- spray adhesive
- newspaper (for a template and workspace protection)
- pen or marker
- a drum shade
- painter’s tape or regular tape
- fabric large enough to wrap the shade
- grosgrain ribbon (optional, for finishing)
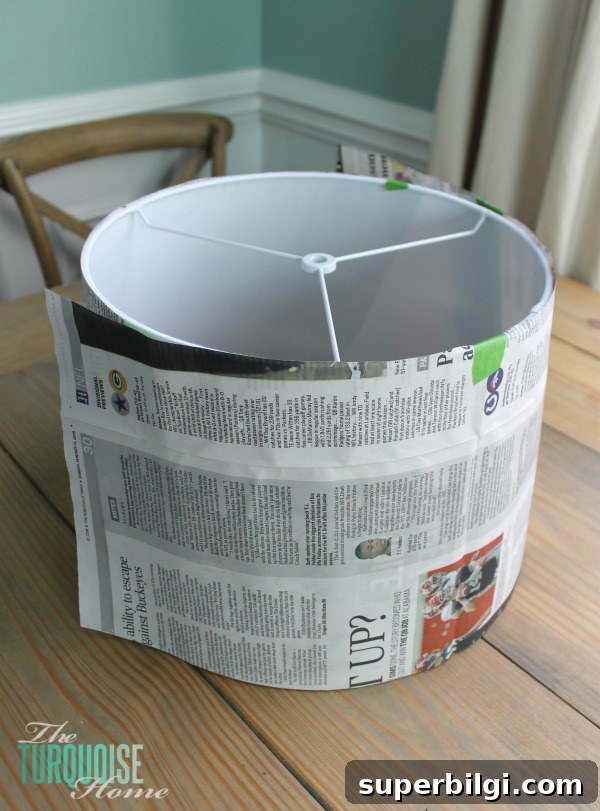
Start by making a paper template. Roll the drum shade across newspaper and trace the top and bottom edges as you roll. Cut the template out, wrap it around the shade and tape it together to confirm fit. This step helps you know exactly how much fabric you’ll need and shows where any seams will fall.
If your fabric has a directional or illustrated design, pick the panel you want centered on the front of the shade before cutting. I only had one yard, so I had to piece an extra section in the back; place seams where they are least noticeable.
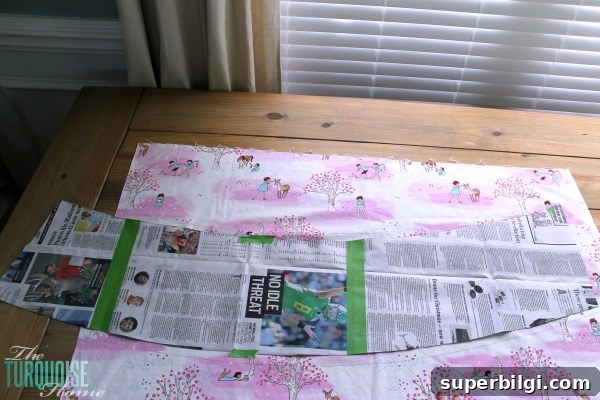
Cut the fabric using your template, leaving about an extra inch around the edges to allow for trimming and a secure finish. Lay the fabric flat and spray the adhesive on the wrong side of the fabric or directly on the shade following the spray adhesive’s instructions. I worked outside and protected the work surface with newspaper to avoid fumes and overspray.
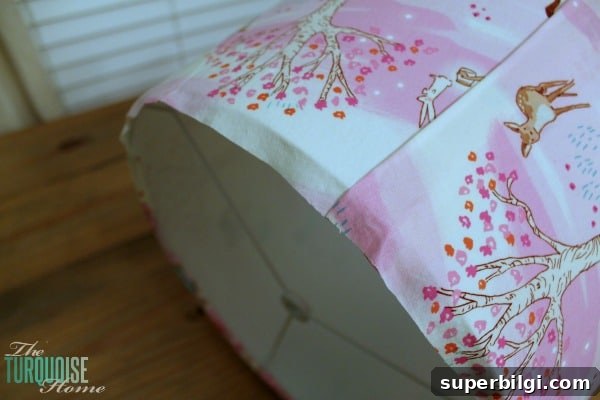
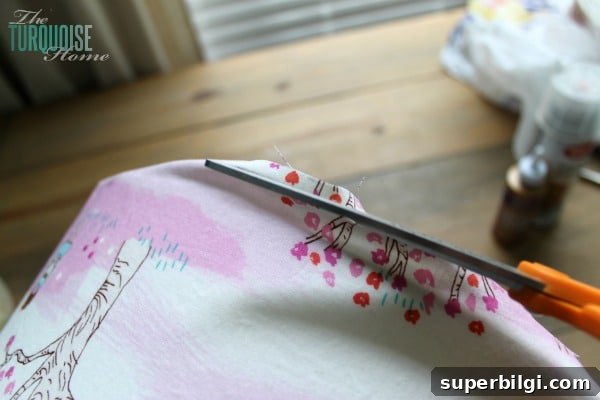
Carefully smooth the fabric onto the shade, working from one side to the other to press out air bubbles and wrinkles. Trim the excess fabric to about 1/2 inch from the shade’s edge so you have material to fold and glue inside the shade.
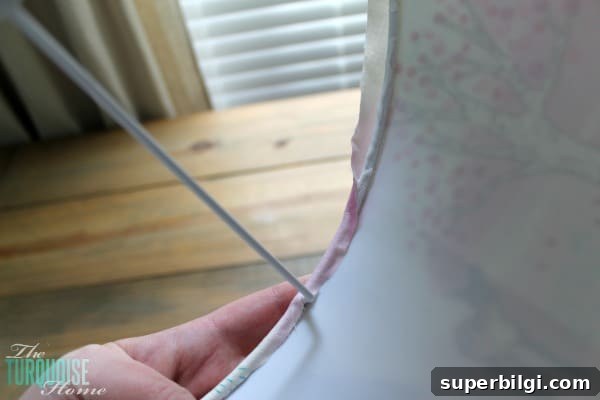
Apply a thin bead of tacky glue along the inside edge and wrap the trimmed fabric around the internal lip or piping. Tacky glue holds well and dries clear; press the fabric into place and allow it to set. Repeat for the top and bottom edges if needed for a neat interior finish.
To give the shade a more finished look, I glued pink grosgrain ribbon around the top and bottom edges. This step is optional, but ribbon hides any raw edges and adds a polished accent that ties into the nursery’s color palette.
The finished lampshade transforms a simple lamp base into a custom, room-specific piece. It’s an easy, affordable DIY that adds character and ties your decor together. I’m thrilled with how the woodland fabric brought warmth and whimsy to the nursery — and it only took a few steps to complete.
More Posts You Will Love:
- 25+ Amazing Table Lamps For Your Home
- How to Recover a Lamp Shade (for cheap!)
- 15 Flush Mount Lighting Ideas For Your Home