Make a pillow cover from any image in five easy steps using iron-on transfer paper and a bit of creativity.
You can turn any image—whether a free printable, a digital photo, or original artwork—into a custom pillow cover using iron-on transfer paper. This technique also works for t-shirts, tote bags, and other fabric items. Below is a clear, step-by-step guide to creating a beautiful DIY pillow using iron-on transfers.
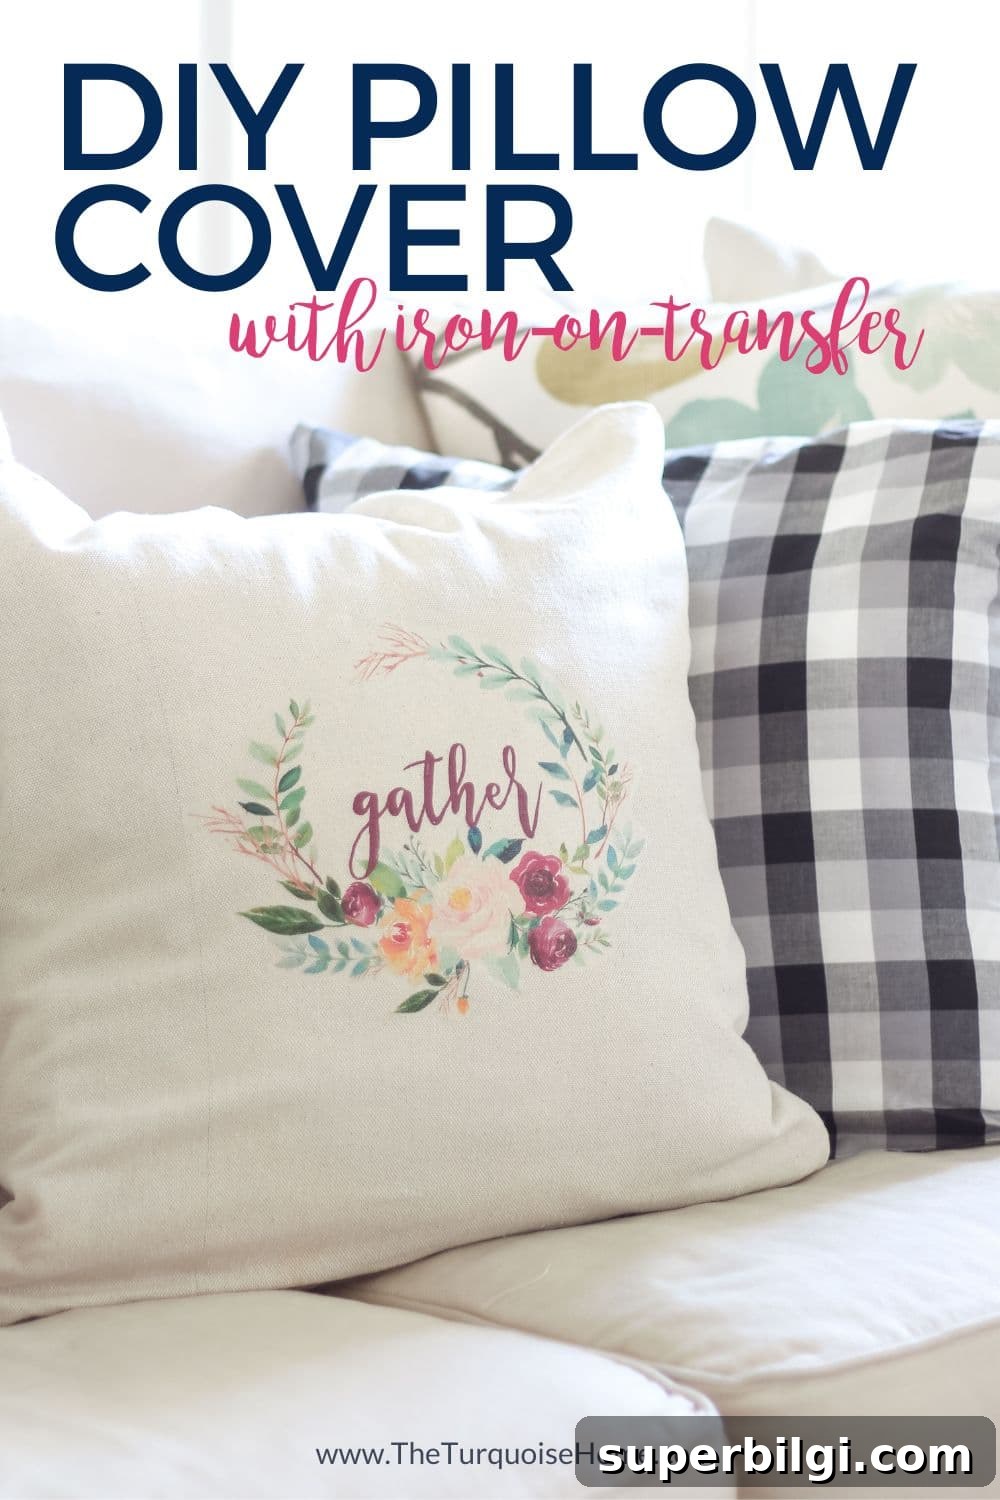
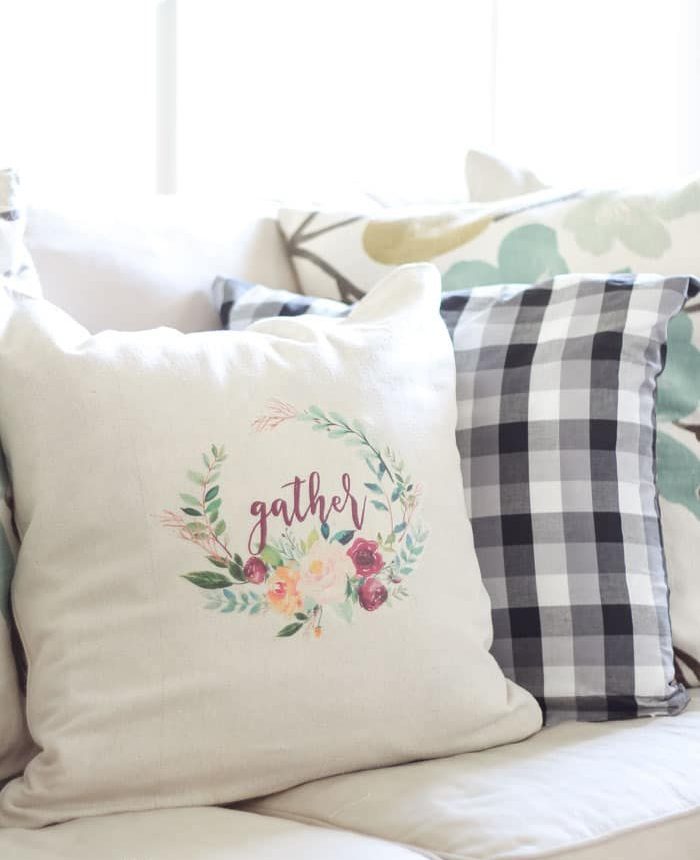
When I first discovered iron-on transfer paper, I was surprised I hadn’t tried it sooner. It’s a simple, affordable way to customize fabric projects with crisp, colorful images. I tested a few mirrored printables and the results were delightful—bright, clear, and durable when applied correctly.
Make a Blank Pillow Cover
Start with a plain pillow cover as your base. You can buy a ready-made cover or sew a simple one yourself. I like using drop cloth fabric for a neutral, textured background. If you prefer, use cotton or a linen blend—just check the transfer paper packaging to confirm compatible fabrics.
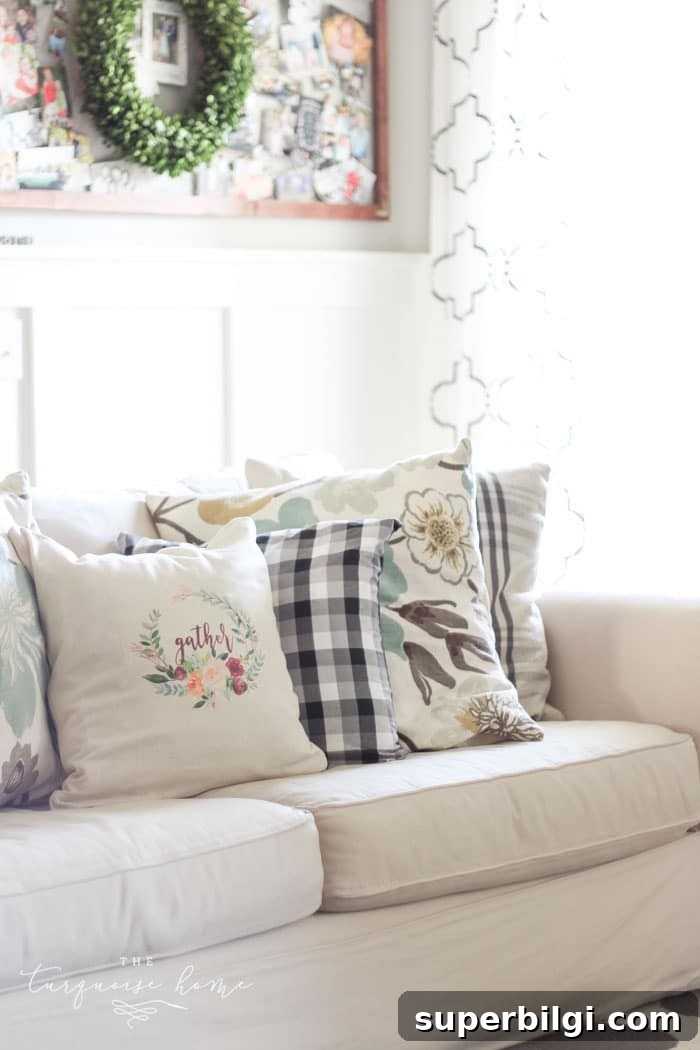
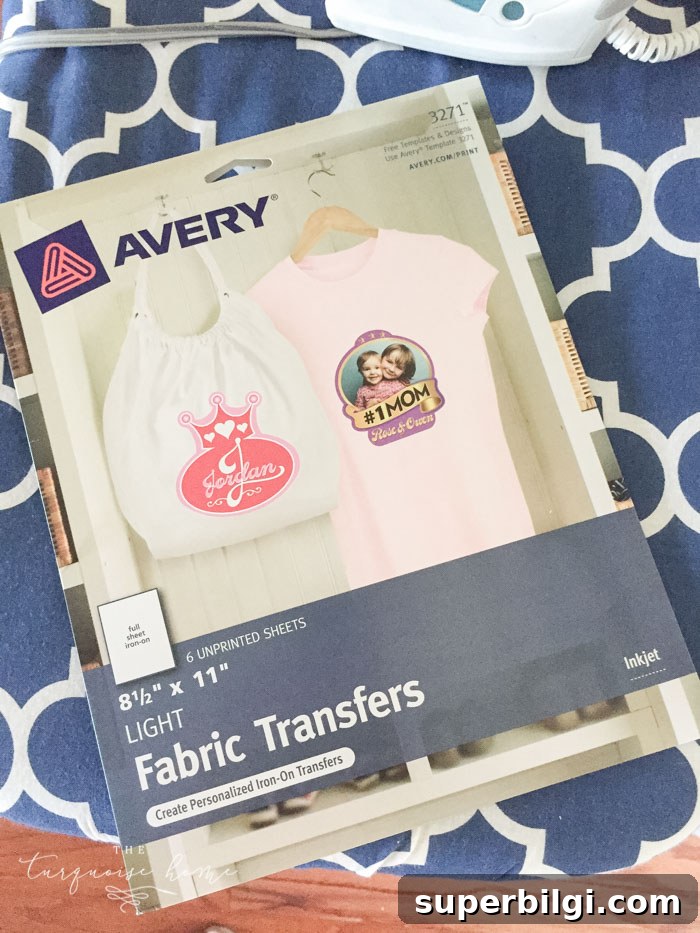
Supplies for DIY Pillow Cover with Iron-On Transfer
- Iron-on transfer paper suitable for fabric—make sure you choose the correct type for light or dark fabric.
- An image you want to transfer—this can be a free printable or any artwork or photograph. If your image contains text or directional graphics, be sure to mirror it before printing.
- An iron (or a heat press if you have one)—use the heat source recommended by your transfer paper manufacturer.
- A pillow cover or fabric item to apply the image to—drop cloth, cotton, or linen are common choices.
- An inkjet color printer if your transfer paper specifies inkjet printing—many transfer papers require inkjet inks for the best results.
How to Make a Pillow with Iron-On Transfer Paper
1. Select an Image
Choose a high-resolution image for the best print quality. Many free printables and downloadable designs work wonderfully. If your image includes text or directional elements, remember it will be reversed during transfer—so plan accordingly.
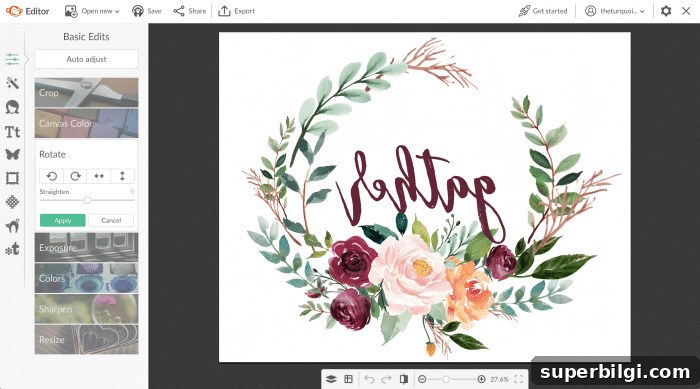
2. Mirror Your Image
To ensure text and directional graphics appear correctly after transfer, flip your image horizontally (mirror it) before printing. Most image editors and many free online tools can mirror images. If you’re using provided mirrored printables, you can skip this step.
3. Print Your Image on the Transfer Paper
Load the transfer paper into your inkjet printer according to the manufacturer’s instructions—pay close attention to which side of the paper to print on. Use the printer settings recommended for photo-quality or high-resolution prints to get the best color and detail.
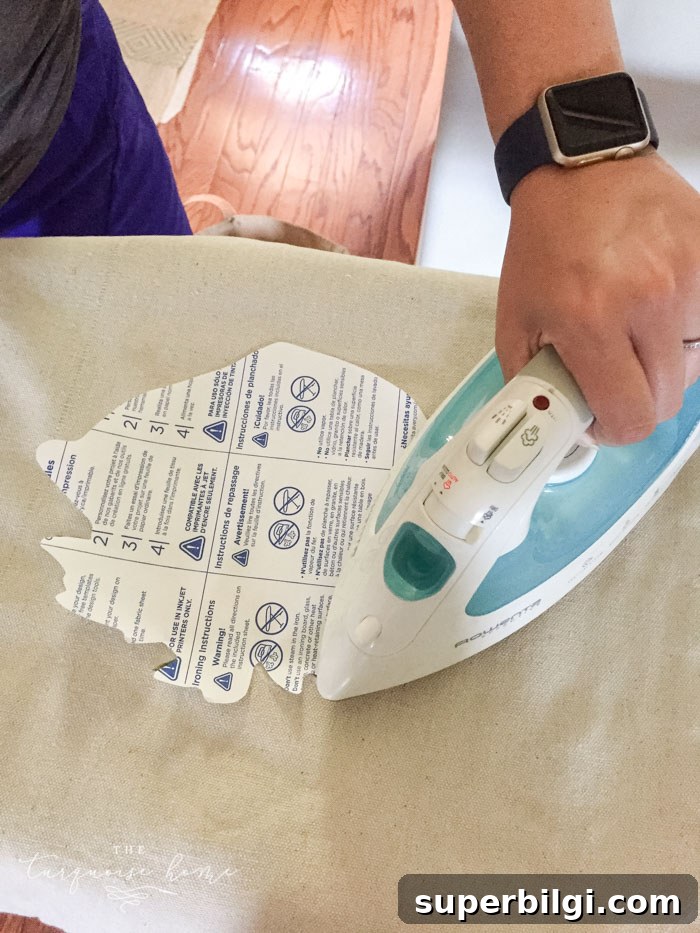
4. Iron-On the Transfer to the Pillow Cover
Position the printed transfer face-down on the fabric where you want the image to appear. Use a firm, dry iron or a heat press, applying even pressure and heat for the time specified on the transfer paper instructions. Be careful to avoid shifting the transfer while ironing.
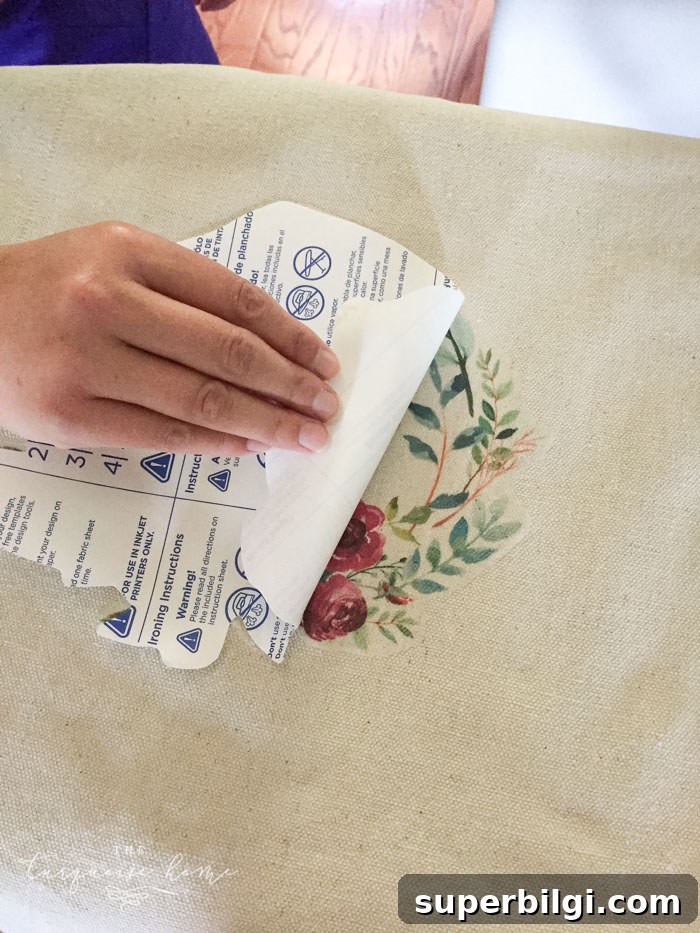
5. Remove the Transfer Backing
Once the transfer has cooled according to the instructions, peel off the backing to reveal your transferred image. Follow any recommended cooling times and handling steps from the transfer paper manufacturer to ensure proper adhesion and longevity.

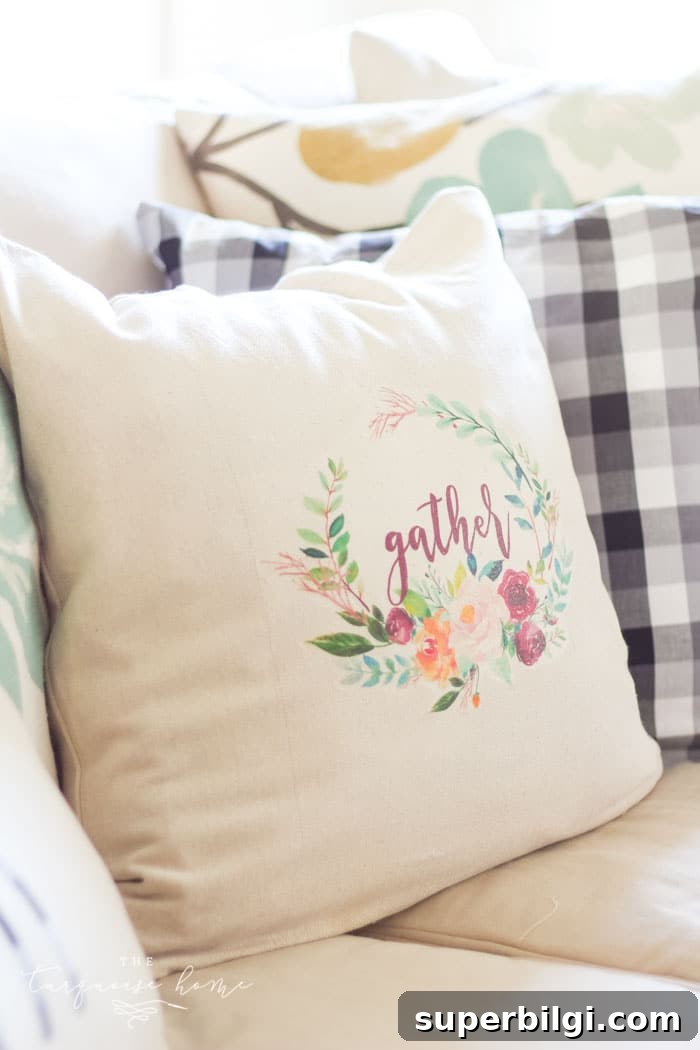
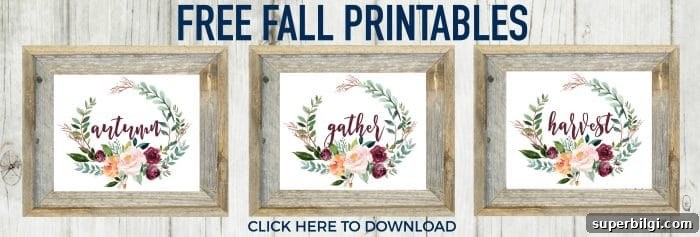
Free Fall Printables (Mirrored for Transfers)
I created three mirrored fall printables you can use immediately with iron-on transfer paper. These mirrored files save you the step of flipping images before printing. You can also print them on regular paper to frame and display instead of transferring to fabric.
Tips for best results:
- Always read and follow the transfer paper manufacturer’s instructions for heating, peeling, and care.
- Test on a scrap of fabric first, especially if you’re using a new printer, transfer brand, or fabric type.
- Choose high-resolution images and print at the highest quality your printer supports.
- When in doubt, allow the transfer to cool fully before peeling the backing to prevent smudging or incomplete adhesion.
- Clean your iron’s soleplate and use a hard, flat surface for even pressure.
Enjoy creating a custom pillow cover that reflects your style—whether seasonal, photo-based, or artistically unique. Once you try iron-on transfer paper, you’ll find countless fabric projects that are easy to personalize.
More posts you may like:
- Fall Kitchen Decor Ideas
- Mason Jar Lid Pumpkin Craft
- How to Choose and Style Sofa Pillows
- Best Living Room Paint Colors
- 25 Amazing DIY Fall Wreaths