
It’s Christmas home tour season, and I’m excited to share my Christmas gallery wall and kitchen with you today. I’ve teamed up with some of my favorite blogging friends for an “All Through The House” tour—each day this week you’ll see beautiful holiday rooms and fresh decorating ideas. Be sure to check back for more inspiration!
Back to my own home, which is proudly dressed for the season. Last week I shared my Magnolia Wreath Living Room Mantel, so if you missed it you can view those photos there.
Our living room flows into the kitchen, and a small wall between the two has become my gallery wall. The frames themselves have been in place for a while, but this year I finally filled them with family photos. They sat empty for over a year, so it felt great to complete that spot. This post contains affiliate links for your convenience.
Last year I used wrapping paper and a few prints in those frames—some of those prints are now decorating my mantel. If you’d like to see last year’s tour, check out A Very Merry Christmas Home Tour.
Last year I also made a pallet sign that lived on the mantel; it now rests on my Everett console table and is one of my favorite seasonal pieces. If you want to make your own, see the pallet sign tutorial. I also created a free “O Holy Night” printable available here.
Around the corner is our cozy eat-in kitchen. This year I kept the decorations simple and natural—just a few evergreen sprigs I picked up from the local hardware store.
Tip: check your local hardware or big-box store for leftover limbs and wood slices—these natural elements make great inexpensive decor. I also hung a wreath with my favorite navy buffalo-check ribbon on my DIY giant chalkboard and simply wrote “joy.” It’s an easy, classic statement.
I added a little sprig to my handy DIY chalk holder and called it done—sometimes simple is best.
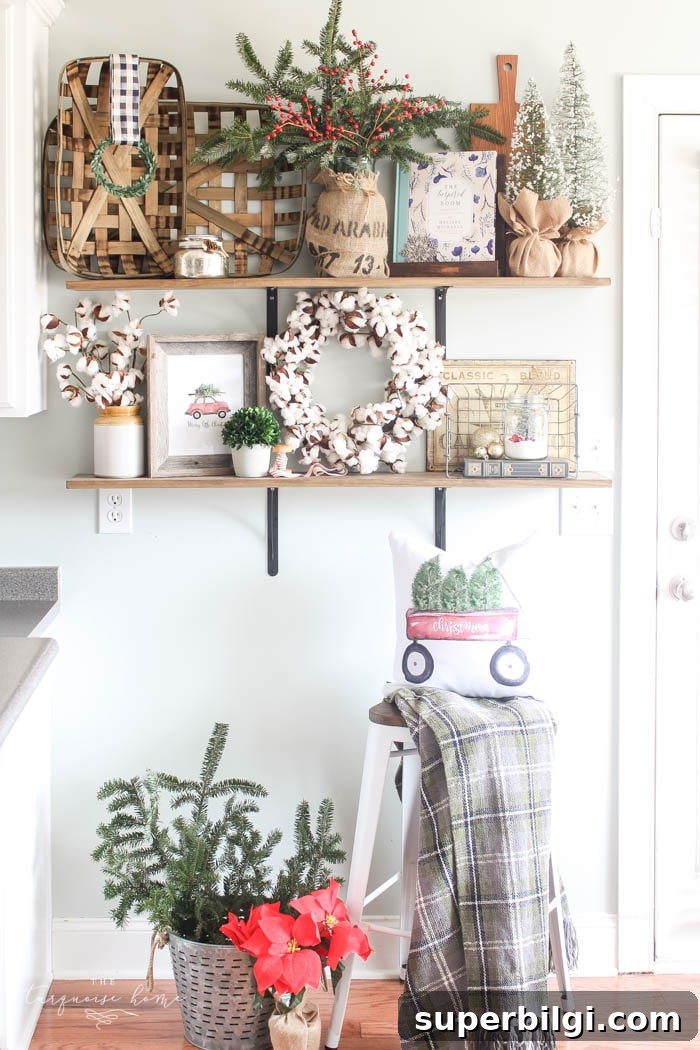
One of my favorite DIYs in the space is the farmhouse shelves. They cost less than $40 to build and are incredibly easy to make. This year I finally got to decorate them for Christmas—they look just as good styled for Spring, Summer, or Fall.
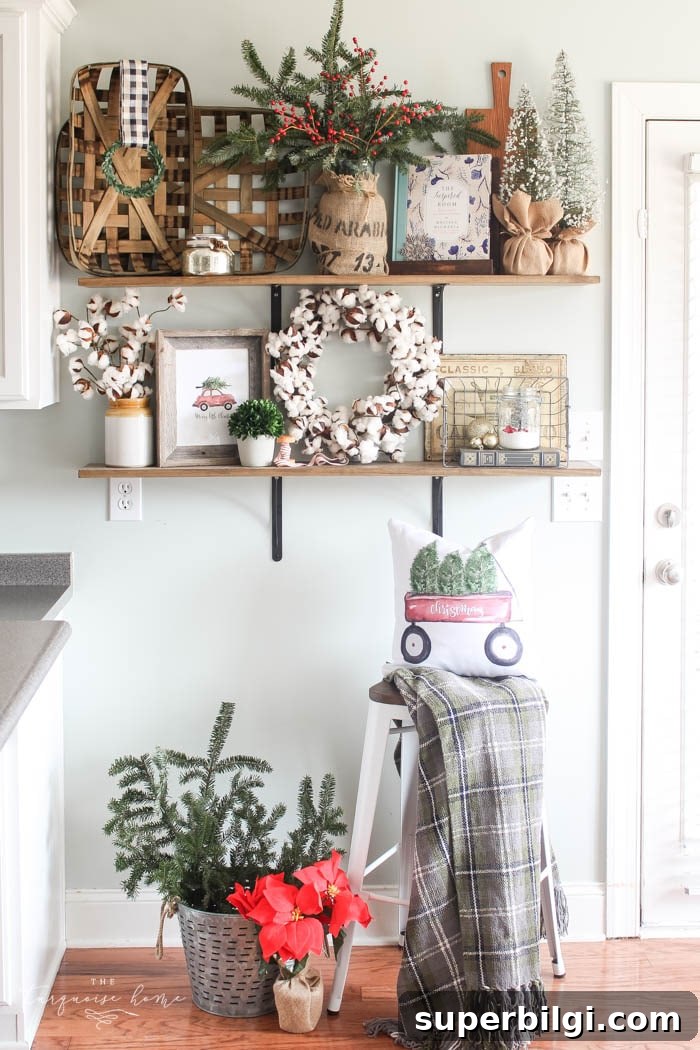
Christmas Wagon Pillow
Merry Little Christmas Print
Now into the actual kitchen: my favorite detail this year is the mini boxwood wreaths on the cabinets. They’re small, fresh-looking, and perfectly scale to the kitchen fronts.
I was inspired by a look I saw last year and wanted to recreate it on a budget. Affordable mini wreaths were hard to find, so I turned a boxwood garland into several small wreaths. I discovered a faux boxwood garland at Target’s dollar section and cut it into pieces—then shaped each piece into a tiny wreath.
Here’s a quick tutorial for DIY mini wreaths:
You’ll need:
- Boxwood garland or similar faux greenery
- Floral wire cutters
- Floral wire
- Ribbon for tying or hanging
Wrap a short length of garland into a loop until it’s as full as you like. Overlap the ends and secure them tightly with floral wire. Add a ribbon for a finishing touch. These mini wreaths can be made for just a few cents each—budget-friendly and charming.
While I was photographing the kitchen I enjoyed a cup of peppermint-infused white hot chocolate—my seasonal indulgence. It’s a treat I save for special moments, and it adds to the cozy holiday mood.
This little area is our coffee corner. I swapped the printable there for my new Chalkboard Christmas Cookie Recipe Printable, which is perfect for holiday baking and adds a fun seasonal touch.
That wraps up the tour of my gallery wall and kitchen. Thanks for stopping by! If you’d like to see more, please visit the Magnolia Wreath mantel post.
More Posts You Will Love:
- How to Decorate the Kitchen for Christmas
- How to Organize Christmas Decorations
- 7+ Ways to Decorate with Christmas Ribbon {Sources & Ideas!}