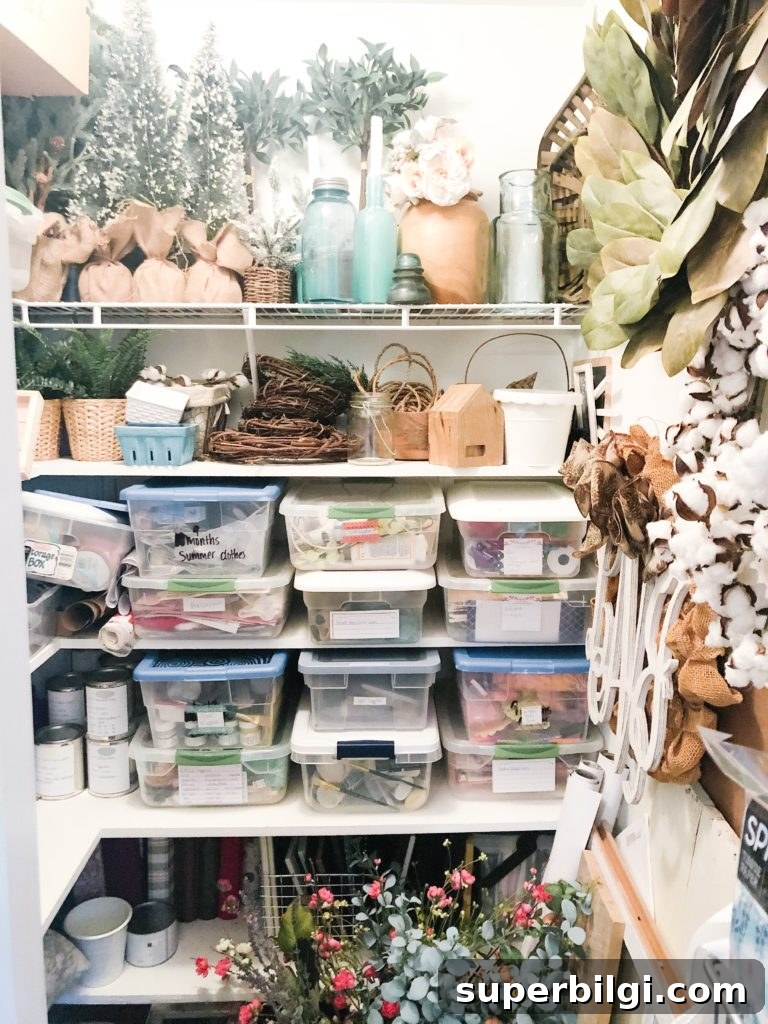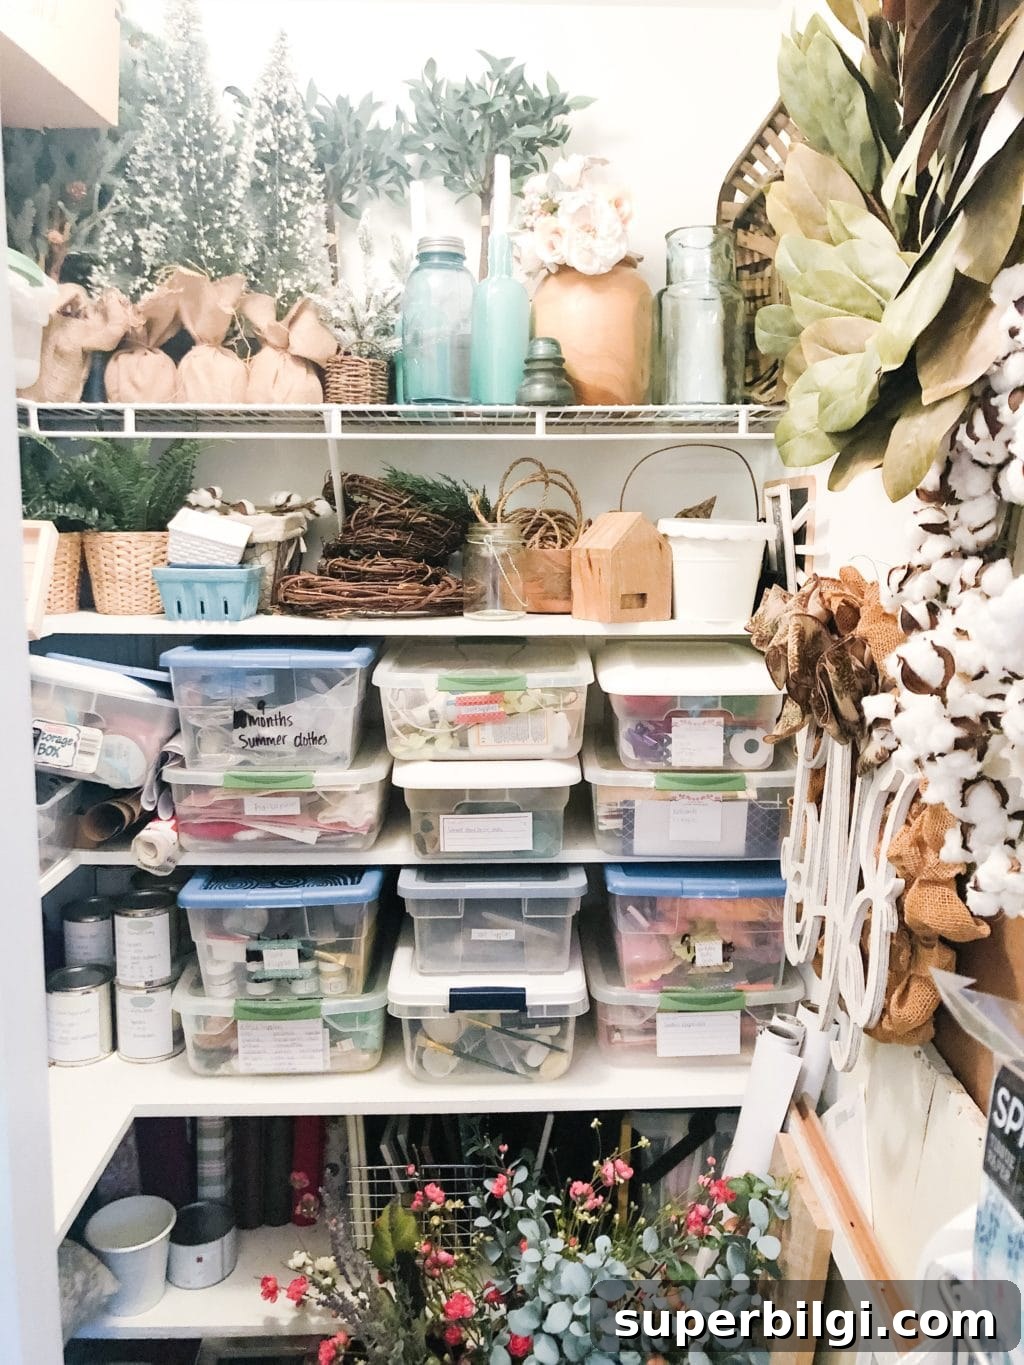
Do you need more space in your home? Make the most of the vertical room in your closets by learning how to build custom closet shelves.
When we moved into our house, every closet except the master had only a single wire shelf and a hanging rod. That left a lot of wasted vertical space—especially in closets used for storage rather than clothes. I’d long wanted to make better use of that height, and when a new baby was on the way, I finally tackled the project to convert a storage-filled room into a nursery-ready space.
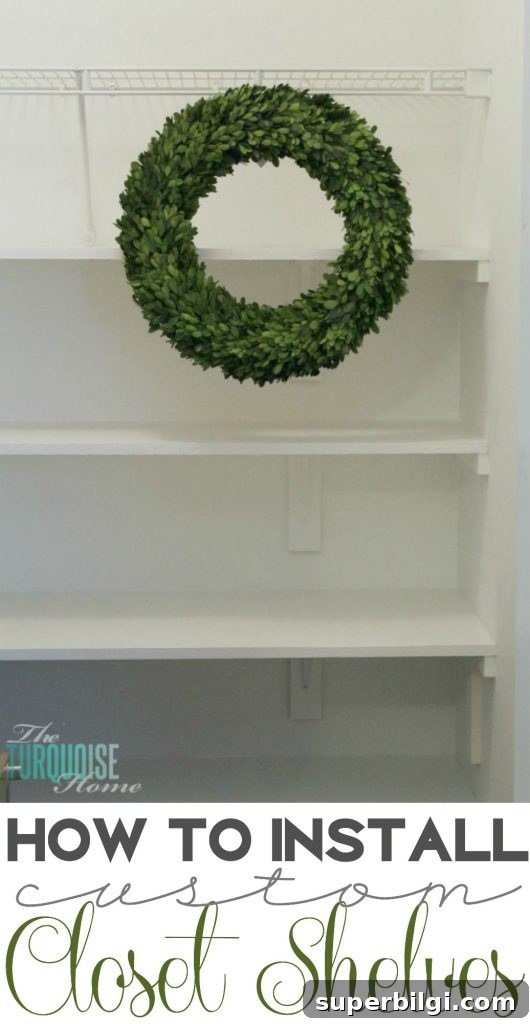
I’d considered purchasing a pre-made closet system, but after exploring options I realized I only needed fixed shelves and I wanted them at very specific widths and depths. A custom, DIY solution made the most sense: it was more flexible and allowed me to build exactly what I needed.
Side note: I love DIY projects, but I try to be intentional about what I build. If a ready-made product fits my needs and budget, I usually buy it. If not, I design and build a custom solution. These closet shelves were a case where customization won out.
Supplies Needed to DIY Closet Shelves
- 3/4″ MDF for the shelves – I used two full sheets and had the store rip them to depth before cutting lengths at home. Measure your closet first to know how many sheets you’ll need.
- Measuring tape
- Circular saw or miter saw
- Table saw – optional if you have the store rip the boards for you
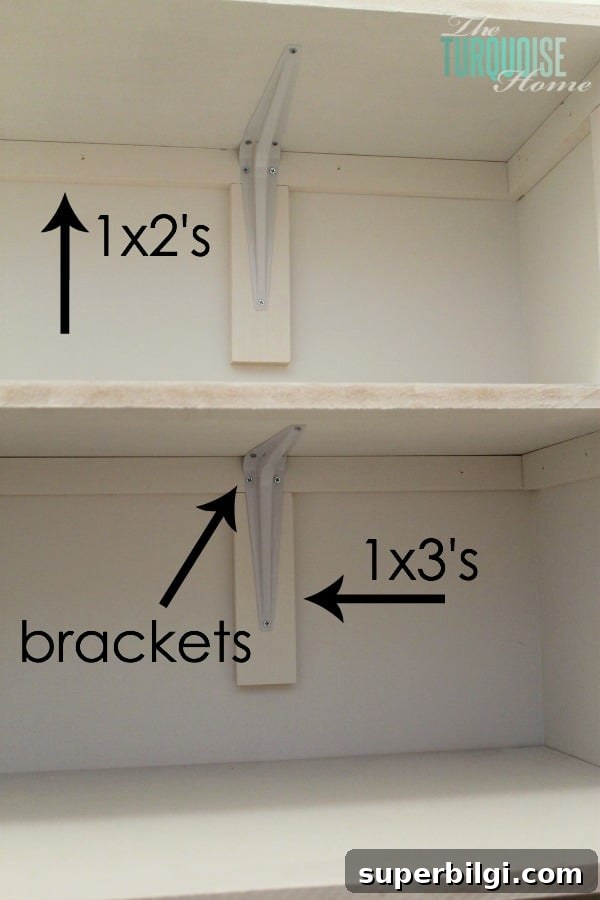
- 1×2 boards for mounting support rails along the walls
- 1×3 boards to act as backing for the bracket mounting
- Metal shelf brackets – I used brackets where one side mounts vertically and the other side supports the shelf underneath
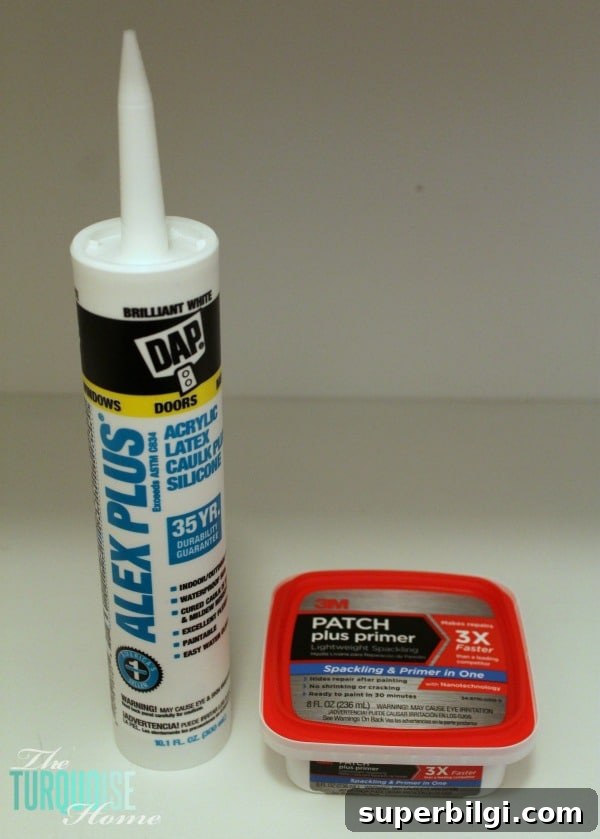
- Caulk
- Spackling or wood filler
- Primer and paint (semi-gloss is a good choice for shelves)
- Wood screws
- Stud finder
- Level and straight edge
- Ruler or carpenter’s square
How To Build Closet Shelves
Step 1. Decide your shelf layout and measure carefully
Start by planning what you want to store so you can set shelf heights and depths accordingly. I left space for a filing cabinet and my sewing machine on the floor, so the lower shelves had to be high enough to clear those items. I measured the closet width and decided on shelf depths based on what I planned to store. Because my closet forms an L shape, one run of shelves had to be slightly shorter to accommodate the adjoining wall shelf depth.
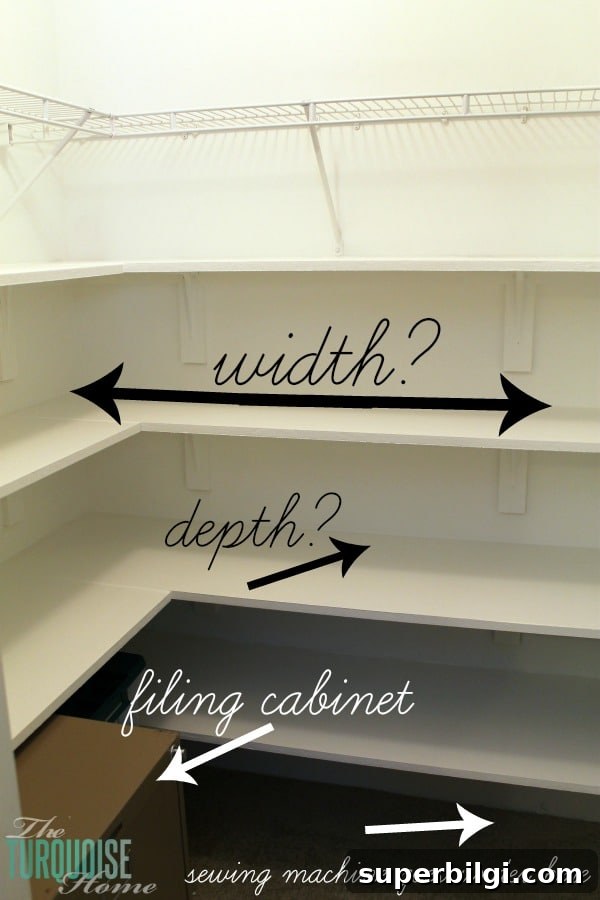
As an example, my top shelf is 13″ deep, the next is 14″ deep, and the bottom two shelves are 18″ deep. Choose depths that suit your storage containers and allow comfortable access.
Step 2. Buy materials and make a cut plan
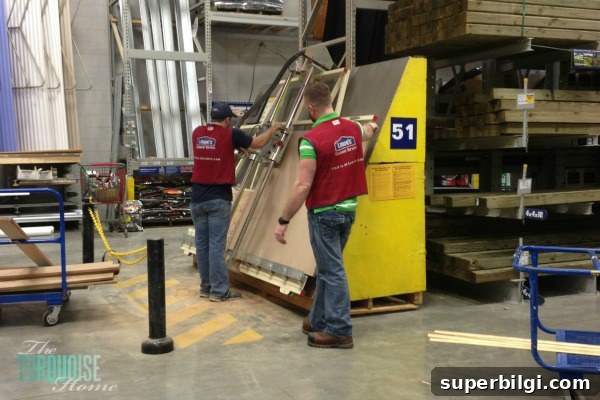
Make a shopping list after you finalize measurements. I purchased two full sheets of 3/4″ MDF and had the store cut them to the shelf depths to save time. I also bought enough 1x2s for the mounting rails and 1x3s to back the brackets, brackets for support, screws, primer, paint, caulk and spackle. Planning all cuts before you begin prevents multiple trips to the store.
Step 3. Prime and cut your boards
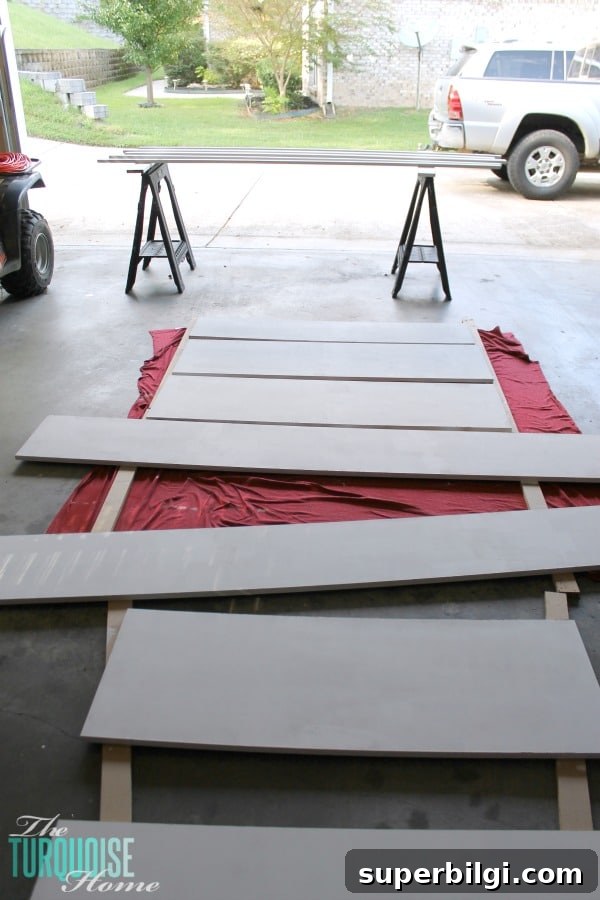
Priming boards before installation makes finishing easier. I applied two coats of primer to the shelves and support boards in the garage, then cut the shelf lengths with a circular saw. You can also cut first and then prime—either way works. Cut the 1x2s to match shelf lengths and the 1x3s to short support pieces that will sit under the brackets.
Step 4. Mark shelf lines on the wall
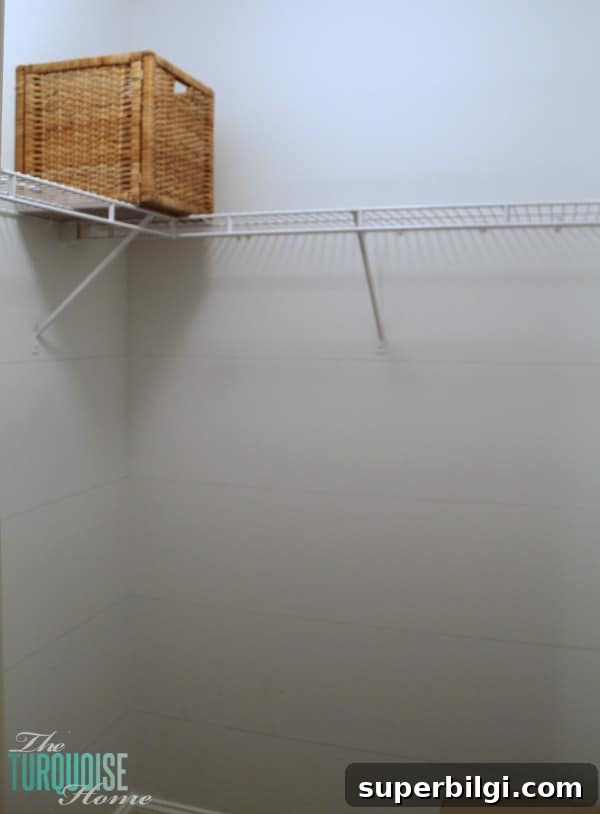
Use a level and a straight edge to mark where each shelf will sit. These lines guide the placement of your 1×2 support rails so everything stays straight. Careful marking early prevents problems later.
Step 5. Fasten your support rails
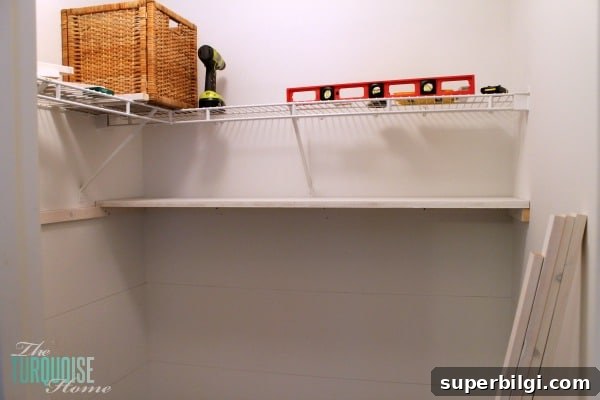
Attach the 1×2 rails to the wall along the marked lines. Locate studs with a stud finder and screw the rails into studs so they will carry the shelf loads. If you prefer, use a nail gun for temporary tacking and then secure with screws into studs for strength.
Step 6. Place the shelves
Slide each shelf into position on the support rails. For shallow closets, fit shelving pieces in before fully mounting adjacent rails—otherwise the side rails can prevent you from slotting shelf panels into place. Check each shelf with a level as you set it.
Step 7. Add bracket supports
Cut 1×3 pieces to the length needed behind each bracket (mine were about 8″). Screw these backing pieces to the studs under the 1×2 rails so brackets can be fastened solidly. Attach brackets to the backing boards and to the underside of each shelf. I used two to three brackets per 58″ shelf and added brackets at shelf joints for extra support.
Update years later: the shelves remained perfectly straight and have handled heavy use without sagging.
Step 8. Caulk and patch
Fill and smooth all nail and screw holes with spackle or patching compound and run a bead of caulk along visible seams. A light sanding after drying will create a smooth surface ready for paint.
Step 9. Paint
Apply two coats of semi-gloss paint to the shelves and support boards for a durable, easy-to-clean finish. I matched the paint to the trim in the rest of our house so the shelves look integrated and clean.
Finished!
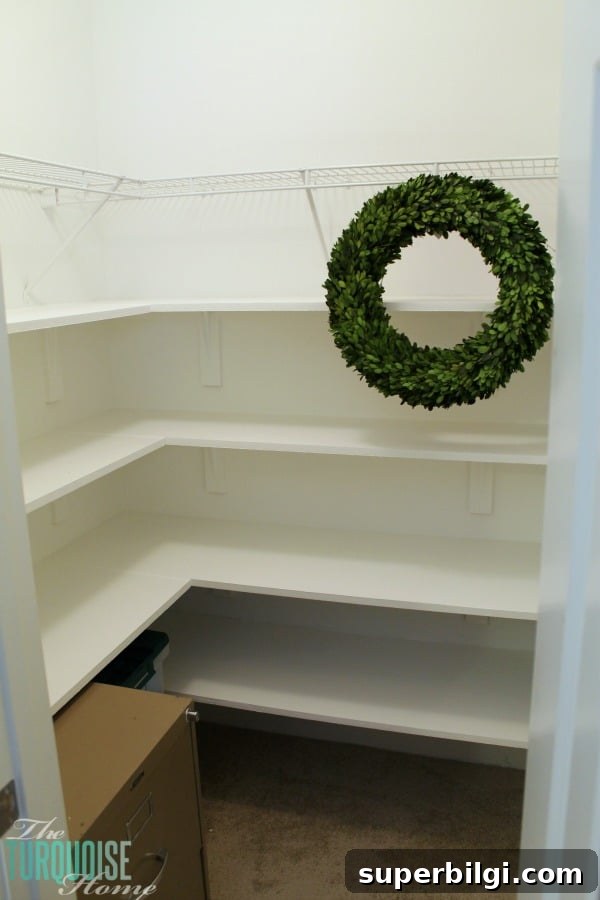
The project took me a few weeks because I worked on it in small chunks, but with a solid day or two you can complete it much faster. Once the shelves were painted and cured, I began purging and returning items to the closet—suddenly all that vertical space was useful again.
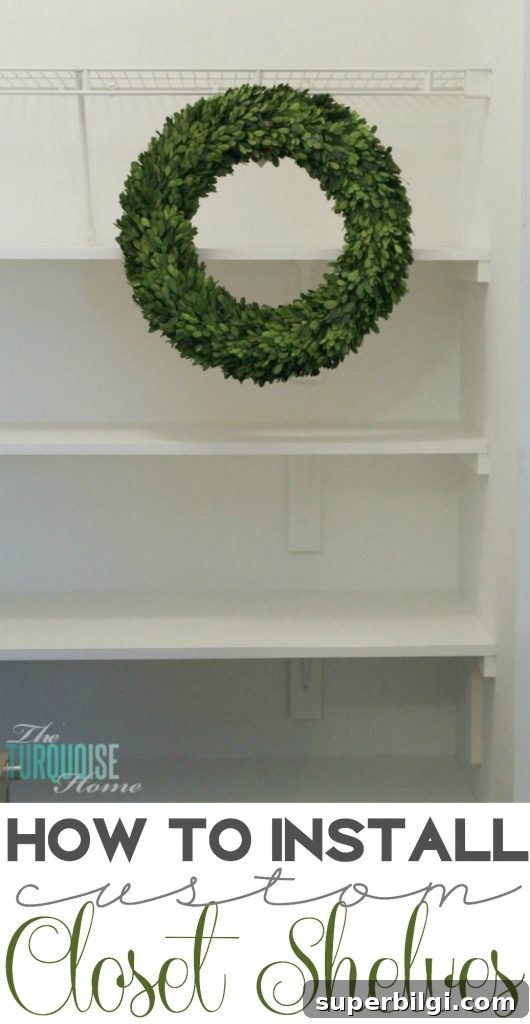
I still use these shelves regularly and they have held up extremely well. If your closets have unused vertical space, customizing and installing your own shelves is a straightforward, budget-friendly way to add storage and make your home more organized.
Five-year update: These shelves are still in daily use and performing perfectly. I plan to add similar shelving to other closets to maximize vertical storage throughout the house.