
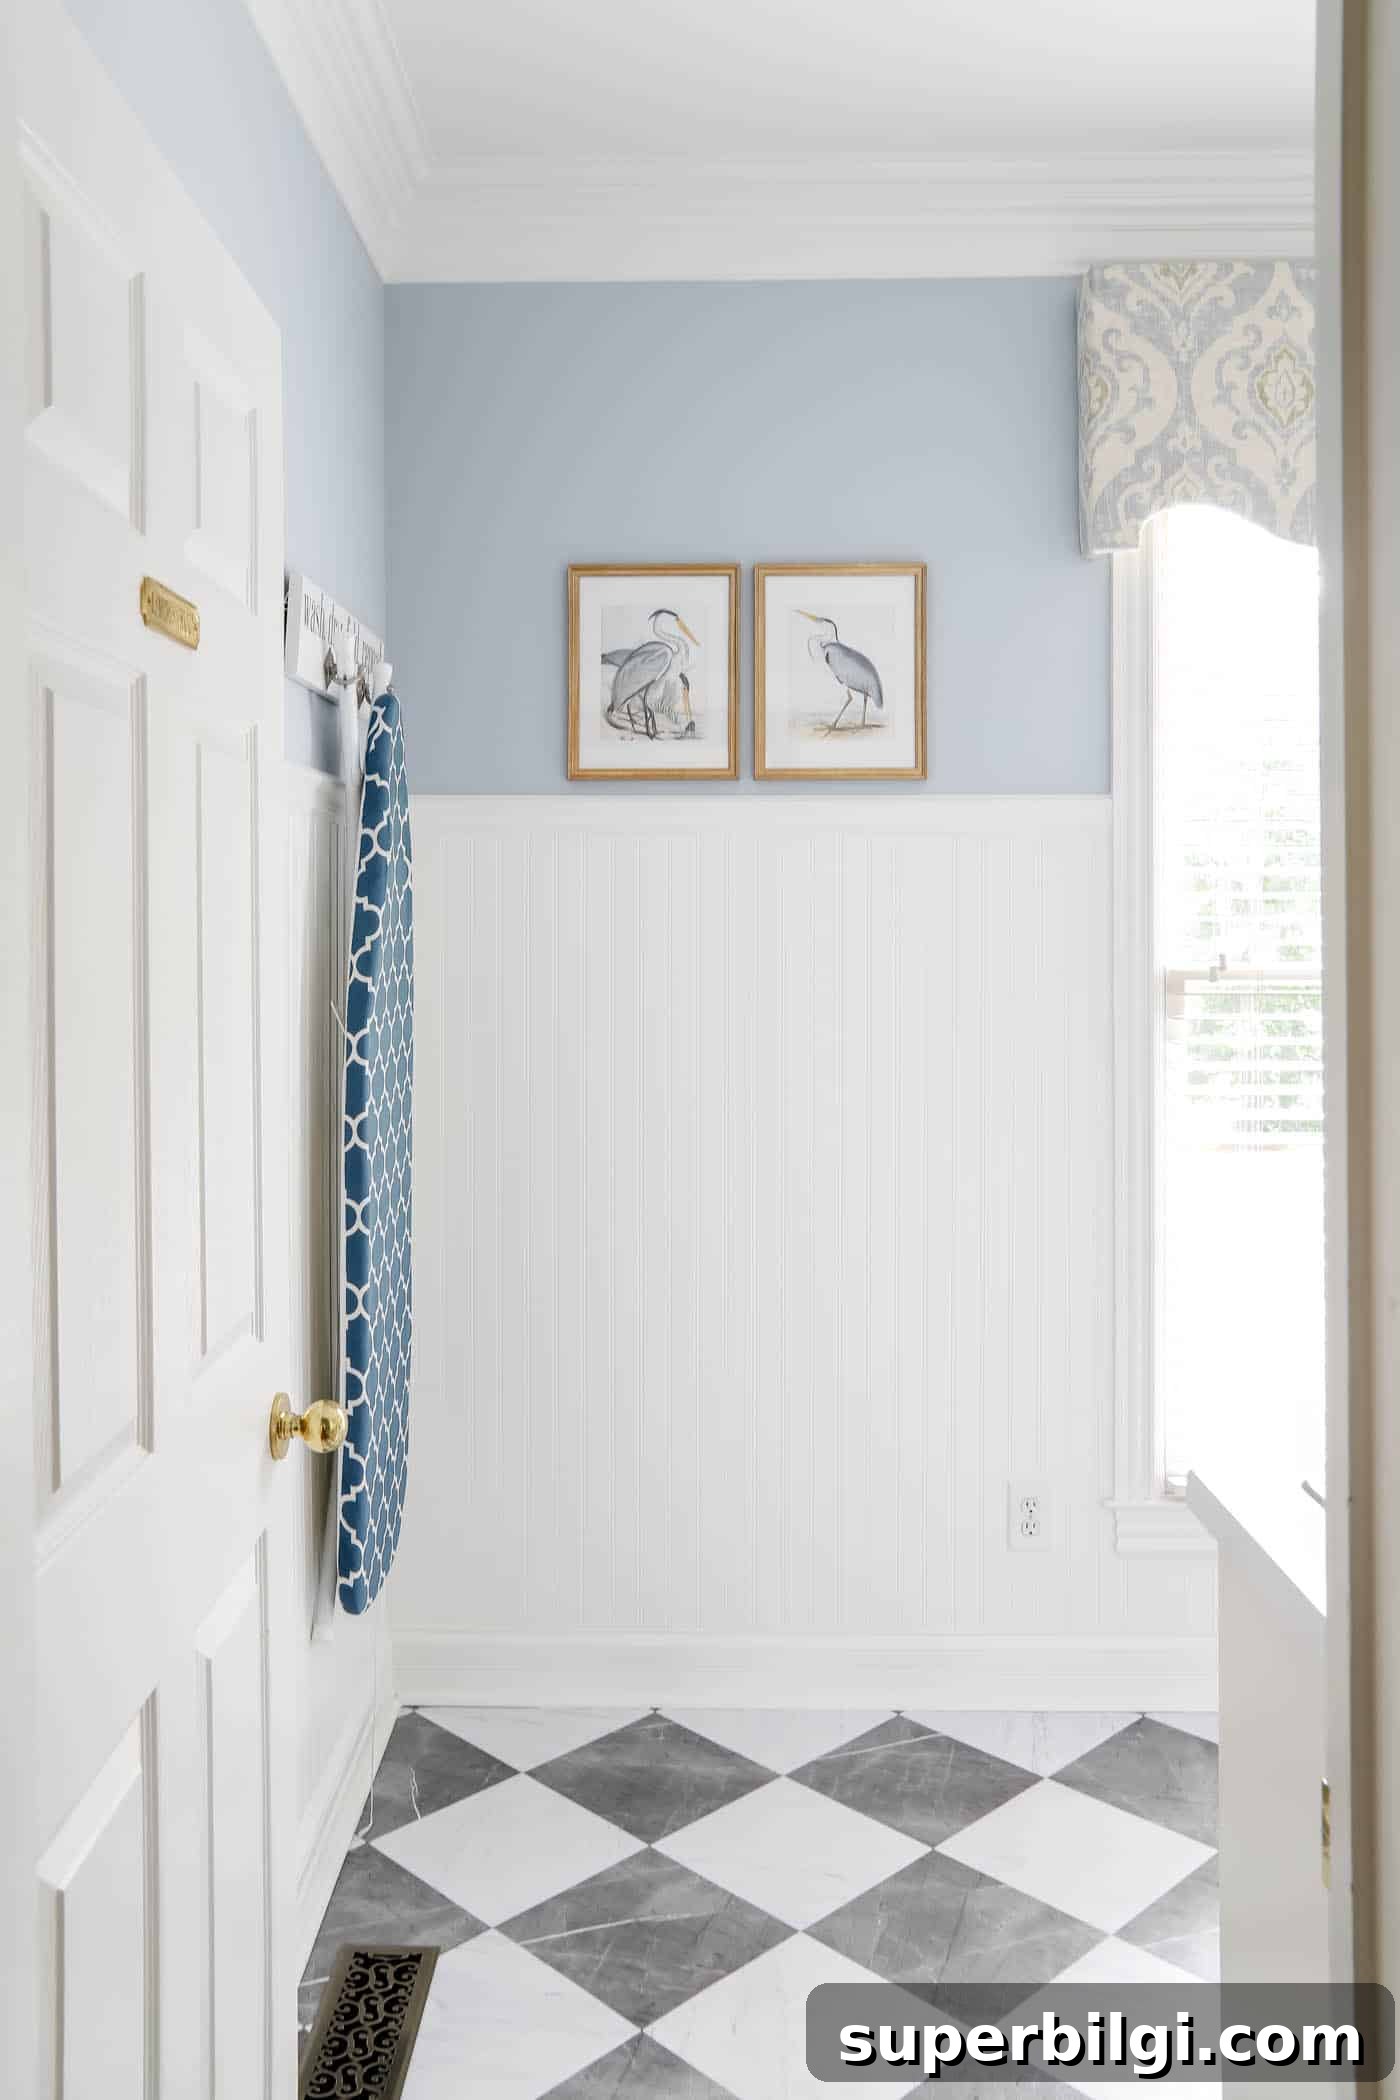
Looking for an affordable way to refresh your home’s look? Beadboard is a timeless, versatile option that adds texture, depth, and charm to virtually any room.
Whether you want a coastal-feel bathroom, a cozy country kitchen, or an elegant entryway, beadboard can deliver a meaningful transformation without an excessive cost. Below is a practical guide to what beadboard is, where to use it, how it compares to wainscoting, the supplies you’ll need, and step-by-step instructions for installation and finishing.
I’ve installed a variety of wall treatments over the years, from board and batten to picture frame molding, and most recently I added beadboard in my newly updated laundry room. It’s a beautiful, budget-friendly wall treatment—especially when you cover just a portion of a small room.
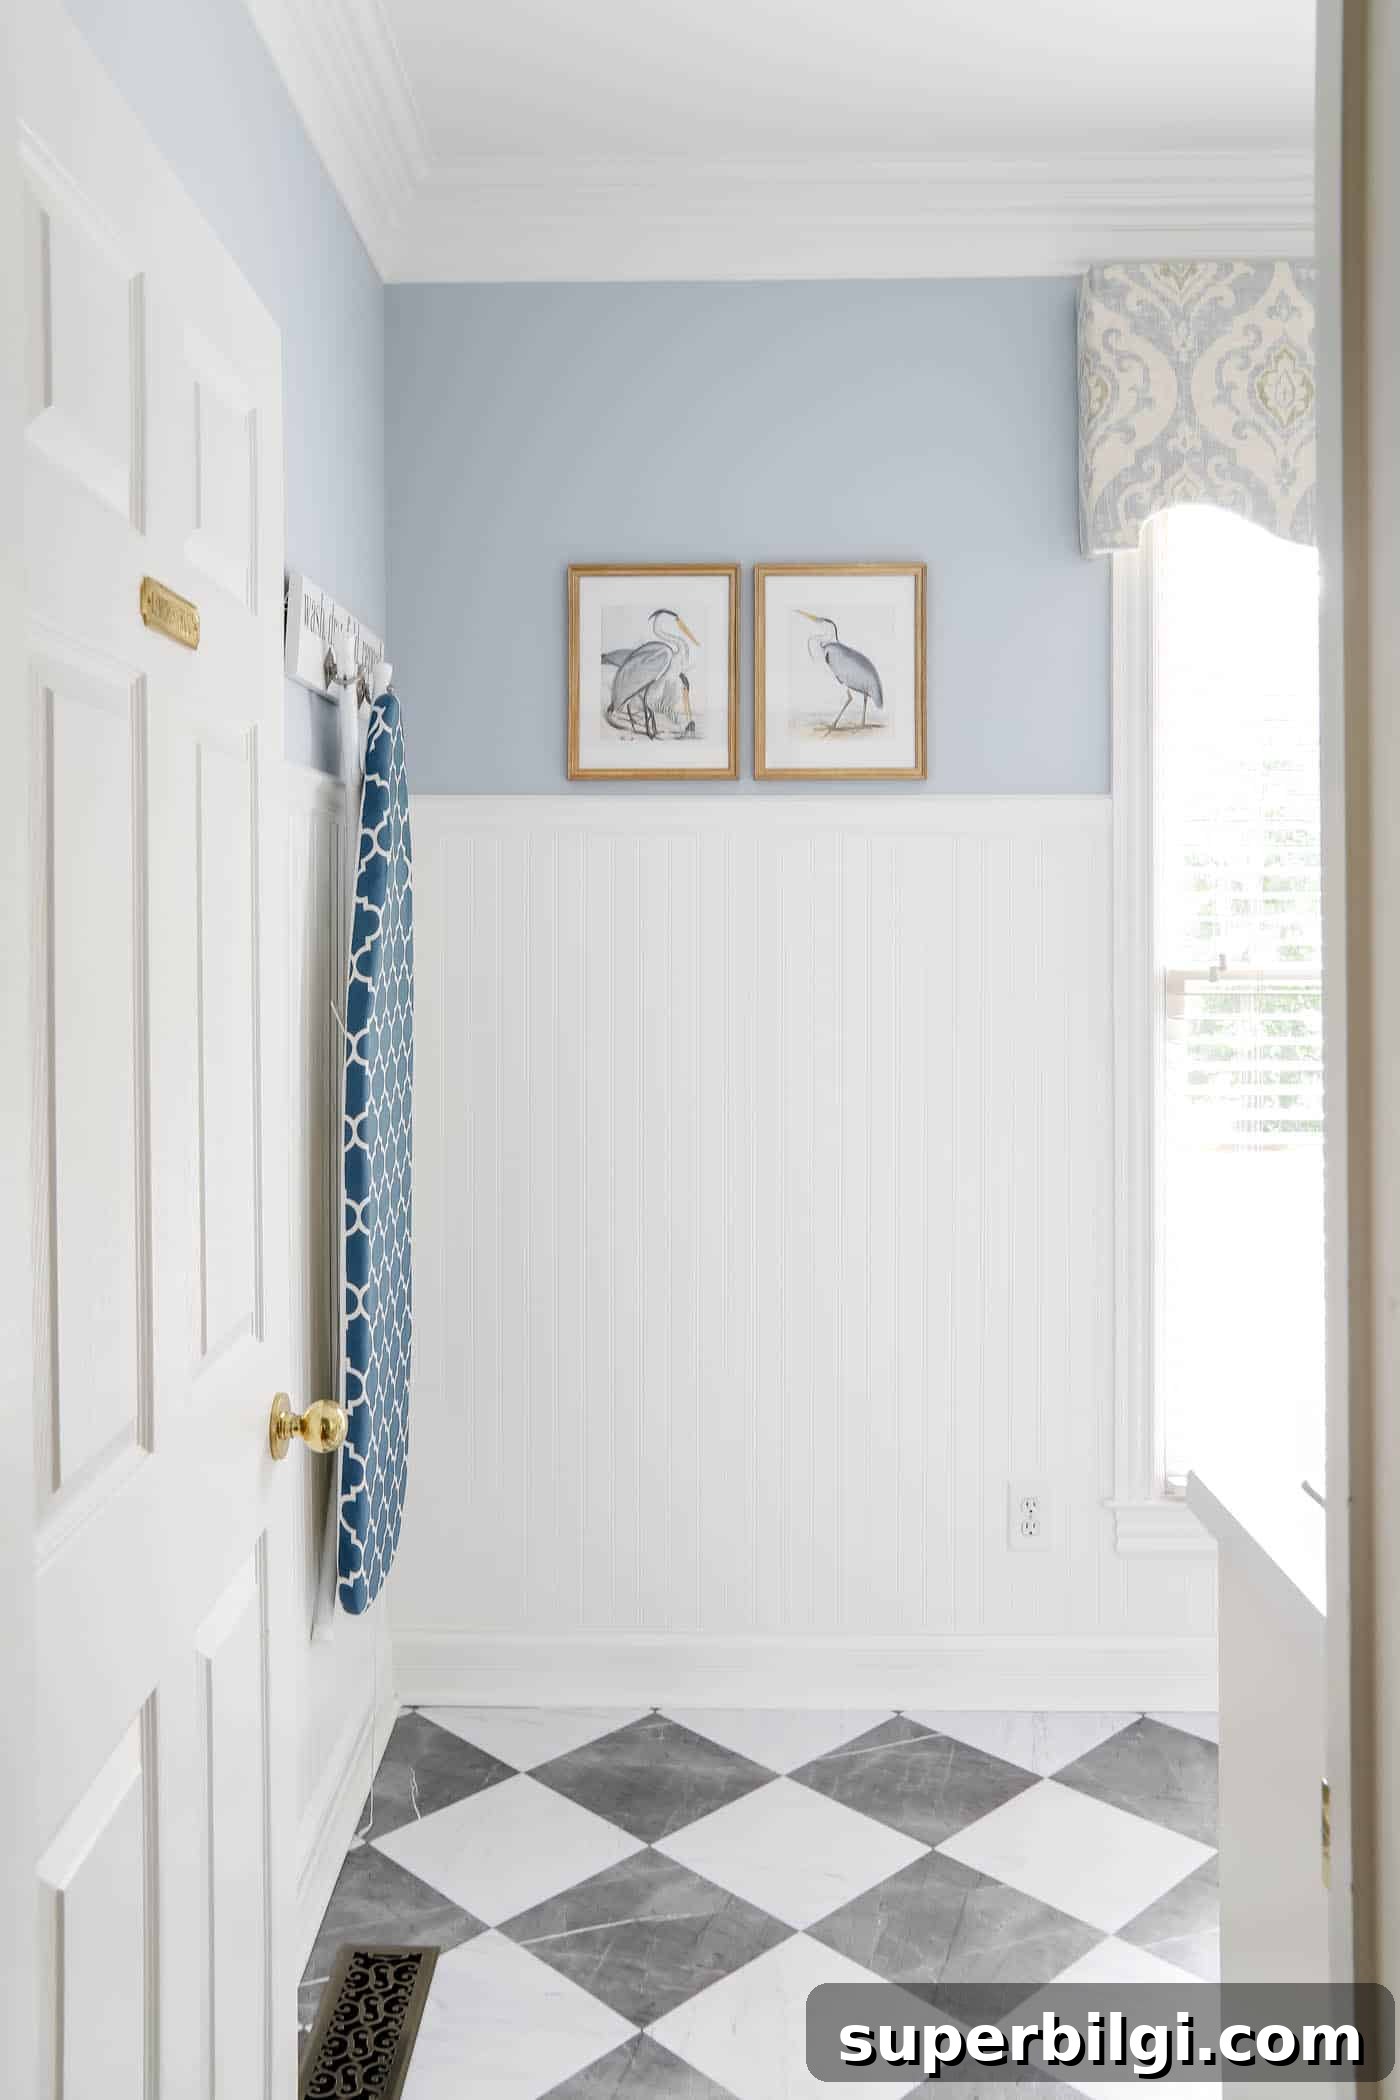
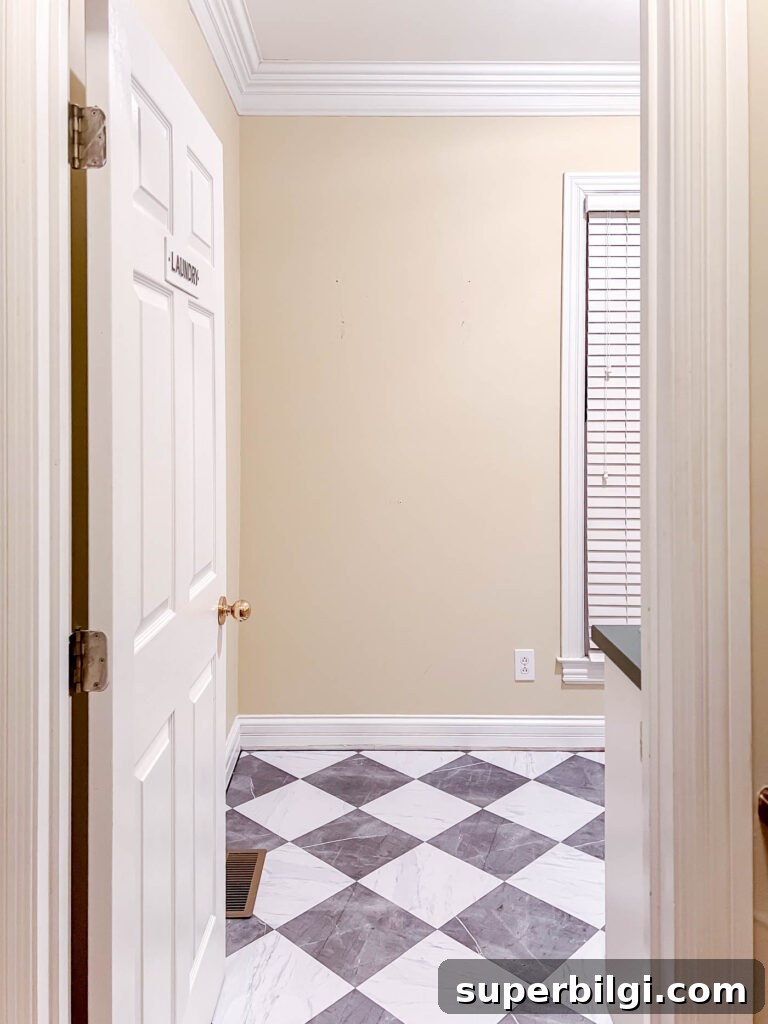
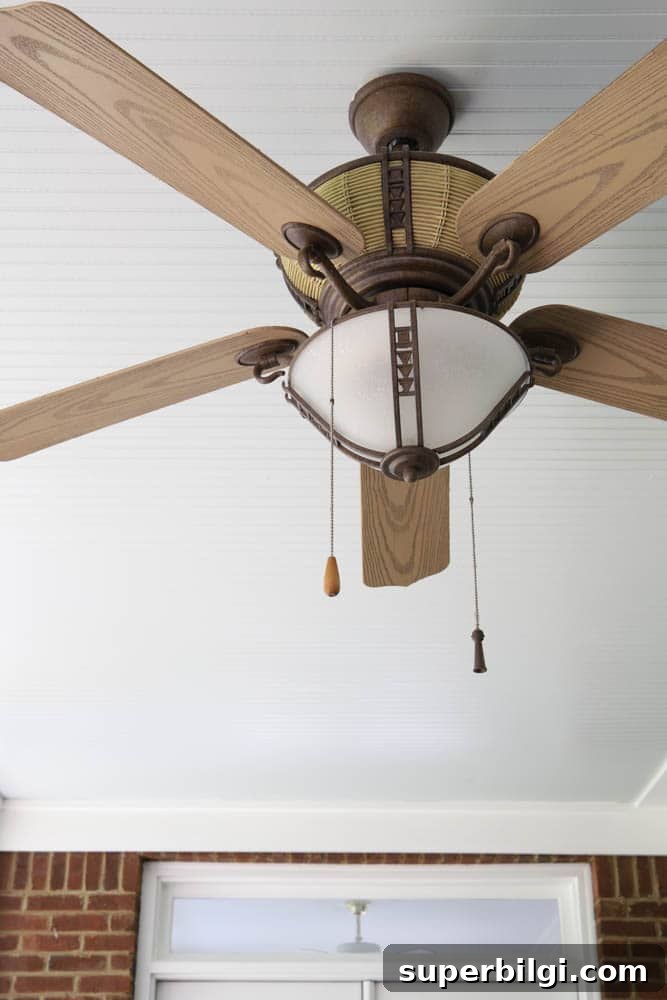
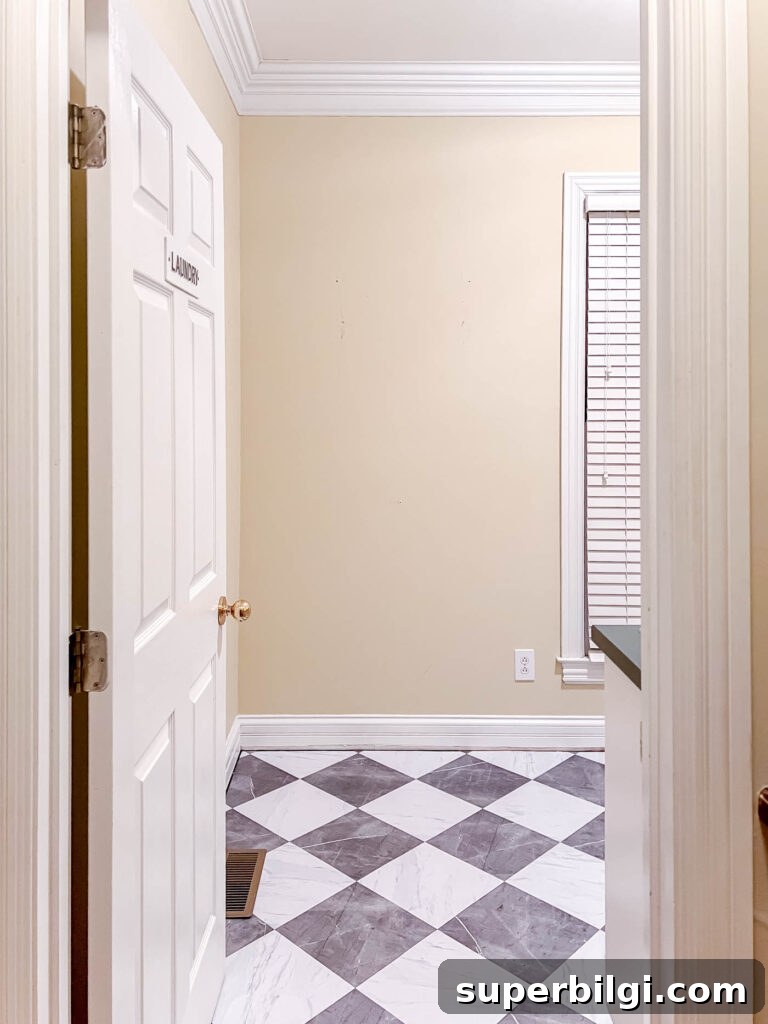
We also used beadboard on the ceiling of our back porch and on the half wall of our screened-in porch. Its traditional lines and subtle shadowing create a cohesive style that flows throughout a home. When my laundry room project began, the space lacked character—beadboard helped give it personality and texture (and this was after I’d already installed checkerboard peel-and-stick tiles on the floor).
What is beadboard?
Beadboard is paneling made from narrow boards joined edge-to-edge—traditionally tongue-and-groove—that create a series of vertical grooves and raised beads. Boards are commonly manufactured from wood, MDF (medium-density fiberboard), or PVC. You can also buy large panel sheets that mimic the look of individual tongue-and-groove boards for faster installation.
The defining feature is the “bead”: a small rounded ridge that runs along each board’s edge. That ridge produces subtle shadow lines and lends a rhythmic, textured appearance to walls and ceilings.
Where can you use beadboard?
Beadboard is extremely adaptable and can be used almost anywhere in the home: mudrooms, laundry rooms, bathrooms, kitchens, hallways, bedrooms, and living areas. Popular approaches include:
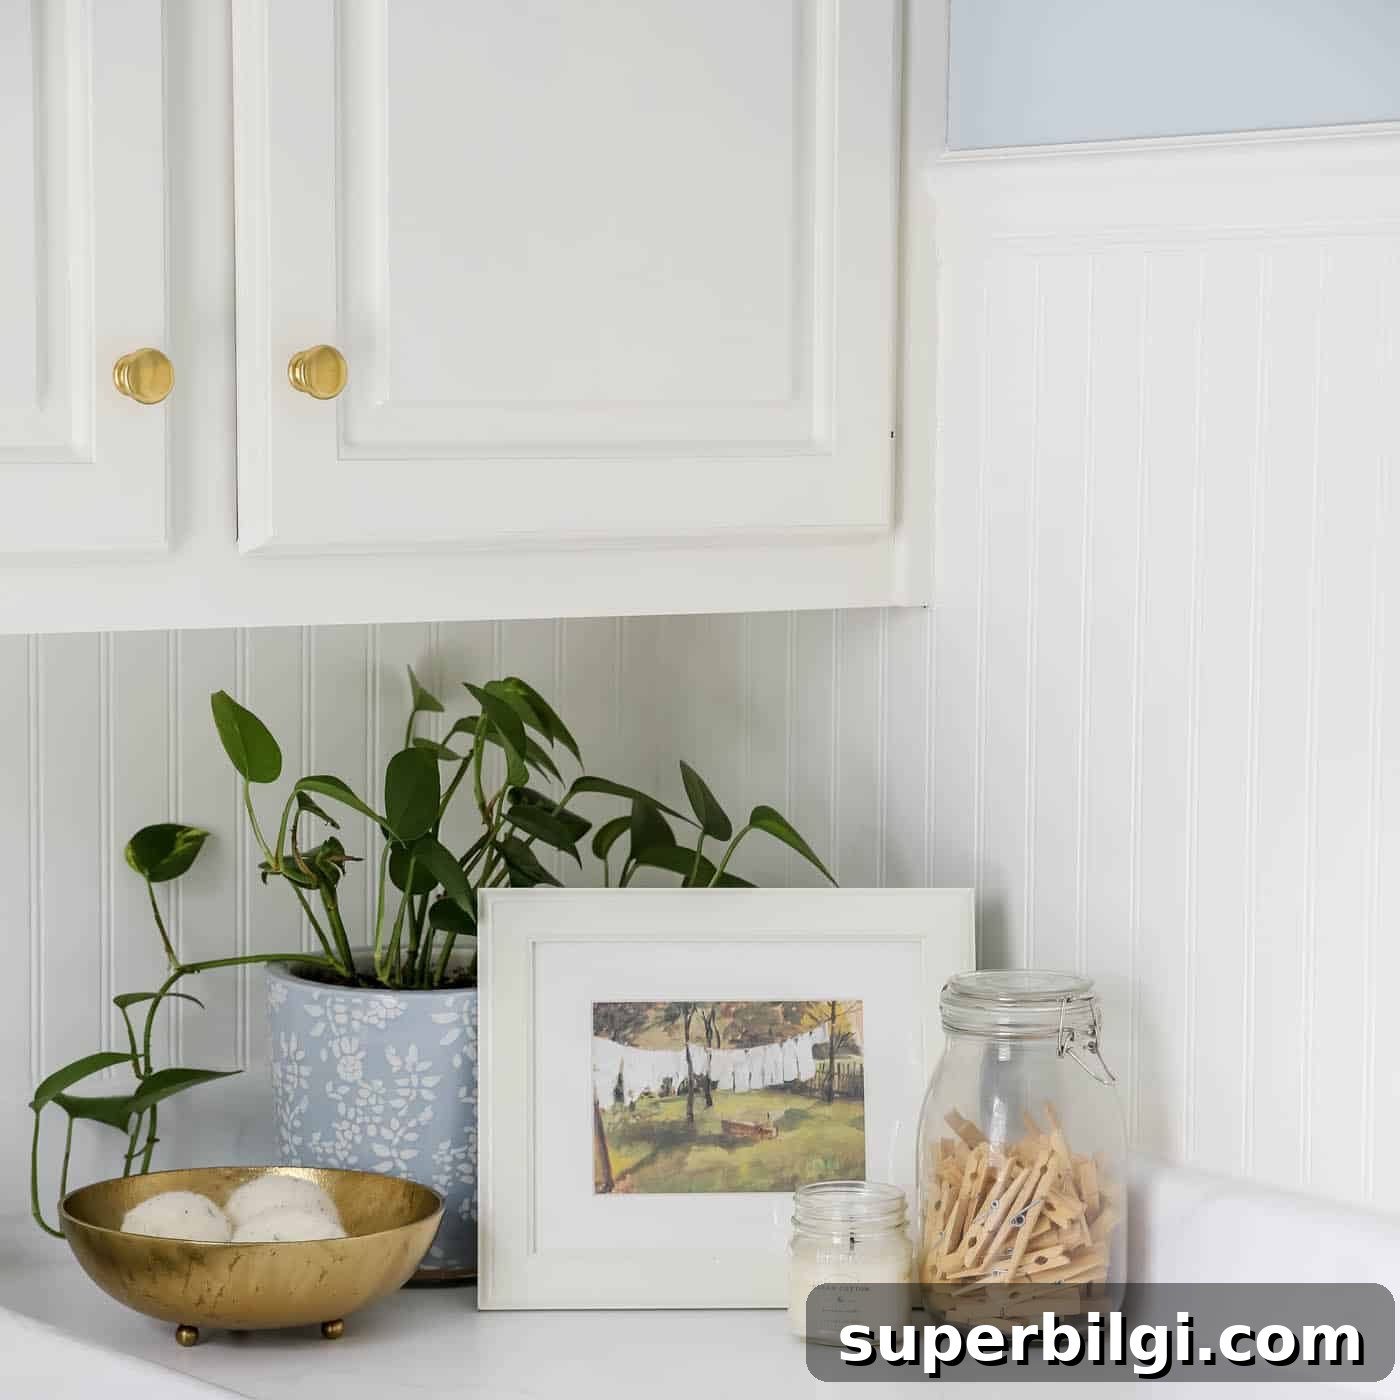
- Wainscoting: cover the lower one-third or two-thirds of a wall and finish with a chair rail or cap molding.
- Full-wall treatment: run beadboard floor-to-ceiling to add vertical height and texture to a room.
- Ceilings: cover damaged or popcorn ceilings or simply add visual interest to the room’s “fifth wall.”
When used on a full wall, beadboard pairs nicely with crown molding and soft, neutral paints to create a fresh, custom look. I’ve used it on my back porch ceiling, painted in a traditional haint-blue color to keep the space bright and inviting.
Beadboard vs. Wainscoting
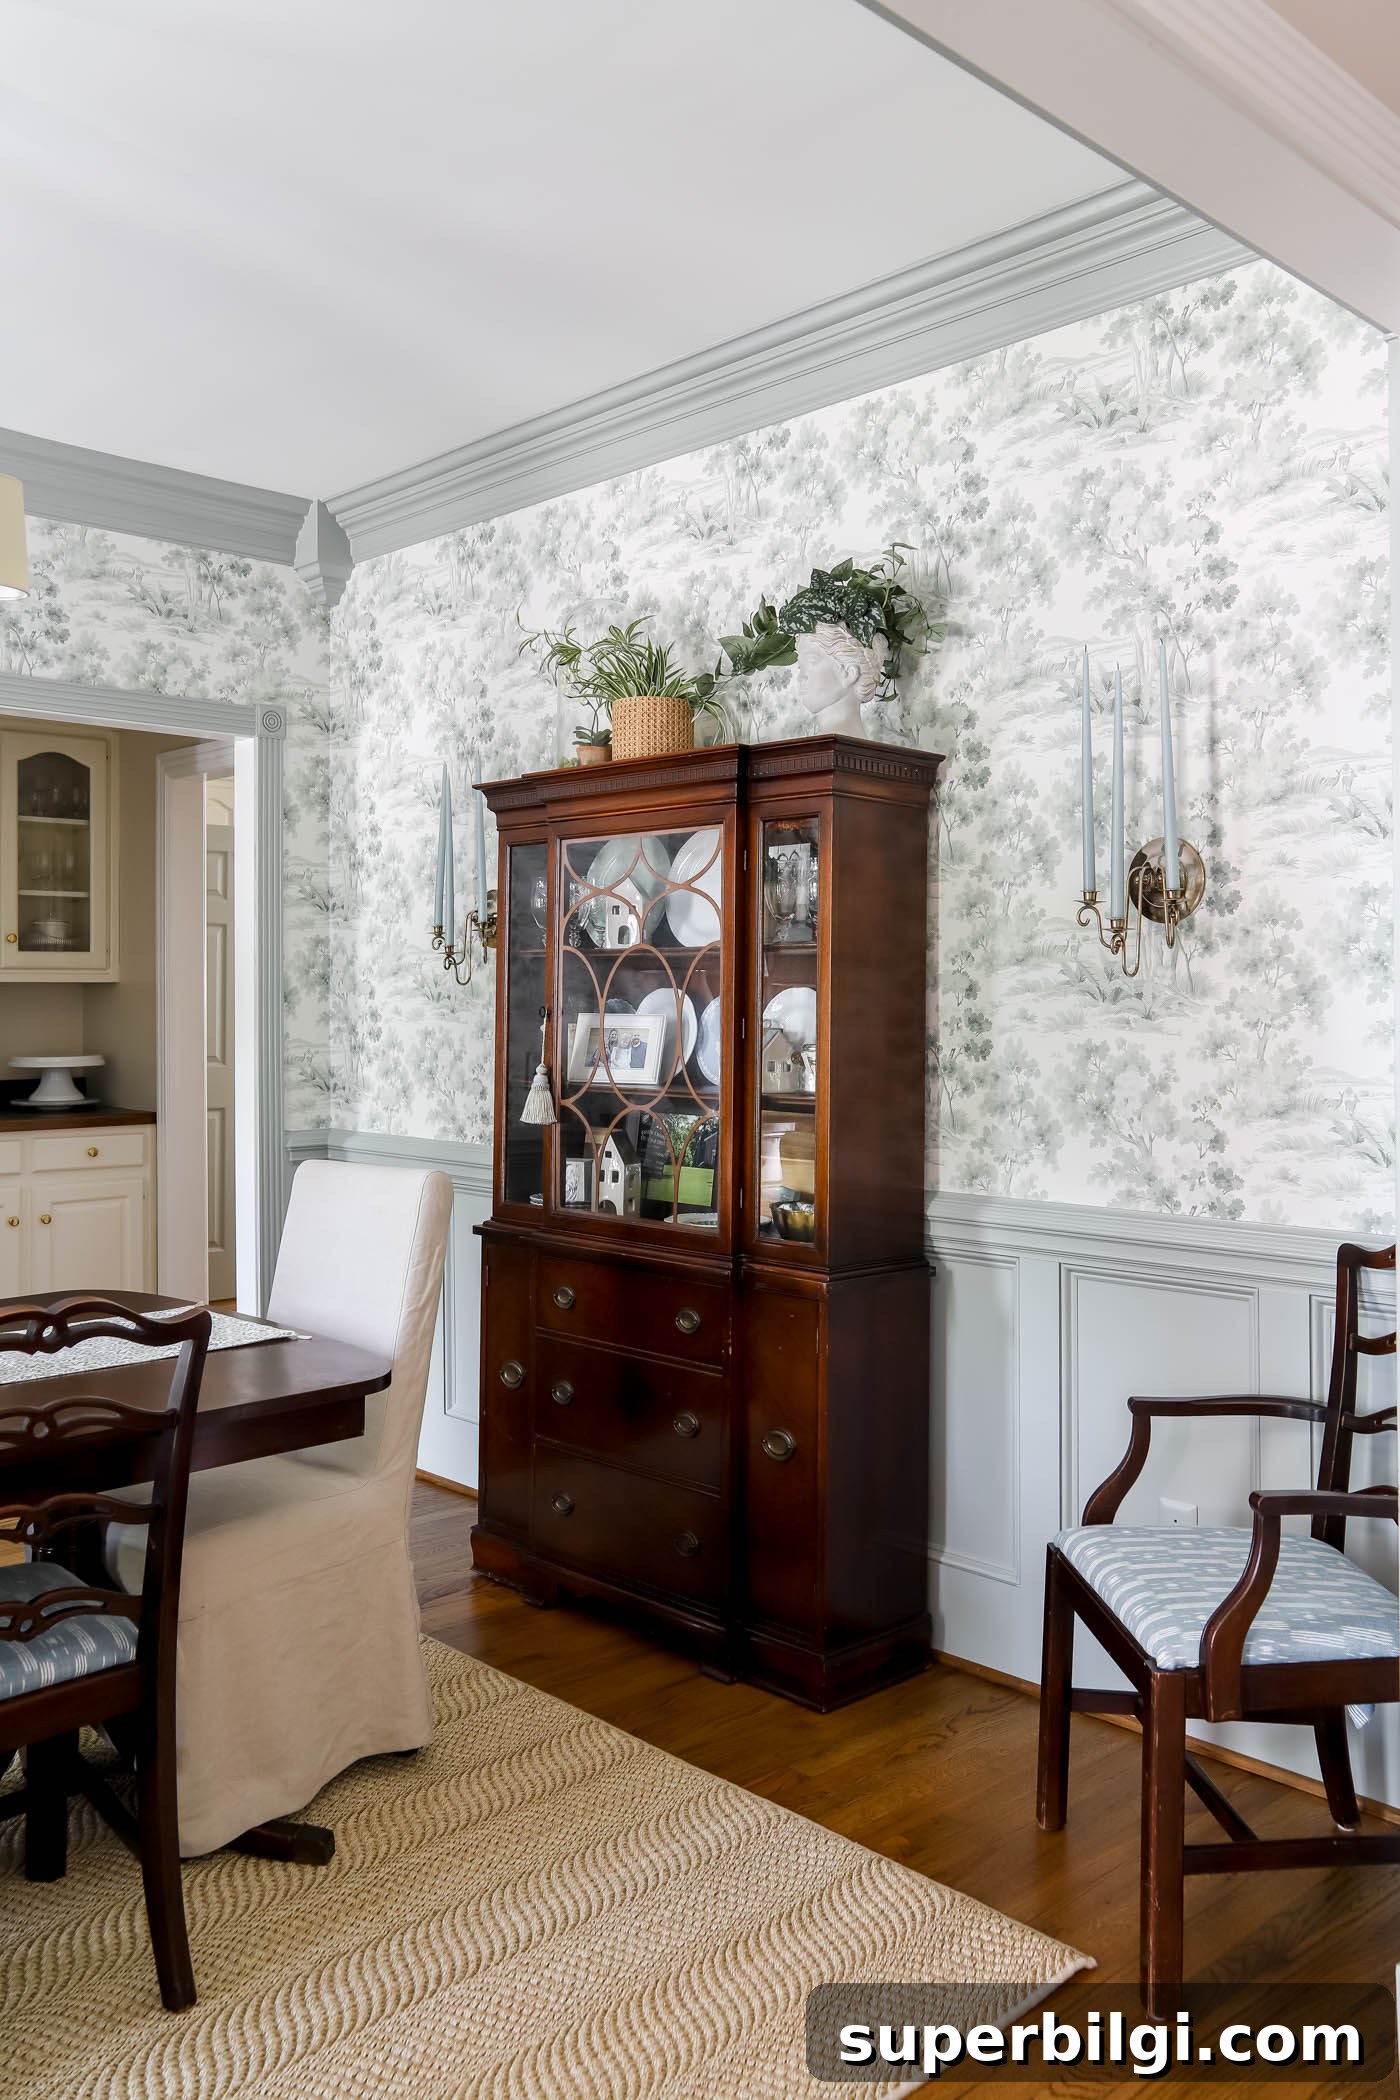
Beadboard and wainscoting are often used interchangeably, but they’re not identical. Wainscoting is a broader term that typically refers to a decorative wall treatment consisting of a baseboard, flat or raised panels, and a top rail or chair molding. It can include picture-frame panels and other decorative elements for added dimension.
Beadboard is a specific type of grooved paneling that can be used alone or as part of wainscoting. When beadboard covers only the lower portion of a wall and is finished with trim, it functions as traditional wainscoting. In bathrooms, beadboard-as-wainscoting is especially popular for creating a fresh, vintage-inspired look that also protects walls from moisture and scuffs.
Note: This article previously included affiliate links for convenience.
Supplies needed to install beadboard
- Beadboard panels (wood, MDF, or PVC)
- Circular saw
- Jigsaw
- Construction adhesive (for example, a strong panel adhesive)
- Caulk gun
- Measuring tape
- Level
- Nail gun (or hammer)
- Brad nails or panel nails
- Poster board or printer paper for templates (optional)
- Outlet extender boxes for electrical outlets
- Wood filler
- Caulk
- Paint, paintbrush, and roller
How do you install beadboard?
With the right preparation and tools, installing beadboard is approachable for most DIYers. Here’s a clear step-by-step overview.
1. Measure the walls and buy materials
Start by measuring the wall area to calculate how many panels you need. Decide whether you want beadboard for the entire wall or just as wainscoting. A visually balanced wainscoting height is typically one-third or two-thirds of the wall height; I chose two-thirds for my laundry room.
2. Cut the panels to size
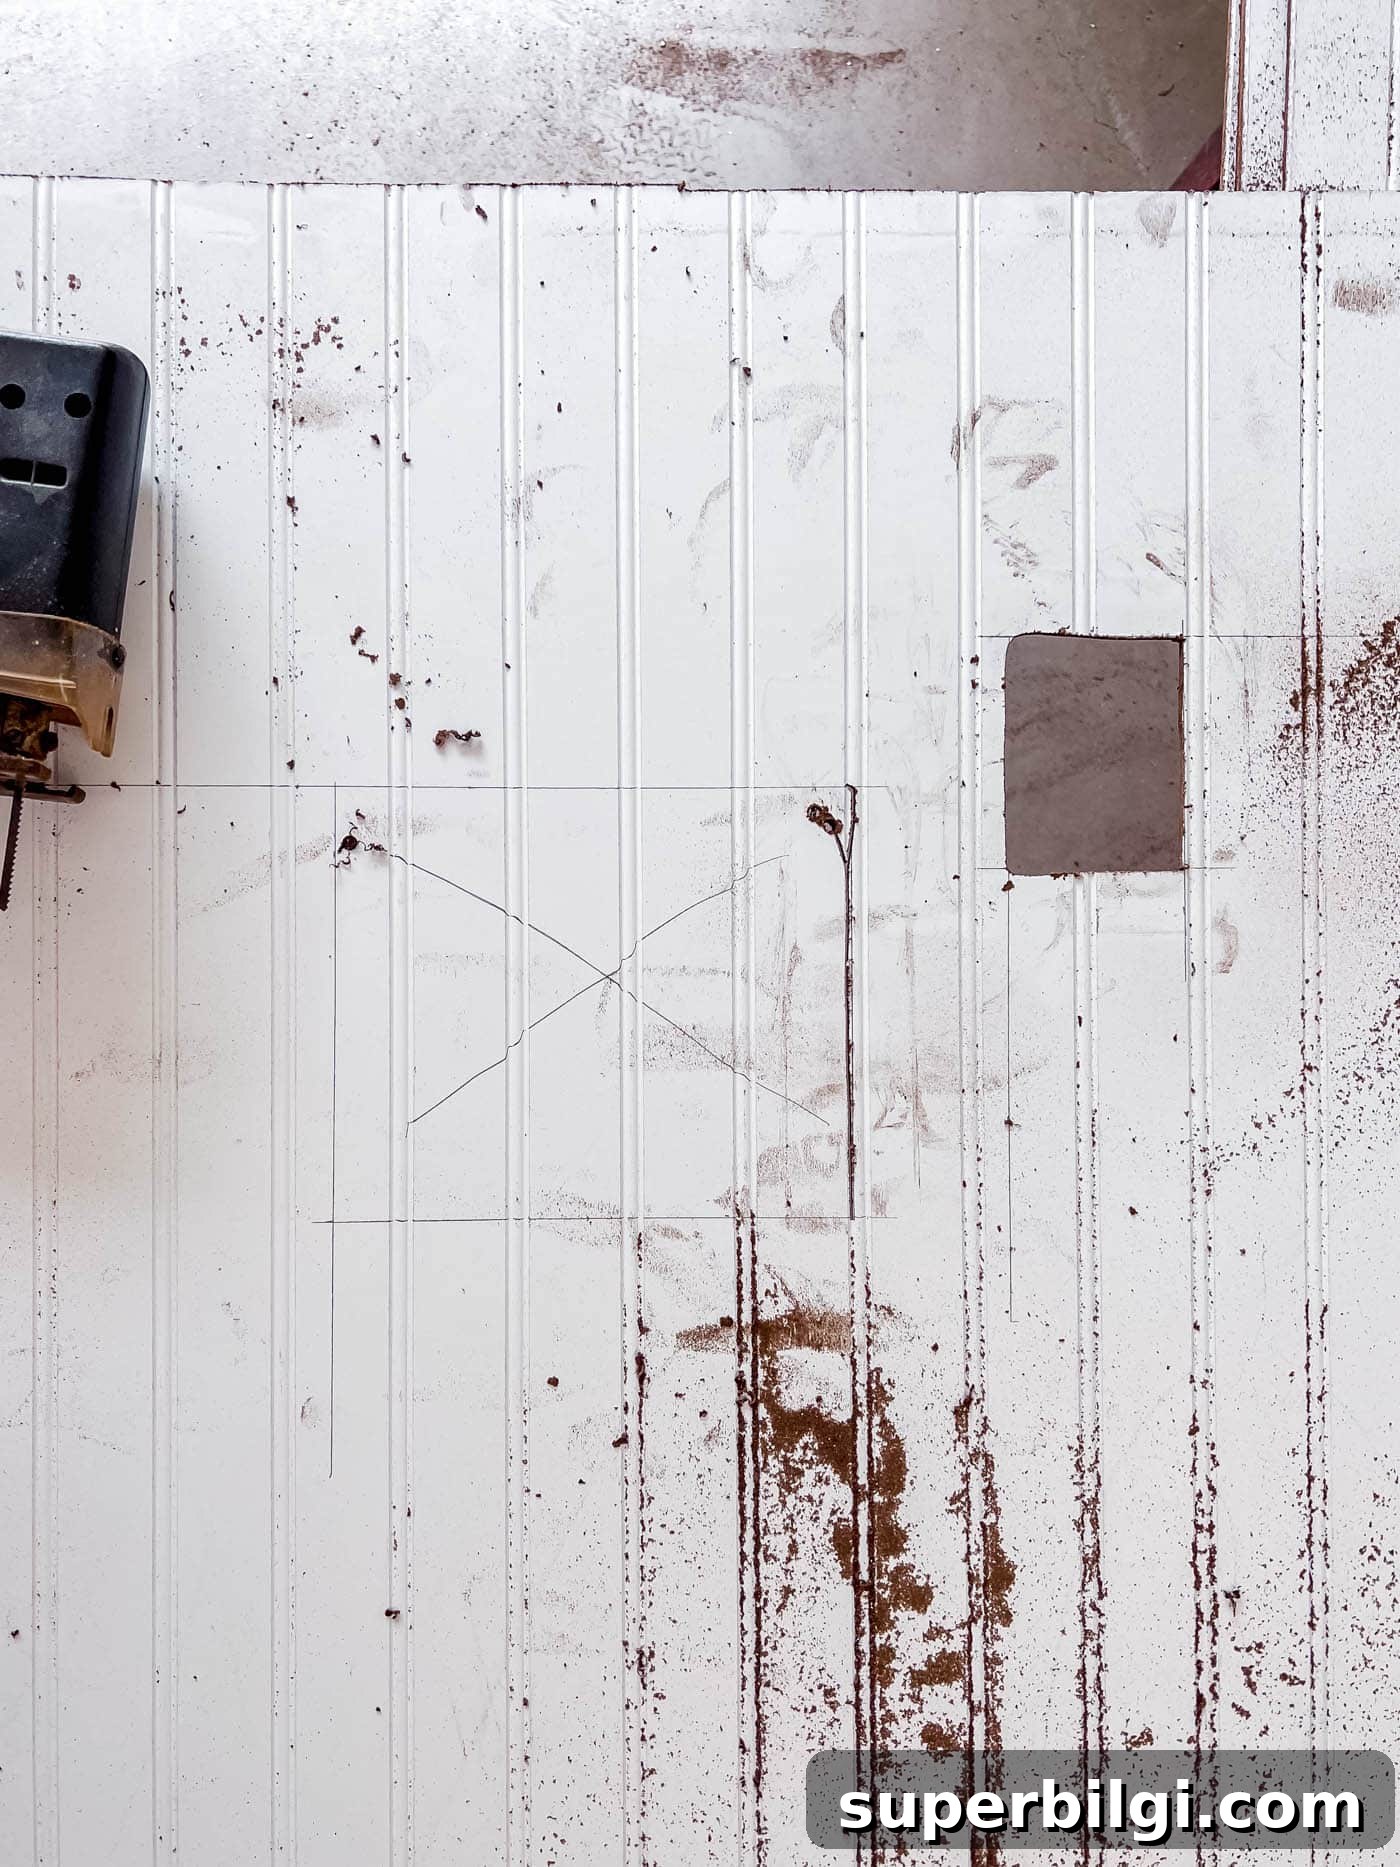
Mark your desired height on the wall and cut panels to length with a circular saw. For electrical outlets, switches, or windows, cut precise openings with a jigsaw. Creating a paper or poster-board template for tricky areas (around casings or trim) helps ensure accurate cuts.
3. Attach the panels to the wall
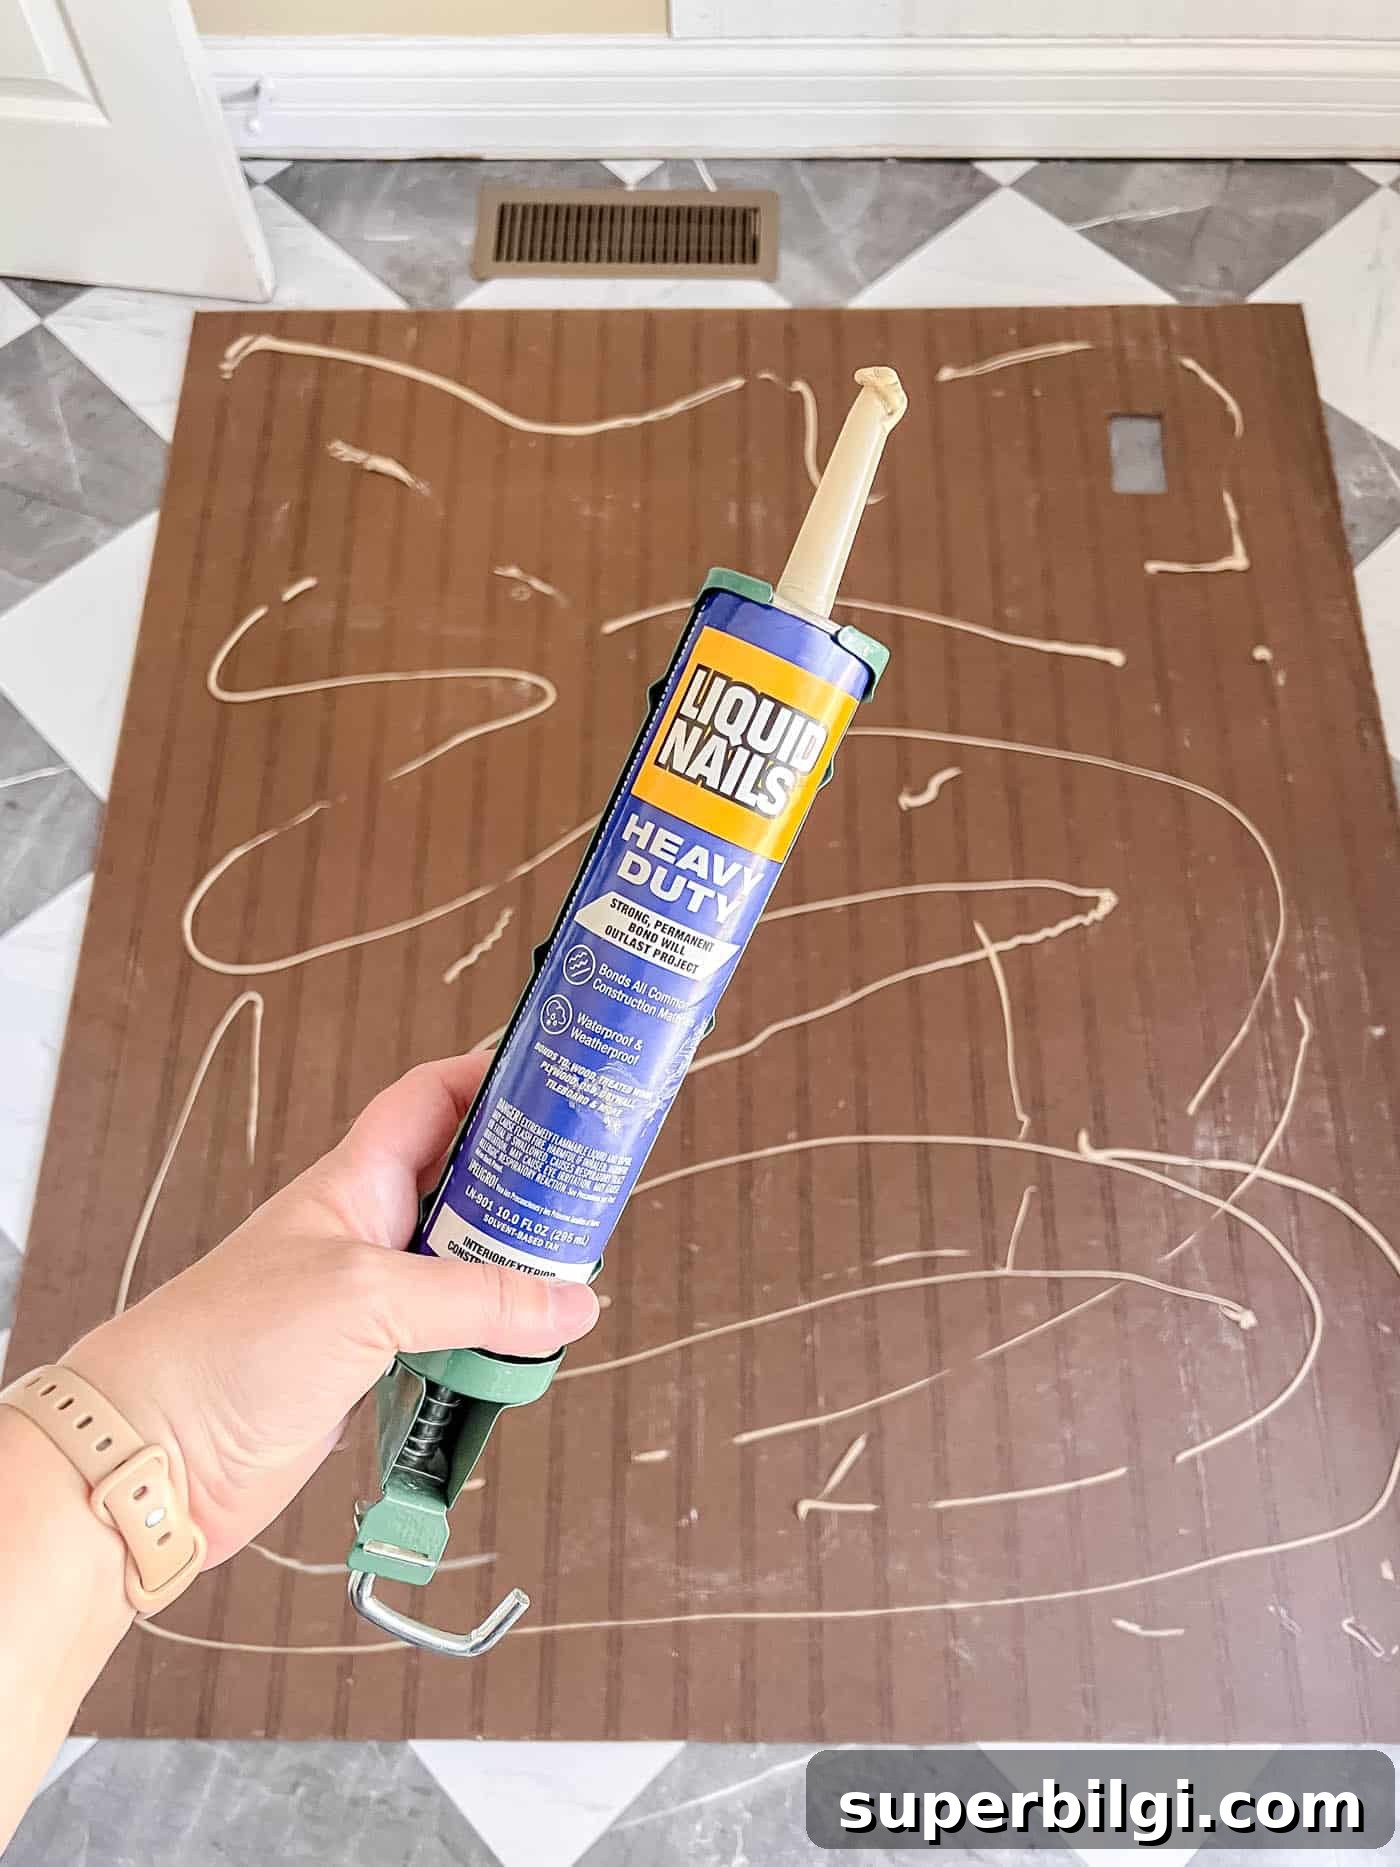
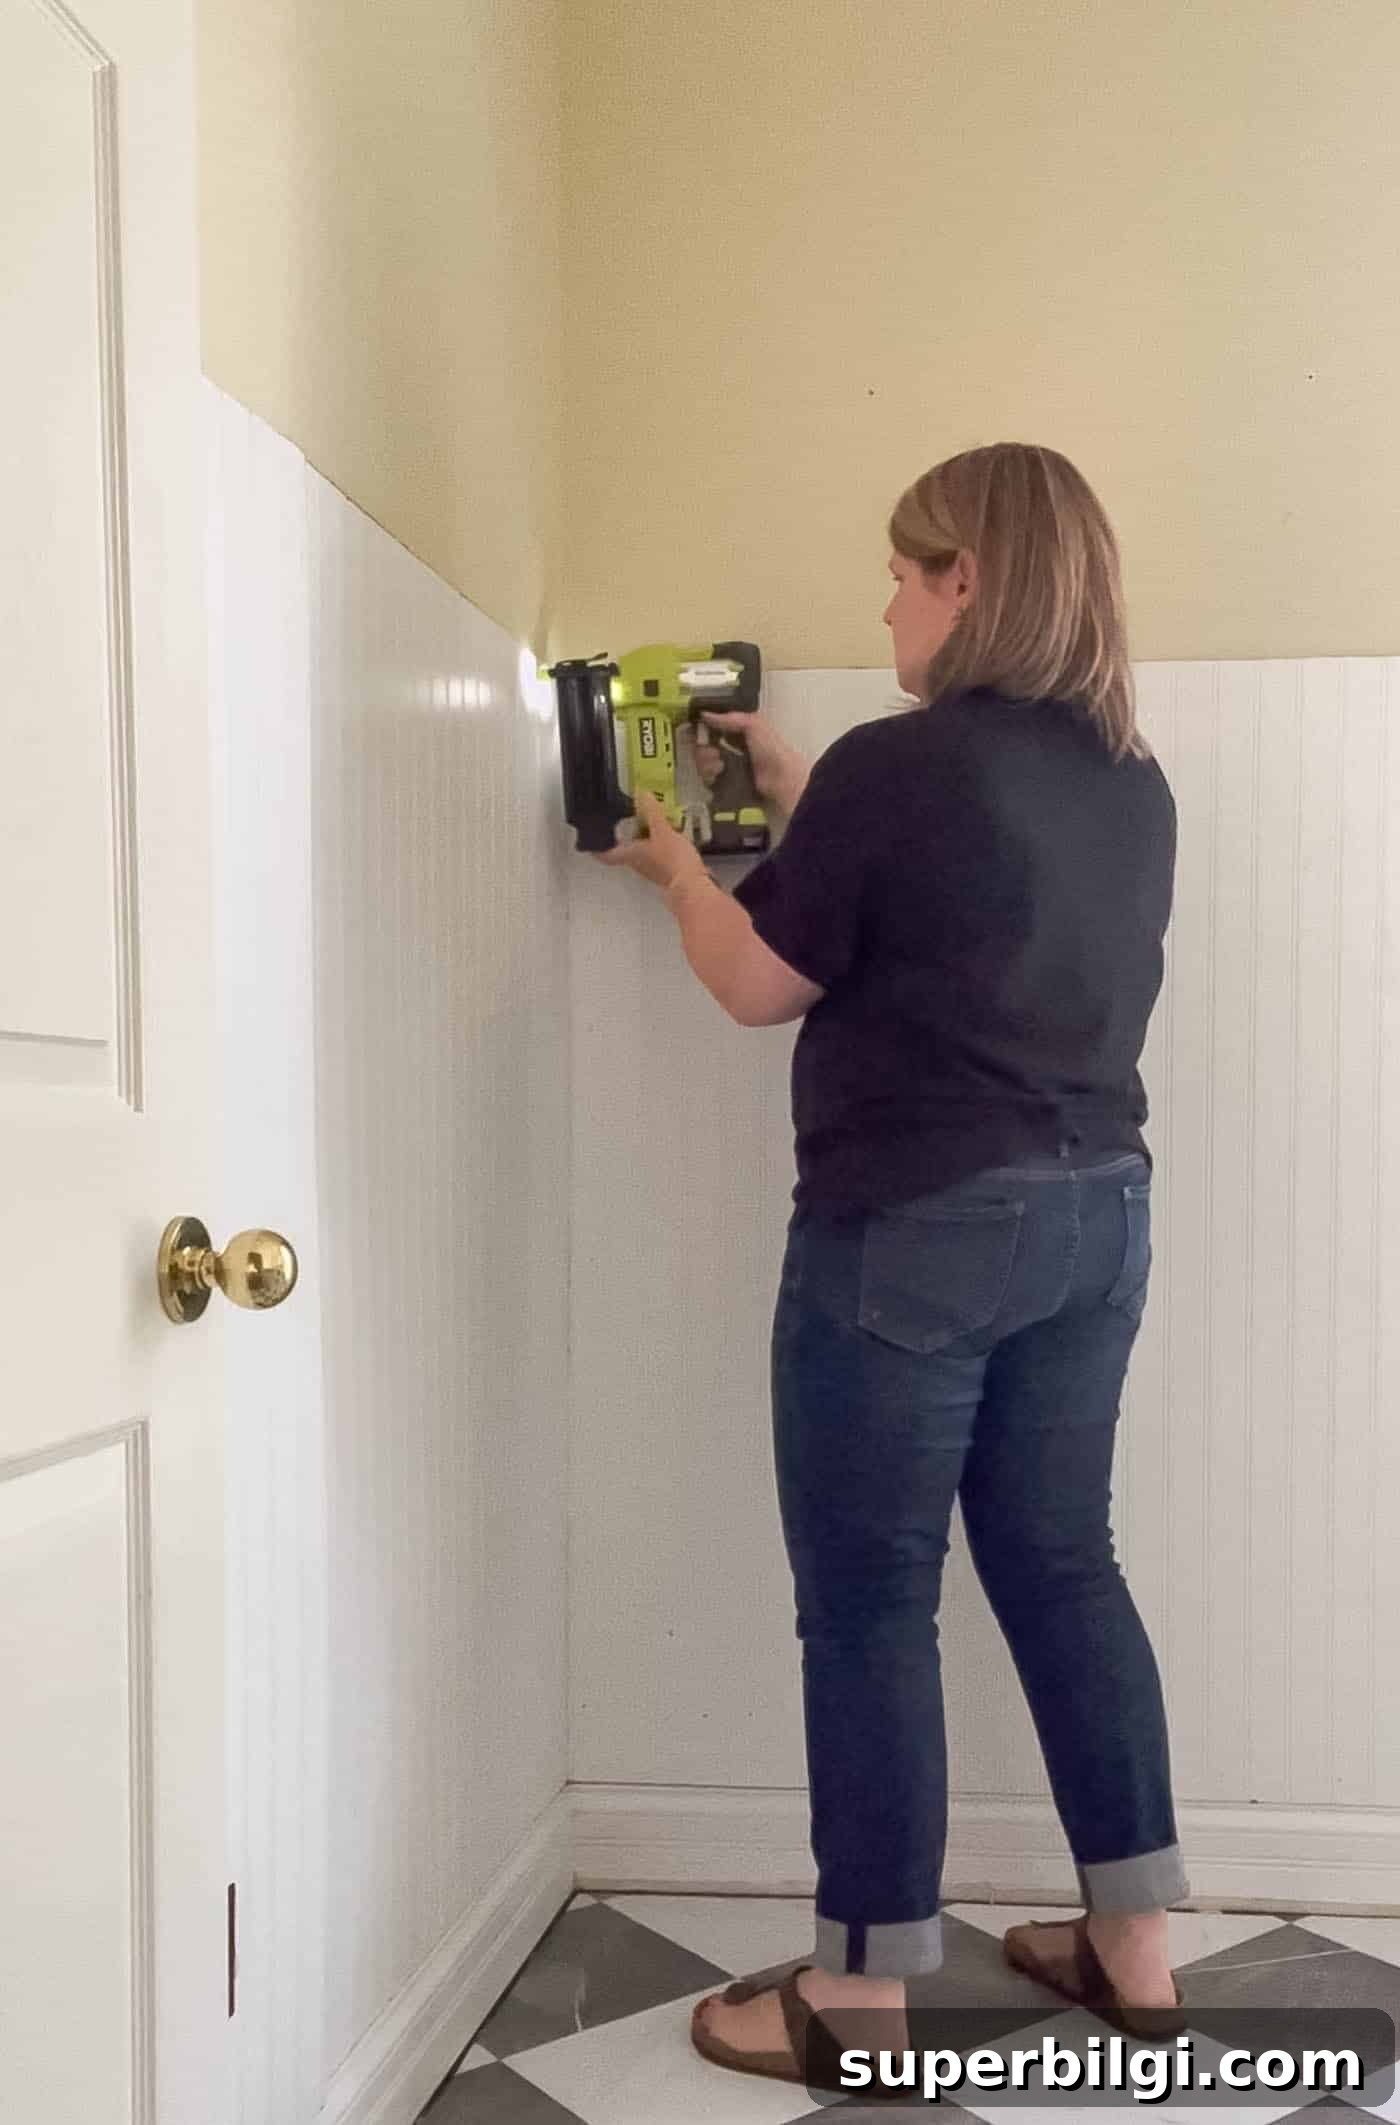
Dry-fit each panel first. Apply construction adhesive to the back of the panel, press it against the wall, and then secure it with brad nails or panel nails—using a nail gun makes this faster and neater. Check for level as you go to ensure straight lines across the room.
4. Install outlet extender boxes
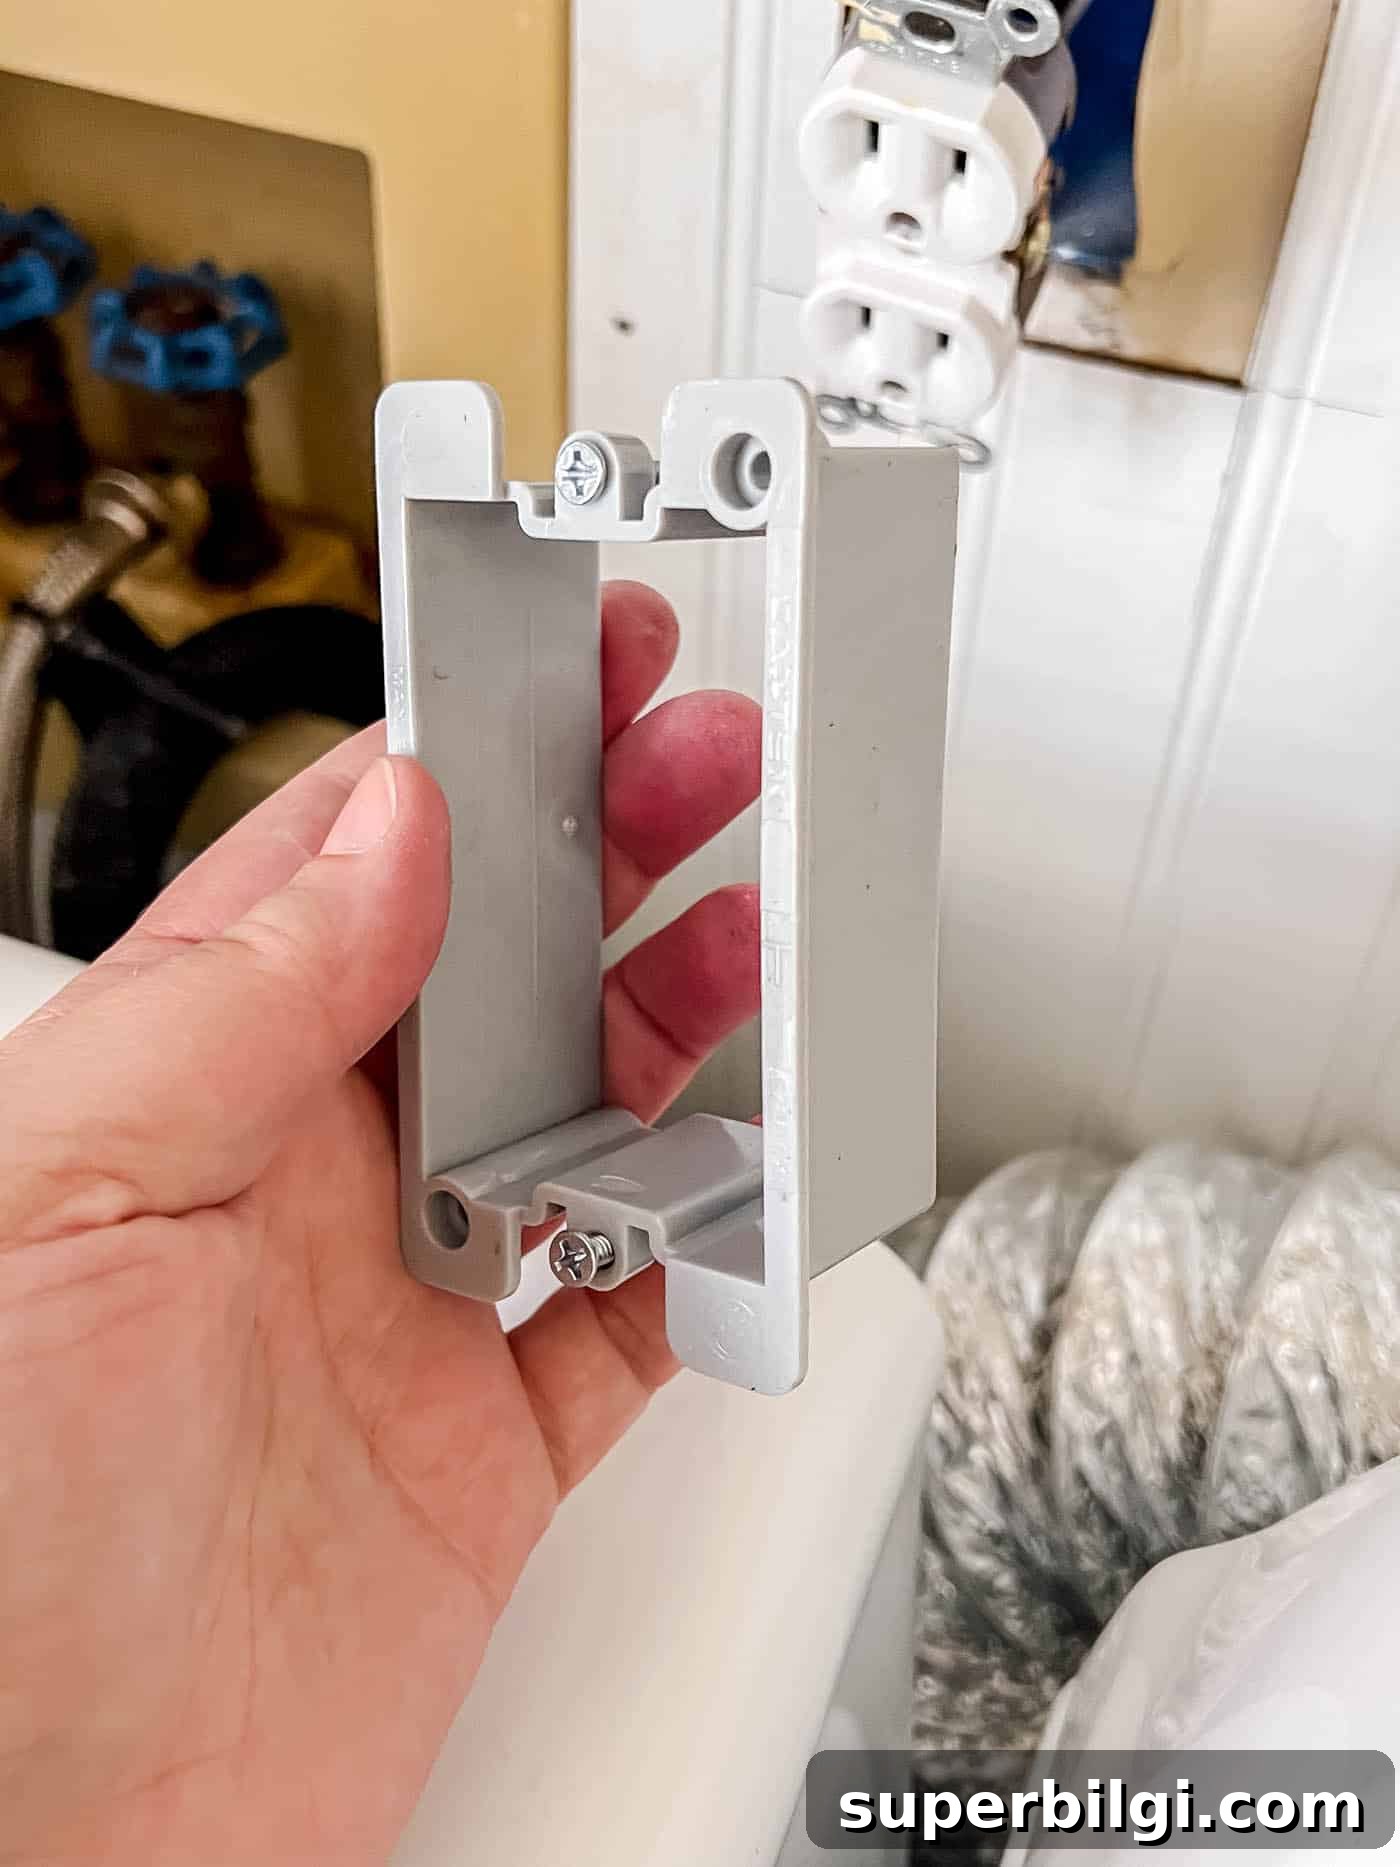
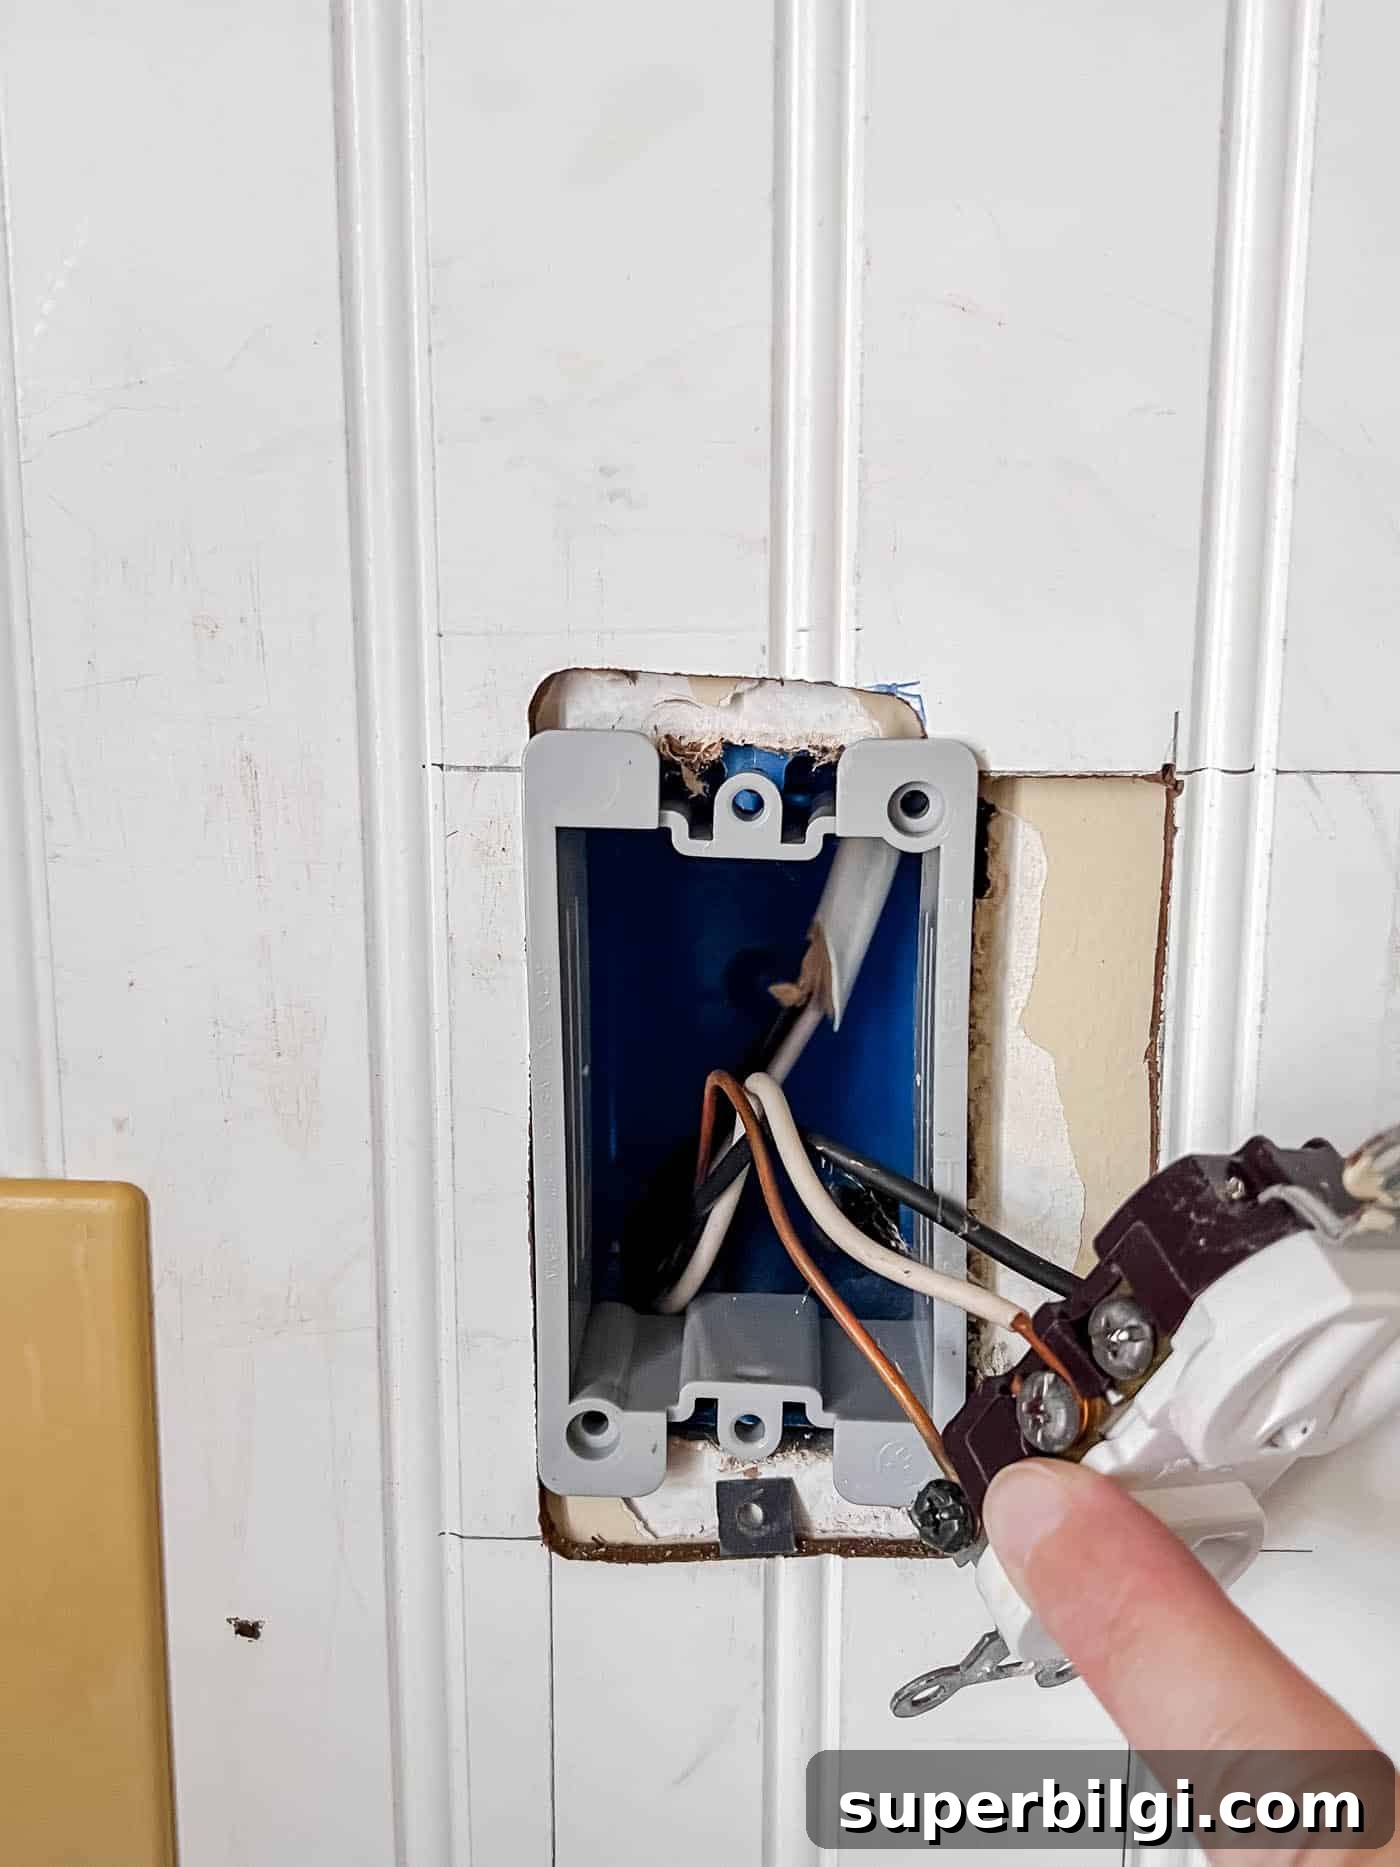
If panels cover electrical outlets, install outlet extenders so the faceplates sit flush with the new panel surface. Remove the receptacle, position it through the extender, and secure it to the extended box before reattaching the faceplate.
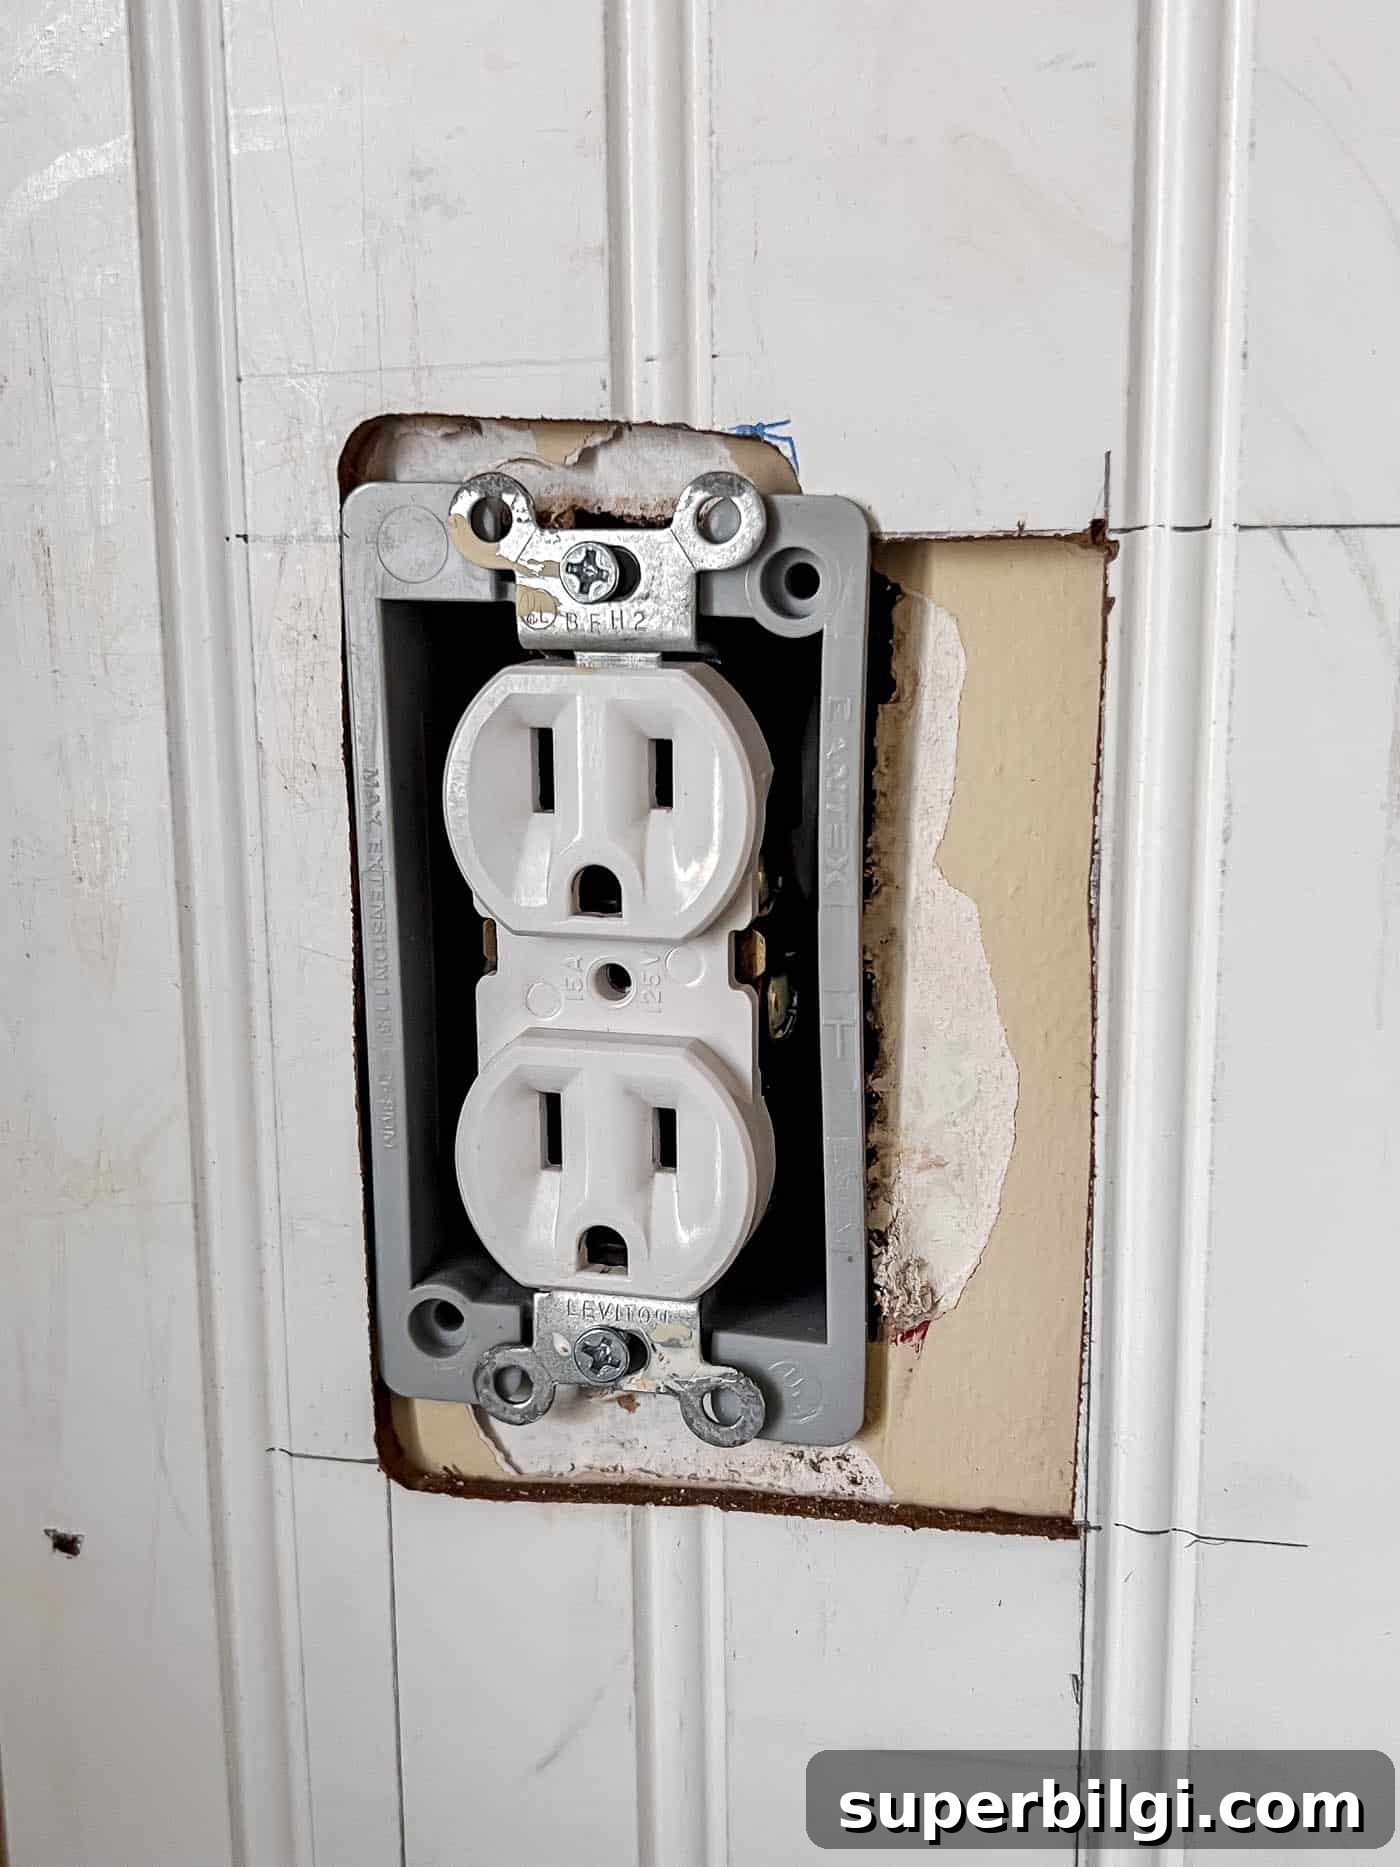
5. Finish the boards
Fill nail holes and seams with wood filler and caulk. Lightly sand any rough spots, then prime and paint the beadboard in your chosen color. Top the wainscoting with a chair rail or cap molding for a refined, finished look.
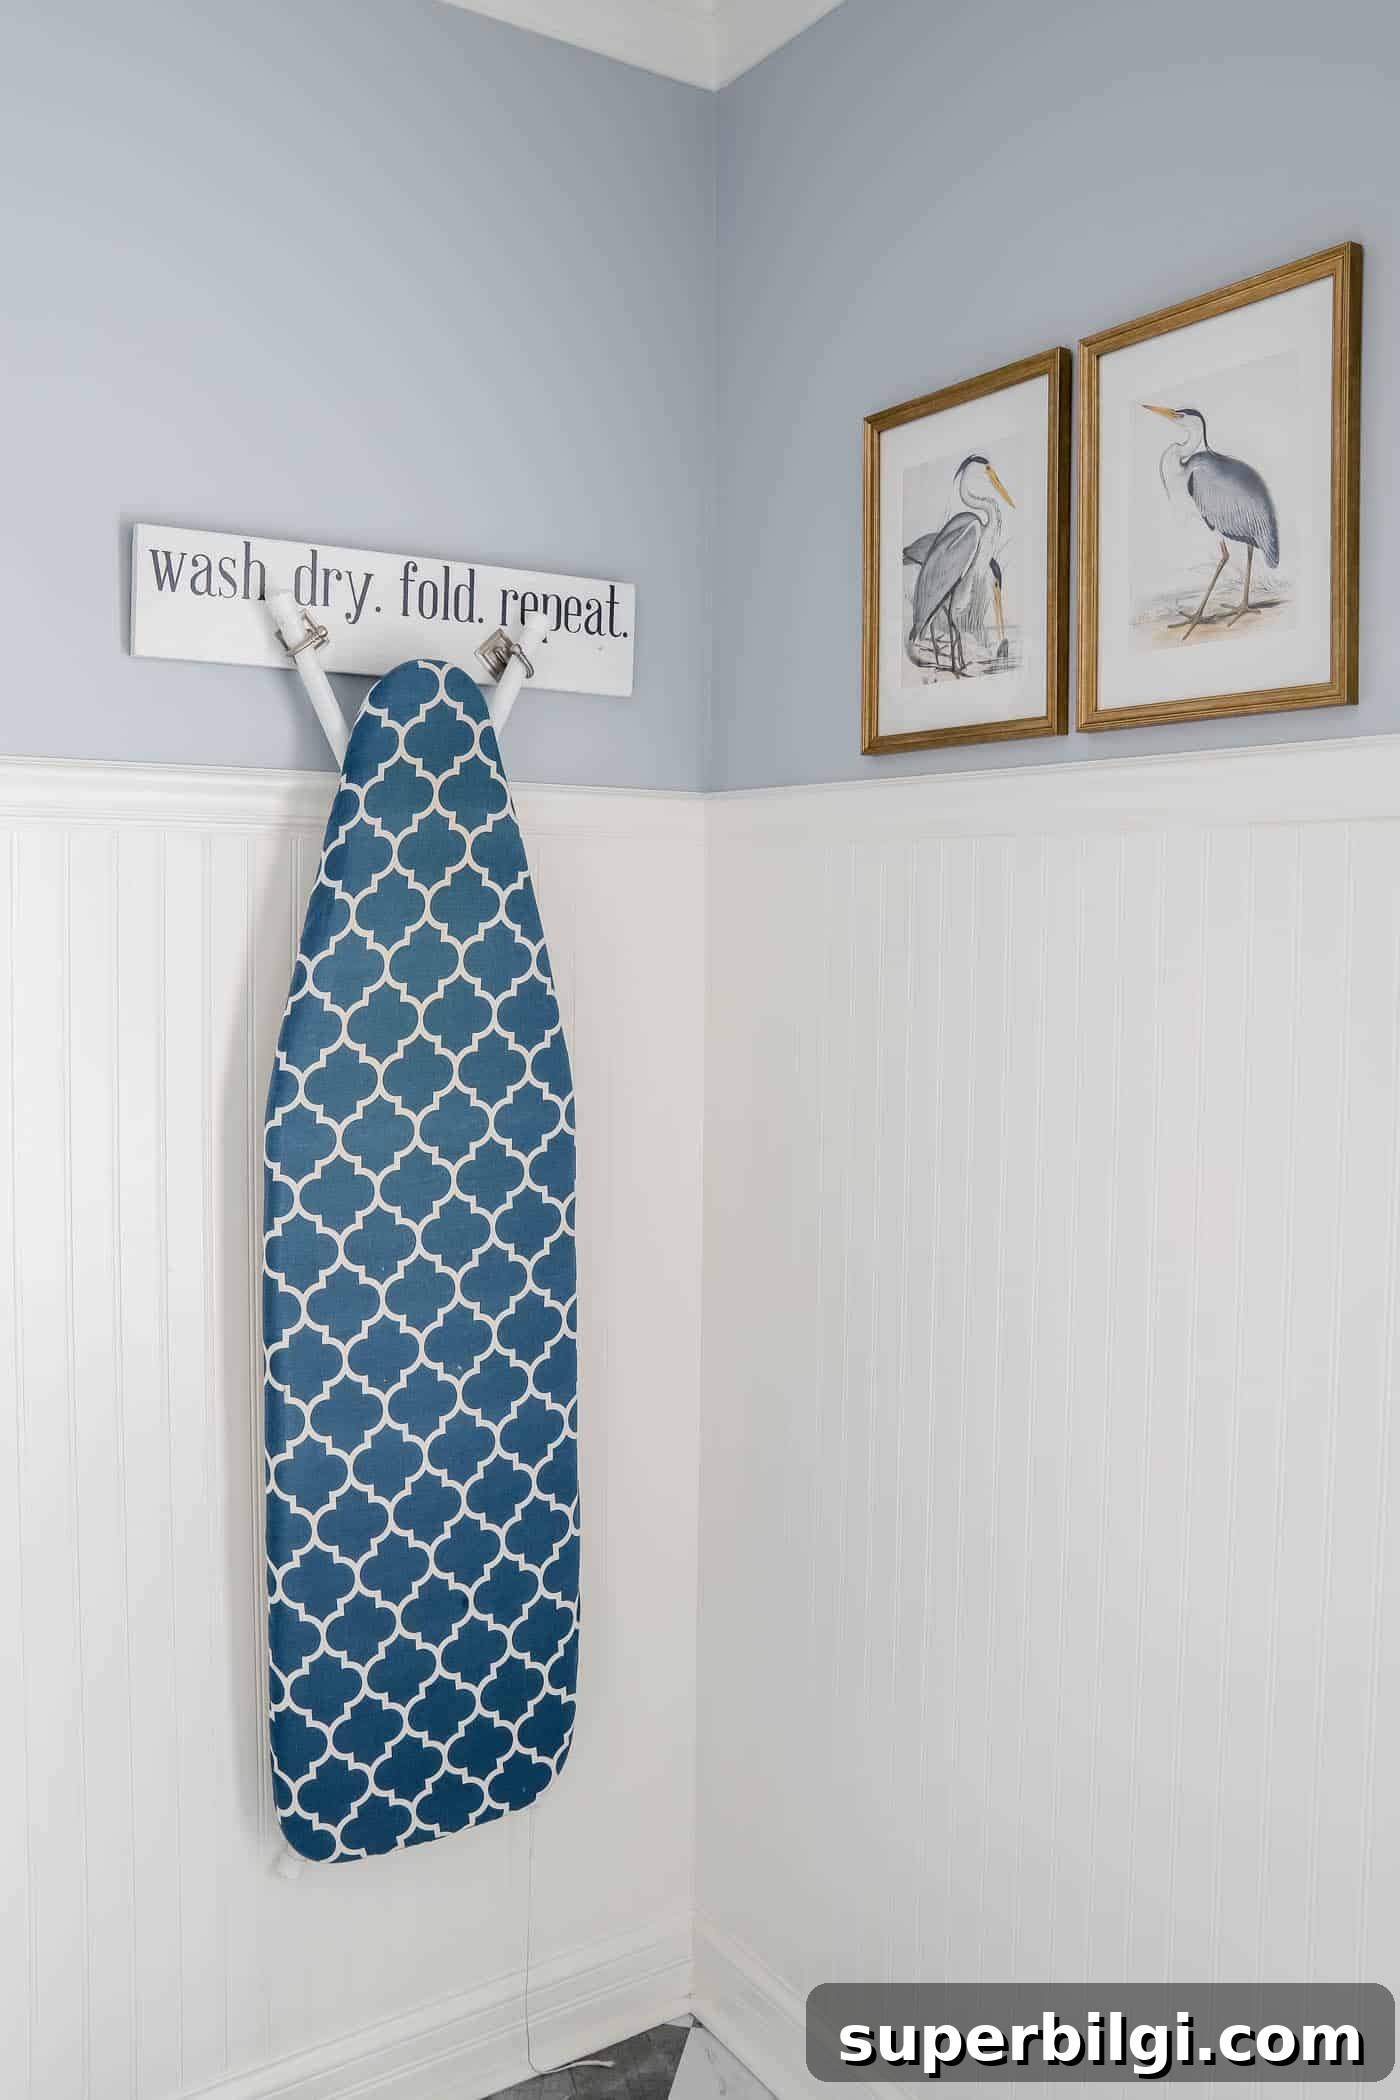
Customizing beadboard
Beadboard is highly customizable. Paint it any color to match your decor—from crisp white to a bold accent hue. Add a chair rail, baseboard, or crown molding to enhance the profile. For utility and style, mount a peg rail or narrow shelf above the beadboard to hang bags, coats, or tools.
Final thoughts
Beadboard is a straightforward, cost-effective way to update a room’s character and durability. Whether you’re a confident DIYer or trying a project for the first time, beadboard provides a classic finish that elevates a space and stands the test of time. With a few tools, basic carpentry skills, and some paint, you can create a beautiful, custom look that adds value and charm to your home.
More posts you might enjoy:
- How to install paste-on-wall wallpaper
- 15+ large DIY wall decor ideas
- A guide to wall trim and molding ideas
- Choosing wall colors for dark wood trim
- Window treatment options for every room