
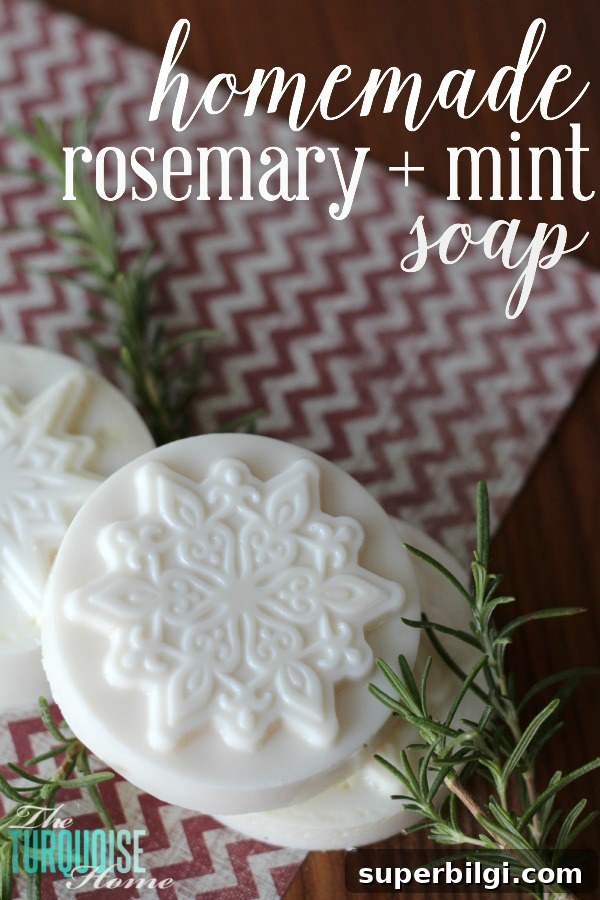
Over the past year and a half, I’ve been gradually replacing many store-bought items in my home with simpler, homemade alternatives — and I’ve loved the results. I now use my own foaming hand soap, lip balm, sugar scrub and bath salts. Recently I decided to branch out into bar soaps, and I’m already excited to try shower gel next. Making soap at home has been surprisingly easy and satisfying.
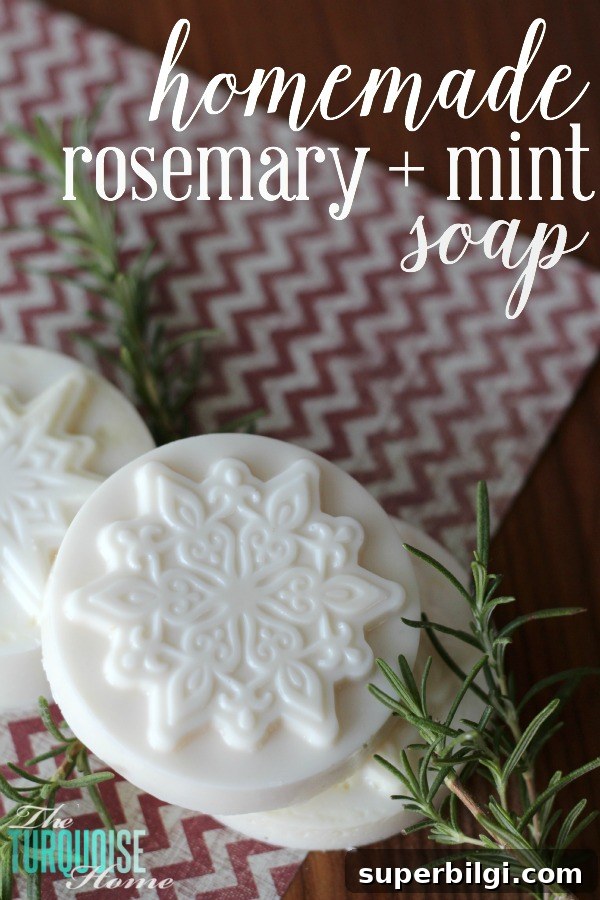
My first attempt at homemade soap went really well — it’s incredibly straightforward. The basic recipe uses only a few ingredients and takes about ten minutes of active time. That said, there are a few small tips I learned that make the process cleaner and help ensure a better finished bar. Once you get comfortable with this simple base, you can experiment with different essential oil blends, additives and molds for a variety of soaps.
This post contains affiliate links for your convenience. See my full disclosure policy.
Ingredients you’ll need:
- 1 pound of melt-and-pour soap base
- 3 tablespoons of raw honey (optional — adds a bit of moisture and a subtle scent)
- 10 drops Rosemary essential oil
- 10 drops Peppermint essential oil
- Microwave-safe bowl or a double boiler (I use a 4-cup Pyrex measuring cup)
- Soap molds — I used silicone molds that make small bars and decorative shapes
How to make soap
This melt-and-pour method is ideal for beginners because it avoids lye handling and is quick to complete. Follow these steps for consistent, attractive bars:
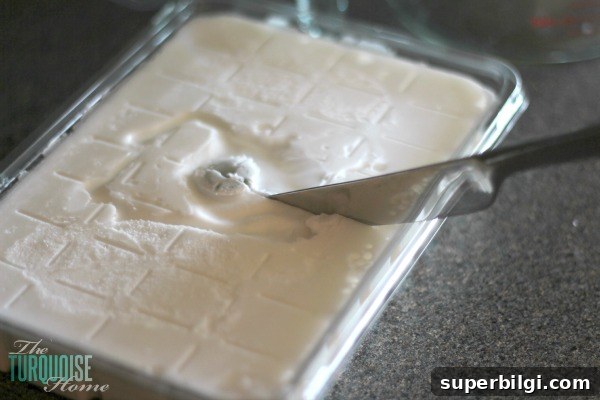
- Cut the soap base into small, even chunks. A simple butter knife works fine; smaller pieces melt more evenly and faster.
- Melt the soap base gently in the microwave in 20–30 second intervals, stirring between each burst. Alternatively, use a double boiler on low heat. Take your time so the base melts evenly and doesn’t scorch.
- Once melted, remove from heat and immediately stir in the honey if you’re using it. Make sure the honey is fully incorporated; any unmelted clumps will settle and create sticky pockets in the finished soap. If you see bits that haven’t melted, return the mixture to the microwave for 10 more seconds and stir again.
- Add the essential oils and stir thoroughly. The combination of rosemary and peppermint makes a fresh, invigorating scent, but you can substitute or combine other high-quality essential oils to suit your preferences. Use therapeutic-grade oils if you plan to gift the soap or prefer stronger, cleaner scents.
- Pour the blended soap into your molds, smoothing the top if needed. Allow the soap to cool and harden completely; placing the molds in the refrigerator speeds this up and typically takes about 30 minutes, though some molds and ambient temperatures can take up to two hours. Once solid, gently slide a knife along the mold edges to release the bars. A quick tip: don’t spray nonstick cooking spray into the molds — it tends to mar the surface of the soap. With proper cooling, the bars should pop out easily on their own.
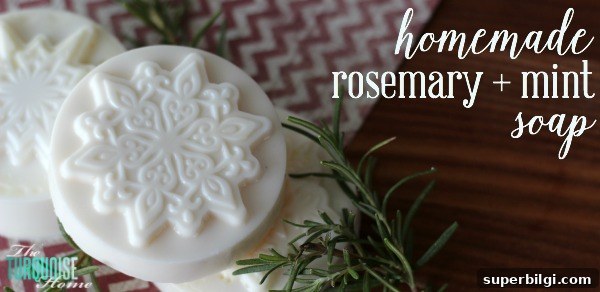
And that’s it — you have beautiful, homemade bars of soap ready to use or give as thoughtful gifts. These small batches are perfect for experimenting: try adding a touch of dried herbs, a small swirl of color with mica powders, or different essential oil combinations to create signature scents.
I’ve become a bit obsessed with making my own home products, and homemade soap is one of the easiest projects to customize. These bars make lovely neighbor or teacher gifts during the holidays — wrap them in simple paper, tie with twine, and add a handwritten tag for a personal touch.
If you’d like to gather supplies and tools to make your own handcrafted gifts, you can browse the essential items and molds to get started.
More posts you might enjoy:
- Homemade All-Natural Lip Balm
- DIY Bath Bombs + Printable Gift Tag
- 10+ Handmade Christmas Gift Ideas