Have you ever found a charming old dresser at a thrift store or inherited a table that needs a refresh? Refinishing wood furniture is an accessible, budget-friendly way to give worn pieces a new life. You don’t need to be a professional—just a little time, the right supplies, and some patience.
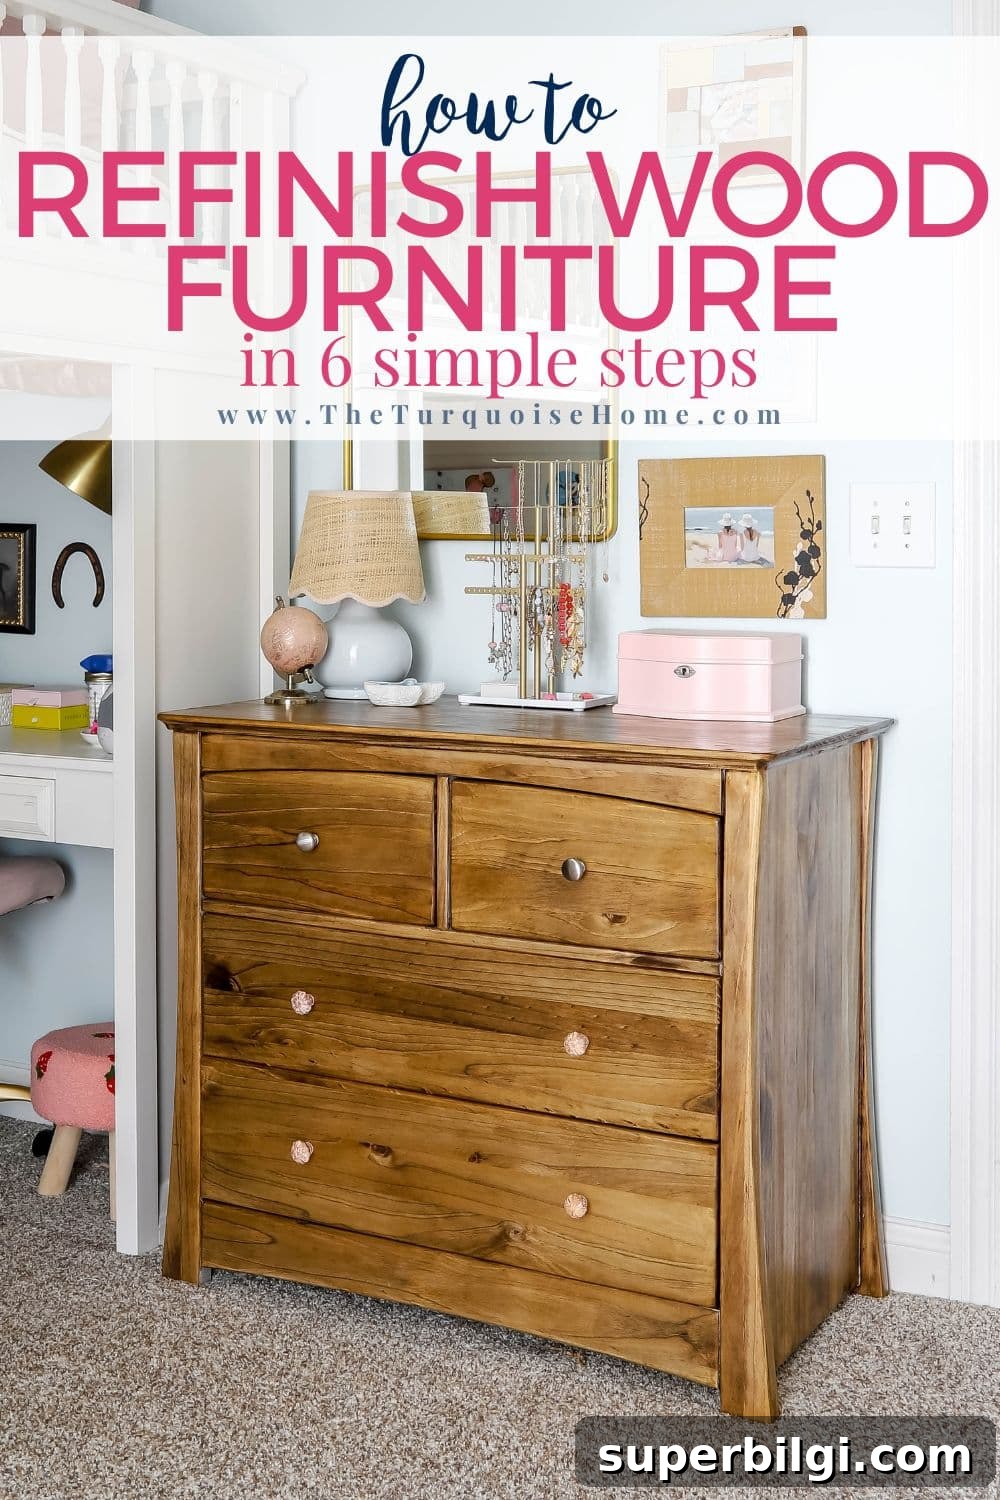
This guide walks you step-by-step through how to refinish wood furniture so you can confidently tackle your next project. With a clear plan and a few basic tools, you’ll be amazed at the transformation.
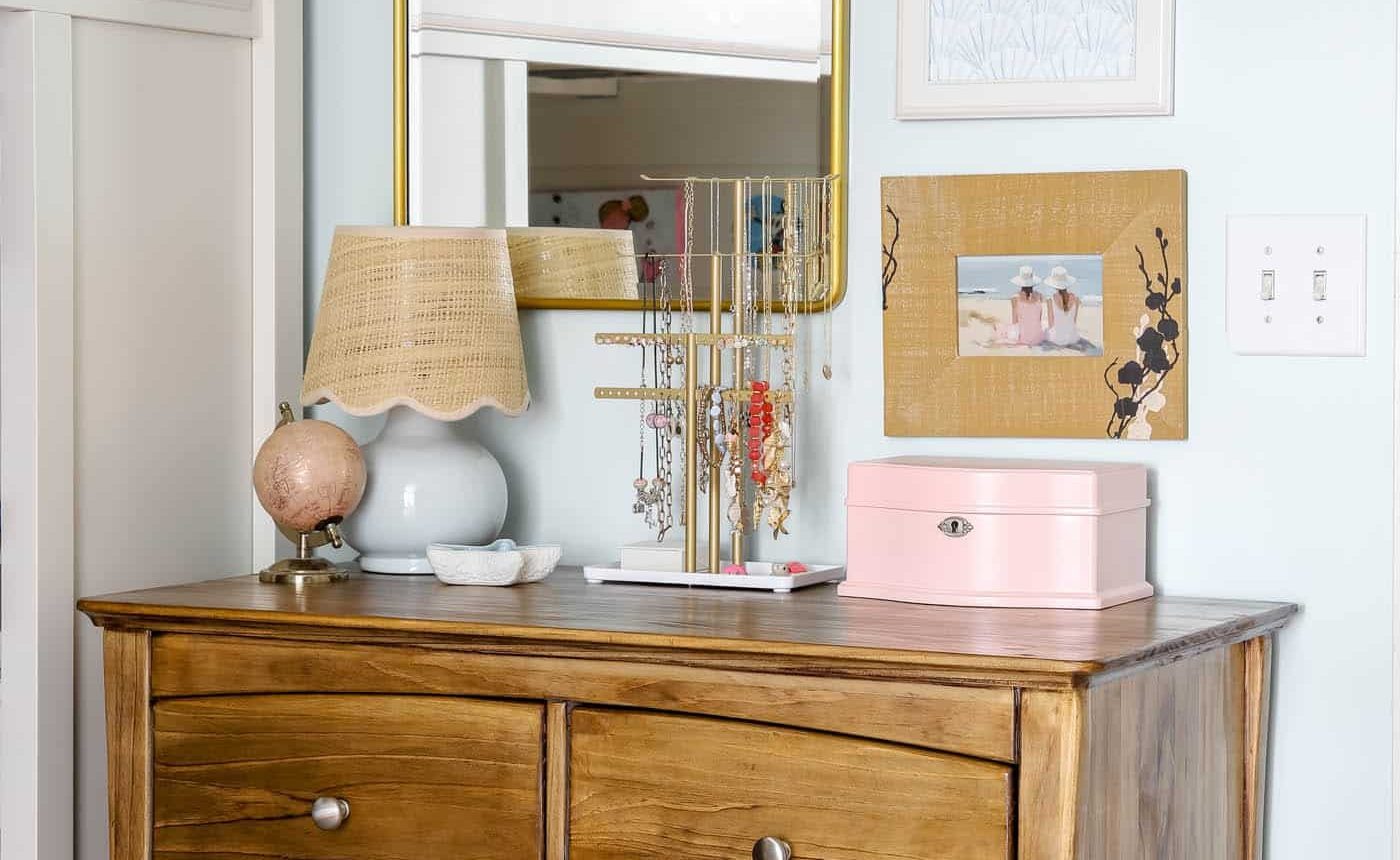
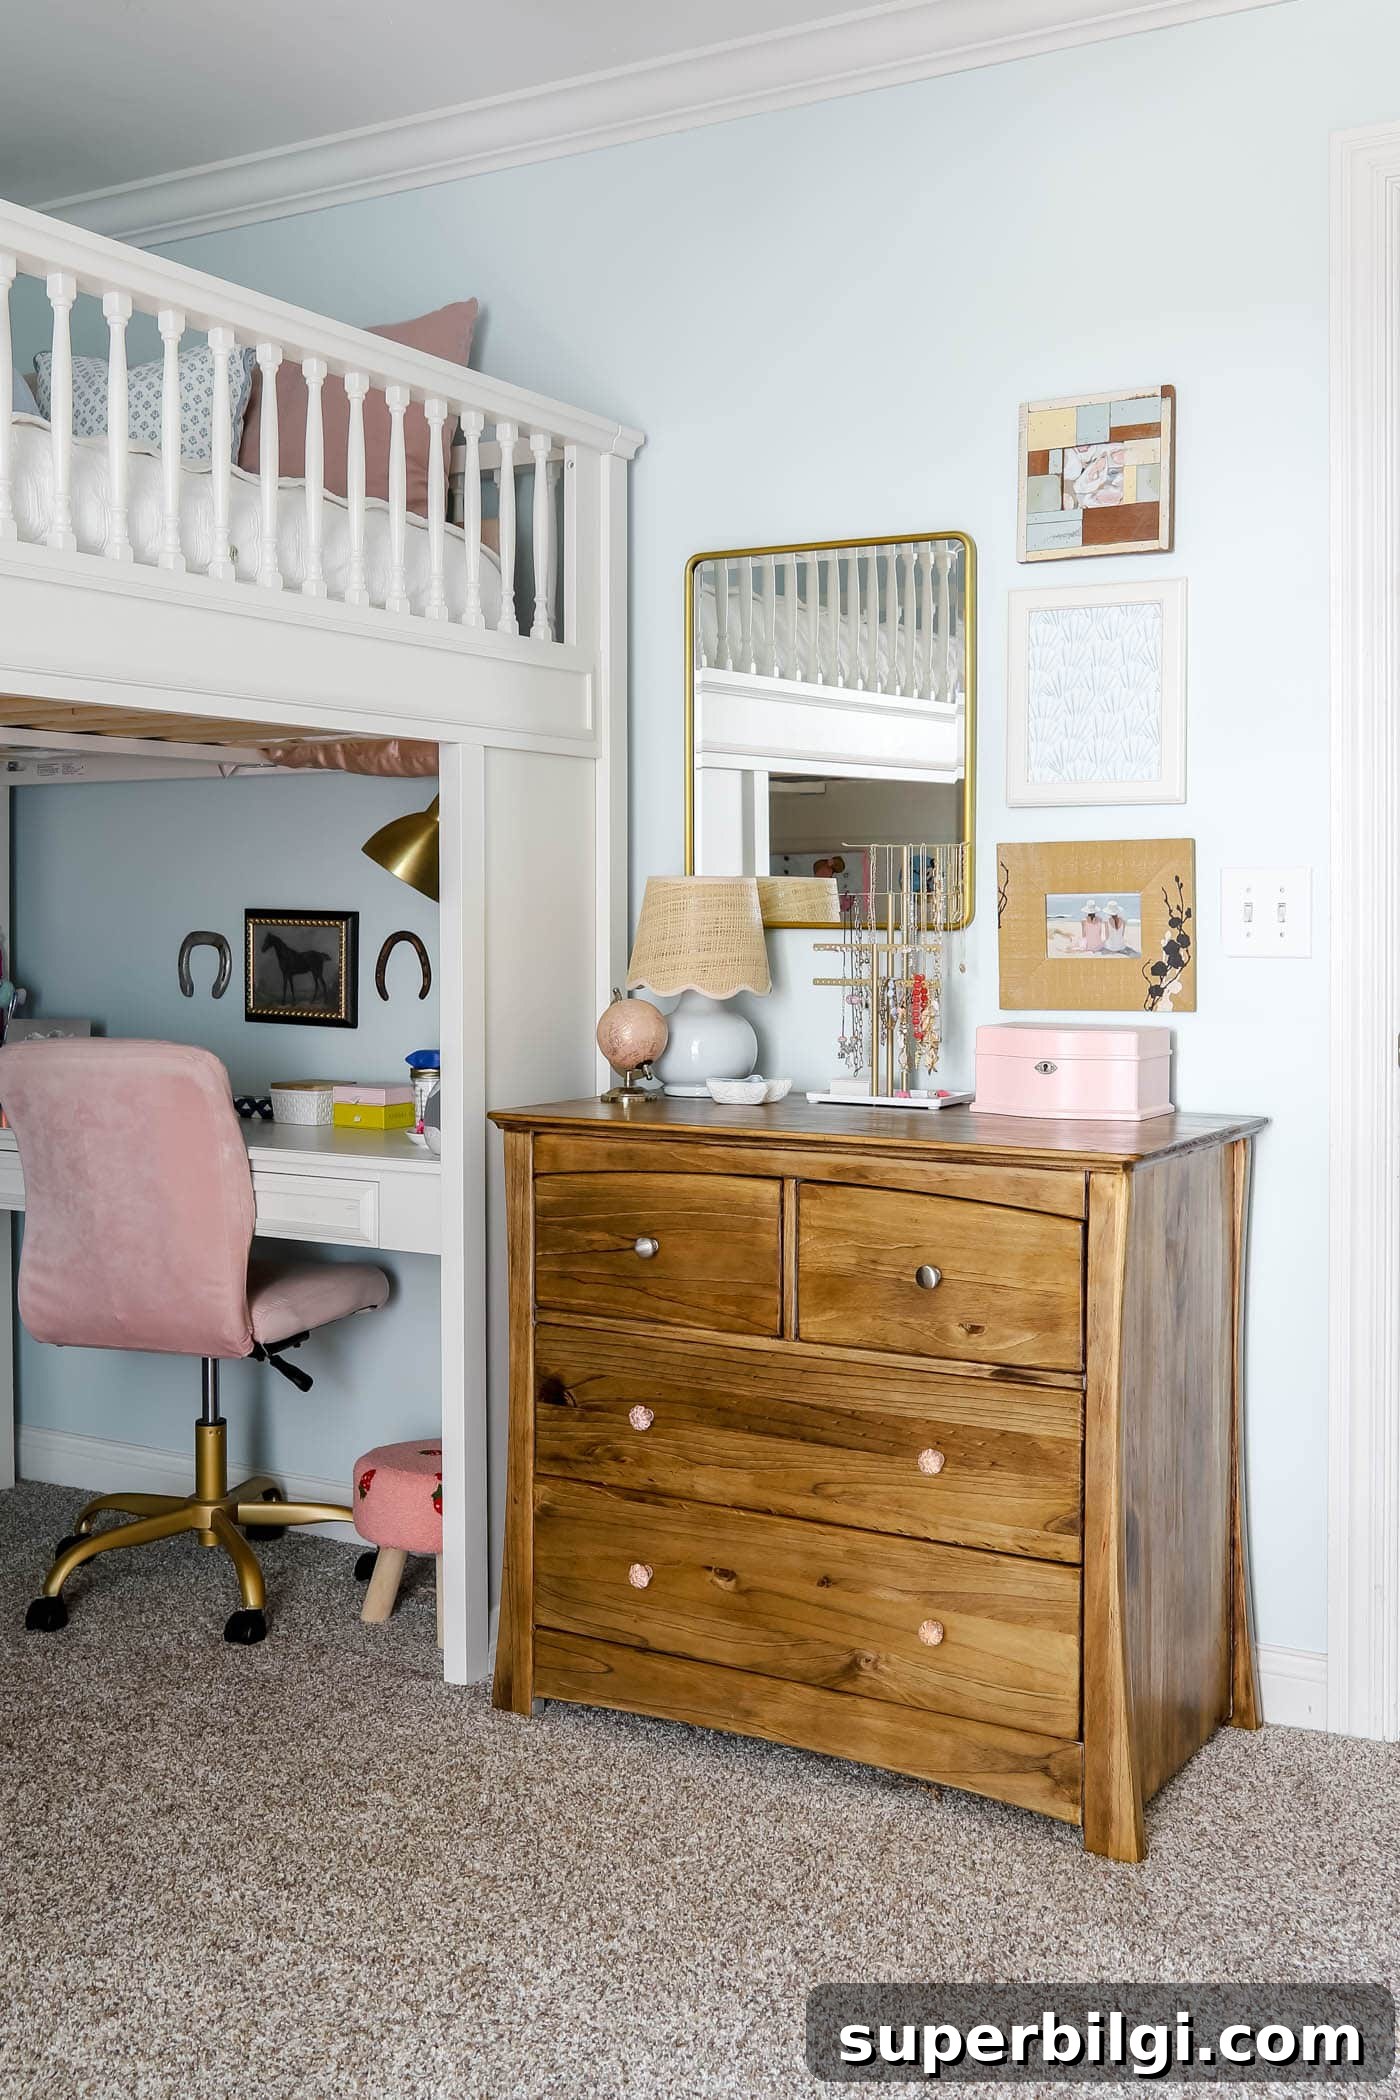
I’ve been updating my younger daughter’s bedroom and needed a small dresser and jewelry station. An old changing table I had stored in the garage fit the space perfectly. It was solid wood and simply needed refinishing to match the new decor.

What started as a modest project turned into a satisfying makeover that preserved the piece’s history while making it functional and beautiful again.
This post originally referenced product choices and tools. Use this guide to understand the process and adapt with the products you prefer.
Why Refinish Instead of Replace?
Refinishing wood furniture saves money, reduces waste, and preserves character. Solid wood pieces can last generations; often they only need a fresh finish to reveal their original beauty. Refinishing is also a rewarding DIY project that lets you customize color, sheen, and hardware to suit your home.

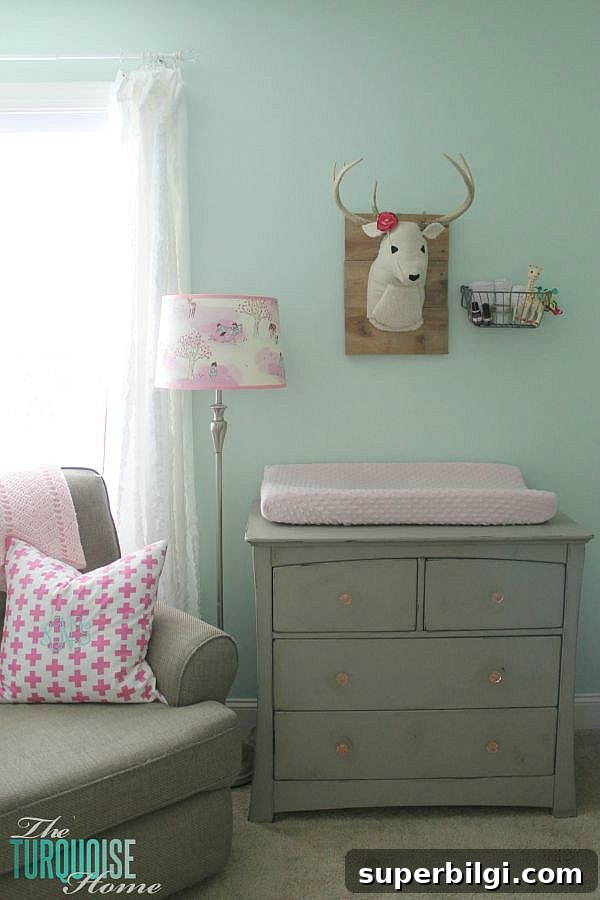
The changing table was a sentimental, solid-wood piece that fit the space perfectly. Rather than replacing it, refinishing preserved the piece and created the exact look I wanted.
Supplies You’ll Need
Gather supplies before you start so the process runs smoothly. Here’s a practical list that covers most refinishing projects:
- Drop cloth or tarp to protect your workspace
- Screwdriver to remove hardware and drawers
- Paint stripper (chemical gel) for heavy finishes
- Sandpaper in coarse, medium, and fine grits (for example 80, 180, 220)
- Orbital or sheet sander or sanding block for flat surfaces
- Wood cleaner or mild soap and water
- Safety gear — gloves, respirator or mask, and safety glasses
- Wood conditioner (optional, helps even stain absorption)
- Wood stain or paint, depending on the look you want
- Applicators — brushes, rags, or foam applicators
- Topcoat — polyurethane for durability or finishing wax for a softer look
How to Refinish Furniture to Stain or Paint
This process covers refinishing to stain, which requires more stripping and sanding. If you plan to paint, you can often get away with light sanding and priming instead of full stripping. Choose the path that matches your desired outcome and the piece’s condition.
1. Choose Your Piece & Prep Your Space
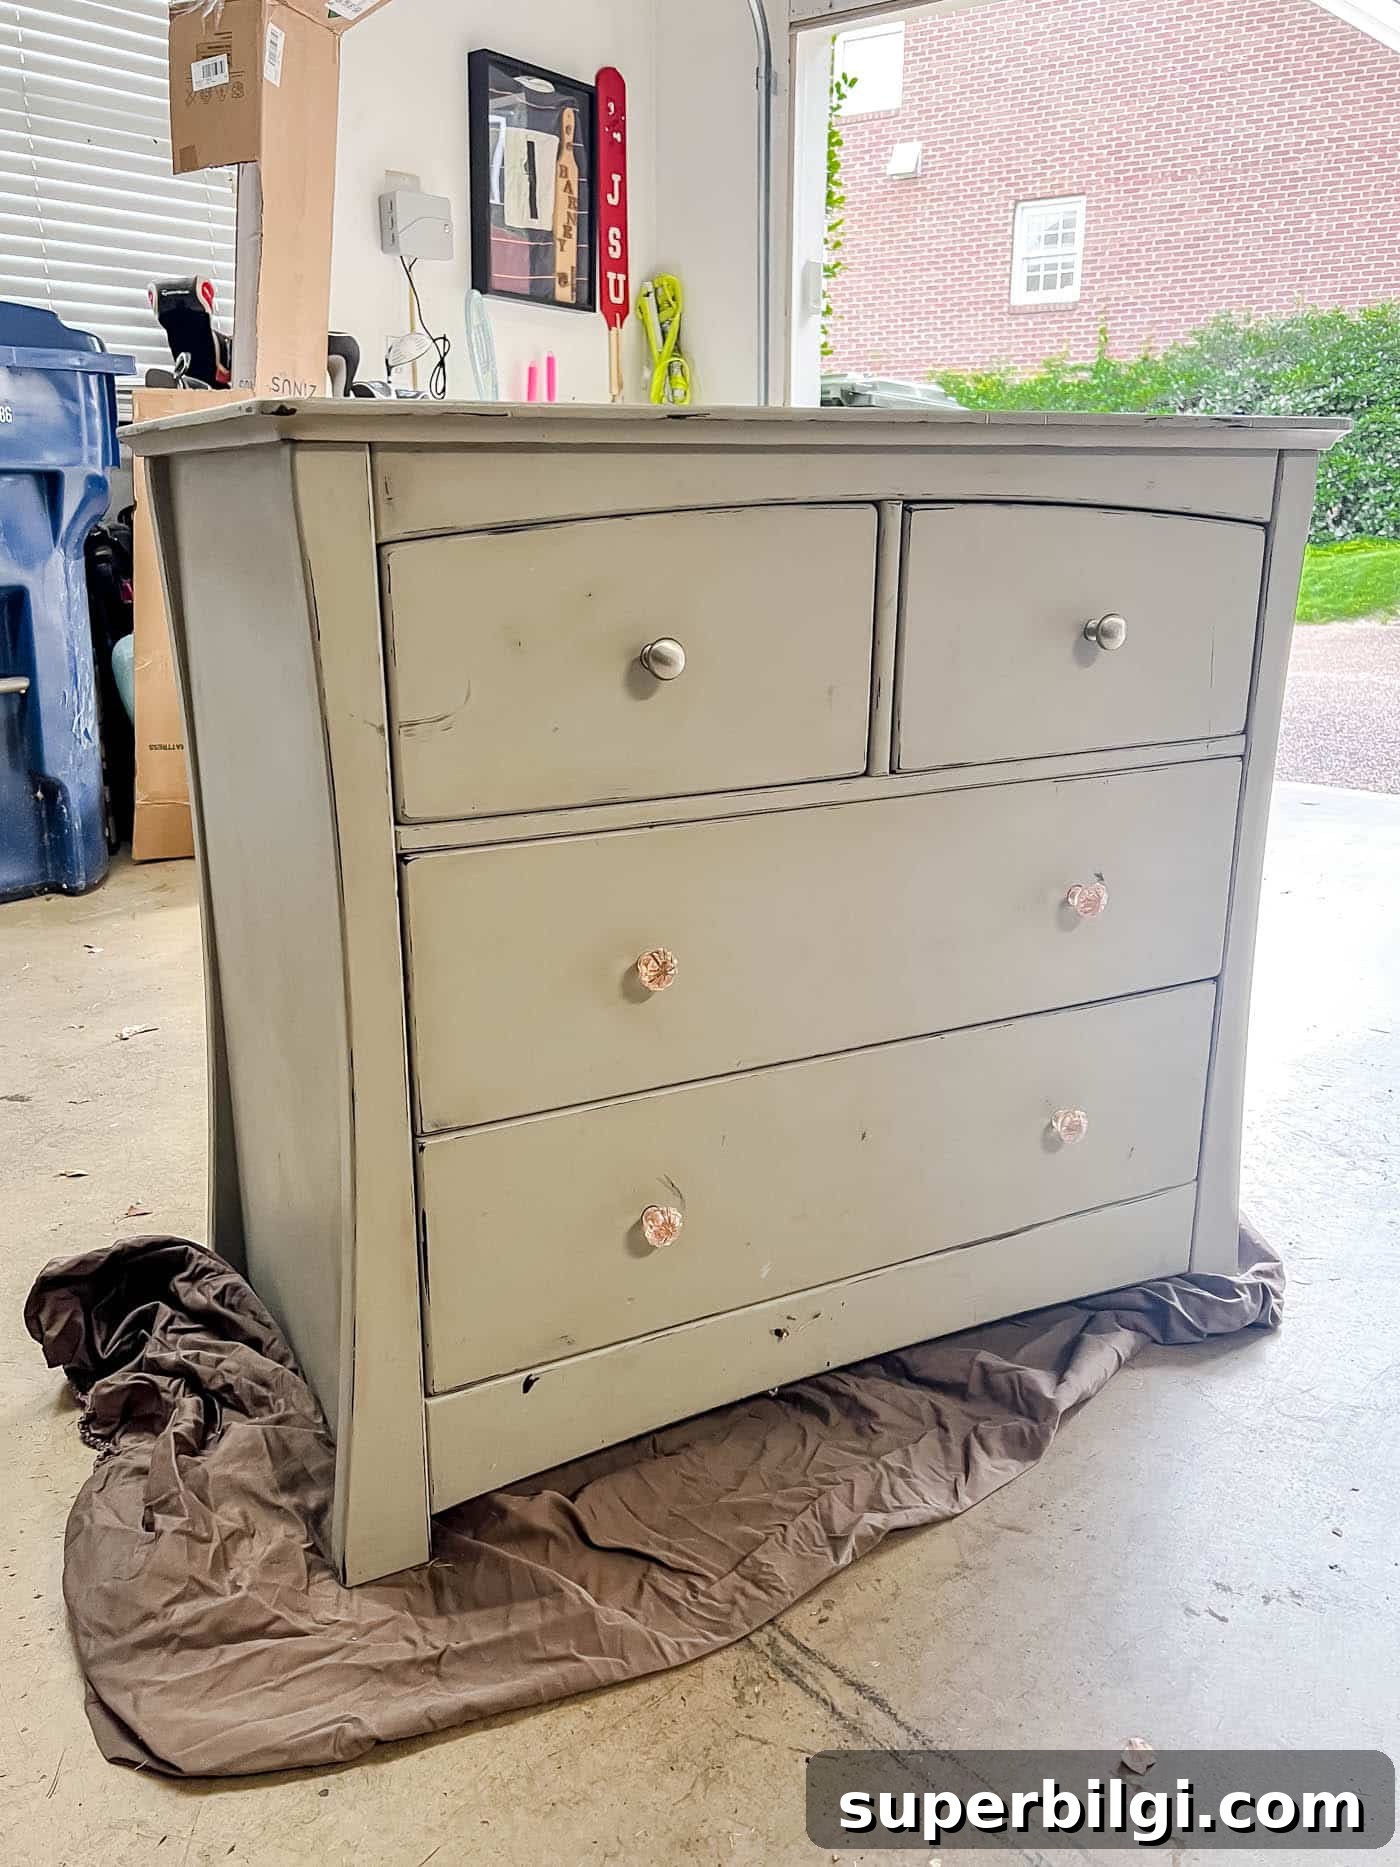
Select a sturdy piece with good structure. Work in a well-ventilated area such as a garage or outdoors. Lay down a drop cloth to protect surfaces. Remove drawers, doors, and hardware; keep small parts labeled in a bag for reassembly.
2. Clean Thoroughly
Wipe away grease, grime, and old polish with a wood cleaner or a mild soap-and-water solution. Let the piece dry completely. Proper cleaning helps strippers and sandpaper work more effectively and ensures better adhesion for finishes.
3. Strip the Old Paint
Apply a paint stripping gel according to the manufacturer’s directions. Keep the stripper moist while it works—covering with plastic wrap can extend its effectiveness. Use a plastic scraper or putty knife to remove softened finish. Work carefully around edges and details to avoid gouging the wood.
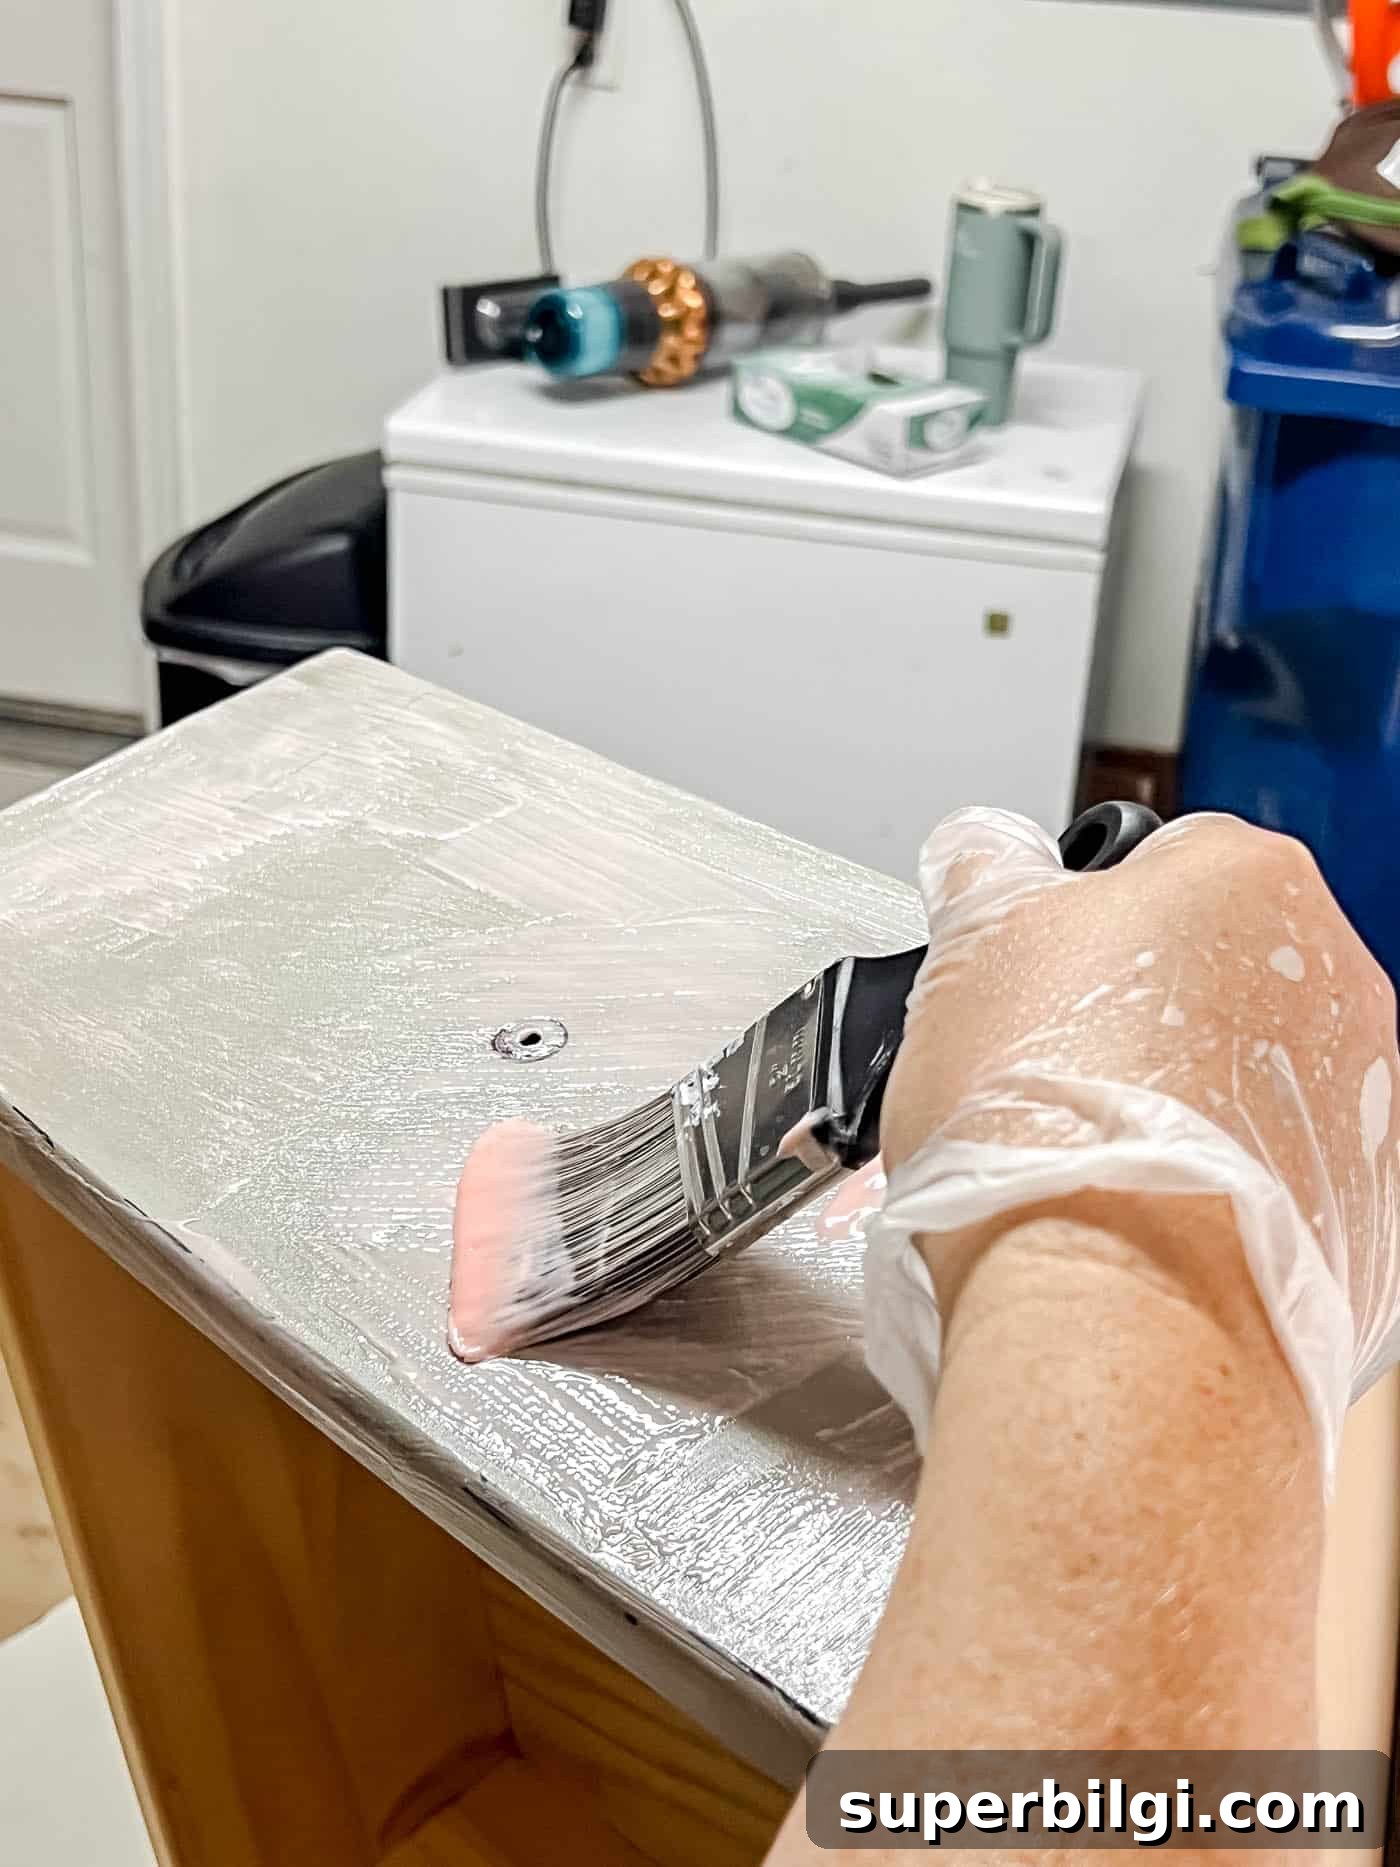
If you find any holes or cracks, apply wood filler now and let it cure before sanding. Addressing repairs at this stage ensures a smooth final surface.
4. Sand the Surface
Sanding smooths the wood and removes leftover finish. Start with coarse grit to take off remaining finish, then progress to medium and fine grit for an even, silky surface. Always sand with the direction of the grain to avoid visible scratches.
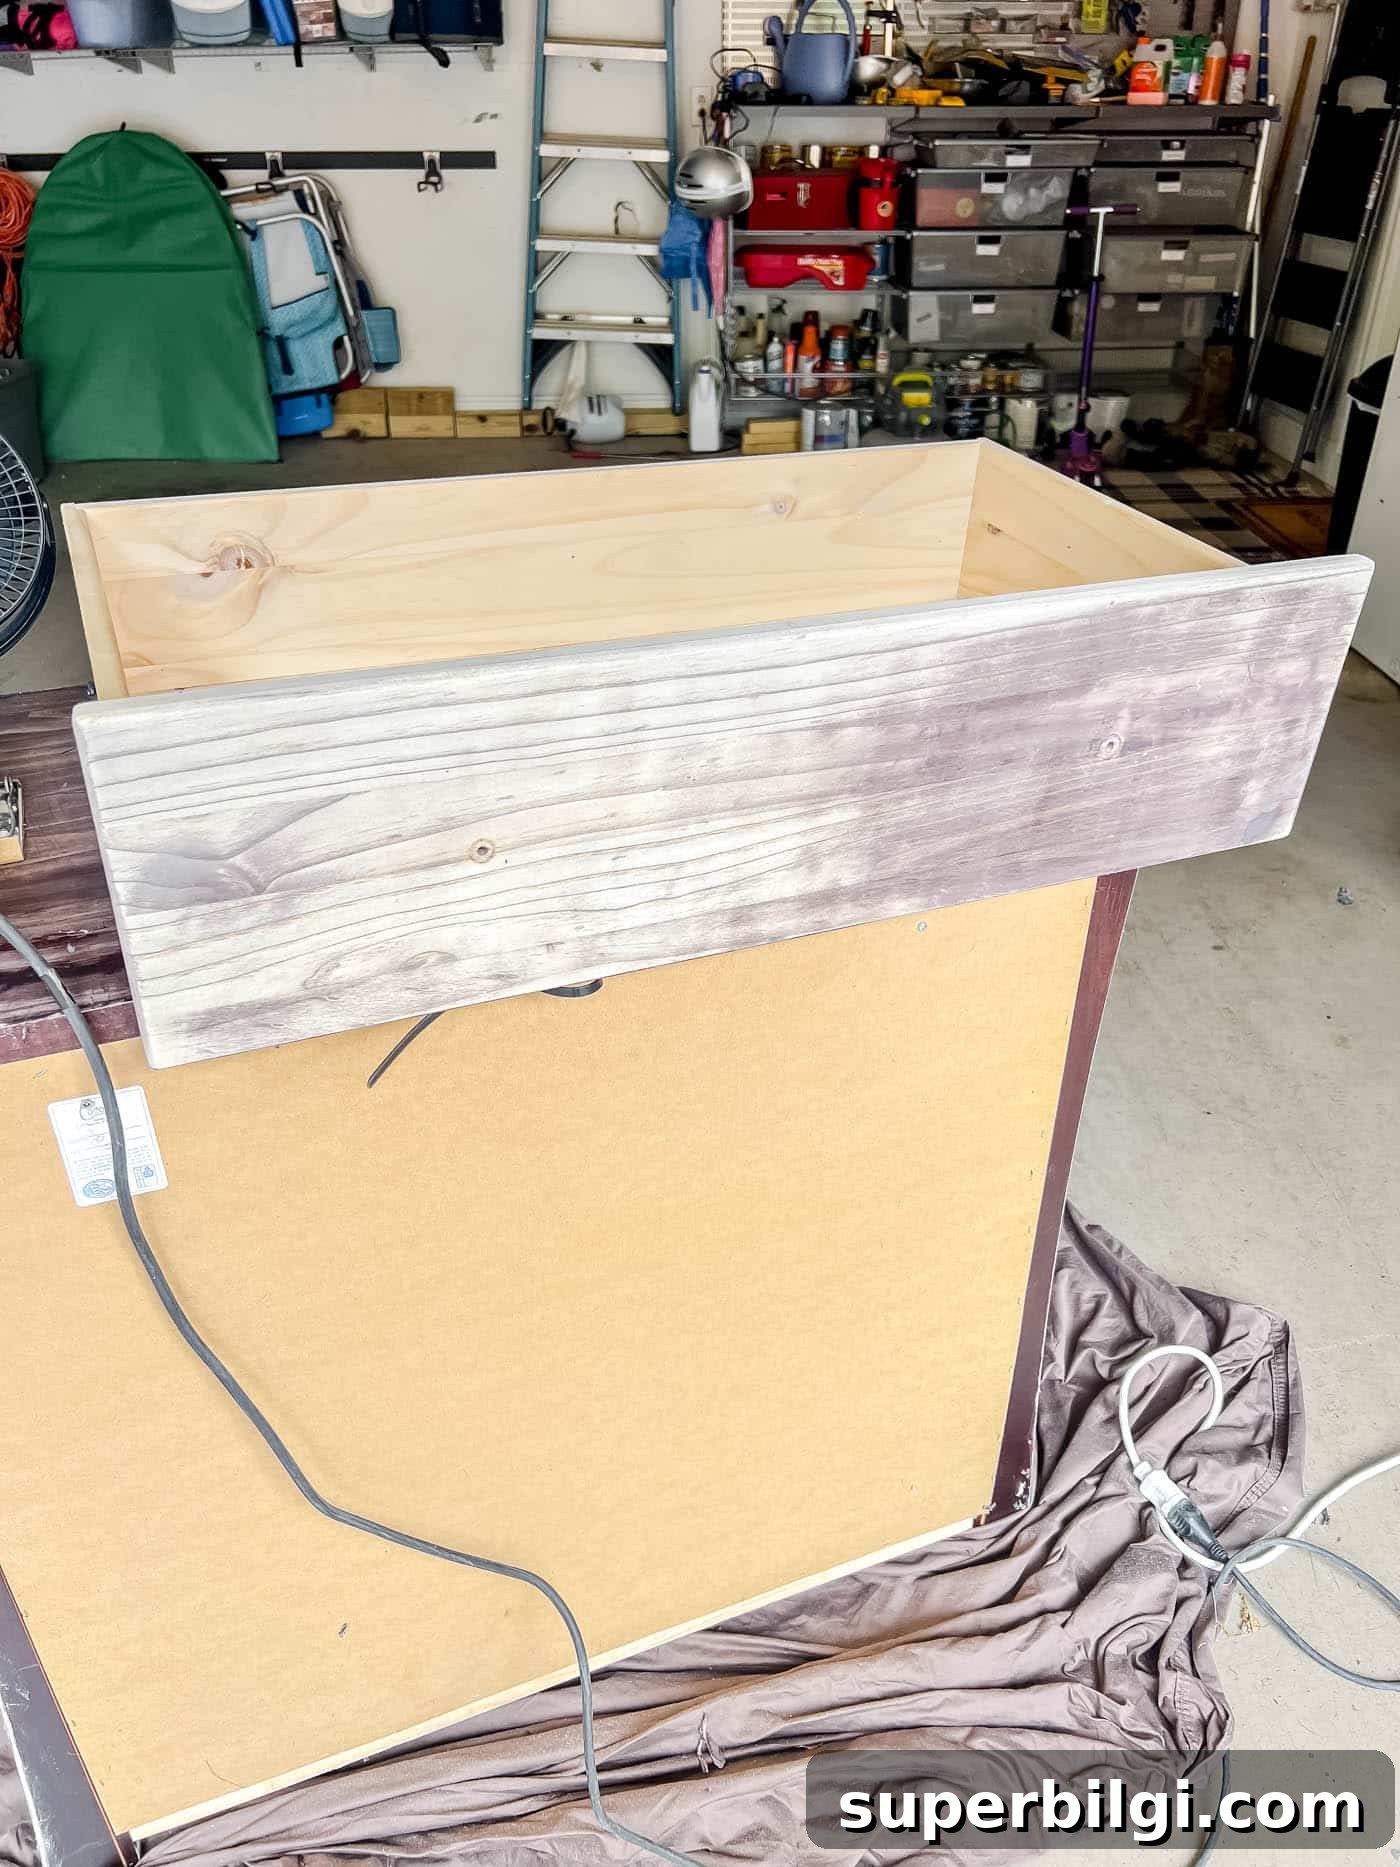
Vacuum and wipe the piece with a tack cloth or damp rag to remove dust before staining or painting.
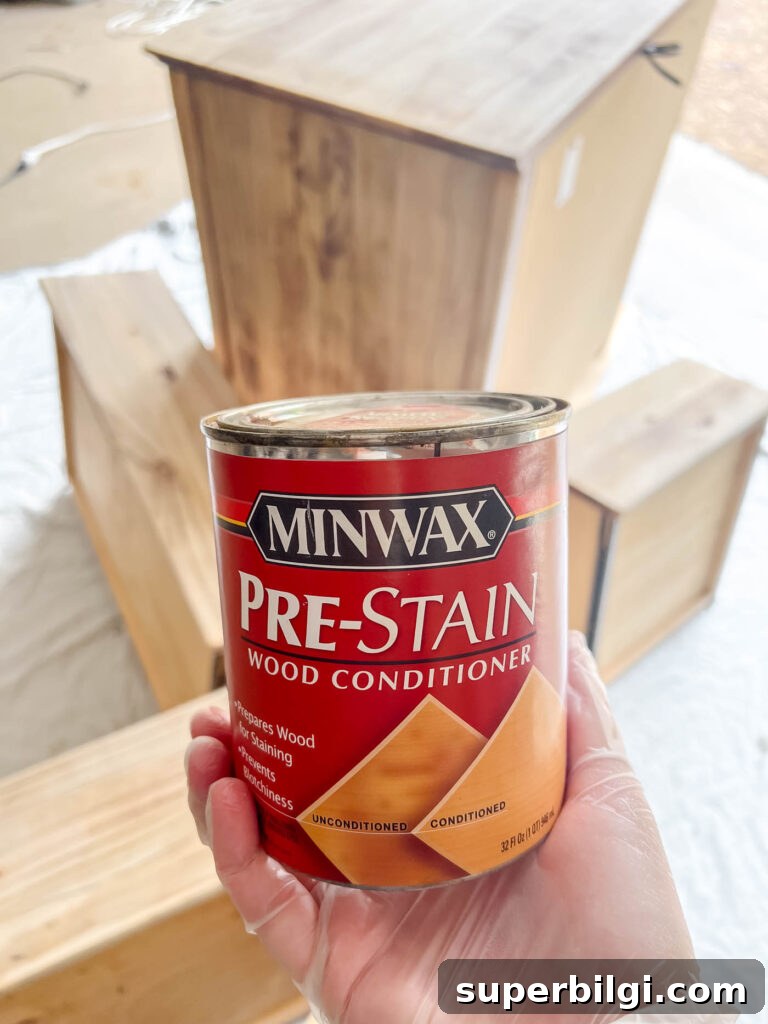
Optional: Apply a wood conditioner for softer woods (pine, birch, maple) to help the stain absorb more evenly and avoid blotchiness.
5. Apply Stain or Paint
Decide if you want to showcase natural wood with stain or change the look with paint. For stain, apply with a rag or foam applicator, then wipe off the excess with a clean cloth. Multiple thin coats build depth without drips. For paint, use a quality brush or sprayer and apply thin, even coats, sanding lightly between coats if needed.
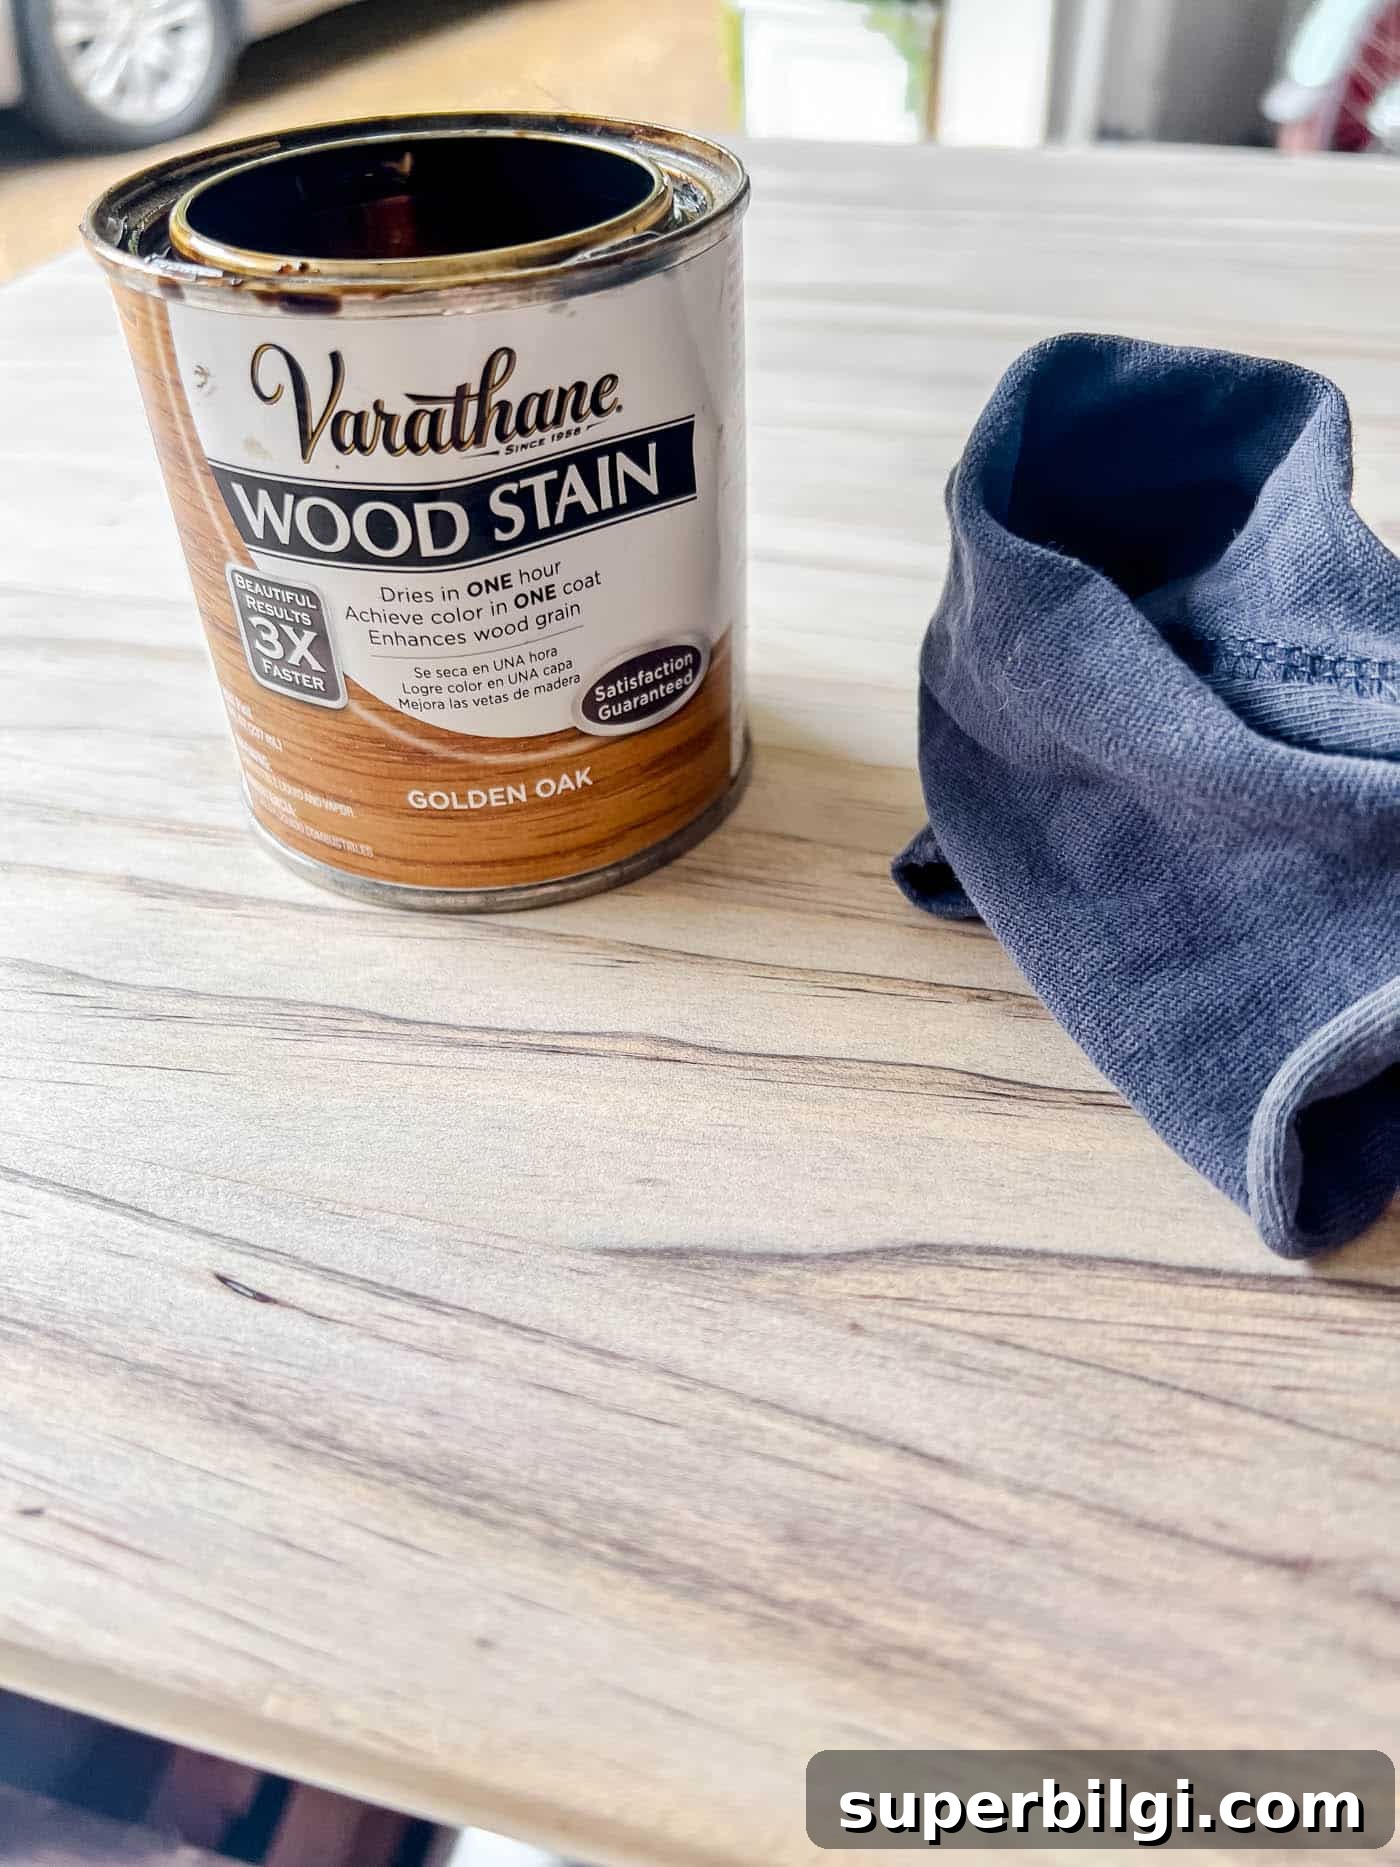
Allow each coat to dry fully, following product guidelines for temperature and humidity. Wipe the surface with a tack cloth before applying a topcoat.
6. Seal the Finish
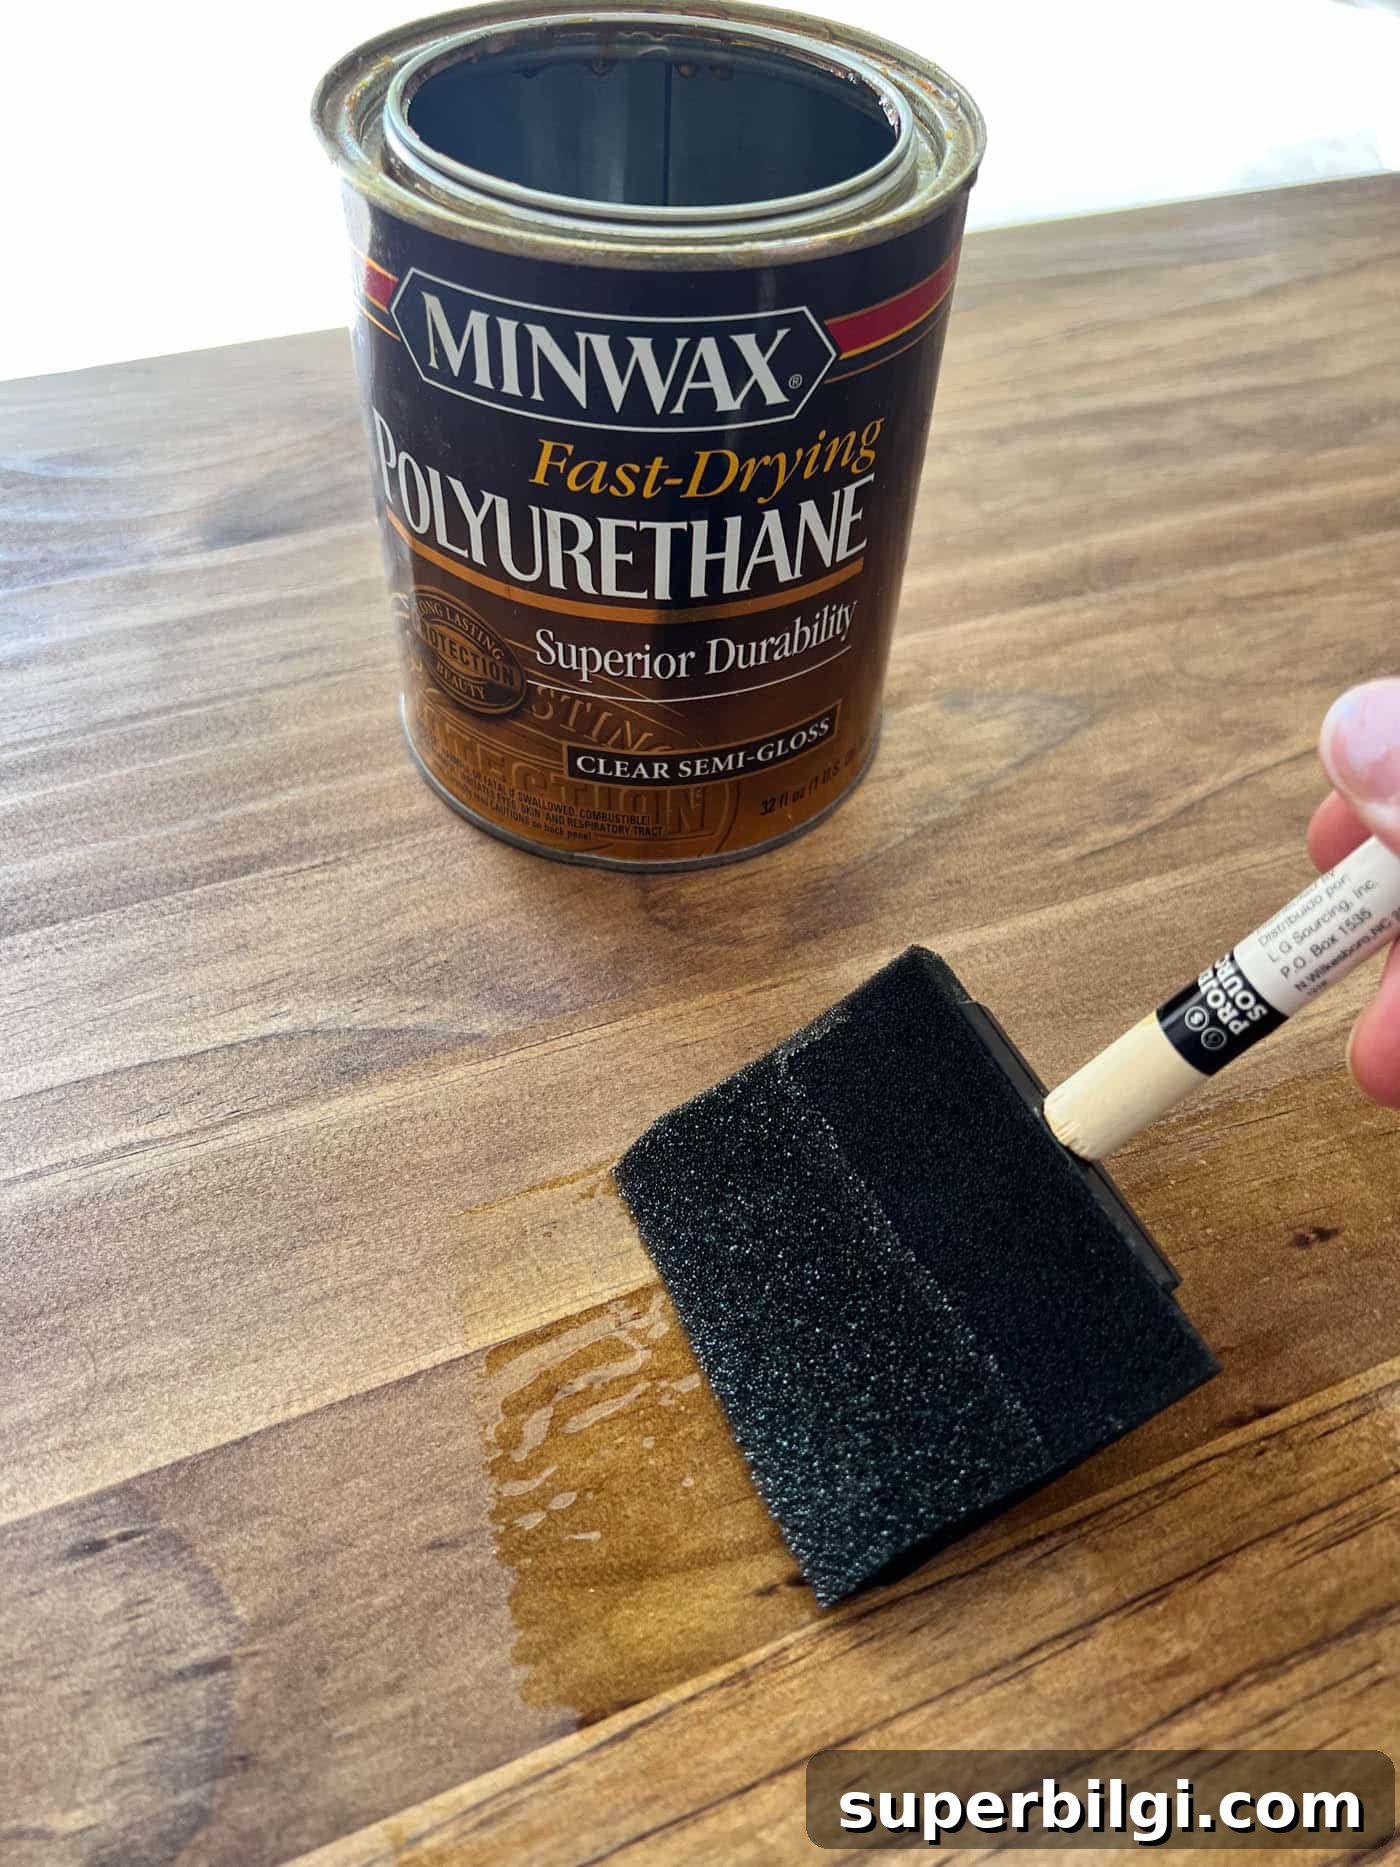
Protect your work with a topcoat. Polyurethane offers durable protection—ideal for dressers, tables, and surfaces that get frequent use. Finishing wax or oil gives a softer, more natural feel. Apply thin coats, allow proper curing time, and sand lightly between coats if recommended.
7. Reassemble & Style
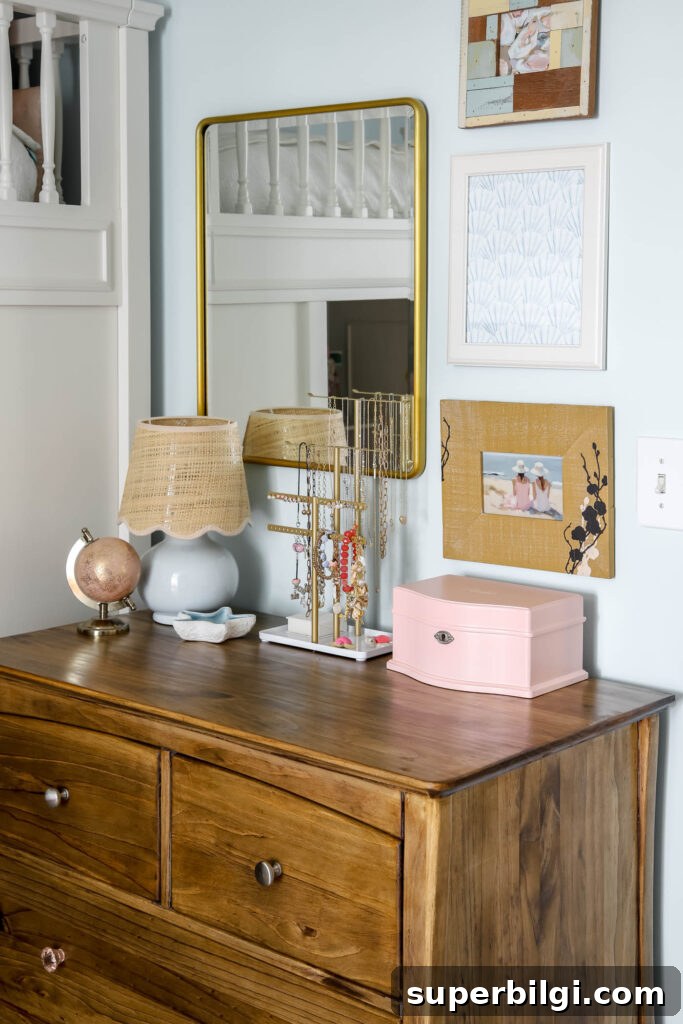
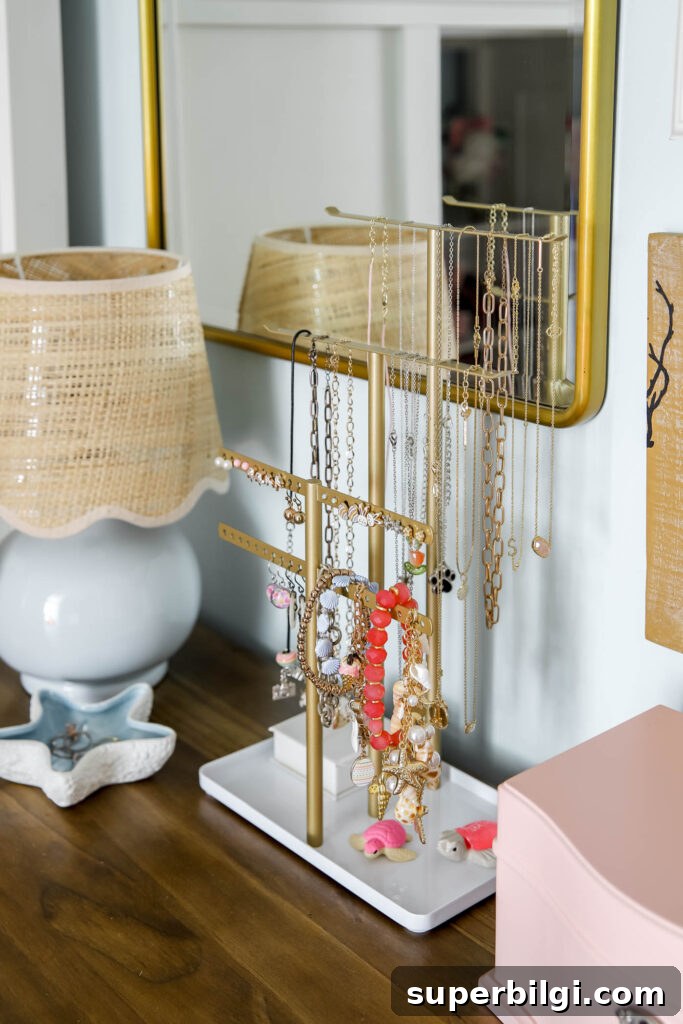
Reattach hardware or swap in new knobs and pulls for an updated look. Slide drawers back in and style the surface with decor, a jewelry stand, or storage organizers. Small hardware changes can dramatically enhance the finished piece.
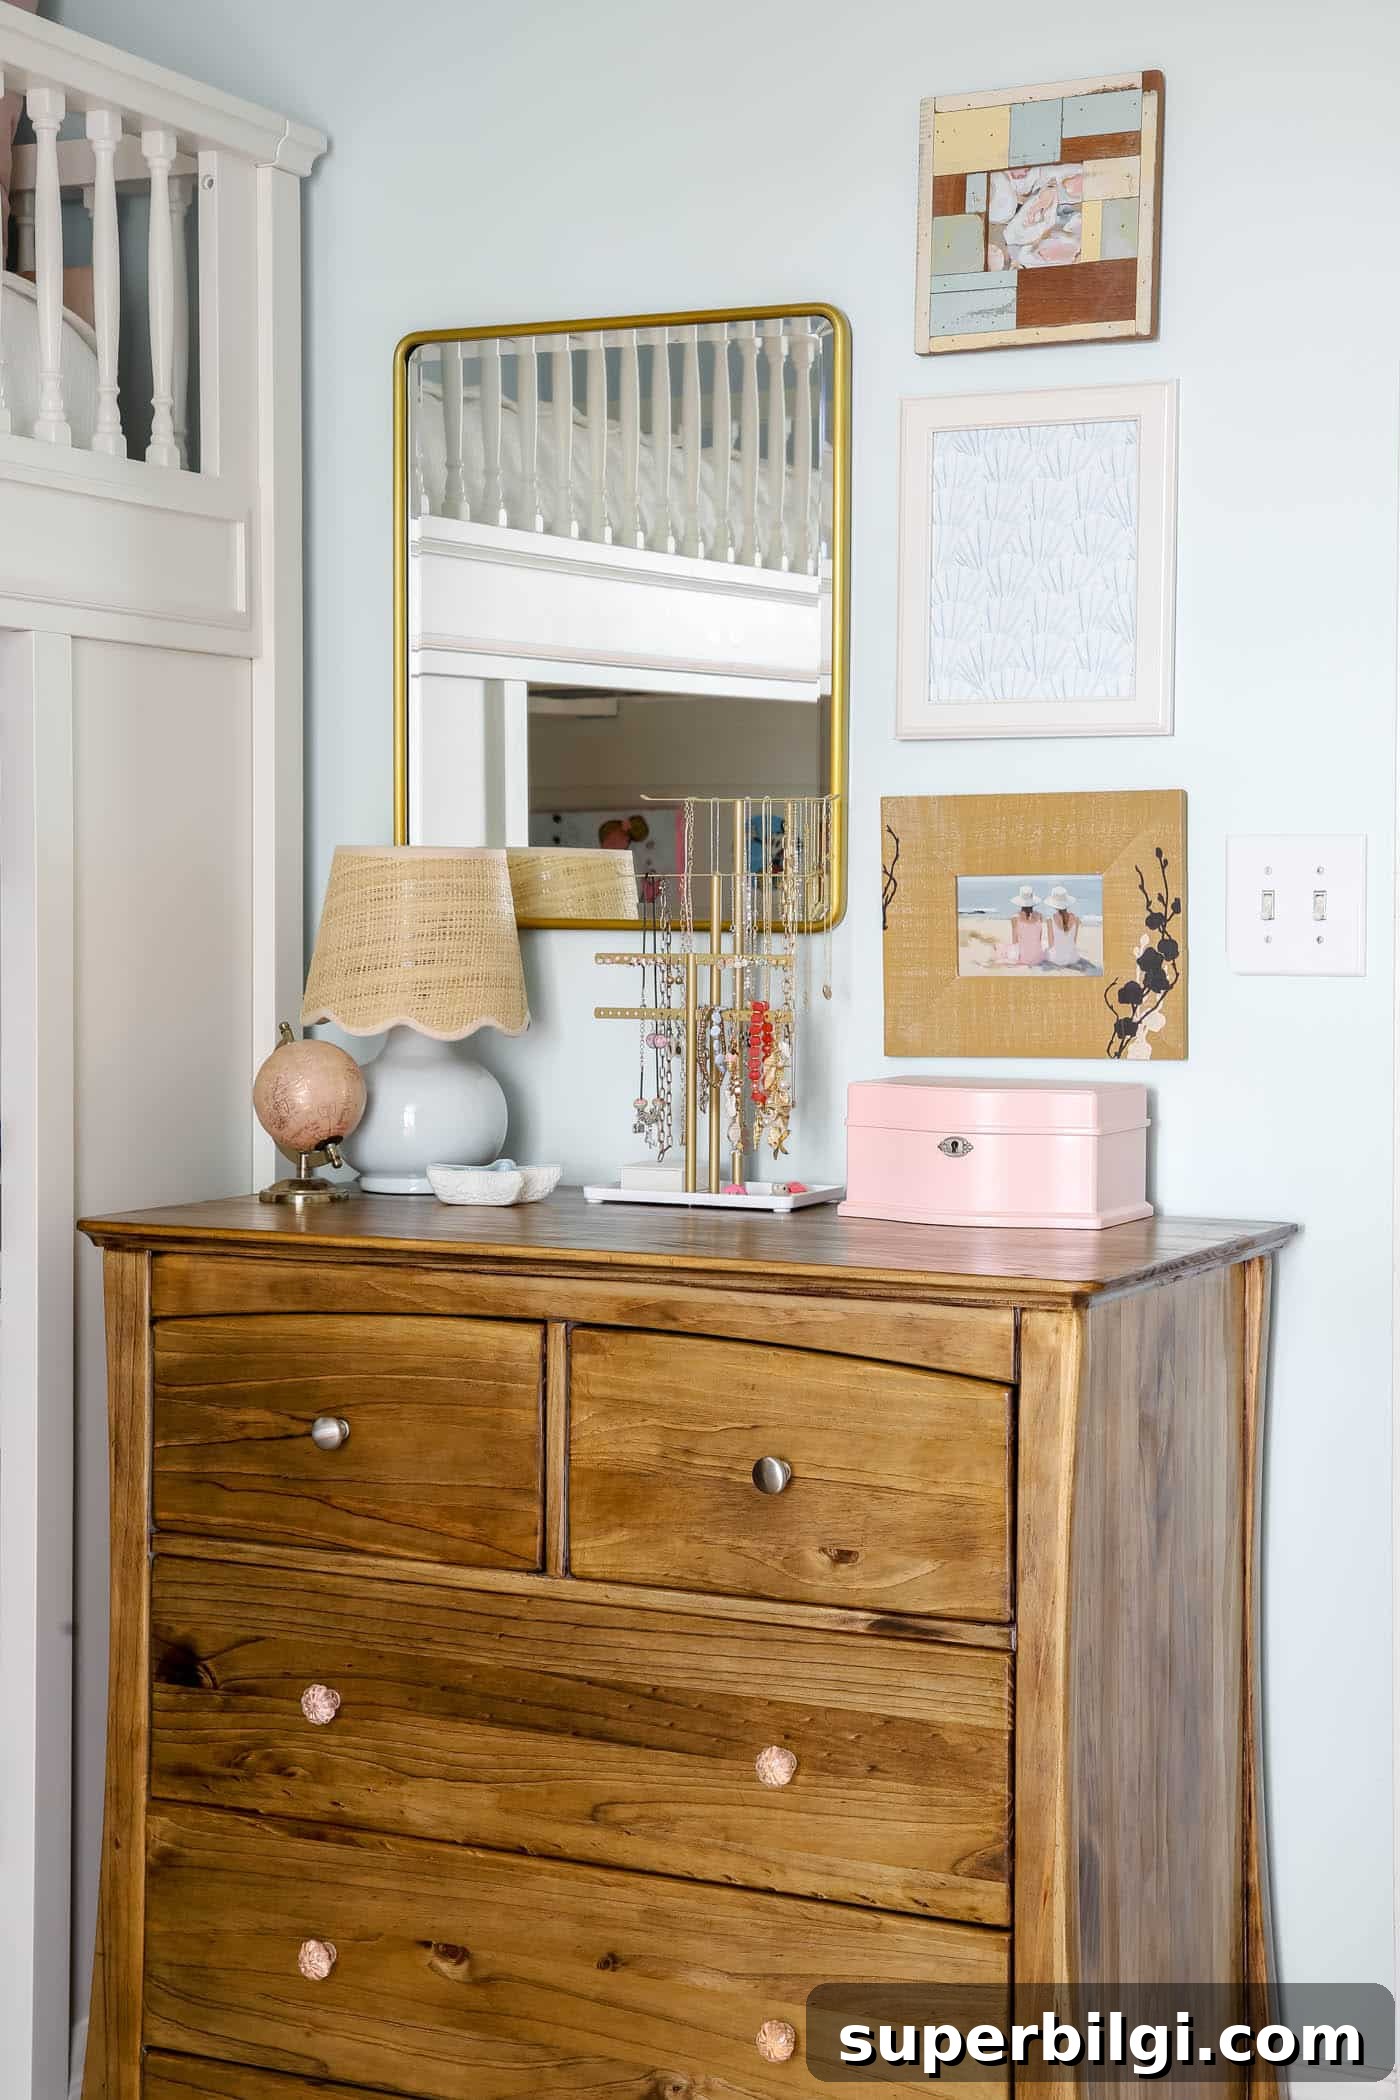
The finished dresser in this project gained a warm golden oak stain that fits the room’s beachy theme and provides a tidy spot for jewelry and cherished items.
Common Mistakes to Avoid
- Skipping sanding: Sanding ensures a smooth, lasting finish; always sand with the grain.
- Applying thick coats: Thin, even layers of stain, paint, and sealer dry more evenly and look better.
- Rushing the process: Allow adequate drying and curing time between coats for a durable finish.
Final Thoughts
Refinishing wood furniture is rewarding and practical. Whether restoring a family heirloom or updating a thrifted find, the process is eco-friendly, economical, and deeply satisfying. With the right prep, tools, and patience, you can transform worn pieces into beautiful, functional additions to your home.
If you’re new to refinishing, start with a small project to build confidence. As you gain experience, you’ll learn which products and techniques you prefer and how to handle different wood types and finishes.
Have you refinished a piece before? Share what you transformed and any tips you picked up along the way.
More Posts You Will Love:
- How to Use Annie Sloan Chalk Paint® {beginner tutorial}
- First Steps to a Big Girl Room
- White & Blush Girls’ Bedroom Mood Board
- Traditional Dining Room Reveal
- Living Room Makeover Final Reveal