Create a simple DIY winter wreath using any seasonal greenery you can find, then finish it with a cluster of pretty bells for a festive touch.
Now is the perfect time to start planning your holiday decorations and gathering inspiration. I love making quick, affordable winter wreaths that easily transition from Christmas into the rest of the winter season. This wreath can be dressed up with red berries for the holidays and then pared back afterward to keep it fresh through January and beyond.

Hang this wreath on your front door or on an interior door, over a chalkboard, or above a mantel. It’s versatile, simple to make, and looks homey and festive without being fussy. Below you’ll find a clear supplies list, step-by-step instructions, and a few helpful tips and styling ideas to make your own winter wreath.
Supplies You’ll Need to Make a Winter Wreath
- Greenery — faux or fresh. Good options include spruce, cedar, pine, eucalyptus, and small pinecone branches.
- Grapevine wreath form — choose round or square to suit your space.
- Hot glue gun and glue sticks.
- Floral wire cutters or wire cutters to trim stems.
- Bells or other embellishments — a small cluster of metal or golden bells adds a classic holiday accent (optional).
Bell and Accent Ideas
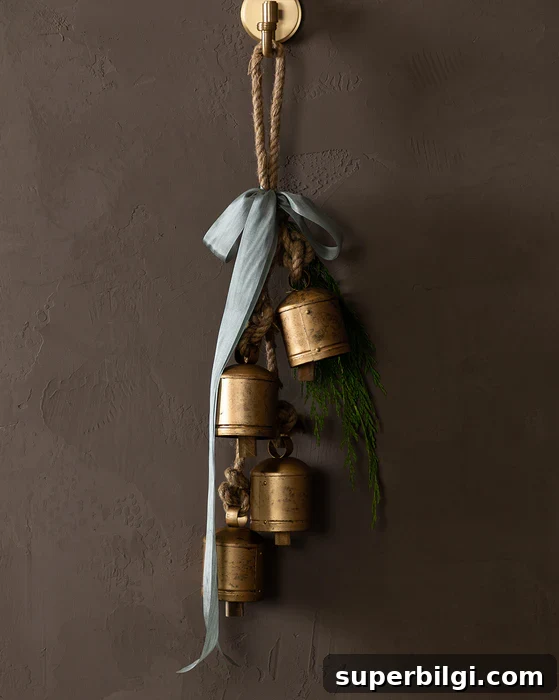
Simple metal bells, jingle bells, or a rustic bell cluster each create a different look — classic, farmhouse, or vintage. You can also tie a ribbon or small plaid bow with the bells for an extra seasonal touch.
How to Make a Winter Wreath
This is an easy project and works well for beginners. While I didn’t photograph every step here, the process is straightforward and quick once you have your materials laid out.
1. Choose your wreath shape
Select a grapevine wreath form in the size and shape you prefer. A round form is classic, while a square form can feel modern and unexpected.
2. Gather the greenery
Collect all greenery in one place and decide which stems to use. I used faux eucalyptus, brushed white pinecone stems, cedar sprigs, and mixed evergreens. If you prefer a natural look, fresh cut greens from your yard work beautifully — add twigs and pinecones for texture.
3. Take apart the greenery
Use floral wire cutters to trim and disassemble larger stems. Keep individual pieces fairly short — roughly 3–5 inches — so they tuck into the grapevine form easily and look layered and full.
4. Place the stems in the wreath
Begin tucking stems into the grapevine form, spacing them evenly. Alternate different types of greenery as you go to create depth and contrast. Step back occasionally to check the overall balance.
5. Fill the wreath until it looks full
Continue adding stems until the wreath looks layered and lush. I used several winter stems around the form, then added a few eucalyptus sprigs to soften the shape and add contrast.
6. Secure stems with hot glue
For extra hold, add a dab of hot glue behind a stem and press it into the grapevine. This helps prevent pieces from shifting, especially if the wreath will be handled or moved frequently.
7. Add festive bells or accents
Attach a small cluster of bells to the bottom or side of the wreath using floral wire or a loop of ribbon. Bells give a polished holiday finish and can be left on through winter for extra charm. You can also add a ribbon, small ornaments, or a sprig of berries if desired.
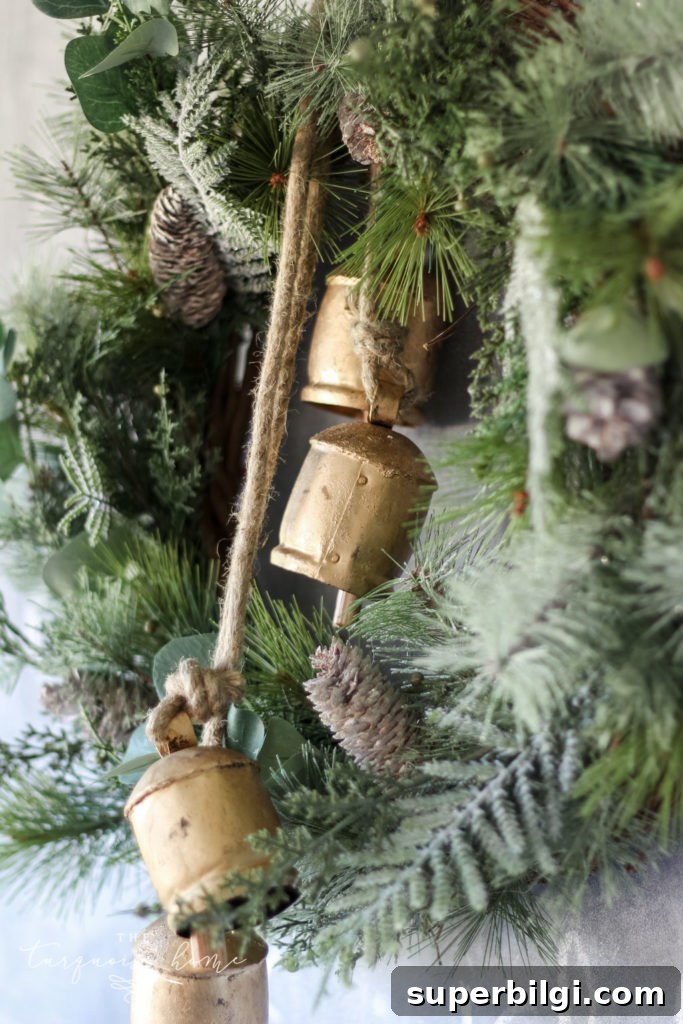
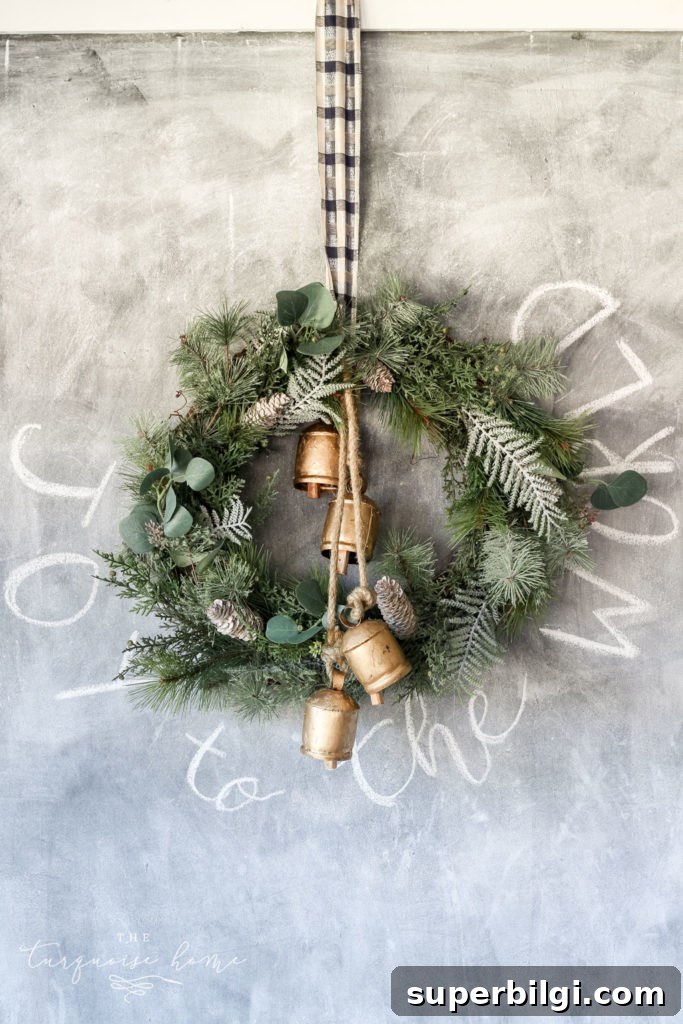
I hung this wreath on a chalkboard to display in my entryway, but it looks equally welcoming on a front door or above a mantel. It’s a flexible, low-cost project that brings seasonal warmth to any room.
Video tutorial
If you prefer a visual guide, a short video can show the key assembly steps and give ideas for placement and styling. Watching the process can be helpful for visual learners and for seeing how the layers come together.
Tips: If using real greenery, mist the wreath occasionally and keep it out of direct heat to preserve freshness. Store faux stems and bells together so you can quickly recreate the look next season.
More bell and garland ideas
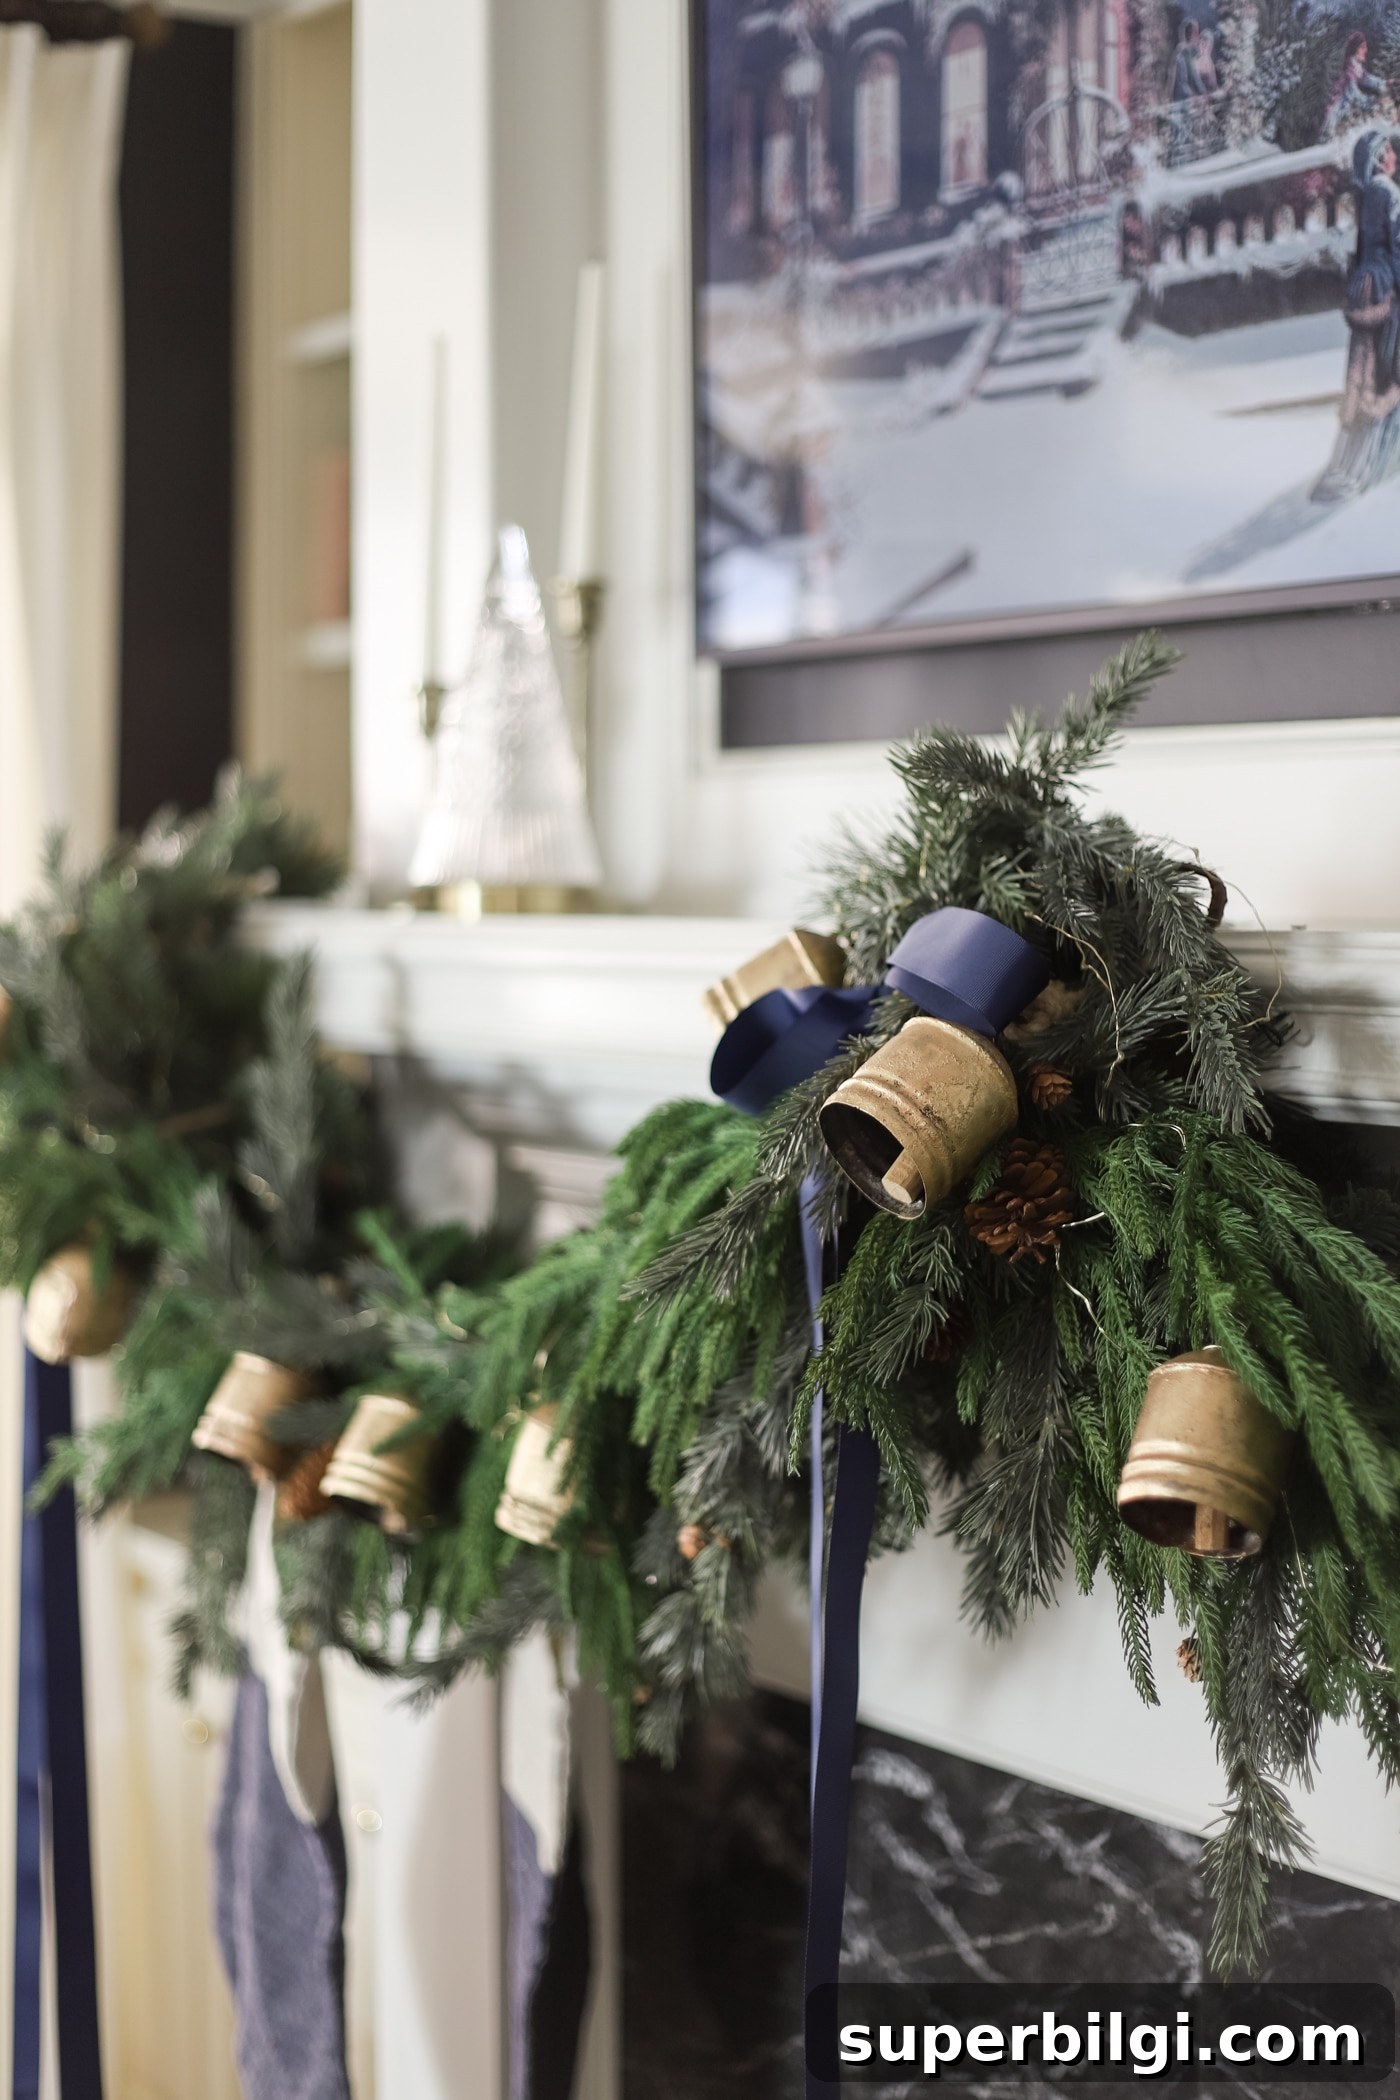
Bells are a versatile decoration: add them to mantel garlands, stair garlands, or as part of a table centerpiece. They bring a cohesive, festive accent across multiple holiday displays.
More seasonal decorating ideas you may enjoy:
- Best ideas for Christmas tree collars
- How to choose the right artificial Christmas tree
- Tips for decorating your kitchen for Christmas
- How to display wreaths on kitchen cabinet doors
- Christmas bedroom decorating inspiration
If you try this wreath, leave a note about your materials or any custom touches you made — I’d love to hear how yours turned out.