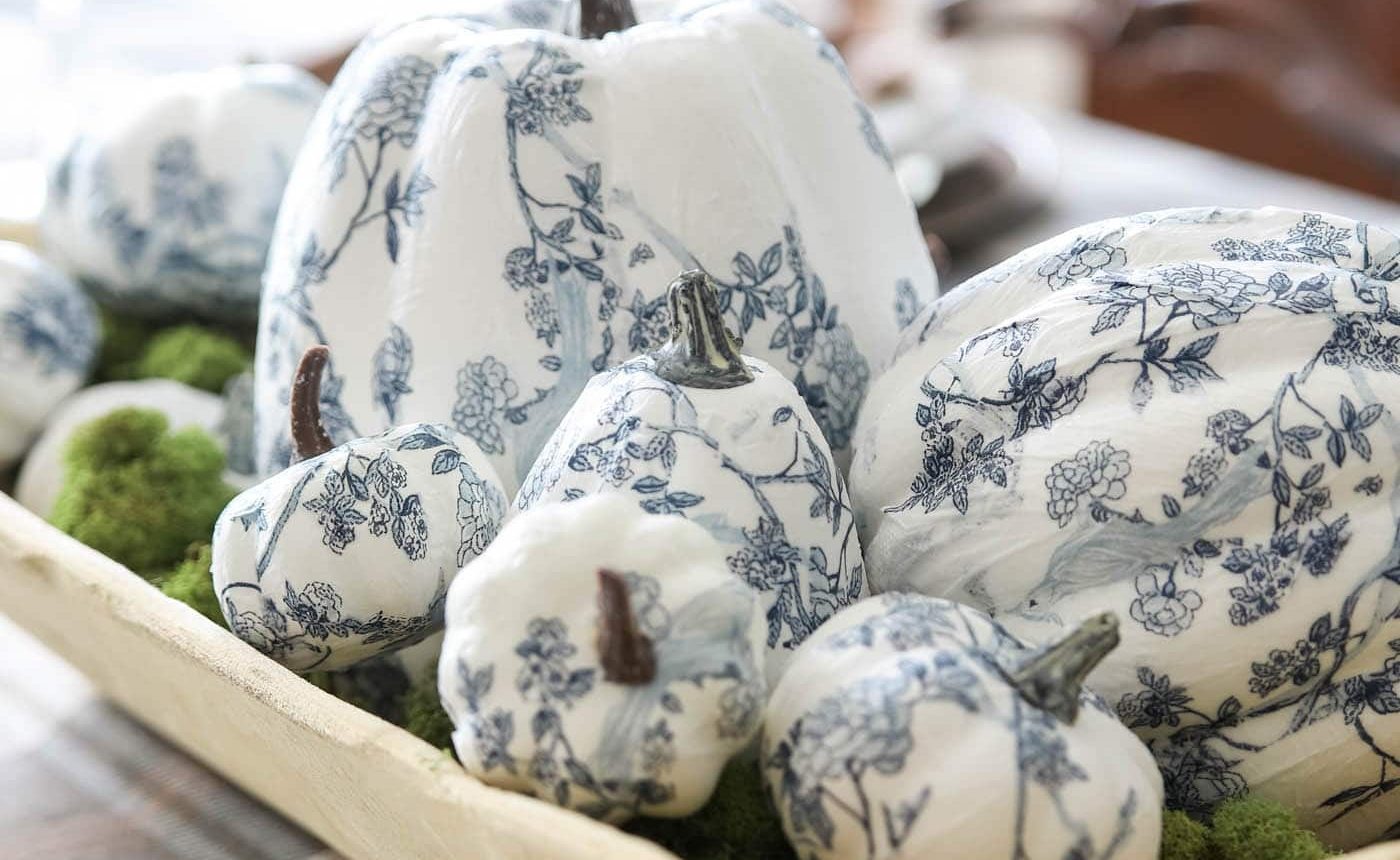
Learn how to create beautiful blue-and-white chinoiserie pumpkins using just a few supplies and an afternoon of your time. This easy DIY makes a charming fall accent for a table centerpiece or mantel.
I’ve always loved the elegant look of blue-and-white chinoiserie pumpkins. A while back I saw a wooden bowl filled with moss and a handful of chinoiserie-style pumpkins and instantly wanted that same classic, collected look for my dining room. Instead of buying them, I decided to make a few myself—and the process is quicker and simpler than it looks.
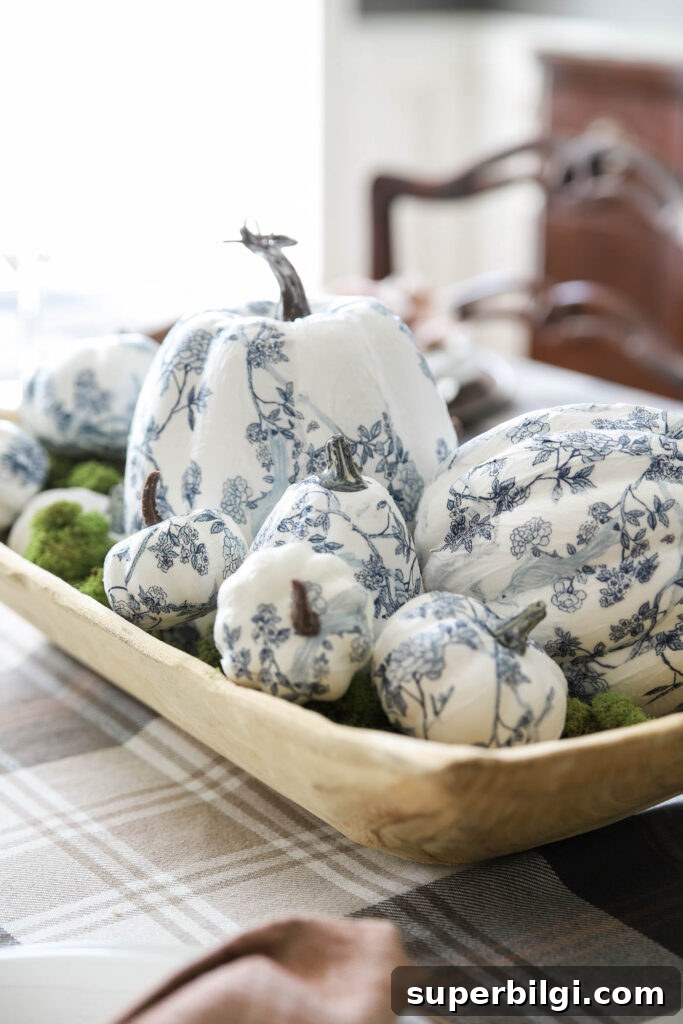
If you can cut paper and brush on glue, you can make these. It’s a great craft to do while watching a favorite show—gentle, satisfying, and with a beautiful result.
Watch the Video Tutorial
A video demonstration is available if you prefer to follow along visually. The written instructions below include all the tips I found helpful while making these pumpkins.
This post originally included product suggestions and affiliate links for convenience.
Supplies You’ll Need to Make the Chinoiserie Pumpkins
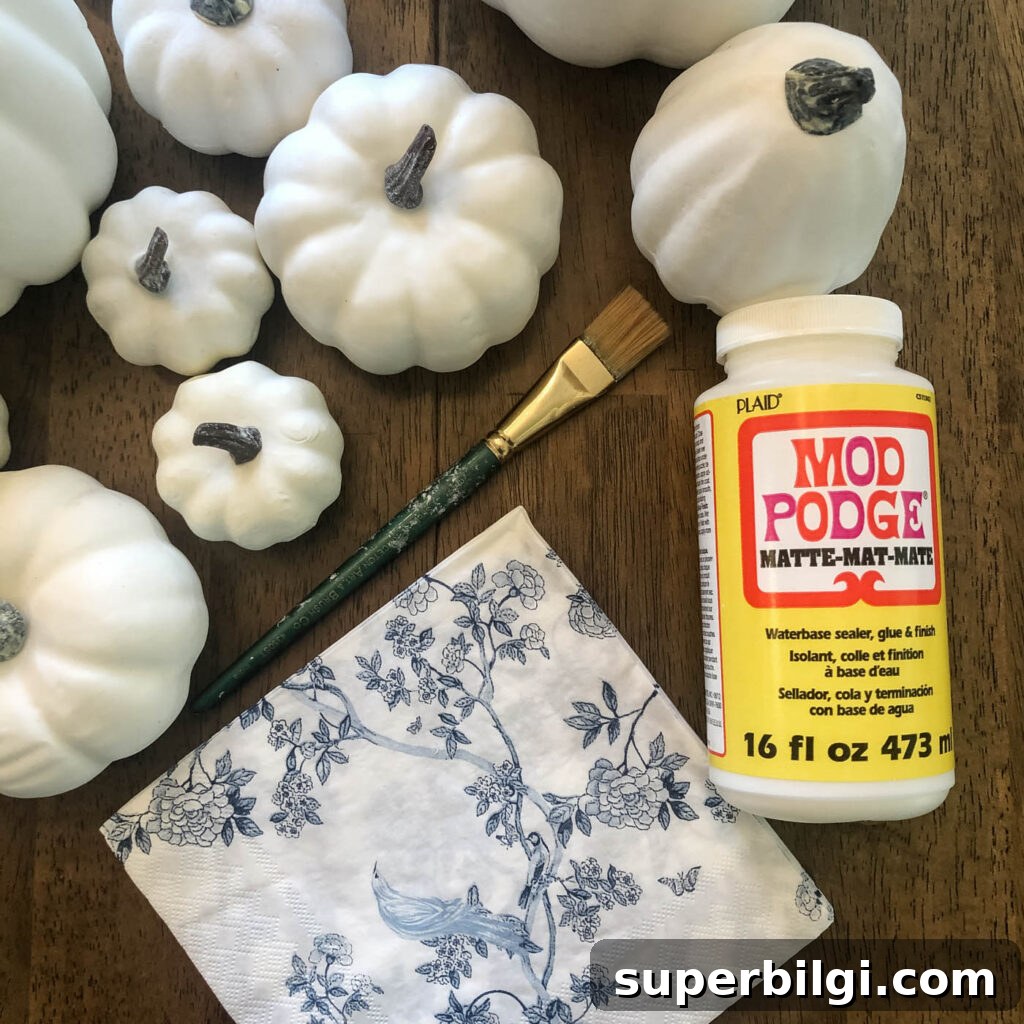
- White foam craft pumpkins (various sizes work well)
- Patterned paper napkins in a blue-and-white chinoiserie or similar design
- Mod Podge or another decoupage medium (matte or gloss, depending on finish preference)
- A small, soft craft paintbrush for smoothing and applying glue
- Scissors or small craft shears
- Optional: a small circle of matching napkin to cover the bottom
How to Make Chinoiserie Pumpkins
This technique is straightforward, but a few small tricks will make the process smoother and the finished pumpkins look more professional. Follow these steps and you’ll have a cohesive set in no time.
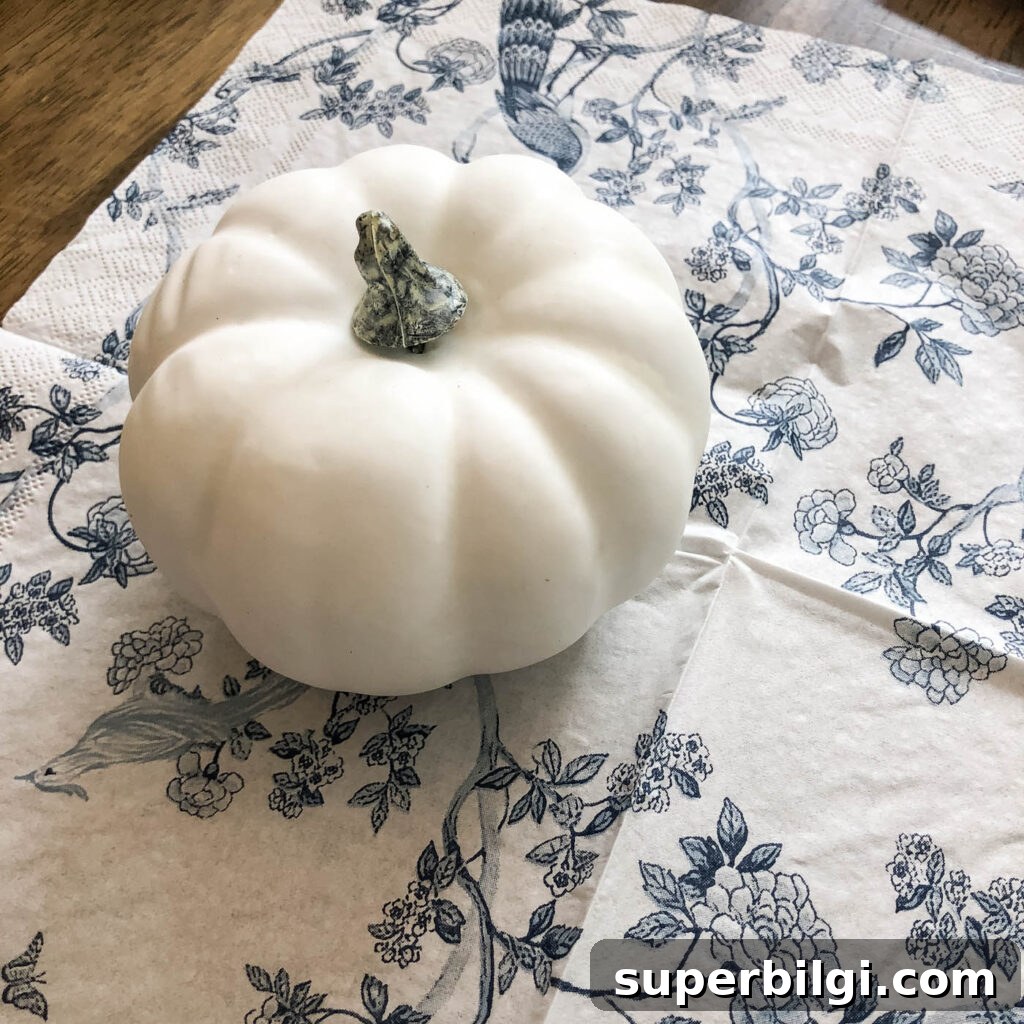
1. Place the pumpkin on the napkin and cut a wide circle around it
Lay the pumpkin on the napkin and cut a generous circle so the paper can drape to the bottom. If your napkins are two- or three-ply, gently separate layers and use only the top printed layer for a thinner, easier-to-mold surface.
2. Remove the stem from the faux pumpkin
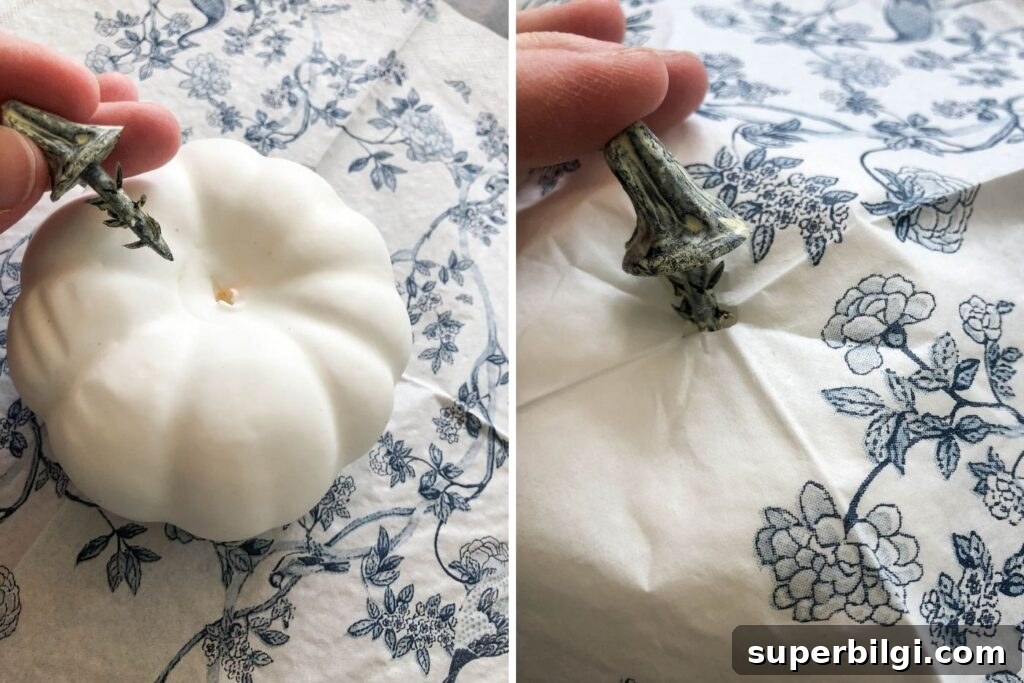
Pull out the stem, then snip a small hole in the center of the napkin circle and place the napkin over the pumpkin. Reinsert the stem through the hole—this holds the napkin in place while you work and helps prevent shifting.
3. Cut long vertical sections from the napkin to match the pumpkin’s grooves
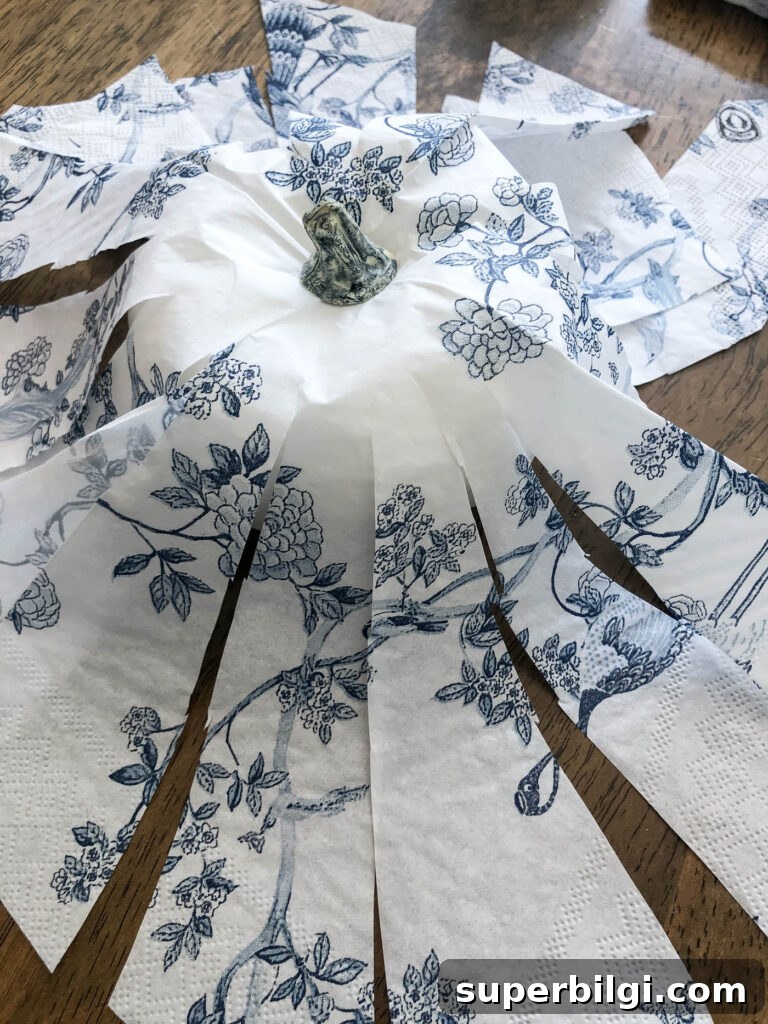
Create long strips that roughly align with the pumpkin ribs. Working in smaller sections makes it easier to smooth the paper to the curved surface without wrinkling.
4. Trim the strip bottoms to tuck neatly under the pumpkin
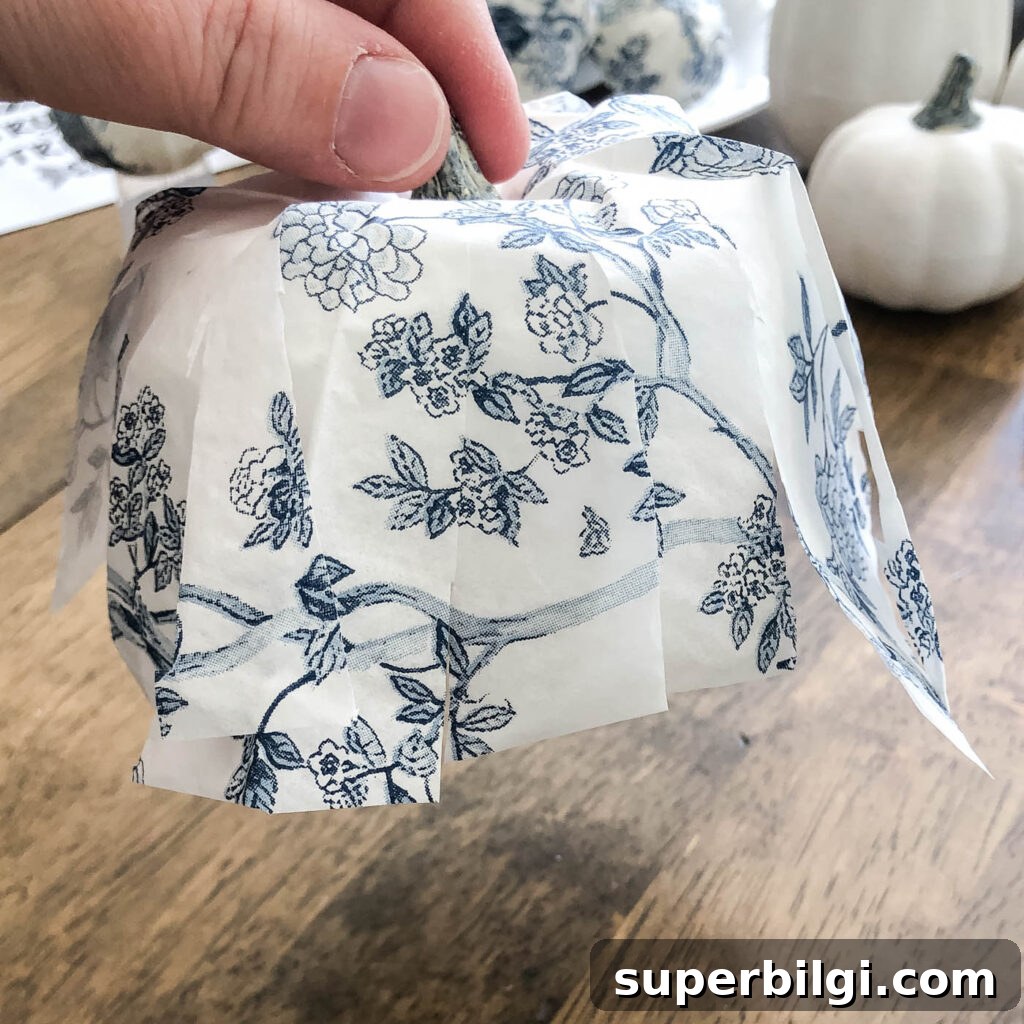
Cut the ends of each strip so they just reach under the pumpkin’s base. This reduces bulk at the bottom and gives a cleaner finish when you press the paper down and glue it in place.
5. Apply Mod Podge to the top, then secure the napkin
Turn the pumpkin over while holding the stem, brush Mod Podge onto the pumpkin surface beneath the napkin, then flip and press the napkin to the top of the pumpkin. Use gentle, even strokes to smooth the paper and remove bubbles.
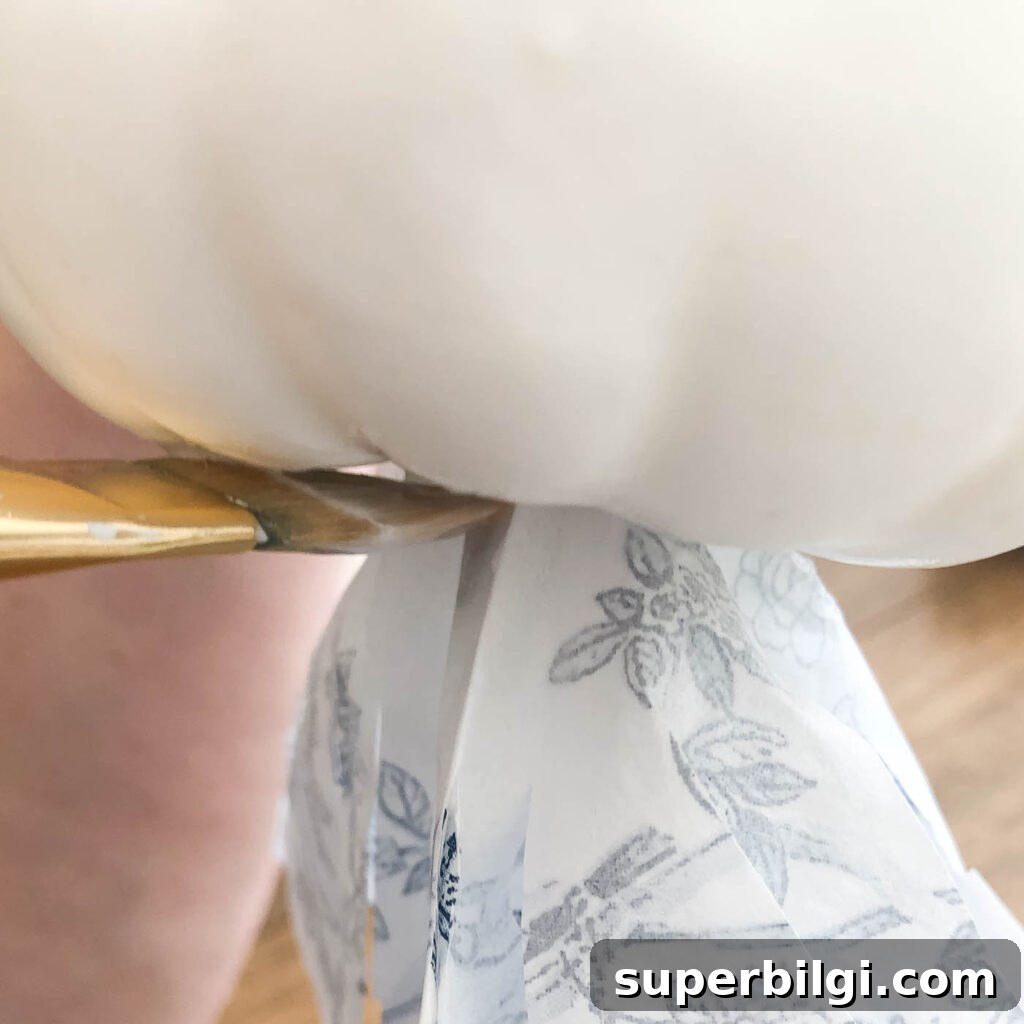
6. Work around the sides, gluing one section at a time
Brush Mod Podge onto a section of the pumpkin, then lay the corresponding napkin strip down and smooth it with your brush. Move slowly around the pumpkin so edges meet neatly. If strips overlap too much, trim them narrower for a sleeker appearance.
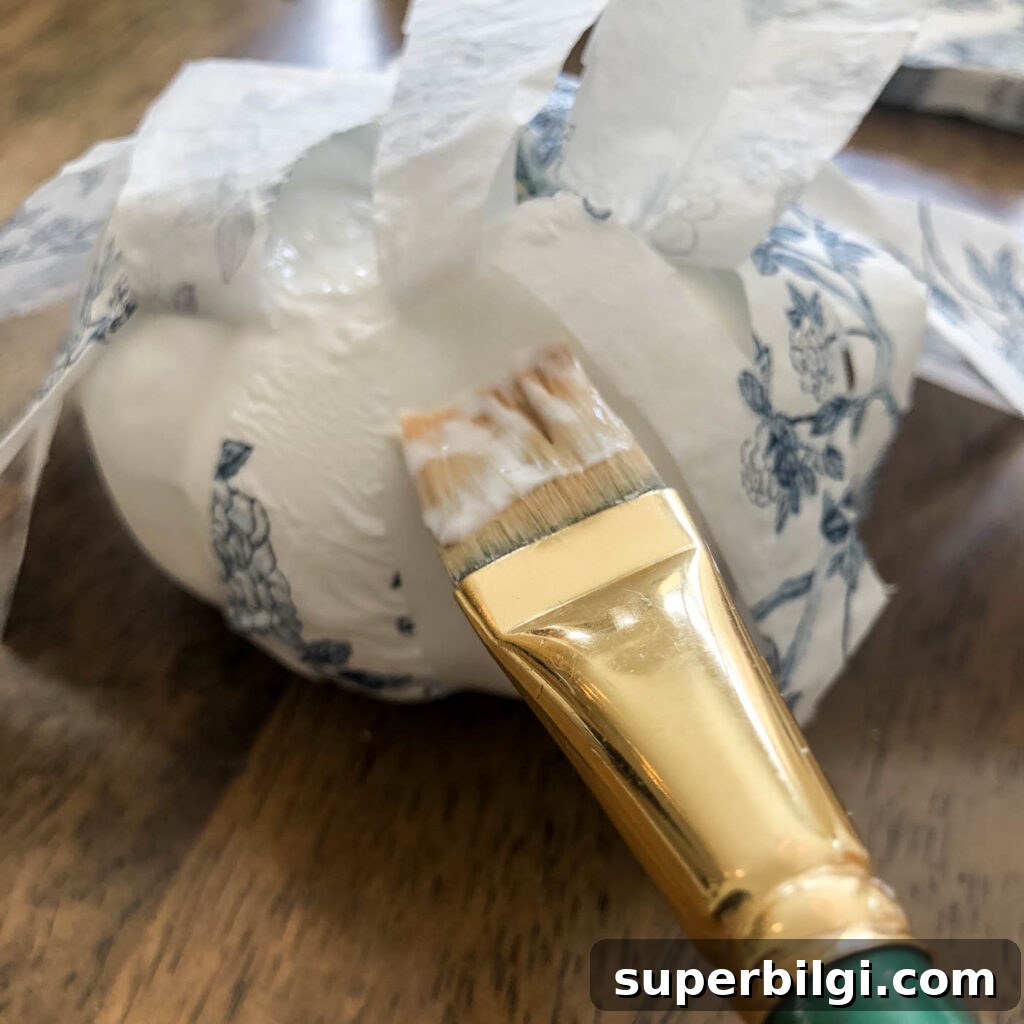
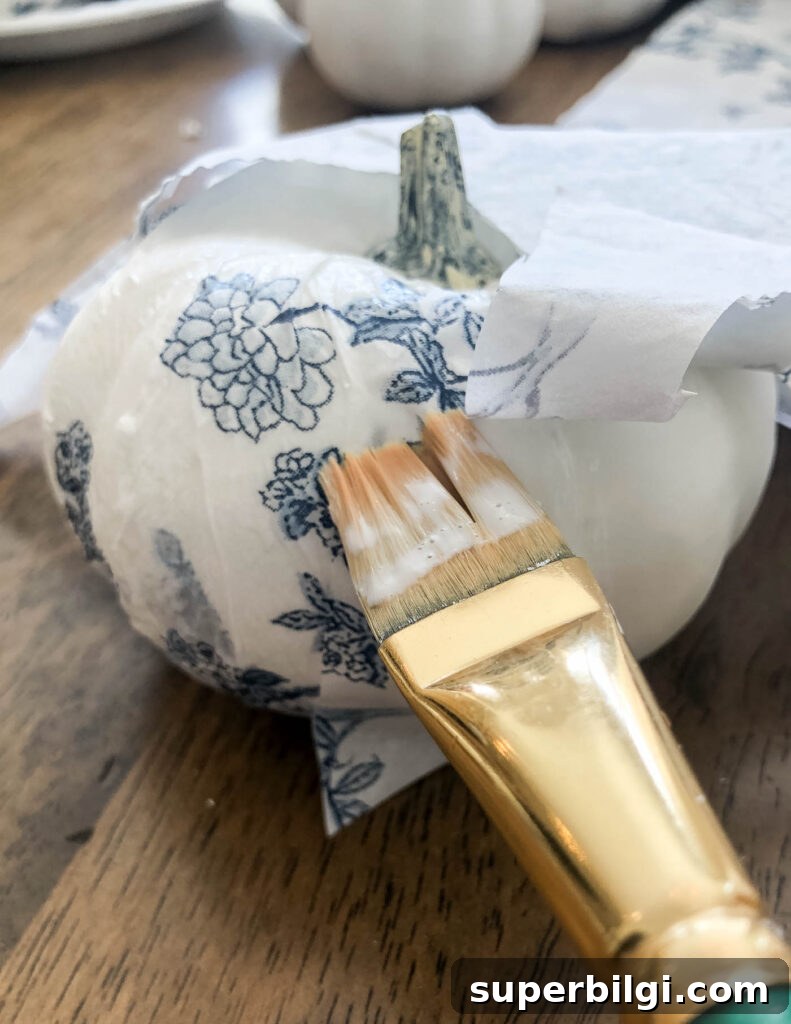
7. Let the Mod Podge dry until it feels tack-free
Allow the glued surface to dry for about an hour or until it no longer feels sticky. Drying time varies with temperature and humidity; a fully dry surface will feel smooth and slightly rigid.
8. Optional: cover the bottom for a finished look
If you want a tidy underside, cut a small matching circle of napkin and glue it to the bottom. Press and let it dry completely before displaying.
That’s all it takes—simple supplies and a little patience yield elegant pumpkin accents. Group several sizes in a shallow bowl layered with moss or greenery for a classic fall centerpiece, or arrange them on a mantel for a refined seasonal vignette.
Tips and variations:
- Use different napkin patterns (floral, geometric, or solid colors) for a mixed-but-coordinated group.
- If you prefer a vintage look, use matte Mod Podge and lightly sand any raised edges once dry.
- For extra durability, apply a thin topcoat of Mod Podge after the first layer has fully dried.
- Try metallic or darker stems to add contrast and visual interest.
More posts you might enjoy:
- Mason Jar Lid Pumpkin Craft
- 13 Adorable Wooden Pumpkins for Any Budget
- The Best Fall Decorating Ideas for a Cozy Home
- Fall Kitchen Decor Ideas
- 25 Amazing DIY Fall Wreaths