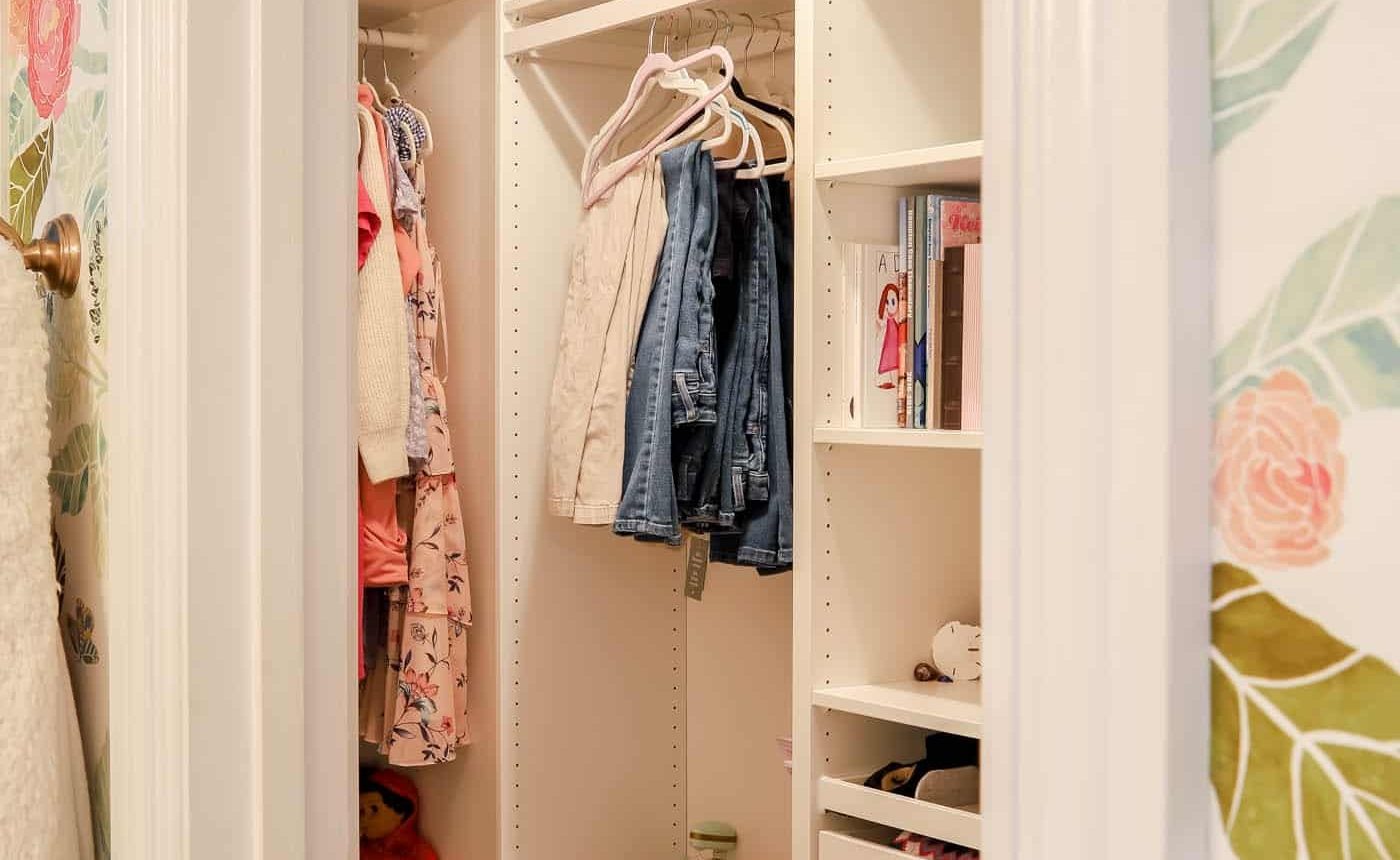
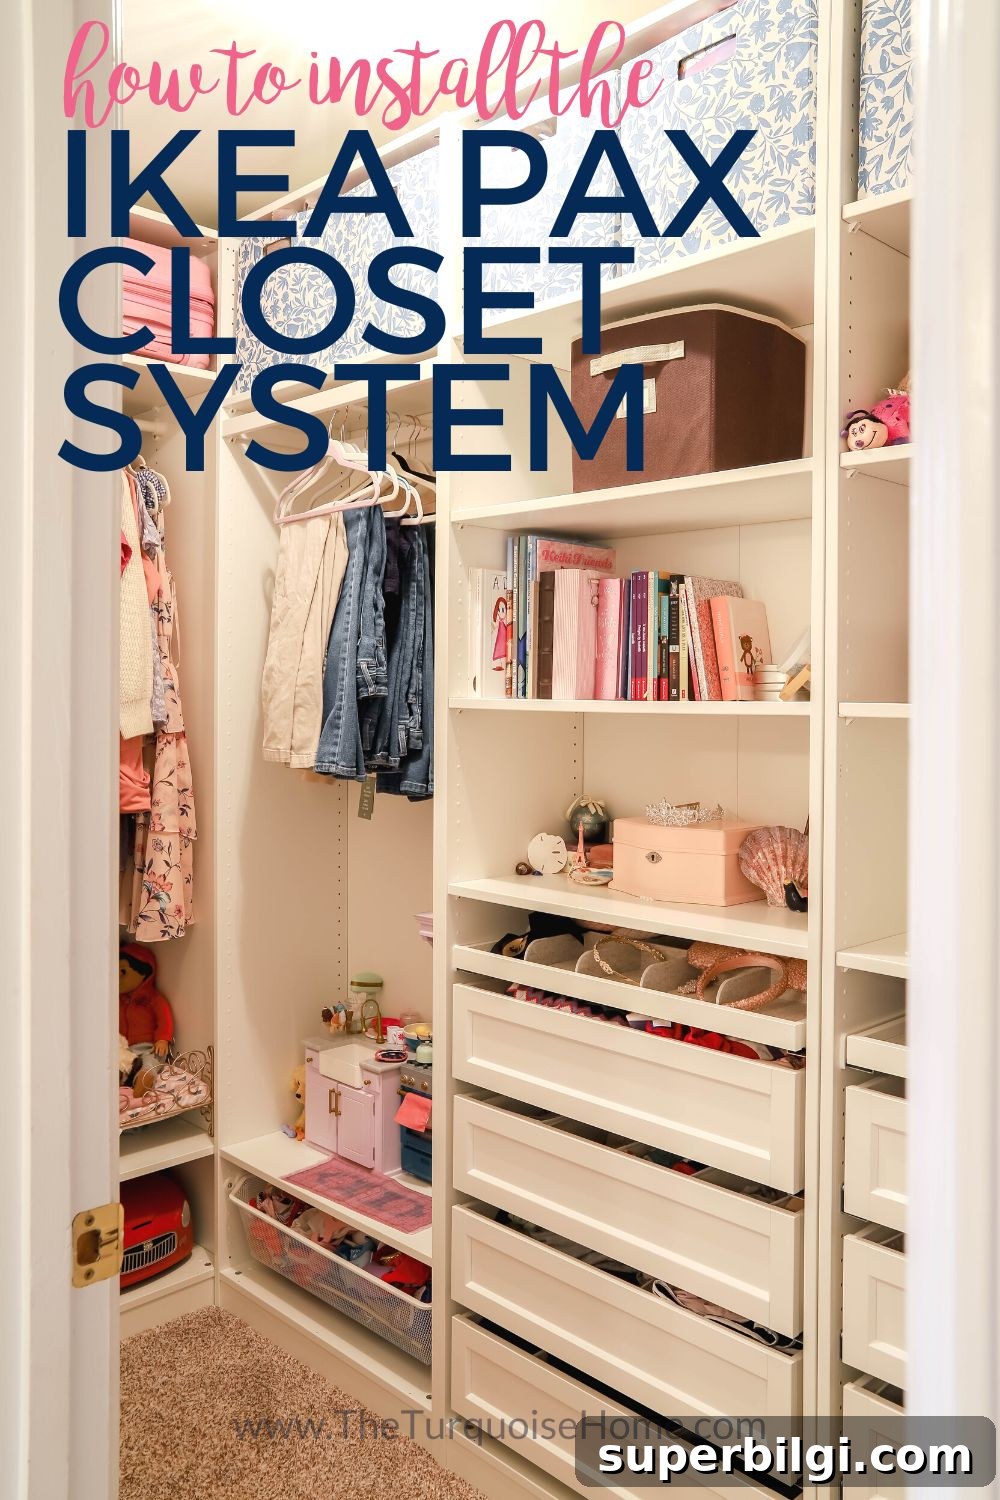
Learn how we transformed a narrow closet with wire shelves into a high-capacity storage space using the IKEA PAX closet system. I share an honest account of planning, delivery, and DIY installation.
This post contains affiliate links for convenience. See my full disclosure policy.
Our daughter’s closet was one of the largest in the house—about 10 feet deep and nearly 5 feet wide—but it was underused and cluttered. Wire shelves and a couple of hanging rods left most of the space inefficient and awkward. She needed drawers and shelves that made sense for folded clothes, accessories, and toys.
Wire shelving has a place, but for bedroom closets it often leaves wasted vertical space and poor organization. We have similar wire shelving throughout our home, and this closet project was the first of several planned updates.
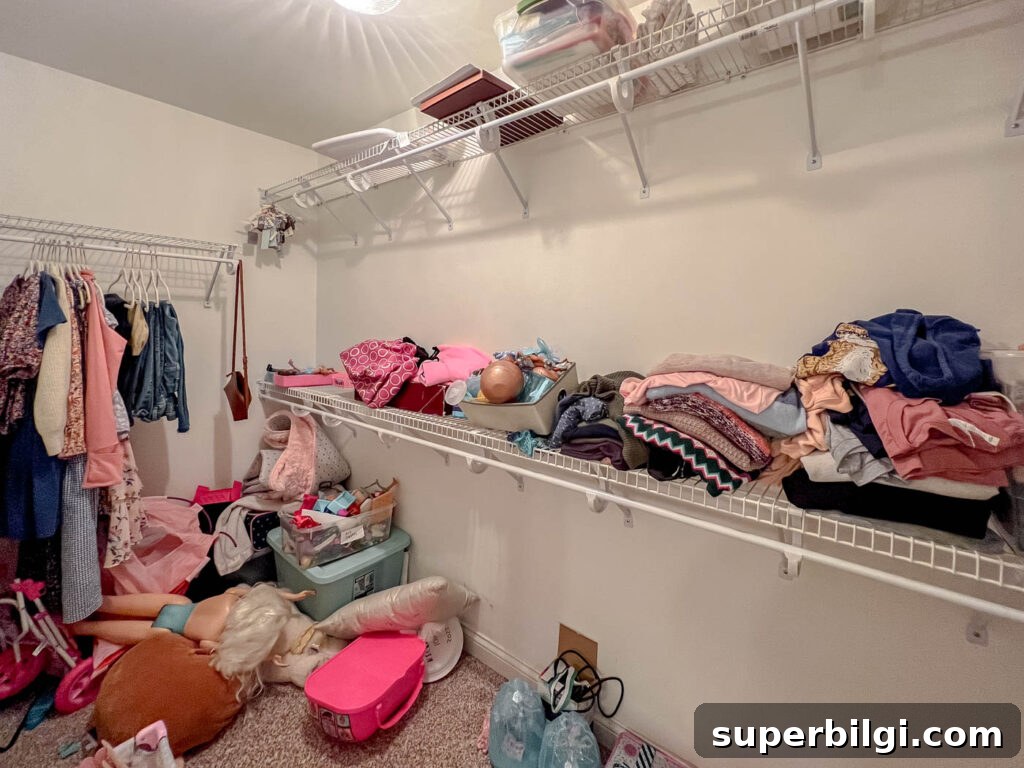
I prioritized this closet because reclaiming storage here would free up a dresser for my younger daughter. With the right system, everything could fit in the closet and the dresser could be passed down—an easy win.
Choosing the Right Closet System
My selection criteria were simple: the system needed to use the space efficiently with minimal wasted areas, and it needed to be budget-friendly without sacrificing quality. We weren’t dealing with awkward corners or windows, so a mostly standard system made sense.
IKEA’s PAX closet system fit those needs. It’s customizable enough for most walk-in closets and significantly less expensive than fully customized options from other closet companies. For a closet that doesn’t require extensive modifications, PAX delivers a combination of functionality, parts availability, and cost-effectiveness.
Before you Start
Measure carefully—more than once. Measure the wall space, ceiling height, and the exact locations of light fixtures, switches, outlets, and doorways. These details determine the depth and configuration of frames and accessories.
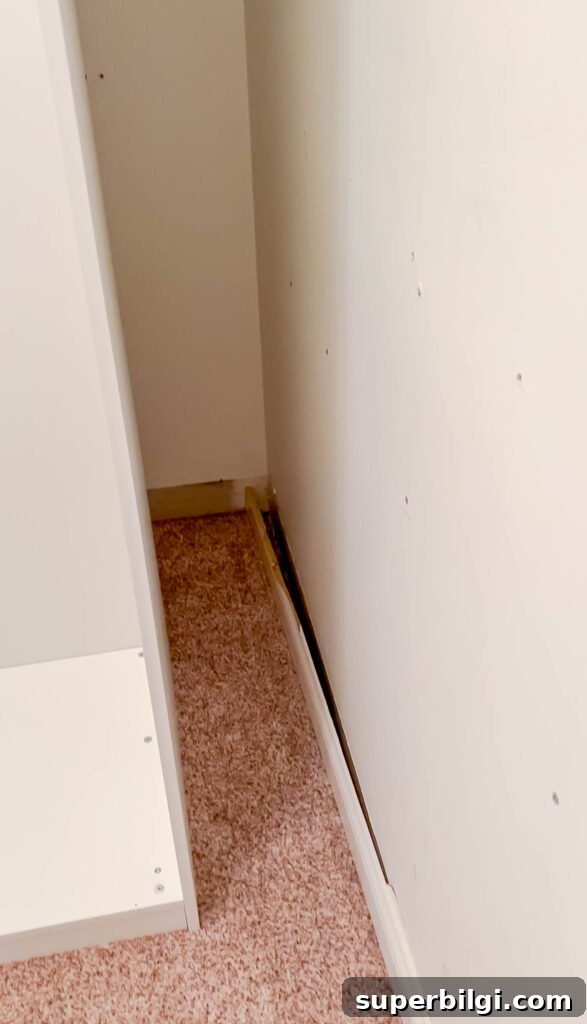
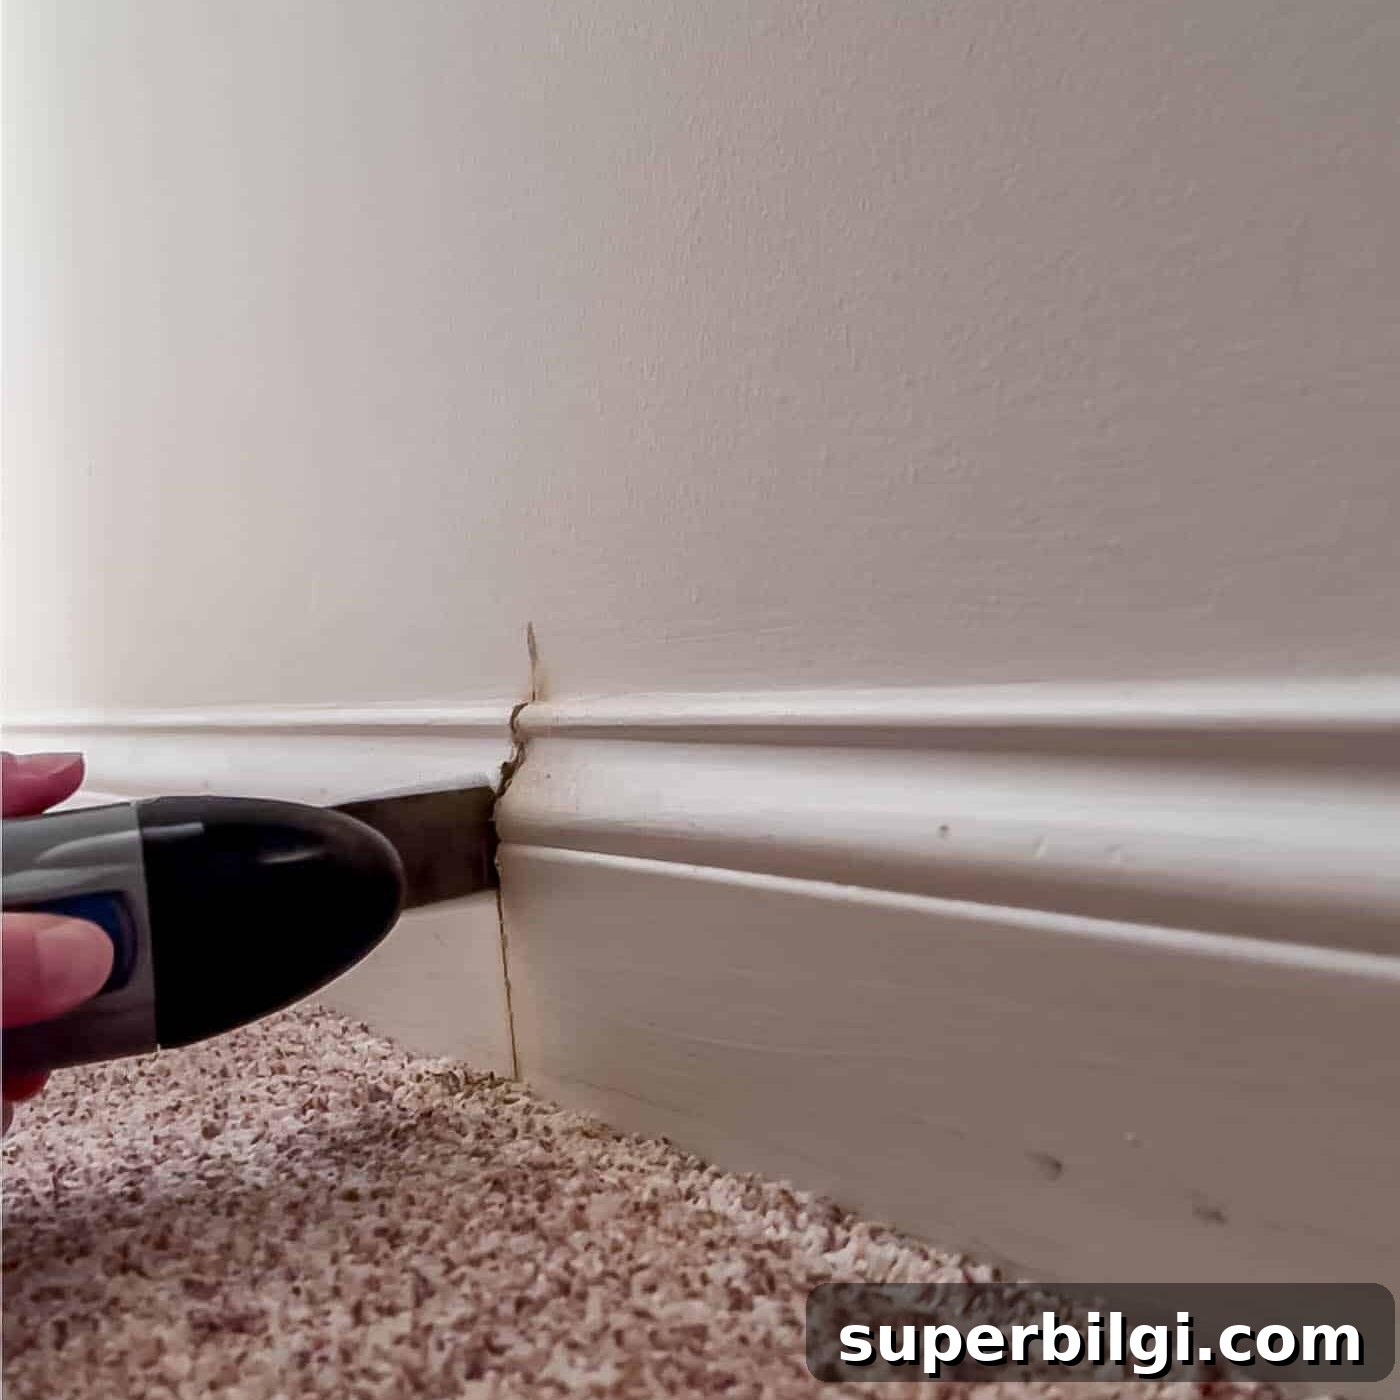
I nearly ordered frames that were too deep and would have hit a light fixture. Re-measuring saved me from that mistake. I also removed baseboards where the wardrobe frames would sit, but only after building the frames and confirming their placement to avoid cutting in the wrong spot.
The PAX Closet Planning Tool
IKEA’s PAX planning tool is very helpful. It lets you visualize the closet layout and try multiple configurations before ordering. PAX frames come in several widths, two depths, and two heights. With 8-foot ceilings we chose the taller frames.
For our layout, the back wall used deeper frames for long-hang space, while the long side wall used shallower frames to maximize walking clearance. The planning tool suggested configurations and, at the time of planning, it helped me work through the most efficient placement for hanging, drawers, and shelves.
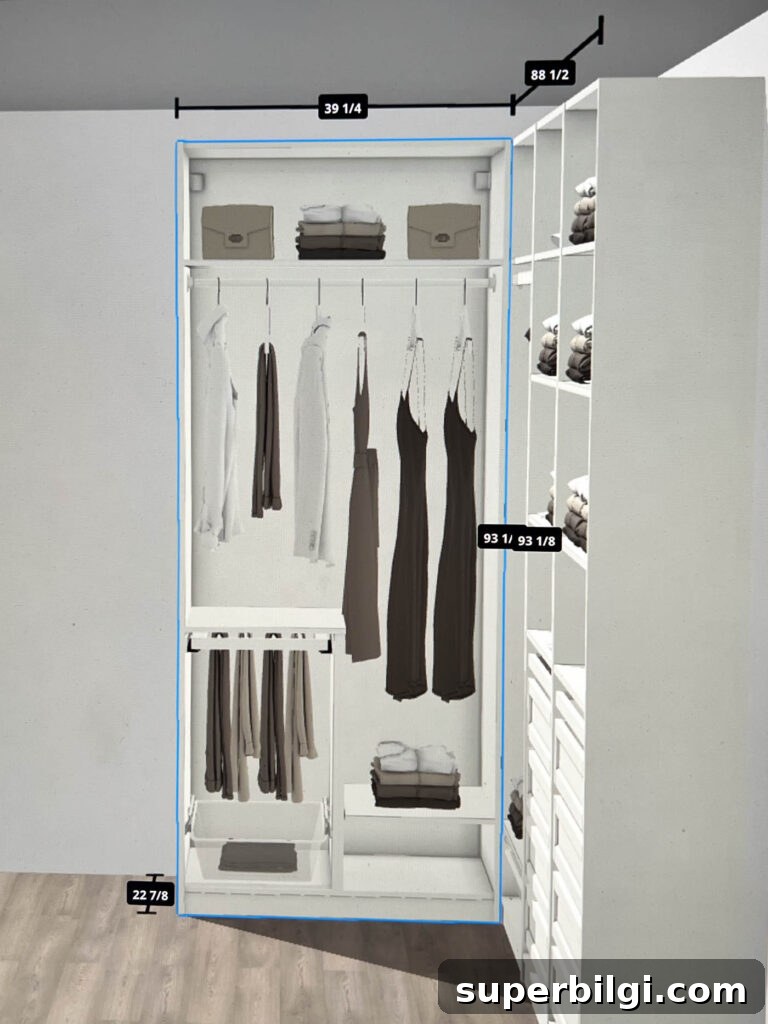
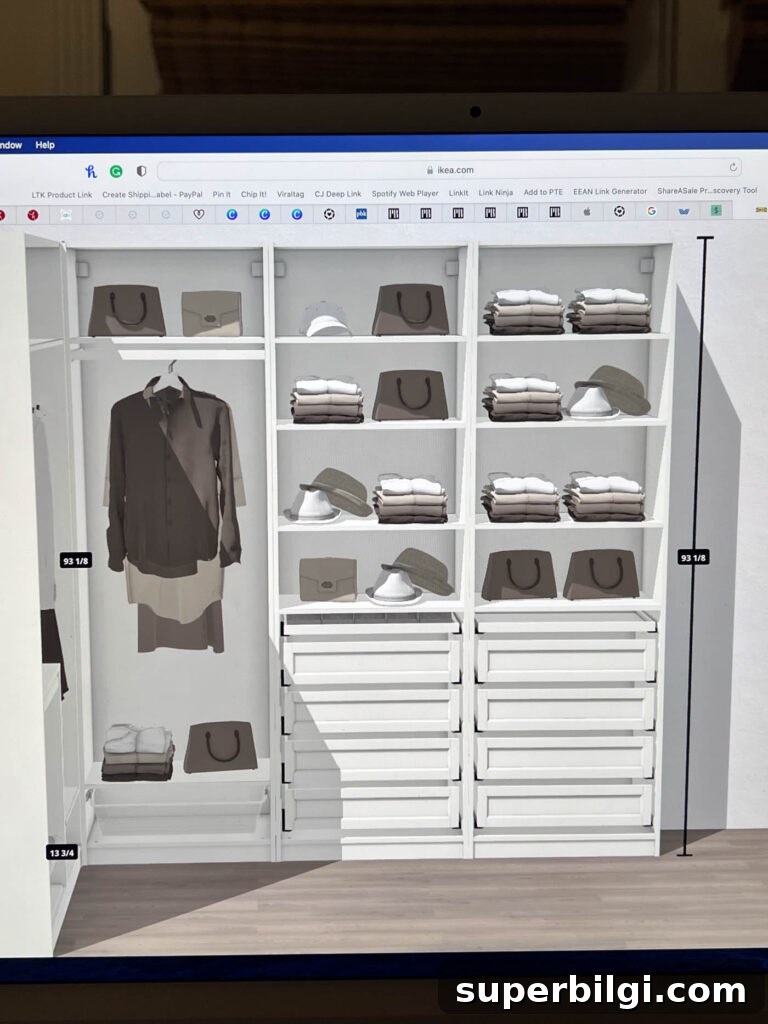
We used one wider frame on the short wall and three narrower frames on the long wall, leaving a little floor space at the end for a slim hamper. That extra clearance proved practical and was intentional.
Building the Closet Frames
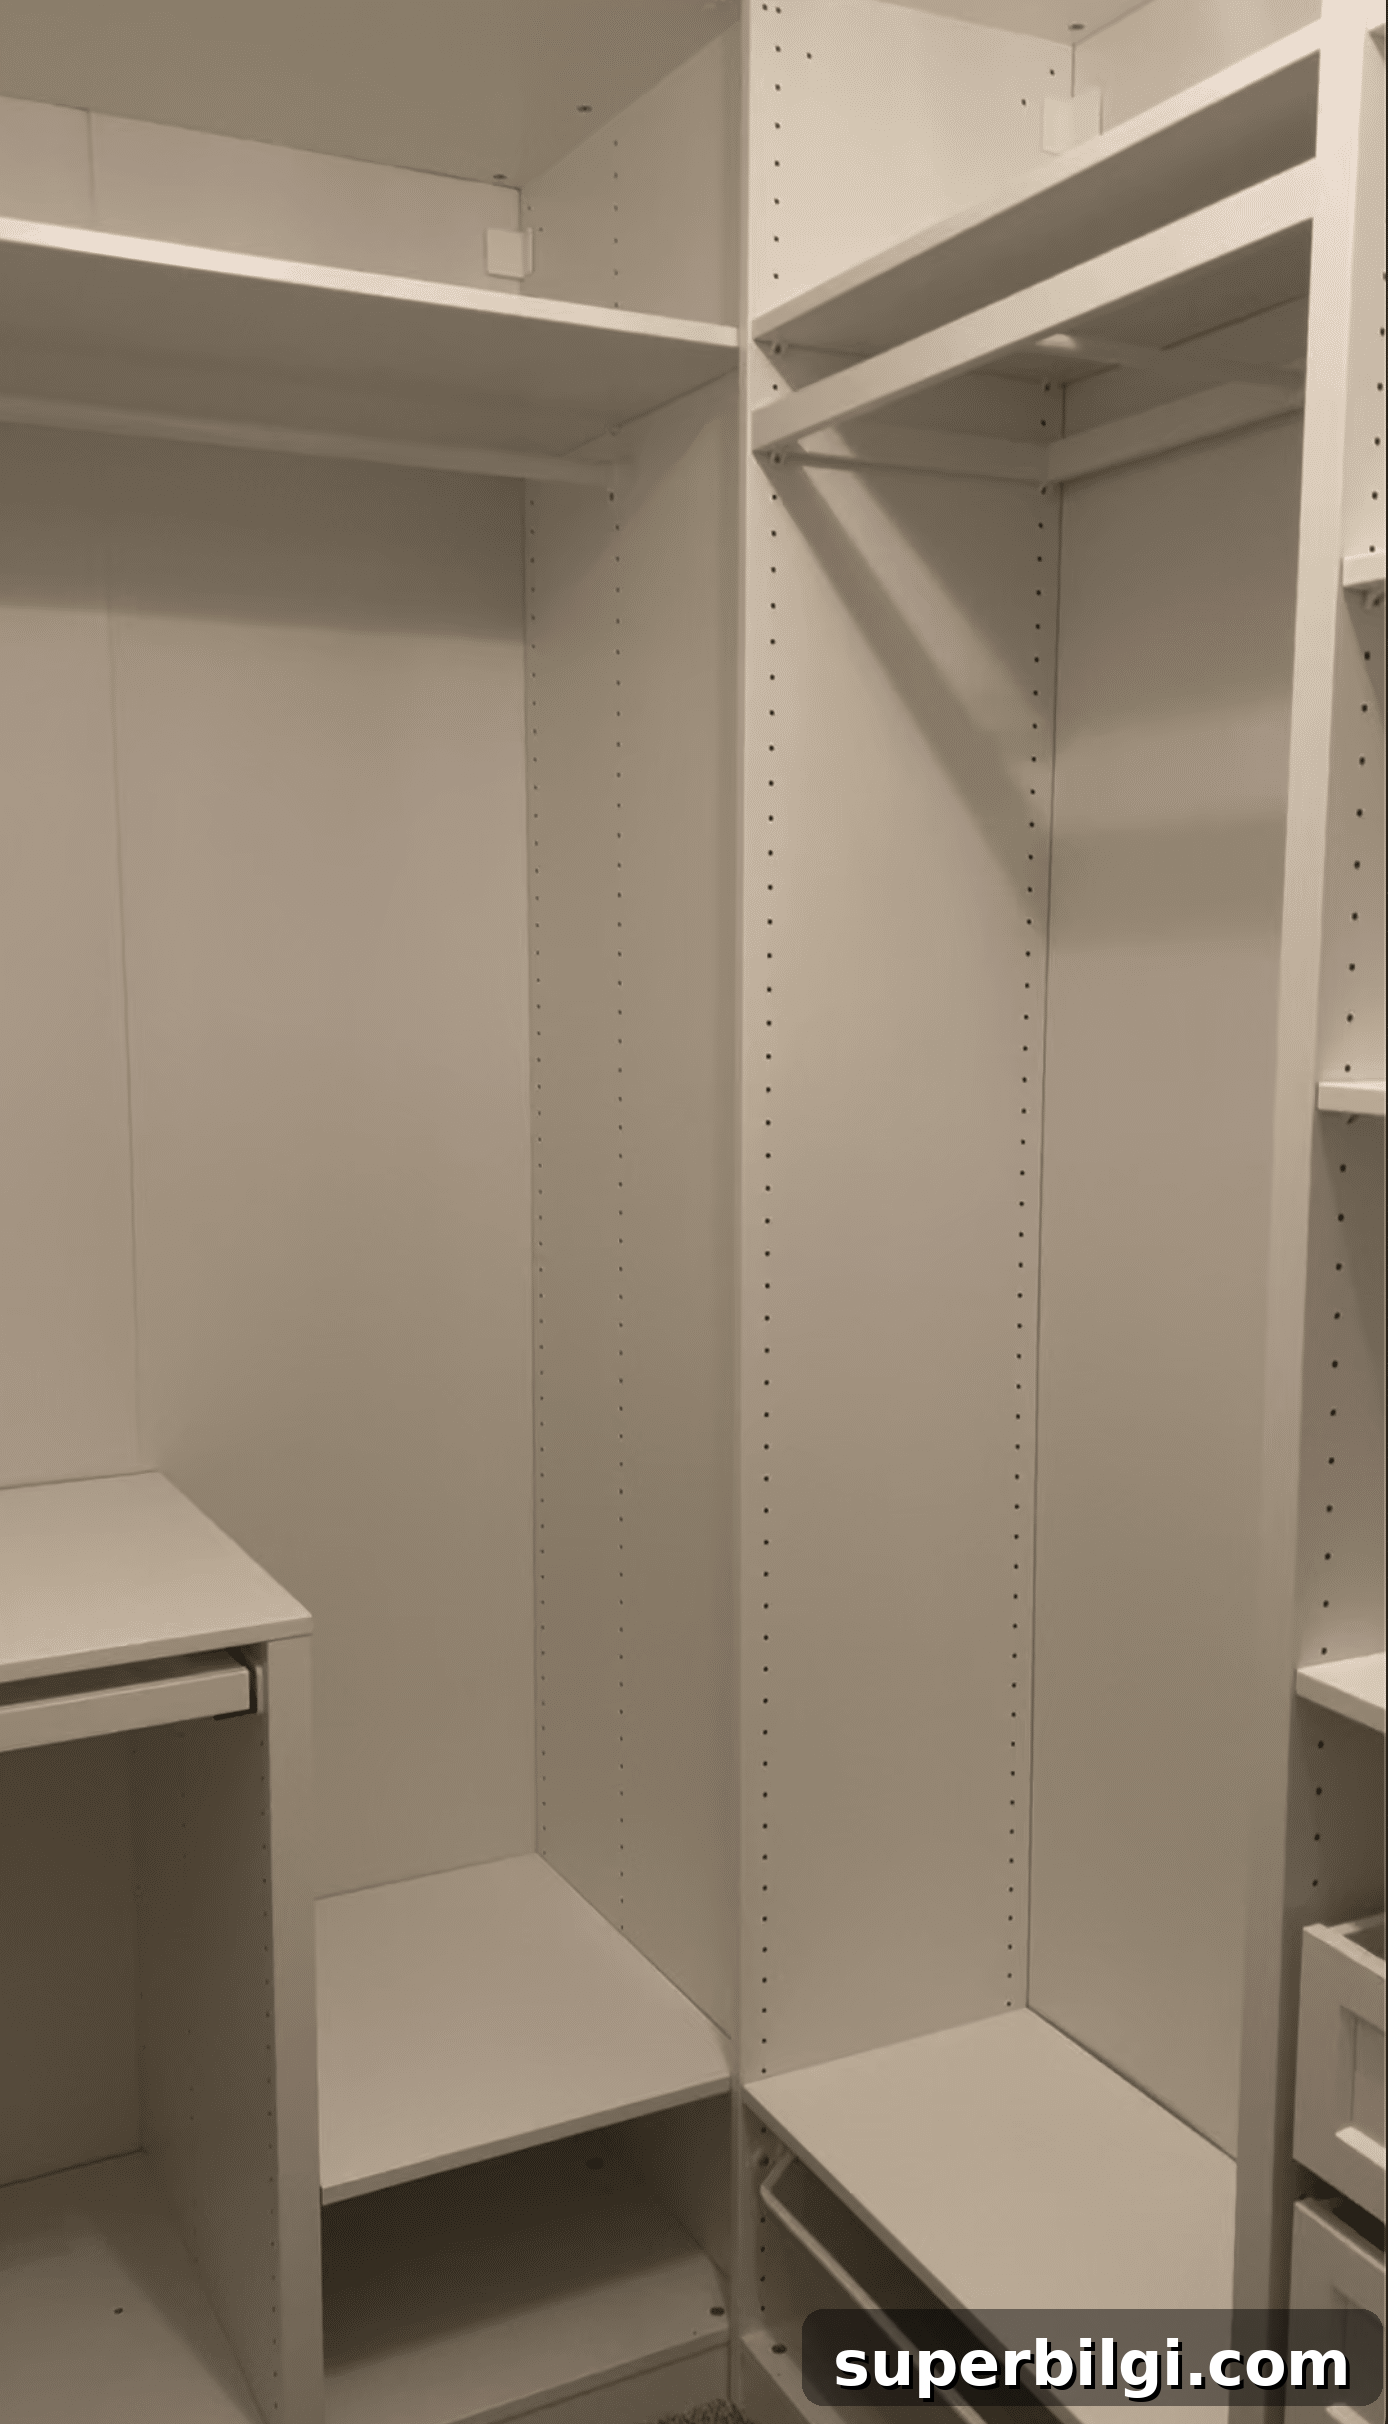
IKEA instructions are visual, so read through them carefully before starting. Take your time on the first frame to get comfortable with the steps. I made a mistake installing a large back panel backward on one frame because I rushed, which meant undoing and reassembling—so patience matters.
Tools you’ll need: hammer, drill, and a level. Build frames on the floor if space allows; otherwise assemble them standing up inside the closet. Secure each frame to the wall using the provided attachments and fasten adjacent frames together using the screws in locations that won’t interfere with interior accessories. I installed the interior accessories first, then secured frames together.
PAX Interior Accessories
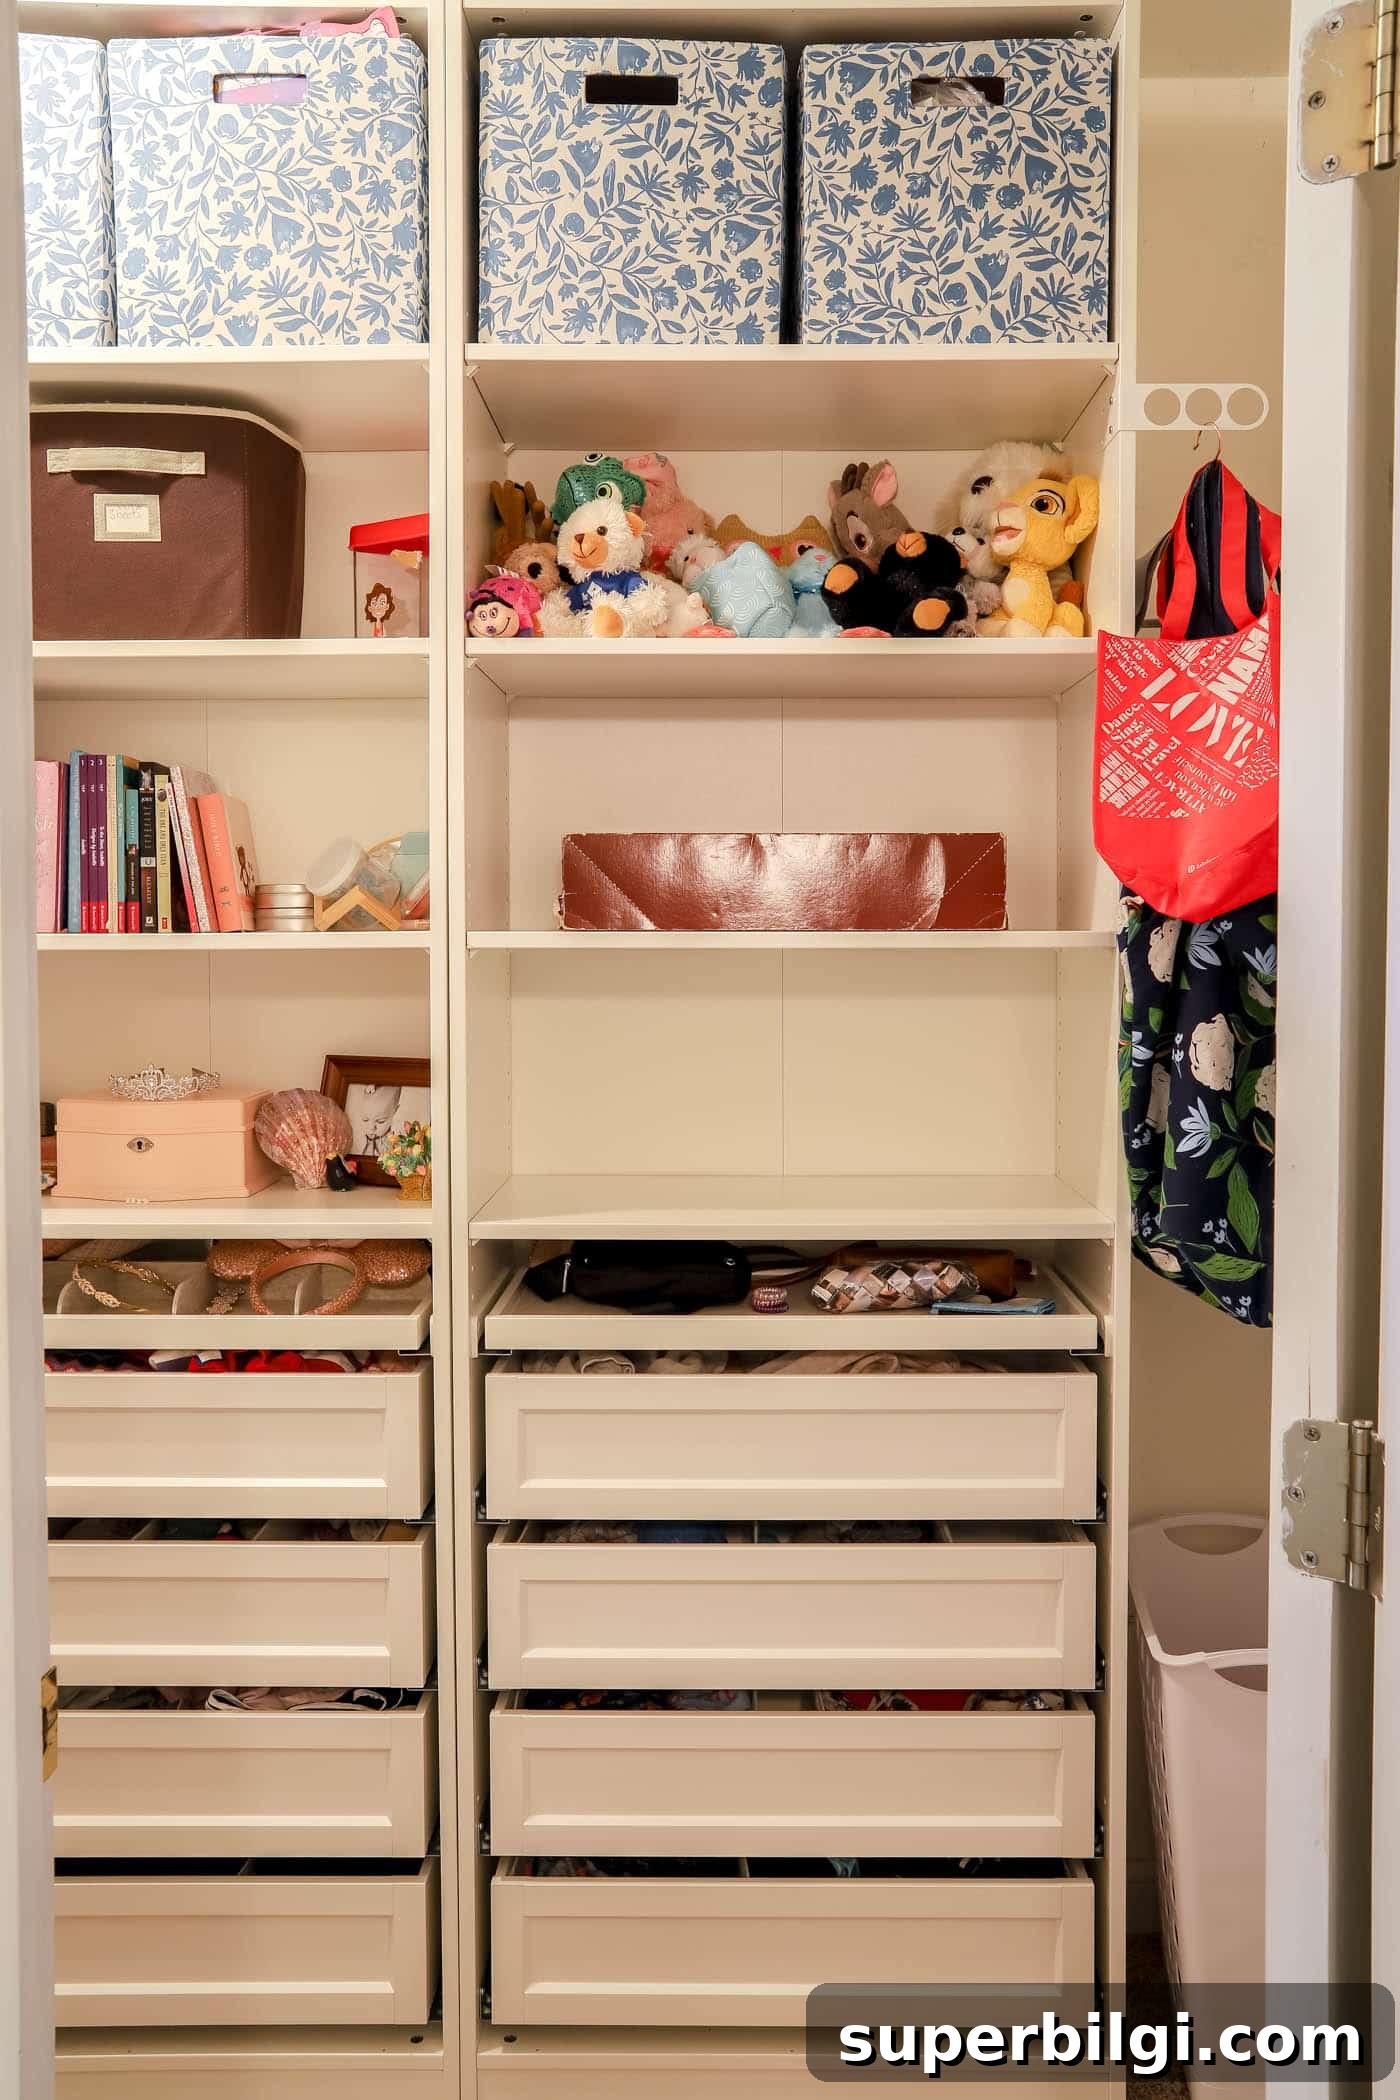
Choosing drawers, shelves, and accessories is the fun part. We used a mix of standard white KOMPLEMENT shelves and drawers and added several practical accessories to make the closet flexible for years to come.
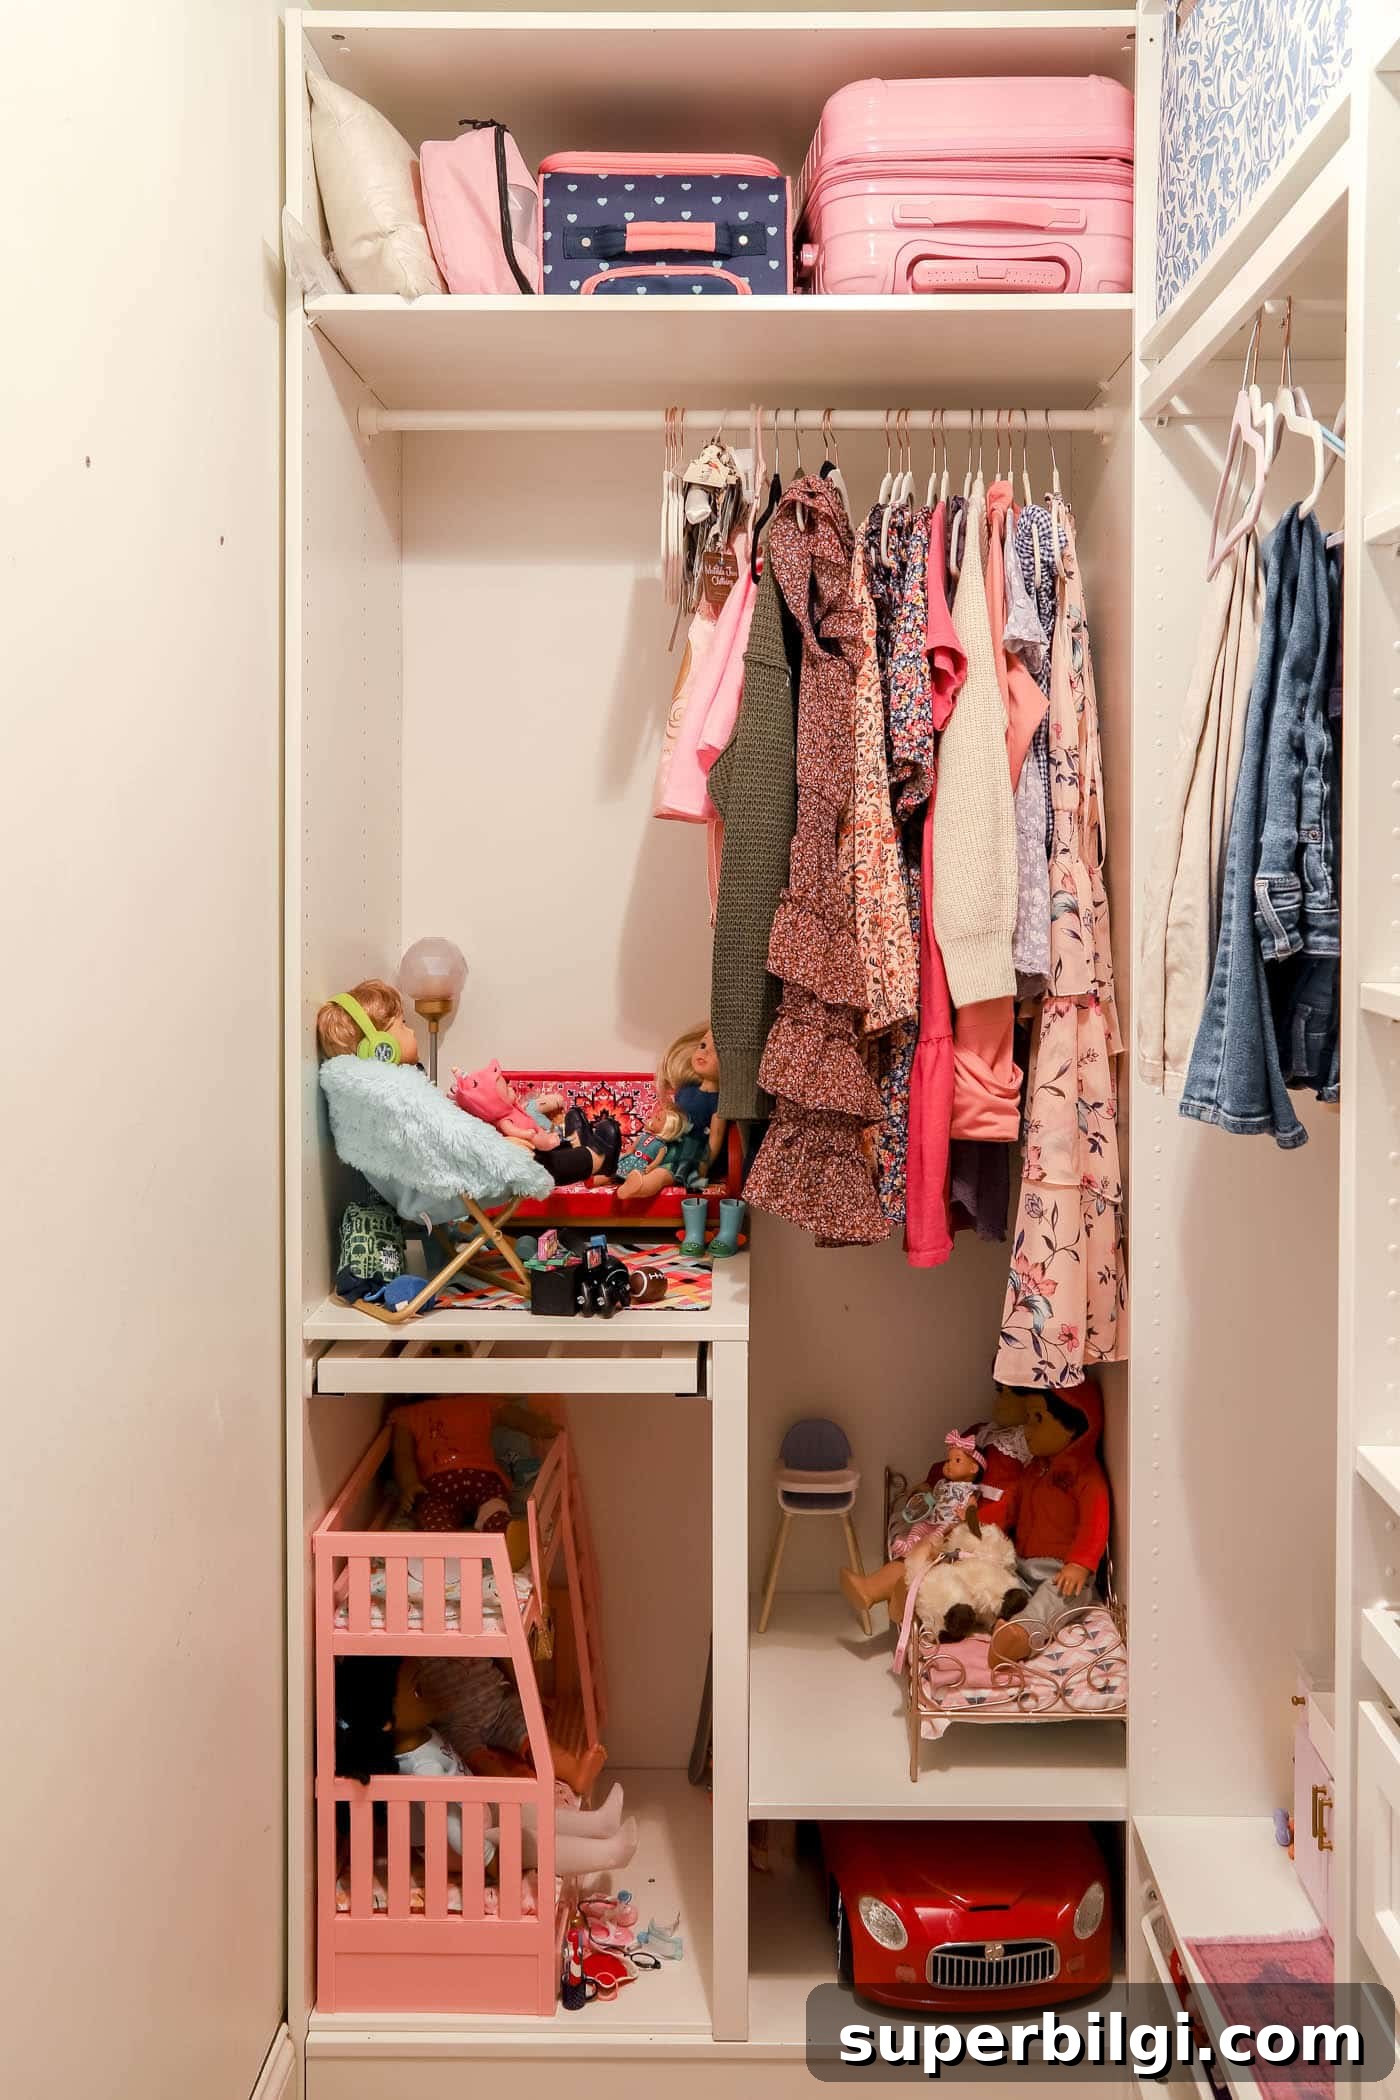
Note: many of the photos show American Girl dolls and accessories—this is a pre-teen’s closet that will evolve from toy storage to more clothing and accessories over time.
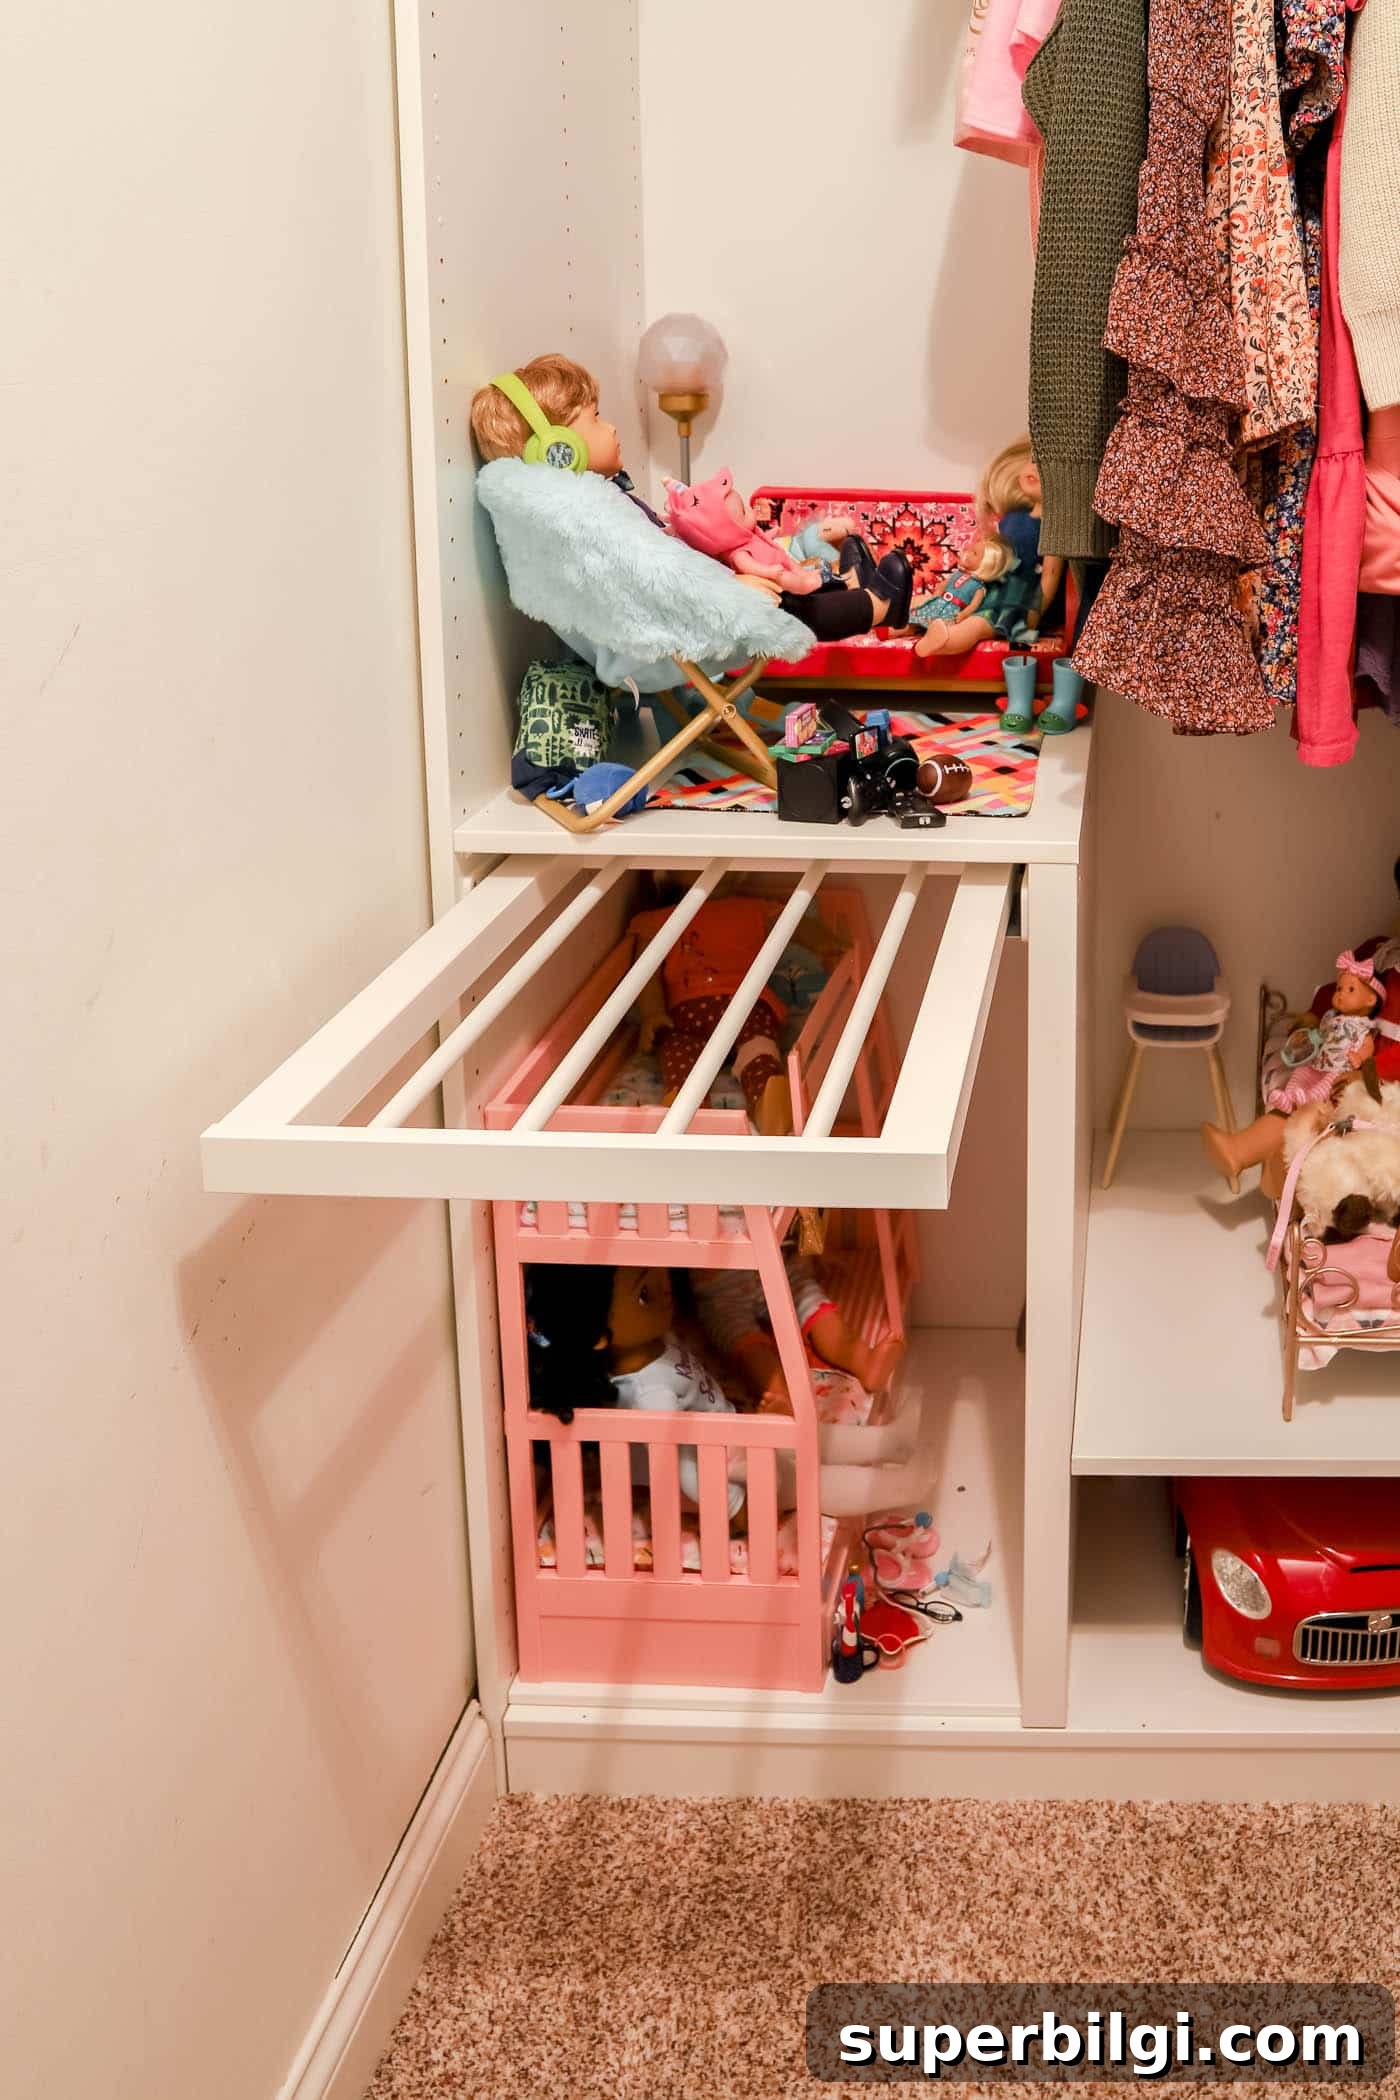
KOMPLEMENT Pull-Out Pants Hanger
The pull-out pants hanger is clever and will hold multiple pairs efficiently in deeper frames. In the shallower frames it accommodates one pair per rail, which still saves hanging space compared to standard rods.
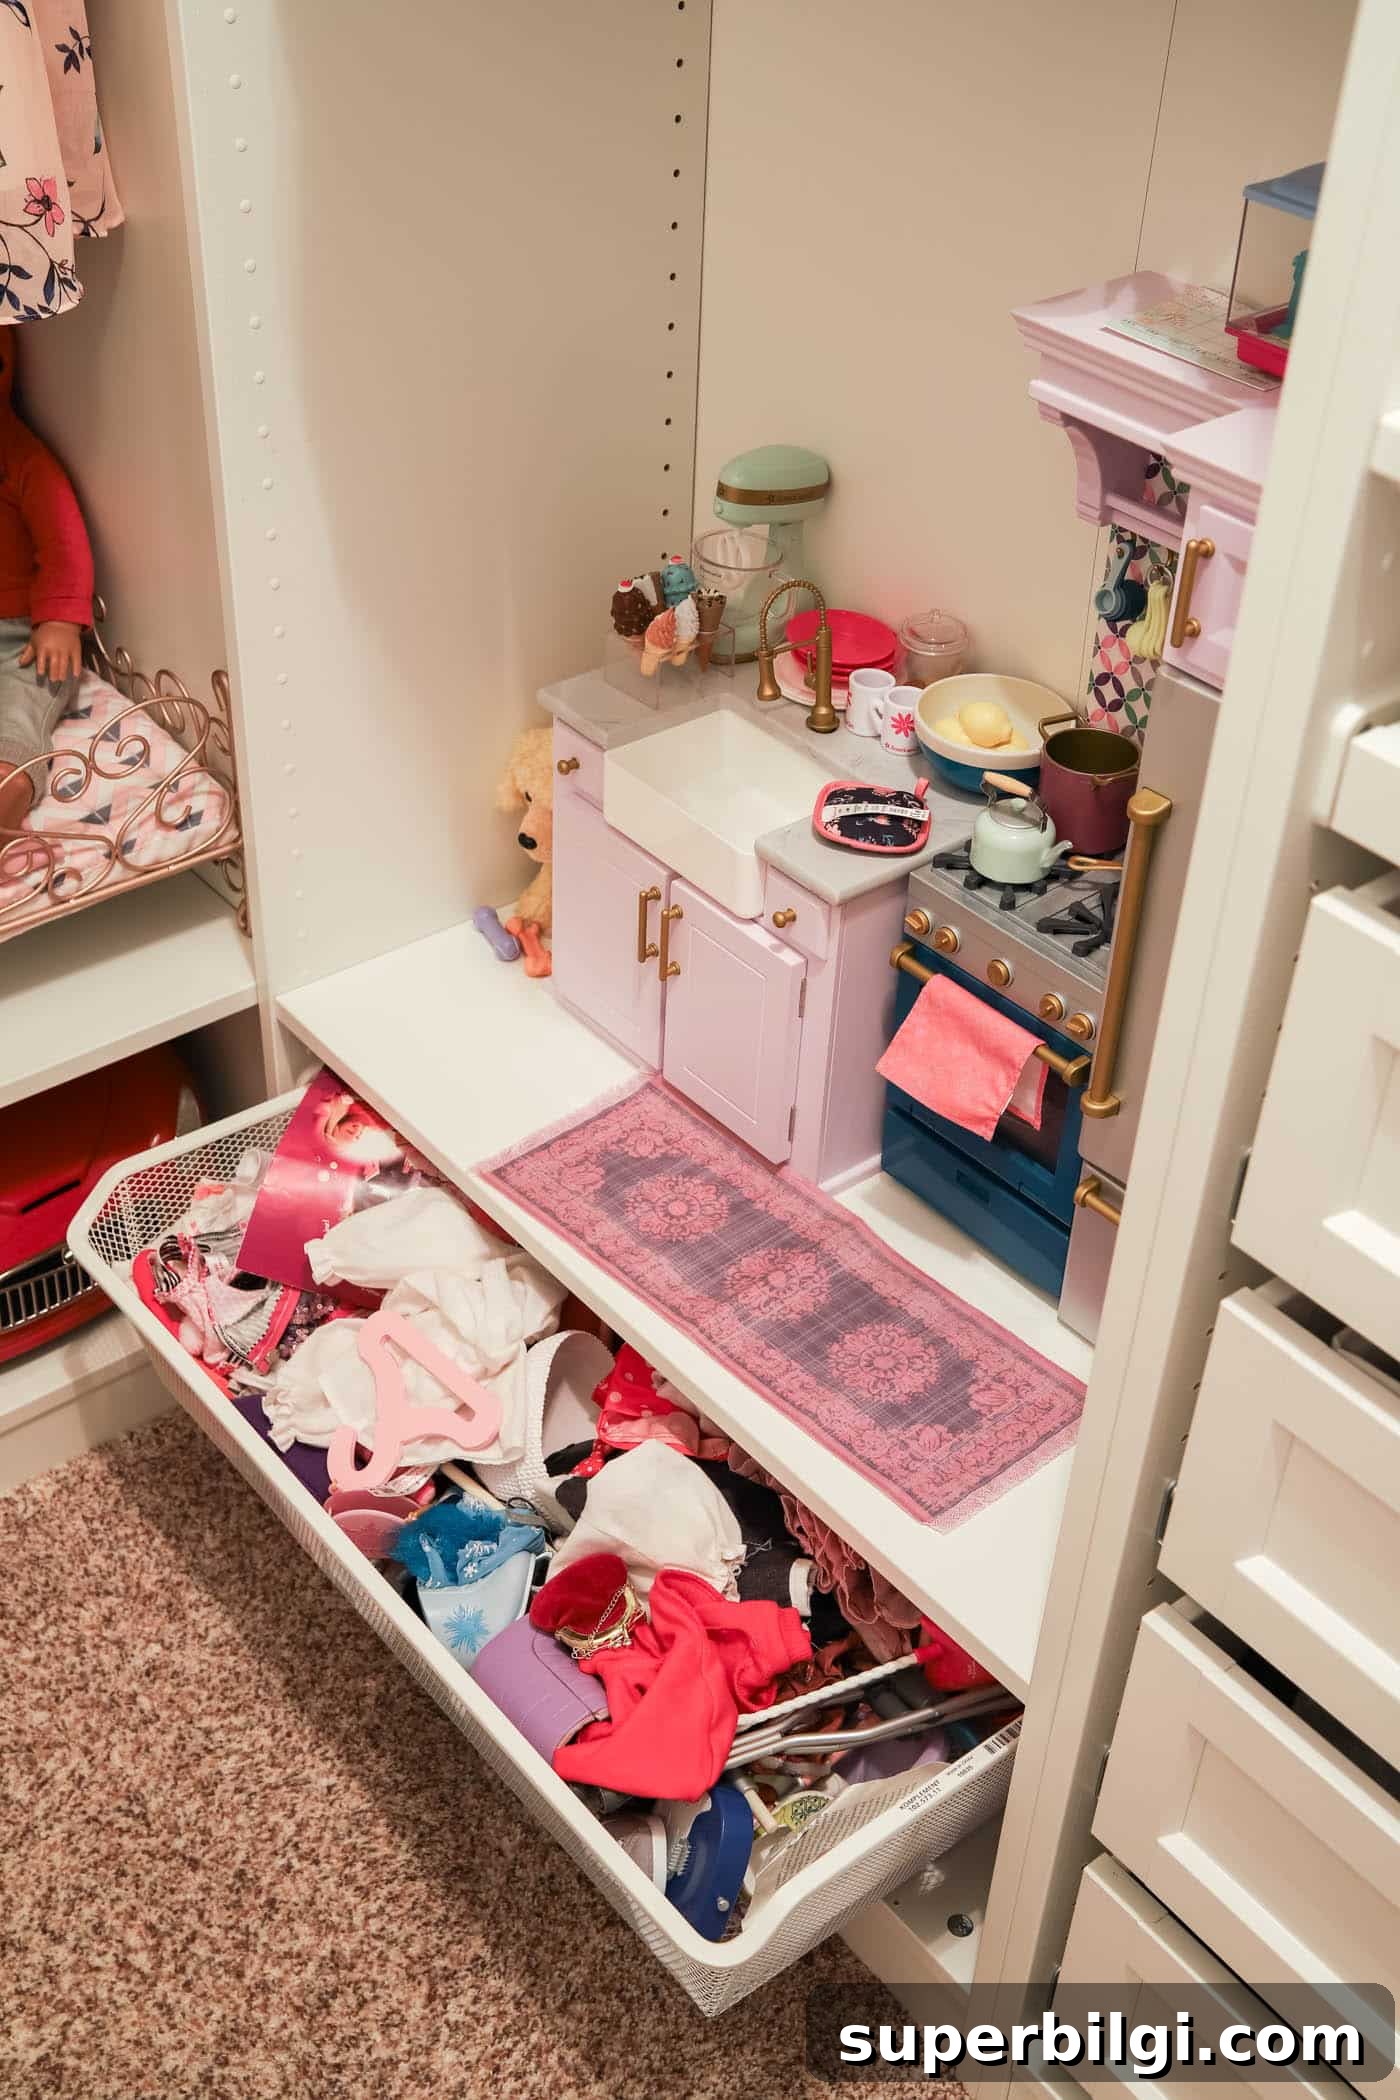
KOMPLEMENT Mesh Pull-Out Basket
The mesh basket is versatile: shoes, toys, or laundry. It provides airflow, which is great for footwear and soft items. We use ours for toy storage in the short term.
Basic Clothes Rail vs. KOMPLEMENT Clothes Rod
Depth determines the hanging solution: deeper (22″) frames fit a standard side-by-side rail, while shallower (13″) frames use a front-facing KOMPLEMENT clothes rod. We used the deeper frames on the back wall so most clothing hangs side-by-side, keeping the front-facing option for items we want on display.
IKEA KOMPLEMENT Shelving
Standard KOMPLEMENT shelves are versatile and inexpensive. We added shelves above drawers to keep the top of each drawer accessible and dust-free. The top shelves were positioned to fit storage bins perfectly, which keeps seasonal or rarely used items organized.
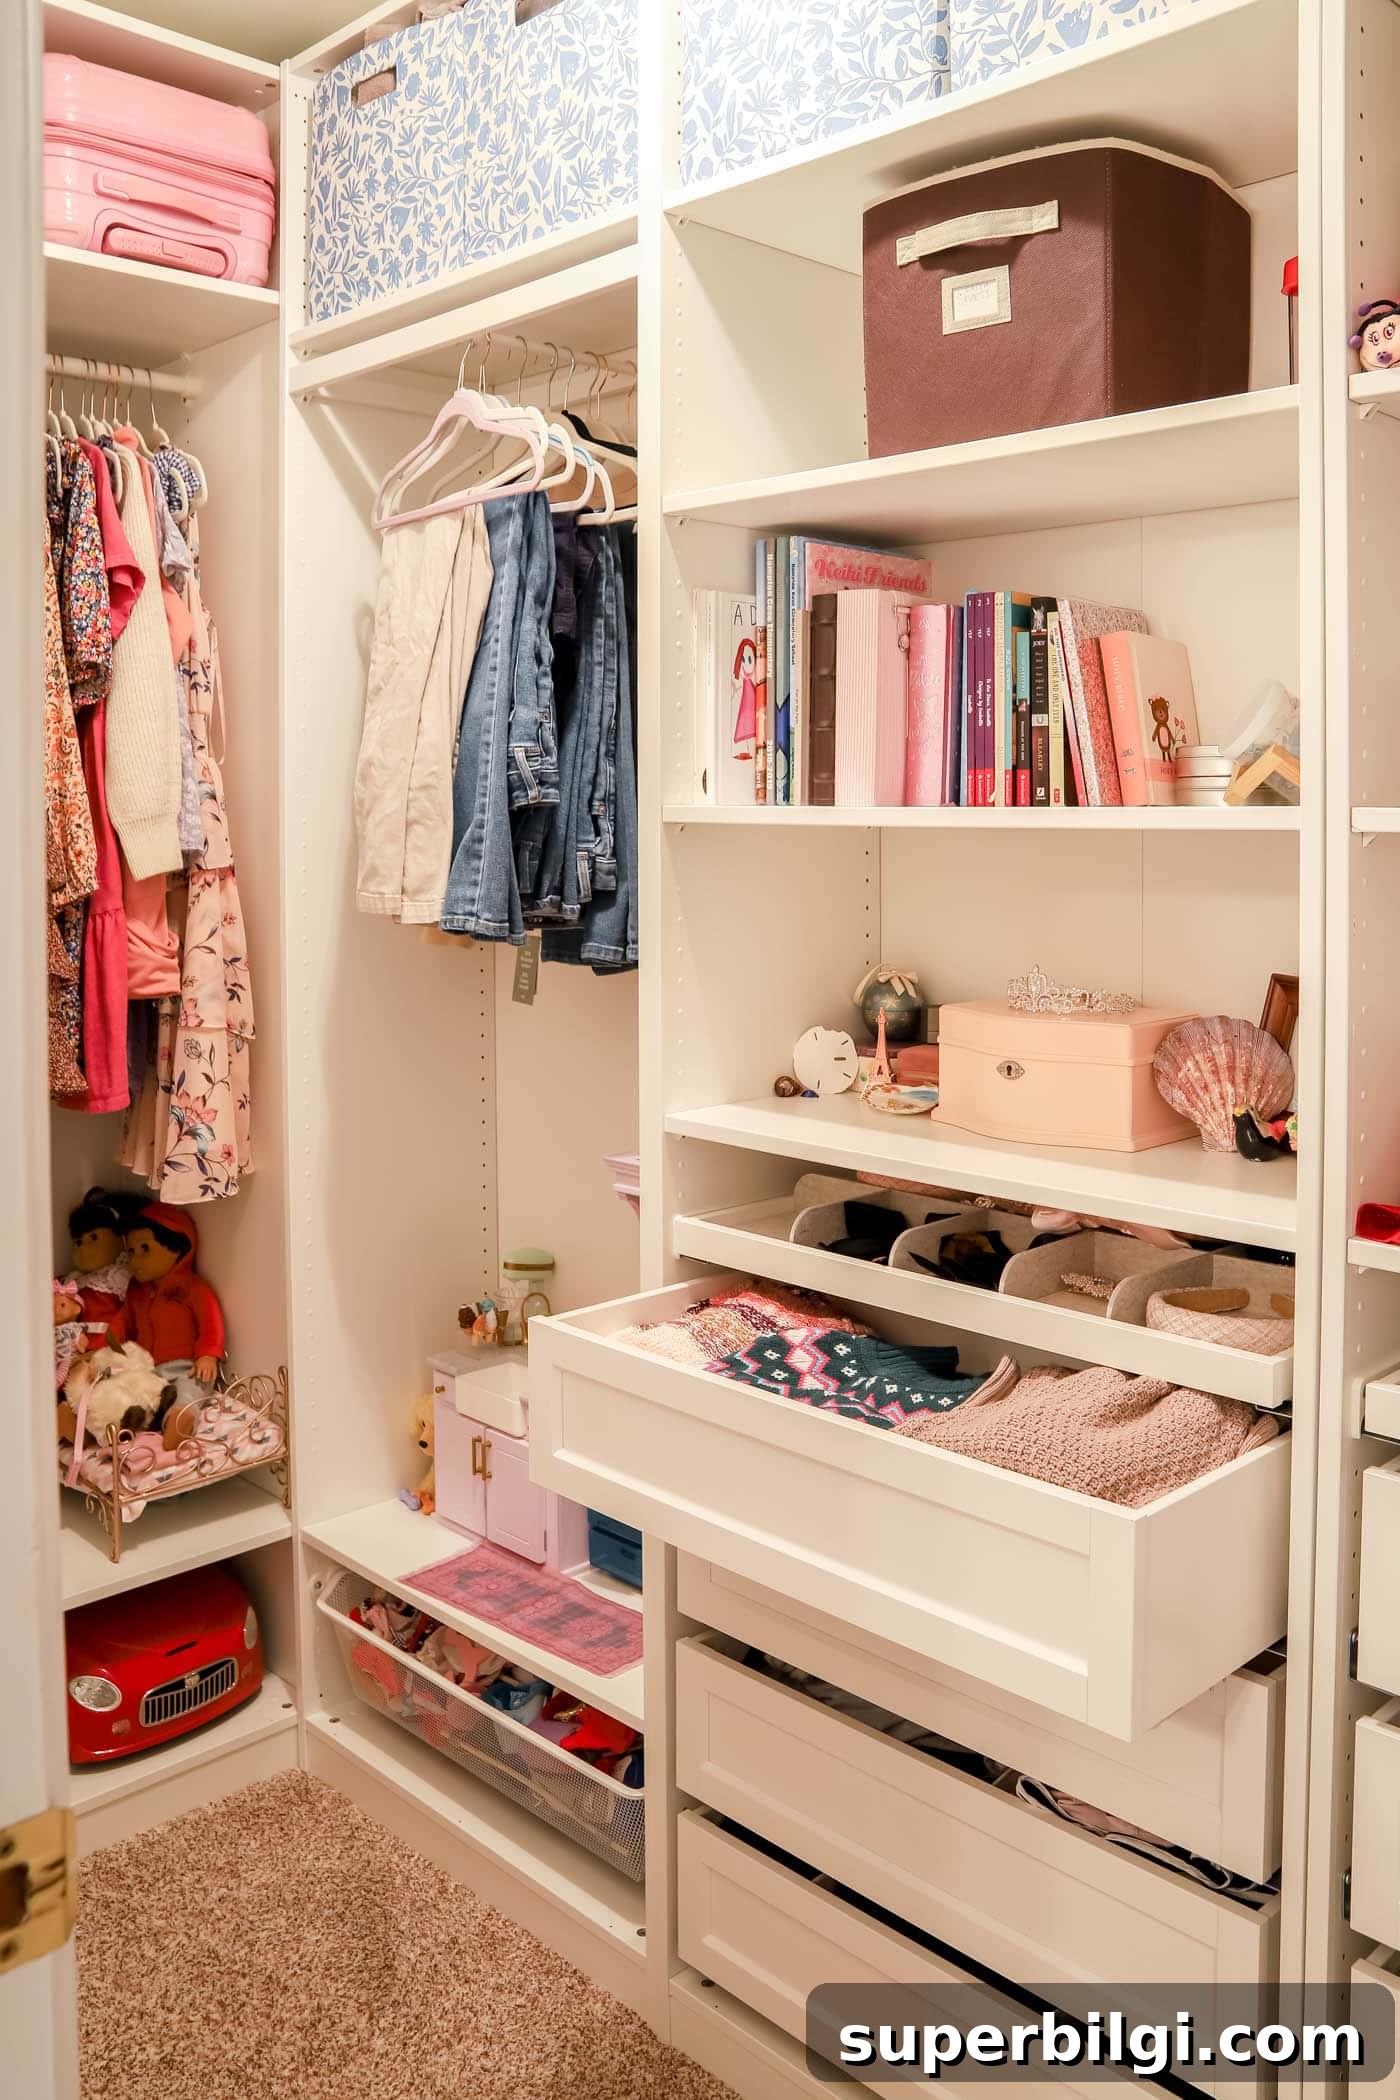
A small jewelry drop zone near the mirror keeps daily accessories off counters and makes morning routines easier.
KOMPLEMENT Drawers with Framed Fronts
We selected drawers with framed fronts for a classic look. The drawers are easy to assemble, have soft-close slides, and hold a surprising amount of clothing. Drawer organizers are available if you want internal compartments for socks and underwear.
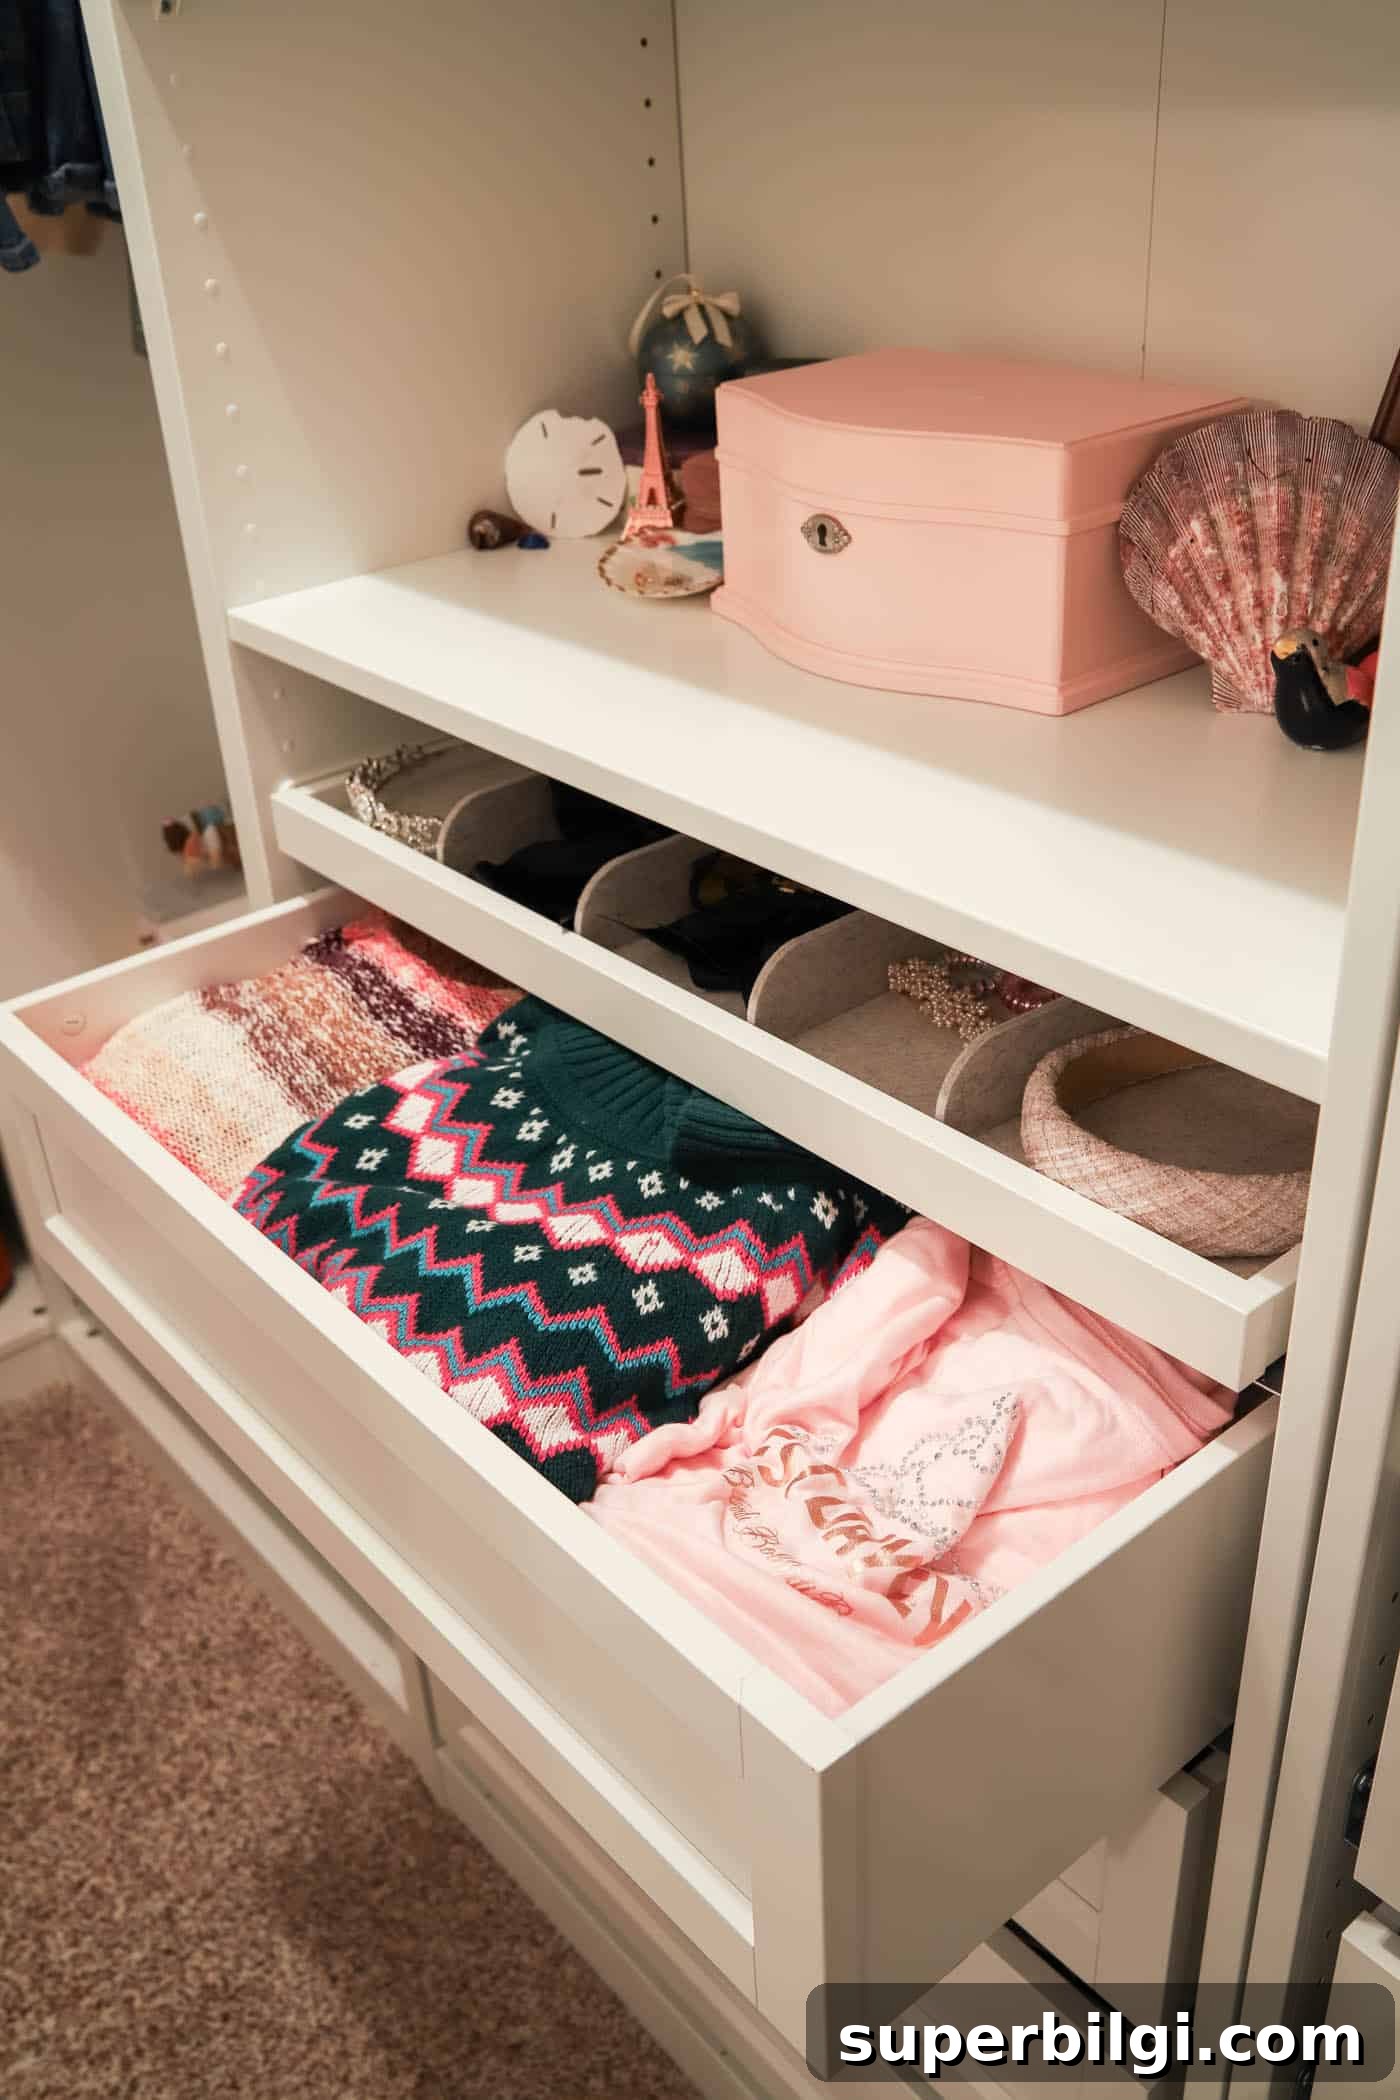
KOMPLEMENT Pull-Out Trays with Inserts
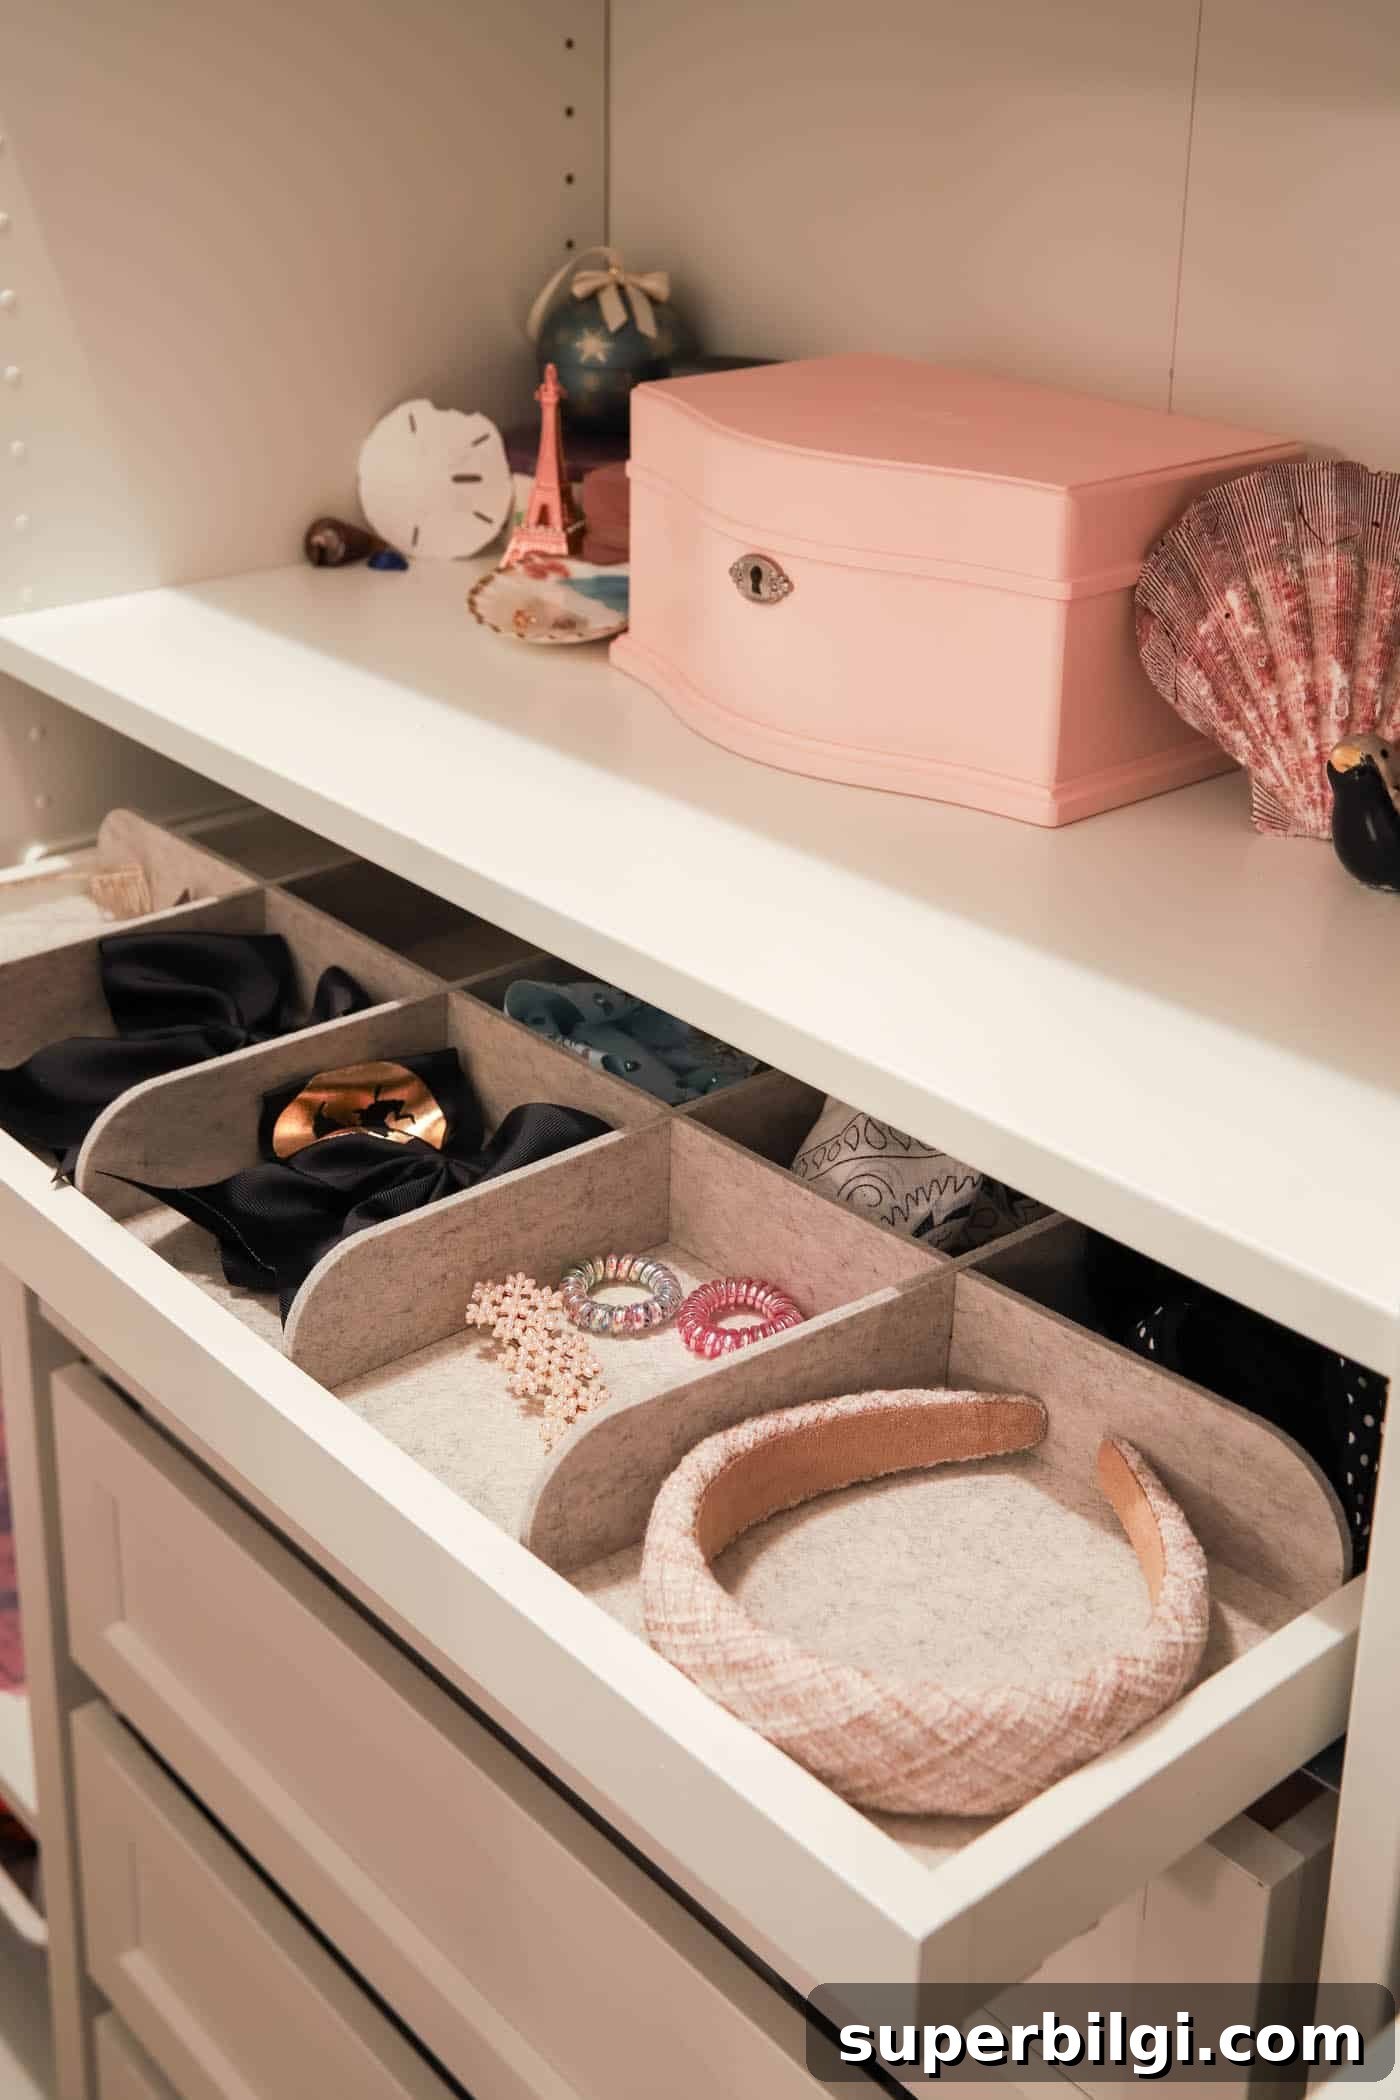
Pull-out trays with felt liners and dividers are ideal for small accessories—bows, hair clips, jewelry, and small bags. They keep items contained and easy to see. We used felt liners and separate dividers where the bundled options were not available.
KOMPLEMENT Valet Hanger
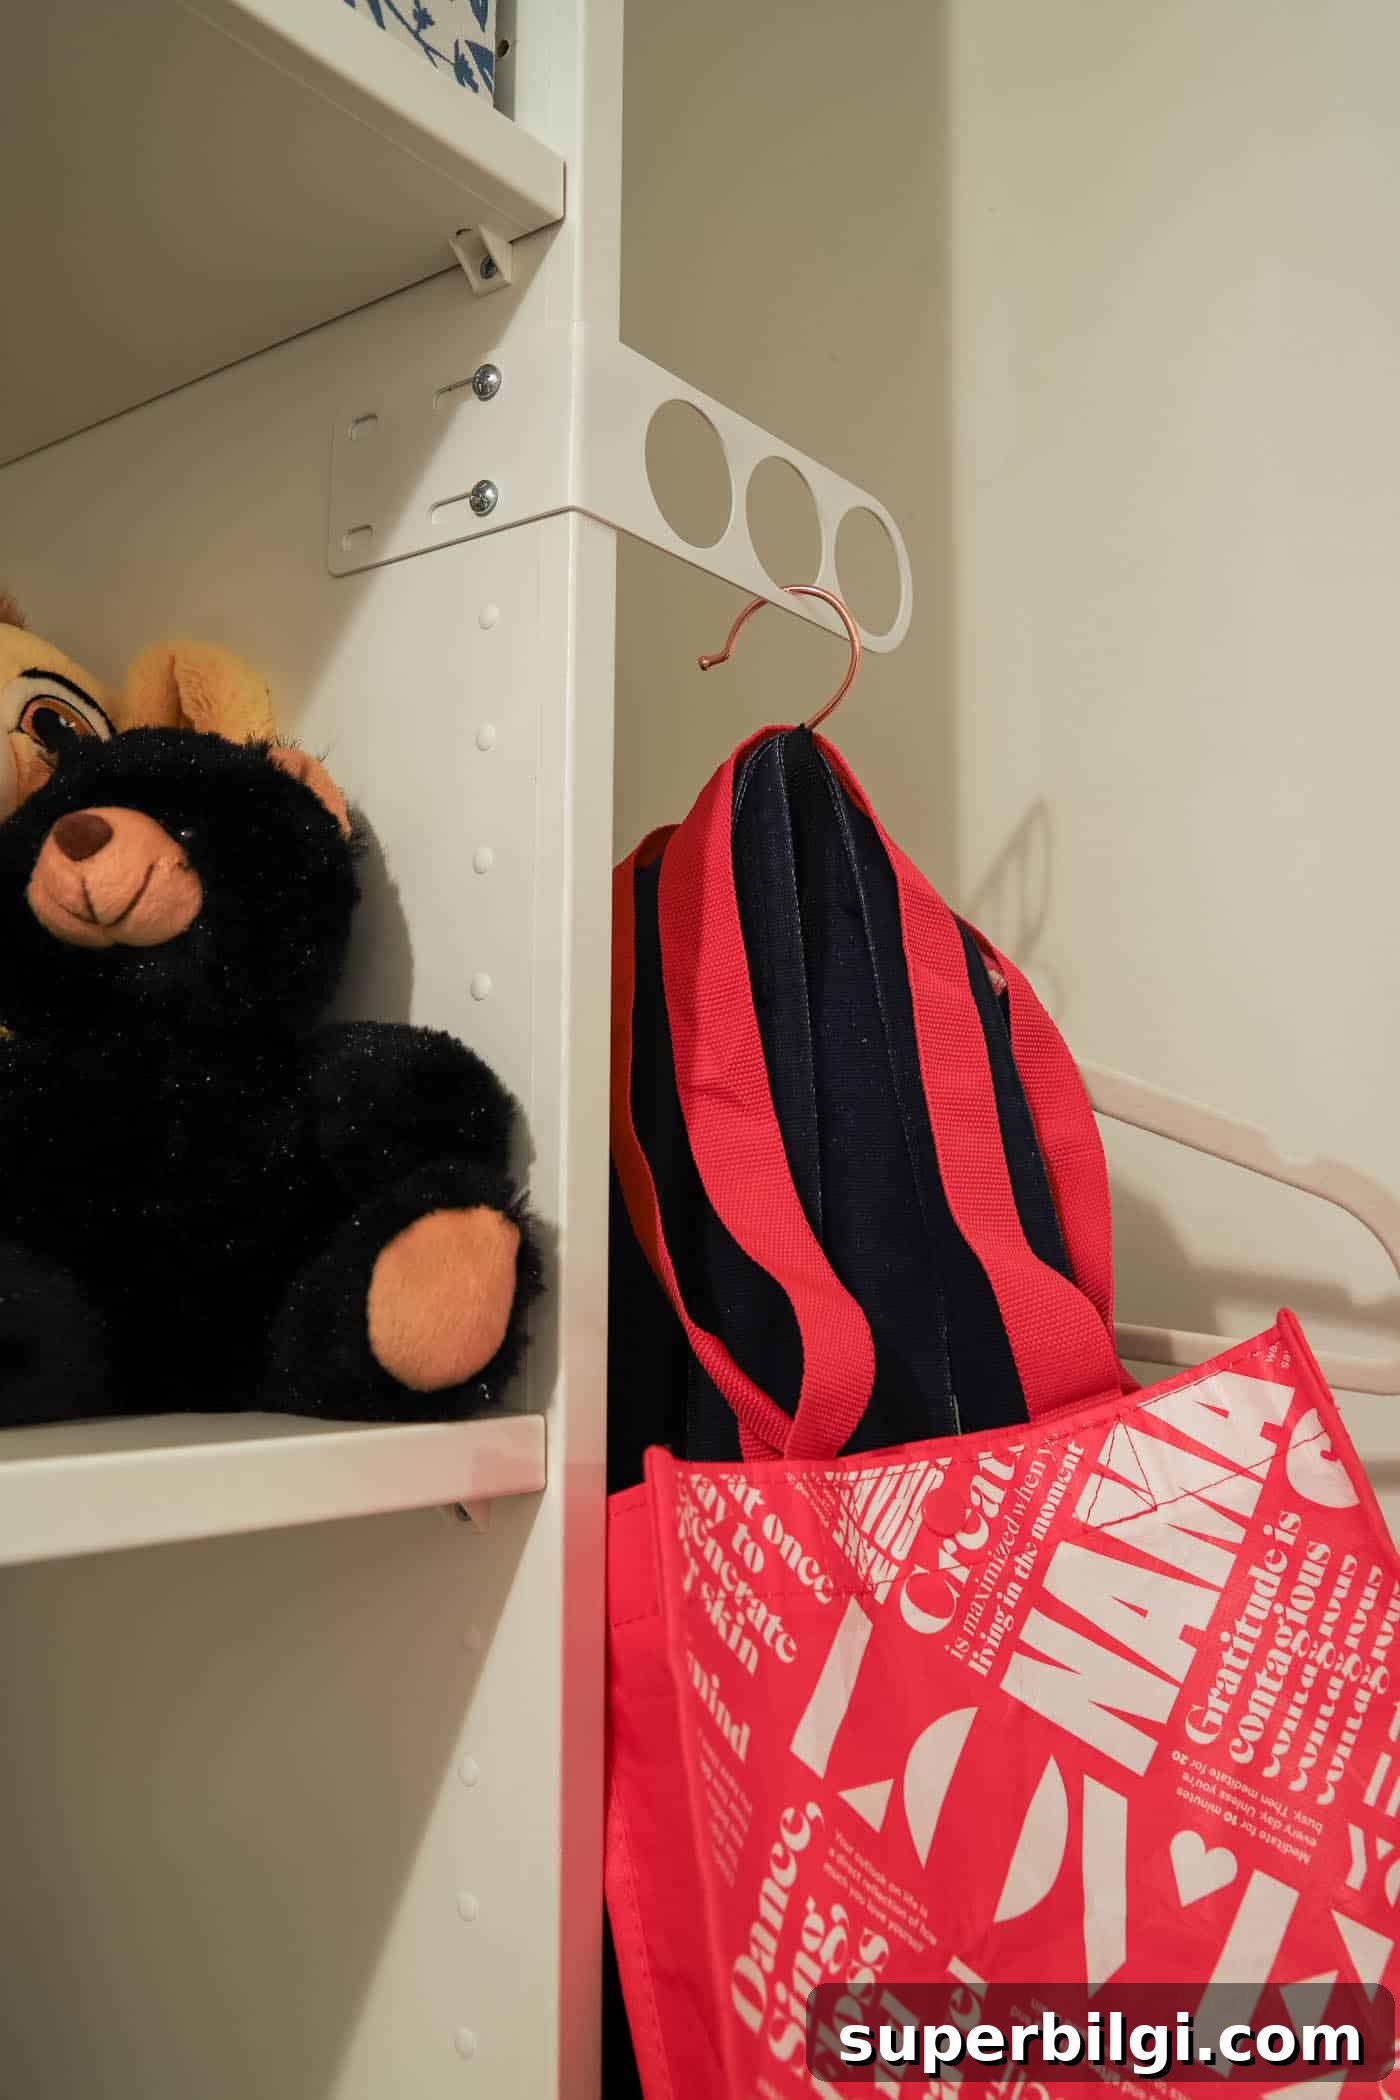
A valet hanger added to the end of the run takes advantage of leftover space. It’s perfect for hanging tomorrow’s outfit, drying a garment, or holding a handbag. Small details like this increase daily convenience.
Slim Clothes Hamper
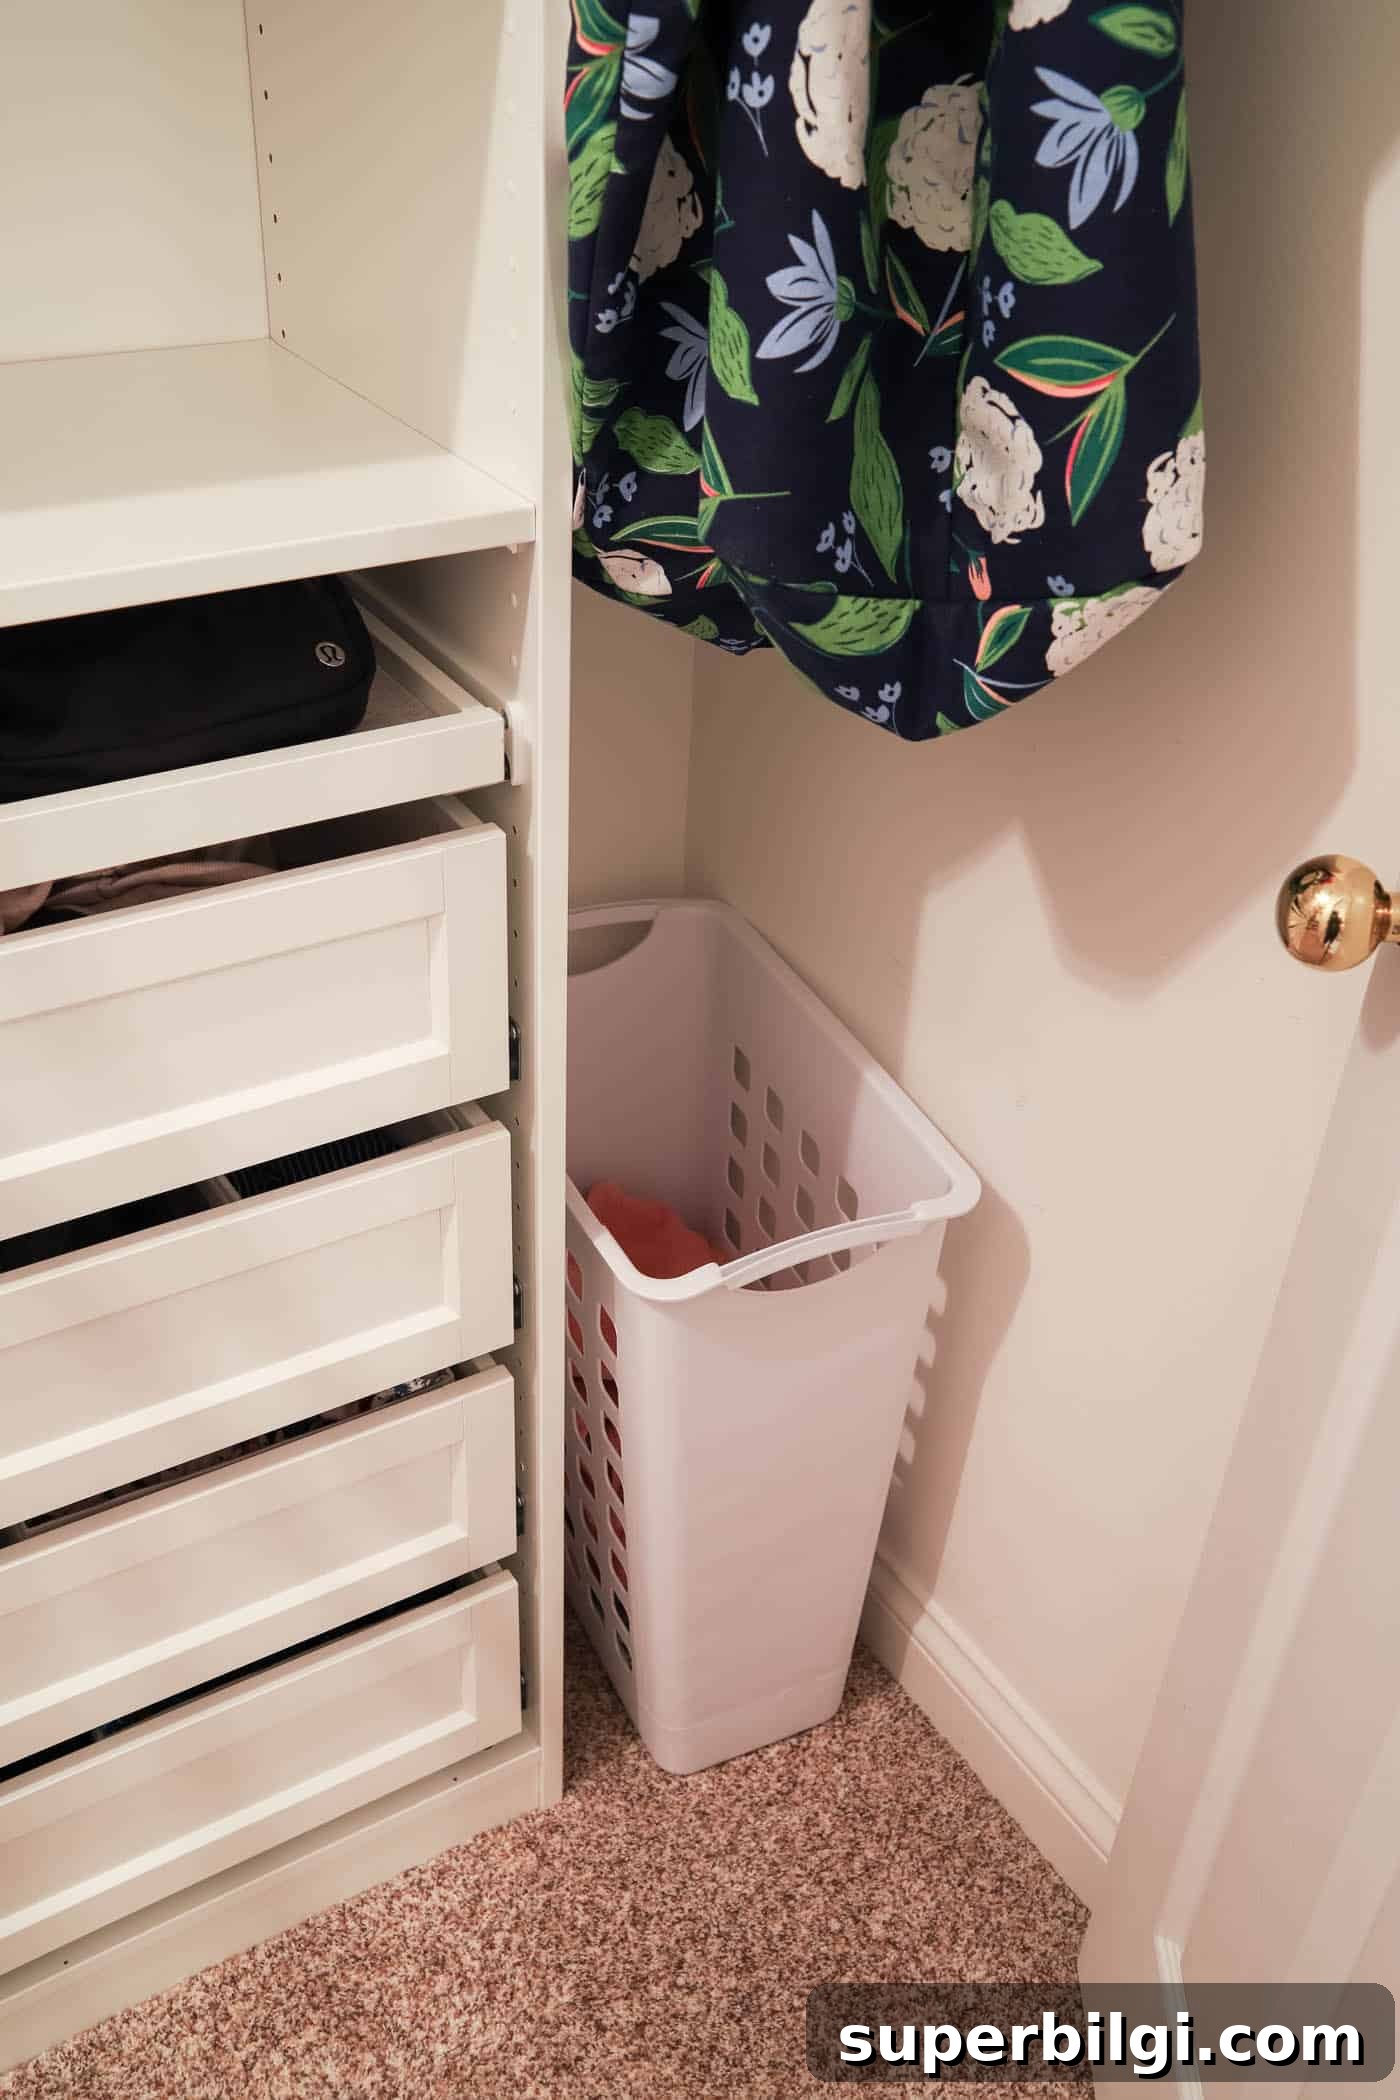
We left about a foot of floor space for a slim hamper. A narrow hamper fits easily, is lighter for kids to carry, and works well with a twice-weekly laundry schedule. It’s a handy solution for small closets and children’s rooms.
More Interior Accessories We Didn’t Use
Depending on your needs, you can add many other accessories—shoe shelves, pull-out mirrors, glass shelving, and multi-use hangers for bags. We didn’t require shoe storage upstairs, but those options are available if shoe storage is a priority.
- Pull-out shoe shelf
- Pull-out multi-use hanger (useful for bags)
- Glass shelf
- Shoe shelf
- Pull-out mirror
IKEA PAX Closet Delivery
We live three hours from the nearest IKEA, so shipping the pieces to our home made sense. The PAX planner made ordering straightforward because it listed the exact parts needed. Delivery cost saved us a long round trip and the heavy carrying that would have been required—delivery personnel brought the boxes upstairs, which was a huge help.
For the convenience and time saved, paying for delivery was worth it.
Final Thoughts
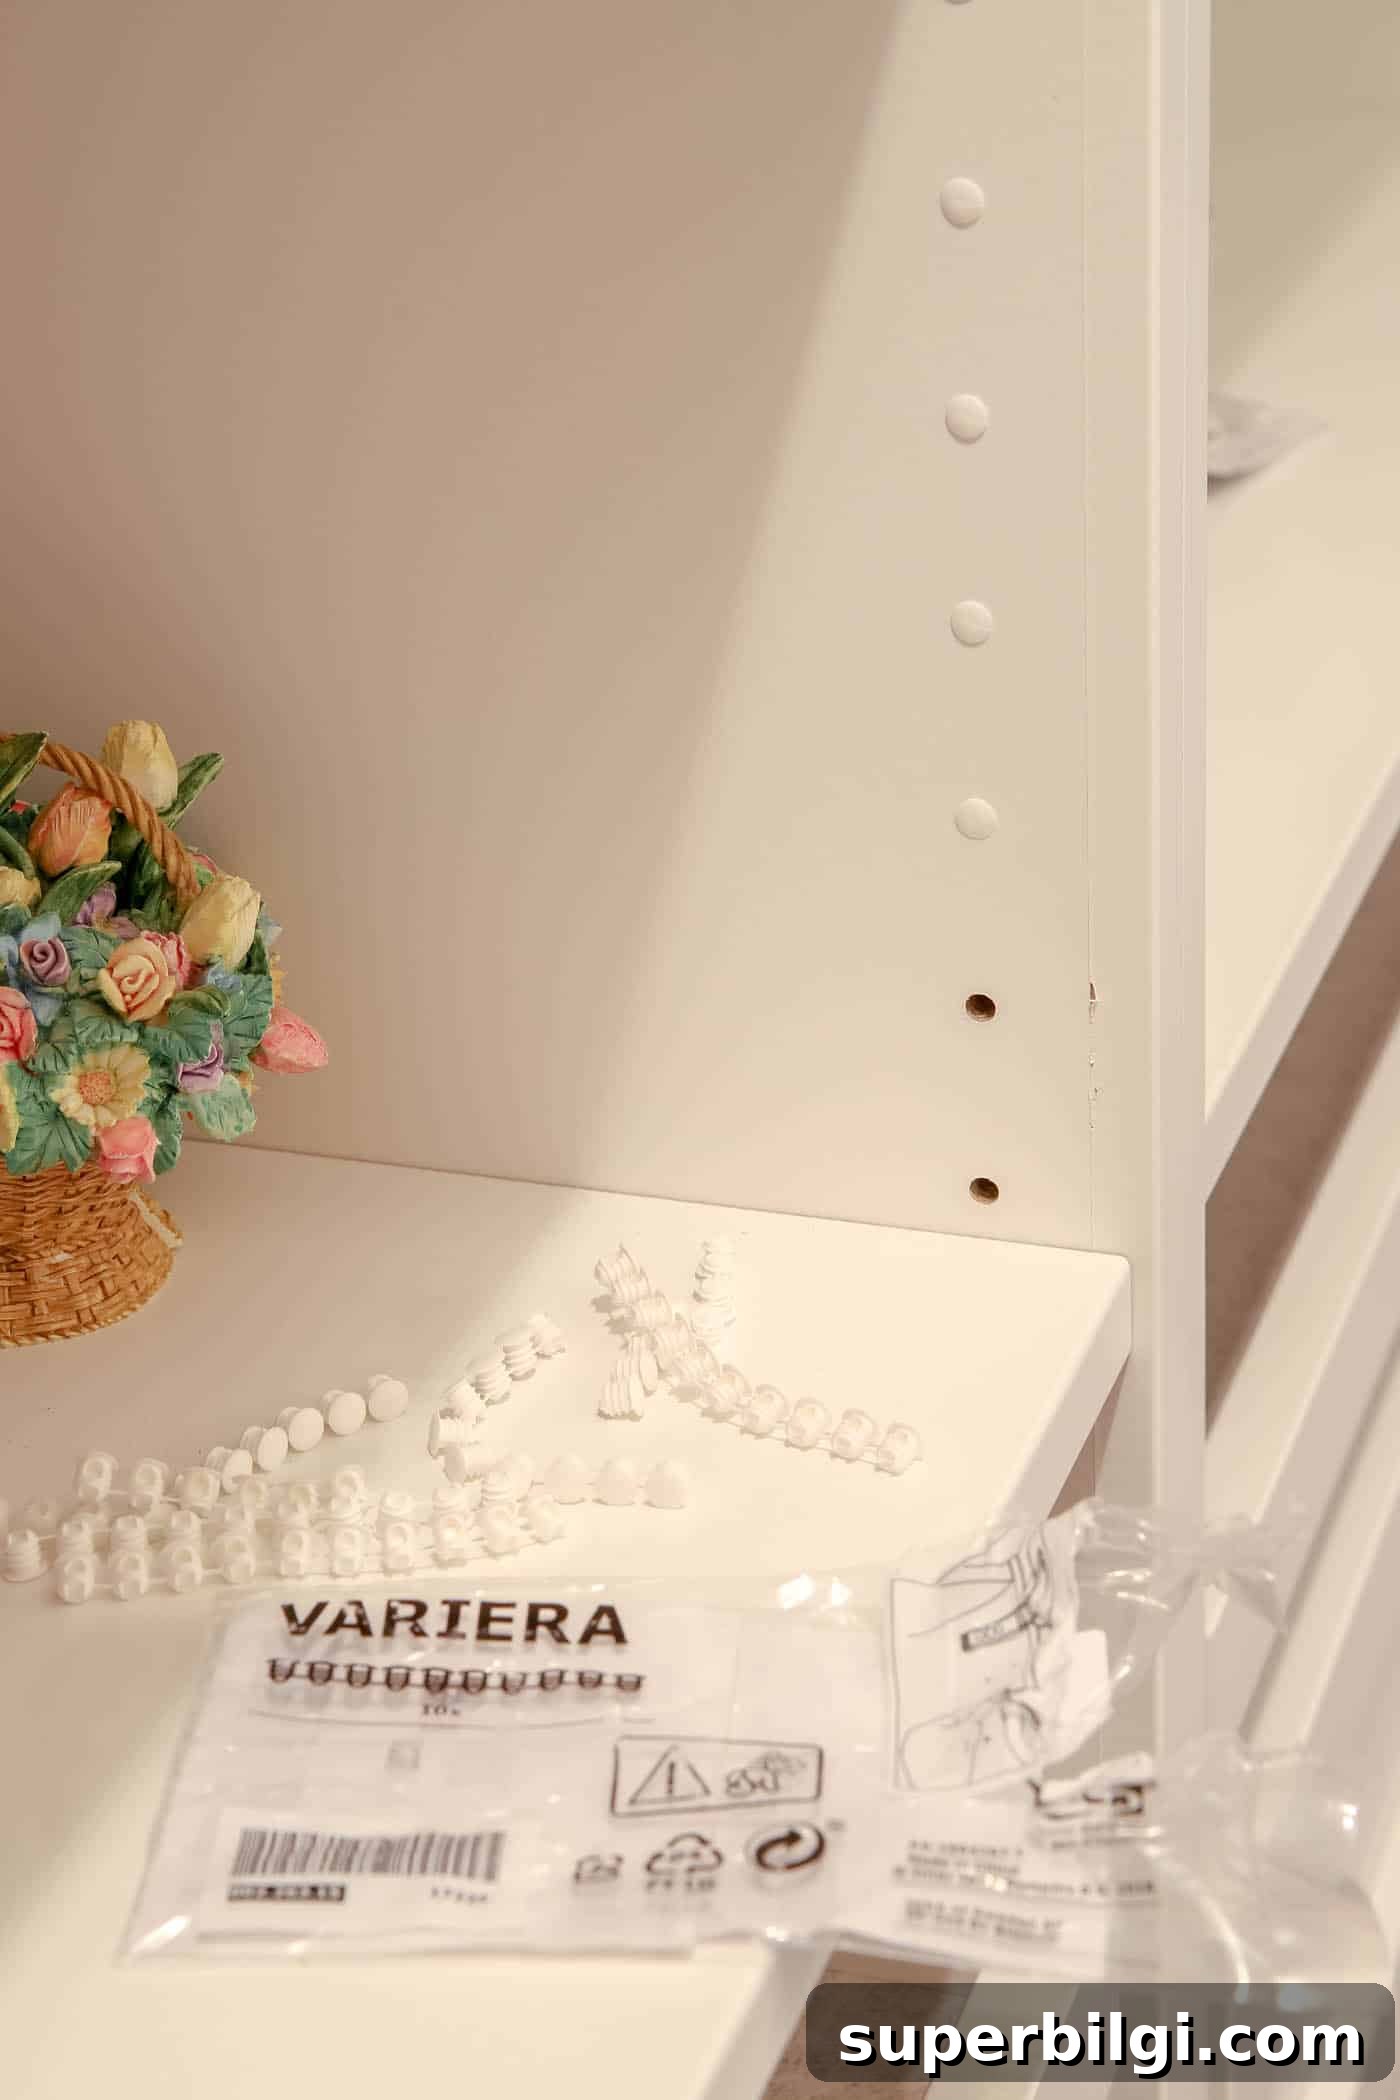
After assembly and filling the closet, I covered unused screw holes with IKEA VARIERA covers. Finishing touches like base trim, caulking, or crown molding can be added later if you want a built-in look; for now we left the system simple and functional.
The total cost for this closet system came in around $1,500. Considering the storage gained and the elimination of a bedroom dresser, I’m very happy with the result and would certainly install another PAX system in a similar space.
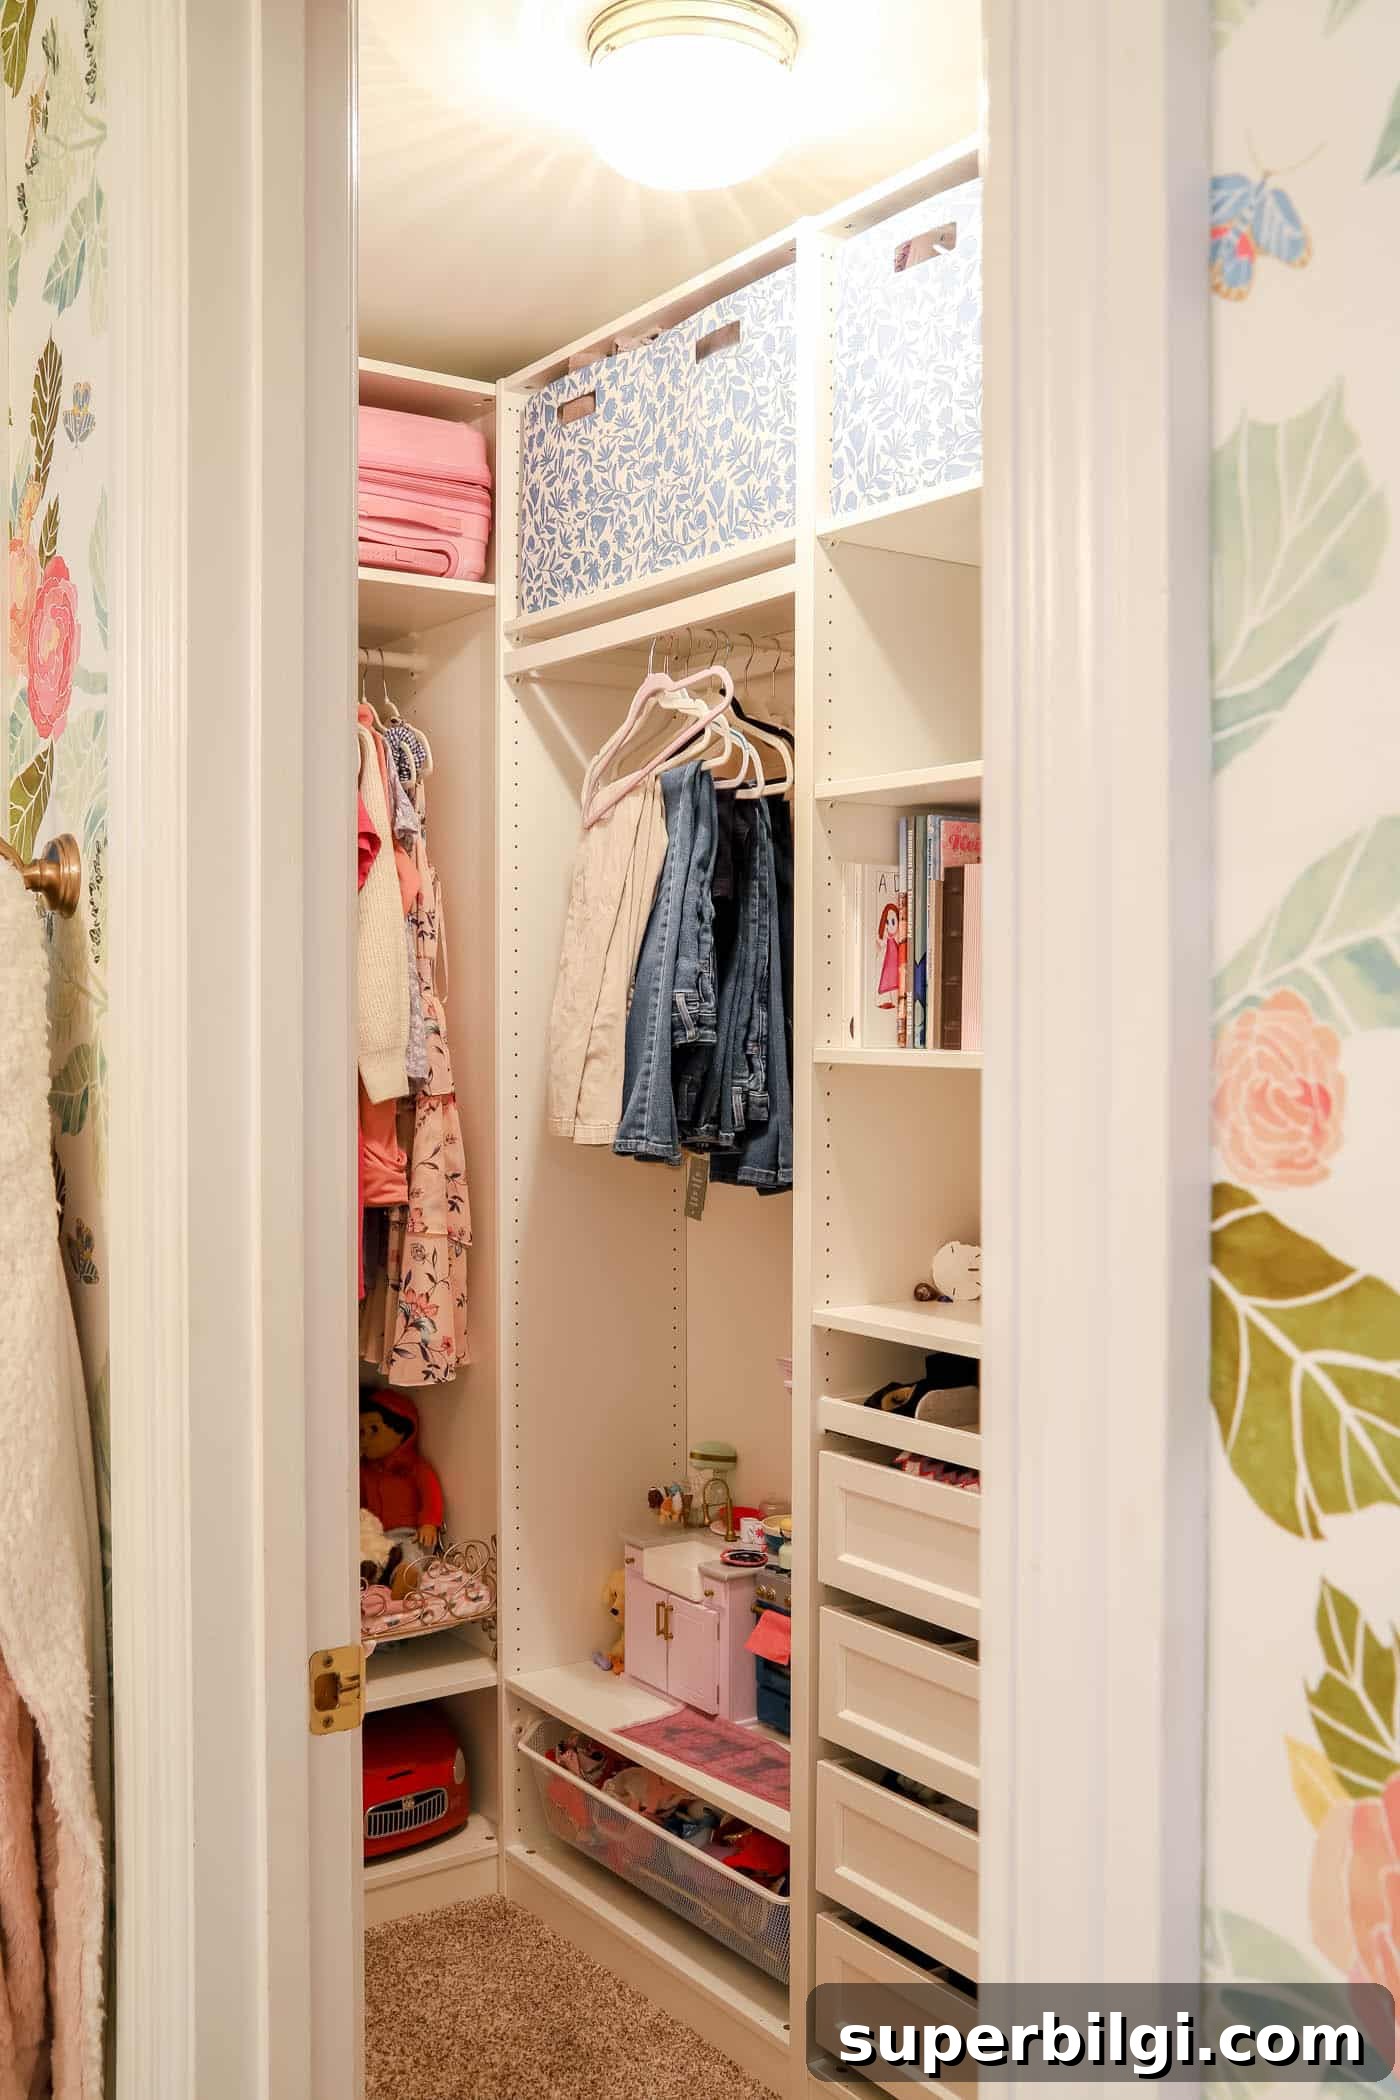
If you’re considering a DIY closet upgrade, the PAX system is an affordable, flexible option for remodels that don’t require extreme customization. Proper measuring, using the planning tool, and choosing the right depths and accessories will help you maximize a closet’s potential.
More posts you may enjoy:
- How to Declutter Your Home in 5 Simple Steps
- How to Organize a Pantry
- The Best Garage Storage Ideas
- The 10 Easiest Family Command Centers to Get Organized
- DIY Closet Shelves (beginner tutorial)