
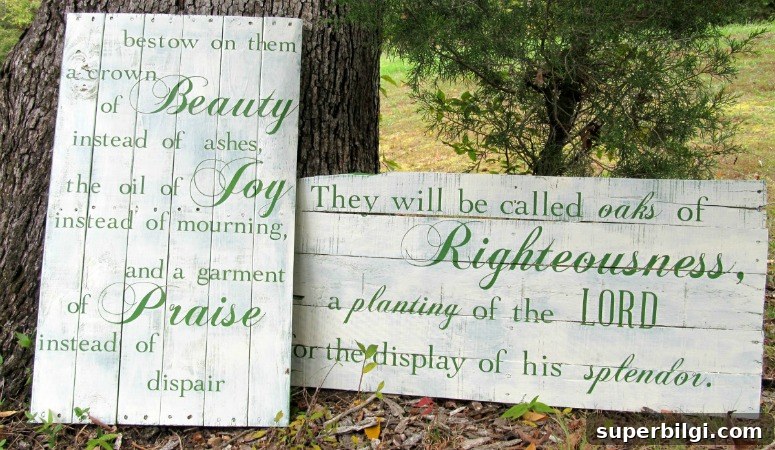
These DIY pallet signs make a heartfelt gift that will be treasured for years—or a lovely addition to your own home, bringing handcrafted charm to any room.
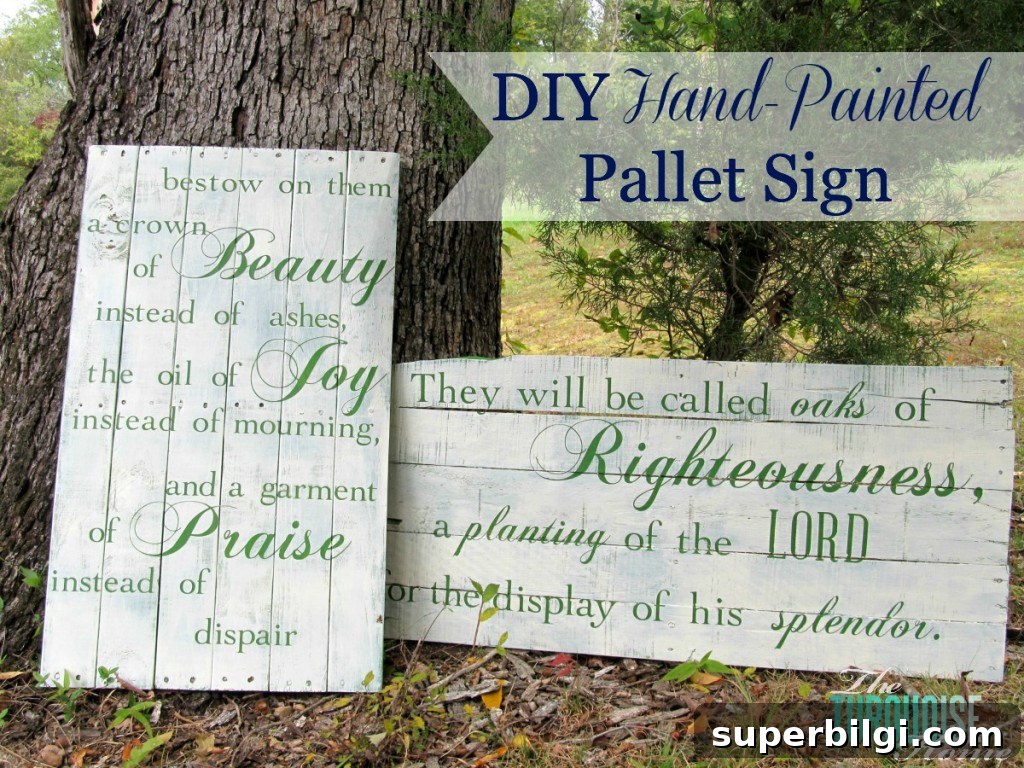
I promised to share the signs I made for my friend Lara’s wedding, and I finally have the full tutorial. Lara asked if I would craft a few signs featuring special Scriptures for the ceremony that she could also hang in her home afterward. I loved the idea—using something for a wedding and then enjoying it in the house is such a meaningful choice, and a handmade gift adds a personal touch.
Materials Needed to Make DIY Pallet Signs
- Wood planks salvaged from a pallet or purchased from a hardware store
- Kreg Jig (highly recommended for joining boards cleanly)
- Contact paper or shelf liner for adhesive stencils
- Silhouette Cameo or other vinyl cutting machine, or pre-made stencils
- Transfer paper or painter’s tape to position lettering
- Mod Podge
- Foam paint brush
- Acrylic or latex paint in two contrasting colors
- Orbital sander or sandpaper
- Reciprocating saw or pry bar for dismantling pallets
How to Make a DIY Pallet Sign
1. Remove Pallet Boards
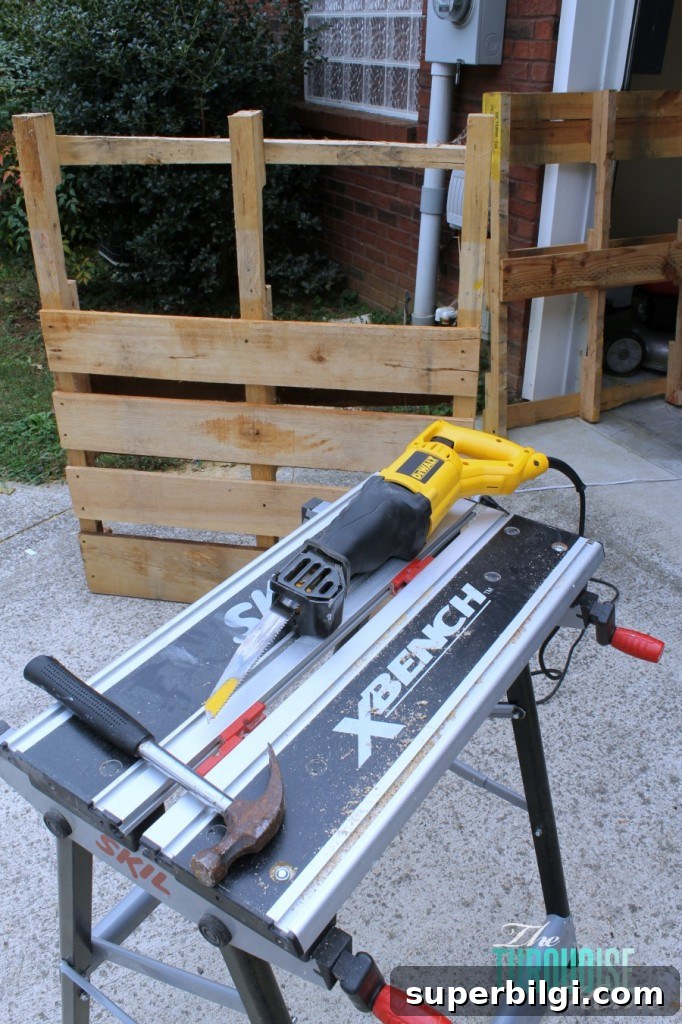
Start by dismantling a pallet and removing the boards. A reciprocating saw with a demolition blade makes quick work of cutting through wood and nails, though you can also pry boards loose with a hammer and pry bar first and finish with the saw. Use fresh blades for cleaner cuts.
2. Arrange Board Placement
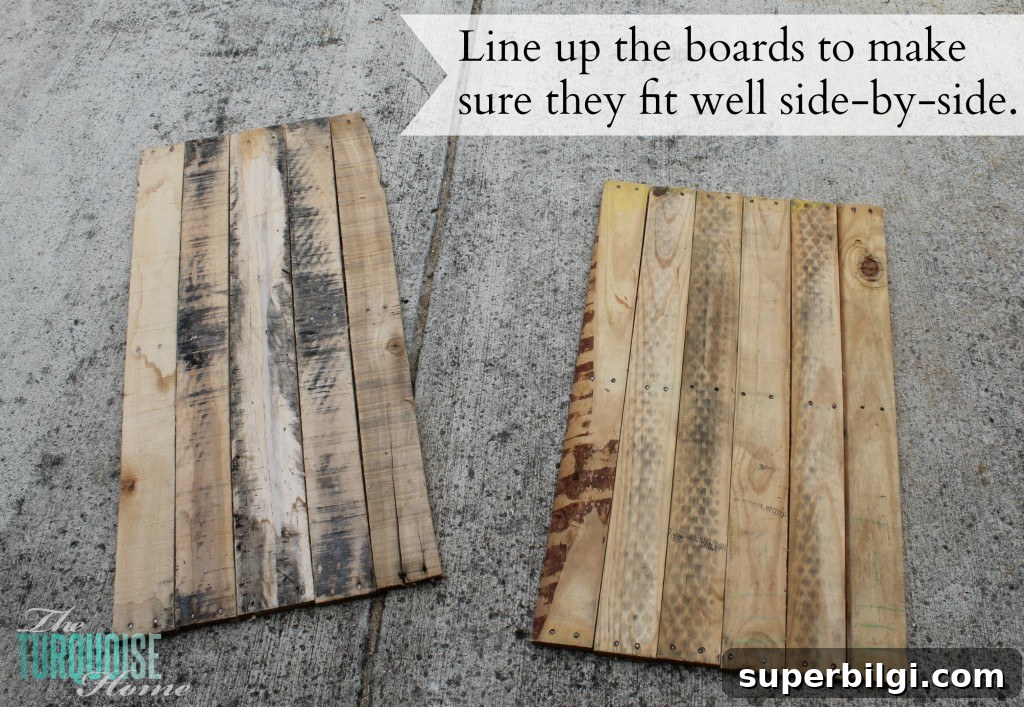
Lay your boards side by side on a flat surface to determine the best arrangement. Shuffle them until grain, color variation, and widths align in a way that looks balanced. Minor gaps and mismatched edges add rustic character.
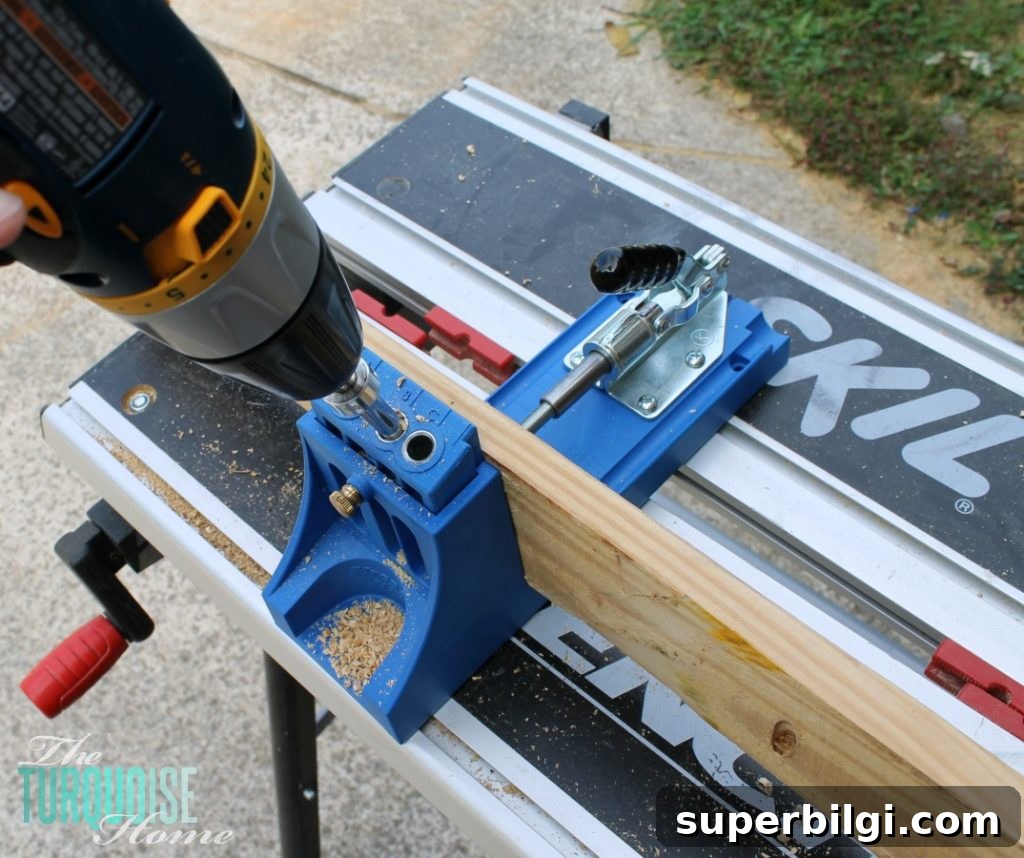
3. Attach Boards with a Kreg Jig
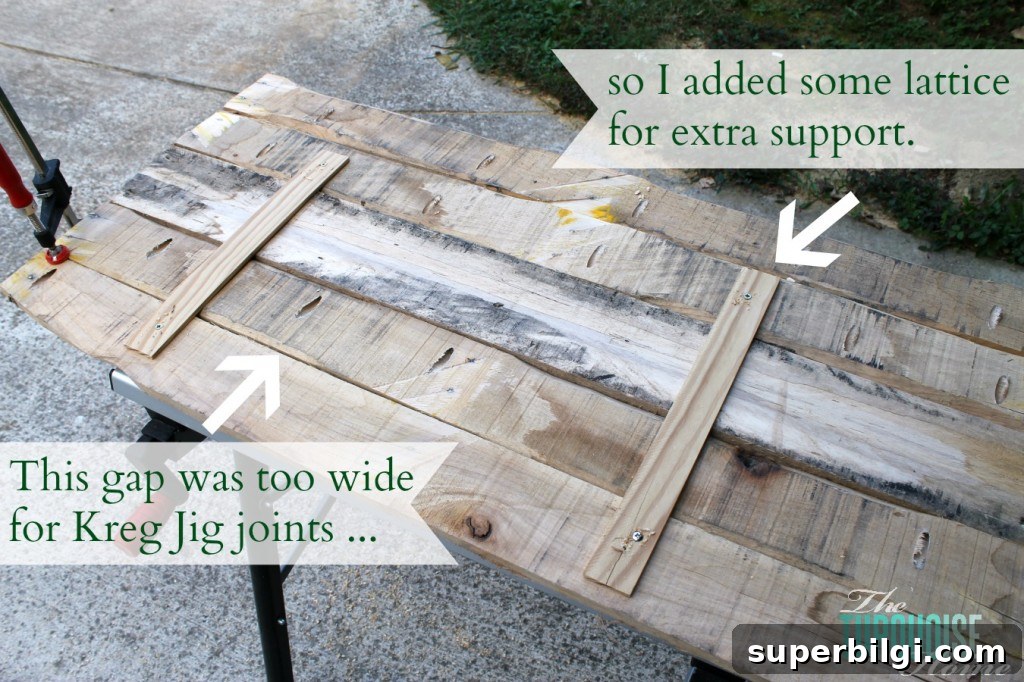
To hold the boards together neatly, use a Kreg Jig to create pocket holes and screw the planks to each other. If you don’t own a pocket-hole jig, you can also secure the boards from the back using a couple of scrap support boards screwed across the width of the sign.
4. Reinforce with Support Boards
If needed, attach one or two horizontal support boards across the back of the sign. These reinforcements help keep the face boards flat and make hanging easier. Screwing the supports into each plank yields a sturdy finished piece.
5. Sand Down Rough Edges
Sand the surface and edges to remove splinters and rough spots. An orbital sander speeds this up, but sanding by hand works fine too. Wipe away sawdust with a damp cloth before painting.
6. Paint the Base Color
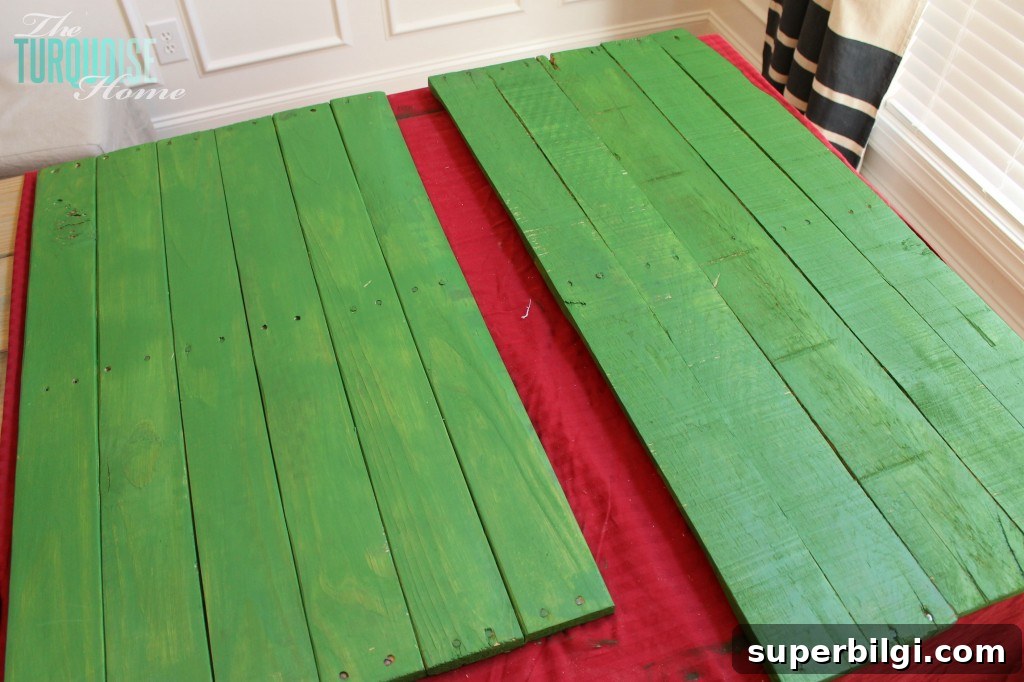
Paint the areas that will become the lettering color first, especially if you plan to reveal a bold color beneath a lighter top coat. In my project I used a vivid green chosen by the bride as the text color and painted the boards evenly, allowing good coverage where letters would later show through.
7. Create Vinyl or Contact-Paper Letters
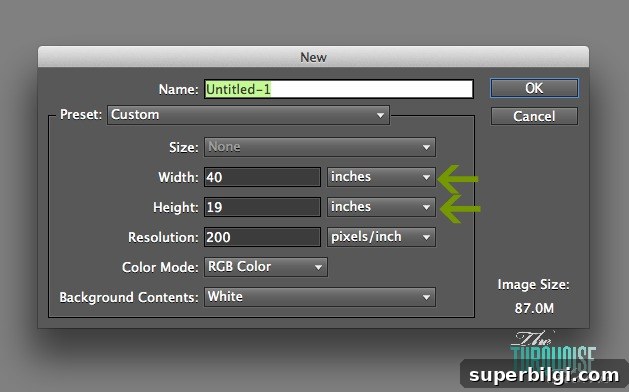
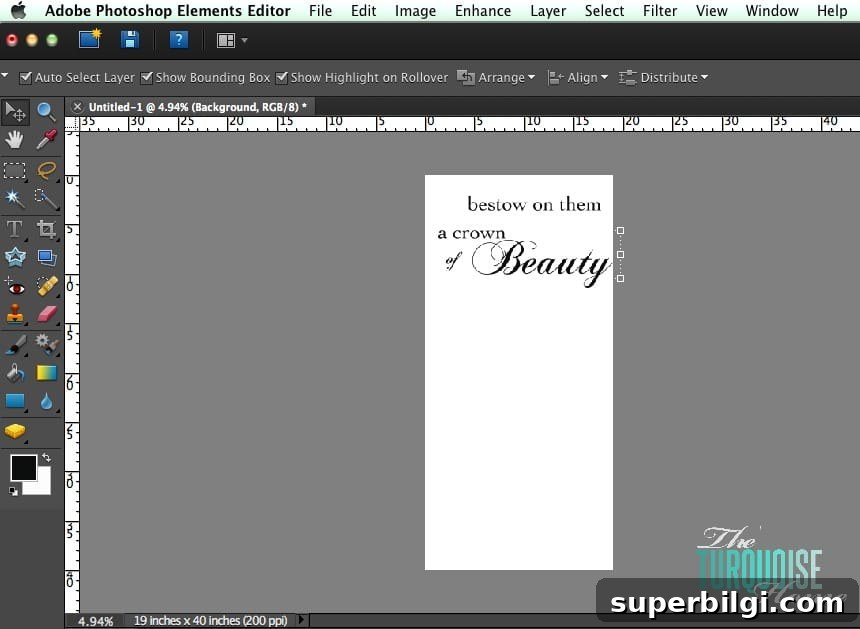
Design the typography to scale using your preferred software so the lettering fits the boards. I used two complementary fonts—an elegant serif and a flowing script—to create visual interest. Cut the letters from contact paper or vinyl using a cutting machine or use stencils if you prefer.
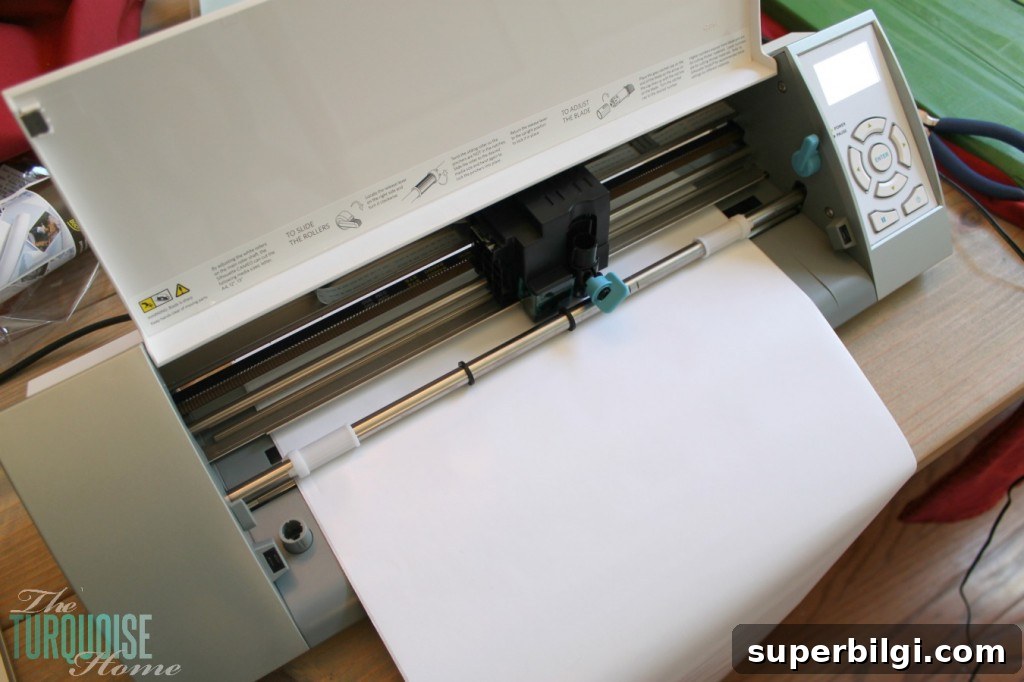
Cutting adhesive stencils from contact paper works extremely well—peel away the backing and you’ll have sticky letters that adhere directly to the wood.
8. Position the Lettering
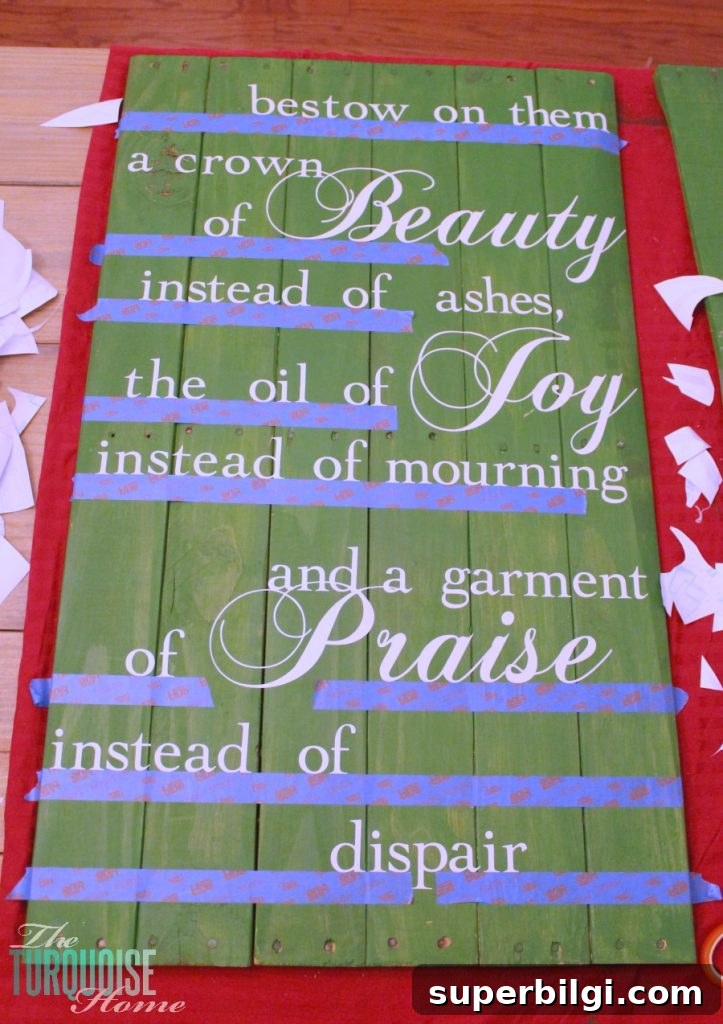
Place each letter or stencil on the board, using painter’s tape as a guide to keep lines straight. Script letters take longer to place carefully, but the result is worth the time. For faster application, transfer paper can pull the whole word onto the sign at once, but applying one letter at a time also works.
9. Seal Edges with Mod Podge
Brush a thin layer of Mod Podge around the edges of each stencil to seal them. This prevents paint from bleeding under the adhesive and ensures crisp, clean letter edges. Allow the Mod Podge to dry before proceeding.
10. Paint the Background Color
Once the sealant is dry, paint a light background color over the entire sign with a dry-brush technique. Apply thin coats so the base color peeks through in places for a layered, vintage look. Let the paint dry until it’s mostly set but still slightly tacky.
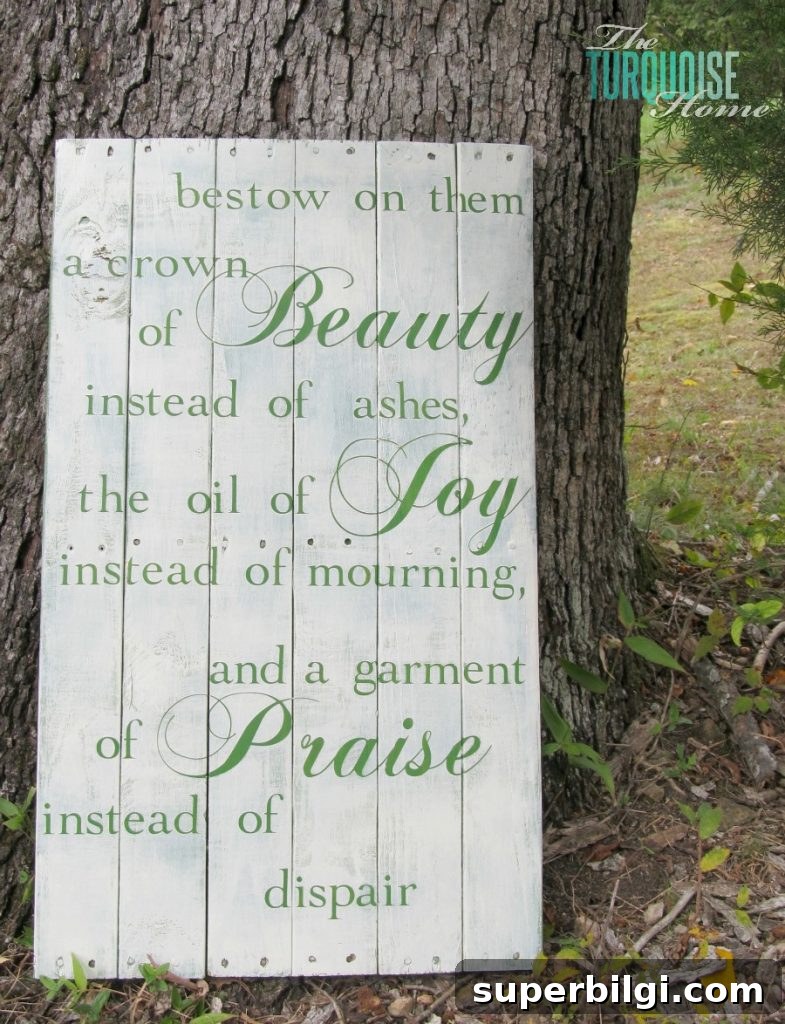
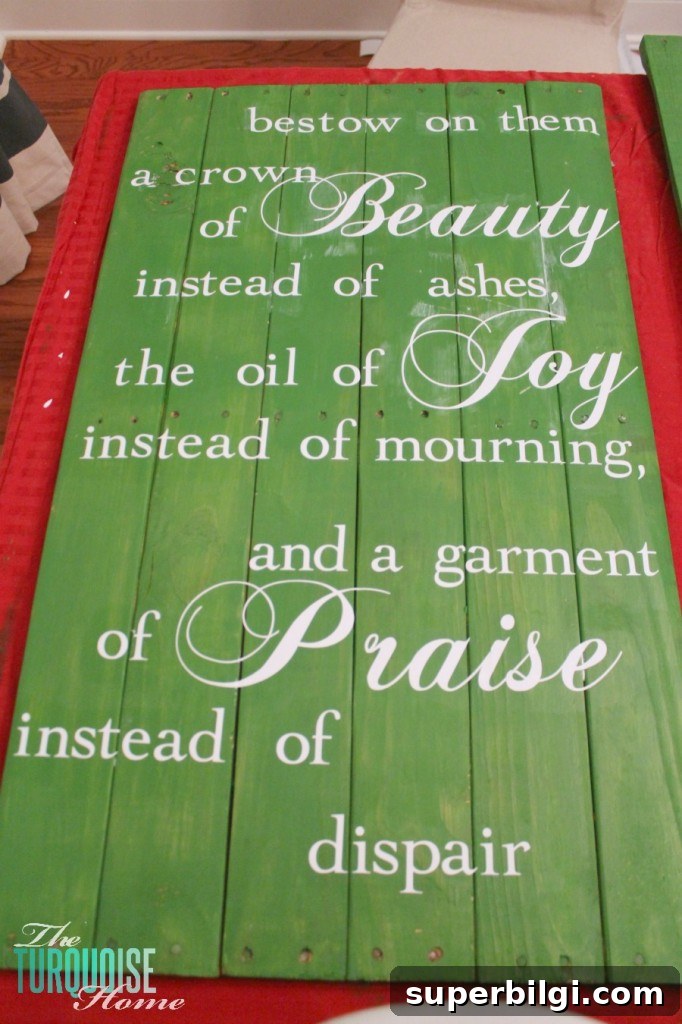
Yes, I noticed one word on my sign was misspelled. If you want to avoid that, double-check your wording and layout before cutting the stencils.
11. Reveal the Lettering
Carefully peel off the contact paper to reveal the base color lettering beneath the top coat. If you sealed the stencil edges well, the letters will be crisp. If paint bled slightly where two boards meet, the distress can look natural; to avoid that effect, avoid placing letters across board seams.
I finished these late at night before the wedding and loved how they turned out—rustic, personal, and perfectly suited to the event and the home that will display them.
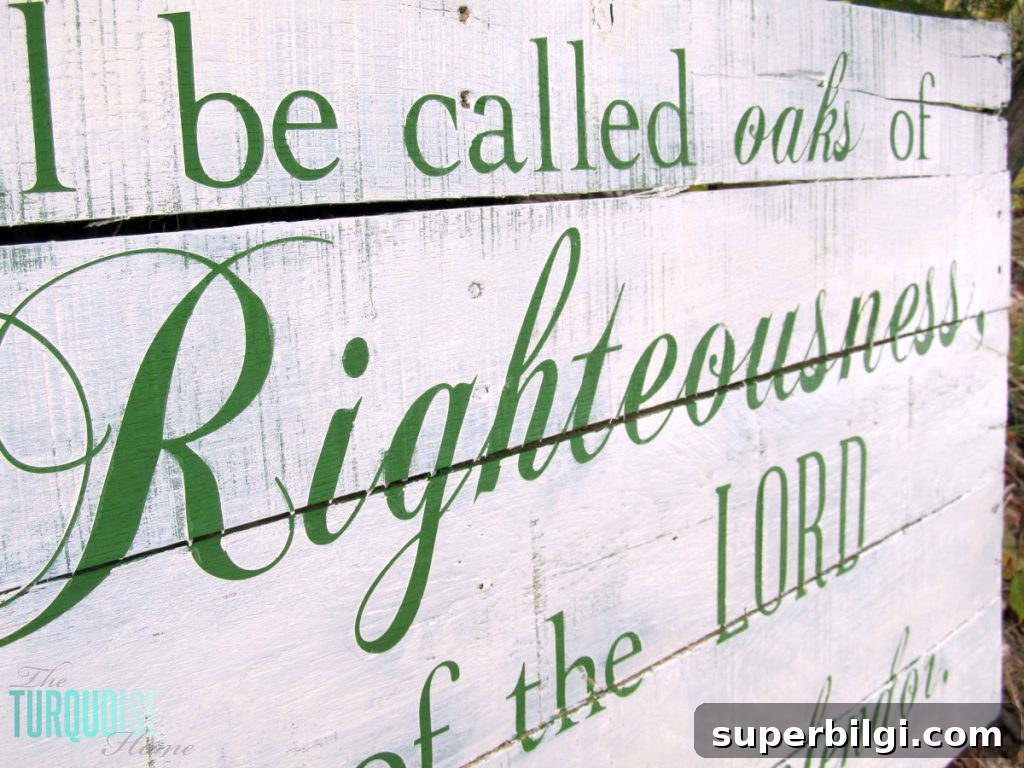
There was a little bleeding where letters crossed board seams, but the overall effect was charming and intentional. The thin script details held up beautifully and added an elegant, handmade feel.

This became one of my favorite projects. I’m already planning more signs for our home and experimenting with different colors and type combinations.
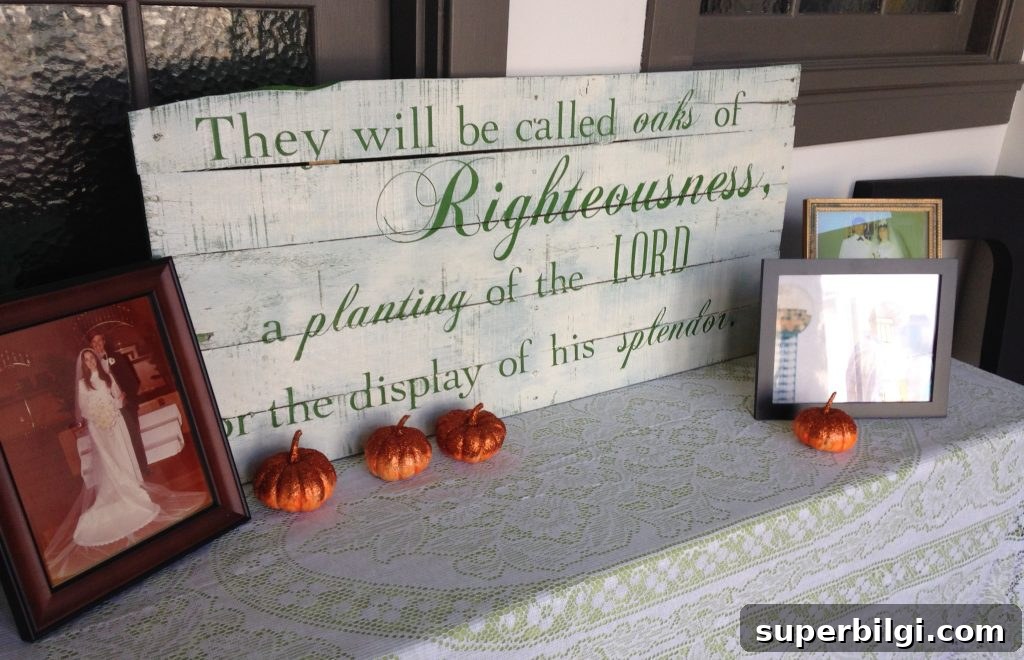
At the wedding the sign sat on a table as guests arrived; I was too busy celebrating to take photos, but another bridesmaid captured a shot of it in place and it looked lovely on the reception table.
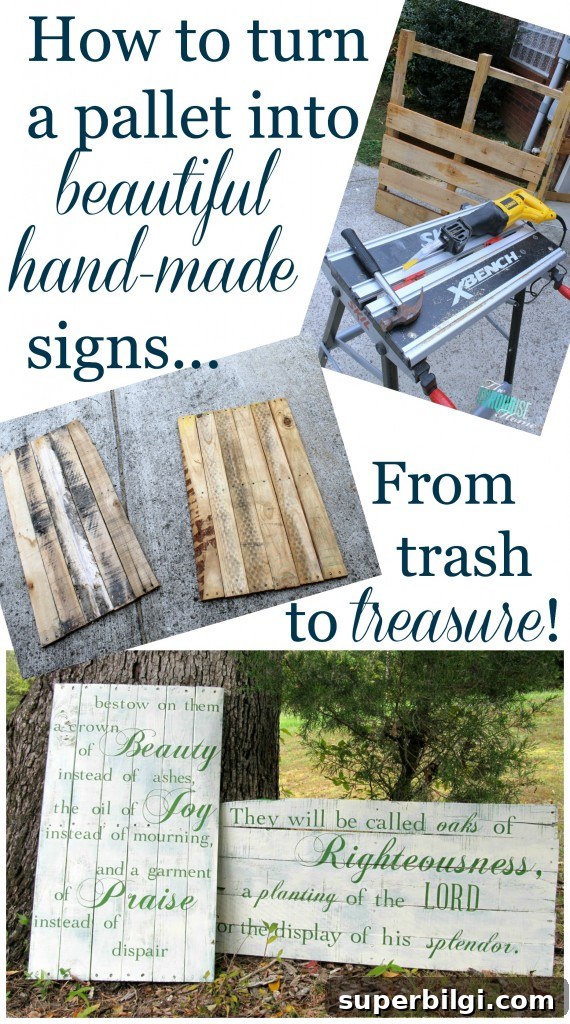
I hope this step-by-step guide inspires you to create your own pallet sign—whether for a wedding, a gift, or to add a personal, handmade accent to your home.
More Posts You Will Love:
- How to Make a Large Wooden Sign
- Large DIY Wall Decor Ideas
- A Guide to Wall Trim and Wall Molding Ideas