
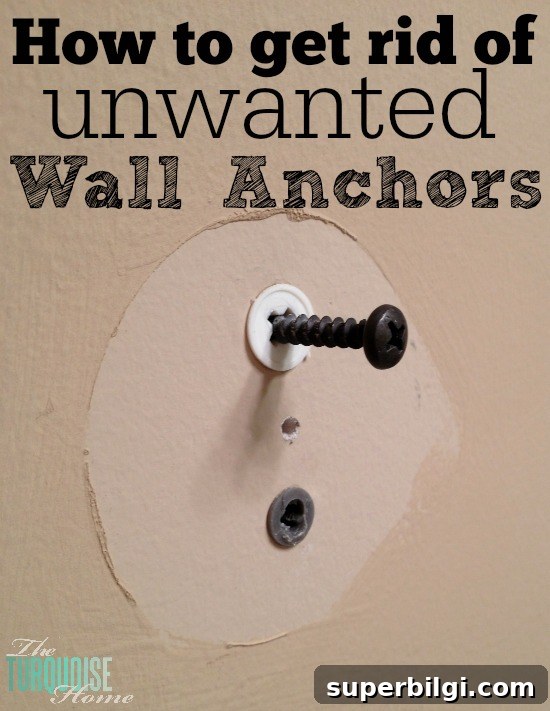
Find out an easy way to remove drywall anchors without tearing up the wall. It’s simpler than you might think!
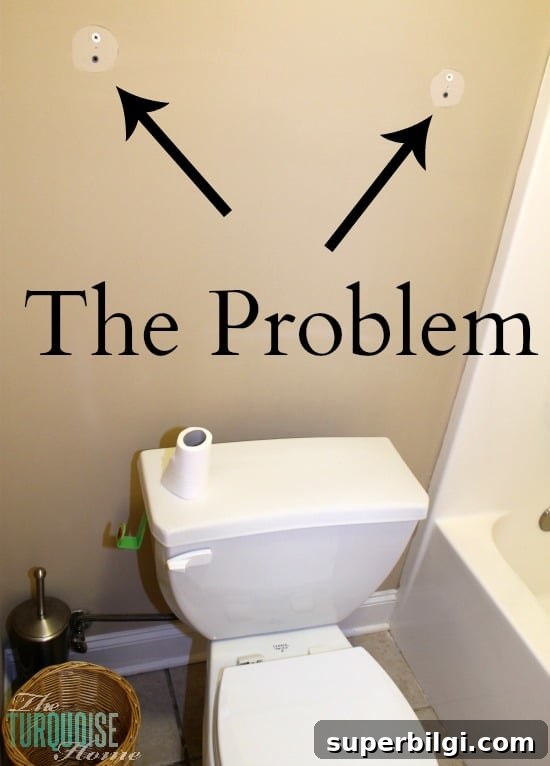
I recently ran into this while updating hardware during a bathroom makeover. The previous owner had mounted the towel bar, toilet paper holder and towel rack without hitting studs, so every screw was anchored with a wall anchor. Anchors are great for holding things in place, but they can be a nuisance when you want to replace or relocate the hardware.
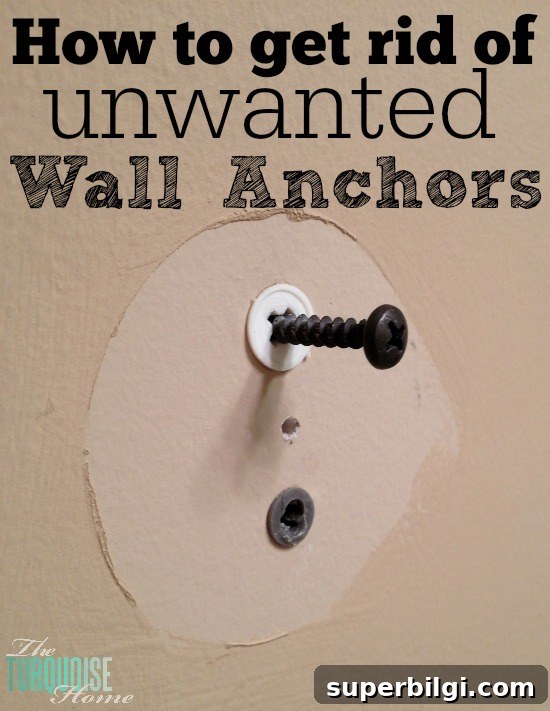
At first I assumed the new hardware might fit over the existing anchors in a few spots. In many cases that’s possible, but sometimes the new pieces have different spacing or you simply want the anchors removed so you can patch and repaint the wall.
How to Remove Drywall Anchors
I was stumped for a few days until I tried a simple trick: instead of wrestling the anchor out, I drove it slightly deeper into the wall and patched the resulting small hole. This method avoids enlarging the hole or damaging the drywall paper around the anchor the way prying or pulling often does.
Here’s a reliable, low-damage approach that worked well for me and that you can use too:
- Tools and materials: a screw that fits the anchor (or the original screw), a screwdriver, a hammer, drywall patching compound (spackling or joint compound), a putty knife, fine-grit sandpaper, primer and paint.
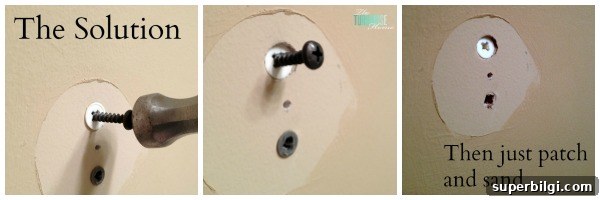
- Step 1 — Partially drive a screw into the anchor: Thread a screw into the anchor partway so it catches the anchor but doesn’t expand it further. You only need enough screw engaged to push or pull against.
- Step 2 — Tap the screw lightly with a hammer: Instead of trying to pull the anchor out, gently tap the screw so the anchor is pushed back into the drywall cavity. Be careful to tap lightly — too hard and you can dent or crack the drywall surface around the hole. The goal is to sink the anchor flush or just below the wall surface.
- Step 3 — Remove the screw: Once the anchor is recessed, back out the screw. The anchor can remain in the wall where it won’t interfere with patching.
- Step 4 — Patch the hole: Apply drywall patching compound to fill the hole. Use a putty knife to smooth the surface, feathering the edges so the repair blends with the surrounding wall. Let the compound dry completely according to the product directions.
- Step 5 — Sand and finish: Lightly sand the dried patch until it’s smooth and level with the wall. Wipe away dust, then prime and paint to match the surrounding surface.
Some anchors are removable: if the anchor is the type with a Phillips-head screw recess that can be backed out, try unscrewing it first. If it won’t come out or the anchor is a snap-in or expansion type, the “tap-and-patch” method is the least destructive option for a clean repair.
When tapping the screw to sink the anchor, think gentle and steady. A few light taps are better than one heavy blow. If you dent the drywall surface too much, you may need a slightly thicker patch and more sanding, but even then the repair is straightforward with spackling compound or joint compound.
After patching, sanding and painting, you often can’t tell there was ever an anchor there. That was the case for me under a towel ring — the wall looks smooth and intact once the repair is finished.
If you prefer to remove anchors entirely and have more room to work, you can try using pliers to grasp and pull the anchor while turning it slightly, or drill it out carefully. Those options can work but carry a higher risk of enlarging the hole or damaging the drywall paper, which means more extensive repair work afterward.
This quick tip saved me time and stress, and it’s worth tucking away in your mental toolbox for the next time you’re swapping hardware or touching up walls. A small, neat patch after sinking the anchor produces professional-looking results without the hassle of complicated removal.
Note: Anchors with a screw head that can be unscrewed are usually removable by unthreading. For expansion or snap-in anchors that don’t come out, sinking them and patching is a reliable choice.
More Posts You Will Love:
- Ideal Cabinet Knob Placement {Tips And Tricks}
- The 3 Easiest House Plants + Indoor Plant Care Tips
- How High to Hang Pictures {Top Tips for the Best Placement}