
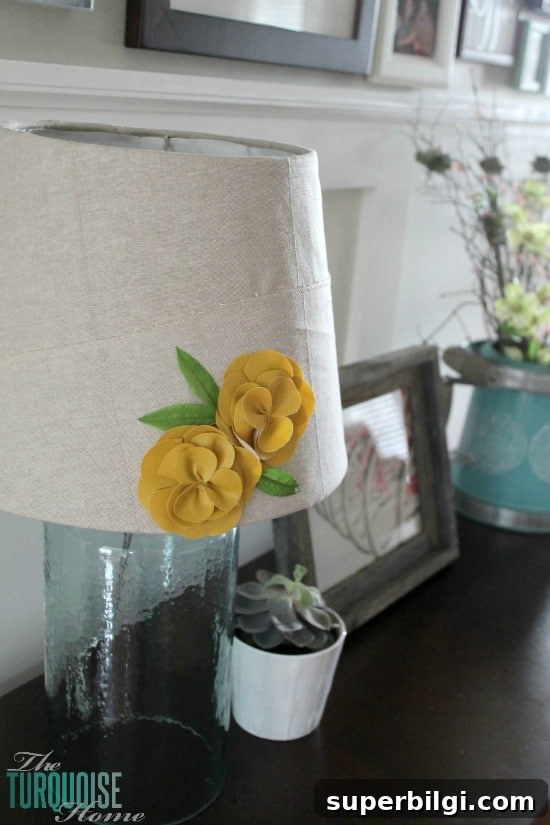
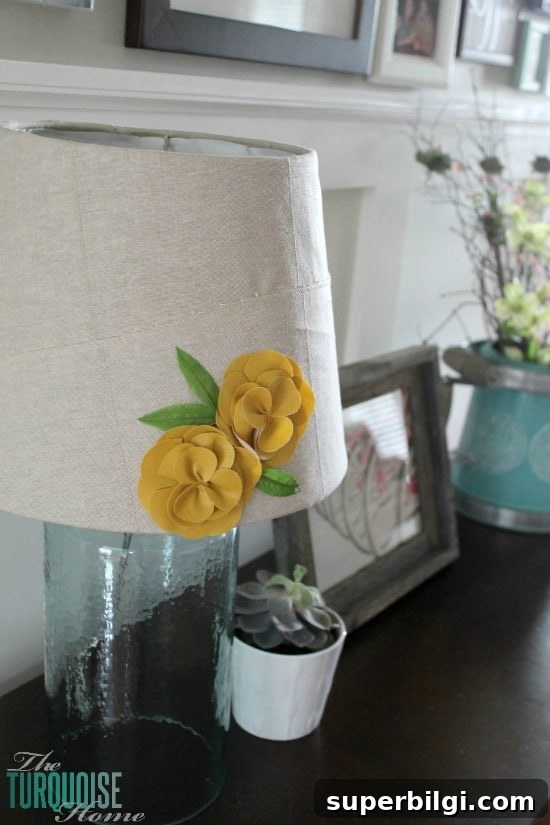
Learn how to recover a lampshade you don’t like without spending much—an easy, budget-friendly refresh that keeps the original shade and gives it a fresh new look.
This quick update is one of those small projects I had on my to-do list for years. It finally came together in an afternoon, and it’s so simple that you don’t need to buy a replacement shade—just some fabric and a few basic tools.
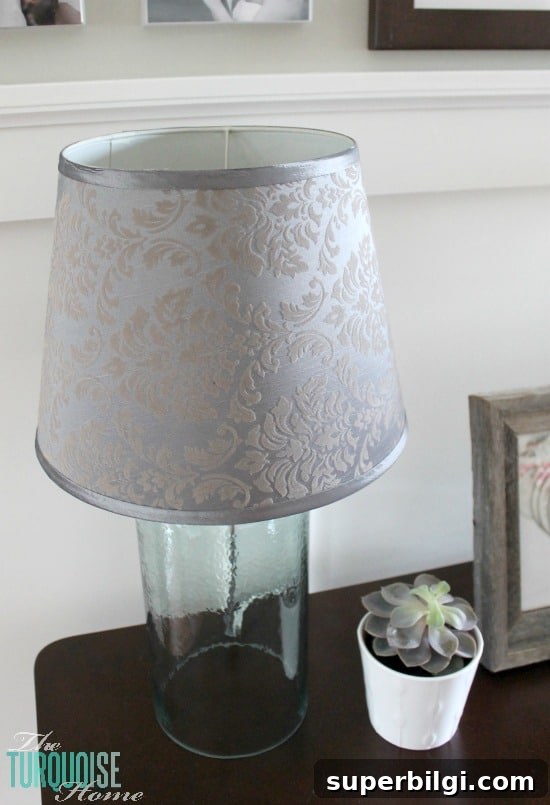
I had a purple-gray shade that came with a lamp years ago and never really liked the color or how it fit the room. It sat in a closet until I realized the size was perfect for another lamp base I wanted to use. Recovering the shade was quicker and cheaper than buying a new one—and allowed me to reuse existing materials.
Supplies You Will Need to Recover a Lampshade
- Old lampshade (bell or drum shape)
- Piece of fabric slightly larger than the shade (3–5″ extra height and a bit extra for seams)
- Tailor’s chalk or fabric marker
- Fabric scissors
- Hot glue gun and glue sticks (or strong fabric glue)
- Spray adhesive (optional, helps keep fabric in place)
- Double-sided tape or clear craft tape (optional for temporary finishes)
How to Recover a Bell-Shaped Lampshade
1. Choose the Right Fabric
Select fabric that complements your room and the lamp base. For bell-shaped shades, solid colors or subtle textures work best because patterned fabric can be difficult to align around the curved silhouette. For drum shades, patterns are easier to match horizontally. Lightweight to medium-weight upholstery, linen, cotton, or curtain fabric all work well.
2. Measure and Mark the Fabric
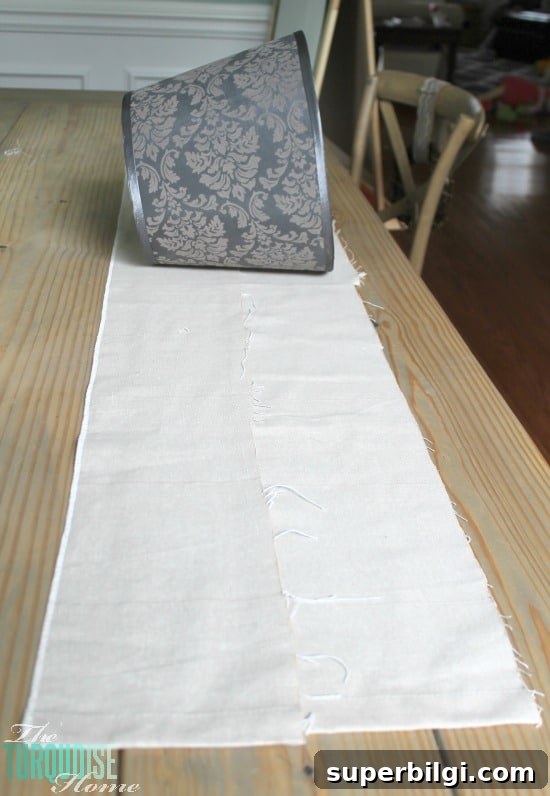
Lay the shade on the fabric and roll it while tracing a line about 1″ away from both the top and bottom edges with tailor’s chalk. This margin gives you room to fold and secure the fabric. If the shade has a dramatic flare, be sure to mark enough extra at the wider end so the fabric covers the curve smoothly.
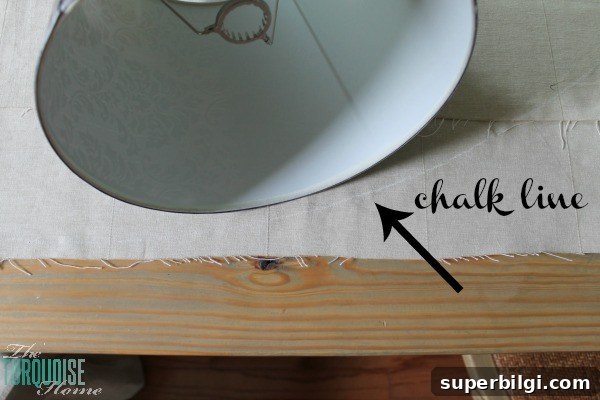
3. Cut the Fabric
Cut along the chalk line using sharp fabric scissors. Keep the edges as straight as possible to make folding and finishing easier. If you’re using two fabric strips, align and join them carefully so the seam will land at the back of the shade where it’s less visible.
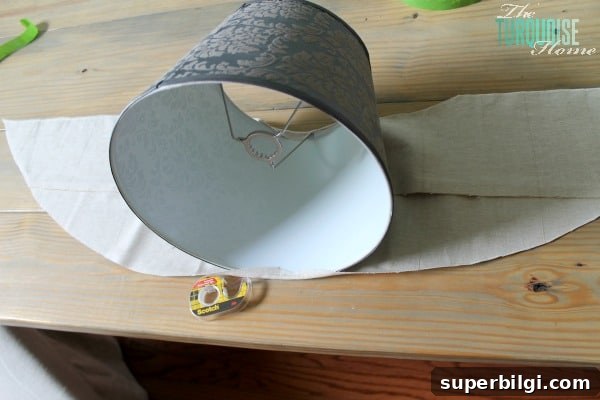
4. Attach the Fabric to the Shade
Work from the center outward. If you have spray adhesive, lightly mist the exterior of the shade or the back of the fabric to help it stay in place as you work. Fold the top edge of fabric over the shade’s top rim and secure with hot glue or double-sided tape in short sections to avoid bubbles. Repeat along the bottom edge. Smooth the fabric as you go to prevent wrinkles.
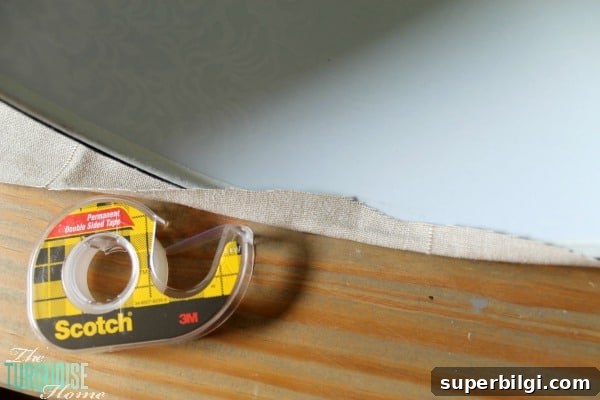
5. Finish the Back Seam and Trim Excess
When the fabric wraps around to meet itself, fold the raw edge under and glue it down neatly for a clean seam. If any small gaps remain, cut small triangular pieces to tuck and glue into place. A narrow ribbon or trim over the seam hides imperfections and gives a polished look.
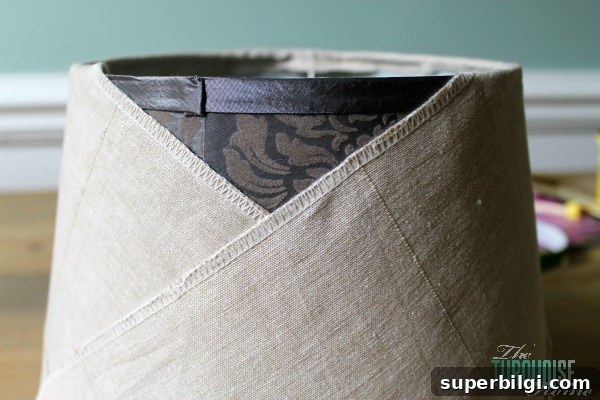
6. Add Embellishments (Optional)
Personalize the shade with trims, braid, fringe, decorative ribbon, or small embellishments like faux flowers or leaves. Hot glue works well for attaching most lightweight decorations. If you prefer a changeable look, use double-sided tape or small Velcro dots so embellishments can be removed or replaced.
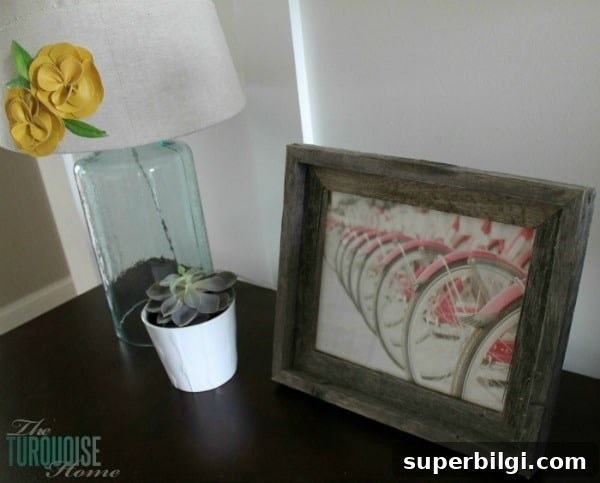
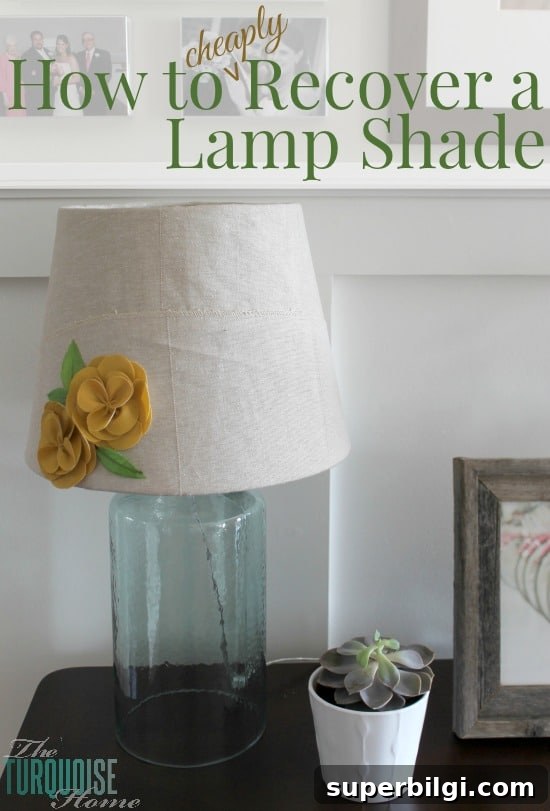
I used leftover curtain fabric from a previous project and a couple of leather flowers I had in my craft stash to finish the look. The whole process took under an hour once I had everything ready, and the result gave an inexpensive lamp base a cohesive, updated style.
Tips: test the fabric near the lamp’s light source to ensure it doesn’t discolor or scorch under heat—most modern LED bulbs run cool and are safe with fabric shades. If you want a removable cover, consider making the fabric slightly larger and sewing a simple overlapping seam so the cover can be taken off for cleaning or replaced later.
This is a great way to turn leftover fabric into something beautiful and useful. If you ever tire of the look, the fabric can often be removed and replaced, or the shade can be sold or repurposed.
More DIY home decor ideas to try:
- 25+ amazing table lamp ideas for inspiration
- How to make a custom lampshade step-by-step
- DIY decorative wreath projects for seasonal decor