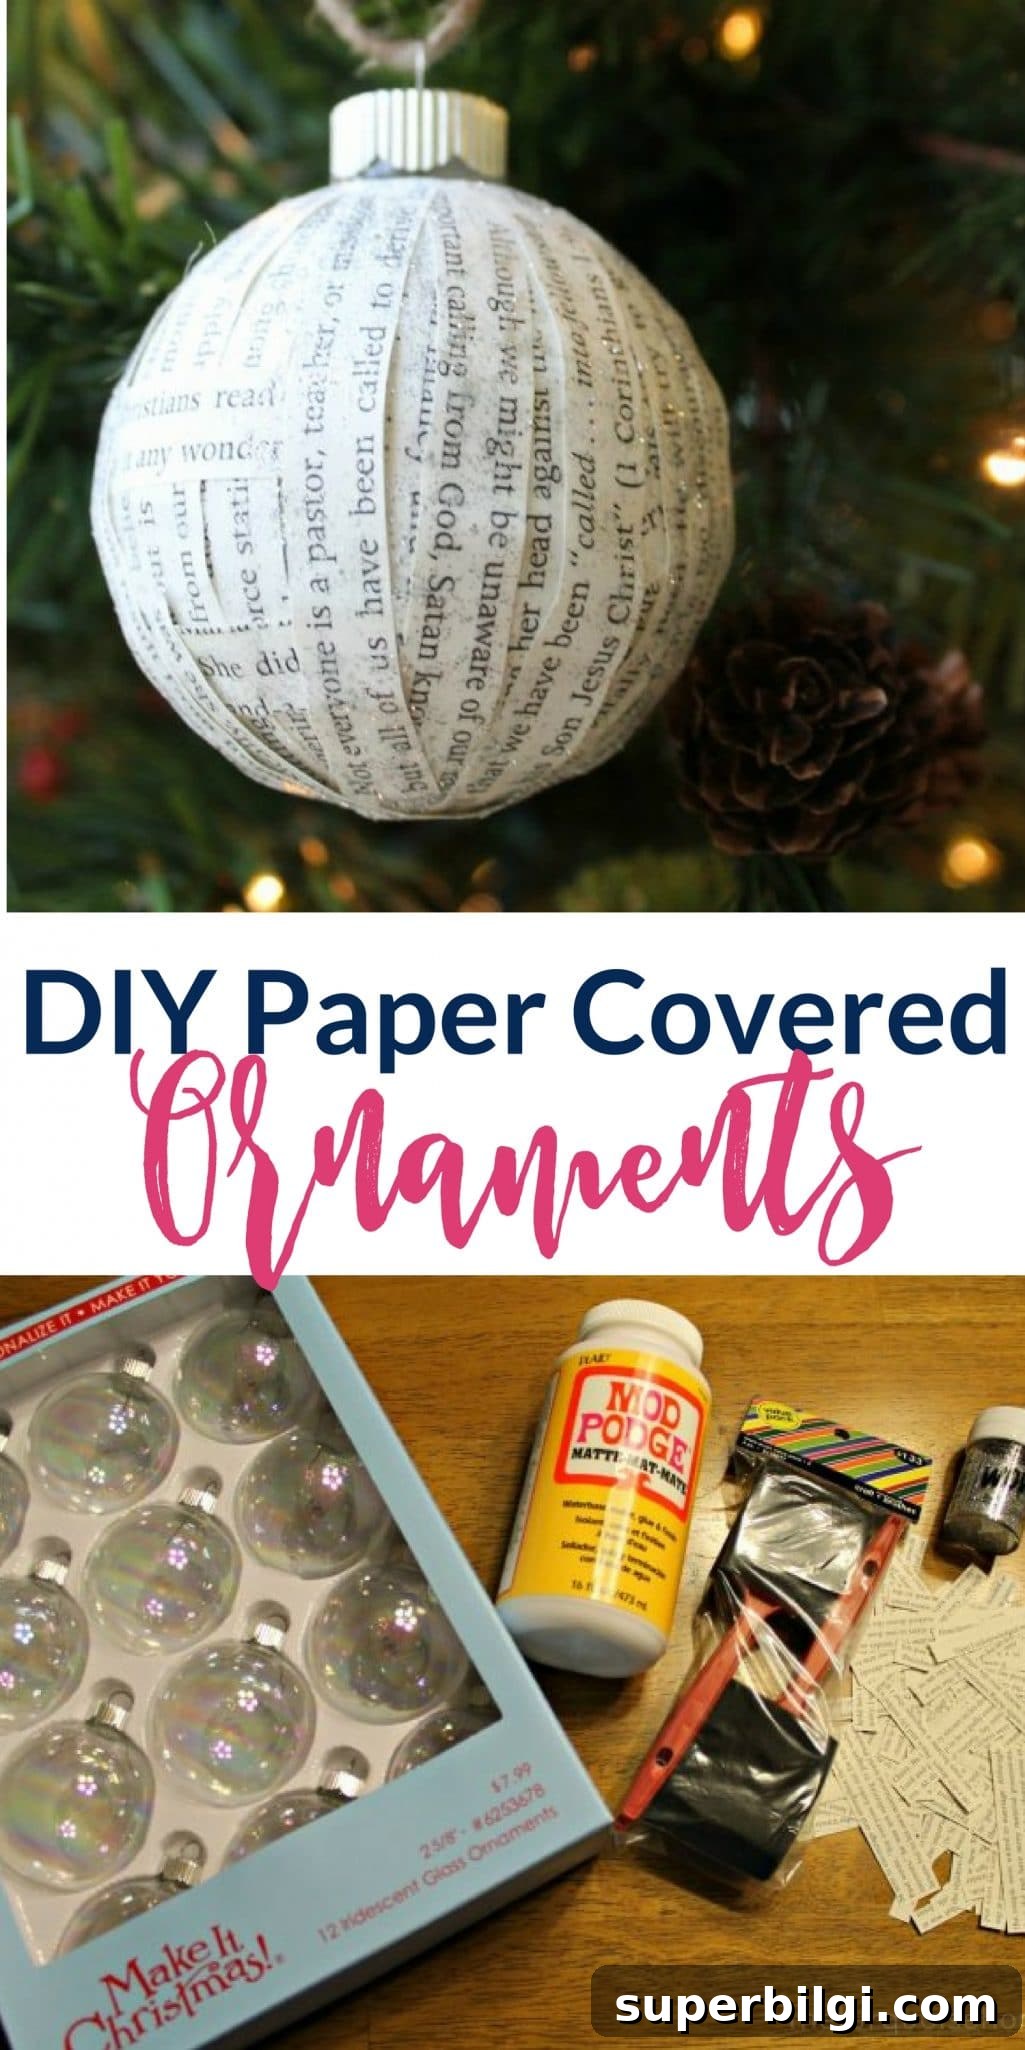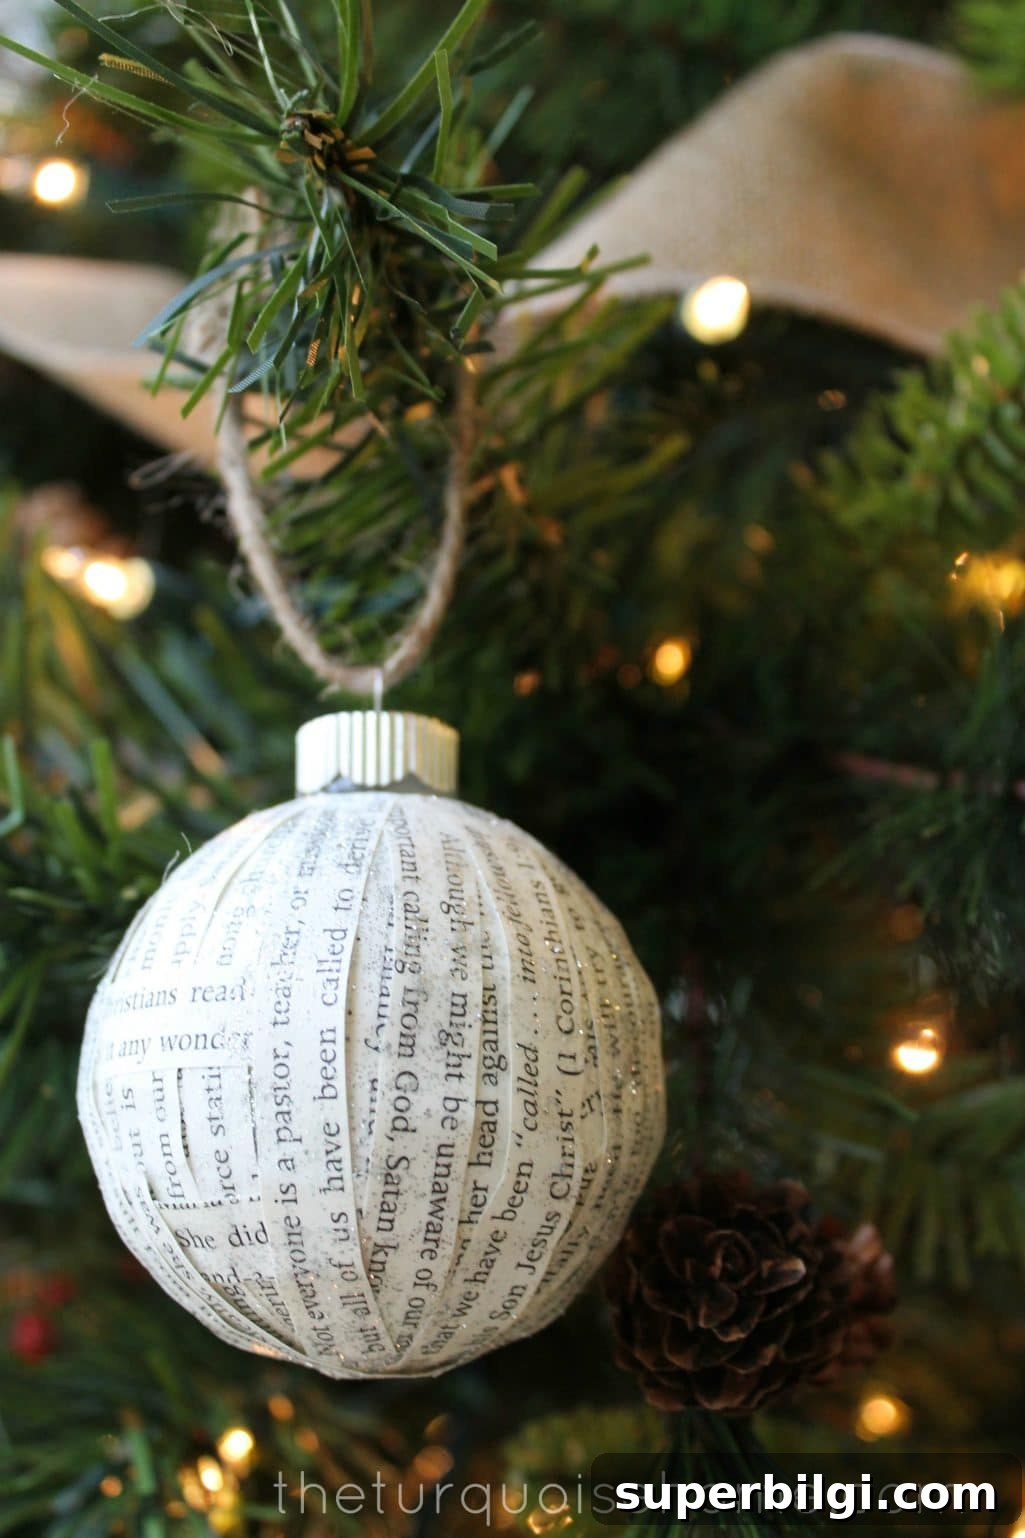
Make charming, budget-friendly DIY paper-covered ornaments with simple supplies — perfect for adding a sentimental touch to your holiday tree.
Now that the shopping is finished and things are settling down, I finally had time to work on some holiday projects. These paper-covered ornaments are easy to make, customizable, and a great way to repurpose old books, sheet music, or any meaningful paper you have on hand.
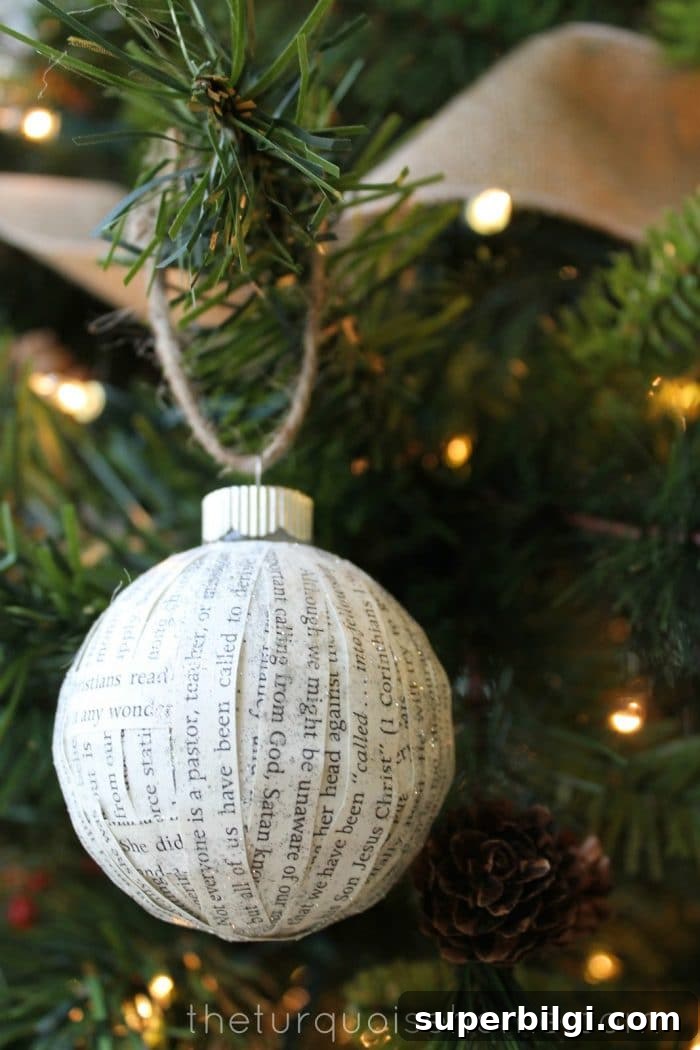
I was inspired by an ornament photo I pinned last year that didn’t include a tutorial, so I experimented until I found a quick, reliable method. The result: attractive, inexpensive ornaments you can personalize by using pages from a favorite book, hymnal, old letters, or even patterned scrapbooking paper.
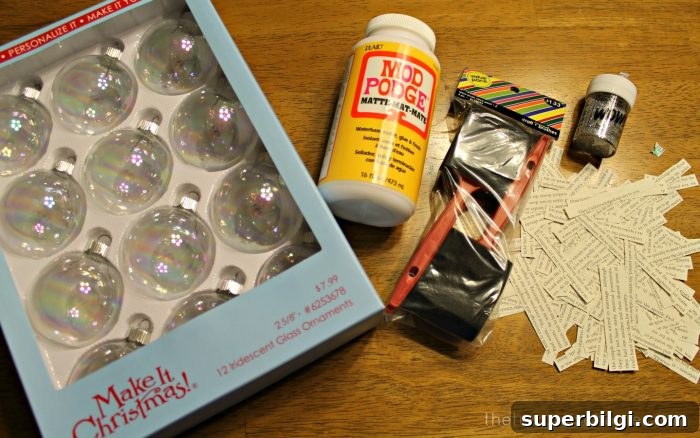
Supplies Needed for Making Paper-Covered Ornaments
- Plain craft ornament balls (plastic or styrofoam from a craft store)
- Mod Podge or a similar decoupage glue
- Small sponge brush or paintbrush
- Fine glitter (optional)
- Strips or small pieces of paper — old book pages, sheet music, or patterned paper
- Twine, ribbon, or ornament hooks for hanging
- Scissors and a clean work surface
Steps for DIY Paper-Covered Ornaments
1. Gather the Supplies
Select your ornament bases and the paper you want to use. For a sentimental touch, choose pages that have meaning — a hymnal, parts of a favorite novel, or even old greeting cards. Using recycled paper keeps these ornaments budget-friendly and adds character.

2. Cut Paper Strips
Cut the paper into narrow strips or small shapes that will lie smoothly on the curved surface of the ornament. Strips around 1/2 inch to 1 inch wide work well, but you can vary the sizes for a patchwork look. If you’re using fragile paper, handle it gently to avoid ripping.
3. Adhere the Strips to Ornaments
Brush a thin layer of Mod Podge onto a small section of the ornament, press a paper strip into place, then brush another thin layer of Mod Podge over the paper to seal it. Work in small areas, smoothing out wrinkles or air bubbles as you go. I mainly applied the strips vertically, adding a few horizontal pieces for variation. The technique is forgiving, so don’t worry about perfection — the handmade look is part of the charm.
I didn’t take photos of every step because the process is straightforward and my hands ended up a bit sticky and glittery, but once you try it you’ll see how fast it comes together.
4. Embellish with Glitter and Twine
Before the final coat of Mod Podge dries, sprinkle a light dusting of fine glitter over the ornament for a soft sparkle. I found that pinching a small amount of glitter and scattering it by hand gives a more even effect than pouring directly from the bottle, which can clump. Tie a length of twine or ribbon to the ornament cap, hang it up to dry, and you’re done.
Add bows, tiny bells, or a hand-written name tag for gift-giving. Allow the ornaments to dry thoroughly — overnight is ideal — before placing them on the tree.
Tips and Variations
- Use patterned scrapbook paper for bold colors and designs.
- Try a crackle finish or a top coat of glossy Mod Podge for a different texture.
- For durability, apply two thin top coats of Mod Podge, letting each dry completely between coats.
- Mix papers with small photos or printed names to create personalized keepsakes.
- To protect fragile pages, brush a thin sealant on both sides of the paper before applying to the ornament.
Each ornament takes roughly 20–40 minutes depending on the size and how intricate you get with the paper pieces and embellishments. They’re perfect for a relaxed craft night, a crafting party, or a thoughtful homemade gift.
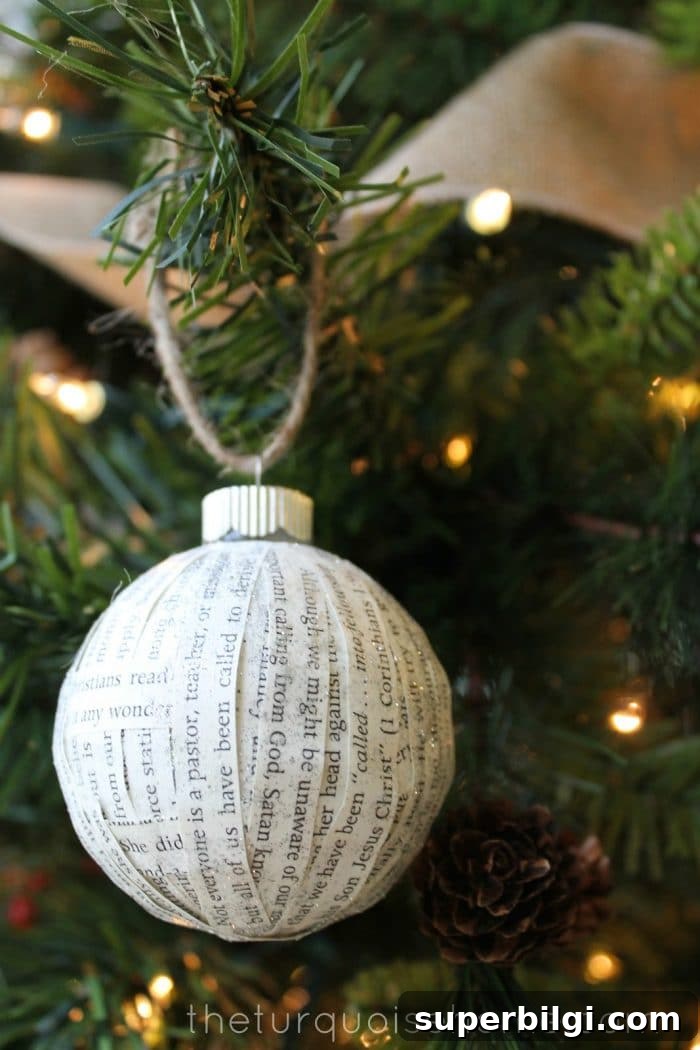
The finished ornaments are simple, inexpensive, and full of personality. They look lovely on a tree, in gift packages, or grouped in a decorative bowl. If you try this project, consider using a few different paper sources for variety — the mix of textures and print makes each ornament unique.
Have you made any ornaments this year? I’d love to hear about your materials and variations — feel free to share ideas or photos in the comments below!