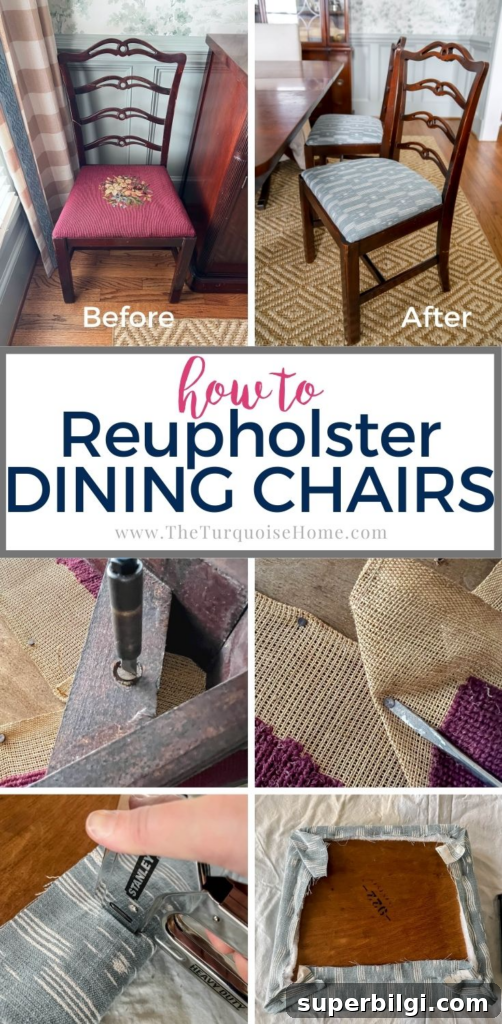
Follow this easy step-by-step DIY tutorial to reupholster dining chair covers with basic tools and only 7 simple steps!
Reupholstering dining chair seat covers is one of the most approachable DIY upholstery projects. Even if you’ve never tackled upholstery before, recovering a chair seat is straightforward, inexpensive, and a quick way to refresh your dining room. With a few basic tools, the right supplies, and seven clear steps, you can replace tired fabric and padding and give your chairs a brand new look.
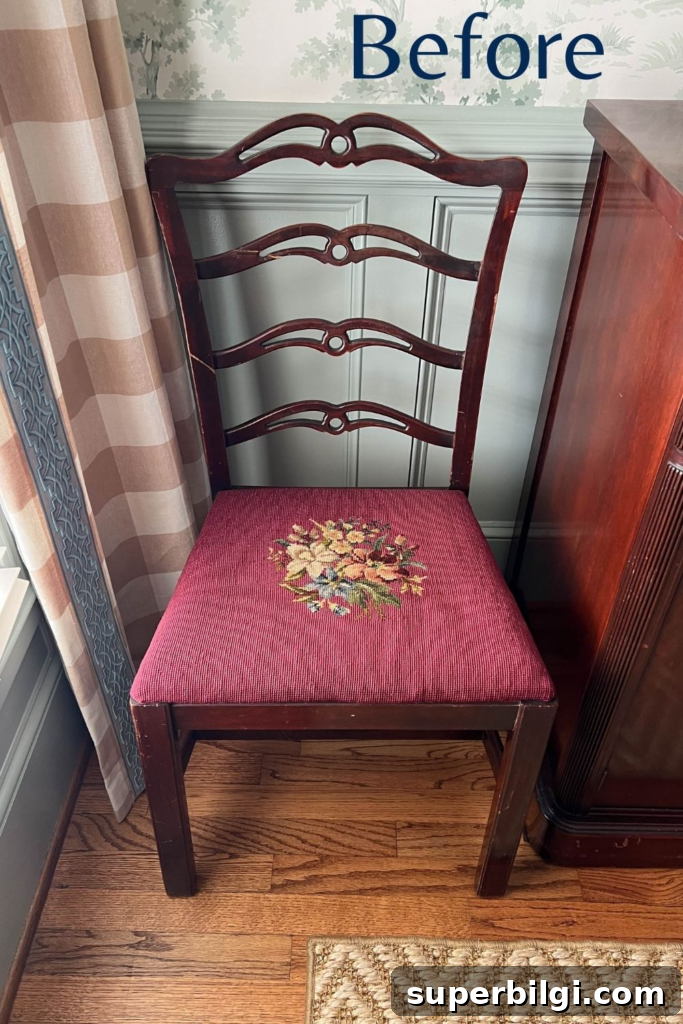
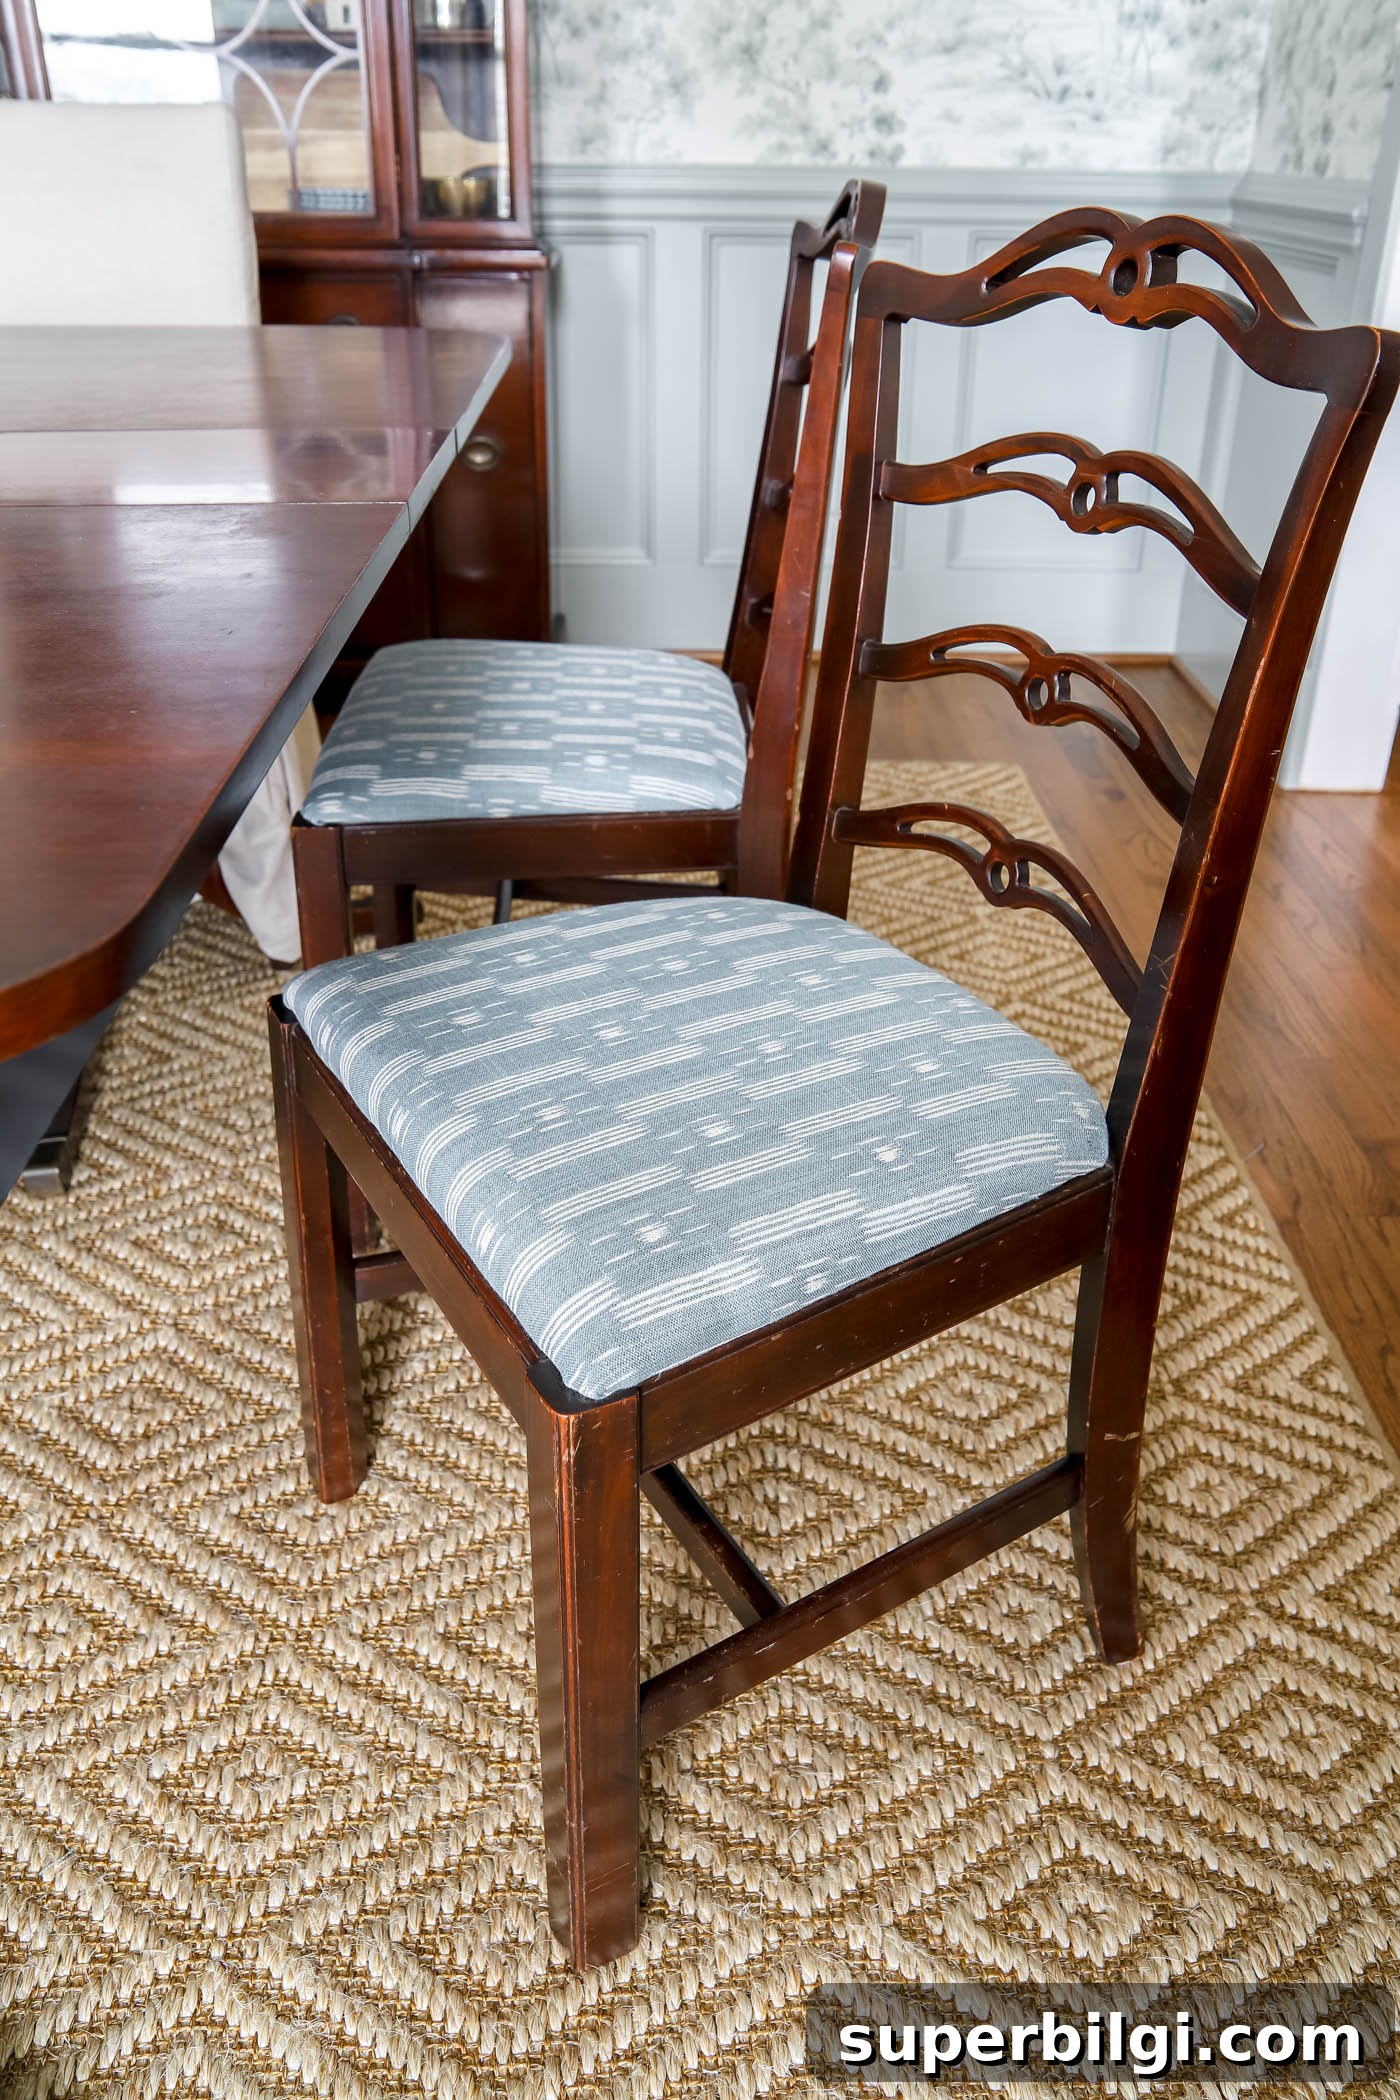
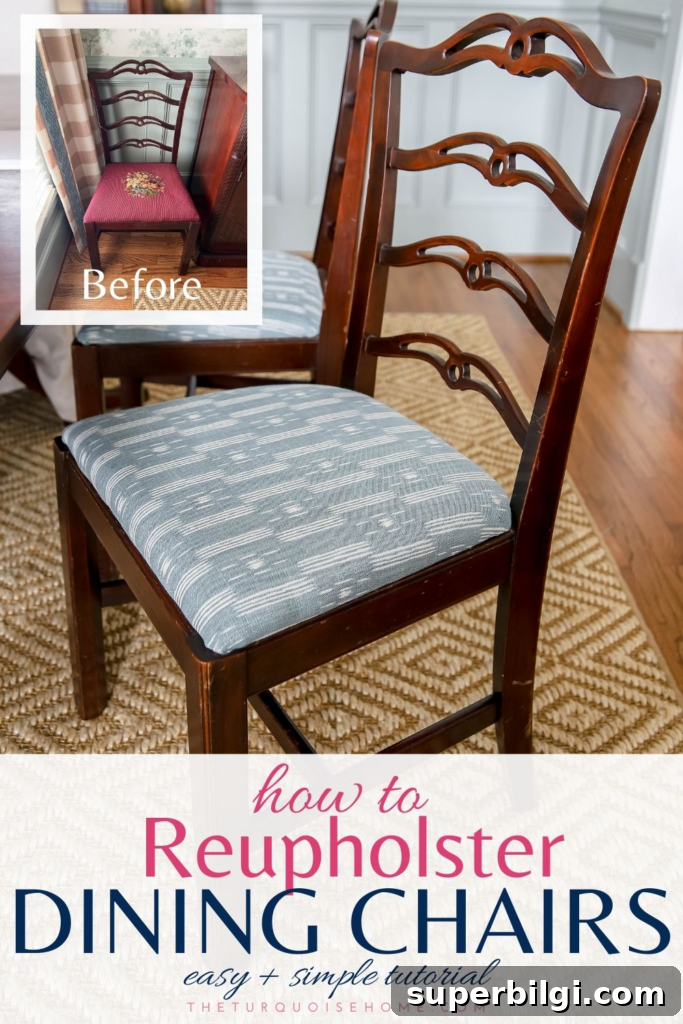
I recently updated eight very old dining chairs as part of a dining room makeover. The previous covers were raisin-colored hand needlepoint, made by a family member decades ago. I wanted a different color palette for the room, but I didn’t want to discard the sentimental pieces. Replacing the seat fabric and padding allowed me to preserve the heirloom pieces while matching the chairs to a new decor direction.
My original idea was to commission pleated slipcovers, but after speaking with a seamstress I was planning to hire, I decided to recover the seat cushions instead. The seamstress pointed out three practical reasons to recover the seats: the padding beneath the old fabric was decades old and should be replaced, recovering uses less fabric than full slipcovers, and the original needlepoint fabric could be repurposed into another keepsake item. She encouraged me to try recovering the seats myself, which saved money and was a fun learning experience.
The first seat took about an hour while I learned the process, and most took around 20 minutes each after that. Below is a clear, step-by-step guide to reupholster dining chair seat covers, what supplies and tools you’ll need, and useful tips to make the project faster and neater.
How to Choose the Right Fabric for Dining Chairs
Choose a durable, upholstery-grade fabric that stands up to regular use and hides stains well. Look for home decor fabrics specifically labeled for upholstery, or select heavier curtain, tablecloth, or shower curtain fabrics as budget-friendly alternatives. For patterned fabrics, consider pattern direction and centering so the finished seat looks balanced.
Tip: If you reuse existing foam or batting that’s still in good condition, you can save money. If the padding is old, brittle, or compressed, replace it for a more comfortable and longer-lasting result.
Note: This post may include references to products I used; remove product links if you prefer to shop locally or from other suppliers.
Supplies needed to Reupholster Dining Chairs
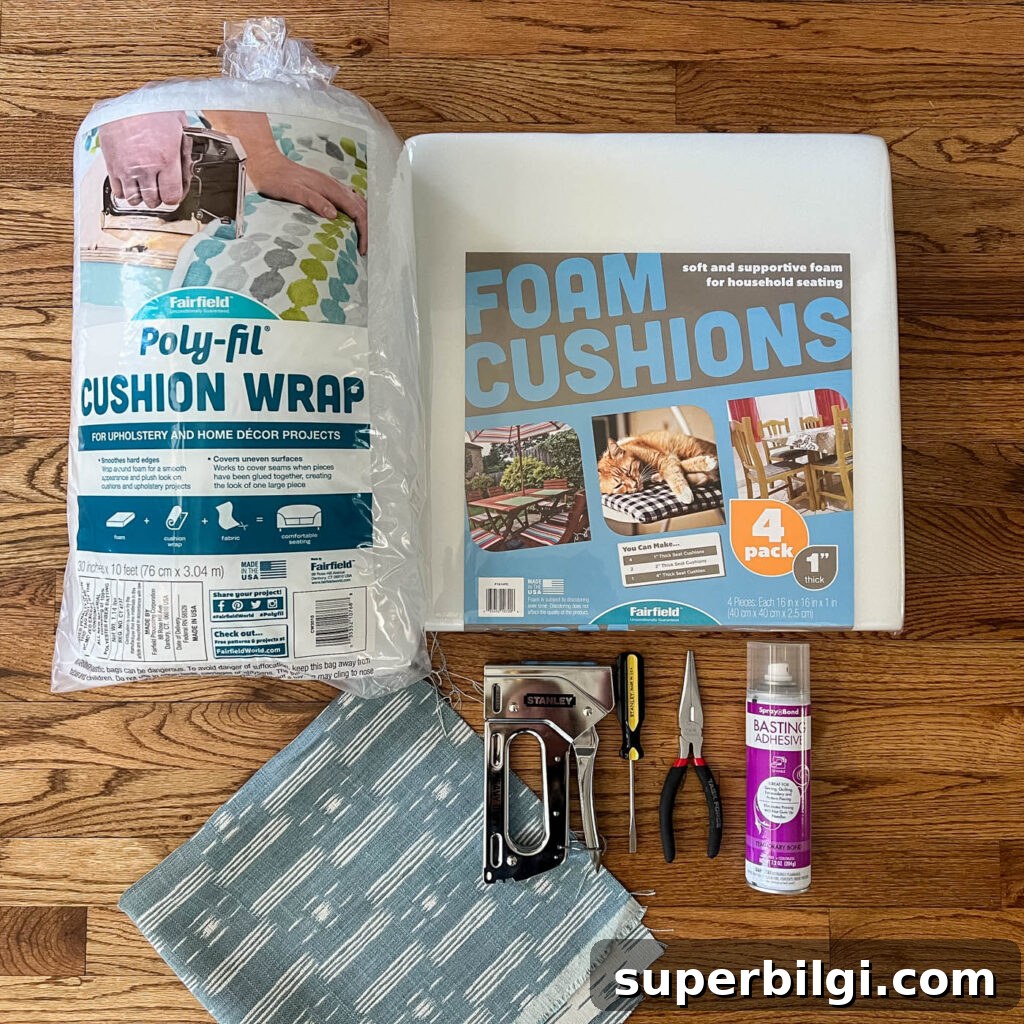
- Dining chairs with removable fabric seat cushions
- Upholstery fabric for new seat covers (allow at least 4 inches extra on each side of the seat)
- Upholstery foam — 1″ to 2″ thickness depending on desired cushion depth
- Cushion wrap batting (to smooth edges and blend foam seams)
- 1/2″ plywood for replacement seat boards if the originals are damaged
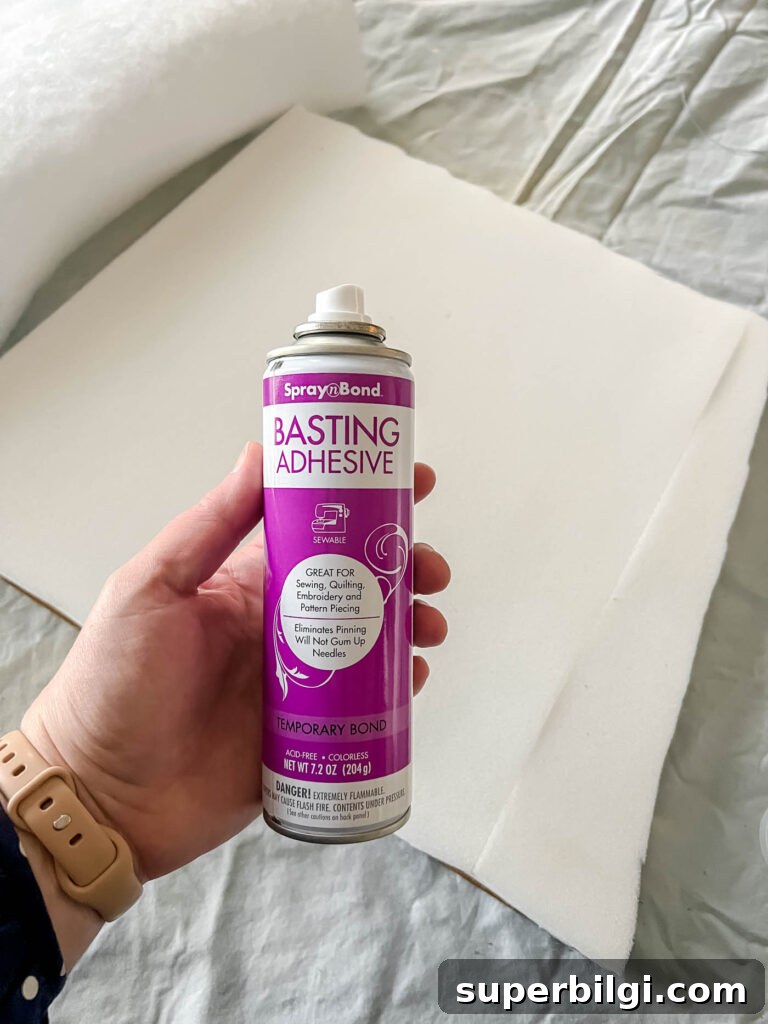
- Optional: temporary basting adhesive to hold foam and batting in place
If your fabric choice is special-order or available only through a designer, coordinate with your supplier to get the correct yardage. For most standard dining chair seats, plan fabric yards conservatively and buy a little extra to allow for pattern matching or cutting mistakes.
Tools for How to Reupholster a Chair
- Drill or screwdriver — to remove the seat from the chair frame
- Flat-head screwdriver and/or staple remover — to pry out old staples or tacks
- Fabric scissors — keep a pair dedicated to cutting fabric only
- Needle-nose pliers — useful for stubborn staples and tacks
- Staple gun and staples (3/8″ or 1/2″) — a basic manual staple gun works fine
- Jigsaw — only if you need to cut replacement seat boards from plywood
- Tape measure and marking pencil
How to Reupholster a Chair Seat Cover
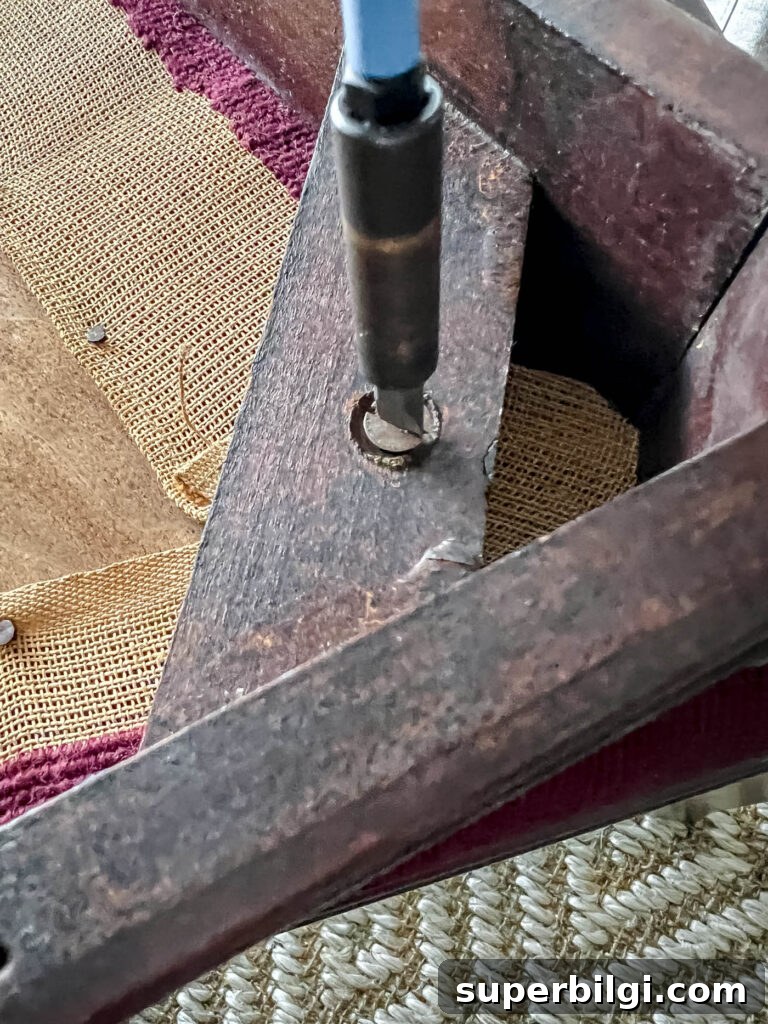
1. Remove the old chair seat
Flip the chair over and locate the screws holding the seat to the frame. Unscrew them and remove the seat board so you can work on it flat on a table or the floor.
2. Remove the old fabric
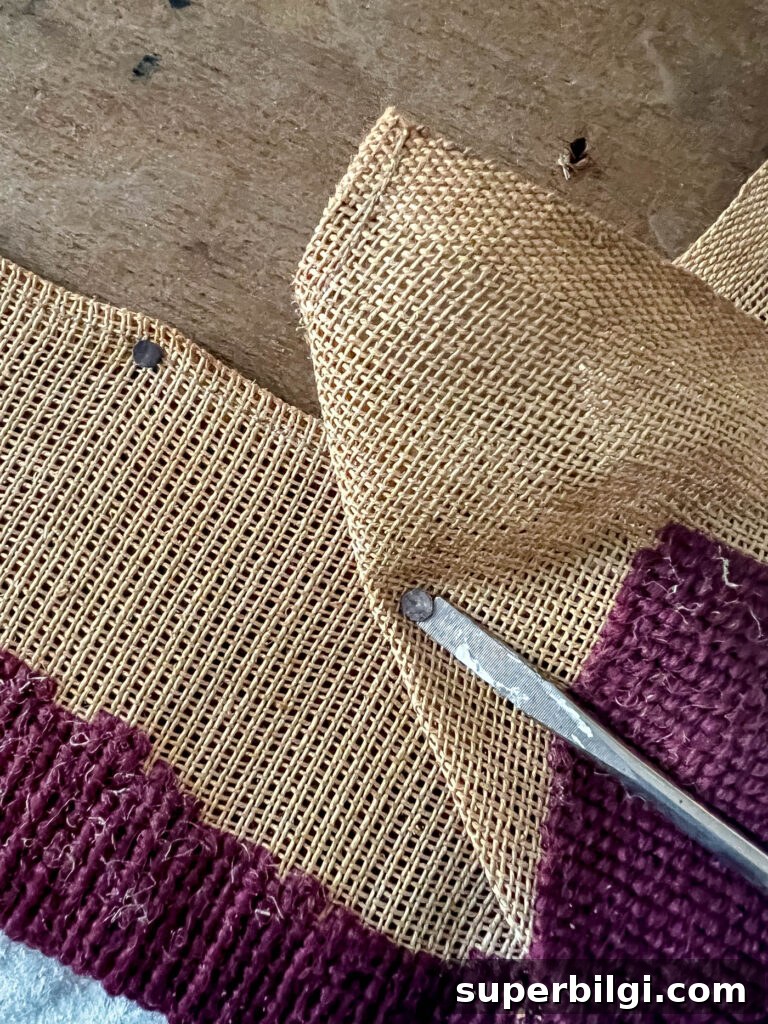
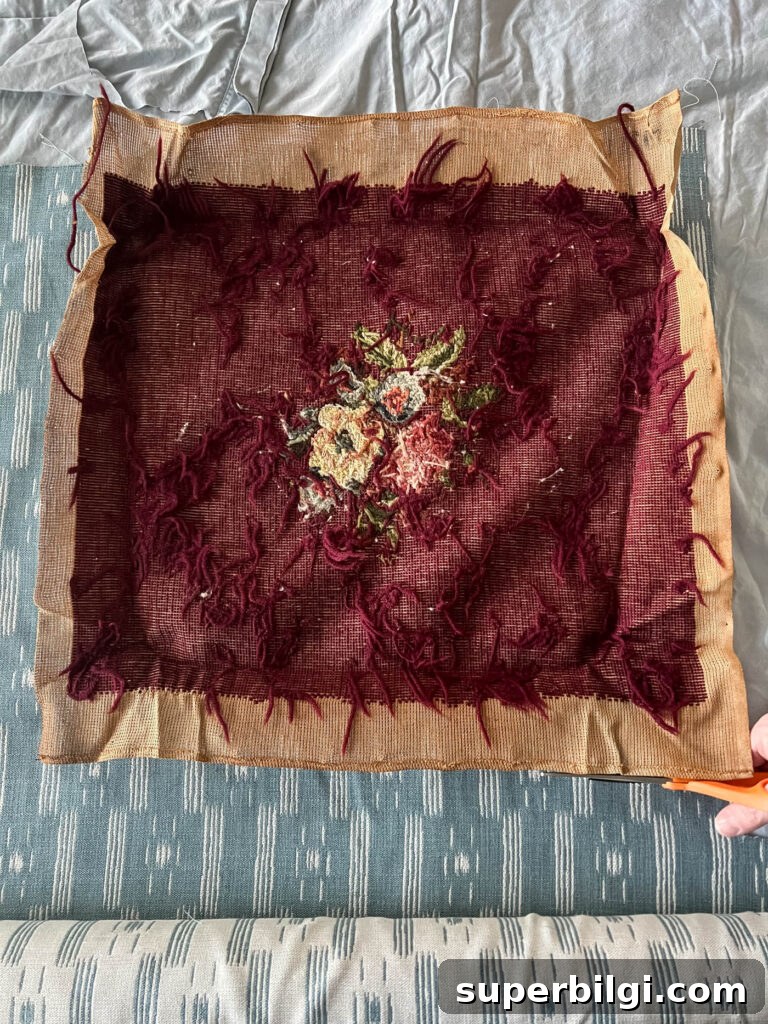
Remove staples or tacks from the underside of the seat using a staple remover, flat-head screwdriver, and pliers. Keep the old fabric pieces as a template to cut your new fabric, especially if the original was well-fitted.
3. Make new seat boards, if needed
If the seat board is cracked or damaged, trace the old board onto 1/2″ plywood and cut a replacement with a jigsaw. Sand edges smooth and test-fit the new board before adding foam and fabric.
4. Replace the foam, if needed
Place new foam over the seat board and trace around it, then cut the foam to size. If you need to join foam pieces, it’s fine — batting will smooth seams and create a seamless top once covered.
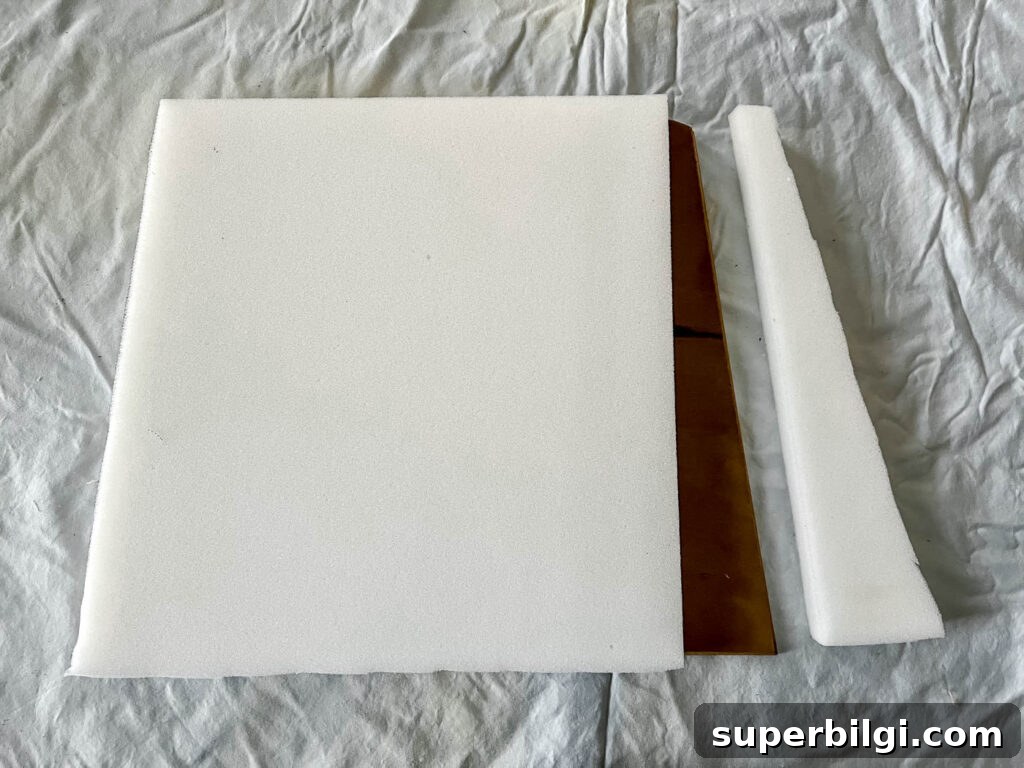
Optional: use a light basting spray to temporarily hold foam and batting layers together while you staple the fabric.
5. Add batting over the foam cushion
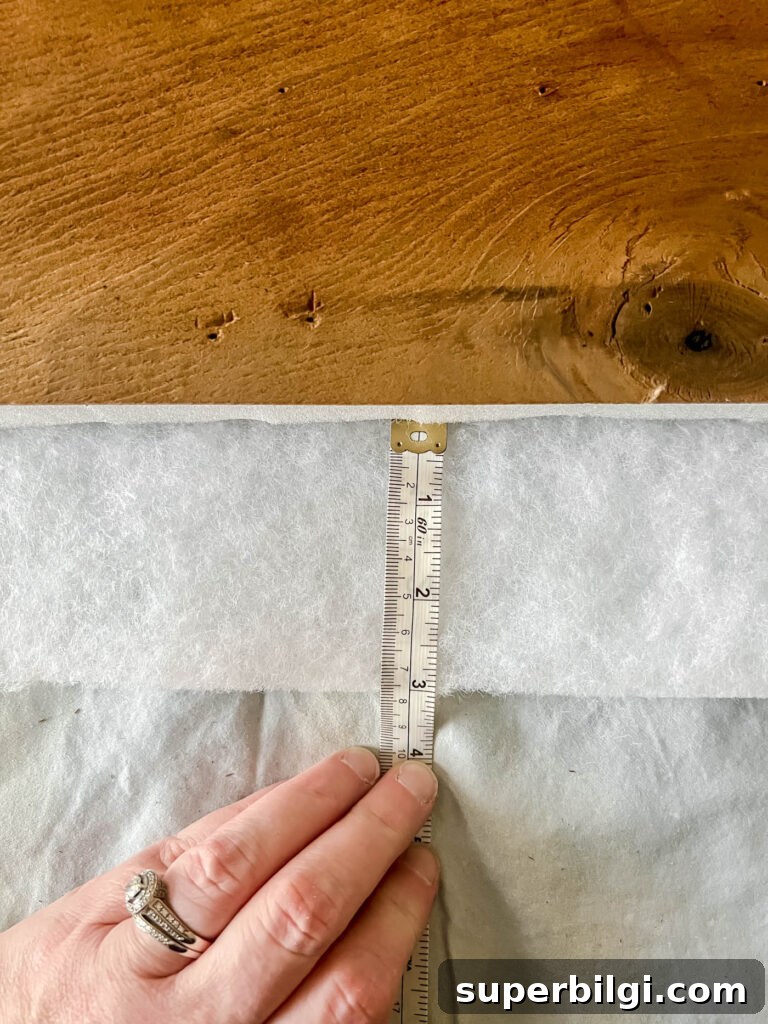
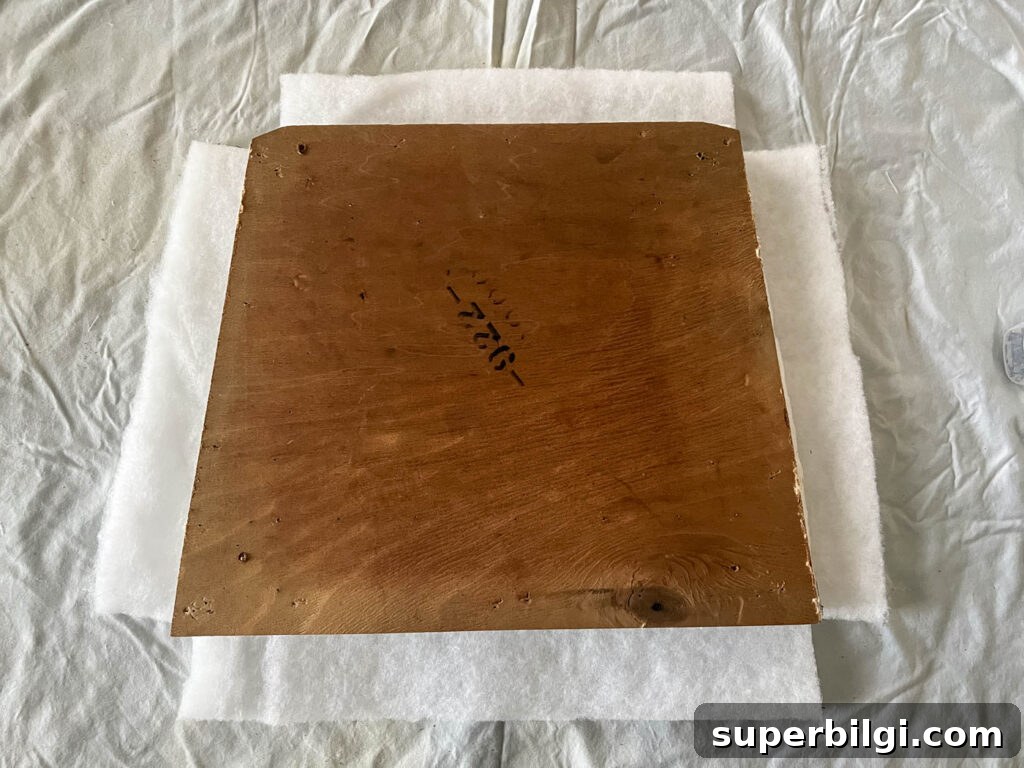
Cut batting so it extends about 3 inches beyond the seat on all sides, and notch the corners to prevent bulky folds. Wrap the batting around the foam and board and hold it in place with a few staples or basting adhesive.
6. Cut out the fabric
If your fabric is patterned, determine the orientation and center the pattern before cutting. Allow at least 4 inches extra on each side to wrap under the seat. Use the old fabric as a template if helpful, then trim if necessary for a perfect fit.
7. Staple the fabric to the underside of the chair
Find and mark the center points on the seat and the fabric for alignment. Working from the center of each side, pull the fabric snug and place a staple through the fabric into the underside of the seat. Continue stapling toward the corners, alternating sides to keep tension even and prevent wrinkles.
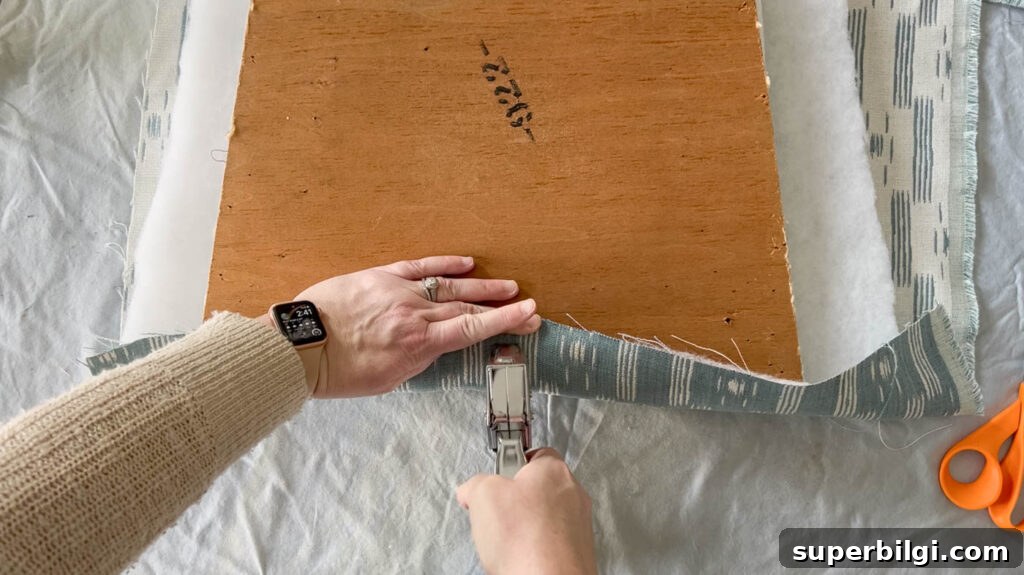
Before finishing the corners, flip the seat over to confirm the top looks smooth and well-centered. If adjustments are needed, remove a few staples, reposition, and restaple. When stapling corners, fold and tuck the fabric carefully so the corner lies flat and neat. Practice folding on a scrap if you’re unsure — it’s similar to wrapping a present.
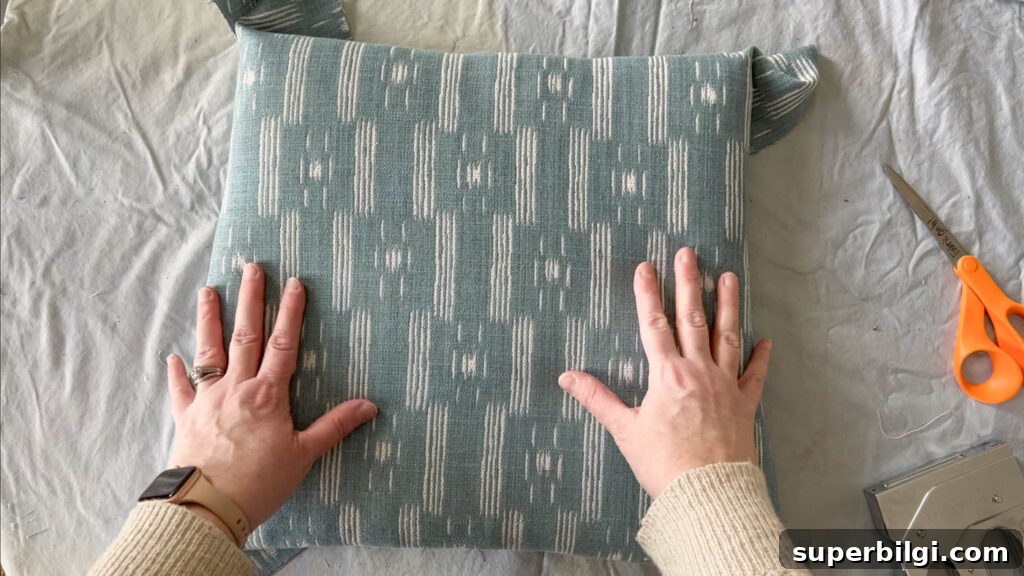
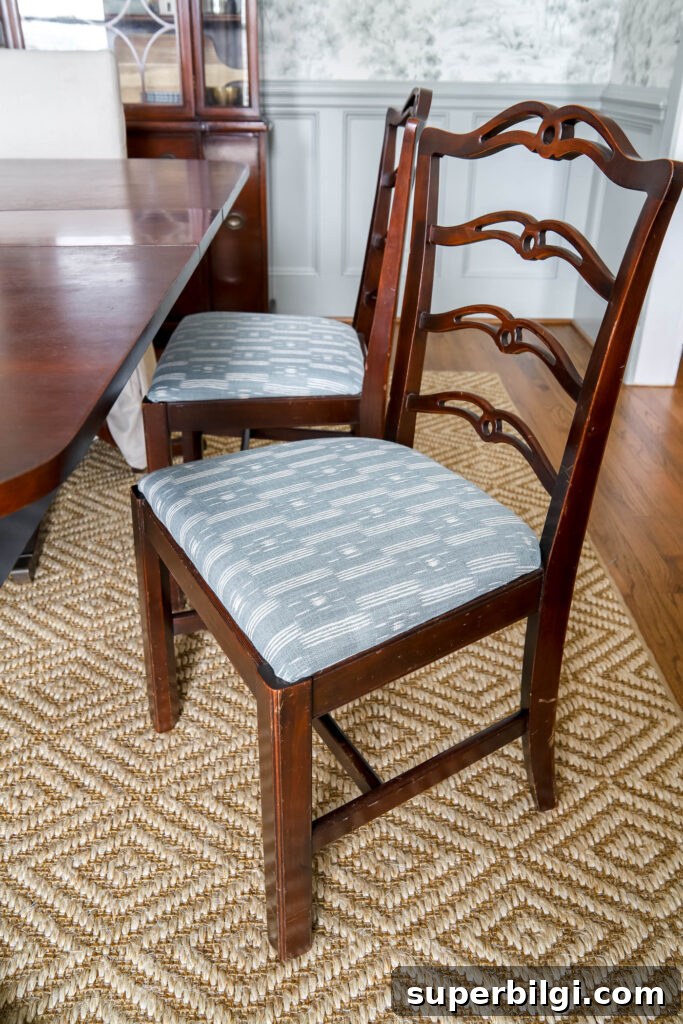
Once the fabric is securely stapled and the corners are tidy, reattach the seat to the chair frame with the screws you removed earlier. Step back and admire the refreshed look — reupholstered seats can make even an older table look new again.
Watch Video Tutorial for Reupholstering Dining Chair Seat Covers
A short video demonstration can be very helpful for corner folds and stapling technique. If you prefer visual instructions, search for a reupholstery how-to video that walks through the seven steps above and shows corner folding up close.
FAQ’s about How to Reupholster Dining Chair Covers
Is it hard to reupholster a chair?
No — recovering a chair seat is an ideal beginner project. The skills are simple: removing the old fabric, cutting foam and batting, and stapling fabric evenly. If you can wrap a gift neatly, you can handle the basic corner folds and tensioning.
How much fabric do I need to reupholster a chair cover?
Fabric needs vary by seat size. As a guideline, add at least 4 inches of excess on each side of the seat. For an 18″ square seat, cut at least a 22″ square of fabric; give yourself extra yardage for pattern matching or mistakes.
How much does it cost to reupholster a chair seat cushion?
Cost depends on fabric price and whether you need new foam or tools. If you already own a staple gun and basic tools, supplies excluding fabric can be under $10 per chair; fabric costs will vary widely based on material and yardage.
Can you reupholster a dining chair without removing old fabric?
Yes. If the existing foam and batting are still in good condition, you can add new fabric directly over the old layers. Remove the old fabric only if you want to replace padding, remove staples, or preserve the old fabric for another purpose.
More Posts You Will Love:
Other dining room projects to consider:
- How to install paste-on-wall wallpaper
- How to paint outlet covers
- Traditional dining room design plans