
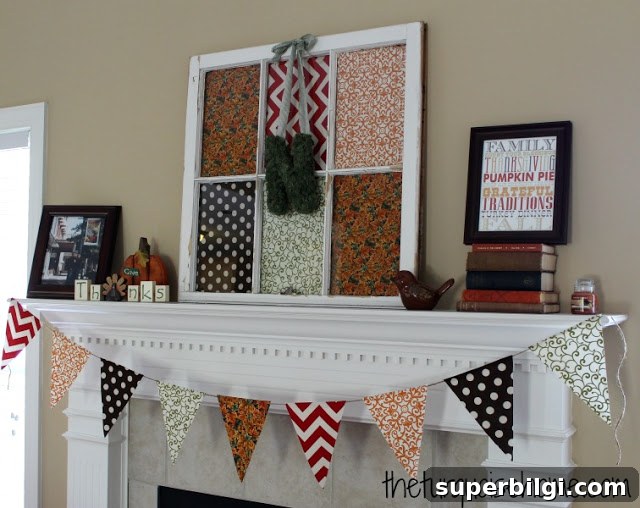
Learn how to make a simple DIY bunting with just a few craft supplies. It’s an easy way to use up fabric scraps and add charming, handmade decor to your home.
I promised to share the bunting tutorial I used on my fall mantel. It’s straightforward, and ideal for beginners who appreciate a little direction before starting a new craft. I browsed a few ideas online to get inspired, but then adapted the method to suit the materials I had on hand. Below is a clear, step-by-step guide to make your own fabric bunting.
Supplies Needed to Make Bunting:
- Jute, string, twine, or ribbon — long enough to span the space you want to decorate
- Fabric scraps in coordinating colors and patterns
- Graph paper or plain paper for drafting a template (optional)
- Card stock or thin cardboard to make a reusable template
- Hot glue gun and glue sticks
- Ruler or measuring tape
- Iron and ironing surface
- Scissors or a rotary cutter
Instructions for Making DIY Bunting Decor
1. Make a Template
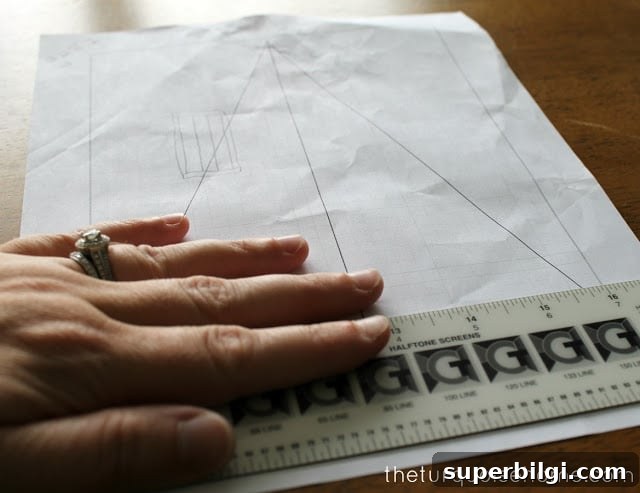
Start by creating a paper template for the bunting pennant. I used graph paper to help with straight lines, but plain paper works fine too. For the size I chose, I measured a width of about 7 inches across the top. From the midpoint of that top edge, I measured down roughly 9 inches and drew the triangle shape to form a classic pennant.
At the top of the triangle, add about an inch of extra height and make the flap slightly narrower than the pennant’s full width. This flap will fold over the jute or ribbon so you can secure each pennant without sewing. Once you’re happy with the shape, cut it out and transfer the shape to card stock or thin cardboard to create a sturdier, reusable template.
2. Cut Out Fabric with the Template
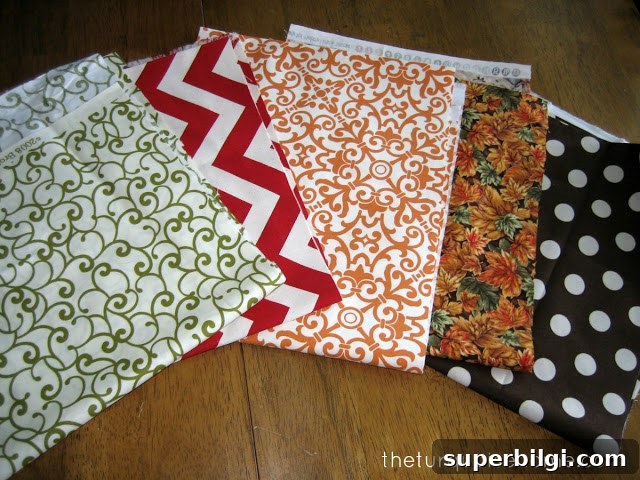
Use the card stock template to trace the pennant shapes onto your chosen fabrics. Layer fabric pieces if you want to cut multiple pennants at once, or trace and cut each piece individually for more control. Take care to line up patterns or plaids if you want a coordinated look. Cut neatly with fabric scissors or a rotary cutter for clean edges.
3. Iron Down the Top Flap
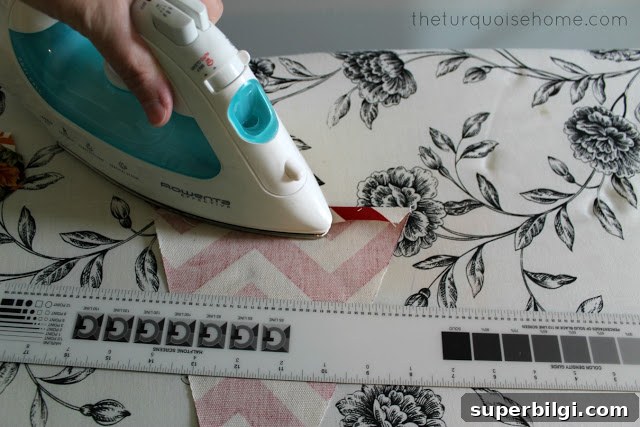
Press each pennant with an iron to remove wrinkles and to set a crisp crease where the top flap will fold over the string. I used a ruler to create a straight crease before ironing — place the ruler along the line you want and fold the fabric over it, then press with the iron to hold the fold. This step gives a polished finish and helps the flap lay flat when glued.
4. Attach the Pennants to the String
Lay your jute, twine, or ribbon along a flat surface. Fold the flap on each pennant over the jute, and apply a thin line of hot glue inside the flap to secure the fabric to the string. Press firmly for a few seconds until the glue cools. For durability, add glue along the inside edge of the flap as well so the pennant holds in place while hanging.
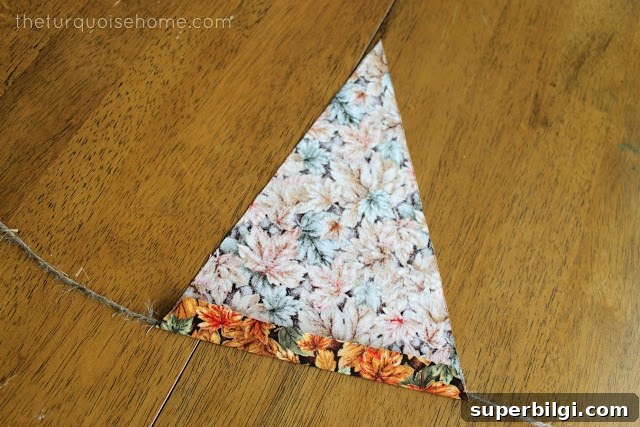
Space the pennants evenly along the string — I typically leave a couple of inches between each pennant for a balanced look, but you can adjust spacing based on how full you want the bunting to appear. Once all pennants are attached, tie loops at each end of the string for easy hanging.
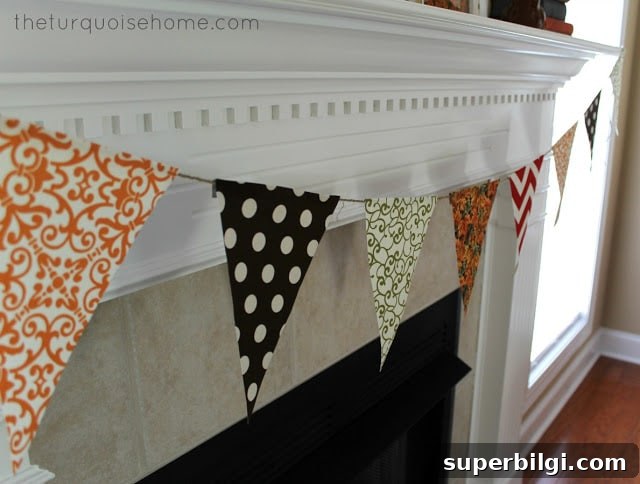
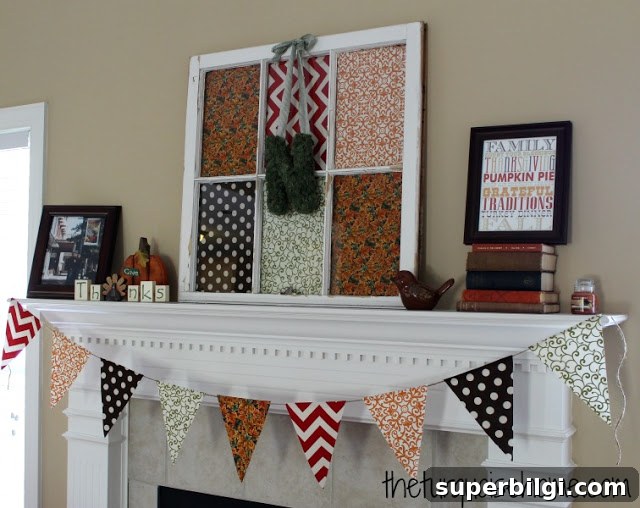
I hung my bunting across the mantel for fall, and I love the cozy, handmade touch it adds. This same method works well for seasonal decor, party backdrops, nursery garlands, or anywhere you want a touch of color and texture. I’m planning to make a smaller version for a child’s room next.
Tips and Variations
- For a more finished edge, use fabric that doesn’t fray or apply a quick line of fray-check to raw edges.
- To make double-sided pennants, cut two matching pieces and glue them back to back, hiding the string inside the top flap.
- Experiment with different shapes — rectangles with a fringe, scalloped edges, or banner-style pennants can all be made using the same folding-and-gluing approach.
- Swap hot glue for fabric glue if you prefer a glue that won’t stiffen the fabric as much.
More Posts You Will Love:
- DIY Rag Garland for Spring
- How to Make a Felt Garland + Valentine’s Day Chalkboard
- How To Hang Garland On the Stairs