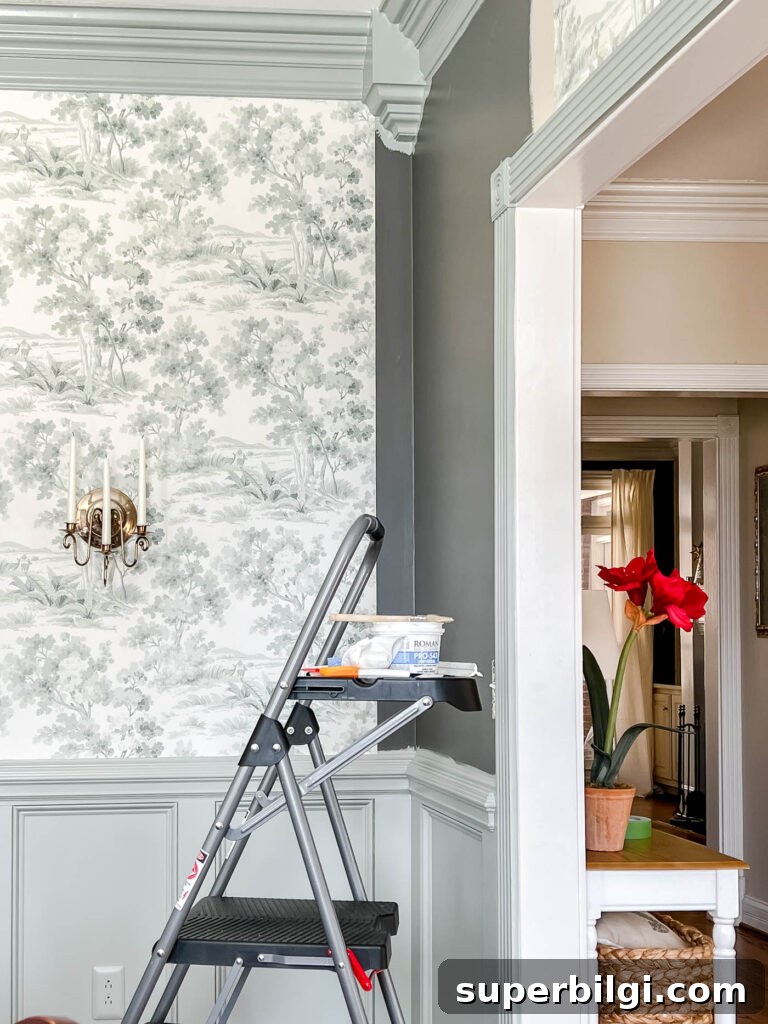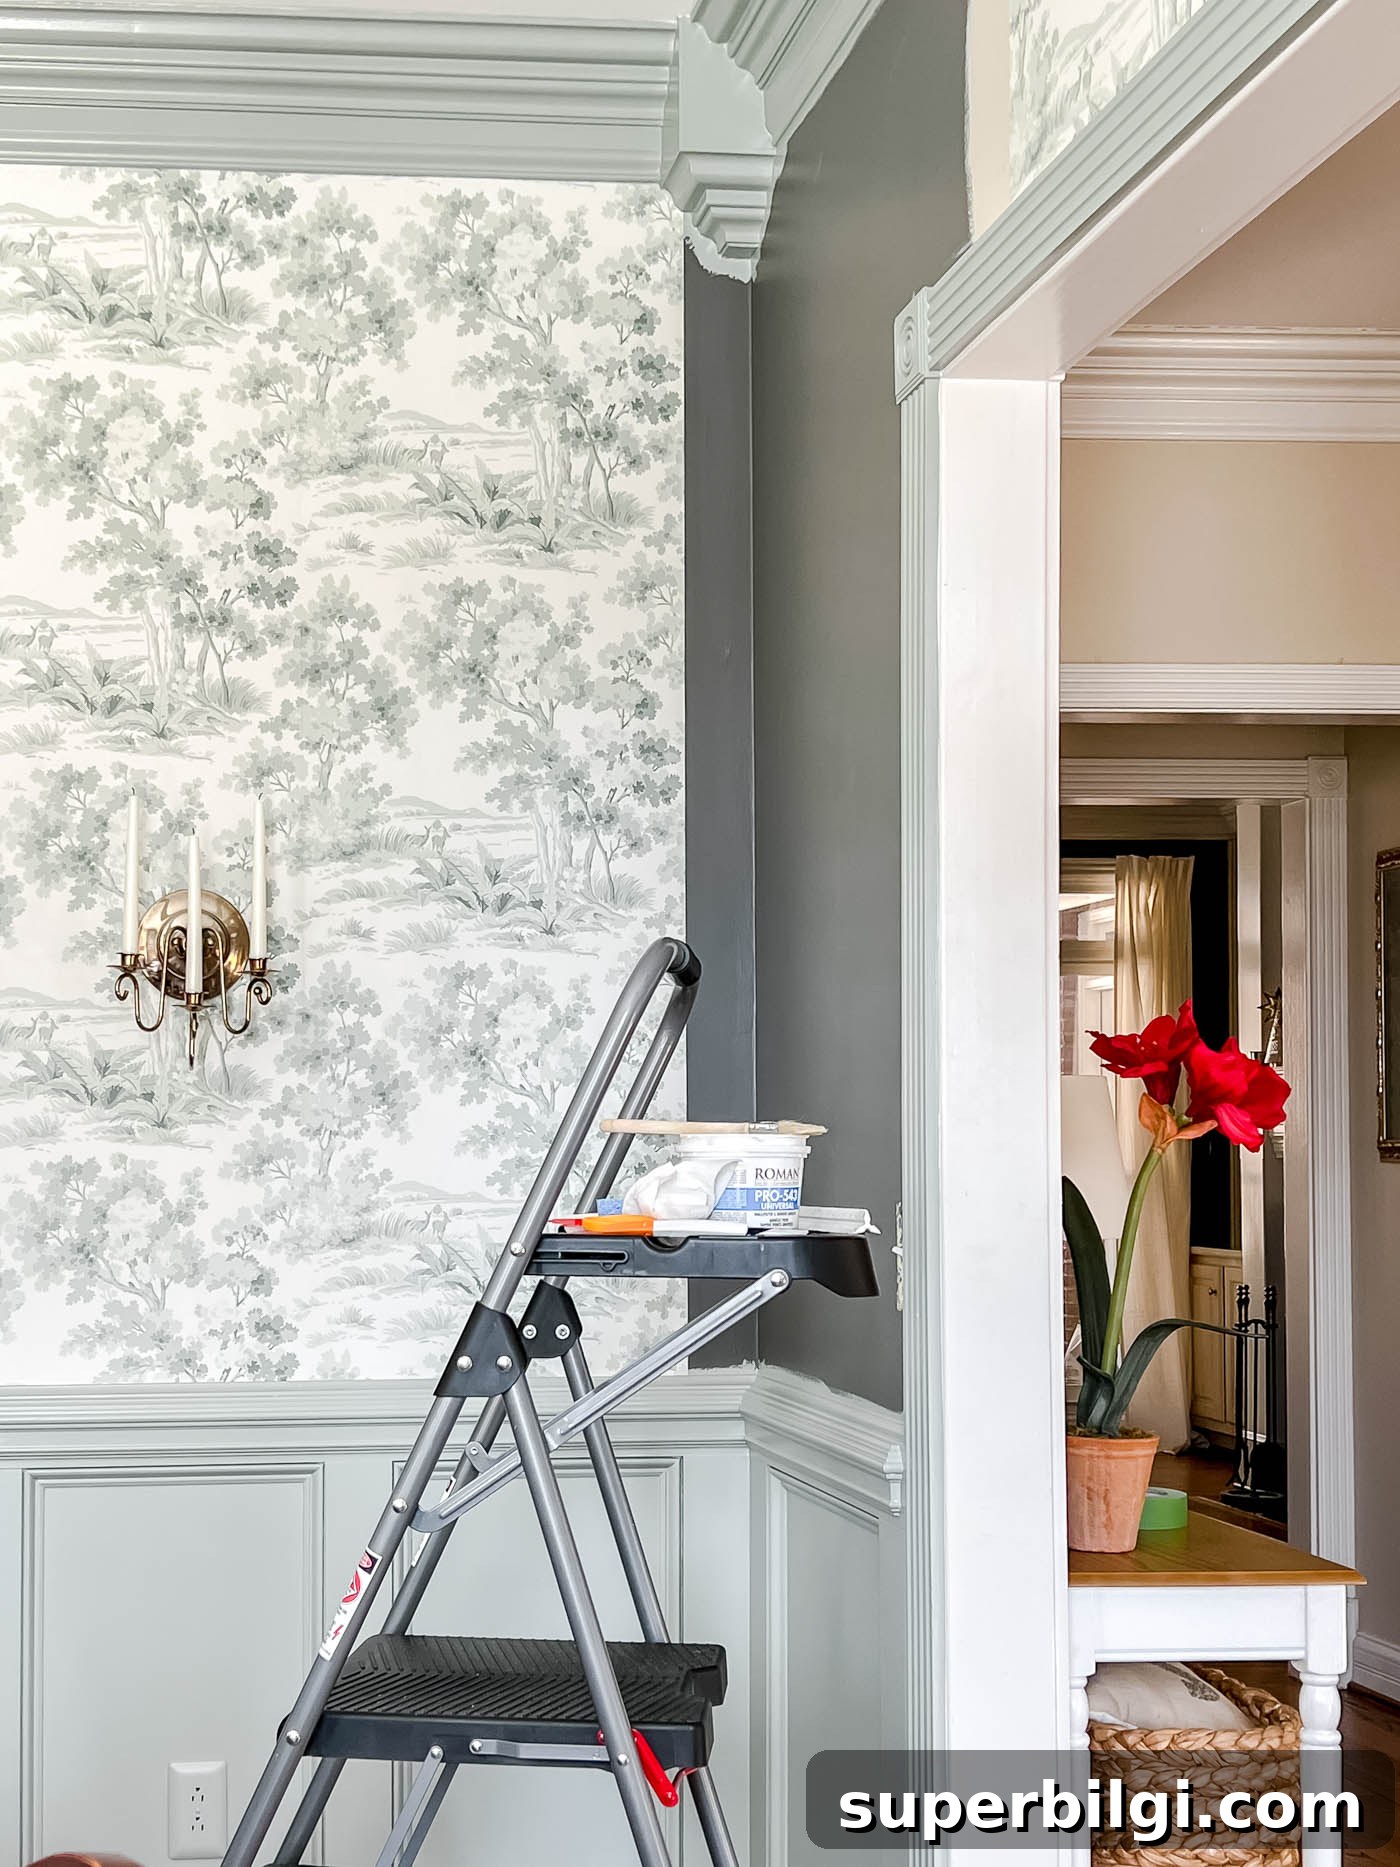
Learn how to install wallpaper yourself with this clear, step-by-step guide. Get practical tips and techniques from a DIYer who has papered several rooms in her own home.
I recently started using wallpaper again and I’m hooked. It’s a great way to add color, texture and pattern to a room. This guide reflects the method I used to paper my dining room — the largest wallpaper project I’ve tackled so far — and the same basic process I used in a smaller powder room.
This post contains affiliate links for your convenience. See my full disclosure policy.
Supplies & Materials You Will Need to Install Wallpaper:
- Wallpaper — choose a design and quality suited to the room’s traffic and lighting.
- Chalk line or pencil for marking vertical plumb lines.
- Level to ensure perfectly vertical placement.
- Wallpaper smoother to remove bubbles and flatten seams.
- Brush or paint roller for applying paste to the wall.
- Wallpaper adhesive (paste) appropriate for the paper type.
- Straight edge (metal ruler) for accurate trimming.
- Tape measure for cutting lengths and calculating coverage.
- Utility or craft knife with extra blades for clean cuts.
- Sponge and bucket of clean water for wiping paste.
- Seam roller to press seams flat (optional but helpful).
- Scissors for relief cuts and trimming.
A few supply notes from my experience: a reliable wallpaper adhesive makes a big difference — choose one designed for the paper you bought. A sharp craft knife and frequent blade changes prevent tearing and ensure neat edges. Wallpaper kits are handy if you want most tools in one place.
How to Install Paste-on-the-Wall Wallpaper
This tutorial covers the method where you apply paste directly to the wall, then hang the unpasted wallpaper. It’s straightforward and works well for most unpasted rolls. The other common approaches are pre-pasted paper (activated with water) and paste-the-paper systems, which are similar but the paste is applied to the backing instead of the wall.
Wallpapering can seem intimidating, but the process is similar to wrapping a large present: measure, align, smooth, and trim. If this is your first time, practice on a single wall or in a small room to build confidence before tackling a whole room.
Before you begin, remove switch plates, outlet covers and anything else attached to the walls. Patch and sand any holes or rough spots so the wall surface is smooth.
1. Decide where to start and end the wallpaper.
If you plan to paper the entire room, choose an inconspicuous place for the seam where the paper will meet — a spot above the most-used door often works well. Pattern match won’t line up perfectly where the roll ends and begins again, so hide that meeting point in an area that’s less noticeable.
2. Mark a level vertical line for your first strip.
Use a level or chalk line to create a perfectly vertical plumb line. Starting from a straight line ensures the rest of the room stays level. Check level frequently, especially when wrapping corners or working around doors and windows.
3. Cut each strip with extra length.
Cut each length of wallpaper at least 2 inches longer than the wall height to allow trimming at the ceiling and baseboard. This extra allows accurate, straight trimming and compensates for small measurement errors.
4. Apply paste to the wall.
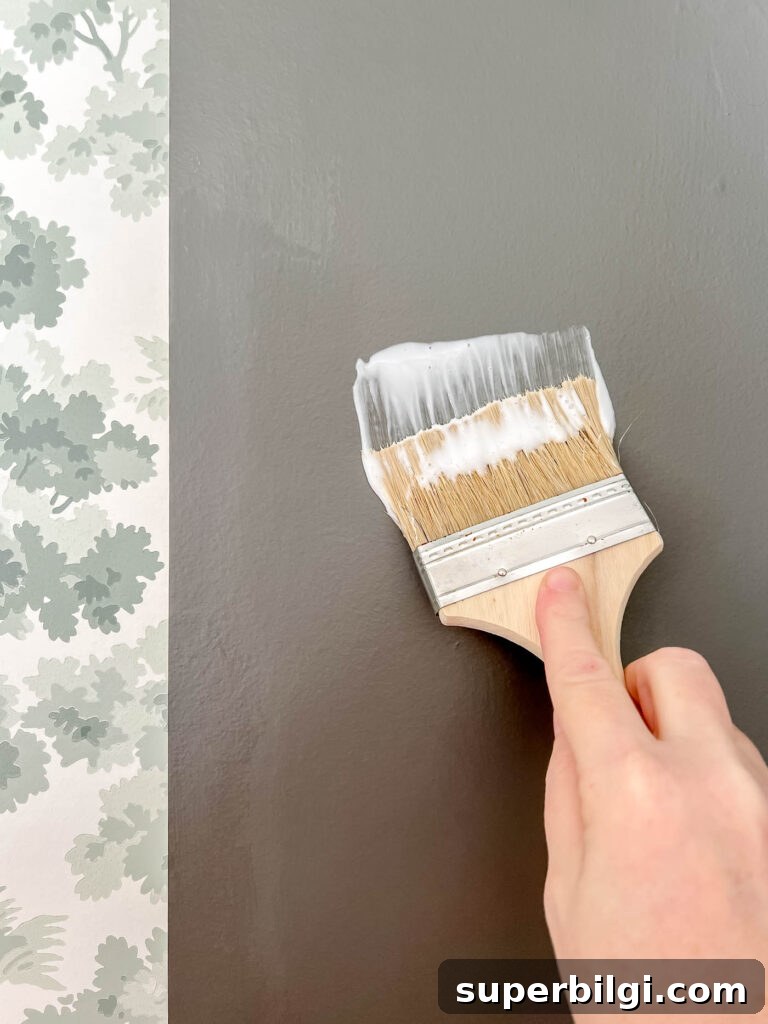
Using a brush or roller, spread adhesive over the area where the strip will go. Aim for even coverage — enough paste to get good adhesion, but not so much that it drips. If you need to reposition a strip, you can pull it off and add more paste. It’s better to have a generous, even layer than too little paste.
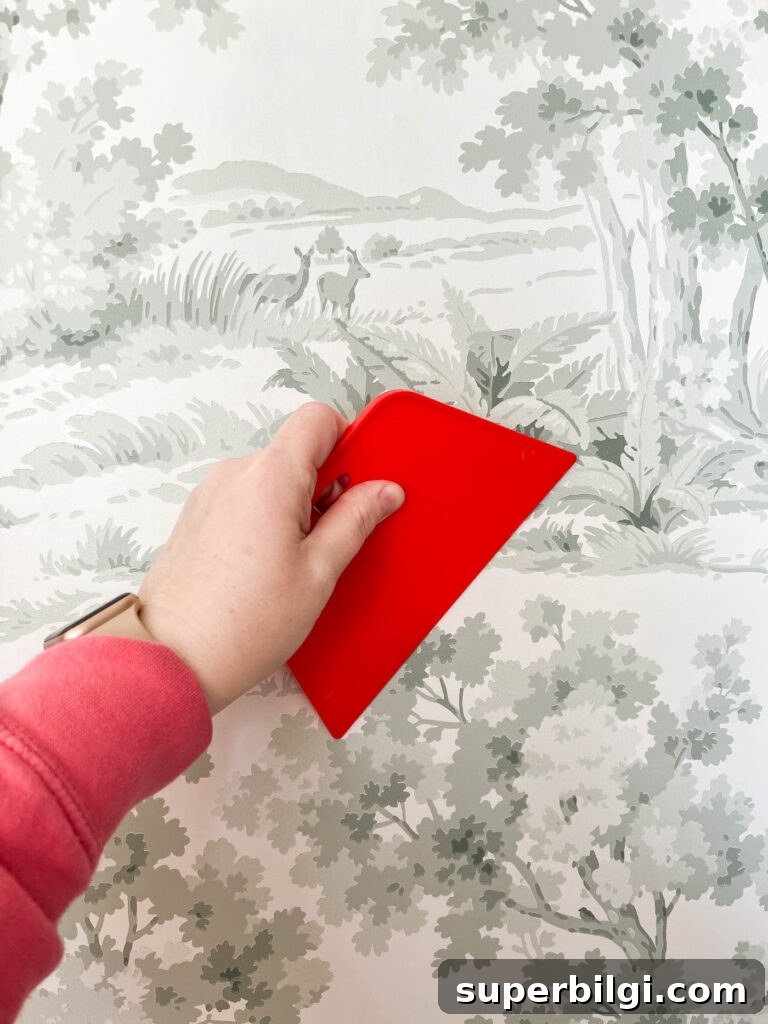
5. Smooth out bubbles with the wallpaper smoother.
Place the paper on the wall and use a wallpaper smoother (or a clean cloth) to push air and paste toward the edges. Work from the center outward and run your hand over seams to ensure there are no trapped bubbles or wrinkles.
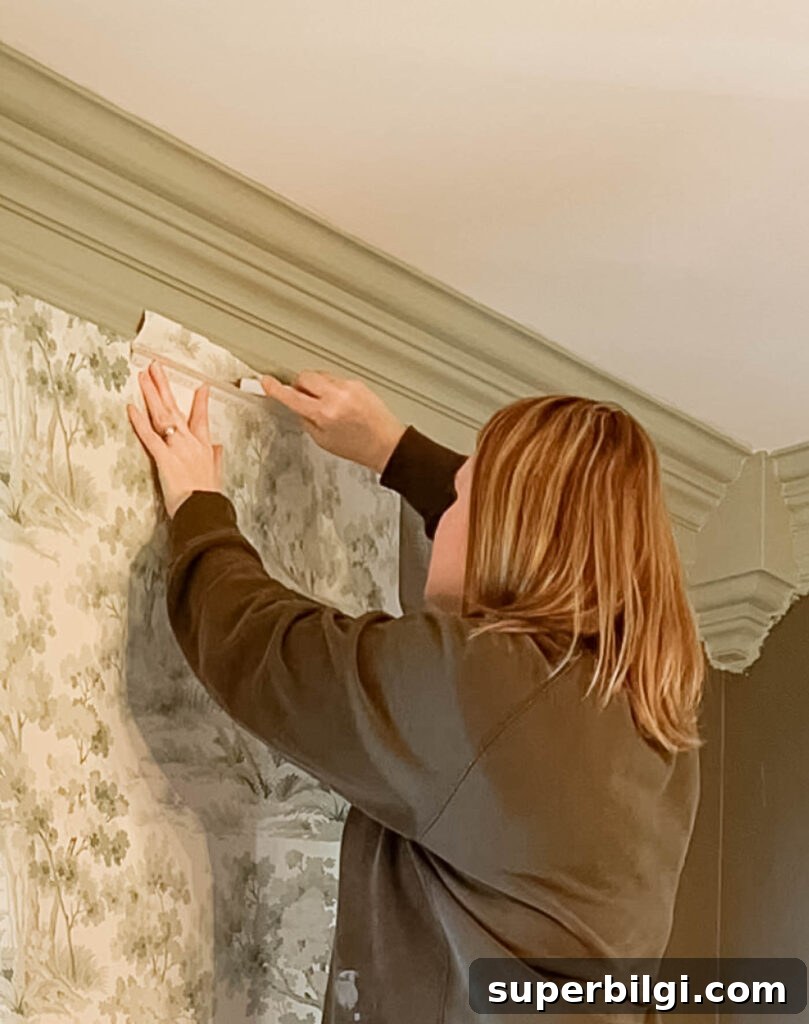
6. Trim excess paper at the top and bottom.
Use a metal straight edge and a sharp utility or craft knife to trim the extra paper at the ceiling and base. A ruler keeps the cut straight — don’t freehand. Replace blades regularly to avoid tearing the paper.
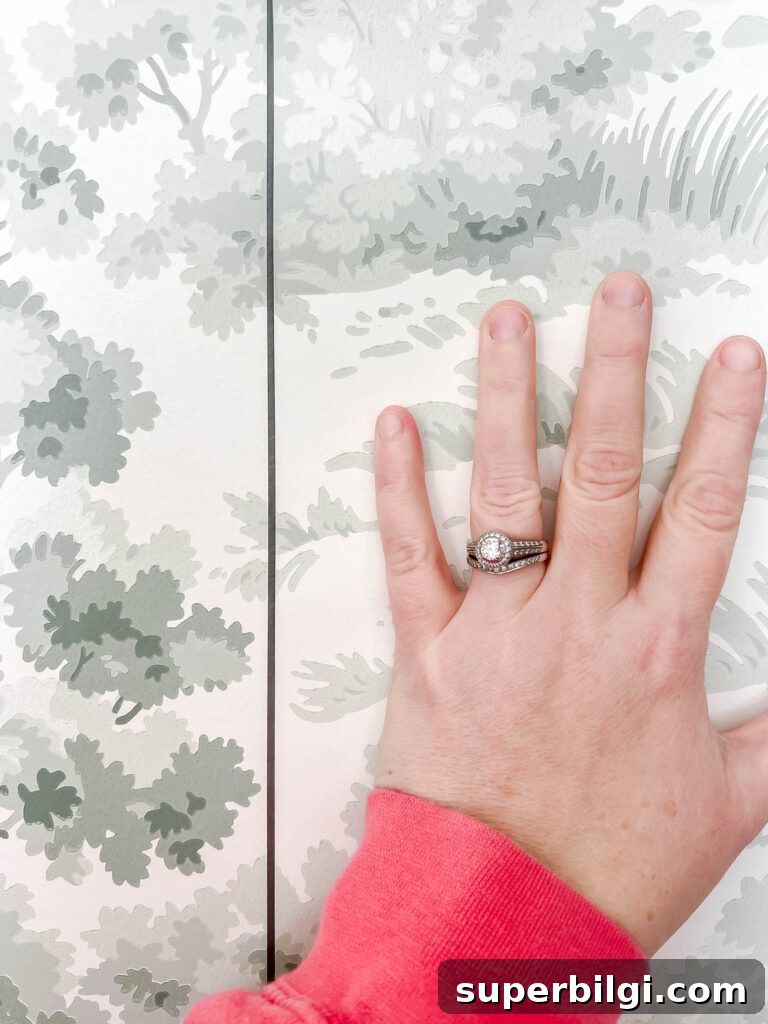
7. Roll along seams to keep them tight.
Use a seam roller or your smoother to press seams so the pattern lines meet evenly and edges lie flat. Avoid excessive pressure that could damage delicate papers.
8. Wipe off excess adhesive immediately.
Clean paste from the face of the paper with a damp sponge before it dries. Removing paste while it’s wet prevents staining and keeps seams invisible.
9. Match the pattern and continue.
Hold the next roll up and align the pattern with the previous strip, then cut the new length leaving 2–3 inches extra at the top and bottom. Repeat the paste, place, smooth and trim steps until the room is finished.
Tips for Installing Wallpaper
Here are some lessons I learned that make the process smoother:
- Pattern alignment and levelness are the most important challenges — take time to get the first strip perfectly plumb.
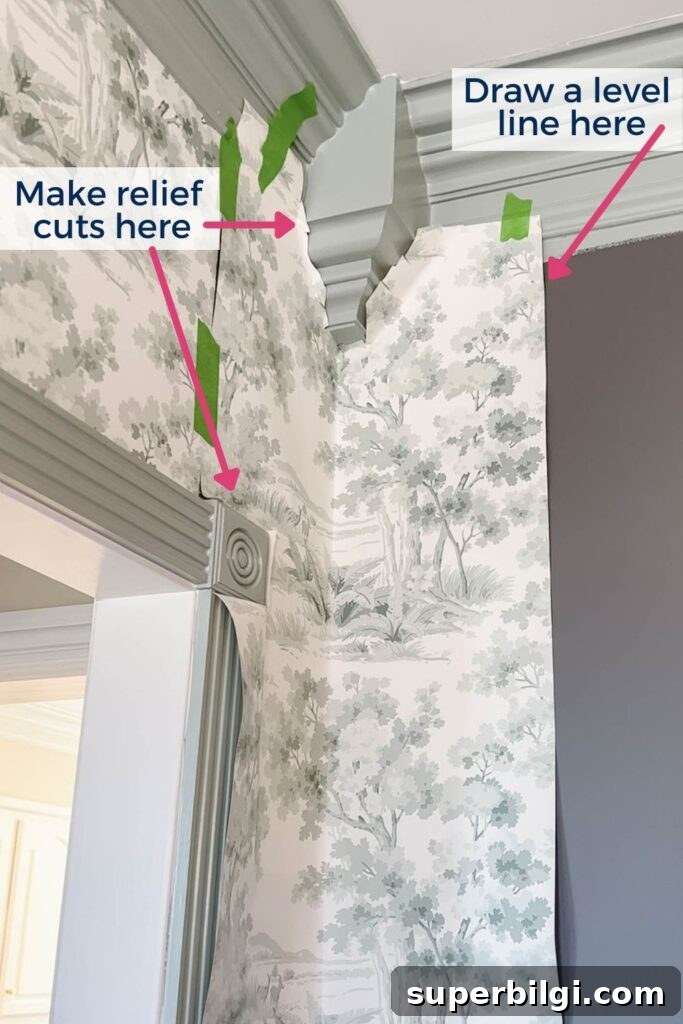
- Wrap corners carefully: make relief cuts and use painter’s tape to hold pieces in place as you find the right fit.
- Make relief cuts around obstacles: small snips with scissors help the paper lay cleanly around crown moulding, outlets and window frames.
- Go slow: tricky corners can take a long time — rushing risks wasted paper and unhappy seams.
- Order extra wallpaper: pattern matching and trimming create waste. Order more than the calculator suggests to avoid mismatched dye lots and last-minute reorders.
Frequently Asked Questions about Installing Wallpaper
How do you apply wallpaper paste to the wall?
Use a brush or medium-nap roller to spread a thin, even coat of adhesive across the area the strip will cover. Work in manageable sections so the paste stays tacky while you position the paper.
What is the best paste to use for hanging wallpaper?
Choose a wallpaper adhesive that’s appropriate for your paper type (vinyl, paper-backed, non-woven, etc.). A quality adhesive that rinses clean and provides good initial slip helps with positioning and long-term adhesion.
Do I have to paint the wall before wallpapering?
The wall should be smooth, clean and primed if it’s new drywall. Existing painted walls that are in good condition usually don’t need a fresh topcoat, though a primer designed for wallpaper can help with adhesion and future removal.
Should wallpaper seams overlap?
No — seams should be butted tightly together and matched to the pattern. Overlapping seams creates visible ridges and poor appearance.
I hope this guide helps you feel ready to hang wallpaper. If you have specific questions or want advice for a tricky corner or paper type, leave a comment. I’d love to hear how your wallpaper project turns out!
More Posts You Will Love:
- How to Select Wallpaper {Decorating 101}
- How to Hang Pre-Pasted Wallpaper (tutorial for beginners)
- Traditional Dining Room Design Plans
- The Best Dining Chairs on a Budget
- Butler’s Pantry Ideas: 10+ Beautiful And Functional Designs