
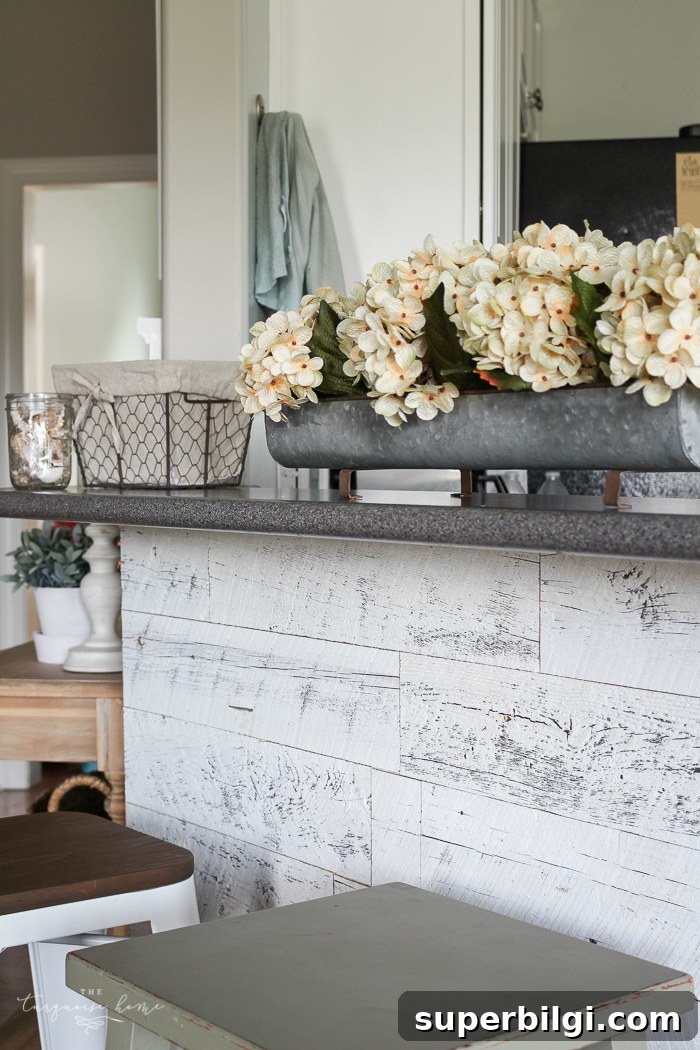
This weathered reclaimed wood project is quick and simple, and it instantly brings character and charm to any kitchen. I absolutely love my new weathered reclaimed wood kitchen bar.
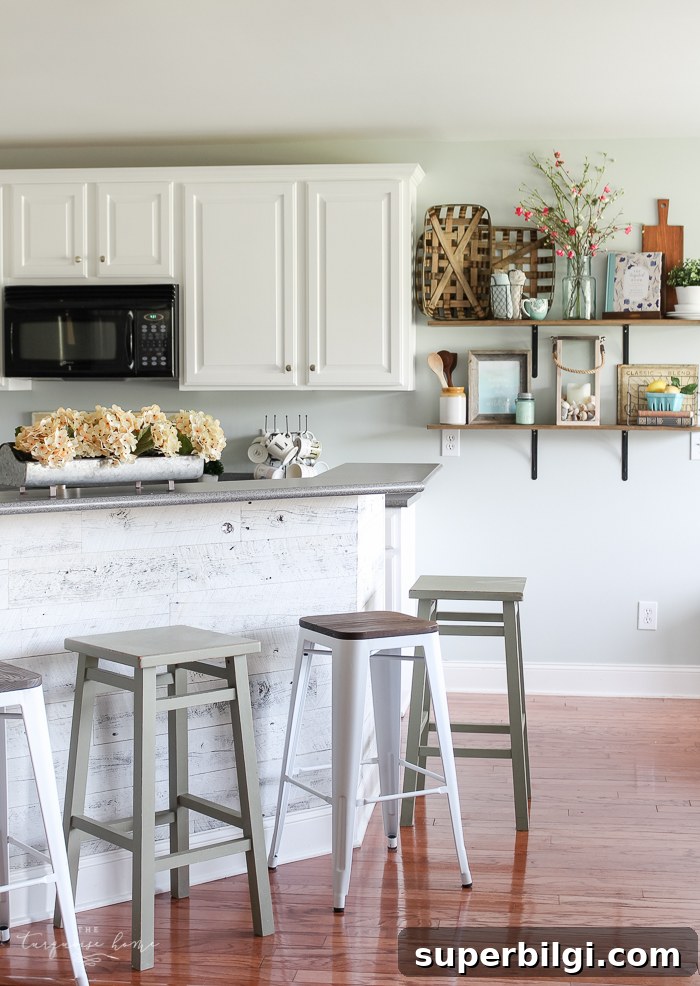
A few months ago I shared my plan for this bar wall in my kitchen. I’d wanted reclaimed wood planking on the bar for years, but I wasn’t sure how to pull it off. I knew it would be a lot of work, so I kept putting it off—until I found an image on Pinterest that showed exactly the look I wanted.
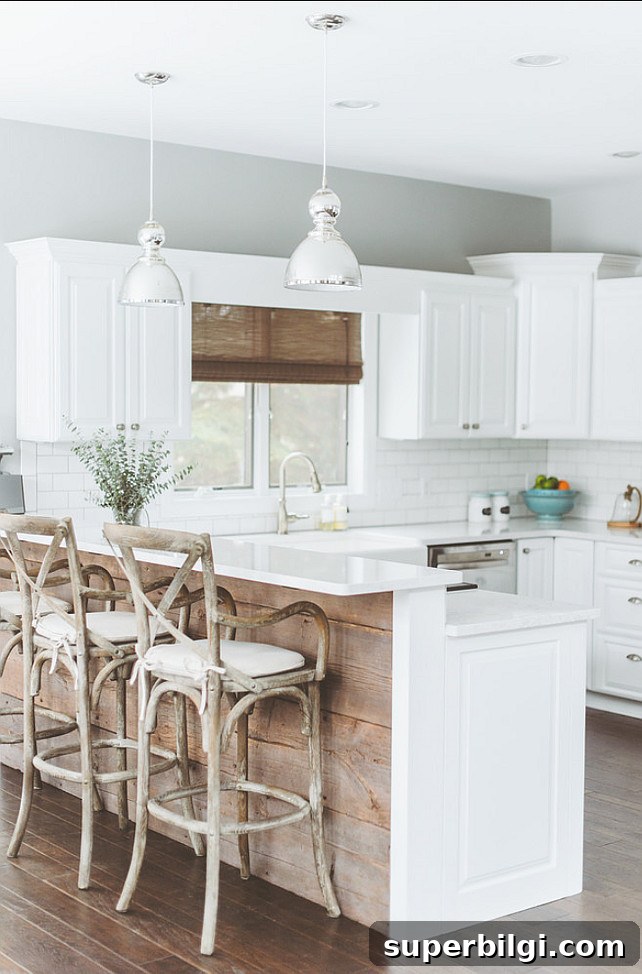
Deluxe Design Studio
That photo gave me the confidence to move forward. Around the same time I discovered Stikwood, a company that sells Peel & Stik reclaimed and sustainable wood panels. These are genuine reclaimed boards with a peel-and-stick backing, which makes them one of the easiest ways to add reclaimed wood to a home.
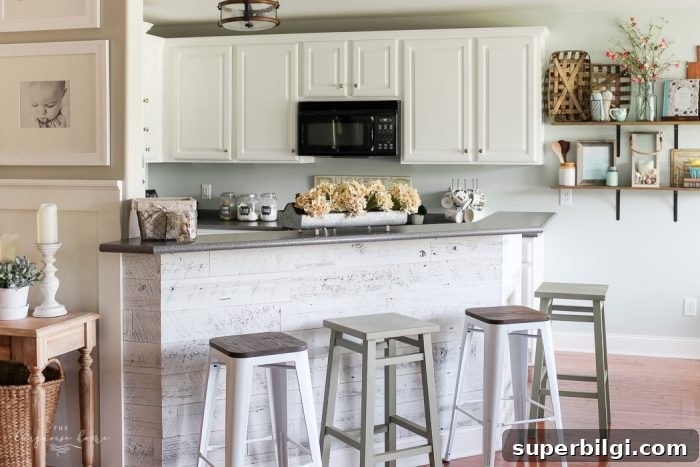
I expected to like the final result, but I didn’t expect to fall this in love with it. The weathered reclaimed wood transformed the bar area and added so much warmth and texture—exactly what my kitchen needed.
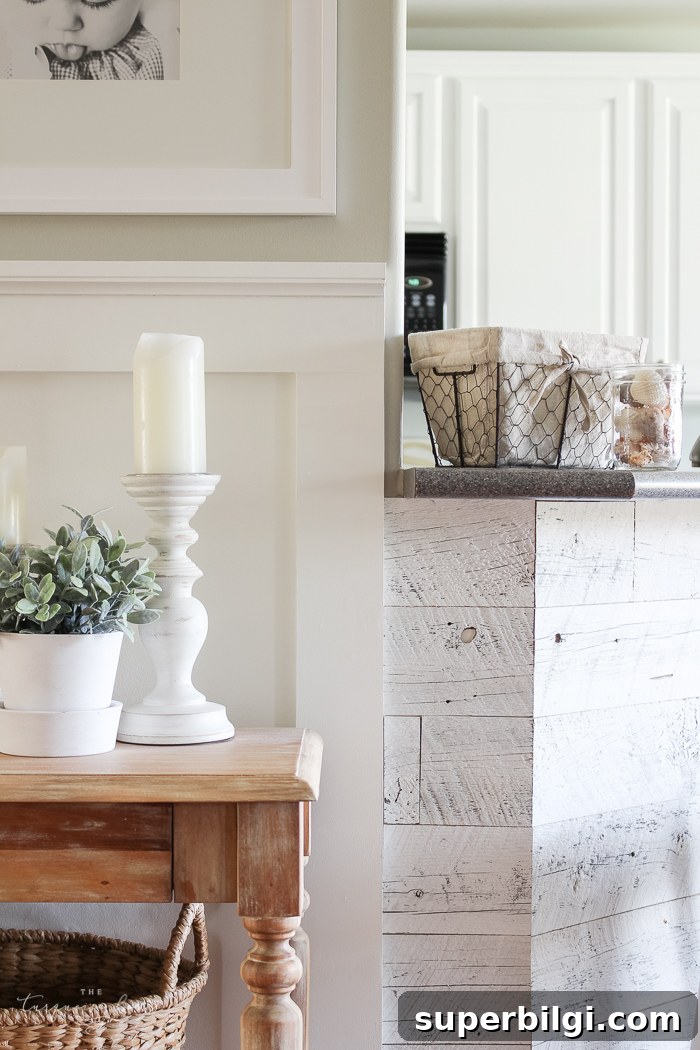
The wood brings a welcoming, rustic feel that complements my white cabinets and gray countertops. If you’ve been considering a similar DIY reclaimed wood accent—on a kitchen bar, island, or accent wall—I highly recommend it. (Affiliate links are used for convenience; see my full disclosure policy for details.)
Here’s how I completed this easy Peel & Stik project, with tips and tools that made it smooth and efficient.
Tools Needed for DIY Reclaimed Wood Wall
- Stikwood in Weathered White
- Saw (I used my miter saw, but a hand saw works fine for shorter cuts)
- Rubber seam roller
- Level
- Pencil
- Tape measure
When I opened the box, I was delighted to see authentic reclaimed boards with real knots and a beautiful weathered finish. I asked readers which color they preferred and many recommended weathered gray, but I ultimately chose weathered white because it fit my kitchen’s palette best.
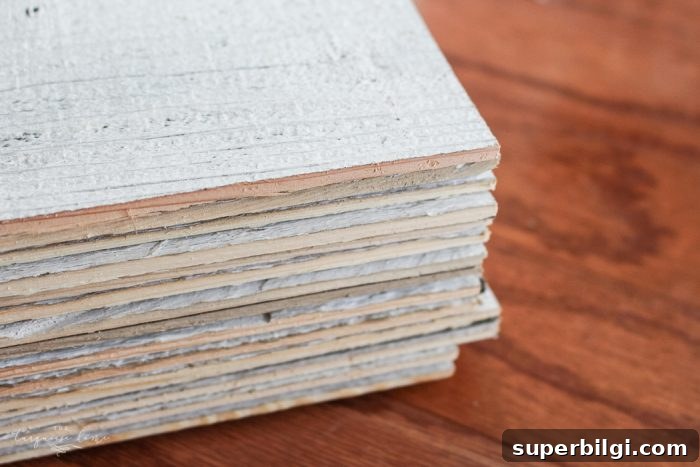
The panels tied the white cabinets and gray countertops together perfectly. At first I worried the order wouldn’t be enough to cover the entire bar, but it turned out to be just the right amount—with a little left over for another small project.
Before starting, I considered a few practical points to ensure a clean, lasting installation.
Before You Start
Plan the installation and prepare the surface so the final result looks intentional and professional:
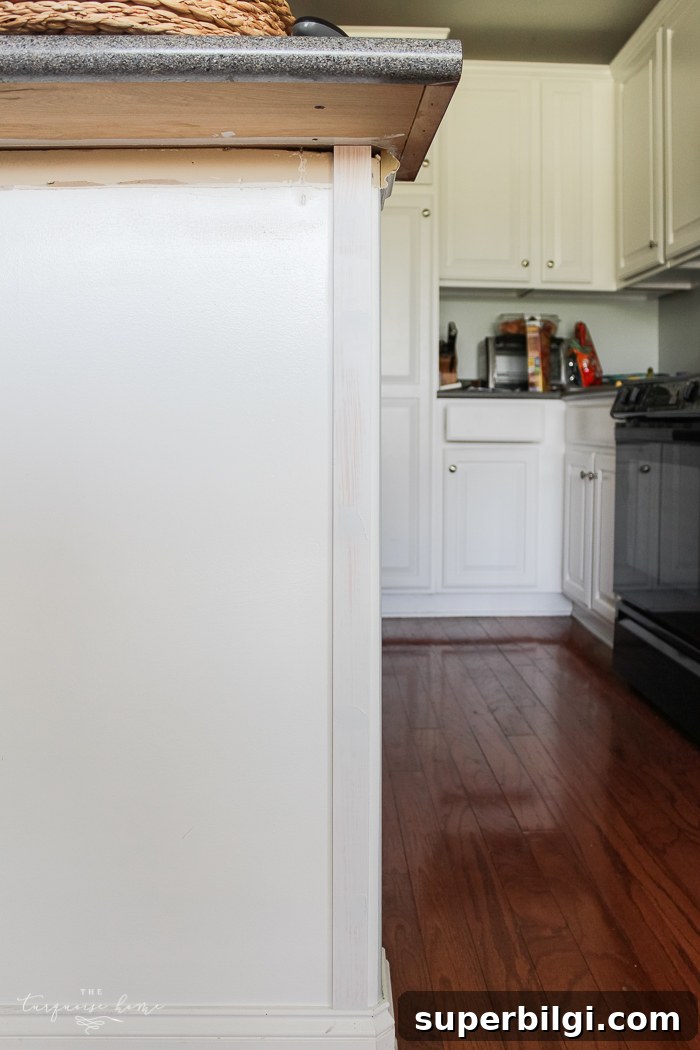
- I removed the trim under the countertop because I didn’t like it and wanted a seamless transition where the boards meet the counter.
- My bar was already painted white, which worked well because some knots and small gaps reveal the wall beneath. If your wall color will show through, paint it the desired background color before applying the wood.
- Think about start and stop points. I began next to existing board-and-batten trim where the edge would look finished. On the opposite side I added a piece of trim to create a clean edge, since the factory corner trim didn’t match what I needed.
- Lay out all boards beforehand and stagger light and dark pieces and varying lengths to create a natural, balanced look.
Getting Started
If I were doing it again, I’d start at the bottom of the wall. I ended up trimming the bottom pieces lengthwise to fit, so beginning at the bottom would have simplified cuts. Because the countertop overhang hides the top edge, placing fitted pieces there makes sense. Think about where imperfections or trimmed edges will be least noticeable before you begin.
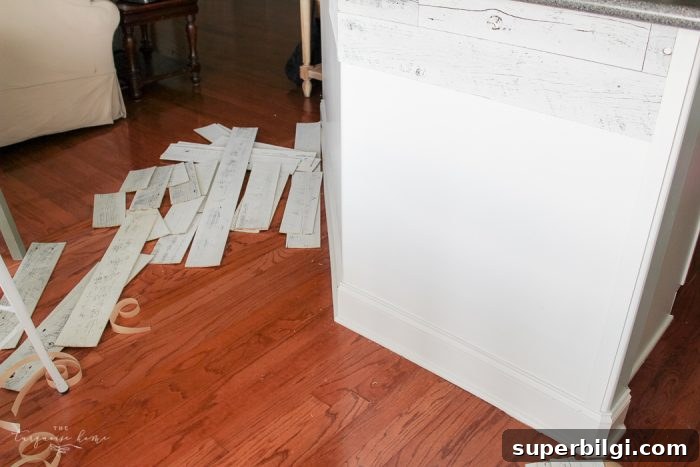
The actual peel-and-stick step is straightforward. I measured, cut, and applied each board, checking level regularly. My wall had some odd angles that required miter cuts, which added time, but on a simple straight wall this project can be completed in just a few hours.
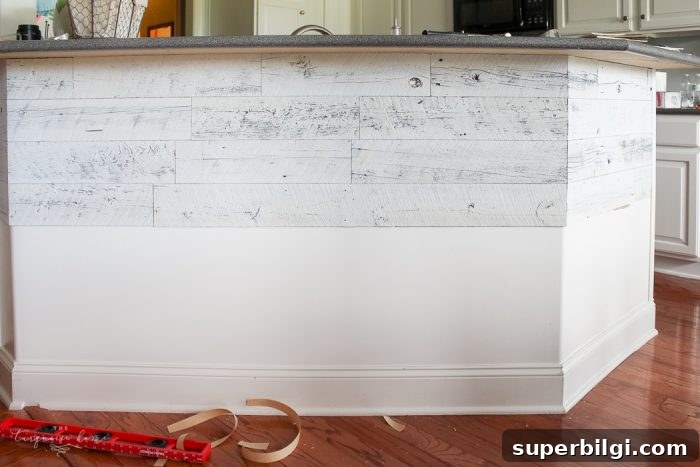
I used a miter saw for clean, accurate cuts. Since the panels are thin, I placed a heavy board on top to keep them flat while cutting, which resulted in even, straight edges.
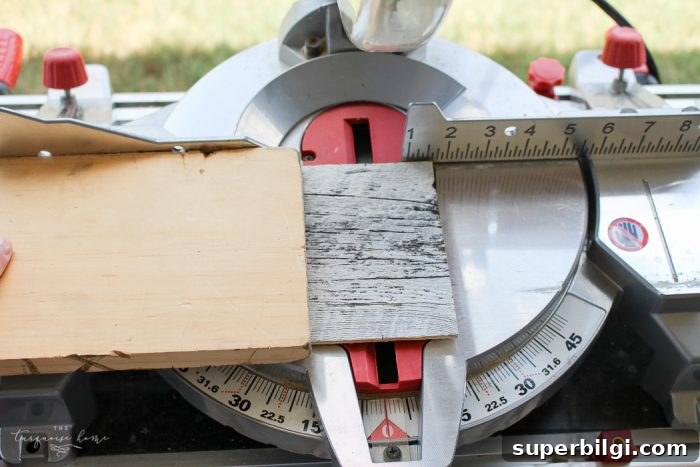
The adhesive on these panels is strong. After pressing each board in place, I rolled the seam with a rubber seam roller to ensure full contact and a secure bond. If you do need to remove a panel, be aware that pulling it off can damage the wall, so double-check orientation and fit before applying.
Once I had a rhythm, the process moved quickly: measure, cut, stick, level, and repeat.
This is what the bar looked like before the reclaimed wood:
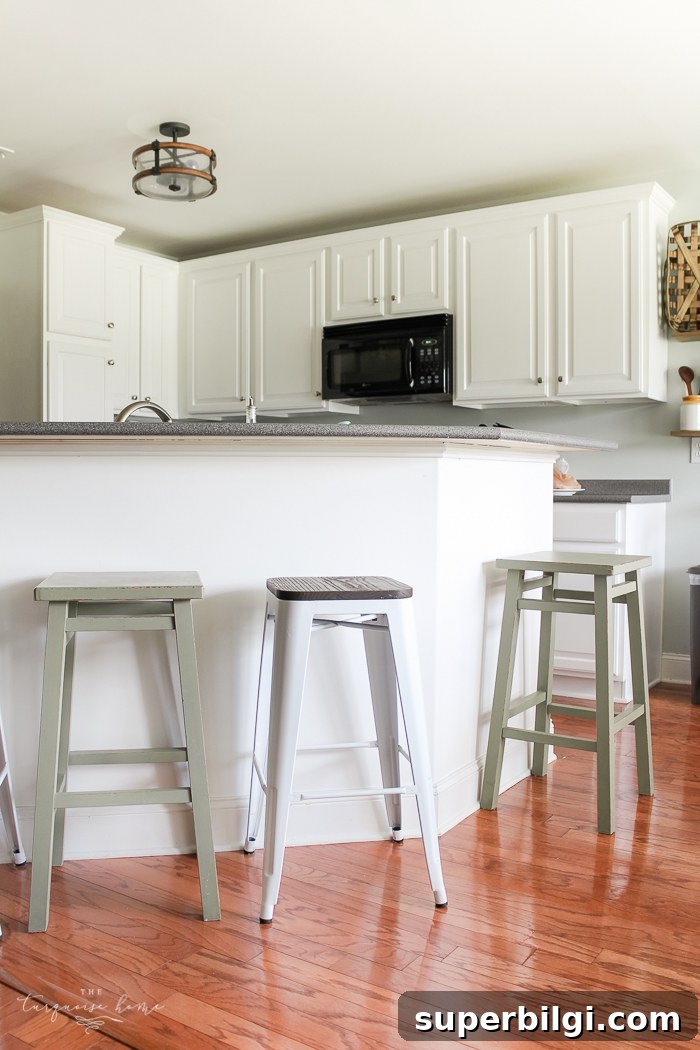
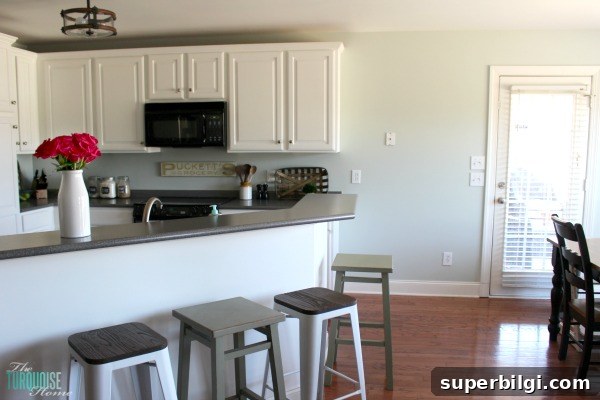
Now the bar is rich with texture and depth. The reclaimed wood adds personality and makes the whole kitchen feel warmer and more layered—exactly the farmhouse-inspired look I wanted.
Shop This Post:
Here are the main items I used to complete this reclaimed wood kitchen bar project: Stikwood reclaimed panels in Weathered White, a miter saw for accurate cuts, a rubber seam roller to press seams, and basic measuring tools.
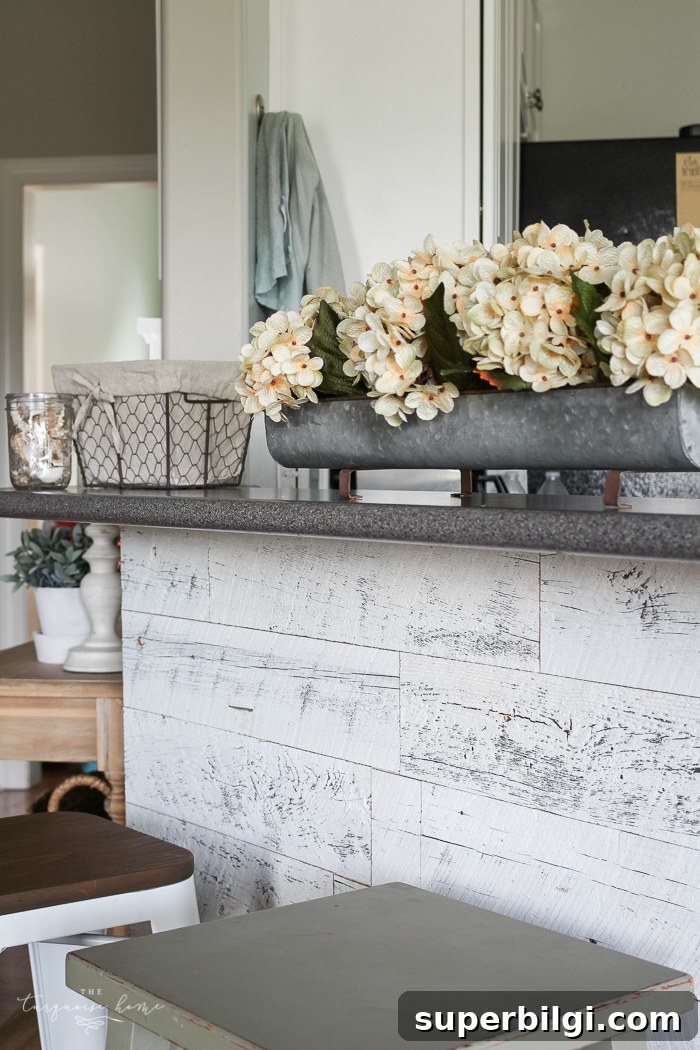
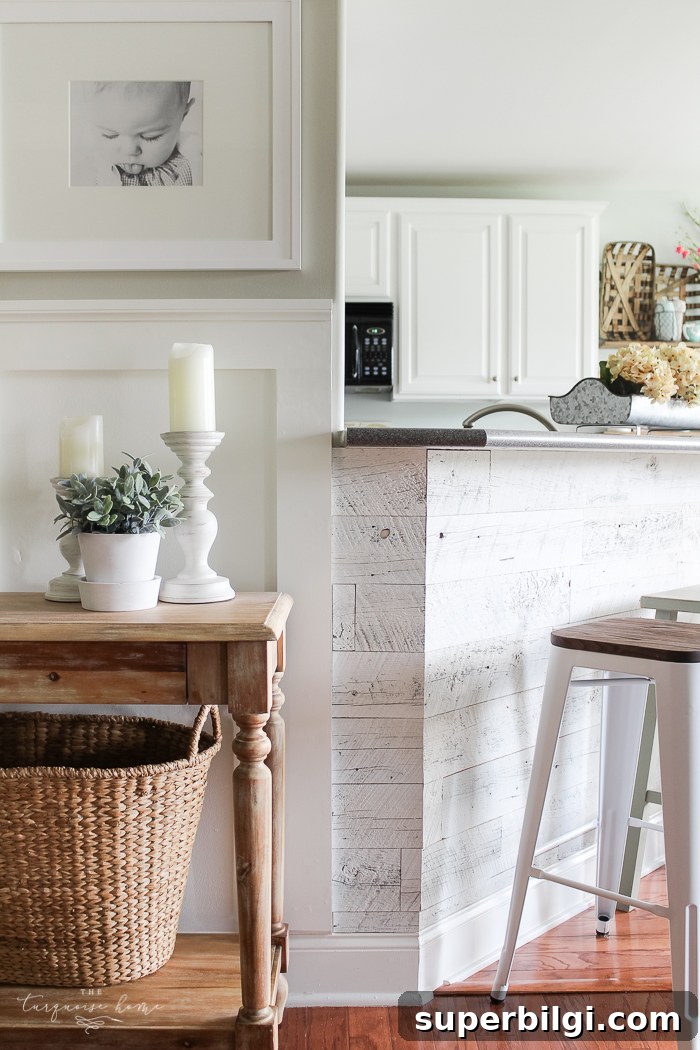
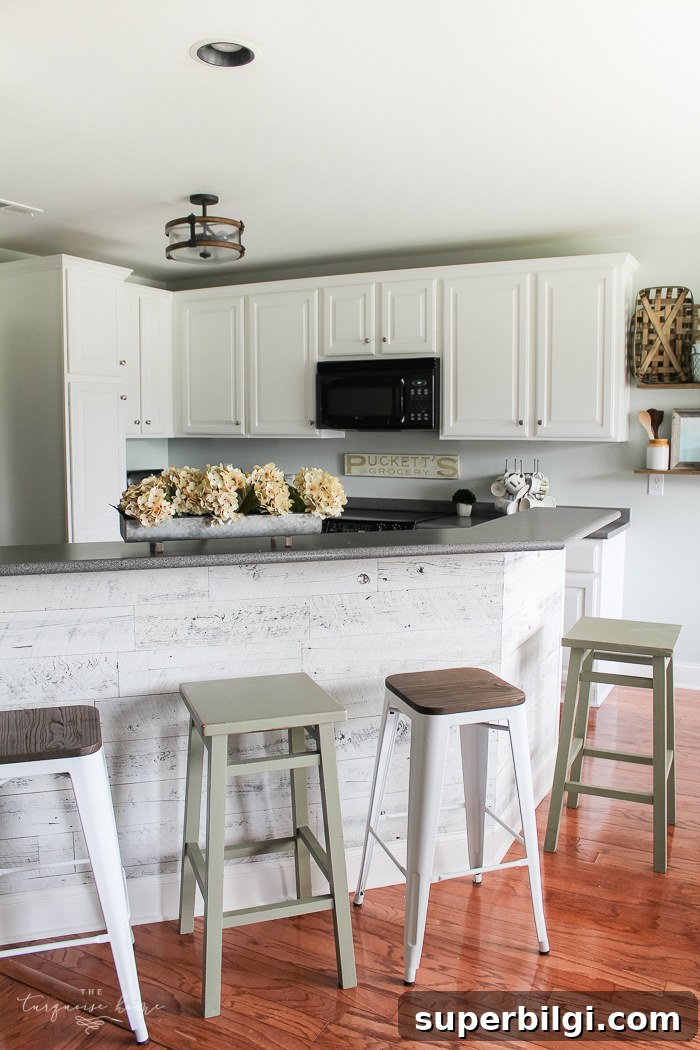
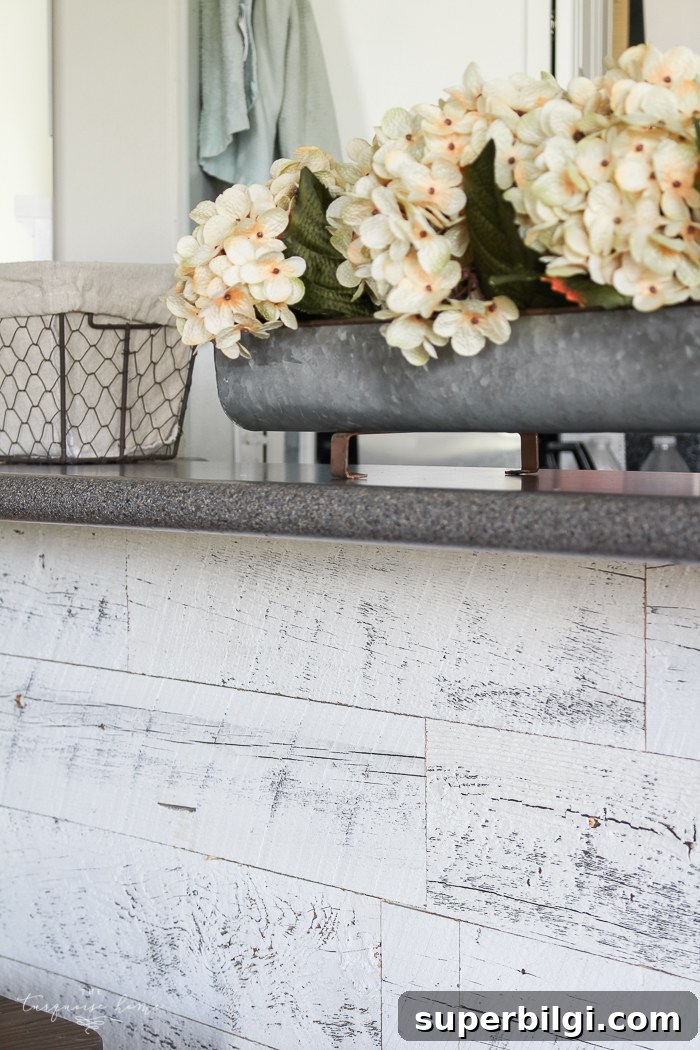
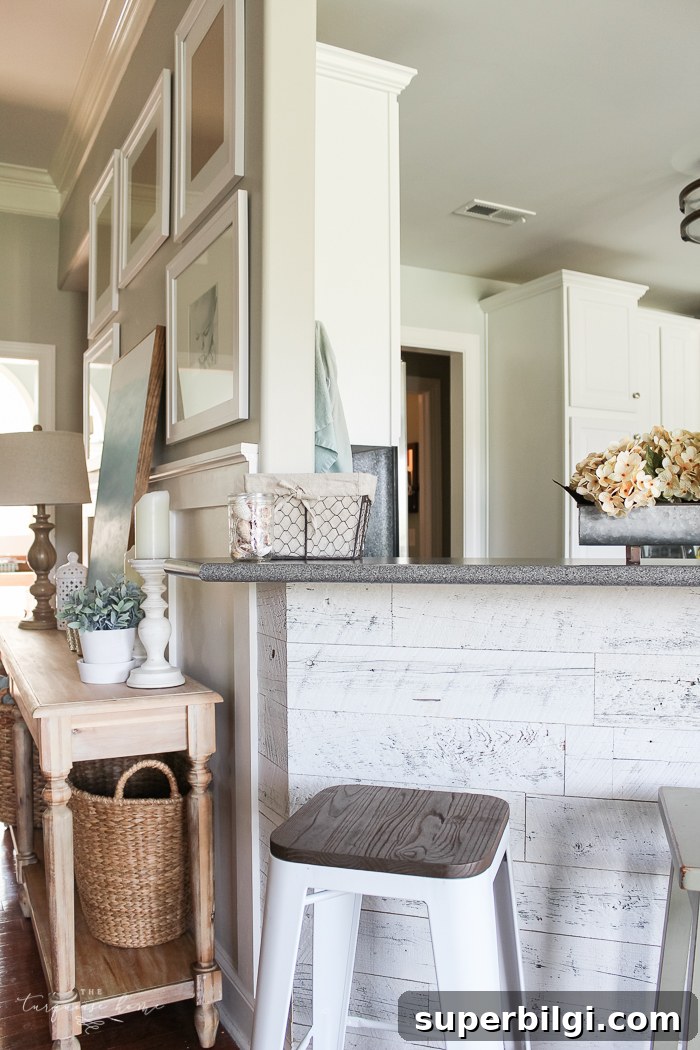
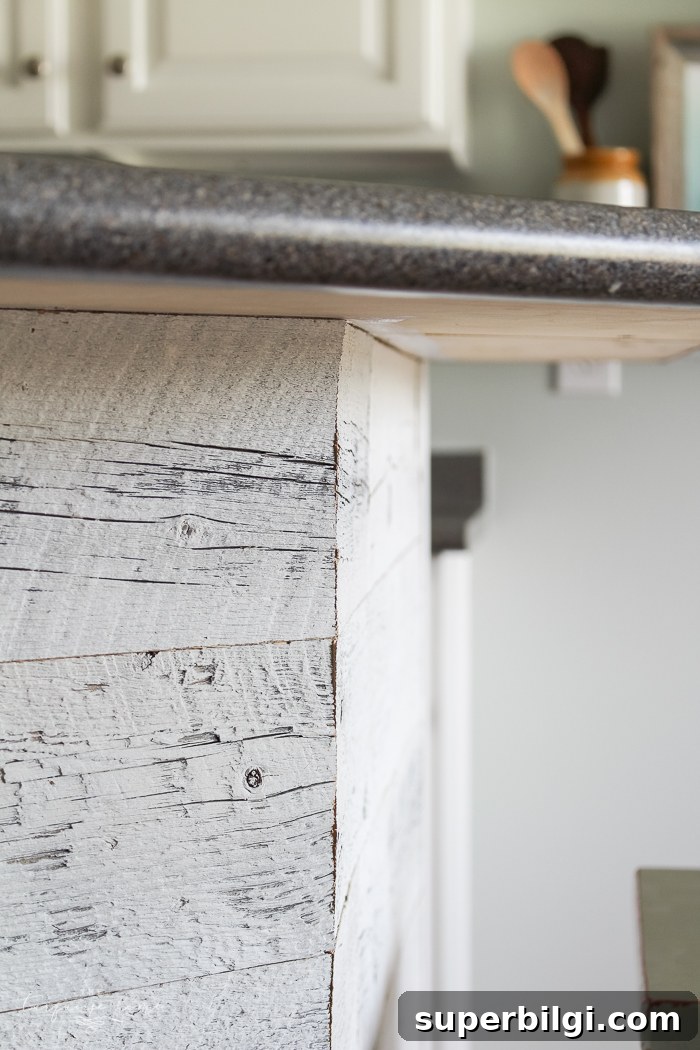
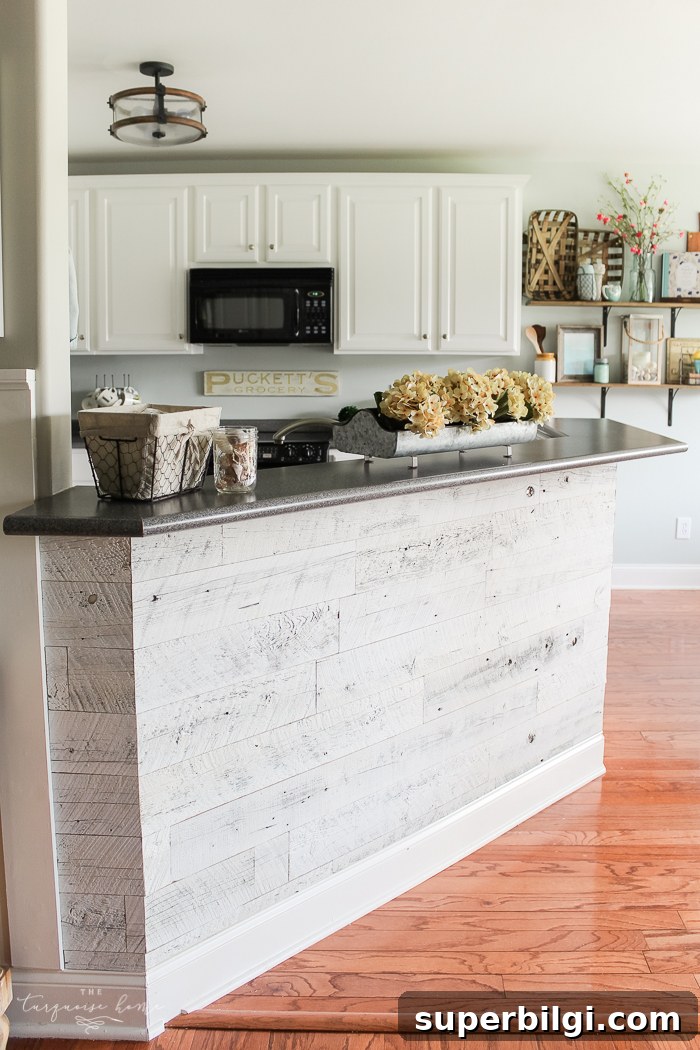
I could keep sharing photos, but I’ll stop the picture overload for now. I was just so excited with how it turned out!
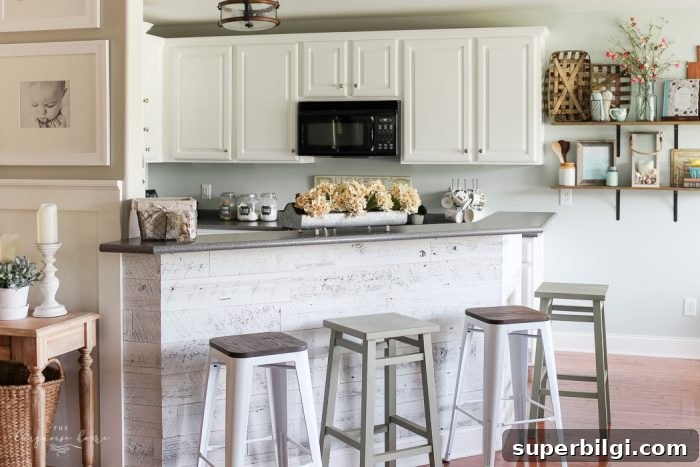
Where would reclaimed wood look best in your home? A kitchen bar, an island, an accent wall, or maybe floating bedroom trim? Reclaimed wood is versatile and adds instant character wherever you install it.
More Posts You Will Love:
- Large DIY Wall Decor Ideas
- How to Make a Large Wooden Sign
- 10 Large Round Mirrors We Love