
Learn how to transform a room so it looks beautiful and works for your family with these practical steps to start a room makeover.
Staring at an empty room can feel overwhelming. You might not know where to begin, or you may worry that you’ll make choices you’ll regret. I’ve been there — and after many makeovers, I’ve refined a simple, repeatable process that turns a blank slate into a space that’s both attractive and functional for everyday life.
Below are clear steps to guide you from first ideas to final installation. Use them whether you want a small refresh or a full room overhaul: they’ll help you focus, stay on budget, and end up with a room you truly love.
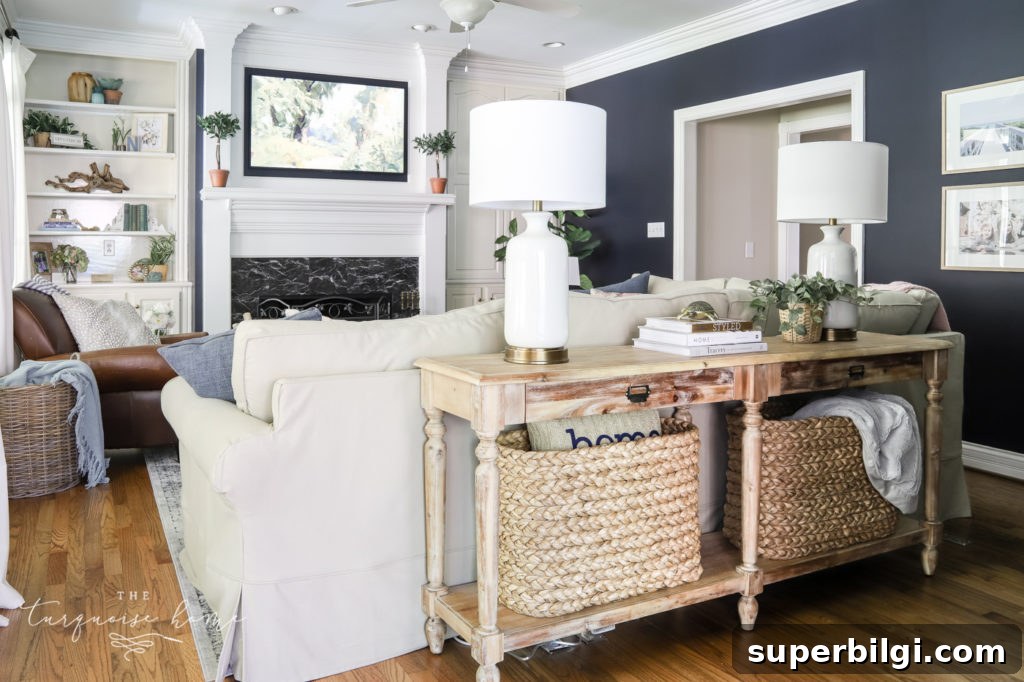
In the past I used to choose paint first and figure everything else out afterward. Over time I learned that starting with function and inspiration produces better results and less wasted time. With a few intentional steps, you can create a room that looks polished and serves your household needs.
Ready? Let’s walk through the process.
How to Start a Room Makeover
1. Brainstorm your needs
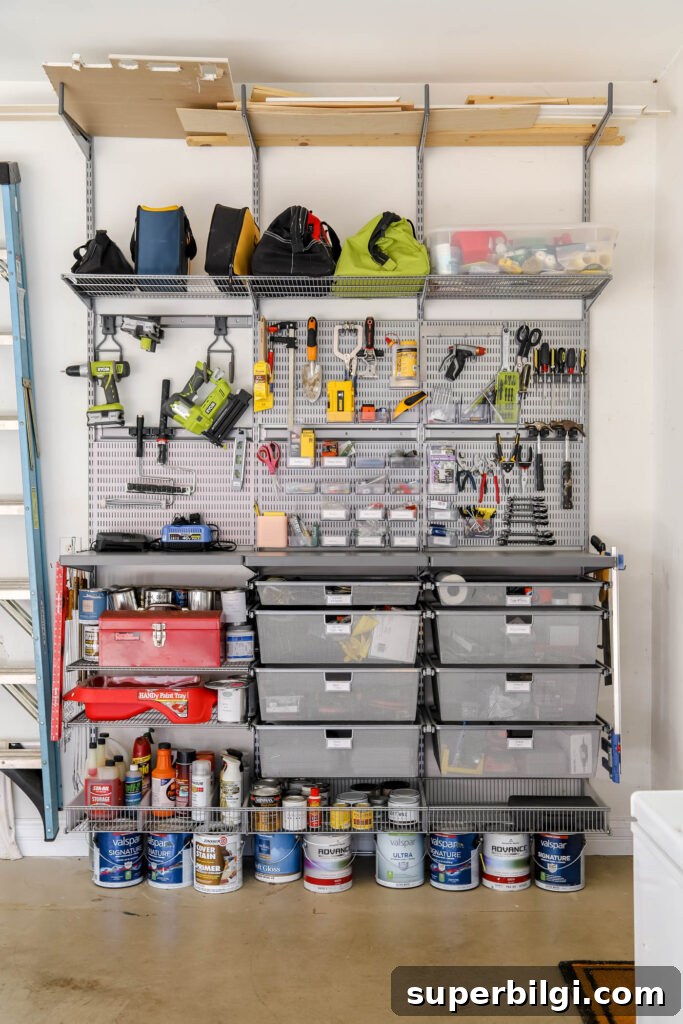
Begin with how the room needs to function. A beautiful room is wasted if it doesn’t meet your everyday needs. Ask practical questions: Do you need sleeping space, workspace, kid-friendly zones, or extra storage? Will the room serve multiple purposes?
Spend a few days noting how you currently use the space and what’s missing. Jot down every need and want. You won’t necessarily satisfy every item on the list, but identifying priorities will guide design decisions and help you make trade-offs that matter.
2. Decide how you want the room to feel
Mood matters. Describe the feeling you want the room to evoke in three words — for example: cozy, welcoming, casual; or light, crisp, and airy. These emotional cues will shape color choices, textures, and furniture styles.
For a client who felt her small room was cold, we aimed for “cozy, homey, casual.” For my dining room, I wanted “elevated yet livable,” and settled on a two-color palette of blue and green to achieve that balance.
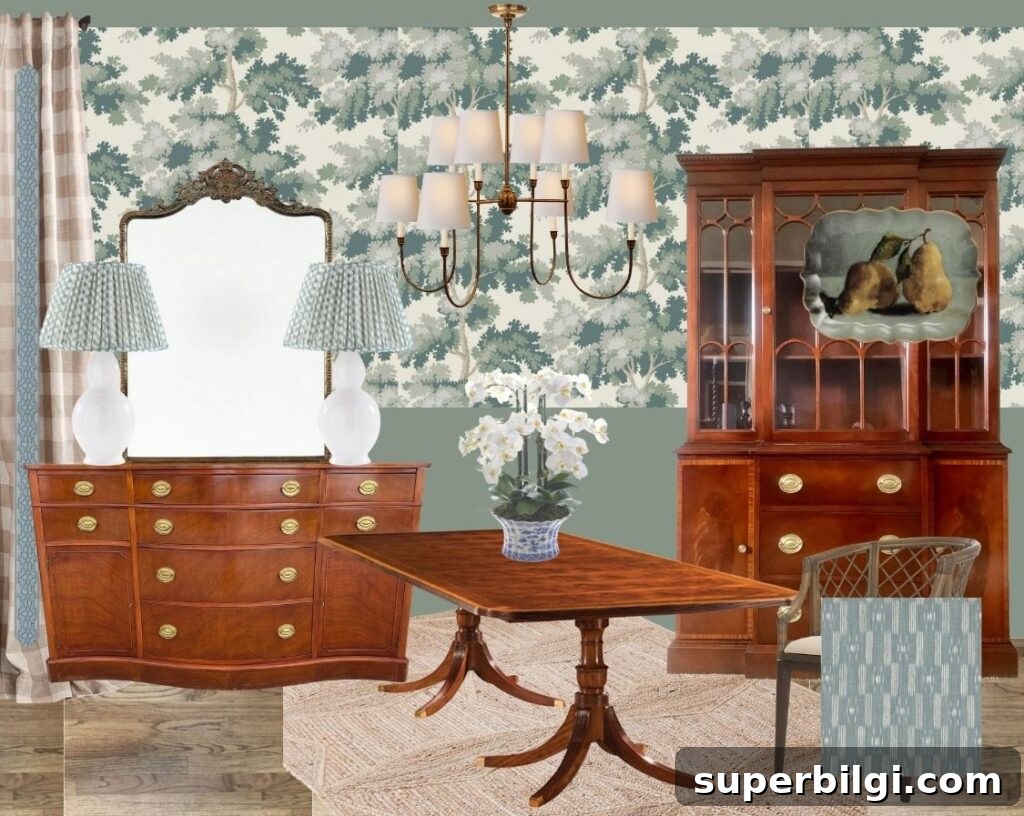
3. Gather inspiration
Collect images that capture the look and feeling you want. You can clip magazine photos, save online images, or create a dedicated Pinterest board for the room. Look for recurring elements across your inspiration photos: repeating colors, common furniture styles, or similar textures.
Identifying patterns in your inspiration makes later decisions — like choosing fabric and paint — much easier and more cohesive.
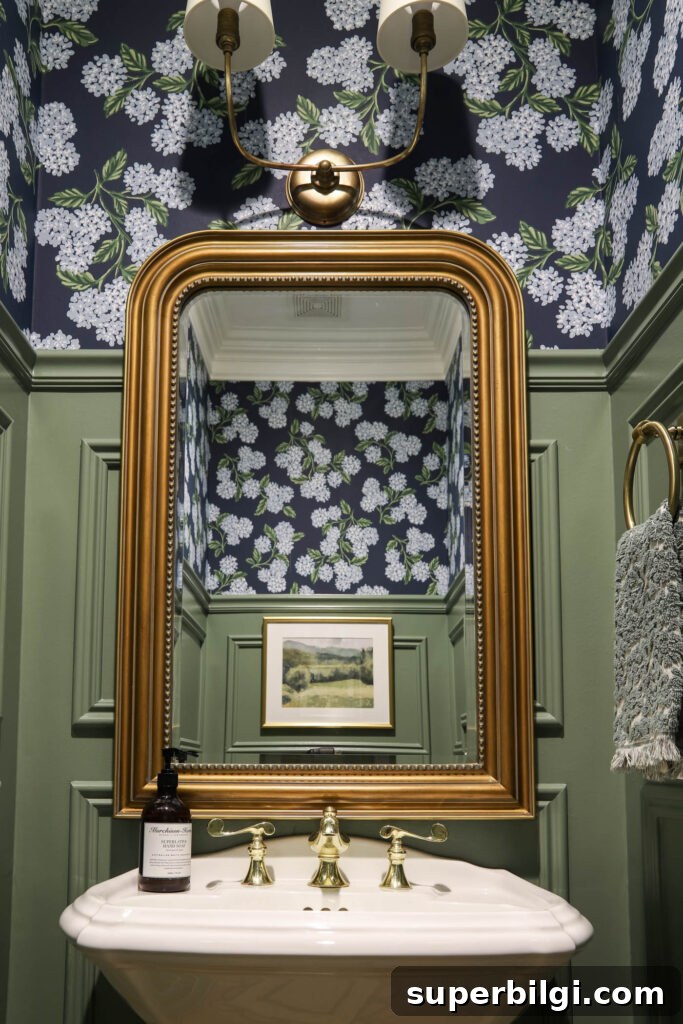
With function, feeling, and inspiration in hand, move on to the practical decisions: budget, fabrics or wallpaper, paint, and a plan for furniture and accessories.
4. Set a budget
Decide on a realistic budget before you start buying. Add a 20% buffer to account for surprises and shipping delays. Having a clear budget will keep purchases aligned with priorities and help you decide where to splurge or save.
Room makeovers can add up fast, so track expenses as you go to avoid sticker shock.
5. Choose fabric or wallpaper first
Once you know the mood and inspiration, select fabrics or wallpaper before paint. Patterned fabrics often dictate the palette and set the tone for the room. If you choose paint first, you can be limited when hunting for coordinating fabrics, forcing you toward neutral options.
Start with the fabric or wallpaper you love, then pull paint and accent colors from that choice.
6. Choose paint and accent colors
After the fabric is chosen, selecting paint becomes straightforward. Pick a main wall color and one or two accent colors that appear in the fabric or inspiration samples. I like to use an accent color sparingly to punctuate the room and draw the eye to focal points.
Test paint samples on the wall and observe them at different times of day to ensure they read the way you expect under your room’s light.
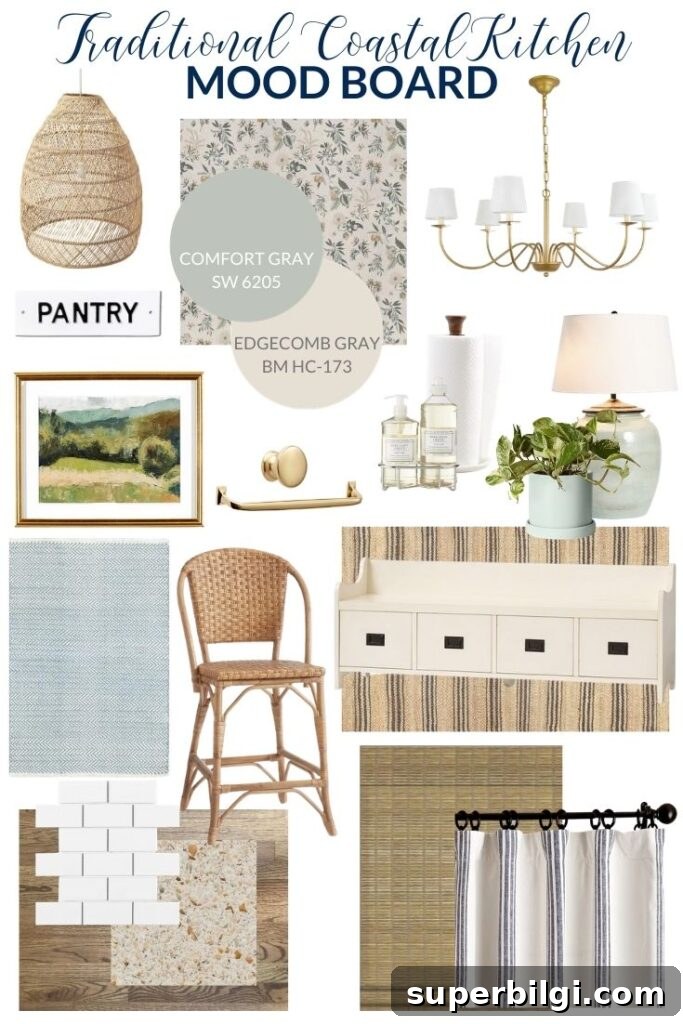
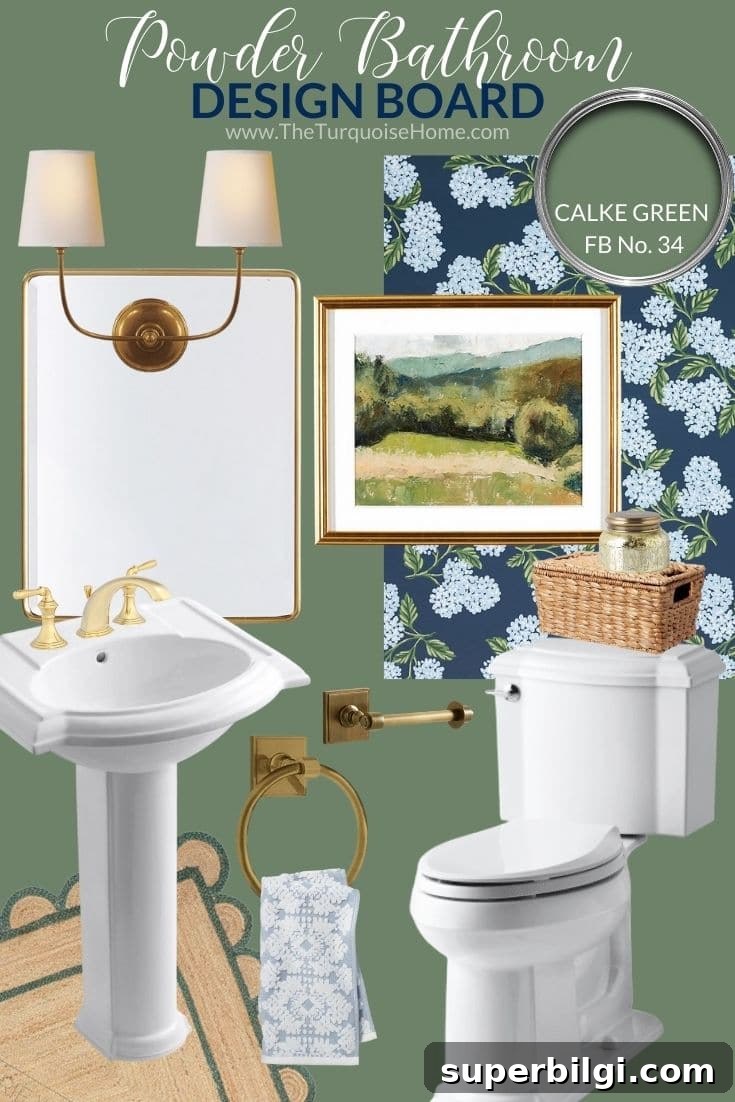
7. Cast the vision with a design board
Create a mood board or design plan that brings together fabric swatches, paint chips, furniture images, and lighting. Seeing everything together helps you spot gaps and make confident choices before ordering.
A mood board is a flexible blueprint — you’ll tweak it as pieces arrive, but starting with a visual plan keeps the end goal in sight and reduces costly mistakes.

8. Purchase and install
With a plan and purchases finalized, schedule deliveries and installers. If you’re hiring contractors, book them early to avoid long waits. Tackle DIY tasks when you can, but bring in professionals for electrical, plumbing, or structural work.
Going step-by-step and following the process above increases the chance your finished room will be both beautiful and practical — and something you’ll enjoy for years.
What would you add to this process? I’d love to hear other tips and personal tricks that have worked for you.
Have fun, and happy decorating!
MORE POSTS YOU WILL LOVE:

The Best Realistic Fake Pumpkins for Your Fall Porch
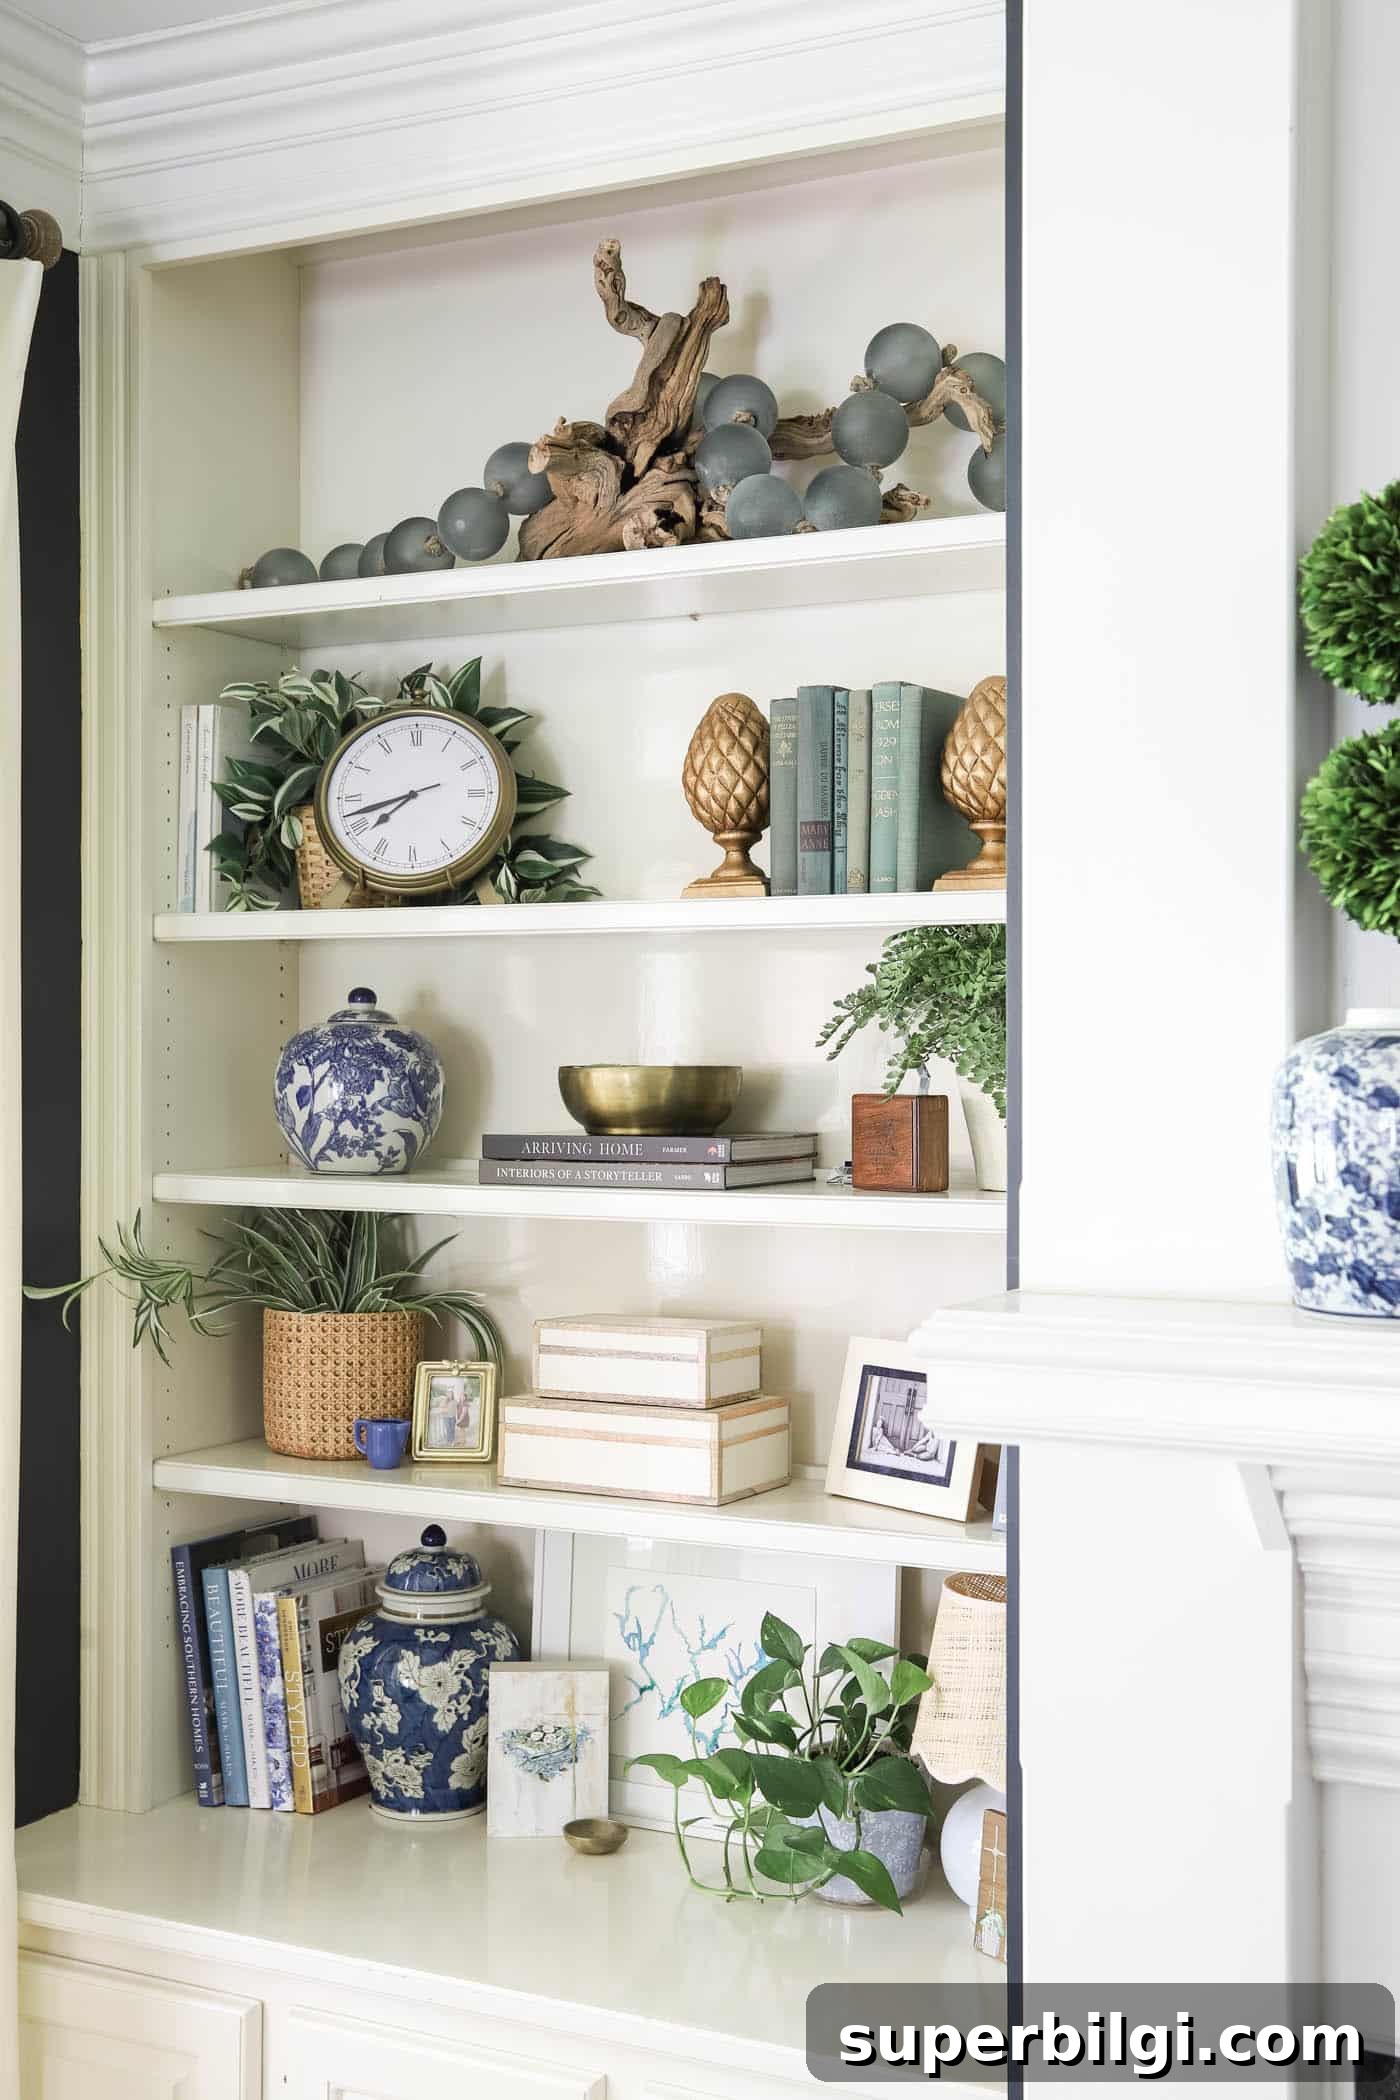
Bookshelf Decor Ideas for a Beautiful Styled Bookcase
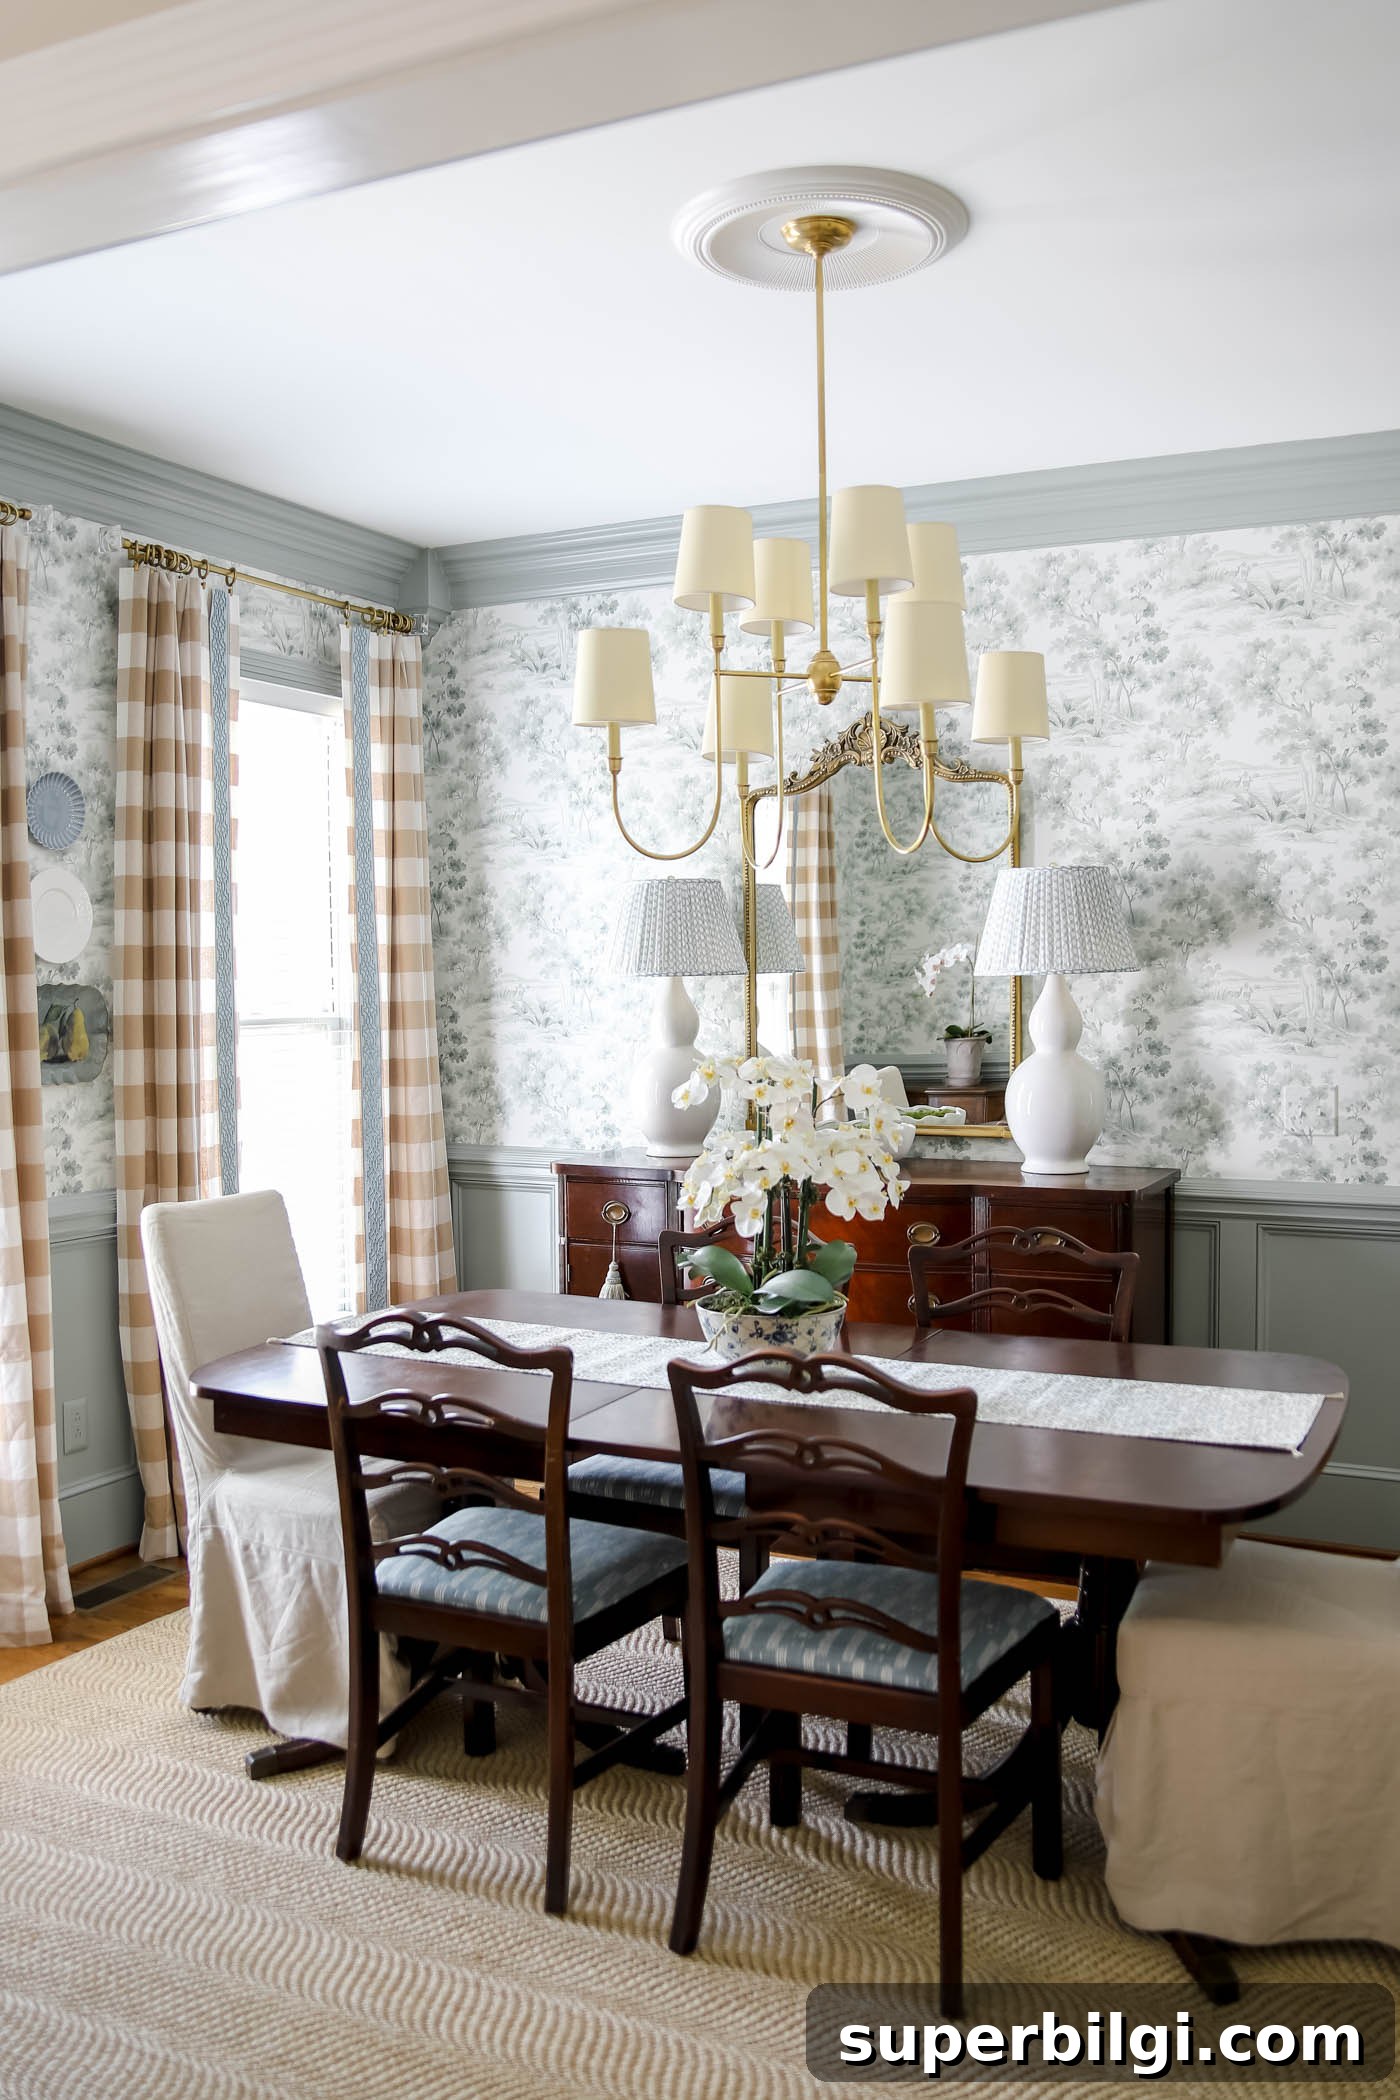
Affordable Dining Chairs for Every Style
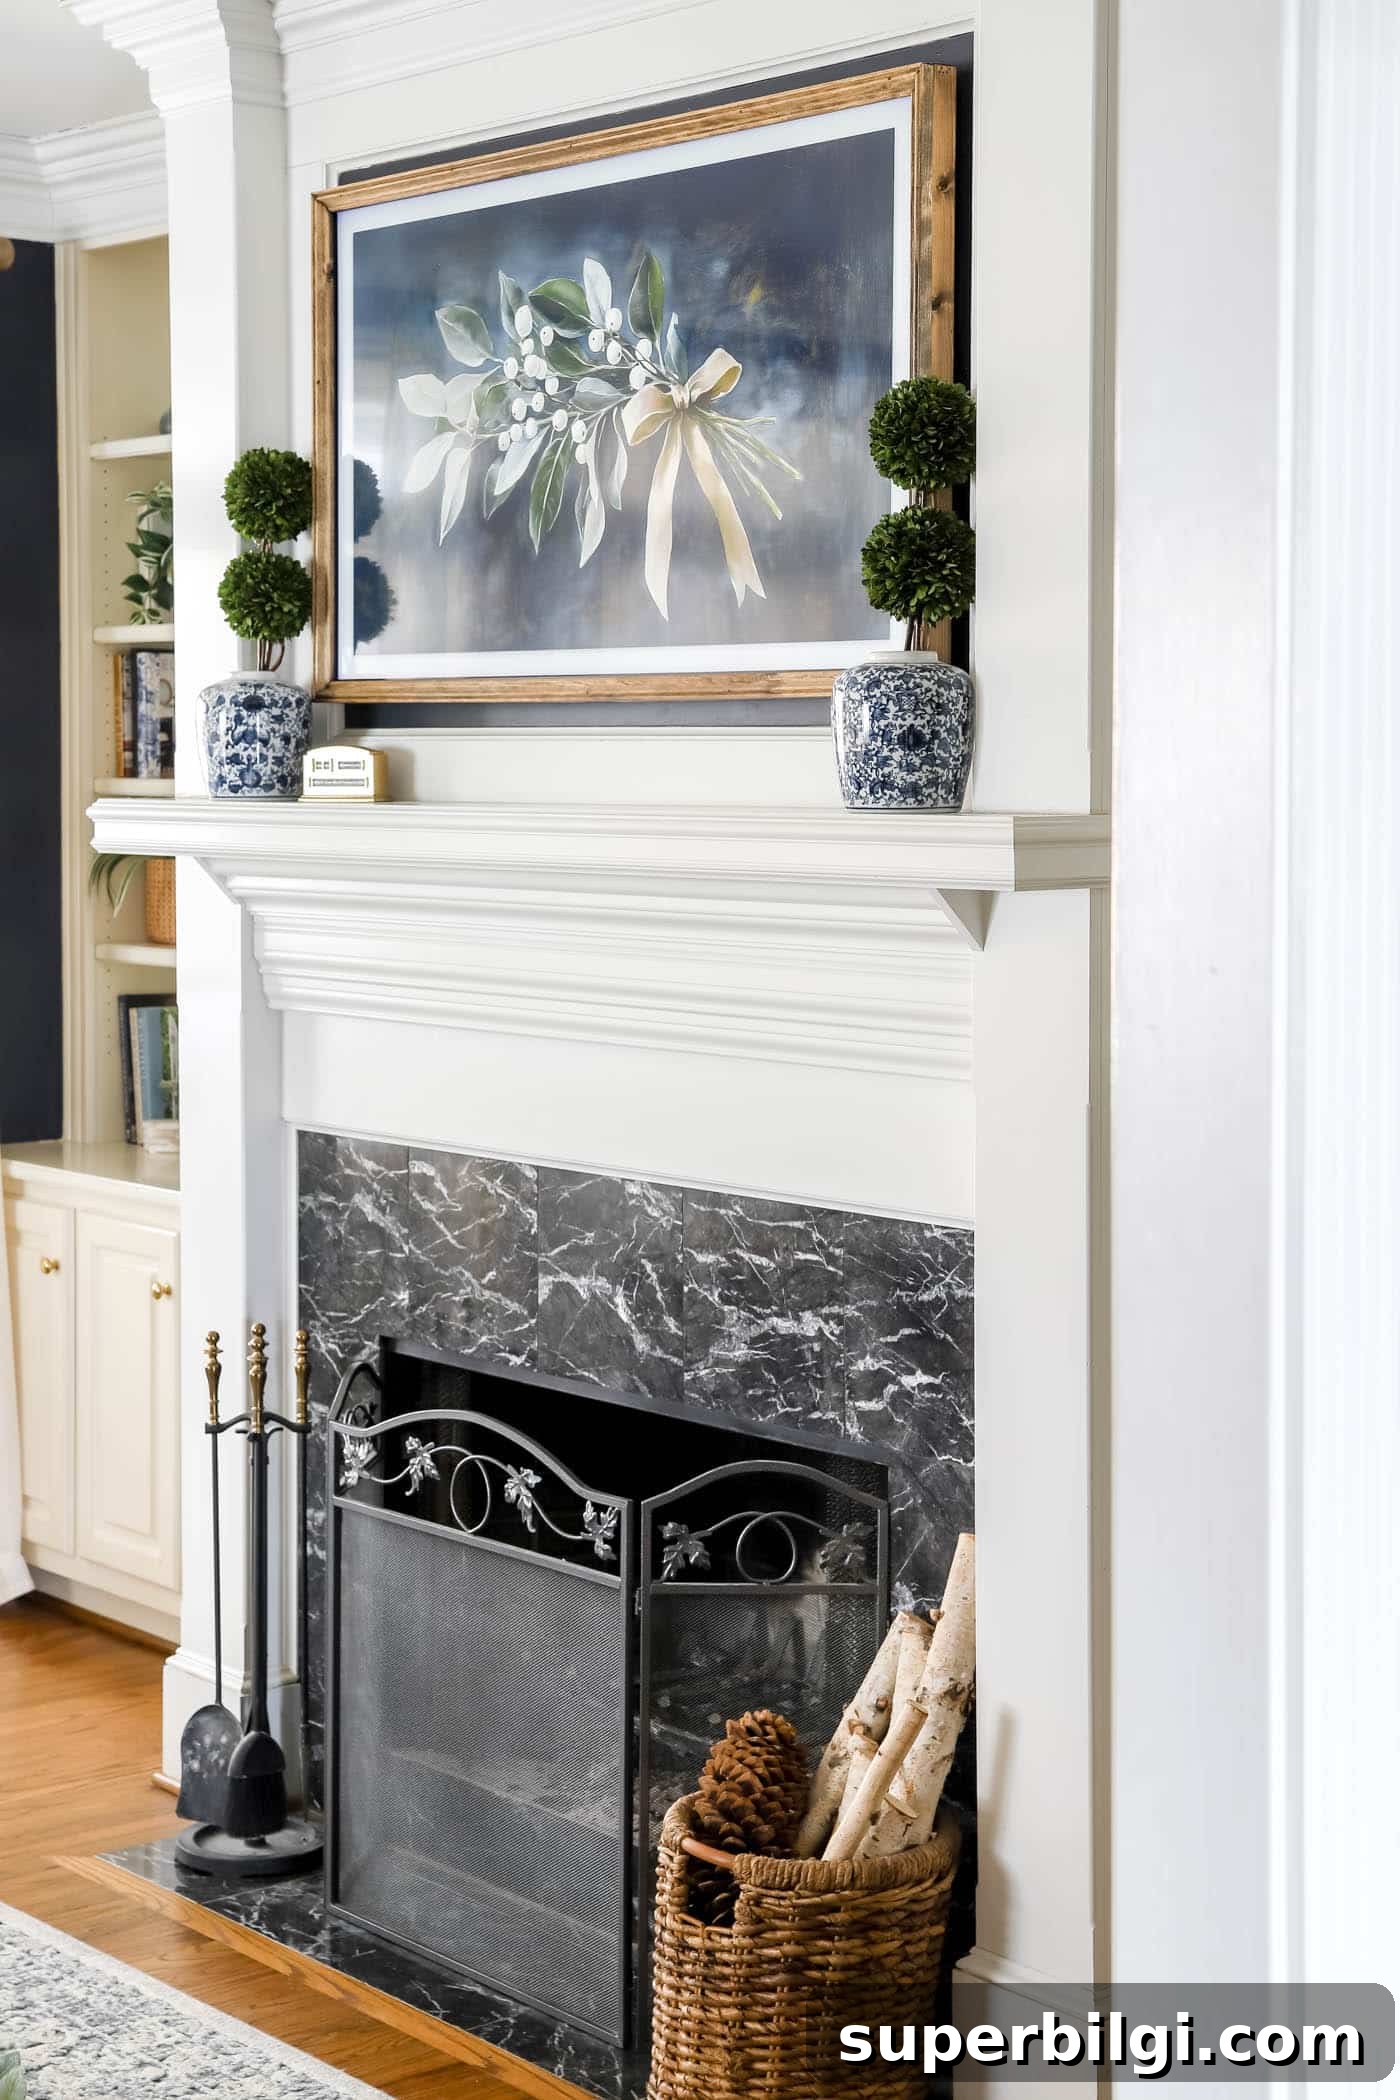
Mantel Decor Ideas With a TV Above It