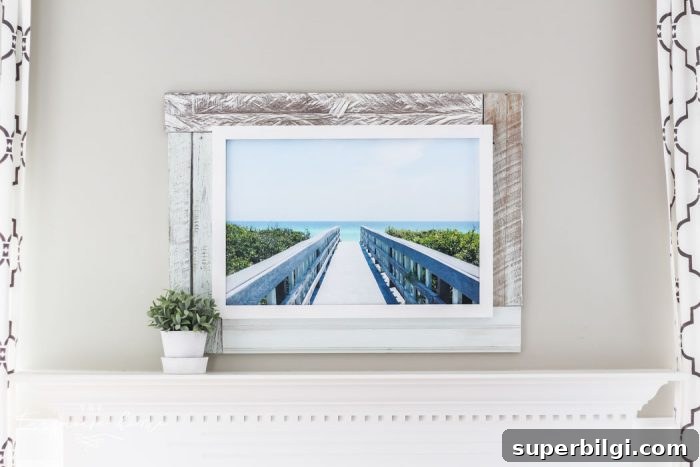
This DIY framed canvas art is an affordable way to create a striking focal piece for your home without spending a lot.
Framed canvas artwork can range from a few hundred to thousands of dollars, and many ready-made frames are thin and understated. This project shows how to build a bold, substantial frame from leftover wood and basic tools so your canvas stands out—perfect for above a mantel or any large wall.
Several readers asked about the photo I used. It’s my own beach photo from 30A, Florida—available for purchase if you’re interested.
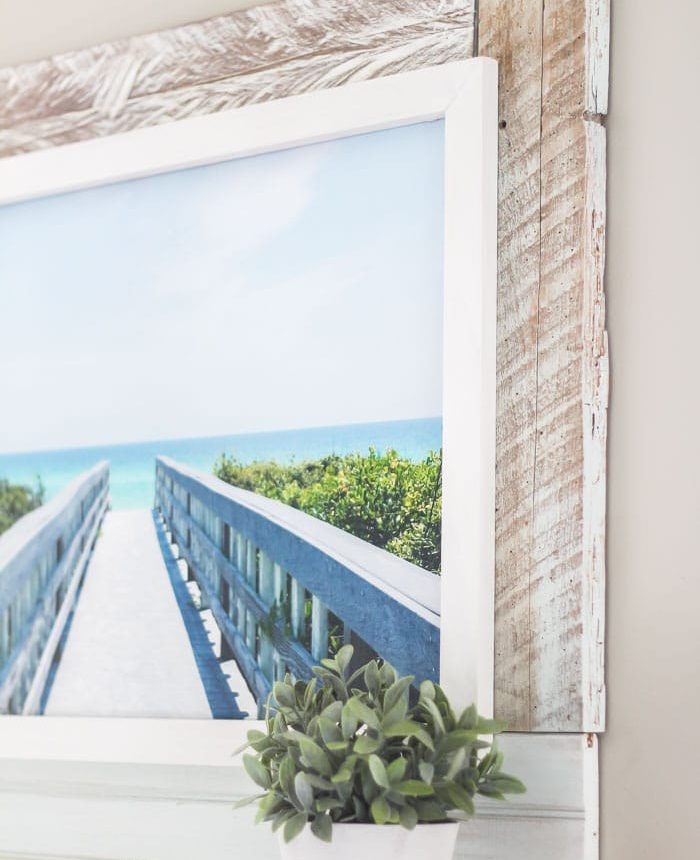
I originally planned a simple thin frame, similar to a framing tutorial I shared earlier, but once I held the canvas up to the wall it looked too small for the mantel. Scale makes a huge difference in decorating; a thin frame would have diminished the impact of the image. Instead I used scrap wood from my garage to build a chunky, layered frame that gives the piece presence and texture.
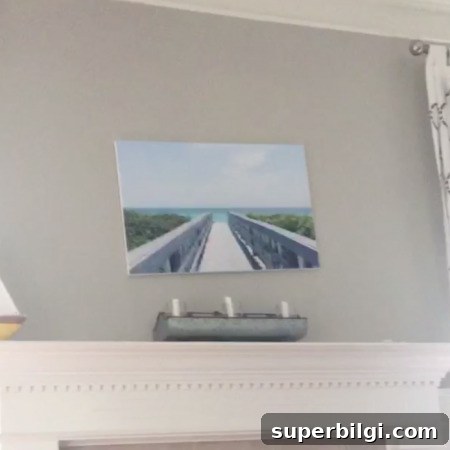
Why scale matters: pieces that are too small feel lost on a large wall. Testing the canvas in the space helped me decide to build a larger, more textured frame that complements the mantel and draws the eye.
I gathered assorted boards—old pallets, barn wood and leftover project pieces—and started arranging them around the canvas. The result was an imperfect, beachy frame I absolutely adore. Below I’ll walk through the materials and each step so you can make one too.
What You’ll Need for your DIY Framed Canvas Art
- Large canvas (example: 20″ x 30″)
- Printed photo the same size or larger than the canvas
- Matte Mod Podge to adhere the print and seal the surface
- Small paint brush or foam brush for Mod Podge
- Cutting board and sharp utility knife
- Optional extra blank canvas for adding texture
- Scrap wood or new common boards for the outer frame
- 1x2x8 common pine for the inner finished trim
- Kreg Jig or other joinery method for sturdy joints
- Drill, miter saw (or handsaw and miter box)
- Screws appropriate for your jig and board thickness
- Wood glue, sandpaper
- Paints, stain or wood finish and brushes for distressing
How to Build your DIY Framed Canvas Art
Step 1. Mount the print to the canvas
Brush a medium-to-thin coat of matte Mod Podge over the canvas surface, then carefully position your print on top. Press the print down firmly, flip the canvas over and set heavy objects on the underside to help the print adhere evenly and minimize bubbles. Let it rest—overnight is safe, though less time often suffices.
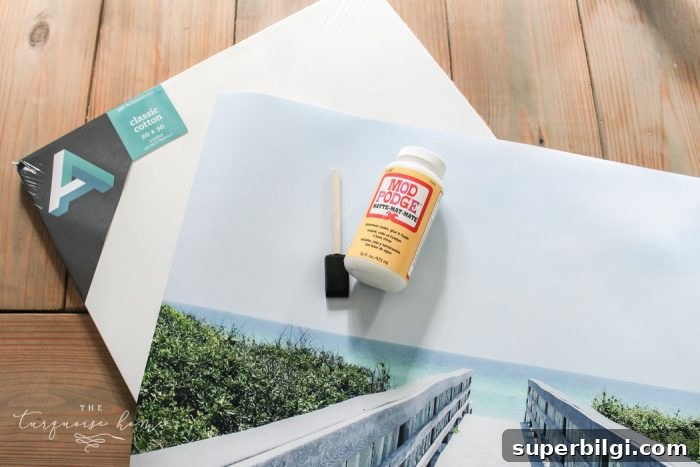
Step 2. Trim excess print
Place the canvas face down on a cutting board and trim any overhanging paper with a sharp utility knife for clean edges.
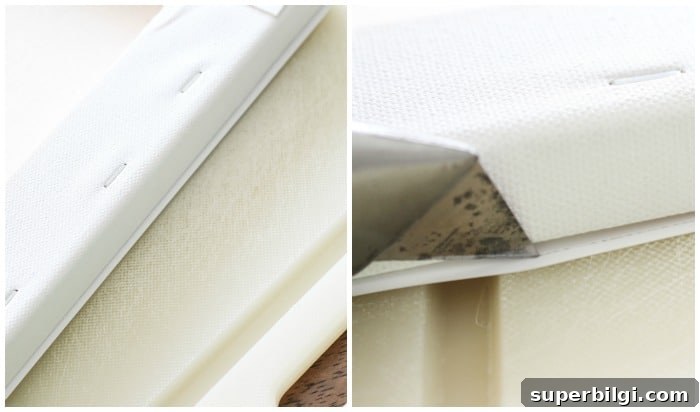
Step 3. Choose and cut your frame pieces
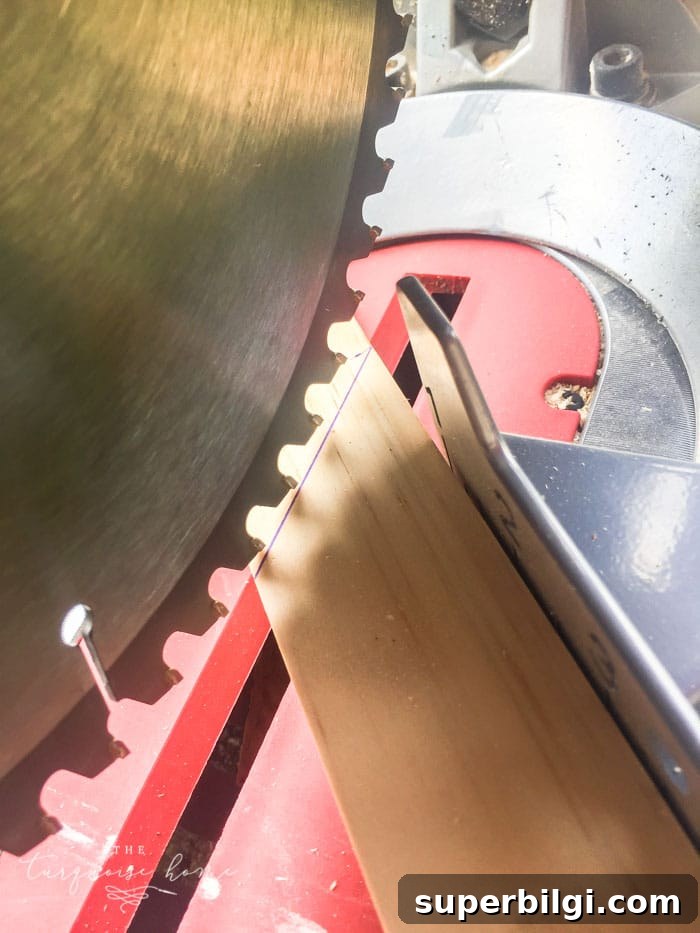
Select boards that create the look you want—matching exactly isn’t required if you prefer a rustic, mismatched aesthetic. Cut boards to size with a miter saw or handsaw. If your saw lacks a laser guide, lower the blade to the wood to verify your cutting line and keep the piece you want to keep on the opposite side of the blade to avoid cutting it too short.
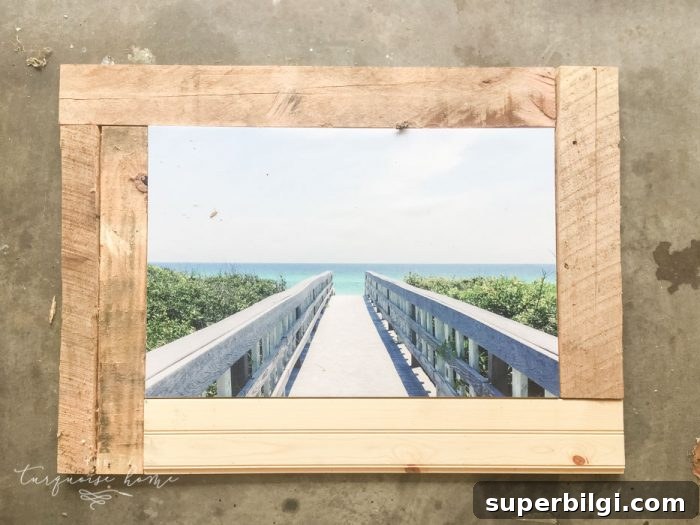
I added a mitered 1×2 trim to give the frame a finished edge—this makes the assembly look more polished while keeping the handmade feel.
Step 4. Paint and finish the boards
Paint or stain individual pieces before assembly if you want different treatments on each board. I chose three beachy paint colors plus a gray wood-reactive finish to create weathered tones. Dry brushing and light sanding after painting produced a distressed, coastal look.
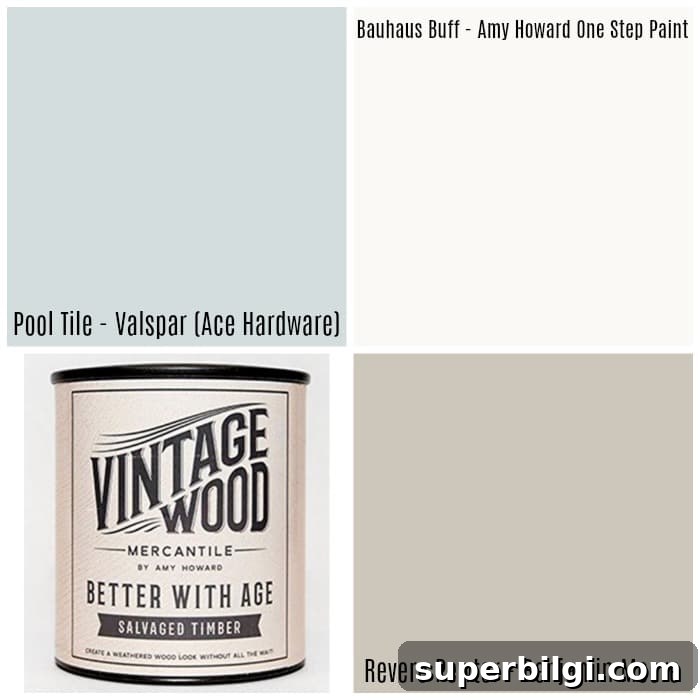
Allow all pieces to dry fully before assembling.
Step 5. Assemble the frame
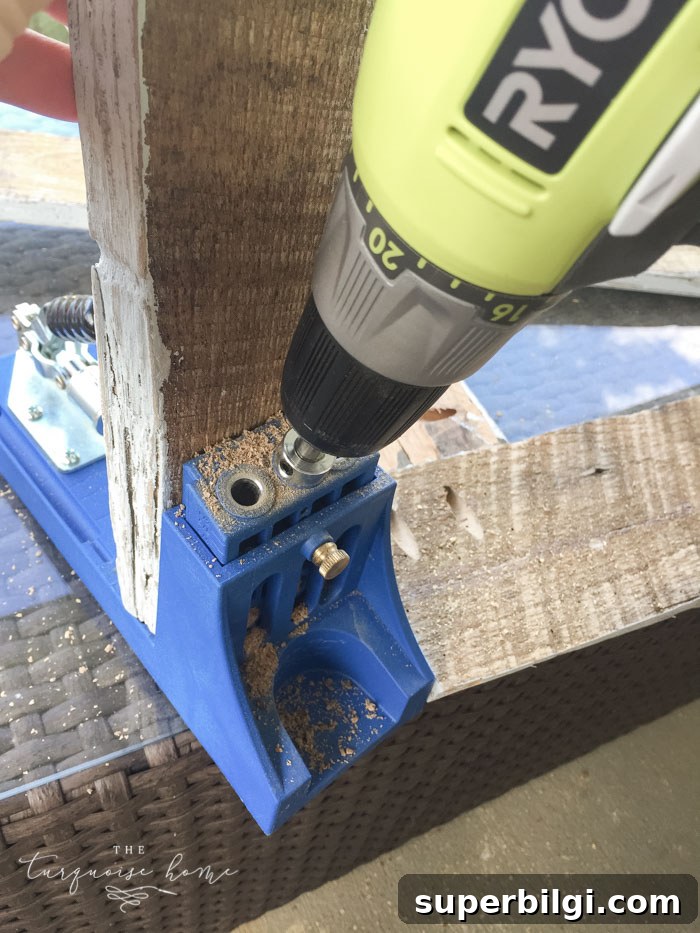
Use wood glue and pocket screws from a Kreg Jig or another joinery method to secure the corners and joints. If your boards are reclaimed and uneven, plan the assembly with the canvas in place so everything fits snugly. Clamp and let glue cure for a strong join.
Step 6. Add canvas texture with Mod Podge
For a professional, textured canvas finish, brush matte Mod Podge over the printed surface then press a blank canvas sheet on top. Pull the blank canvas straight up to transfer the subtle canvas weave into the top layer—this disguises small bubbles and removes shine for a natural, museum-style look.
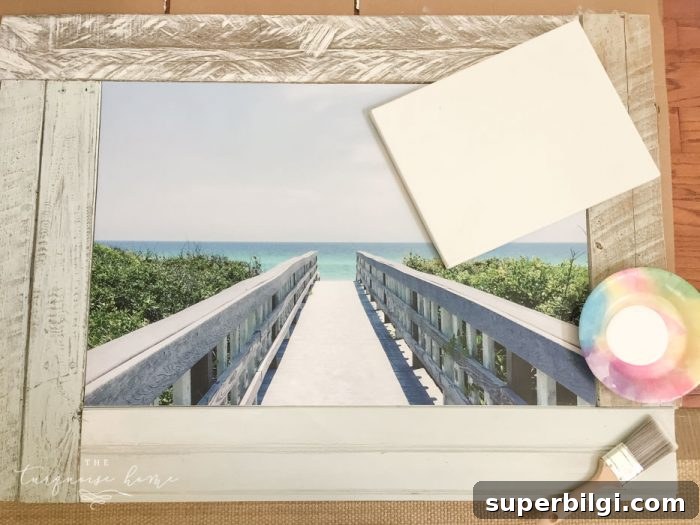
Repeat as needed to cover the entire surface and let dry completely before continuing.
Step 7. Attach the inner trim
Glue the thin inner trim to the front of the assembled frame to create a finished reveal. Press firmly and weight the corners until the glue sets.
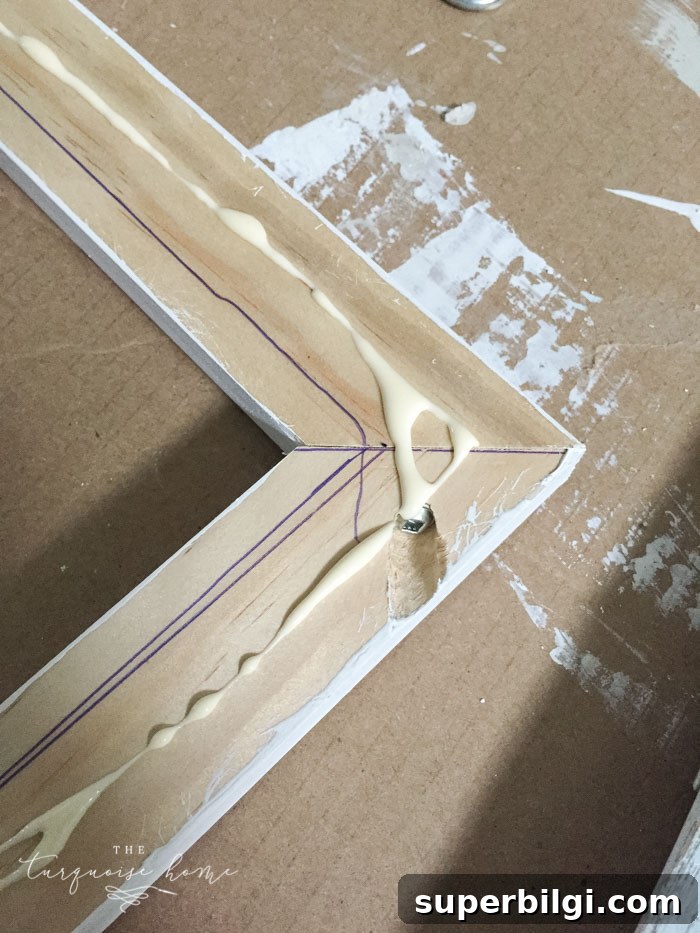
Step 8. Add hanging hardware
Attach a sawtooth hanger, D-ring, or wire on the back sized to your frame weight and how you plan to hang it.
Step 9. Hang and enjoy
Mount your new framed canvas and step back to admire how a well-scaled, textured frame transforms the image and the room. If you try this project, share a photo—it’s so rewarding to see how different woods, finishes and colors change the final look.
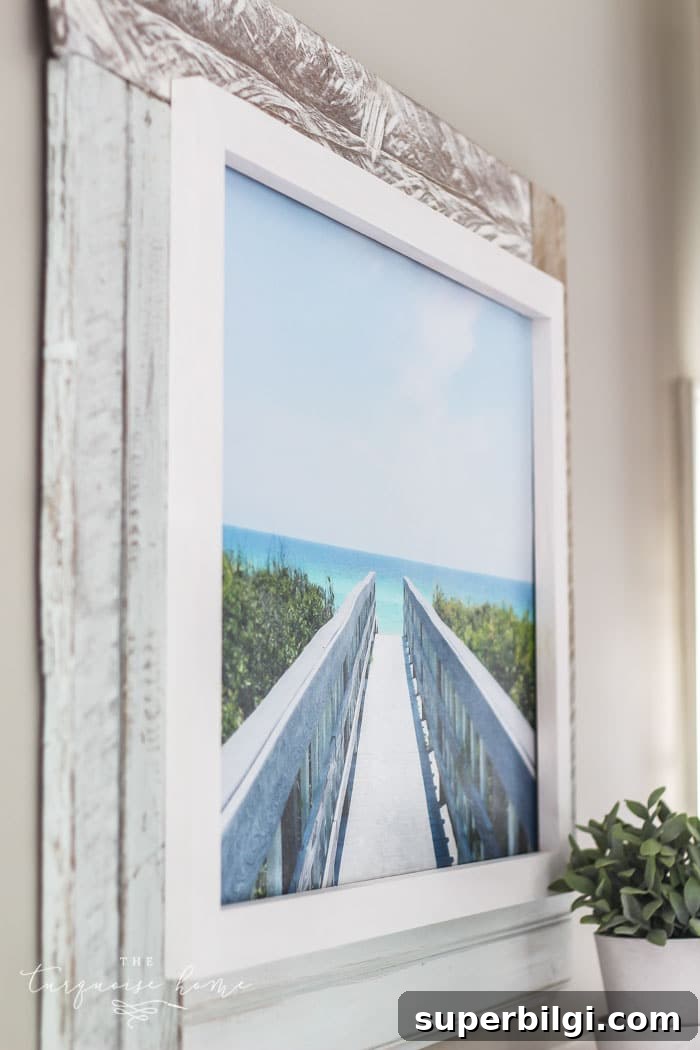
If you want to see how I styled this piece on my summer mantel, you can view that room styling for inspiration. Happy building—and enjoy your new statement art!
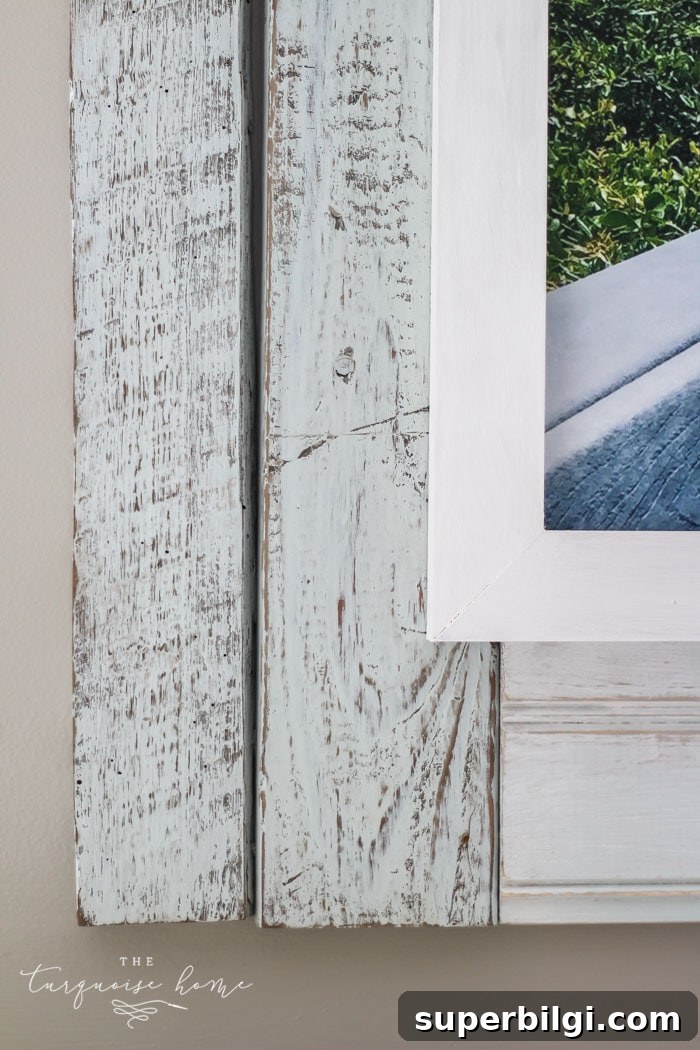
More posts you may like:
- Snake Plant Care Guide
- DIY Frame for a Framed TV
- DIY Picture Frame Moulding
- How to Create a Picture Frame Gallery Wall
- Framed Shiplap Fall Wreath