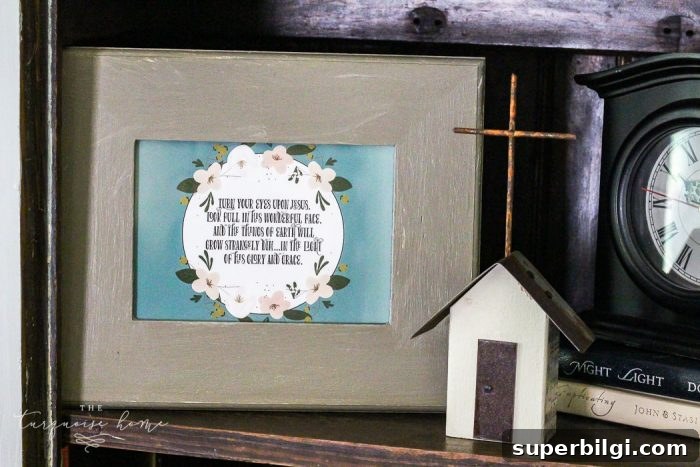
Finding affordable ways to refresh your home can feel overwhelming — especially when your decorating wish list grows faster than your budget. If that sounds familiar, you’re not alone. Small, simple projects can make a big visual impact without costing a lot or taking a lot of time.
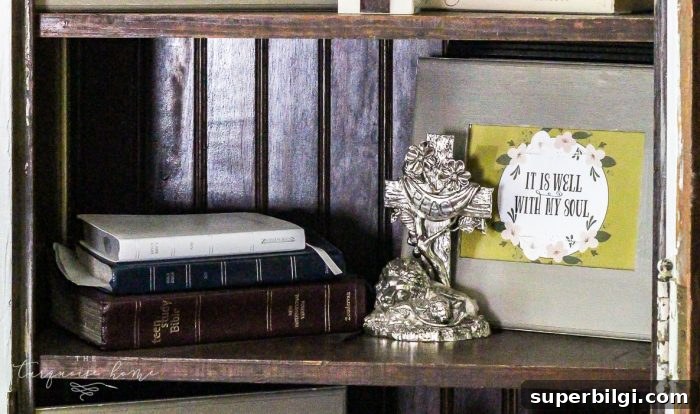
My friend Emily recently shared a wonderfully inexpensive idea she used in her new craft and sewing room: framed hymn cards displayed in a charming cluster. She plans to hang them on the wall, but for now I placed them on a bookshelf so I could photograph and share the idea. This is an easy, quick project you can finish in an afternoon.
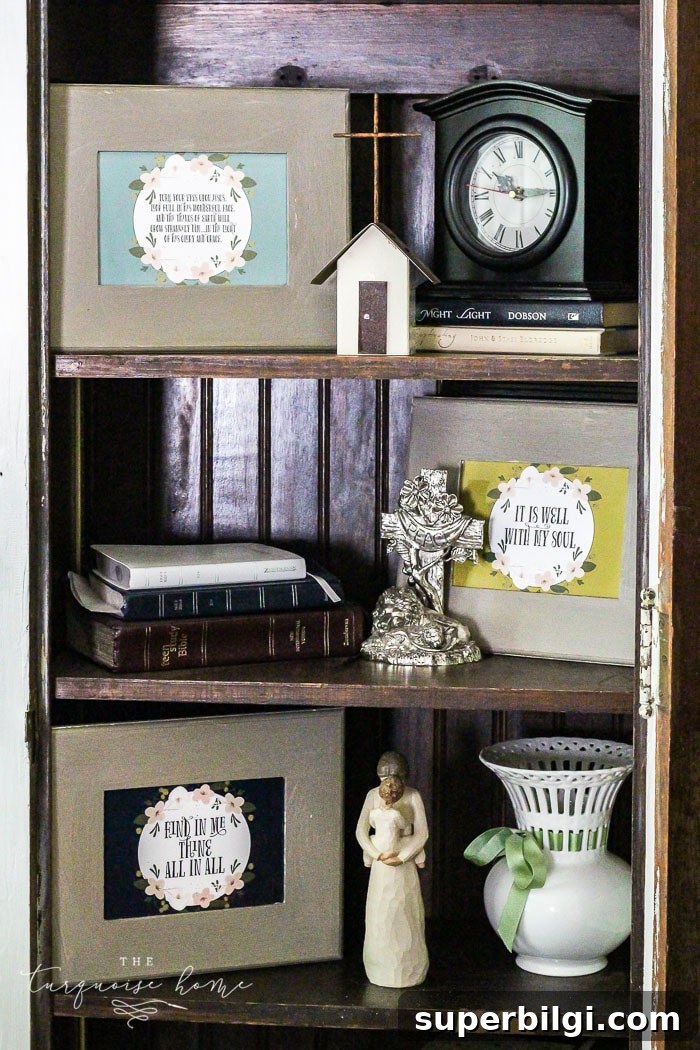
Emily used Magnolia Market hymn cards that her mom picked up on a trip to Waco; they are also available through several retailers online. The cards have a soft, vintage feel that works beautifully in casual, cottage, or farmhouse-inspired decor.

Want to Save This?
Enter your email on the site to receive this idea and other easy decorating tips directly to your inbox.
For frames, Emily picked up inexpensive wooden “dollar” frames at Michael’s and gave them a quick coat of gray paint. She didn’t paint them for full coverage — instead she used a light, dry-brush approach to keep a slightly weathered, rustic appearance. That technique takes almost no time and gives the frames a handmade, cozy look that complements the vintage cards.
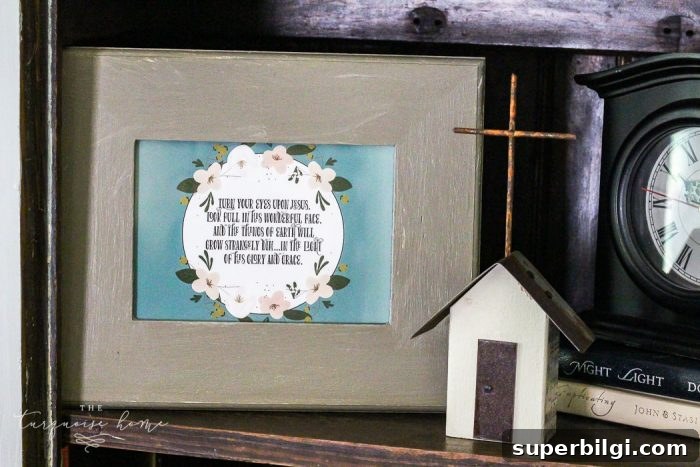
After the paint dried, she placed the hymn cards into the frames and they were ready to display. Because the frames are so lightweight, they can be mounted with removable hanging strips or other wall-safe adhesives — a perfect solution if you want to decorate without nail holes.
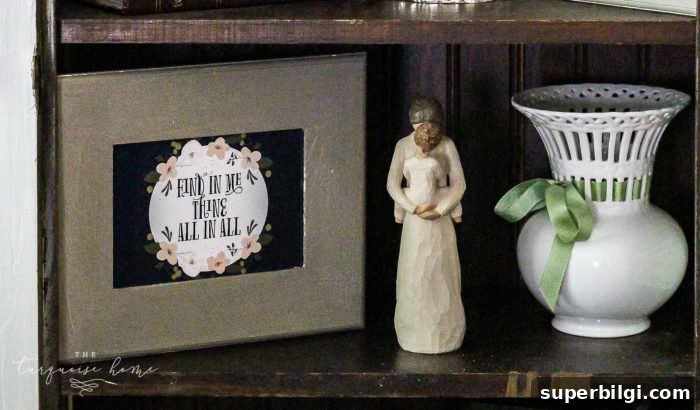
This simple treatment makes the cards feel like curated art. Grouping several small frames into a tight grid or an informal cluster creates more visual interest than a single piece of the same size. You can mix frame finishes or paint them all the same color for a cohesive display.
RELATED: Magnolia Wreath Christmas Mantel
You don’t have to limit yourself to hymn cards — use any inspirational cards, vintage postcards, children’s drawings, or sweet notes from family members. Smaller, sentimental pieces look more polished when framed, and this technique makes it easy to preserve and display keepsakes.
A few practical tips:
- Prep frames by lightly sanding any rough spots, then apply diluted paint for a weathered finish.
- Use acid-free backing or matting for treasured paper items to help preserve them over time.
- Experiment with layouts on the floor before hanging to find the best arrangement for your wall.
- If you’re renting or want a damage-free option, use removable adhesive strips rated for the frame weight.
I love projects that are quick, inexpensive, and visually rewarding — this one checks all three boxes. It’s ideal for a craft room, entryway, bedroom, or gallery wall and works with a wide range of decorating styles. Give it a try the next time you want fresh wall art without spending much time or money.
This post contains affiliate links for convenience.
More Posts You Will Love:
- Mason Jar Lid Pumpkin Craft
- 25+ FREE Fall Printables to Decorate Your Home
- DIY Photo Transfer To Wood (Step-by-Step Tutorial)