
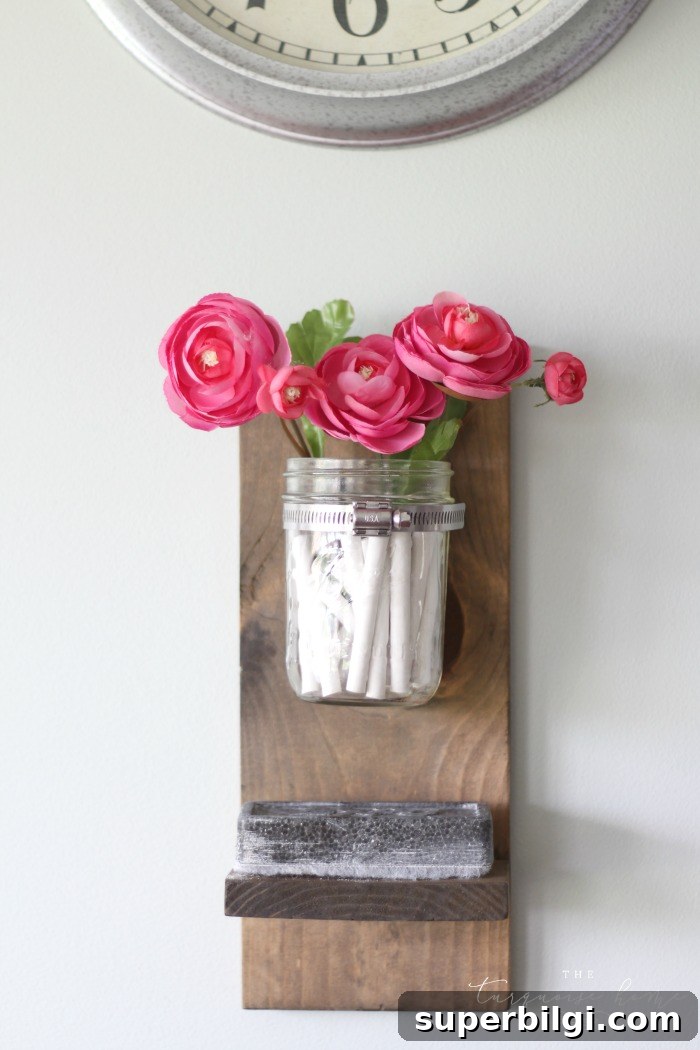
I enjoy quick projects that are both attractive and useful, so I made a simple DIY chalk and eraser holder in about 30 minutes using three items—two of which I already had on hand. The project cost me about $1.50, and it turned out to be a tidy little addition to my kitchen chalkboard.
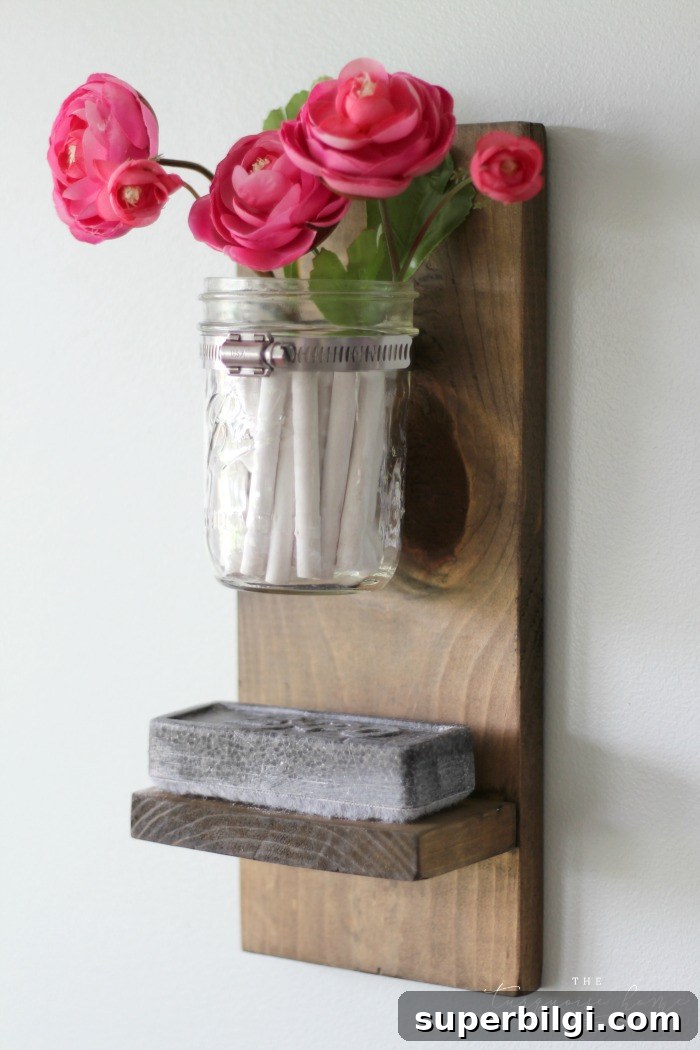
A bit of backstory: I’ve had a huge chalkboard in my kitchen for three years, and until now I always had to walk through the kitchen to the laundry room to grab chalk and the eraser. I’d considered several storage ideas—hanging baskets, upside-down drawer pulls, mason jars with hose clamps—but I wanted something simple, compact, and a little different from the usual solutions.
I decided to use a scrap piece of wood, a hose clamp, and a wide-mouth mason jar. I attached the clamp to the board, mounted the jar, and added a tiny shelf for the eraser. The result is a pretty, functional holder that keeps writing tools within easy reach.
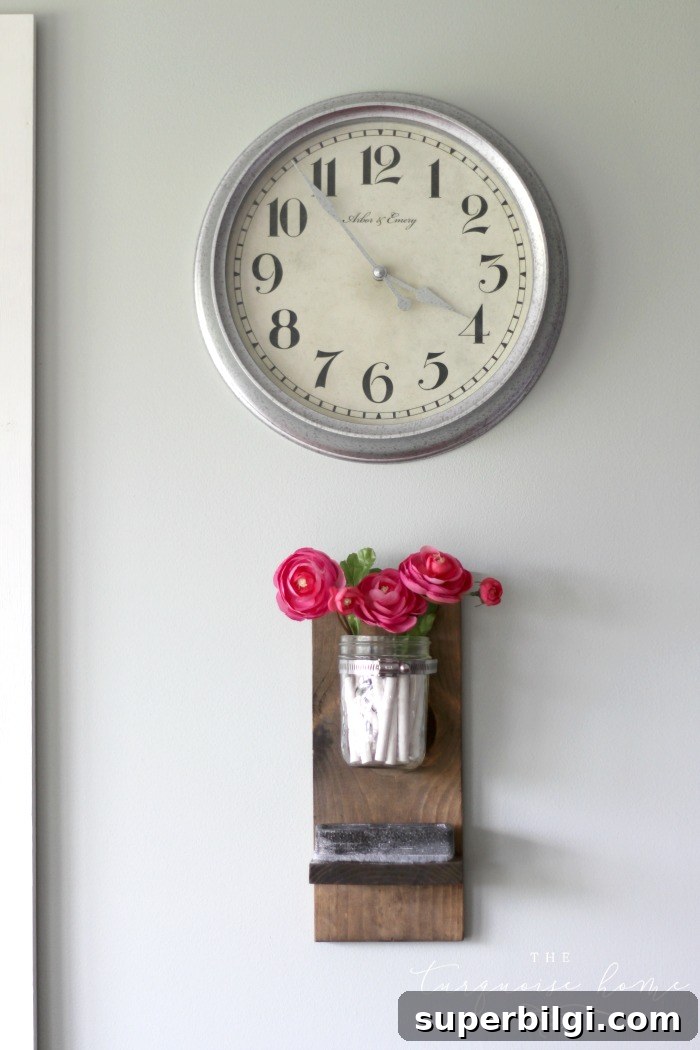
Since the chalk and eraser have been within reach, my daughter—who will be starting kindergarten this fall—has been using the board to practice her letters all the time. The chalkboard sits next to our kitchen table, and I originally put it there so it could be both decorative and a teaching tool. It’s been used for weekly notes, inspirational verses, or simple drawings, but most of all I wanted it to be a learning space for the kids. Making supplies easy to reach encourages regular use, and that’s exactly what’s happened.
Tools you will need for a DIY Chalk and Eraser Holder
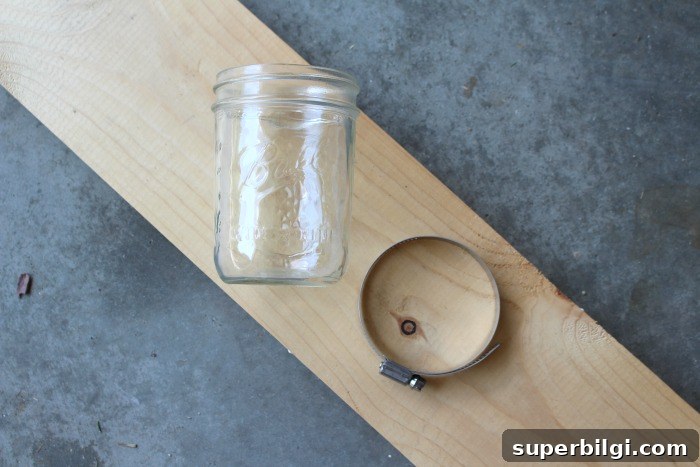
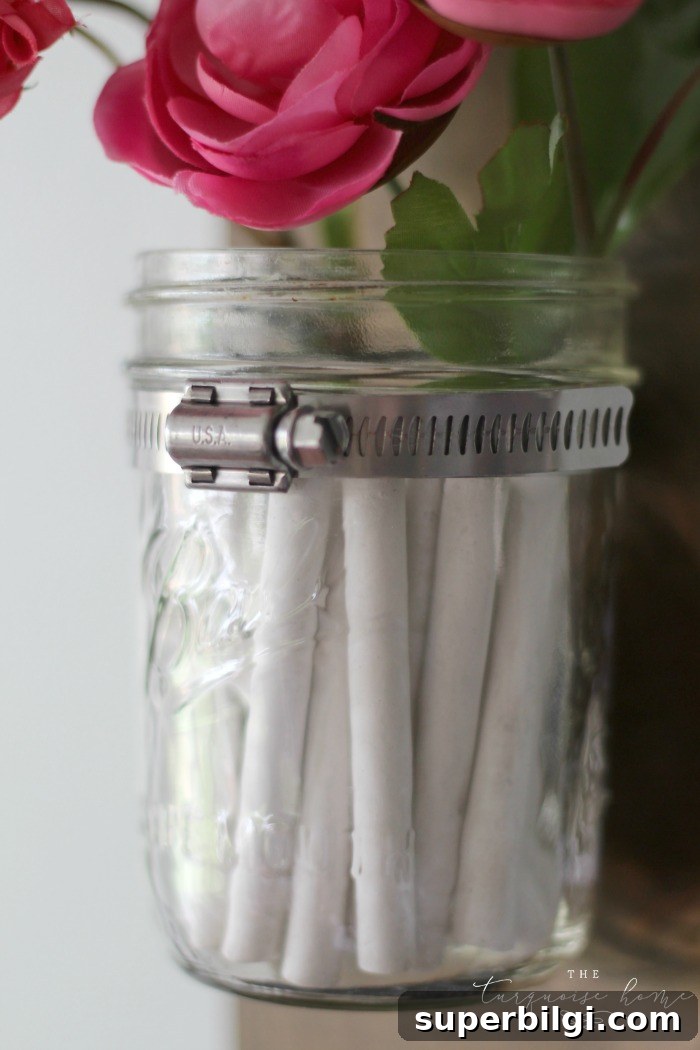
- Wide-mouth mason jar
- Hose clamp large enough to fit around the jar (available in the plumbing or pipe section at hardware stores)
- 1×6 board at least 17 inches long (scrap wood works great)
- Saw (miter saw, circular saw, or a hand saw with a miter box)
- Sander or sandpaper for smoothing edges
- Stain (I used Minwax weathered gray followed by a quick dark walnut wipe)
- Kreg jig or other pocket-hole joinery tool (optional but makes a sturdy connection)
Steps to Build a DIY Chalk and Eraser Holder
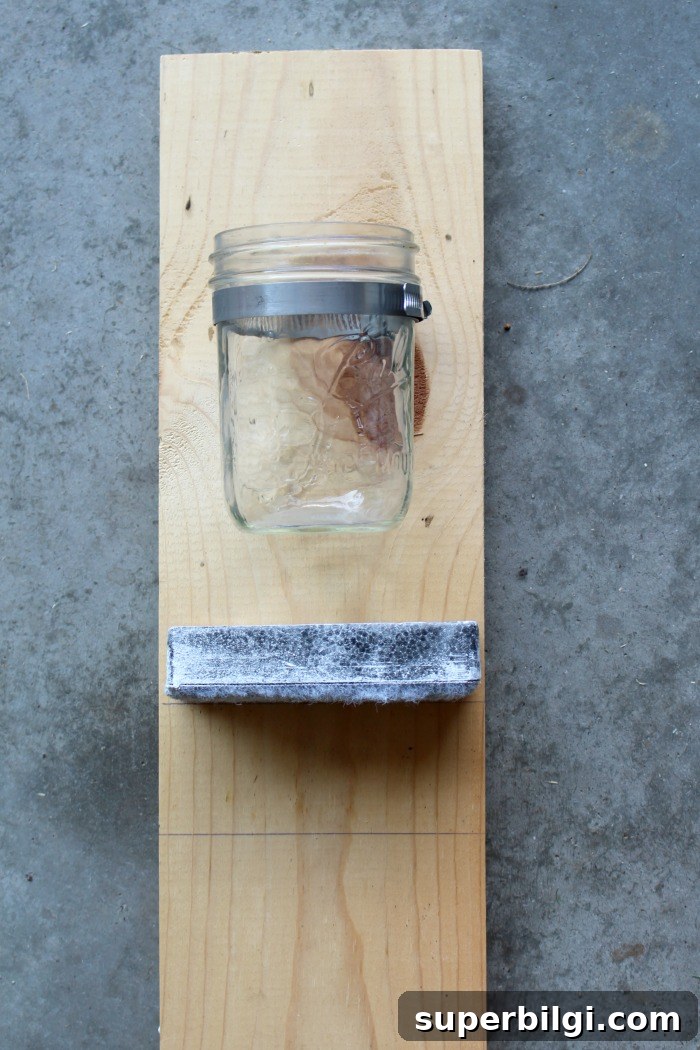
Step #1: Measure the board
Place the mason jar and eraser on the 1×6 board and mark where you want the back piece and the small shelf to sit. For my holder I cut the back piece to 13.5 inches and the shelf to about 2.75 inches. Adjust measurements to suit your jar size and the space you have available.
Step #2: Cut the pieces
Cut the board at your marked spots. A miter saw makes this quick and easy, but a circular saw or a hand saw with a miter box will work just fine for a simple straight cut.
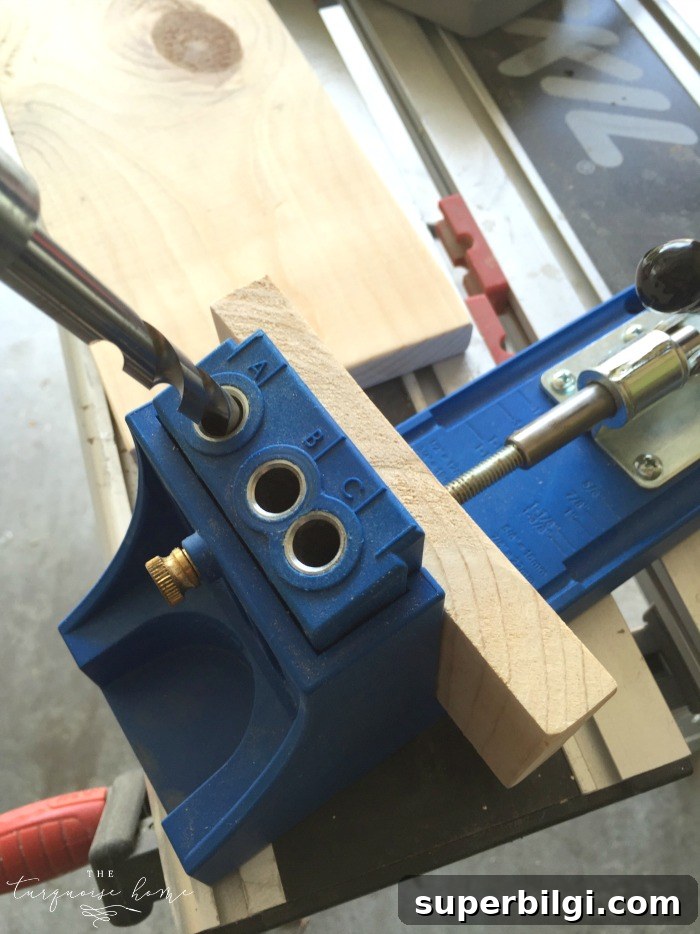
Step #3: Attach the shelf
Use a Kreg jig or pocket-hole screws to attach the small shelf to the back board. This method creates a strong, nearly invisible connection that supports the eraser without visible hardware from the front.
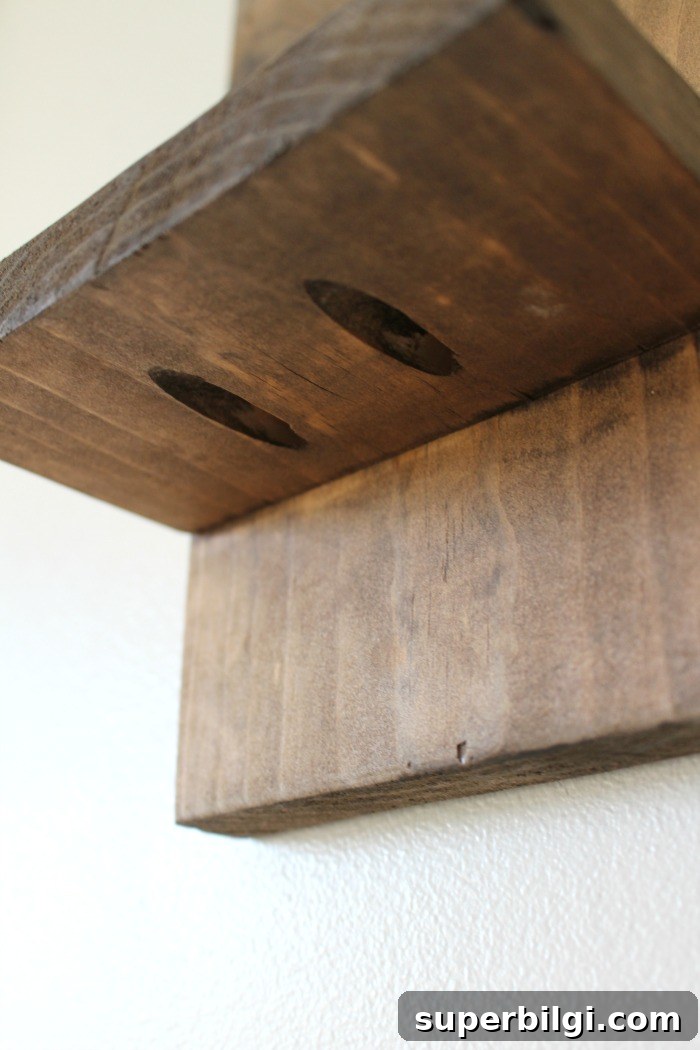
Here you can see the underside of the shelf; screws driven through those pocket holes secure the shelf solidly to the back board.
Step #4: Stain the boards
I like a layered stain look: start with a coat of a lighter weathered gray or oak, let it set, then wipe a darker walnut stain on briefly and remove most of it for a slightly aged finish. Let the stain dry fully between coats according to the manufacturer’s instructions. A top coat can be added for protection, but I left mine as-is because the holder won’t be exposed to heavy wear.
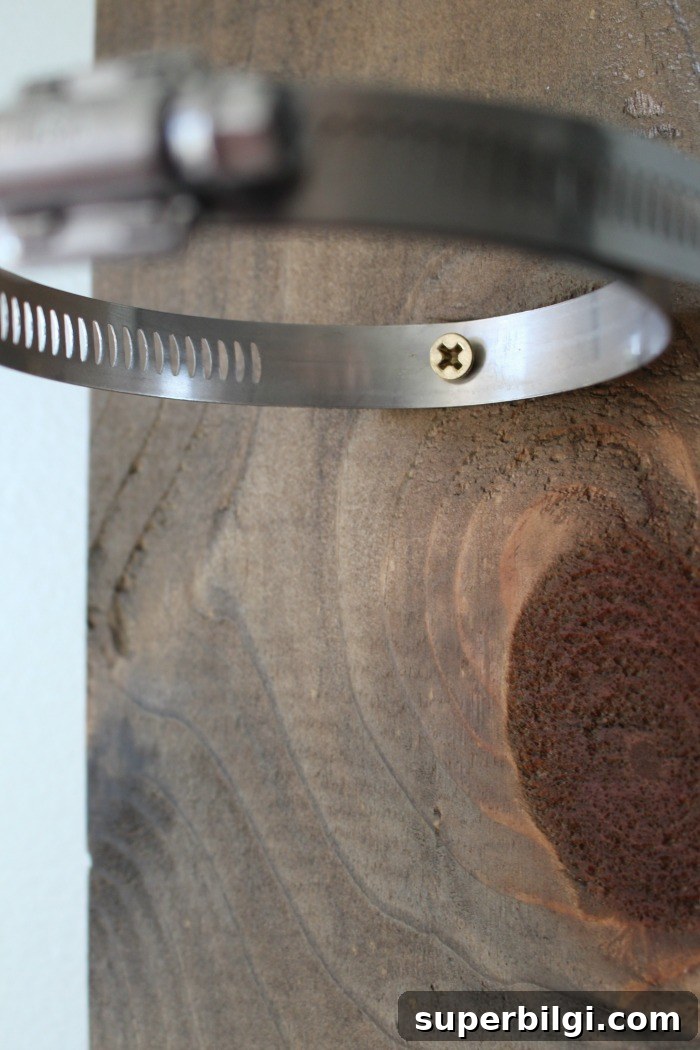
Step #5: Attach the hose clamp
Use the mason jar as a guide to position the hose clamp on the board. Tighten the clamp around the jar so it holds the jar securely but still allows the jar to slide out from the top. Mark the clamp location, drill a pilot hole through the clamp, then fasten the clamp to the board with a screw.
Step #6: Hang the holder
Attach small picture hangers or keyhole hangers to the back and mount the finished holder on the wall in a convenient spot next to your chalkboard. Make sure it’s level and securely anchored for daily use.
Step #7: Add the jar, chalk, and eraser
Place the mason jar into the clamp and add your chalk. Set the eraser on the small shelf. I tucked a few faux flowers into the jar for a splash of color, but it’s perfectly functional without them.
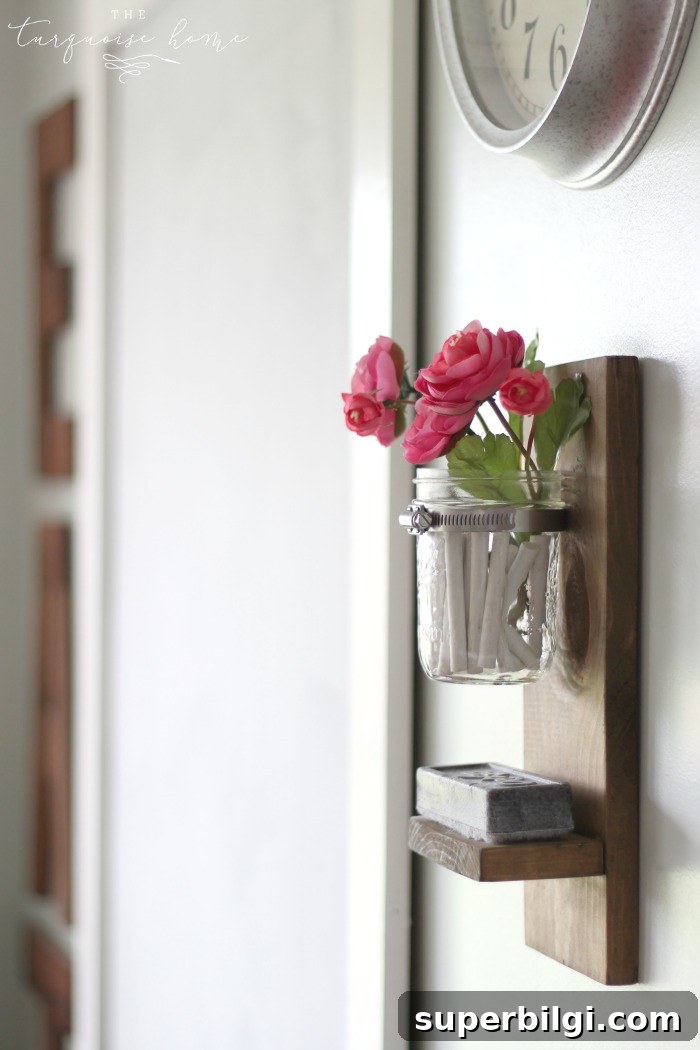
This little holder filled an empty space beneath a wall clock and provided the storage solution I’d been trying to find. Small projects like this can inspire other changes around a room—swap a decorative letter, add a shelf, tweak paint colors—and before long the whole area feels refreshed.
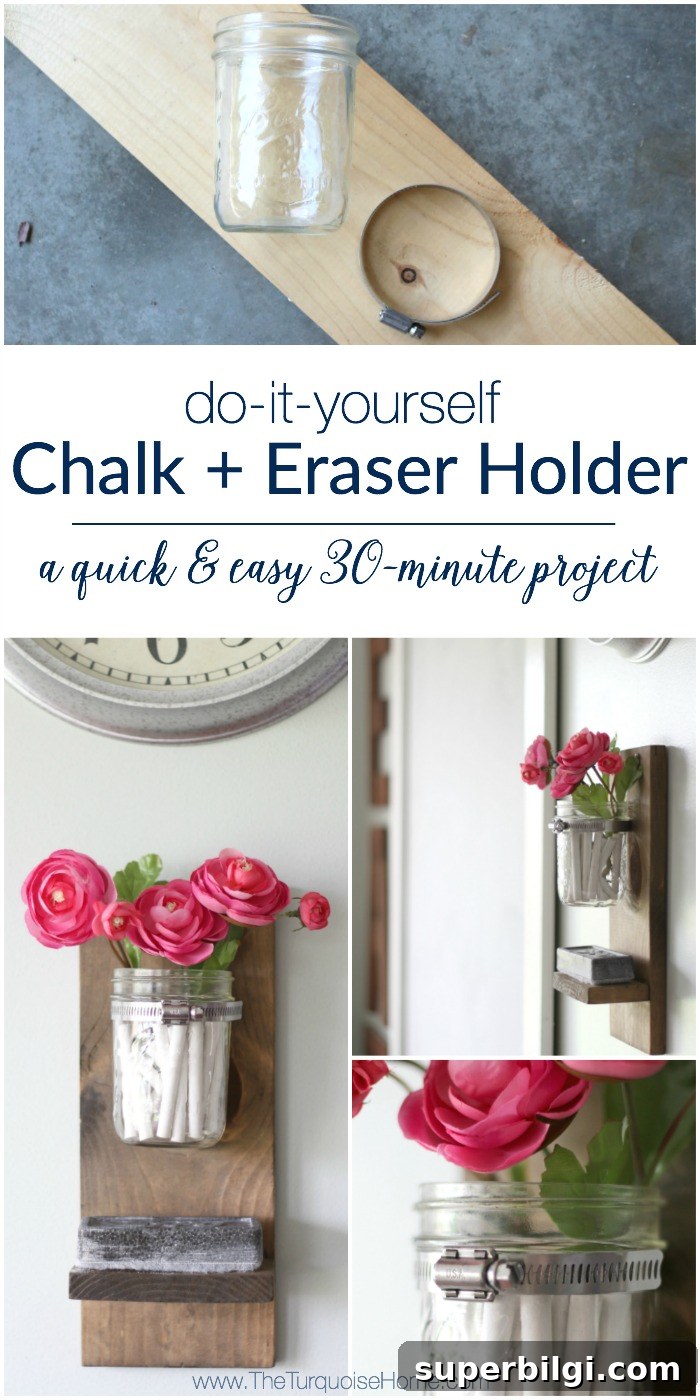
Decorating often leads to more decorating; one small update tends to inspire another. While no space is ever truly finished, this chalk holder brought the wall one step closer to complete—and it made the chalkboard far more usable for everyday learning and play.
More posts you might enjoy:
- How to Make a Giant Magnetic Chalkboard
- Chalkboard Wood-Slice Ornaments
- 15 Fabulous Chalkboard Ideas