Quick and Easy Target Dollar Spot Fall Wreath: A One-Hour Craft
Sometimes I crave a simple, satisfying craft that I can complete in an hour or less — start to finish, including cleanup. I’m not a long-term crafter, but I love quick projects that refresh a corner of the house and don’t require a lot of supplies or time.
On a recent trip to Target, I spotted a handful of cute fall items in the Dollar Spot: adhesive letters, patterned scrapbook paper, and felt flower embellishments. They were perfect for a small seasonal wreath idea I’d had in the back of my mind.
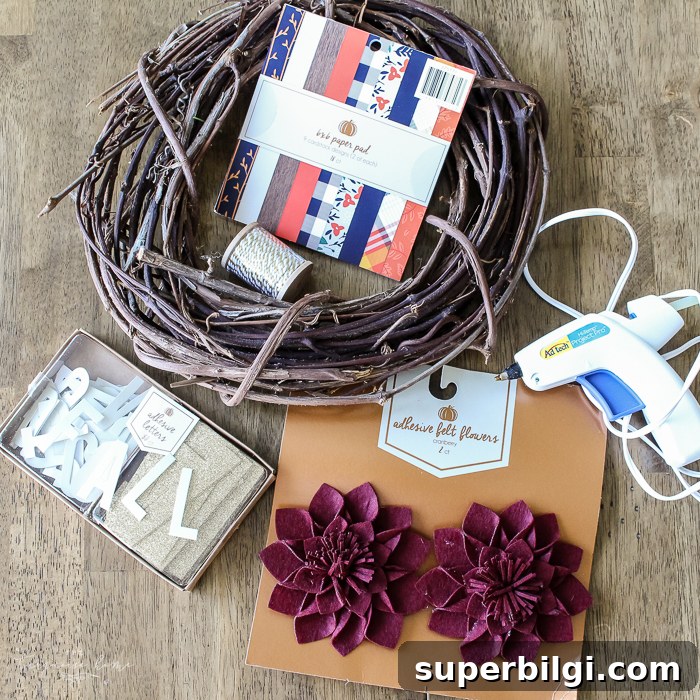
I already had a small grapevine wreath sitting in my stash, so I gathered the new Dollar Spot finds plus some basic supplies I keep on hand: scissors, a pencil, a ruler, and a glue gun (the glue gun ended up being optional). This is one of those projects where minimal supplies and simple steps yield a charming result.

From start to finish it took about five to thirty minutes depending on how precise you want to be. The easiest part was cutting the bunting from the scrapbook paper and arranging the letters. The trickiest part — and that’s being generous — was sizing the triangles correctly so the adhesive letters would fit.
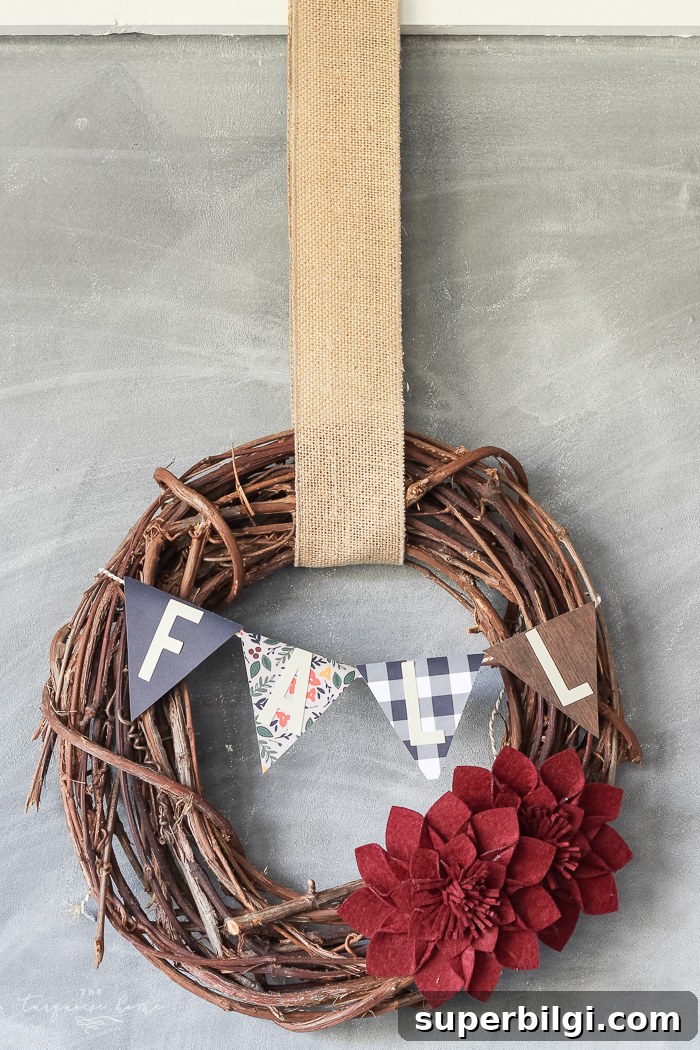
Here’s a straightforward way to make this wreath:
- Materials: small grapevine wreath, scrapbook paper with fall patterns, adhesive letter stickers (or cut letters), felt flower embellishments, ribbon or burlap for hanging, scissors, pencil, ruler, and optional craft glue or glue gun.
- Step 1 — Cut a template: Cut one triangle from the scrapbook paper to serve as a template. Make sure it’s large enough for a letter and leaves a little border around the sticker. If it’s too small, the letter will look crowded; if it’s too big, it may overwhelm the wreath.
- Step 2 — Trace and cut: Use the first triangle as a template and trace additional triangles on the scrapbook paper. Cut them out carefully for a neat, uniform bunting look.
- Step 3 — Apply letters: Stick the adhesive letters to each triangle. Many Dollar Spot stickers are mildly adhesive, so plan to reinforce them with a dab of craft glue on the back to ensure they stay in place over time.
- Step 4 — Arrange and attach: Arrange the triangles across the bottom or front of the wreath and secure them with glue or a small tuck into the grapevine. Add felt flowers or other embellishments where they look balanced.
- Step 5 — Add a hanger: Finish with a short length of burlap ribbon or twine looped and tied to the top of the wreath for hanging. I hung mine over a chalkboard in the kitchen, but it would work on a door, cabinet, or entry wall.
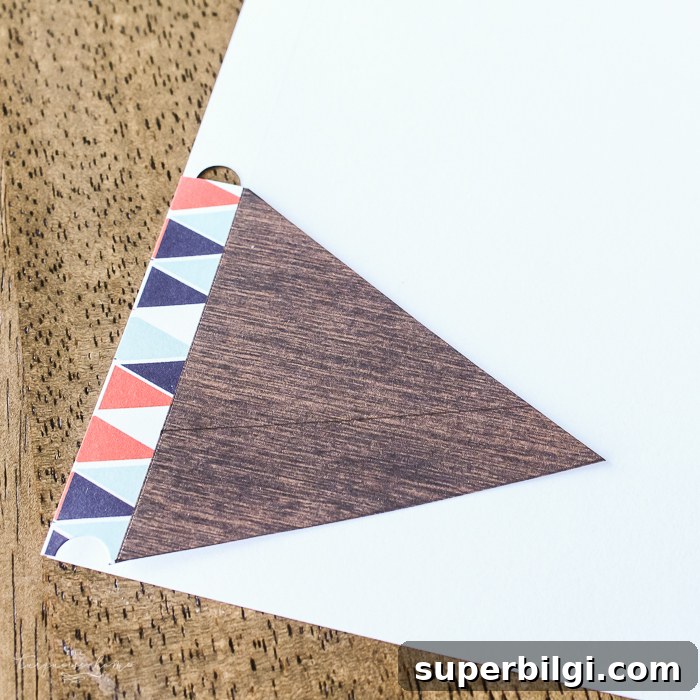
A few practical tips: use the first triangle as a template to speed up the process; if your adhesive letters aren’t very sticky, reinforce them with craft glue; and choose patterned paper that complements the natural tones of a grapevine wreath for a cohesive look.
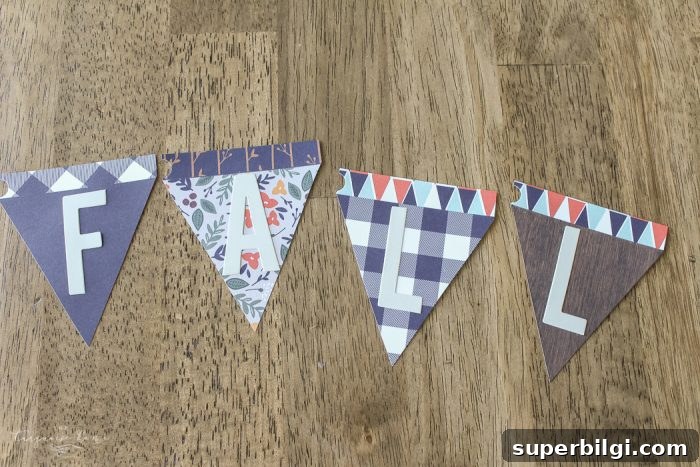
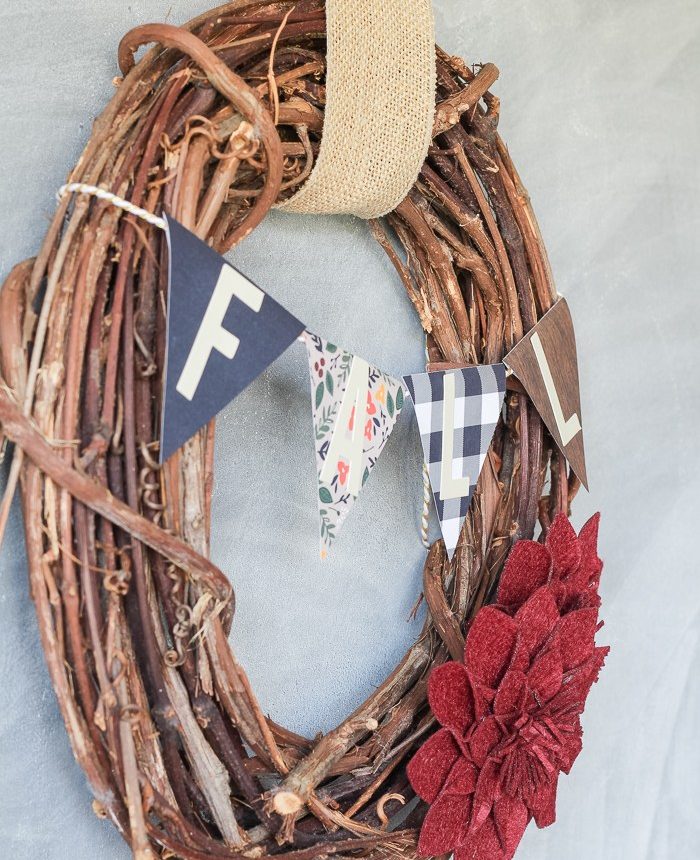
I embellished mine with two felt flowers and used a spare length of burlap ribbon to hang it. It’s simple, seasonal, and cheerful — just what I wanted for the kitchen. You can adapt color schemes and embellishments to fit your style: more rustic with twine and burlap, brighter with bold patterned paper, or minimalist with neutral tones.
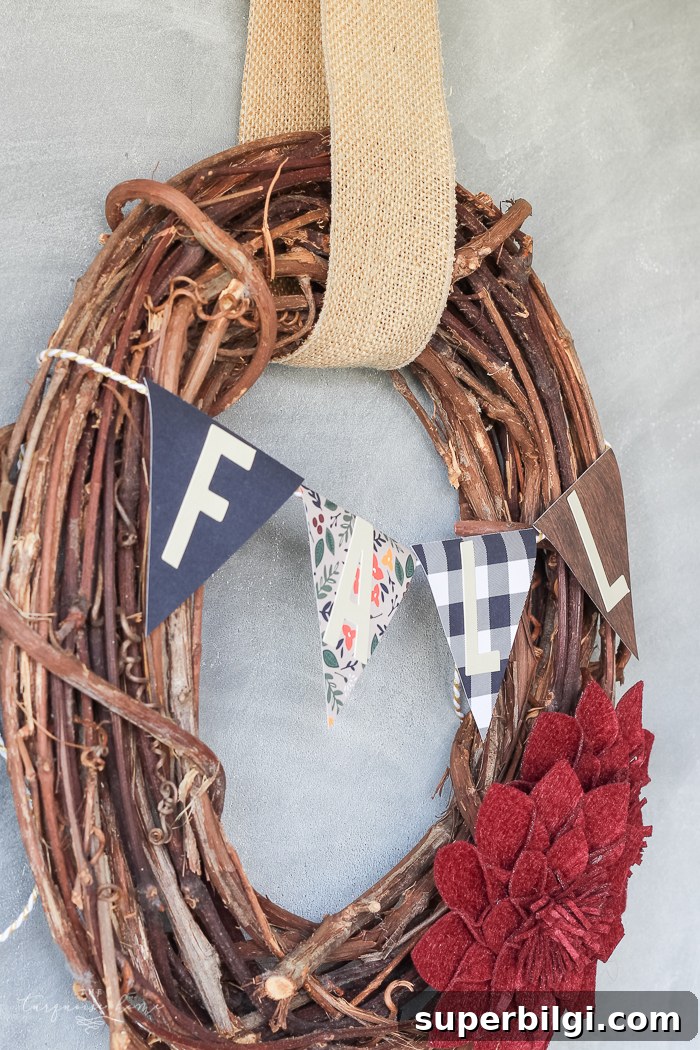
This is a low-commitment, budget-friendly craft that refreshes a small spot in your home and gives you the satisfaction of a finished project in under an hour. If you try it, enjoy the process and make it your own with different papers, lettering, or embellishments. Happy crafting!