
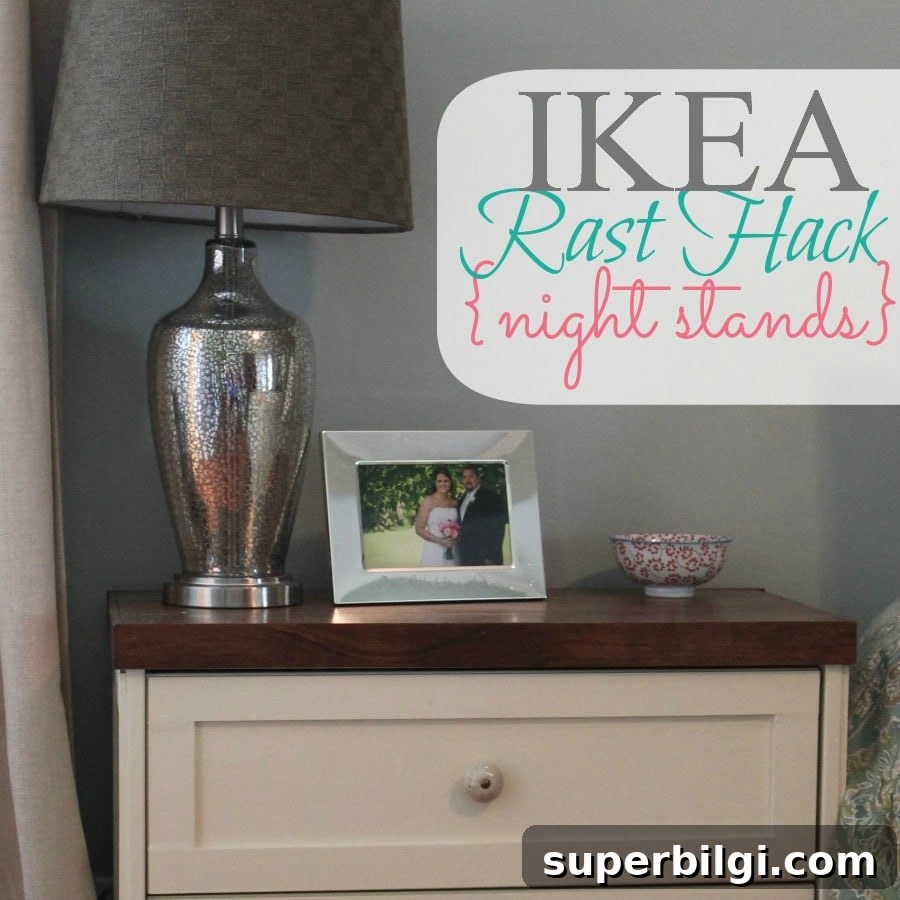
This IKEA nightstand hack is a fantastic way to turn an inexpensive dresser into a customized bedside table that fits your home.
I finished my new bedside tables and I absolutely love them. I wanted matching, attractive nightstands for our new bedroom but didn’t want to spend a lot, so I did an IKEA Rast hack. IKEA’s simple, solid-wood pieces like the Rast dresser make a perfect starting point for a DIY transformation.
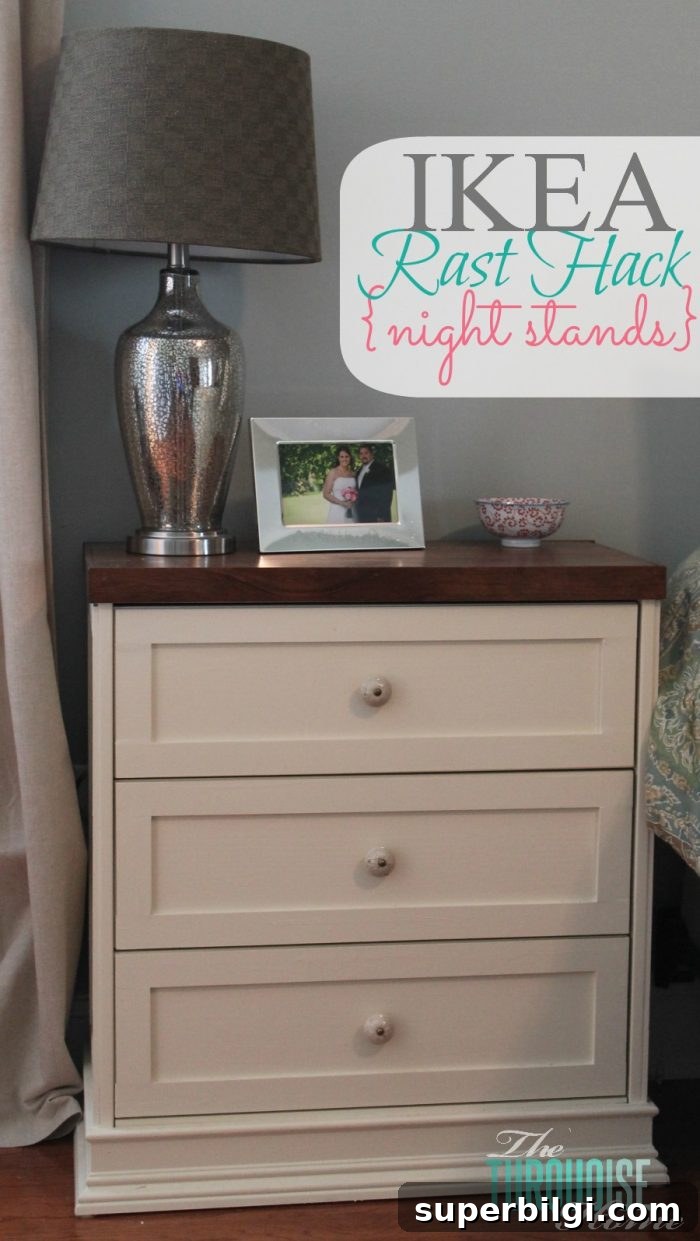
This was my very first woodworking project and it sparked a real love of building my own furniture and decor. It took effort and about four days from start to finish, but the results were worth it — and I expect to get faster with practice.
In our old master bedroom we only had room for one nightstand. The new room is spacious enough for two, so I wanted a pair that felt intentional and balanced. Adding matching nightstands instantly made the room feel more symmetrical and finished.
A quick note: the Rast dresser is an excellent value — originally offered around $35 and still an affordable option for a solid wood base piece. The beauty of the Rast hack is that you can convert this simple dresser into nearly any style with a few materials and a little work.

Want to Save This?
If you want to keep this idea for later, bookmark the page or save an image to your inspiration board.
Tools Needed for an IKEA Rast Hack Nightstand
- Miter saw
- Nail gun
- Putty knife
- Wood putty
- Sandpaper
- 1 × 4 board (for the dresser top)
- 1 × 6 board the width of the dresser
- About 40 feet of lattice per dresser (if doing two, get roughly 75 feet)
- Drawer pulls
- Stain
- Paint
- Floetrol (to improve paint flow)
- Polycrylic (clear protective finish)
Here’s the basic Rast dresser before any changes — plain but solid, and a perfect candidate for a makeover.
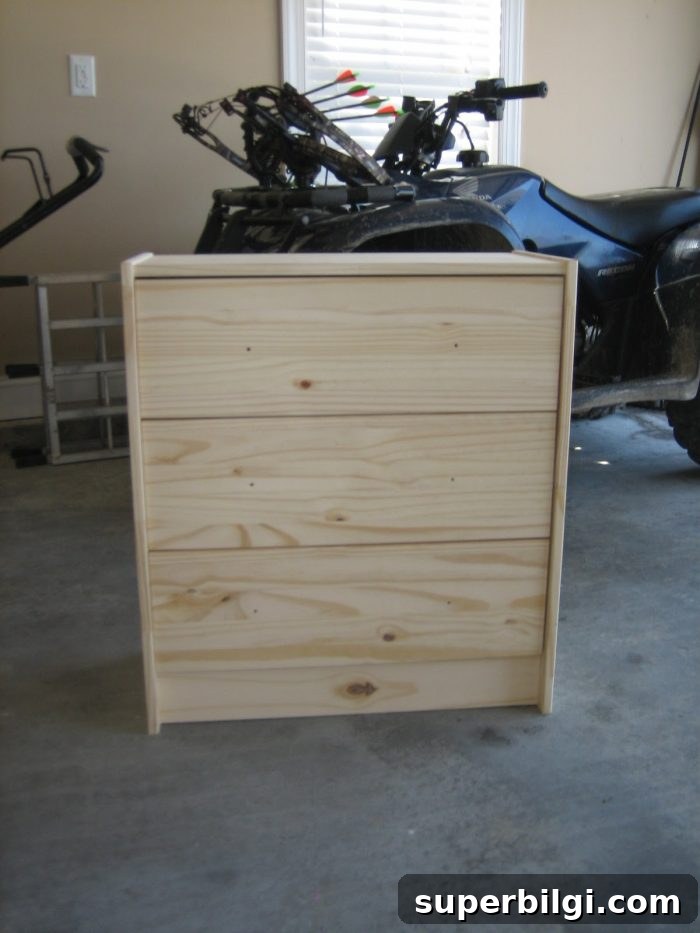
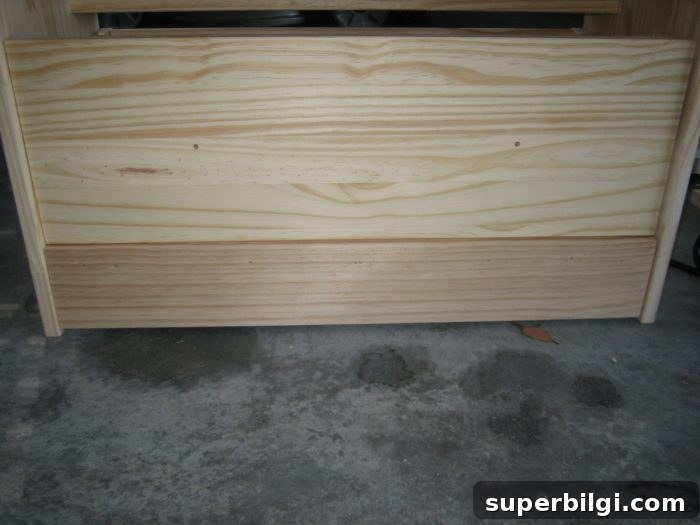
My first step was to raise the base slightly so I had a solid surface to attach molding and trim. I used a 1 × 4 and a strip of lattice behind it to build up the bottom edge for a more substantial base.
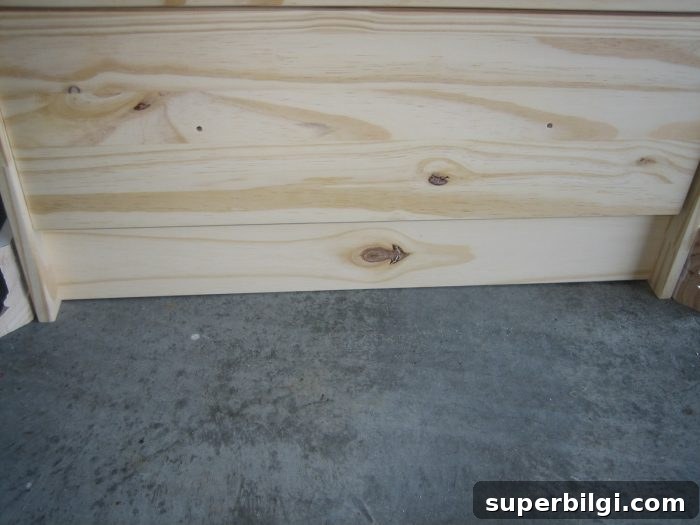
Before building up the base, the dresser sat low and plain. Raising it gave a cleaner profile and a better place to fasten trim.
I cut base molding and lattice to trim out the drawer faces and the sides of the dresser. A miter saw made the angled cuts clean and precise — a new tool I treated myself to for my birthday and instantly loved using.
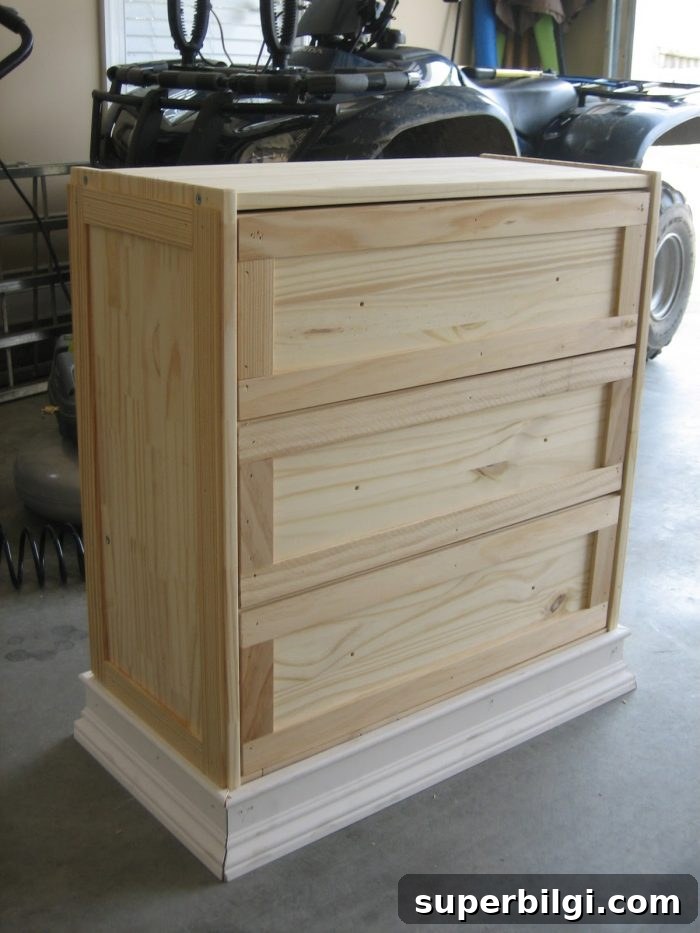
At this stage the dresser was already starting to look cute. I dry-fitted the top trim and drawer frames before permanently attaching the lattice to the sides to make sure everything lined up.
After nailing the trim in place, I filled nail holes and seams with wood putty, then sanded smooth. Careful filling and sanding makes a big difference in the finished look.
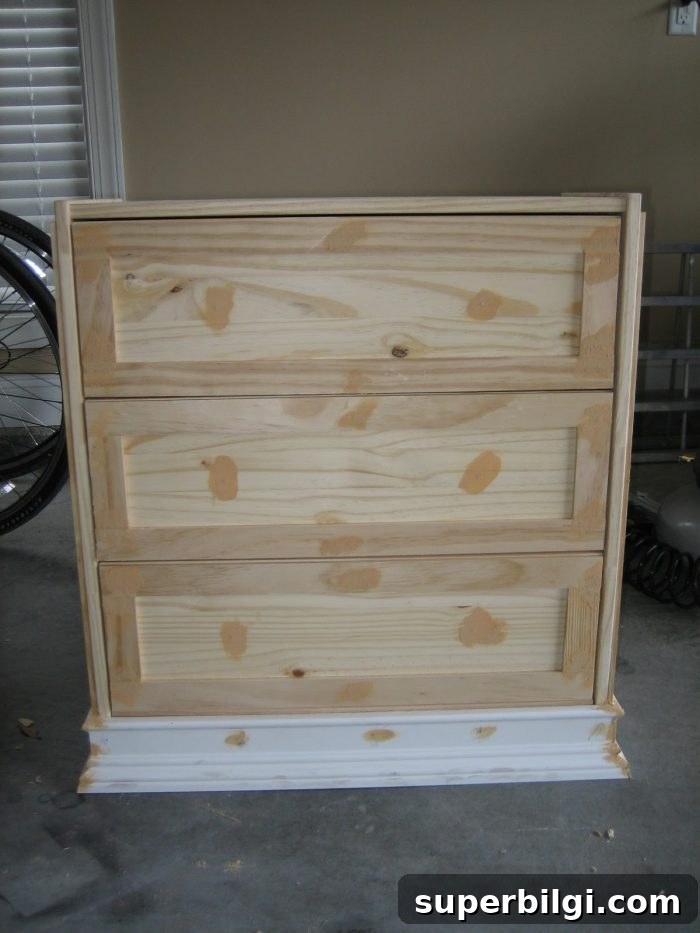
I applied two coats of paint using Sherwin Williams Antique White. I mixed Floetrol into the paint to help reduce visible brush strokes and get a smoother finish. Between coats I lightly sanded to keep the surface even.
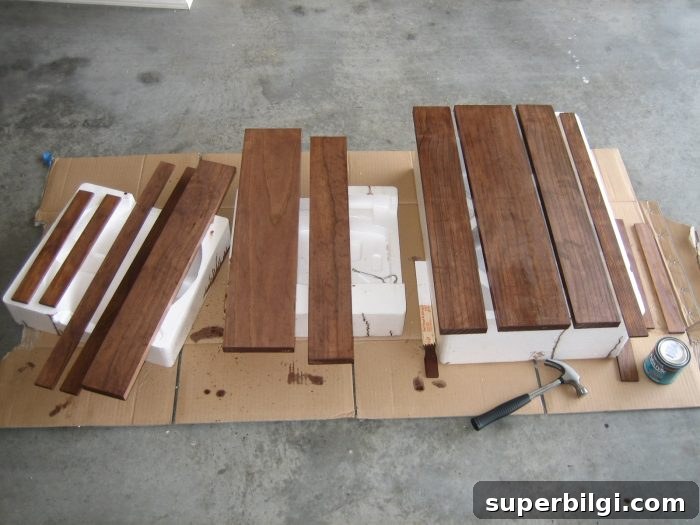
For the top I created a raised tray detail. I placed two 1 × 6 boards and a 1 × 4 side by side across the top, secured them with a nail gun, then used stained lattice trim around the edge for a finished look. I pre-stained the top pieces before attaching them so the stain application was clean and even.
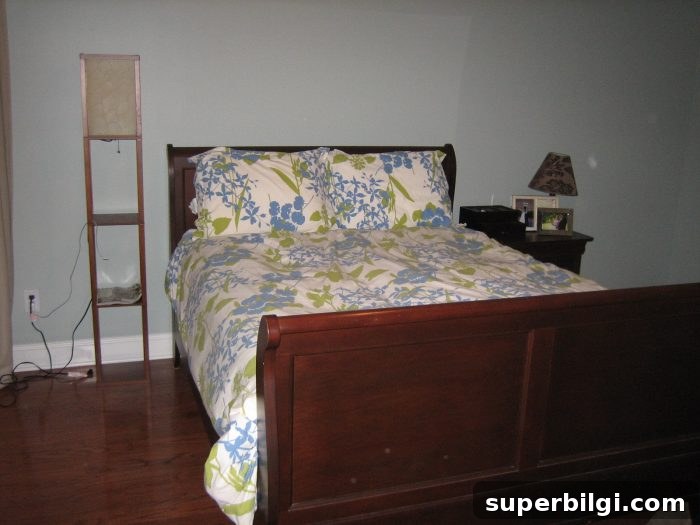
Before the makeover the piece was plain and utilitarian.
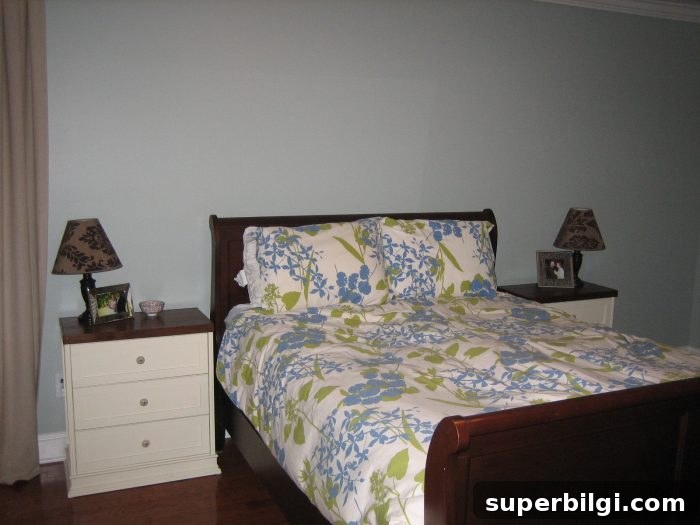
After adding trim, paint, a stained top, and new hardware, the dresser looks like a custom nightstand.
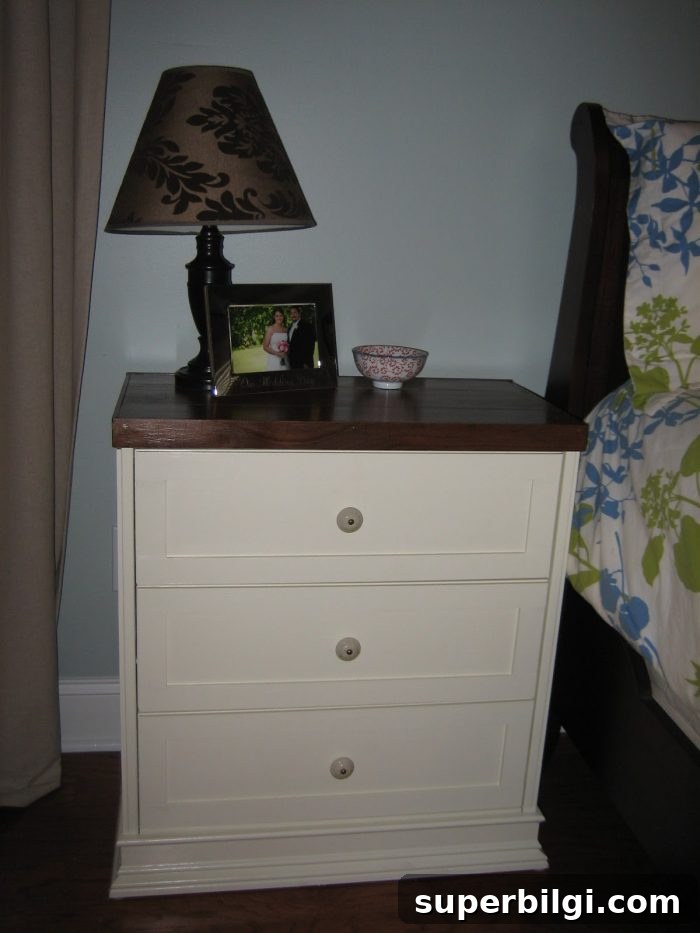
I love how these turned out — they feel like a designer piece for a fraction of the cost.
Next up: new lamps, a fresh duvet cover, and art above the bed to complete the look. Small finishing touches will pull the whole room together.
This being my first project, I’m thrilled with the result. The Rast hack is a great option if you want a custom look on a budget.
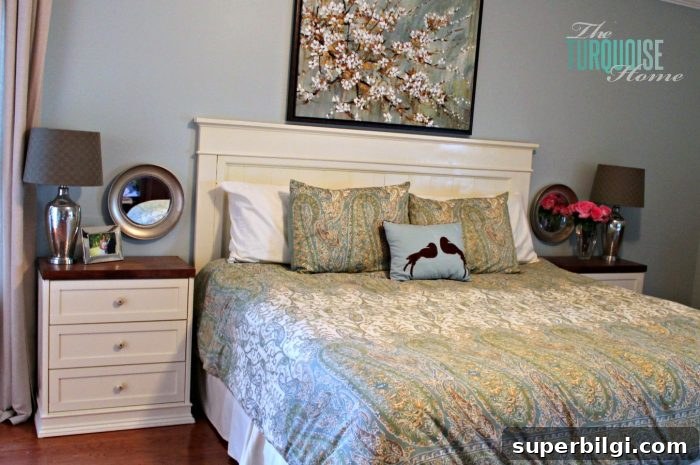
What do you think of my first project? If you try a Rast hack yourself, start with careful measurement, take time on the trim work, and finish with thin coats of paint and protective sealer for a long-lasting result.
More posts you might enjoy:
- A’s Room: Hot Pink Nightstand Makeover
- 7 Must-Have Nightstand Decor Ideas
- Bedroom and Office Inspiration with a Nautical Theme
- How to Make a Headboard: 13 Beautiful DIY Headboard Ideas
- How to Start a Room Makeover