
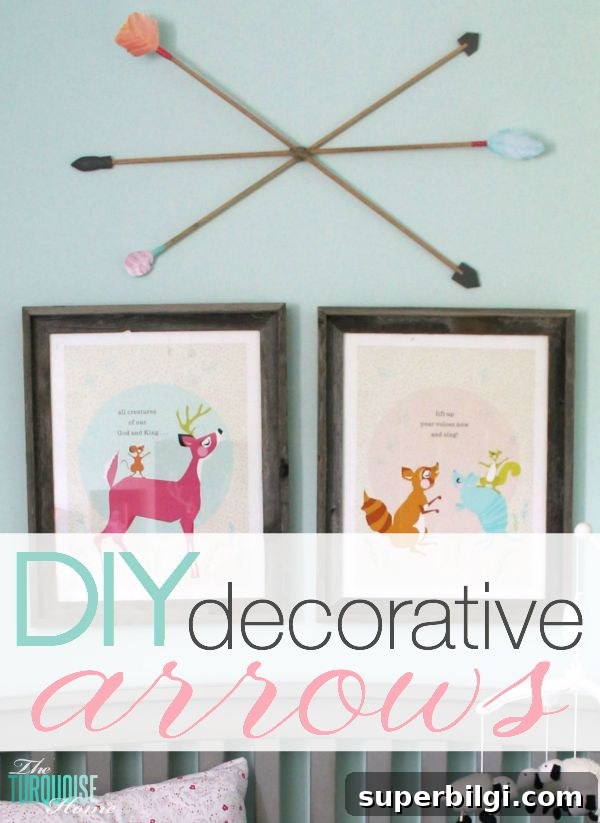
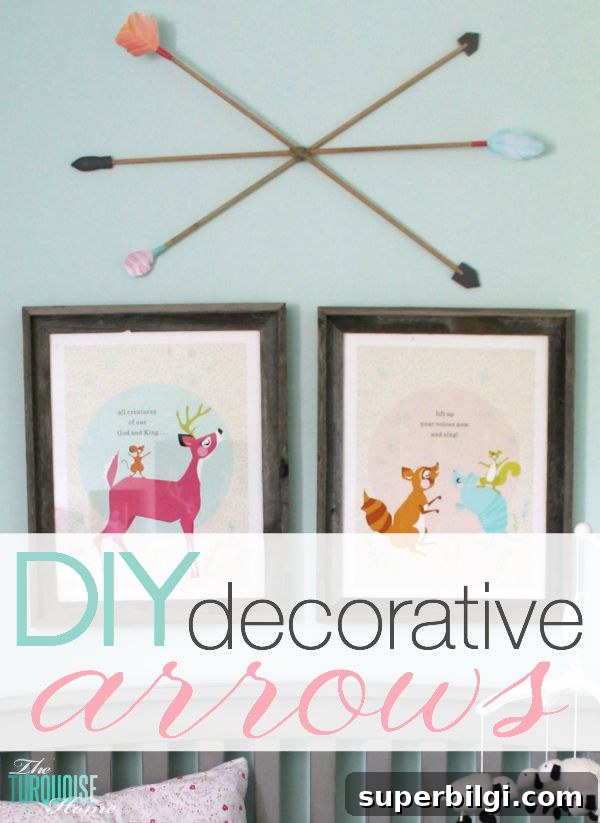
Make these simple, stylish DIY decorative arrows using inexpensive materials you probably already have—perfect for a woodland nursery or rustic wall decor.
These decorative arrows were the finishing touch for my girl’s woodland nursery. I almost bought ready-made arrows, but when they weren’t available I found printable watercolor feather designs and decided to make my own. The result is a lightweight, budget-friendly accent that looks custom and ties the room together.
What you’ll need:
Gather a few basic supplies—this project is inexpensive and quick to assemble. You’ll need:
- dowel rods (I used 5/16″ dowels cut to about 24″)
- wooden paint stirrer sticks
- an X-Acto or craft knife
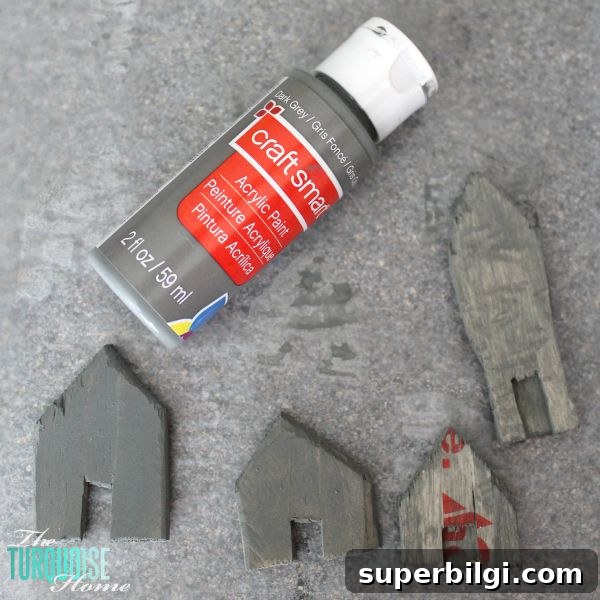
- gray craft paint
- white cardstock and a color printer for feather printables
- washi tape or thin decorative tape
- wood glue and a bit of wood putty (optional)
- jute or twine for hanging
Instructions:
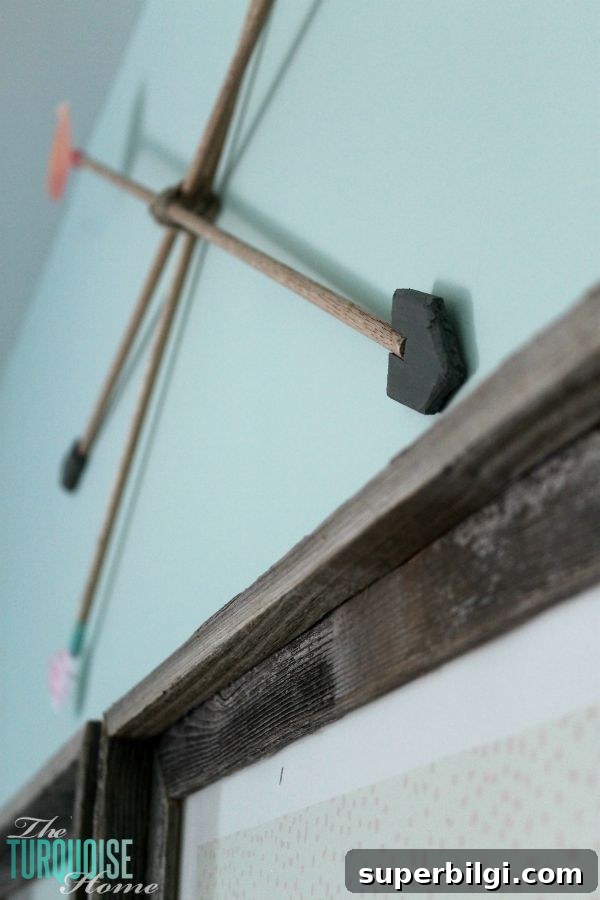
1. Cut and shape the arrowheads: Use the wooden paint stirrer sticks to carve arrowhead shapes with an X-Acto knife. If you have a thicker stirrer, it will take more effort but makes a sturdier head. For thinner stirrers, glue two pieces together for thickness, then smooth the seam with wood putty so it looks like a single piece.
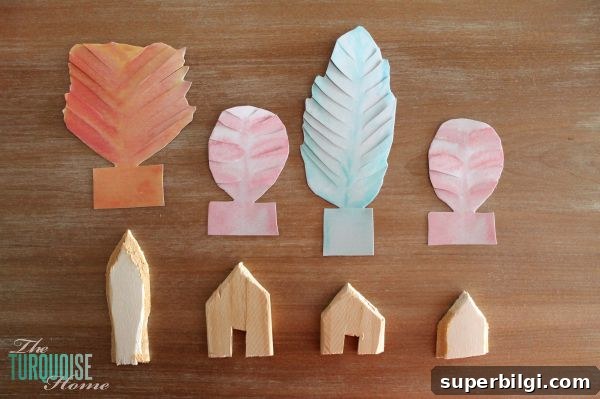
2. Paint the arrowheads: Apply gray craft paint to each carved arrowhead. One or two coats should give even coverage. Allow them to dry completely before attaching to the shaft.
3. Attach arrowheads to dowel rods: Glue the painted arrowheads onto the dowel rods. Hold in place or clamp briefly so the glue bonds well. Trim the dowels to your desired length before or after gluing.
4. Prepare feather accents: Print watercolor feather designs on white cardstock and carefully cut them out. To create a more realistic feather look, make small slits along the feather edges and gently fan them out to add texture and depth.
5. Secure feathers to the shaft: Layer the cut feather pieces near the back of the arrowhead and attach them to the dowel with narrow washi tape. The tape adds a subtle decorative touch and holds the feathers securely. If you prefer, use a small dab of glue in addition to tape for extra hold.
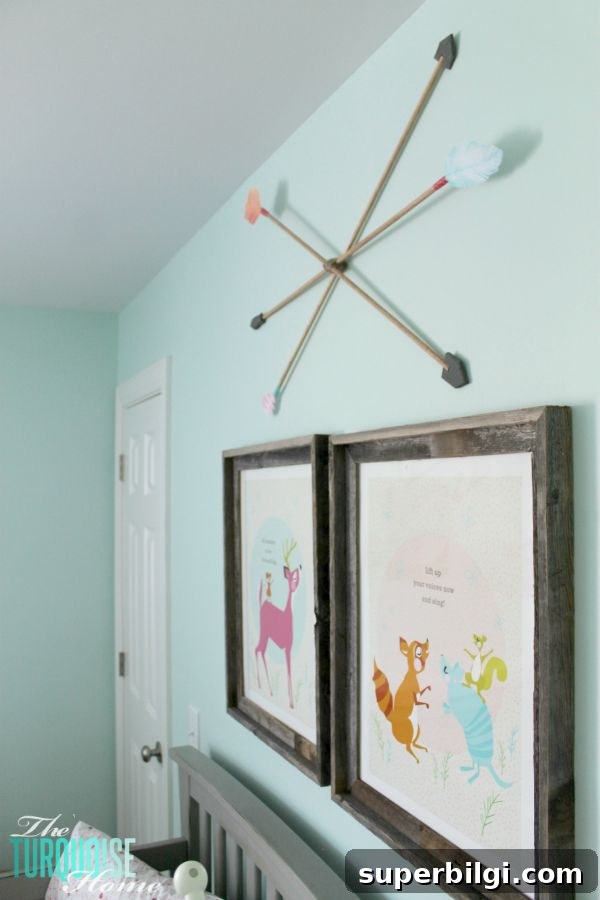
6. Group and hang: Tie a few finished arrows together with jute or twine for a clustered look, or hang them individually for a minimalist display. If hanging above a crib or bed, secure the bundle to a stud or use a small nail and tie the jute so it won’t fall. Safety tip: make sure decorations are well above reach and secured so they cannot drop onto the sleeping area.
These arrows are lightweight, customizable, and very affordable—the dowels are the only real cost. You can change paint colors, use different feather printables, or wrap more decorative tape around the shaft to match any nursery or room decor. The project is a great weekend craft that yields charming, handmade decor.
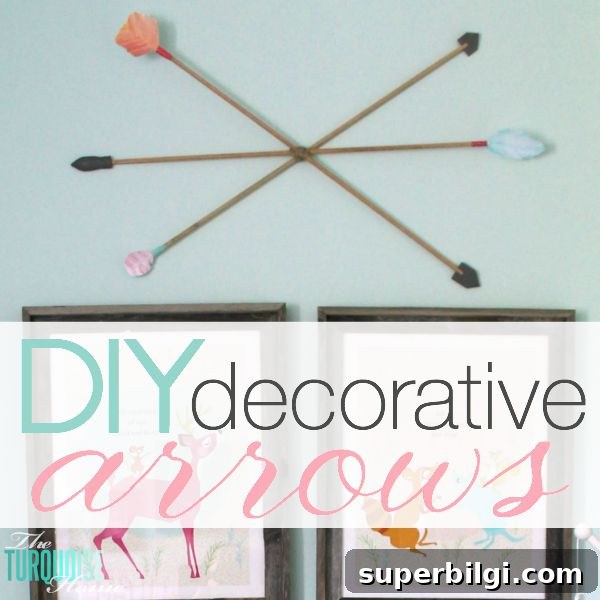
Final notes: This easy DIY decorative arrow project is ideal for beginners and makes a lovely handmade accent for a woodland-themed nursery, playroom, or living space. With minimal tools and inexpensive supplies, you can create a set of arrows that look custom and polished—perfect for gifting or personalizing your home decor.