Use Benjamin Moore Simply White paint to transform your kitchen with a modest investment of time and effort. This budget-friendly makeover will delight you for years.
I’m thrilled to finally share that my kitchen cabinets are painted white. After nearly four years of thinking about it and a strenuous painting process, the transformation is complete—and I couldn’t be happier.
Here’s the quick backstory: when we bought the house, the kitchen felt plain and uninspired. As soon as I saw it, I knew I wanted white cabinets. Life, a real-life budget, and small children stretched out the timeline, but slowly we made progress.
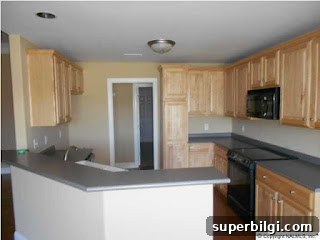
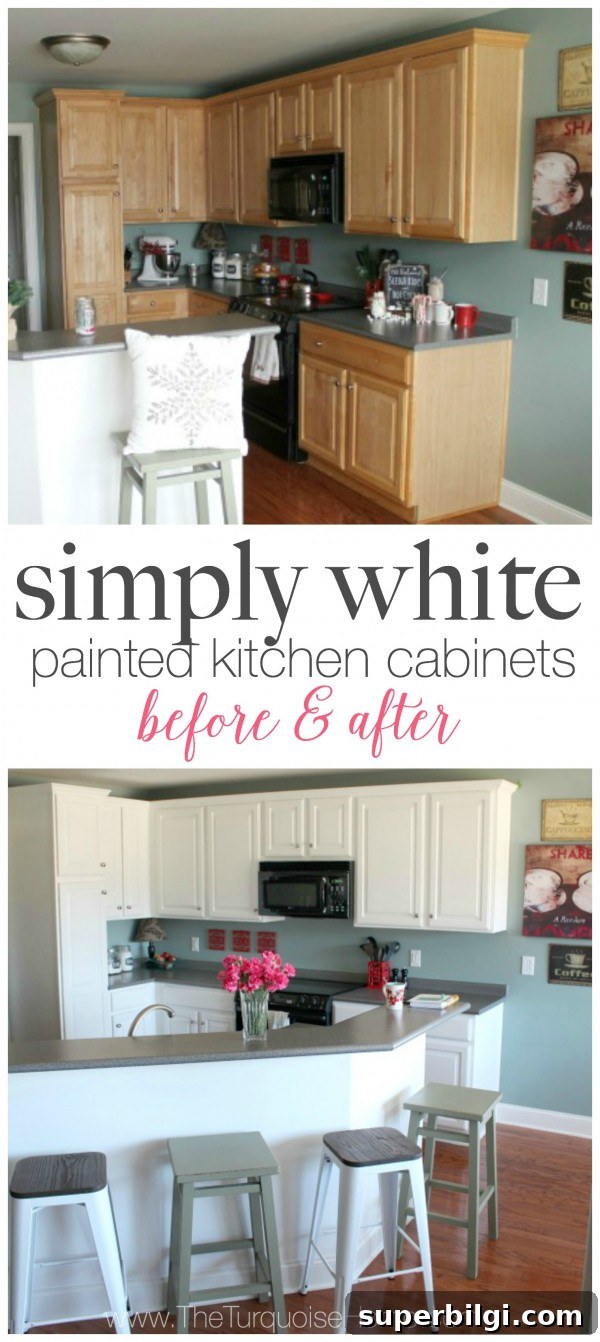
That small, grainy real estate photo shows the original kitchen—functional but not reflective of my style. I avoided photographing the space for years because I wasn’t proud of it. I finally shared it during the holidays once I had decorated it, but it still wasn’t the kitchen I imagined.
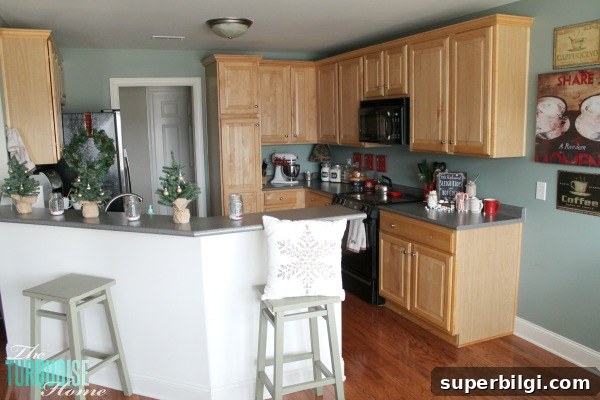
A small practice project helped me overcome my fear: I painted the bathroom cabinets first, and they turned out beautifully. That gave me confidence to tackle the kitchen, though I still underestimated the work involved.
I began prepping in early November, convinced I could finish in a couple of weeks. Reality hit: with limited time and kids at home, I pushed hard and hired some childcare help in the week before Thanksgiving to speed things along. I finished on December 7, but looking back I would have scheduled this project for January to avoid holiday stress. The warmer weather in November made garage prep easier, but the rush through the holidays was unnecessary.
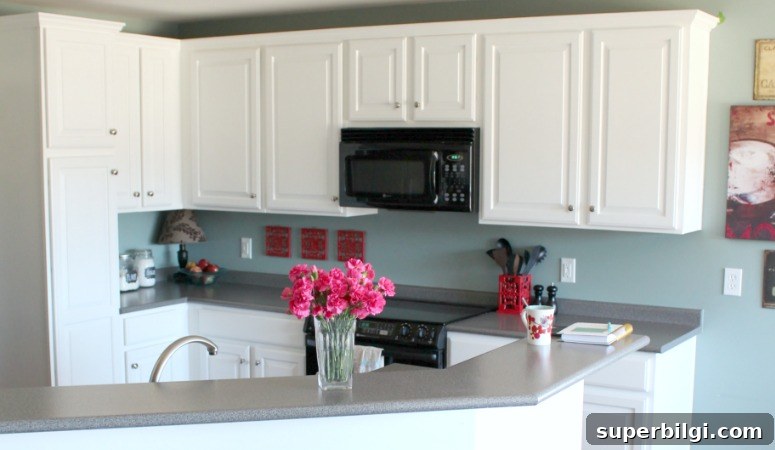
Now for the reveal—painted in Benjamin Moore Simply White. The new finish brightens the space, simplifies the palette, and makes the kitchen feel larger and more open. I love how light reflects off the cabinetry and how the white backdrop highlights accessories and decor.
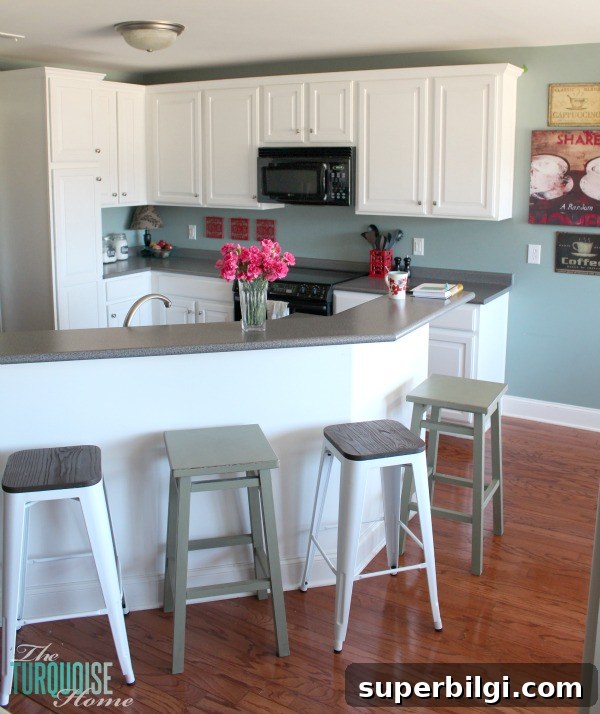
Paint Color: Benjamin Moore Simply White
RELATED: How to Prime Cabinets for a Smooth Finish
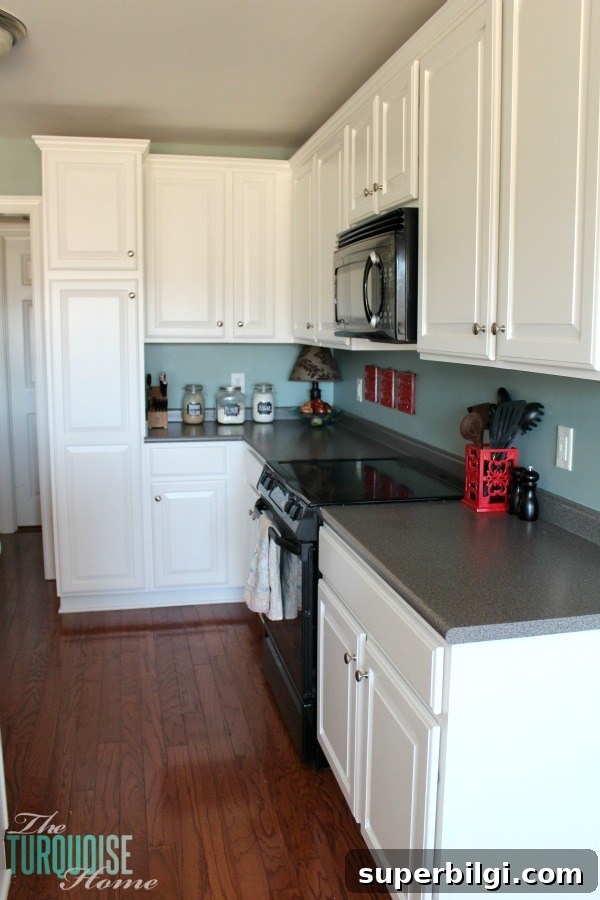
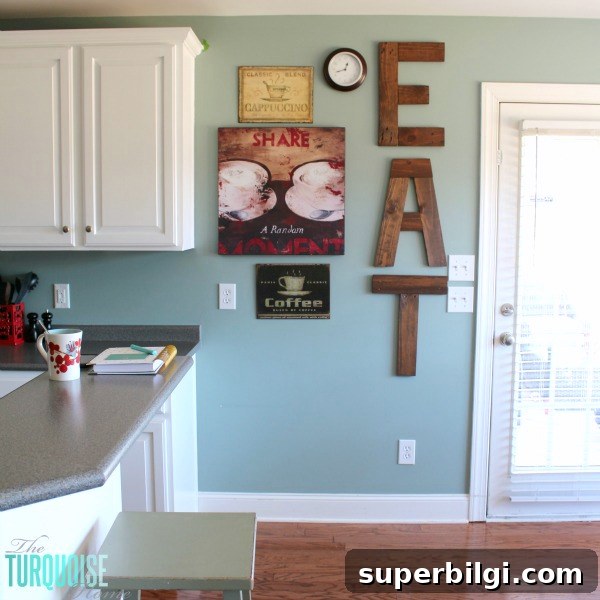
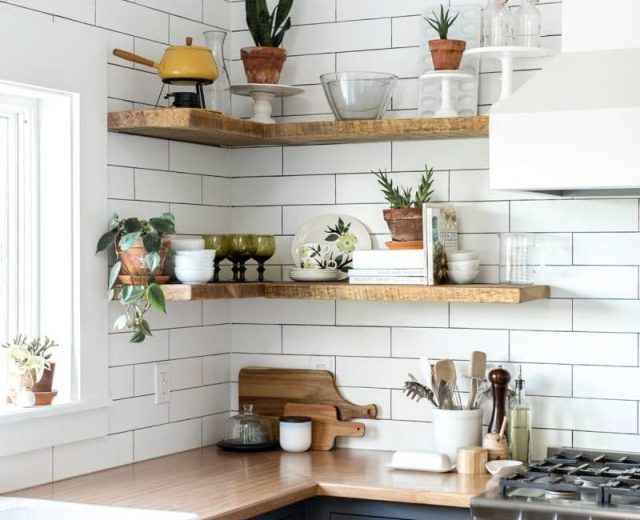
I plan to update the wall with the EAT sign soon. I’ll be selling the art currently there and replacing the sign with open shelving made from reclaimed barnwood. The shelves will create a handy spot for art supplies, everyday items, and seasonal decor while adding rustic character to the space.
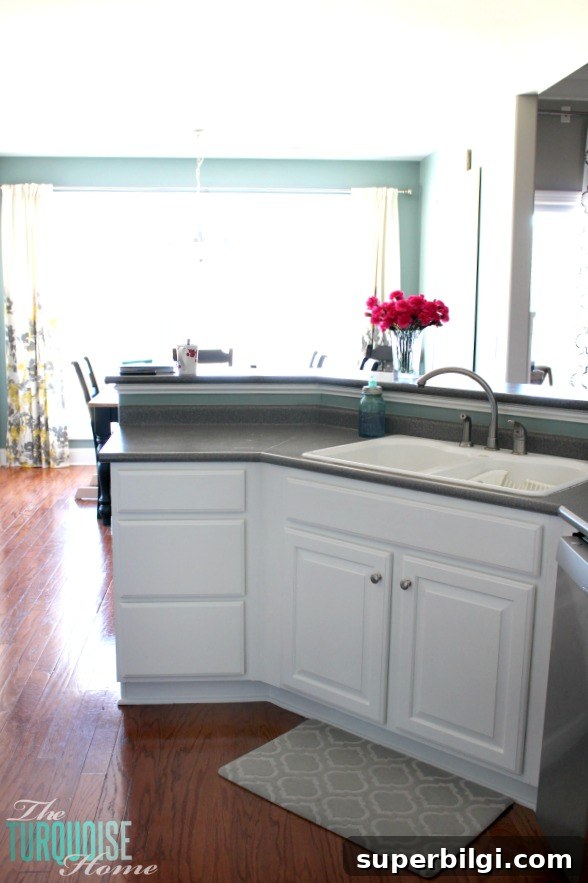
Longer-term goals include replacing countertops and adding a backsplash. Those are larger investments and may require saving or finding a quality DIY solution, but the fresh white cabinets are a big step toward the kitchen I want.
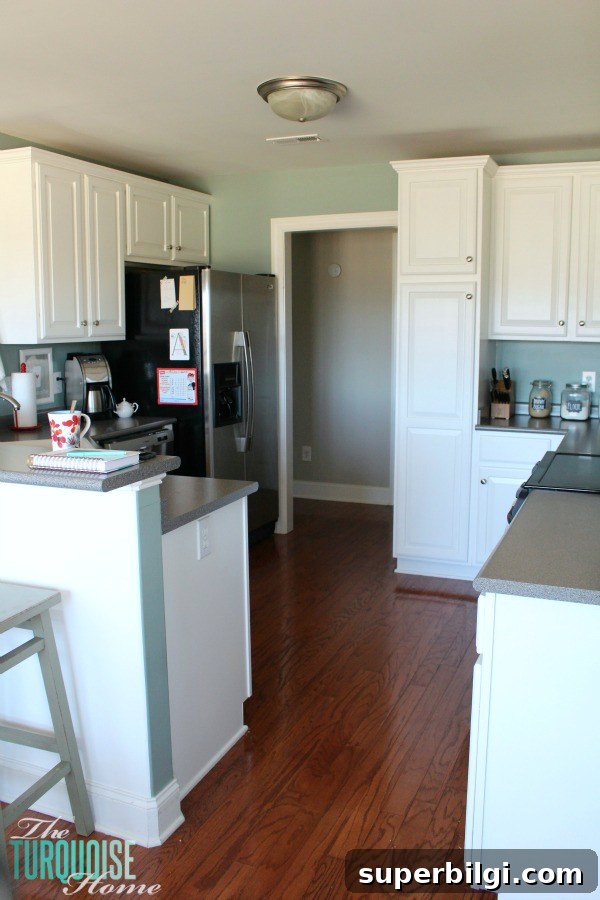
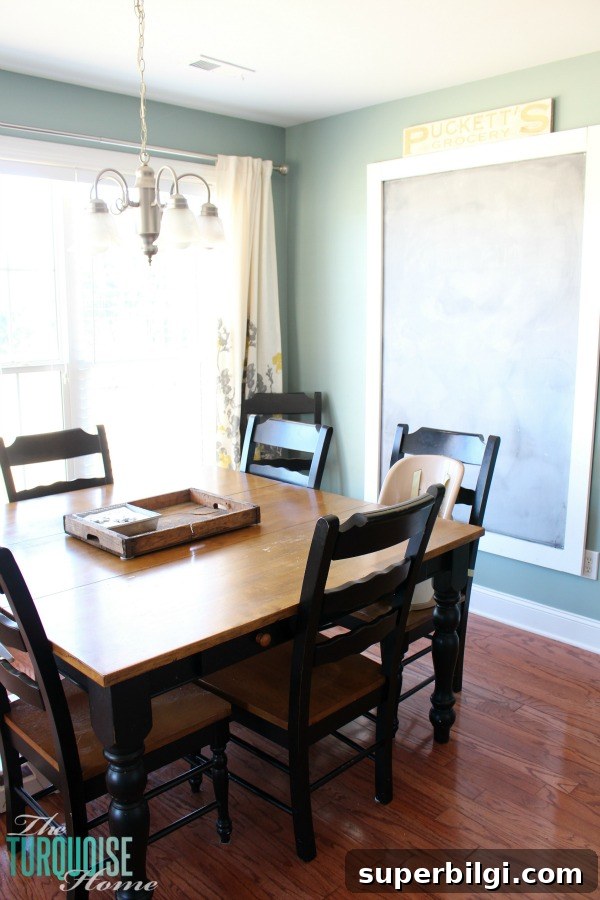
Every little detail feels brighter now, from fresh flowers on the counter to a new daily planner keeping tasks on track. The kitchen looks and feels more like home.
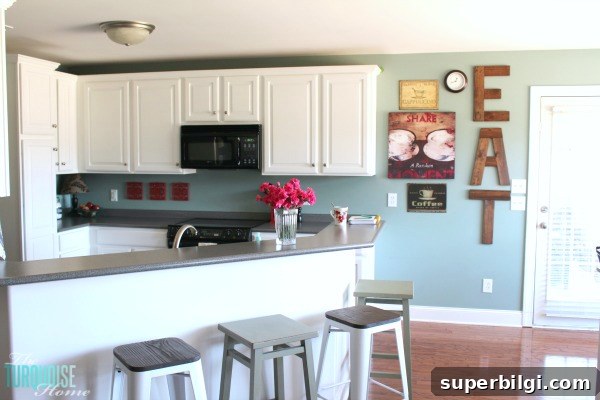
A close-up of the flowers and my planner—small touches that make the space feel lived-in and loved. Keeping daily routines organized has helped me manage big projects alongside family life.
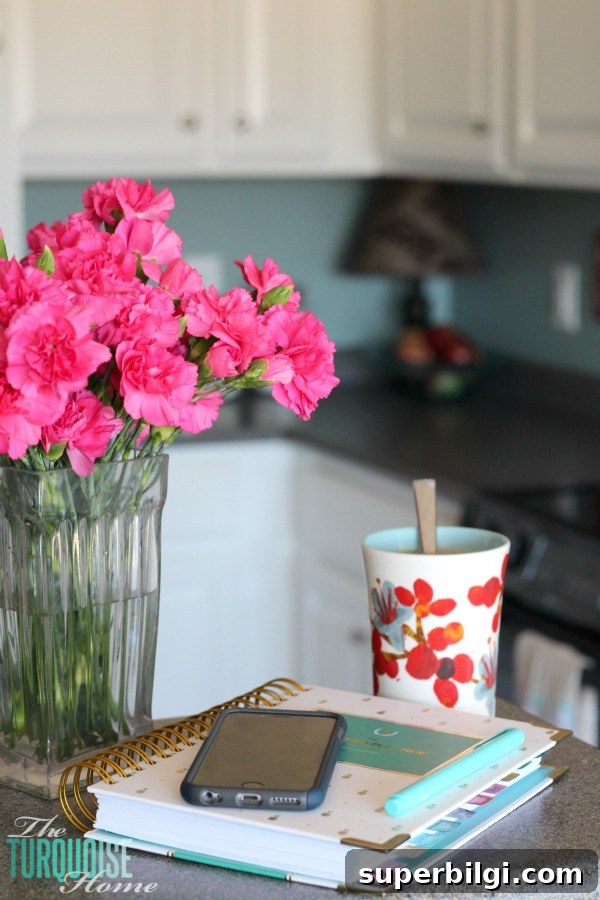
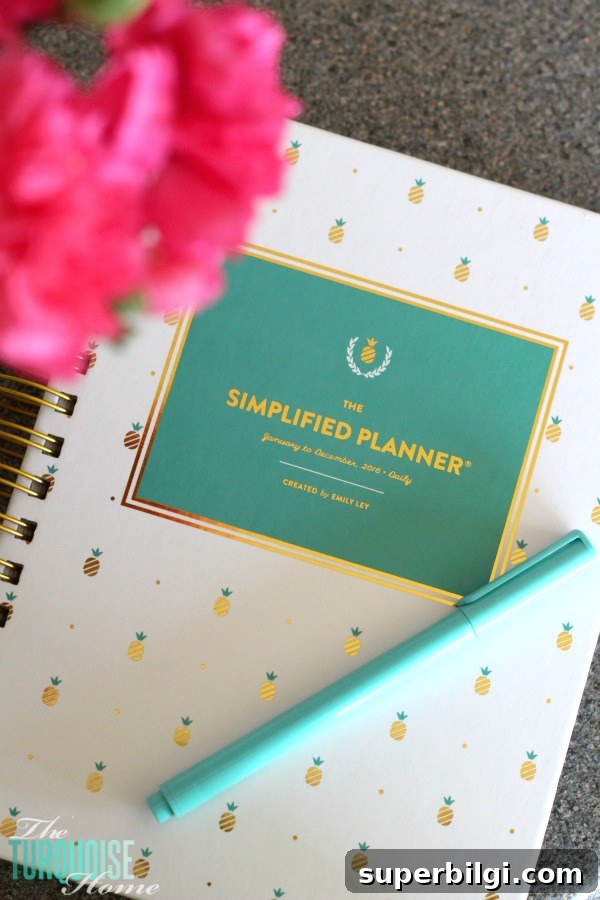
Below is a final side-by-side glimpse of the before and after. The bright cabinets completely change the feel of the room—clean, fresh, and welcoming.
I’ll publish a full DIY tutorial soon titled “How to Paint Your Kitchen Cabinets in the Middle of the Holidays with Two Little Kids and Not Go Crazy!” which will detail tools, primer tips, paint application, and timing strategies to make the job smoother. If you’re planning a similar update, take your time with prep, choose a durable finish, and consider scheduling around busy seasons to minimize stress.
Kitchen Sources:
Curtains: Target
Kitchen mat: Target clearance (similar styles available)
White and wood bar stools: Target
Green bar stools: upcycled and painted by me
Share a Random Moment art: available from common retailers
EAT sign: DIY project
More posts you may enjoy:
- How to Decorate the Kitchen for Christmas (3-Step Formula)
- How to Decorate Kitchen Counters {Decorating 101}
- Traditional Brass Chandelier in the Kitchen
- Gorgeous Kitchen Chandeliers You’ll Love
- Ideal Cabinet Knob Placement {Tips and Tricks}