
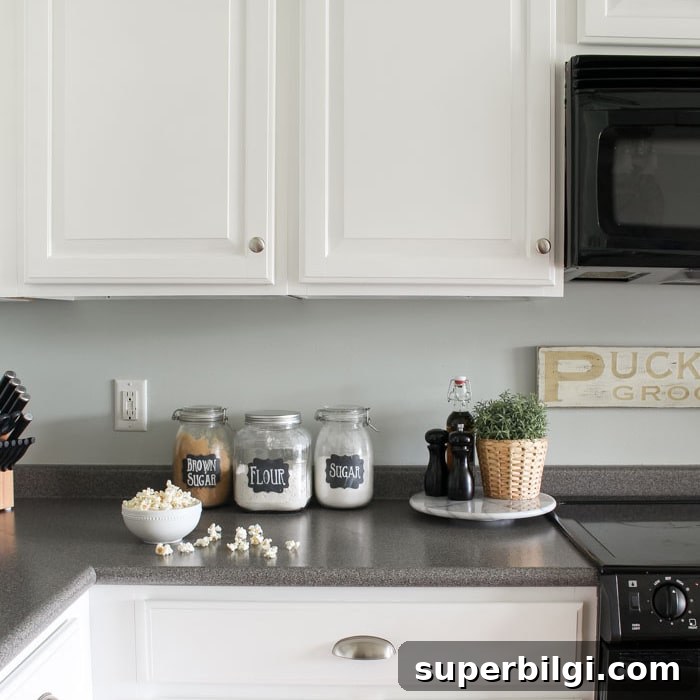
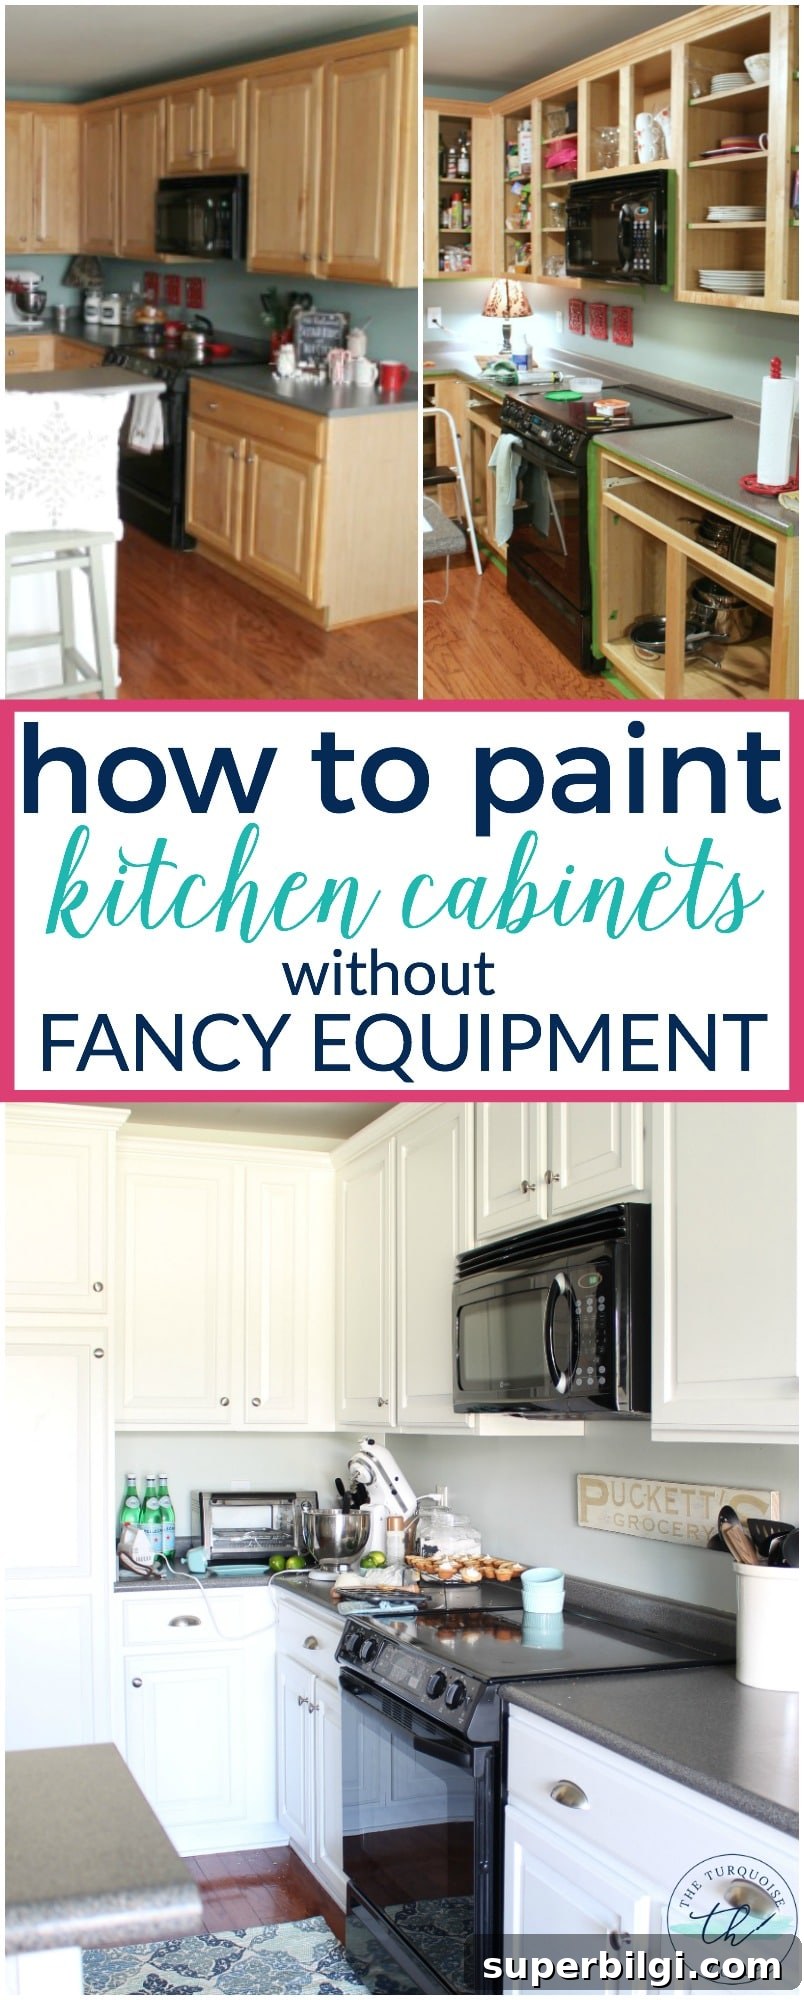
Painting kitchen cabinets without professional equipment is entirely doable if you follow a clear DIY plan. These freshly painted cabinets transformed my kitchen with some elbow grease and a modest budget—worth every minute of effort.
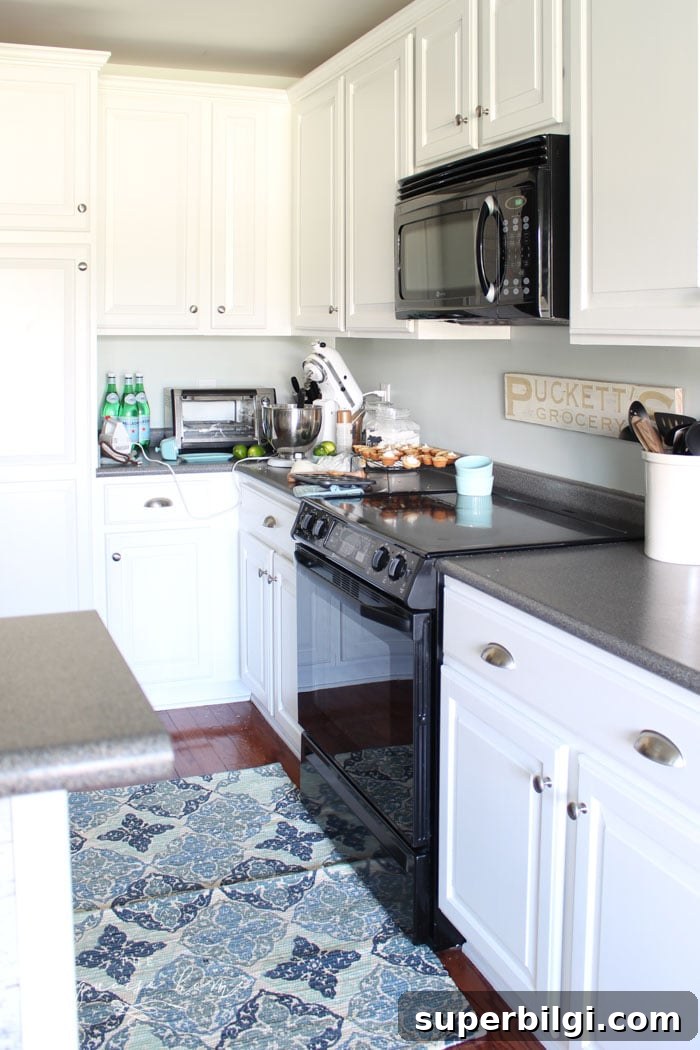
Before we dive into the step-by-step tutorial on how to paint kitchen cabinets and refresh a tired kitchen, a quick reality check: this is a labor-intensive project. Expect patience, some frustration, and more time than you might think. That said, when the job is finished and you’re standing in front of bright, renewed cabinets, the frustration fades fast.
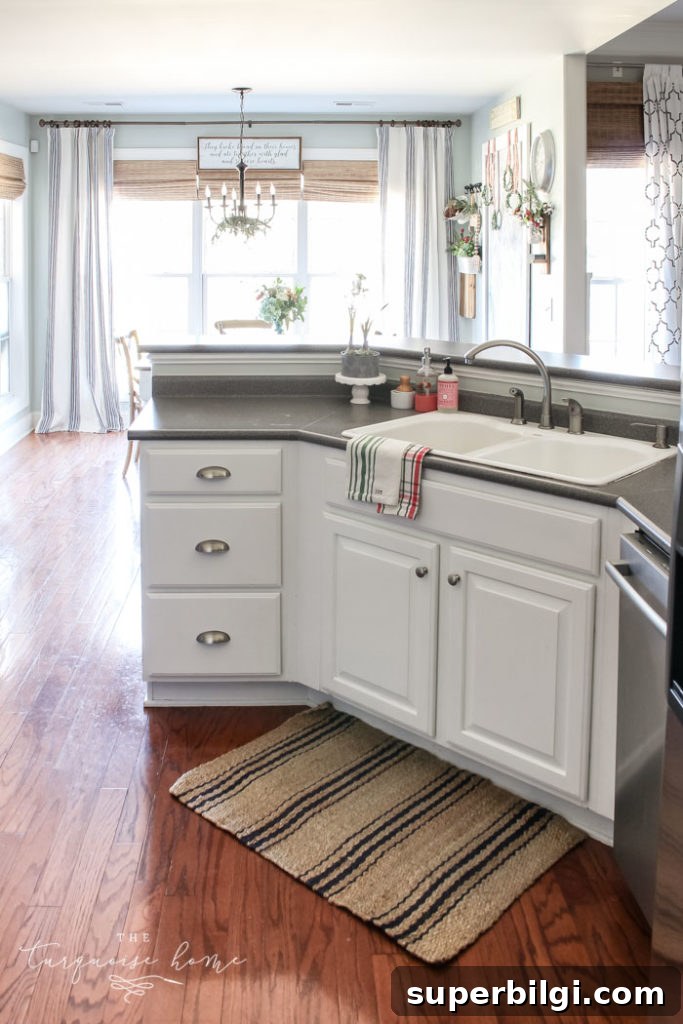
These cabinets completely changed the feel of my kitchen. Every morning I walk in and think, “Yes — it was worth it.” I’ve done cabinet painting before and refined my process since then; below I’ll share a full, practical tutorial based on what worked (and what I’d change) for me.
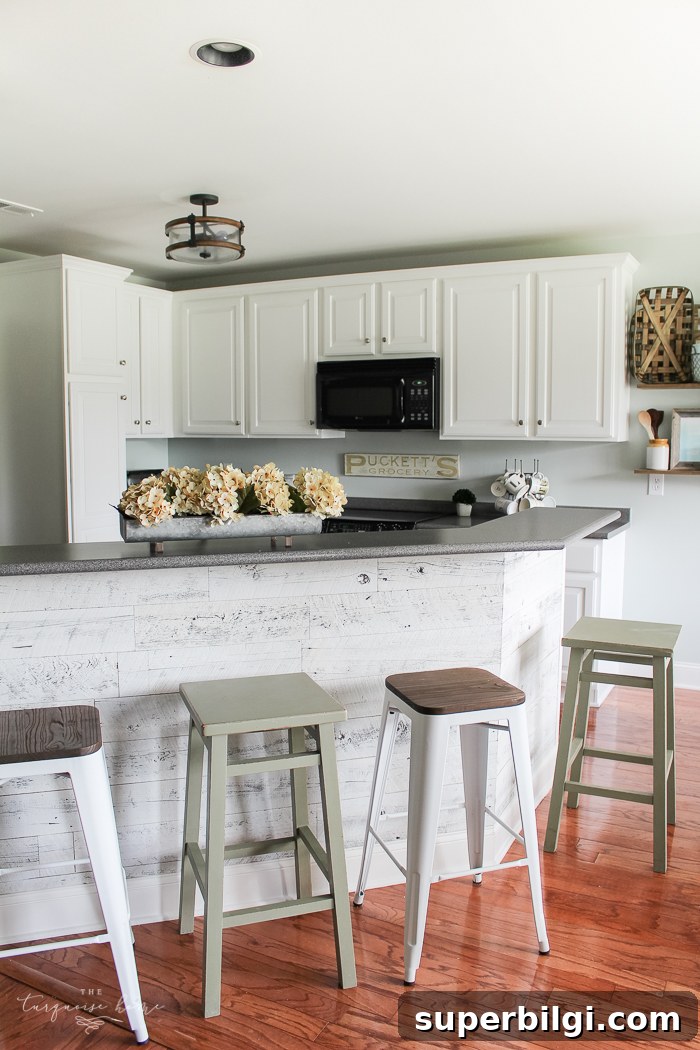
How to Paint Kitchen Cabinets: Timeline
This timeline reflects painting only the doors and the outside of the cabinet boxes—I did not paint the cabinet interiors. Working during nap times and evenings, the project took about four weeks. I had occasional help for specific tasks, but most of it I completed myself. If you’re a busy parent or working solo, budget 4–6 weeks for a small to medium kitchen. If you’re super-productive, you might finish faster, but plan conservatively.
How to Paint Kitchen Cabinets: Supplies
Here’s a practical list of what I used to paint cabinets with basic tools like rollers and brushes. Gather these before you begin:
- Painter’s tape
- Degreaser or heavy-duty cleaner
- Wood filler for holes and damage
- Sander or sandpaper (an electric finishing sander speeds the job)
- Foam roller for a smooth finish
- Liquid deglosser (optional for skipping sanding on large surfaces)
- High-quality primer
- Cabinet-grade paint (semi-gloss or gloss recommended)
- Good paint brushes (an angled trim brush and a quality sash brush)
- Tack cloths for dust cleanup
Best Paint for Kitchen Cabinets
Choosing the right paint is one of the most important decisions. Use a paint formulated for doors, trim, or cabinets—aim for a semi-gloss or gloss sheen for durability and easier cleaning. These finishes resist scuffs and wipe clean more easily than flat paints.
In my experience, different cabinet paints behave differently. A thin latex door-and-trim style paint tends to flow out and level nicely, while other cabinet-specific formulas may dry faster and show more brush marks in detailed areas. If you use a paint that dries quickly, consider adding a paint conditioner (follow the product directions) to reduce visible brush strokes and improve blending.
How to Paint Kitchen Cabinets
Step 1: Gather Your Supplies
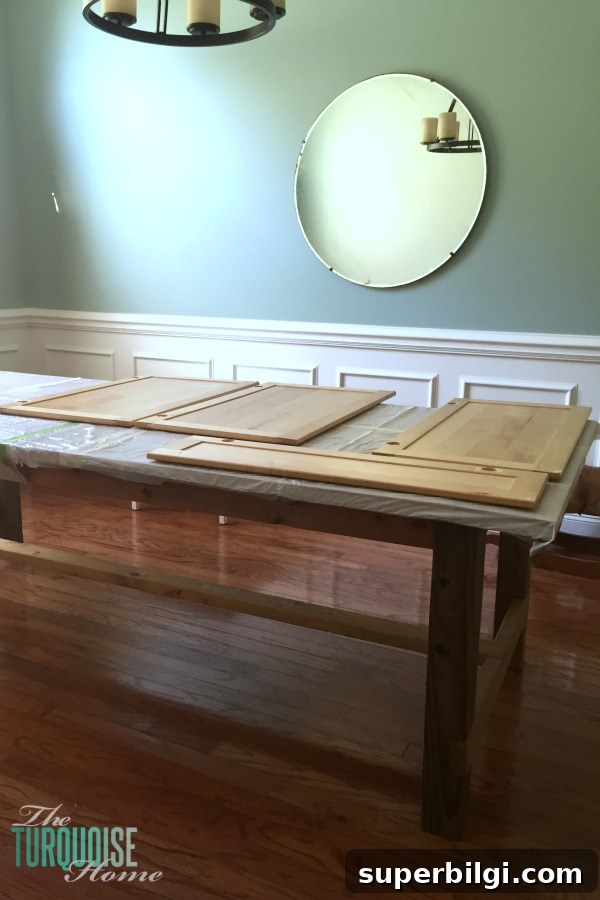
Pick your paint color and buy the paint and primer you’ll need. Clear a work area—I used the garage for sanding and priming because of the fumes, and the dining room for the actual painting. Move small appliances and clear cabinet interiors where possible so you can access hinges and hardware easily.
Step 2: Remove Doors and Hardware
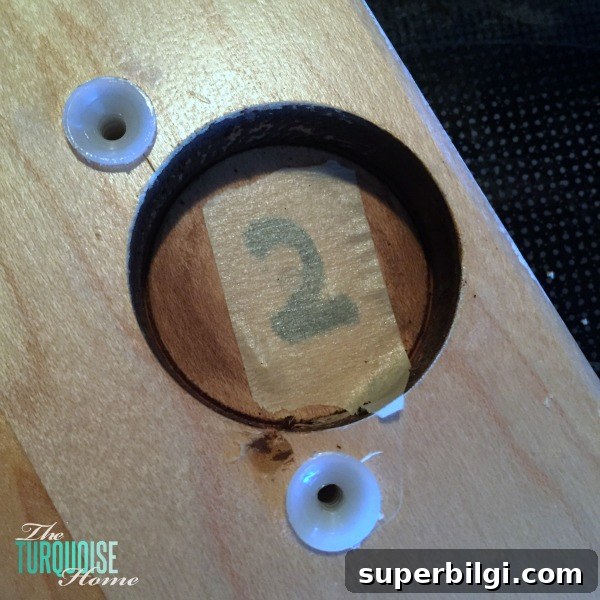
Removing doors and hardware is time-consuming but much easier with an assistant. Label each door and its corresponding hinges so reassembly is simple. I wrote the door number where the hinge attaches and covered it with tape so paint wouldn’t obscure the mark. Put each door’s screws and hardware into a separate bag and tape it inside the cabinet or store it in marked containers.
Step 3: Clean Thoroughly
Cabinet surfaces, especially in kitchens, can be greasy and grimy. Use a degreaser to remove cooking oils and sticky residues. Don’t skip this step—paint won’t adhere properly to contaminated surfaces, and dirt will show through or cause peeling later.
Step 4: Fill or Drill Hardware Holes
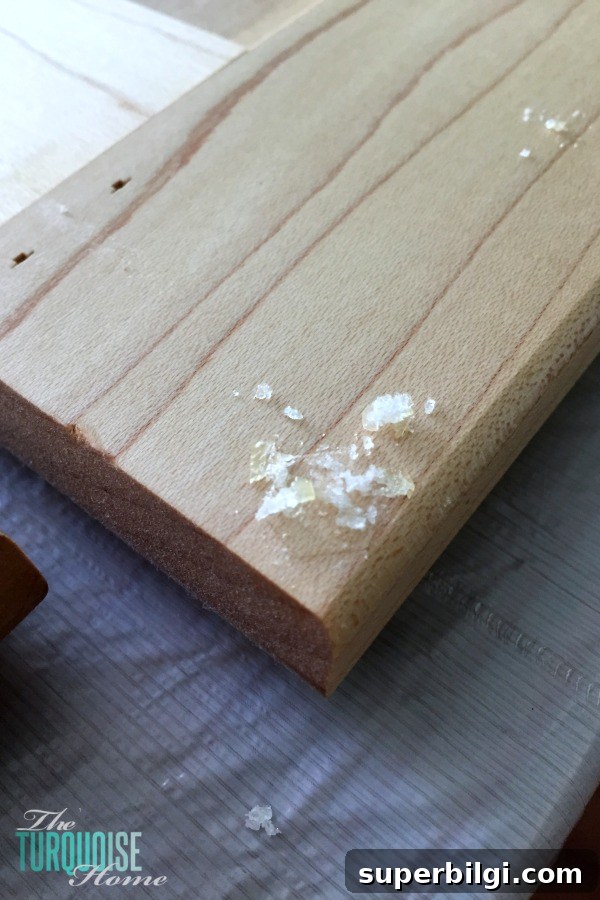
If you’re replacing hardware, fill any old holes with wood filler, let it dry, then sand smooth. If you haven’t chosen new hardware yet, fill the holes and plan to drill fresh holes later once you’re ready.
Step 5: Patch, Caulk, and Repair
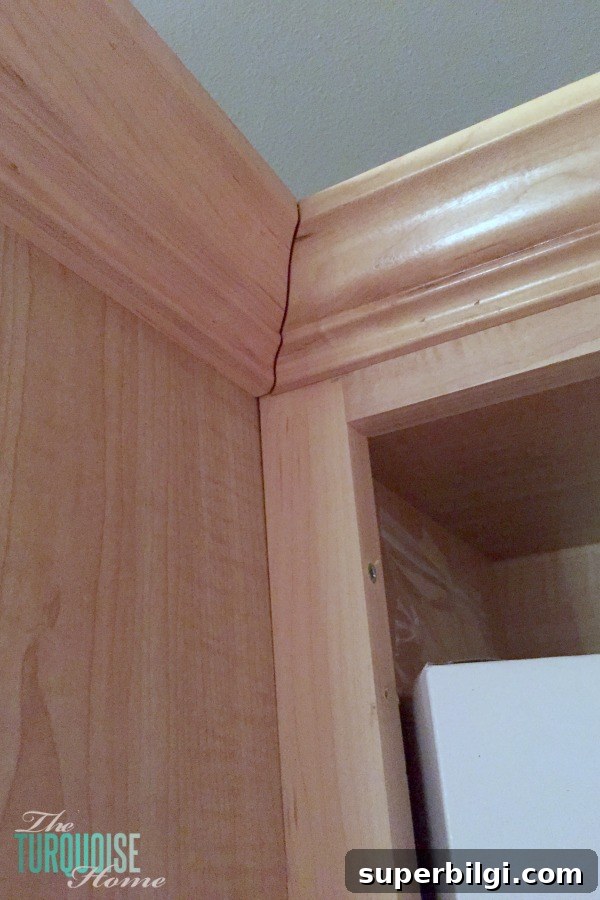
Address cosmetic or structural issues now. Reattach loose drawer fronts, fill gaps and nail holes, and caulk seams where needed. Small repairs are far easier to make before painting and will look much cleaner once finished.
Step 6: Sand or Degloss
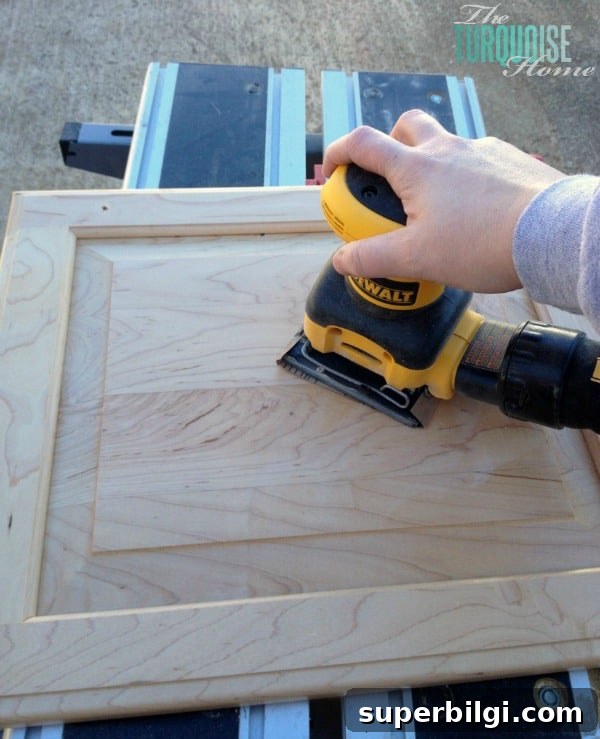
Sand all doors and drawer fronts front and back with a finishing sander. You’re not trying to remove the finish down to bare wood—just rough up the glossy surface so primer can bond. Use medium-grit sandpaper and change it often. Wipe dust away with a tack cloth.
If you prefer to avoid sanding the cabinet boxes, a liquid deglosser is an alternative. It’s quick but contains strong chemicals—use gloves, ventilation, and follow safety instructions. Deglosser can save time but may not always deliver the same long-term durability as light sanding.
Step 7: Tape and Protect Surrounding Areas
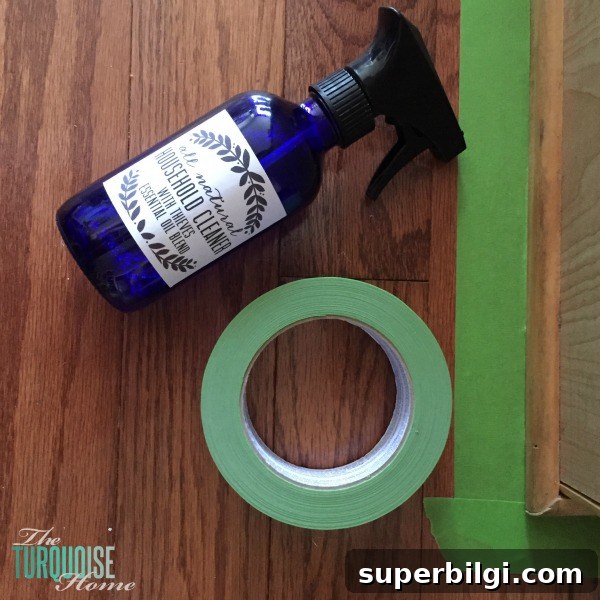
Use painter’s tape to protect floors, walls, and countertops next to the cabinet boxes. Lay down drop cloths and cover anything that could get paint splatter or drips.
Step 8: Prime Everything
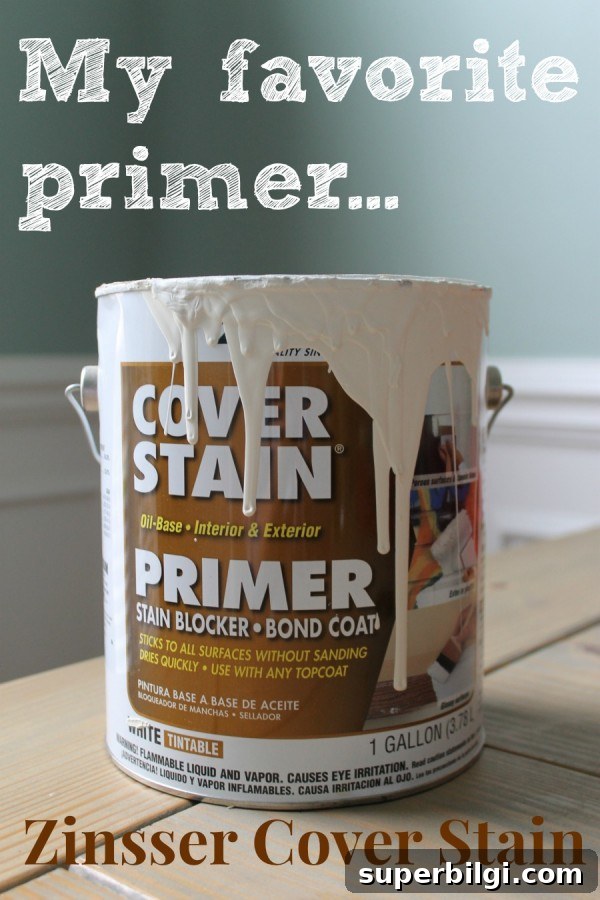
Apply a high-quality primer to all surfaces. Primer improves adhesion, blocks stains, and gives paint a consistent base. For cabinet projects I prefer an oil-based primer applied with a disposable brush and foam roller for a smooth finish. If you’re painting a dark color, consider tinting the primer close to your final color.
Step 9: Sand Any Runs or Rough Spots
Once primer is dry, lightly sand any drips, raised texture, or rough areas with fine-grit sandpaper. Wipe clean with a tack cloth before painting.
Step 10: Paint
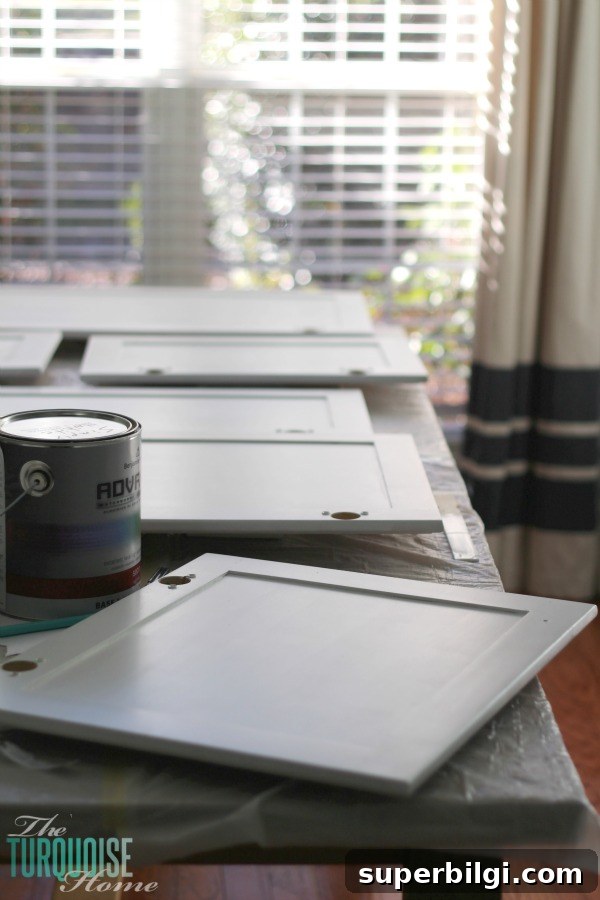
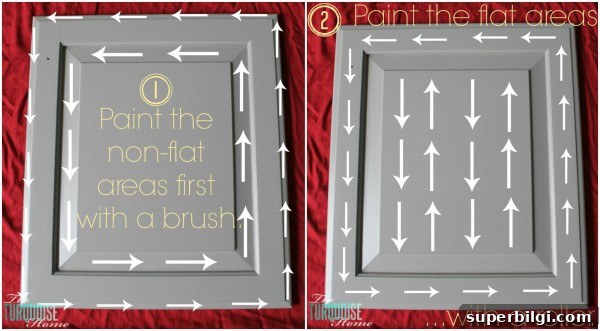
Now for the most satisfying part: painting. Work in a systematic order. I paint the backs of doors first, applying all coats needed, then flip to the fronts. For recessed or beveled details, use a brush to cut in and a foam roller for the flat surfaces to minimize brush marks. Apply thin coats and watch for pooling in crevices.
Step 11: Lightly Sand Between Coats
Follow the paint manufacturer’s instructions for recoat times. After the first coat has cured to the recommended tack-free state, check for any imperfections and sand very lightly if needed. Clean off dust and apply the next coat.
Step 12: Repeat Until Satisfied
Most doors will need two to three thin coats for full, even coverage. Let everything dry fully before reattaching hardware and rehanging doors. Reinstalling the doors is the most joyful moment—your kitchen will feel brand new.
Final tips: label everything as you remove it, clean thoroughly, and use thin coats of paint with patience. If you have young children, consider arranging extra help or childcare for some stretches to speed progress. A well-planned cabinet paint job is a high-impact update for a relatively low cost and will freshen your entire kitchen.
More posts you may enjoy:
- Painted Kitchen Cabinets: Two Years Later (project follow-up)
- Budget-Friendly DIY Kitchen Cabinet Ideas
- How to Display Kitchen Cabinet Wreaths
- Simple Coastal Summer Decor Ideas for Kitchen and Living Room
- Summer Kitchen Decor: A Peachy Makeover