
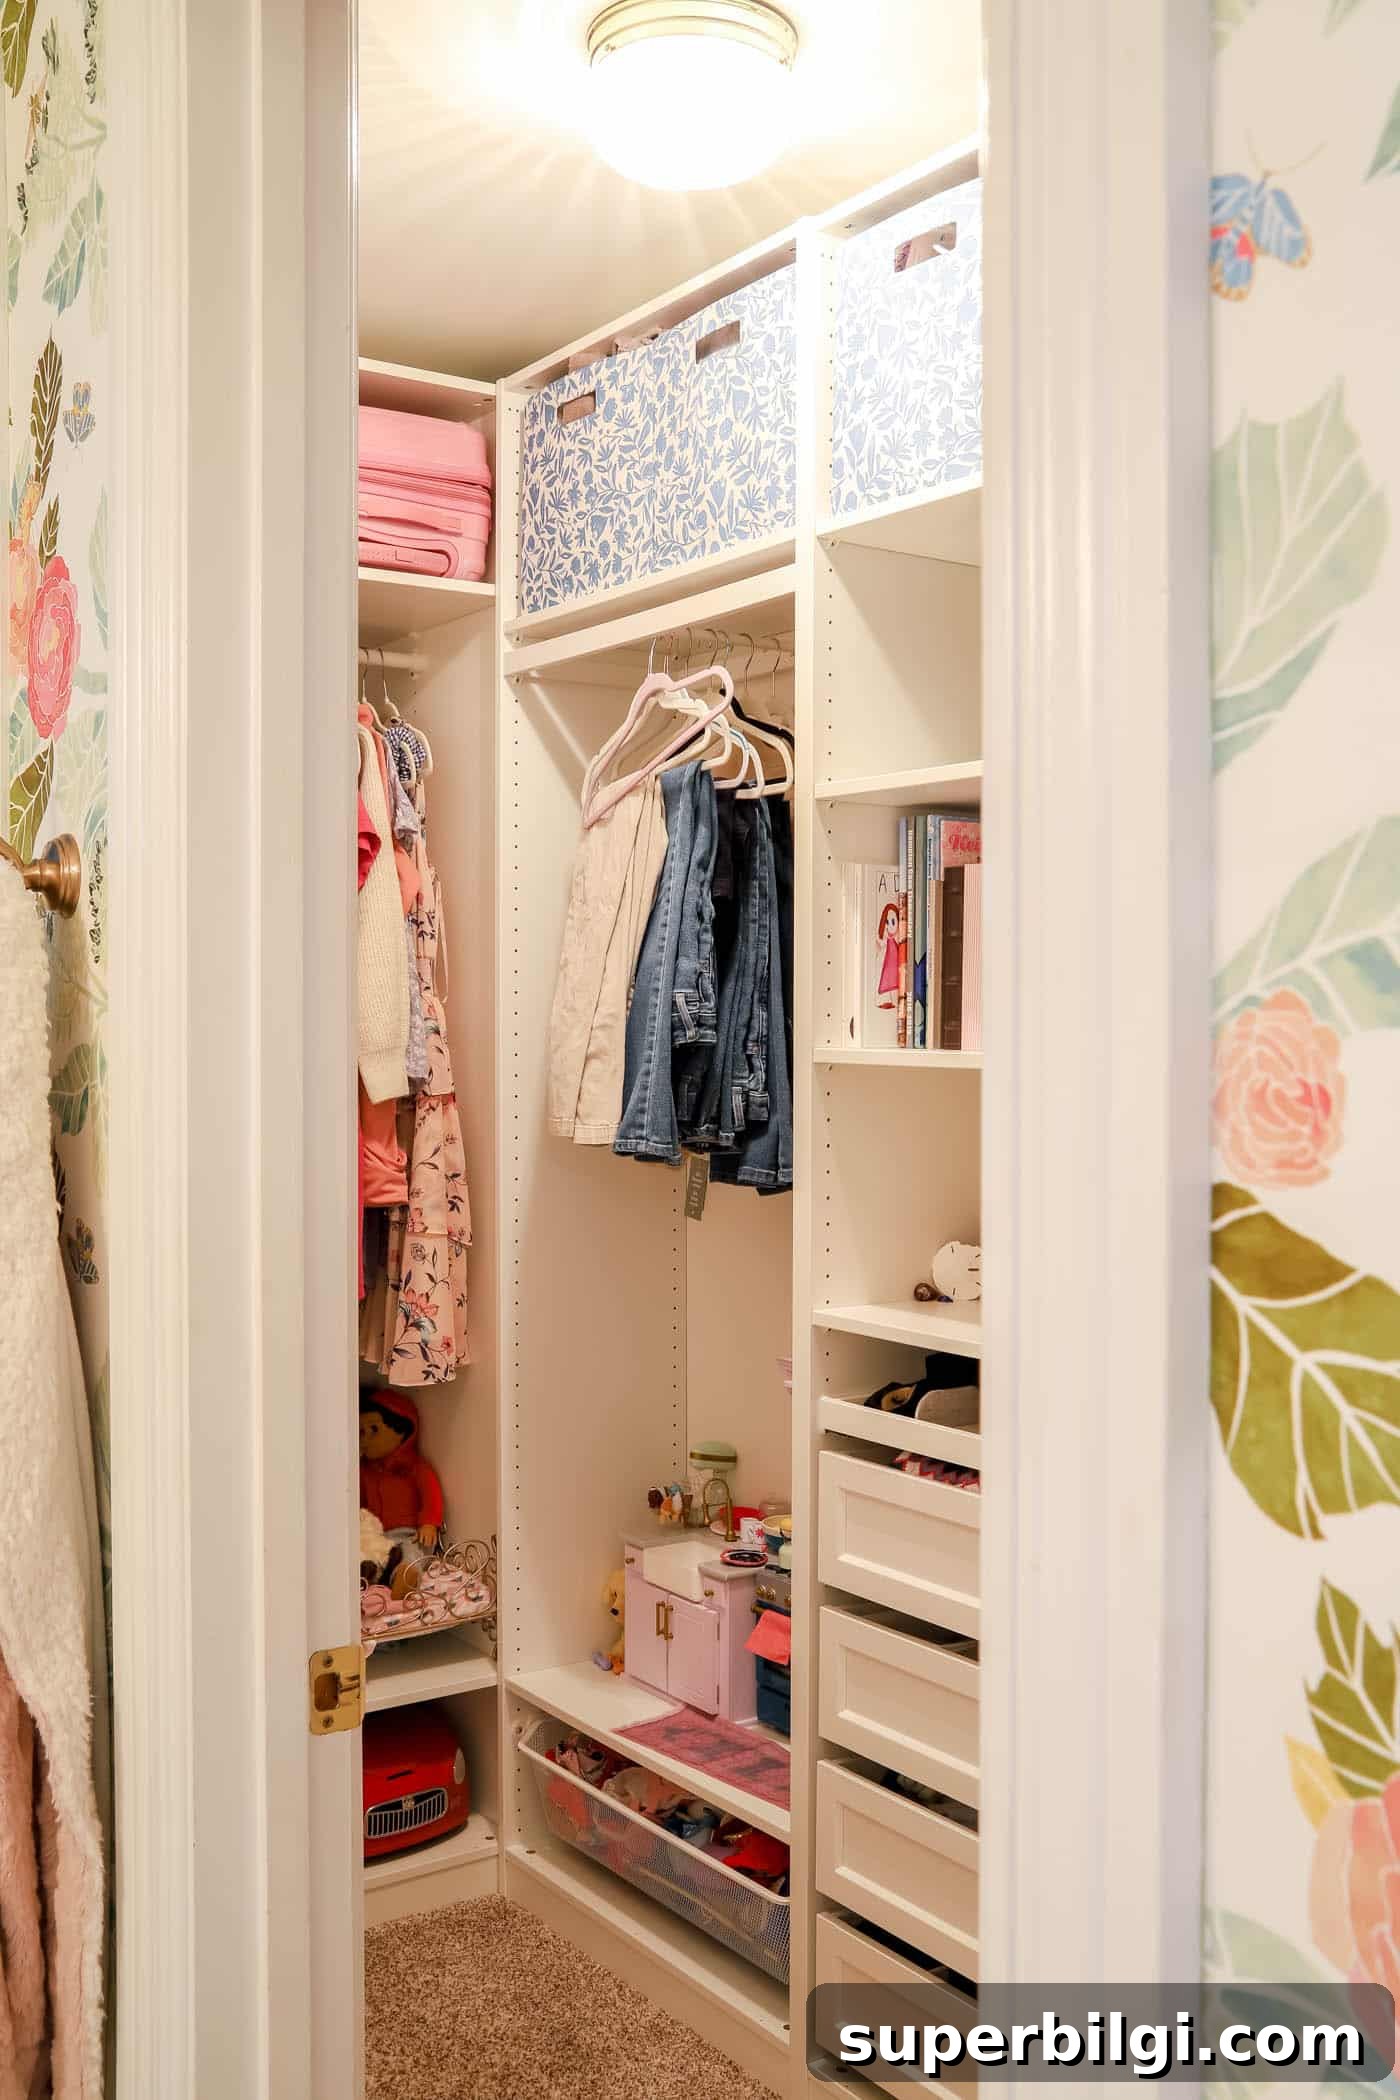
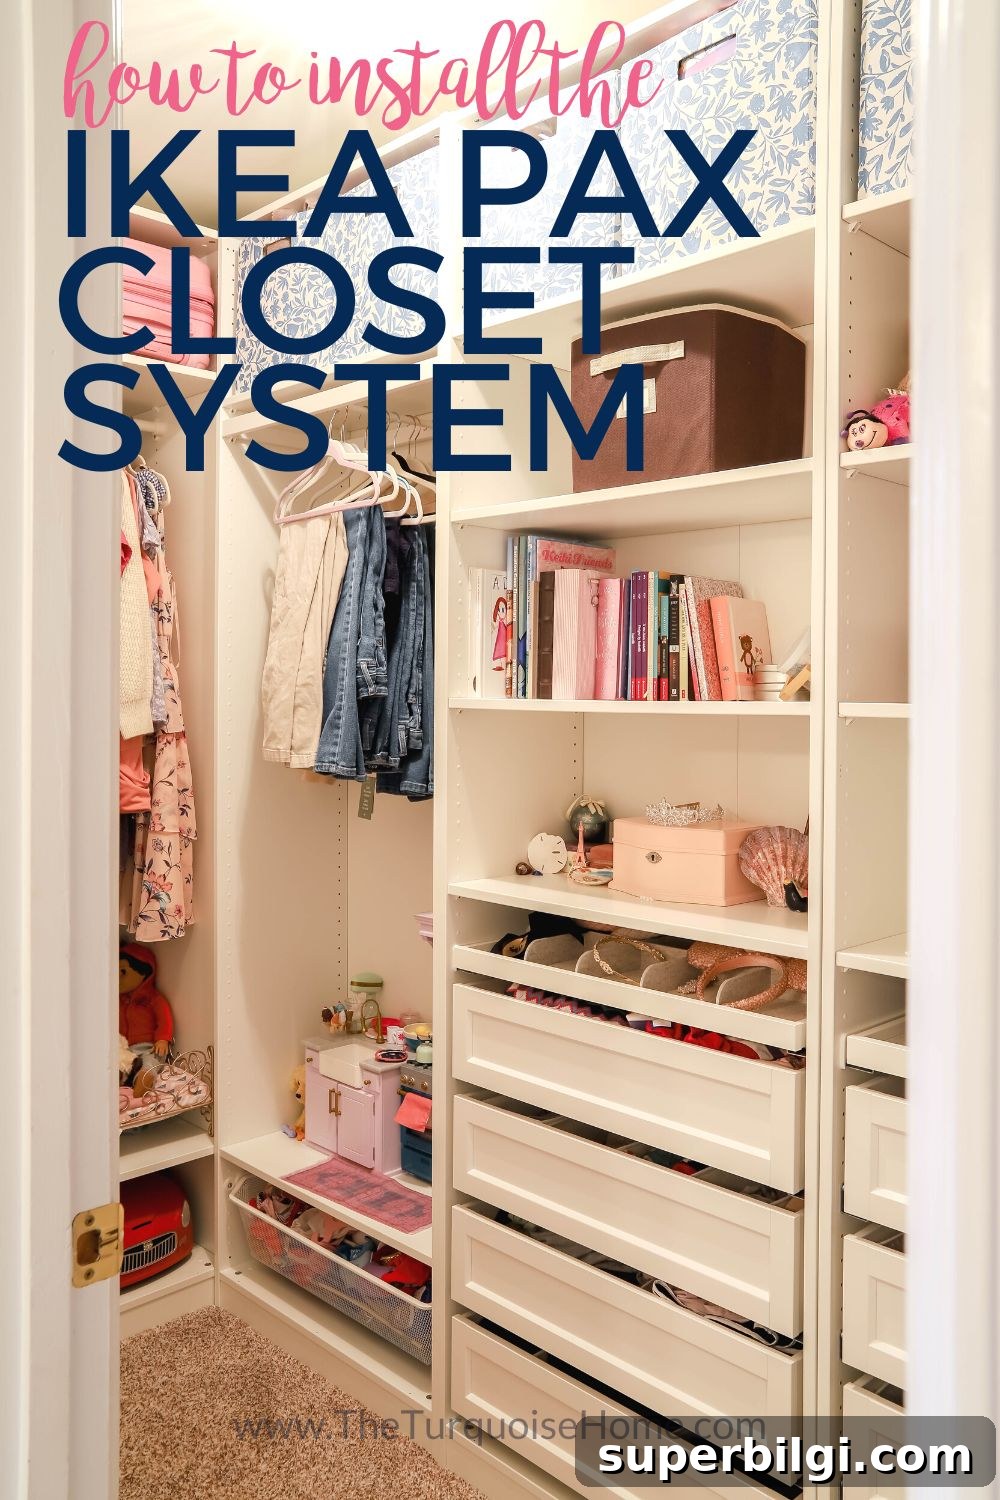
Learn how we turned a narrow closet with wire shelving into a highly functional storage space using the IKEA PAX system. Below I share our real experience with planning, delivery, and the DIY installation.
This post contains affiliate links for your convenience. See my full disclosure policy.
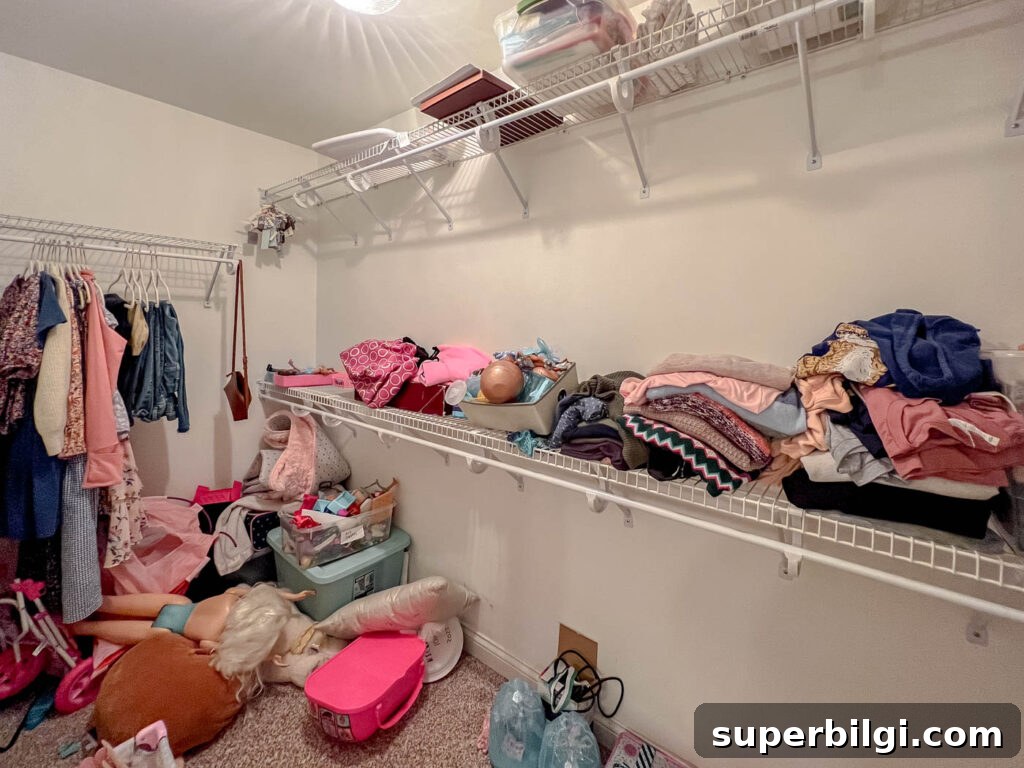
Our daughter had one of the largest closets in the house — about 10 feet deep and nearly 5 feet wide — but it was outfitted with nothing more than cheap wire shelves and a couple of hanging rods. Clothing overflowed, storage was inefficient, and much of the space went unused. Wire shelving has its place, but in most bedroom closets it creates more clutter than it prevents. We decided to replace it with a modular closet system that would maximize usable space and eliminate the need for her dresser.
Prioritizing this closet made sense: if her clothes could be stored entirely inside the closet, her dresser could be passed down to her sister. That freed up floor space and simplified both rooms.
Choosing the Right Closet System
My main goals were practical: find a system that made efficient use of the available space without leaving dead zones, and keep the project within a reasonable budget. Because the closet layout was straightforward — no odd windows or multiple doors — a semi-custom system was unnecessary. The IKEA PAX system fit our needs: relatively affordable, flexible, and well-suited to standard closet spaces.
I evaluated built-in and custom options, but they were significantly more expensive than the PAX wardrobe frames and KOMPLEMENT accessories. For a closet that doesn’t require complicated customization, the PAX system is a strong budget-friendly choice.
Before you Start
Before you design your closet, take careful measurements — at least twice. Double- and triple-check wall widths, ceiling height, and depth so you don’t order the wrong components. Note fixed items such as light fixtures, switches, windows, outlets, and door openings. Some can be relocated, but if you want to avoid a larger renovation, plan your design to work around them.
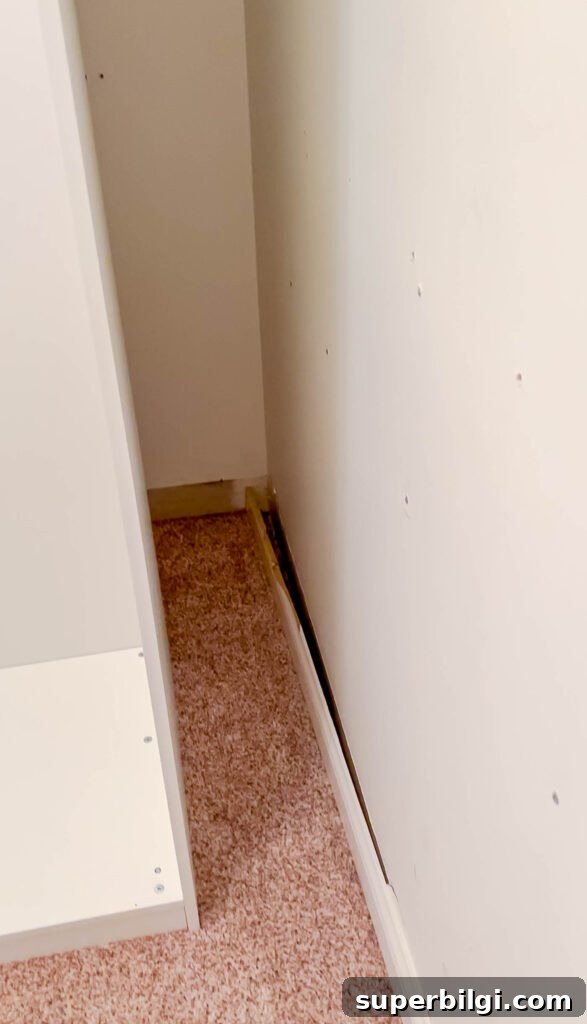
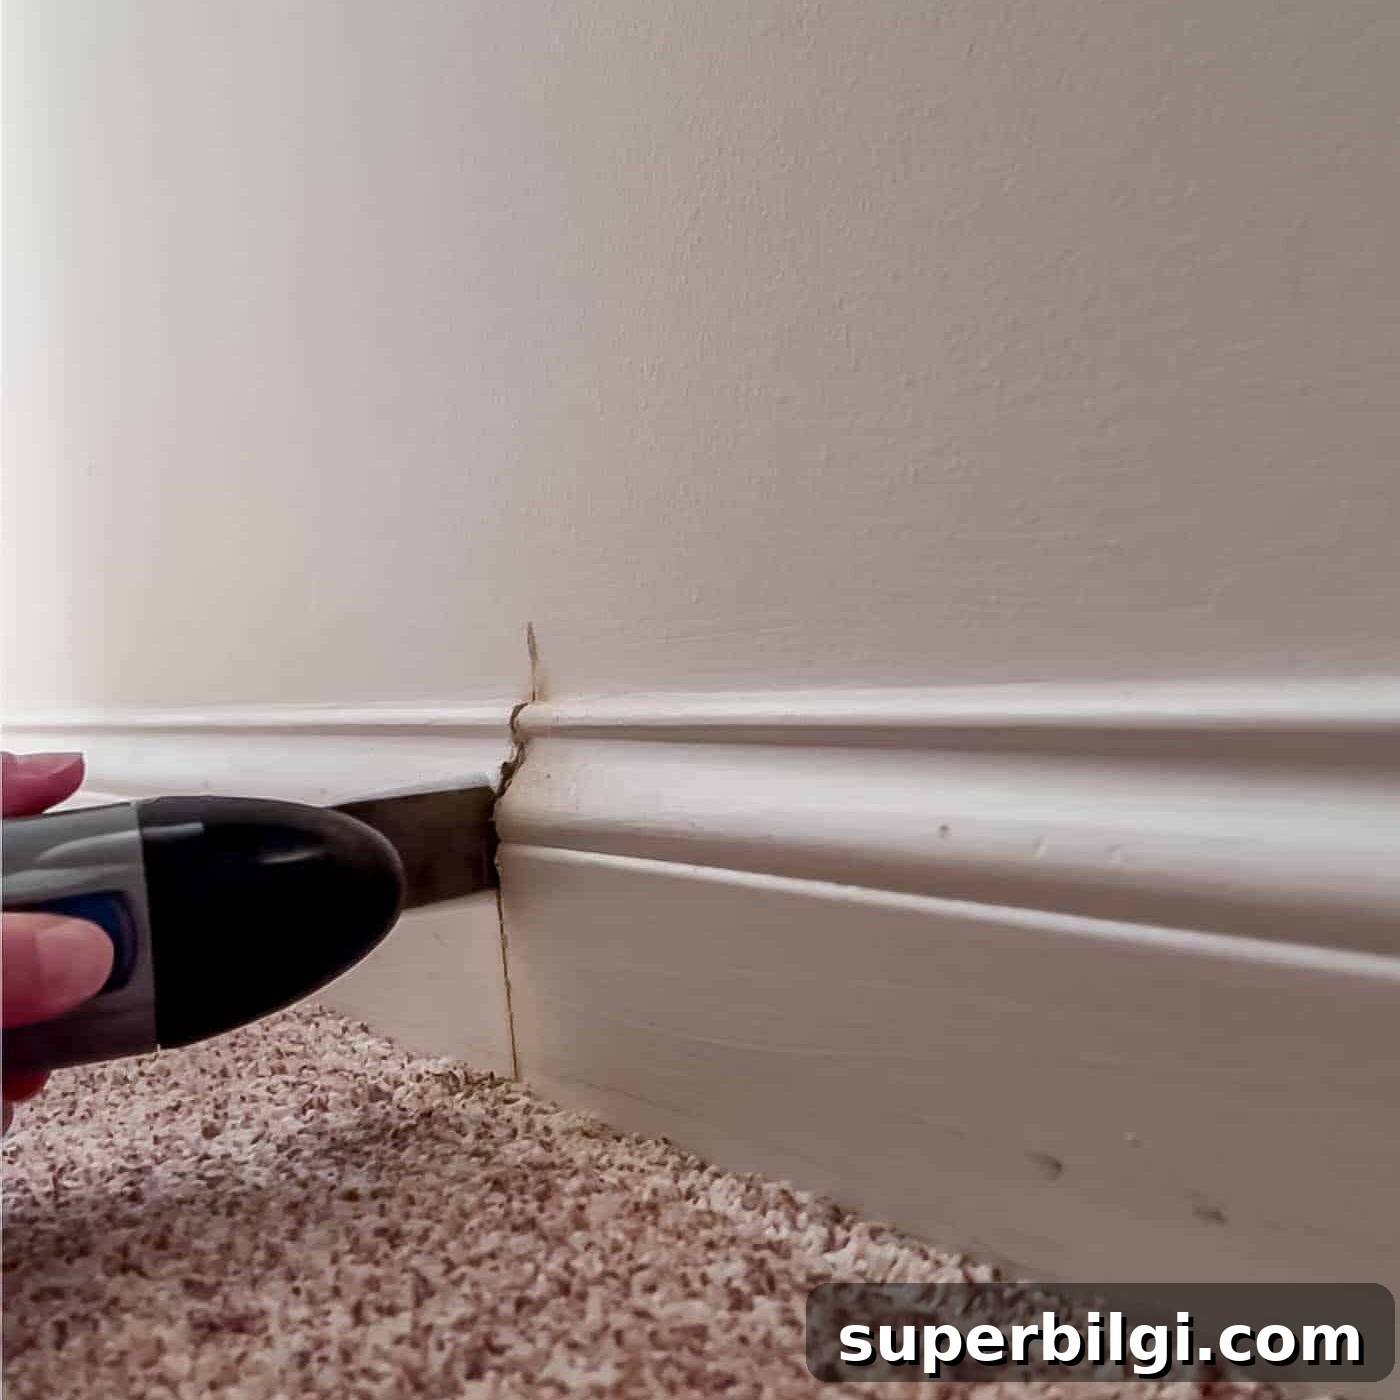
I nearly ordered the wrong depth for the frames; a re-measure saved the day. I also removed baseboards where the frames would sit, but only after building a test frame and confirming the exact cut location.
The PAX Closet Planning Tool
IKEA’s PAX planning tool is excellent for visualizing layouts before you buy. I experimented with multiple configurations until I landed on a plan that balanced hanging space, shelves, and drawers. PAX wardrobe frames come in several widths, two depths, and two heights; we chose the taller height to match our 8-foot ceilings.
For our layout, the back wall uses the deeper 22 7/8-inch frames to allow for traditional hanging rods, while the long wall — only five feet wide — uses 13-inch shallow frames to avoid encroaching on available walking space. The planner helped determine these dimensions and test different interior accessory layouts.
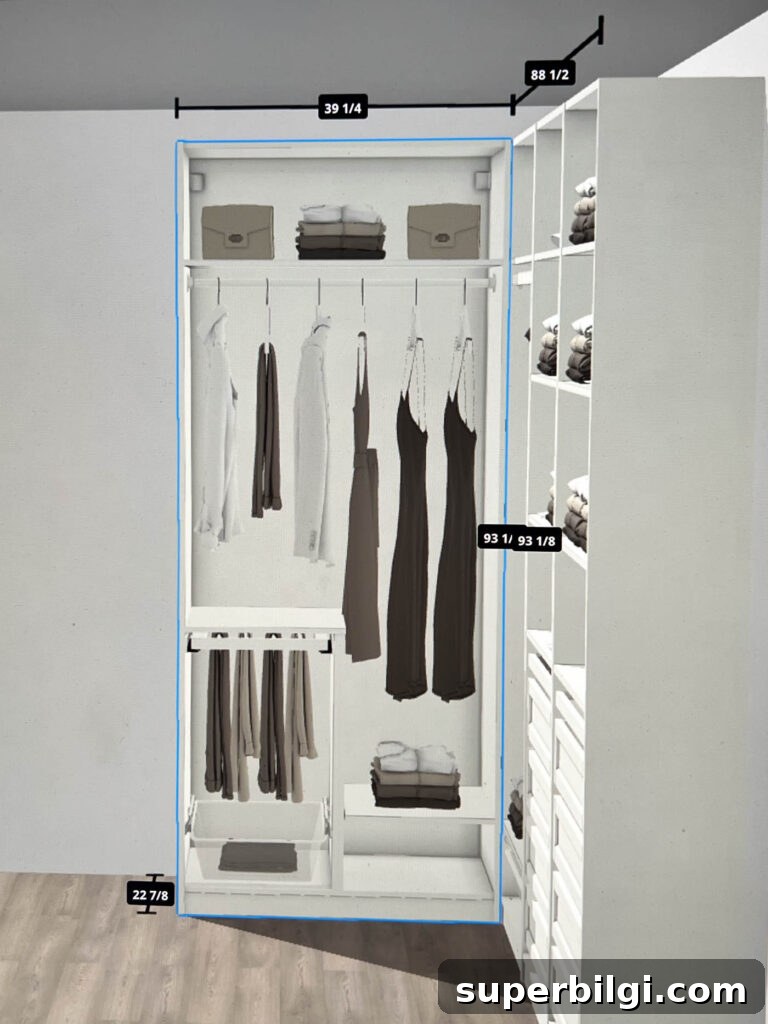
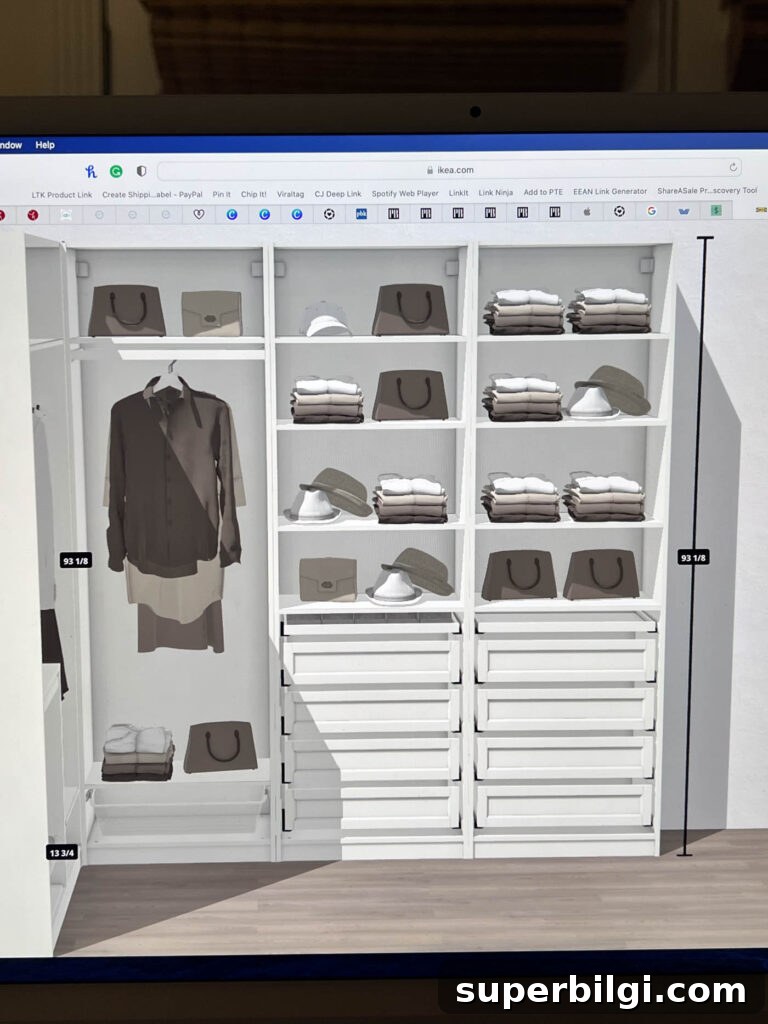
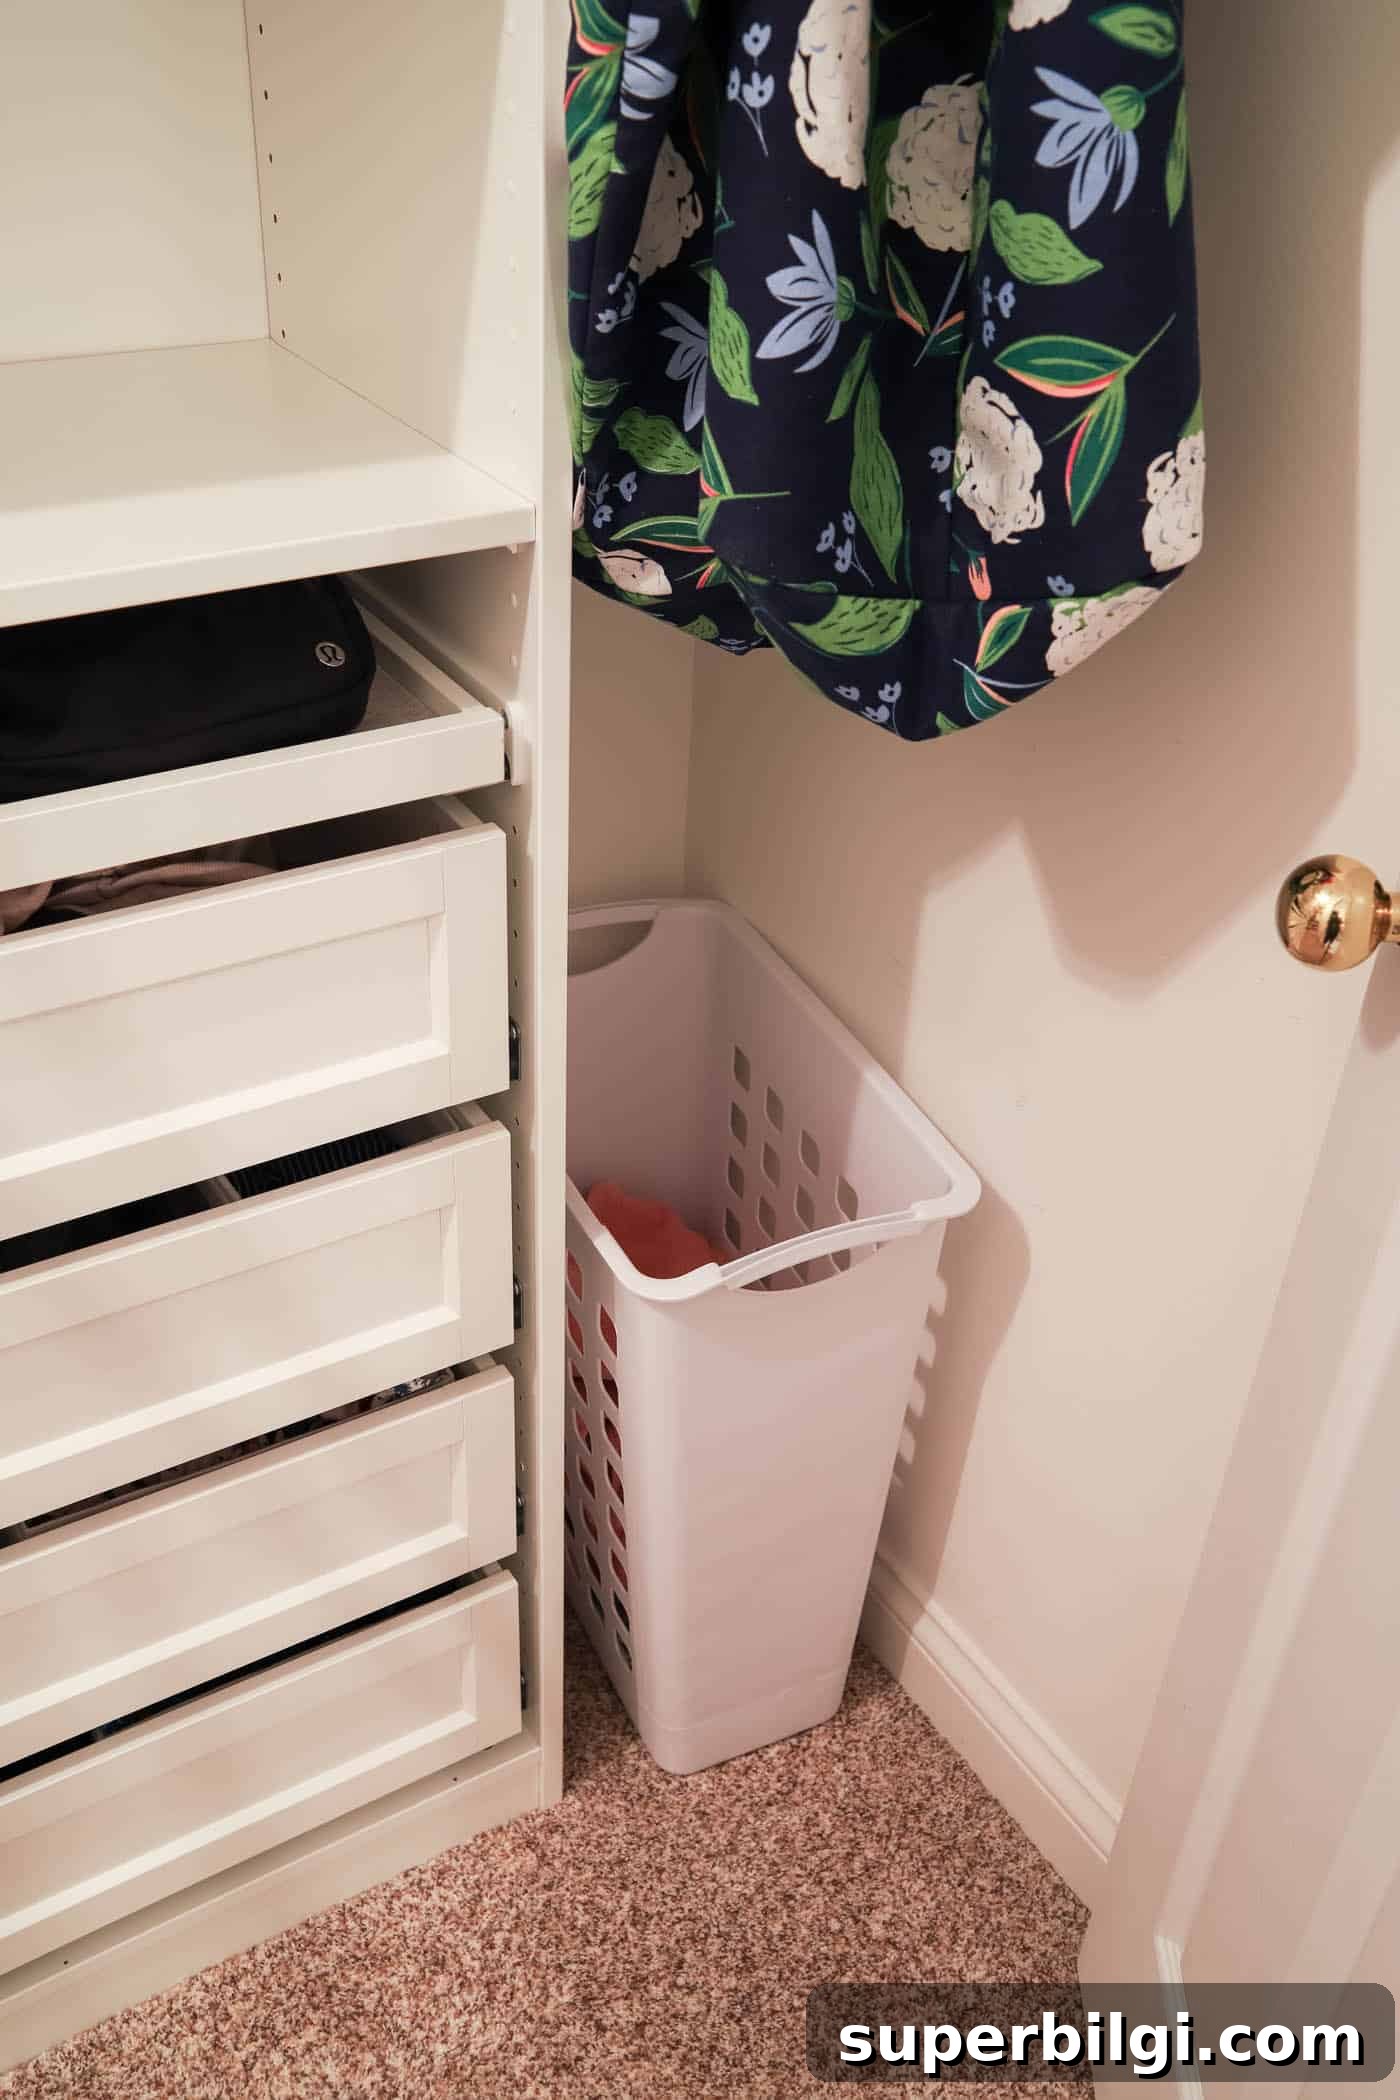
We used one 39 1/4-inch frame on the short wall and three 29 1/2-inch frames along the long wall, leaving a small gap at the end for a slim hamper. That extra inch of planning made the space practical without feeling crowded.
Building the Closet Frames
IKEA instructions are primarily visual, so review them first. Start slowly with the first frame to learn the assembly patterns. I made one mistake installing a back panel backward because I rushed; take your time and have a helper if possible.
Essential tools: hammer, drill, and a level. Pay attention to ceiling clearance — you may be able to assemble frames flat on the floor, but if space is tight you’ll build them upright inside the closet. Secure each frame to the wall with the included attachments and fasten adjacent frames together using the provided screws, choosing holes that won’t interfere with interior accessories.
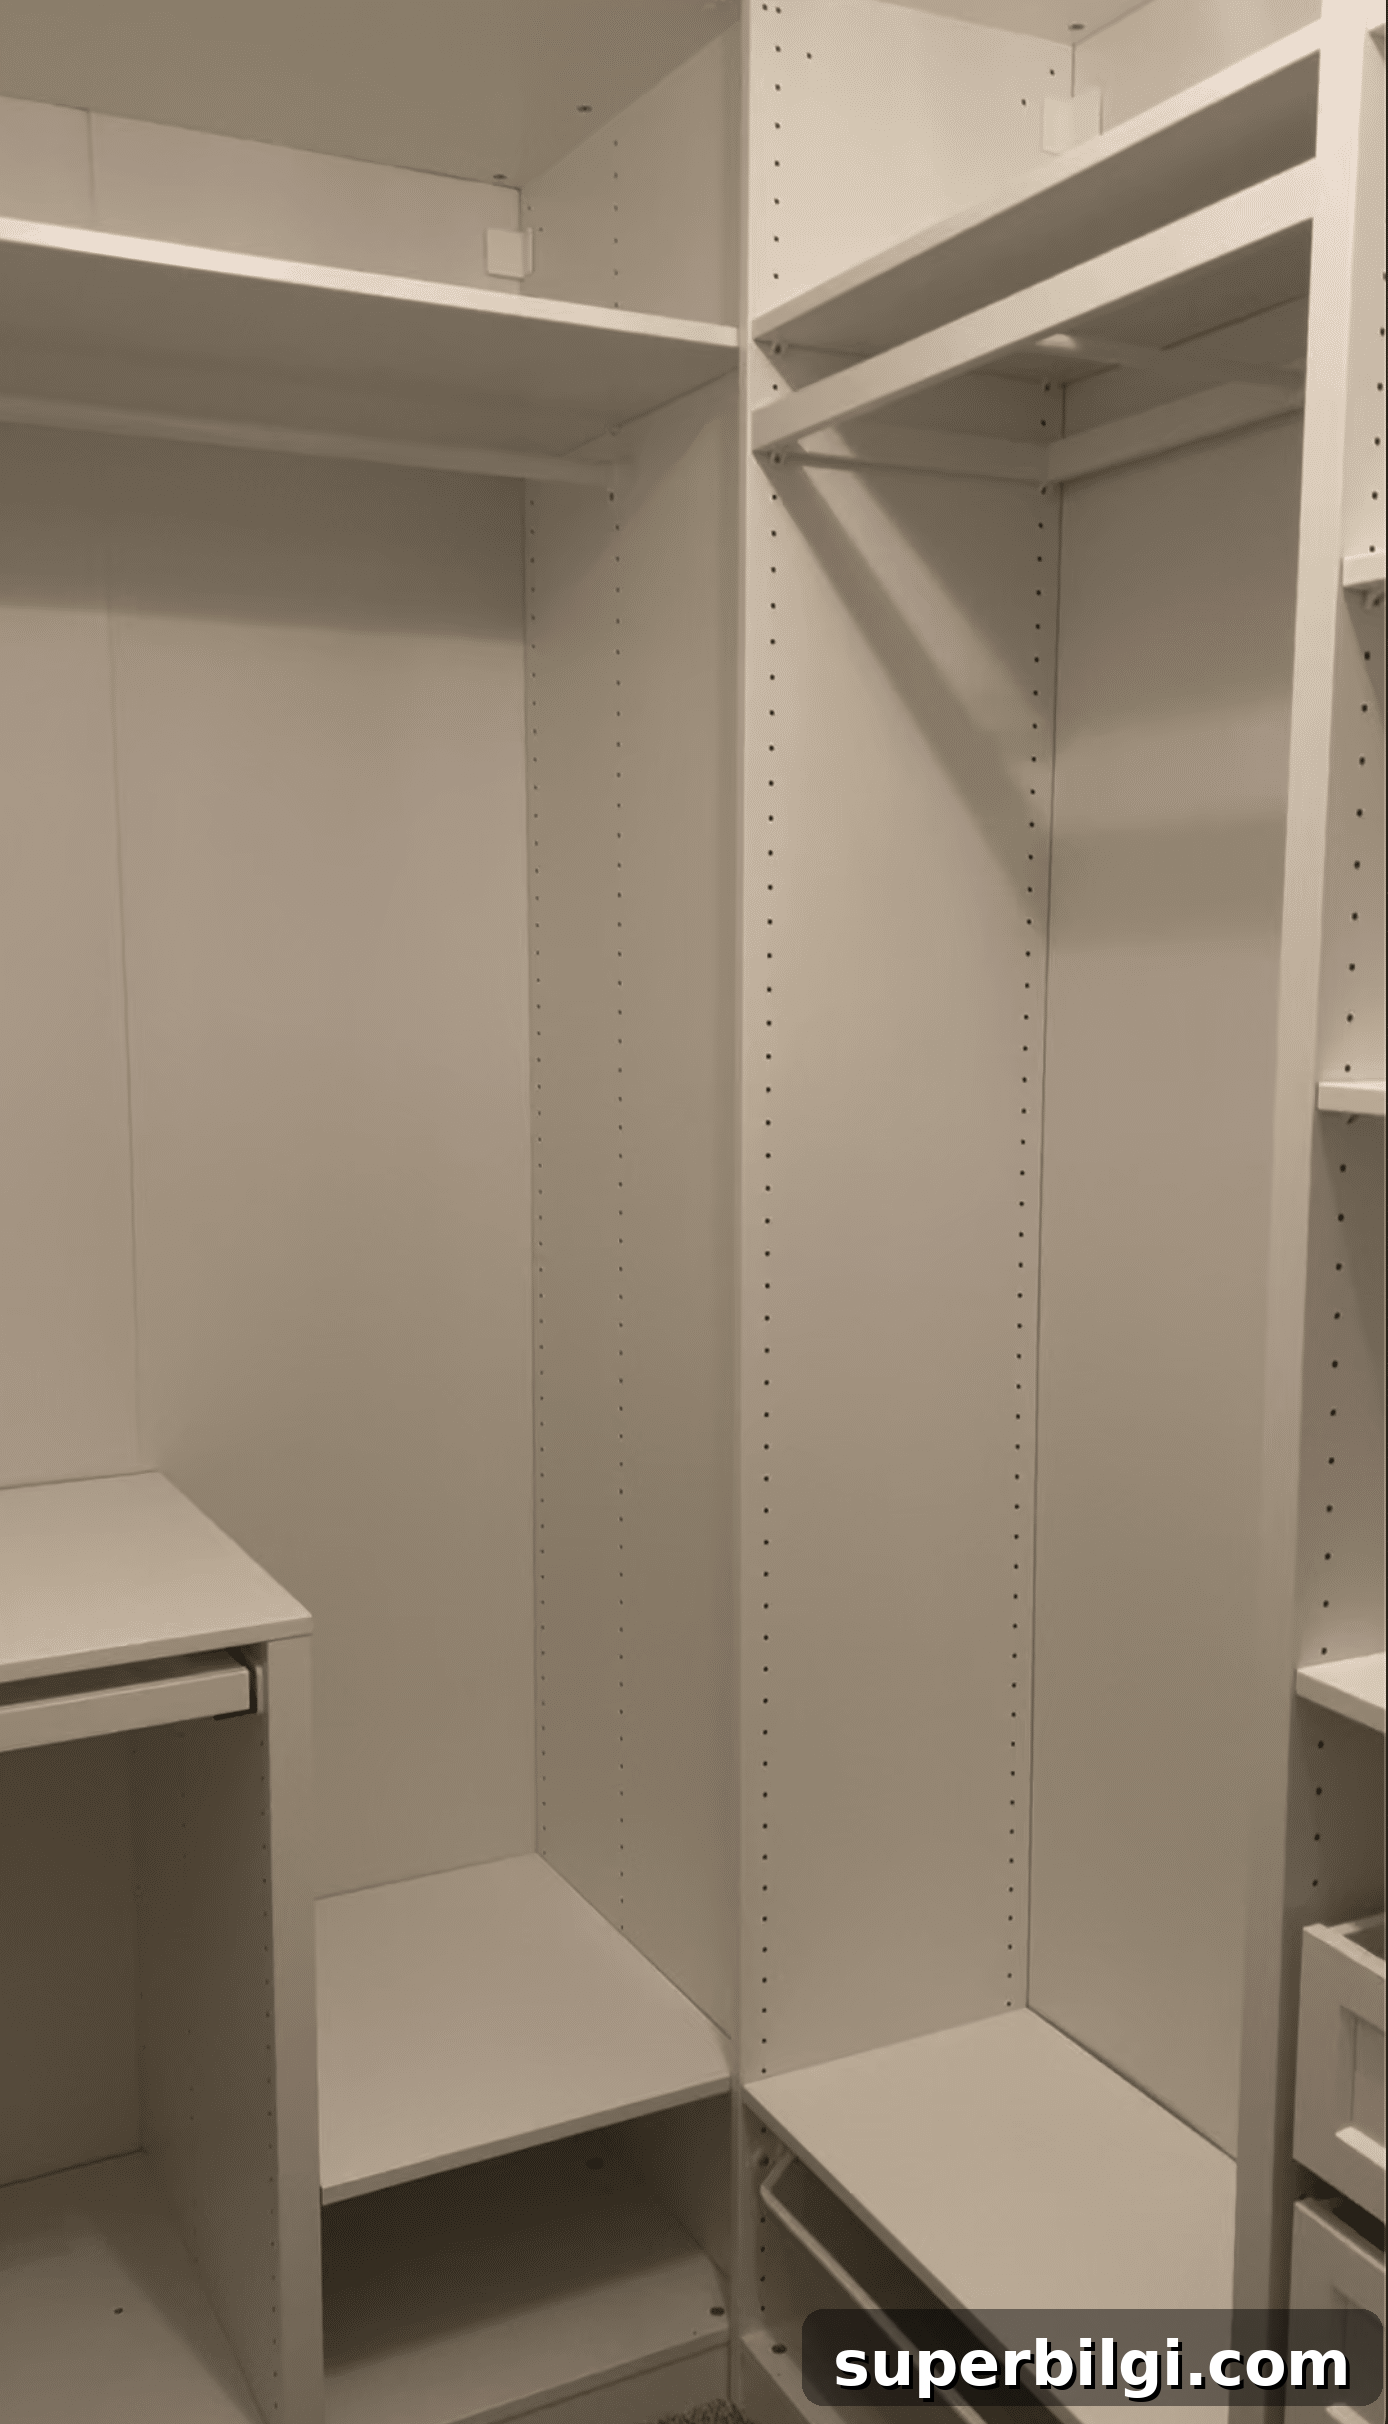
With the frames in place, the project moves to installing shelves, drawers, and specialized accessories — the part where the closet truly comes to life.
PAX Interior Accessories
Selecting drawers, shelves, and organizers is the fun part. We stuck mostly with standard white KOMPLEMENT shelves and drawers for versatility and value, and added a few specialty items to maximize function.
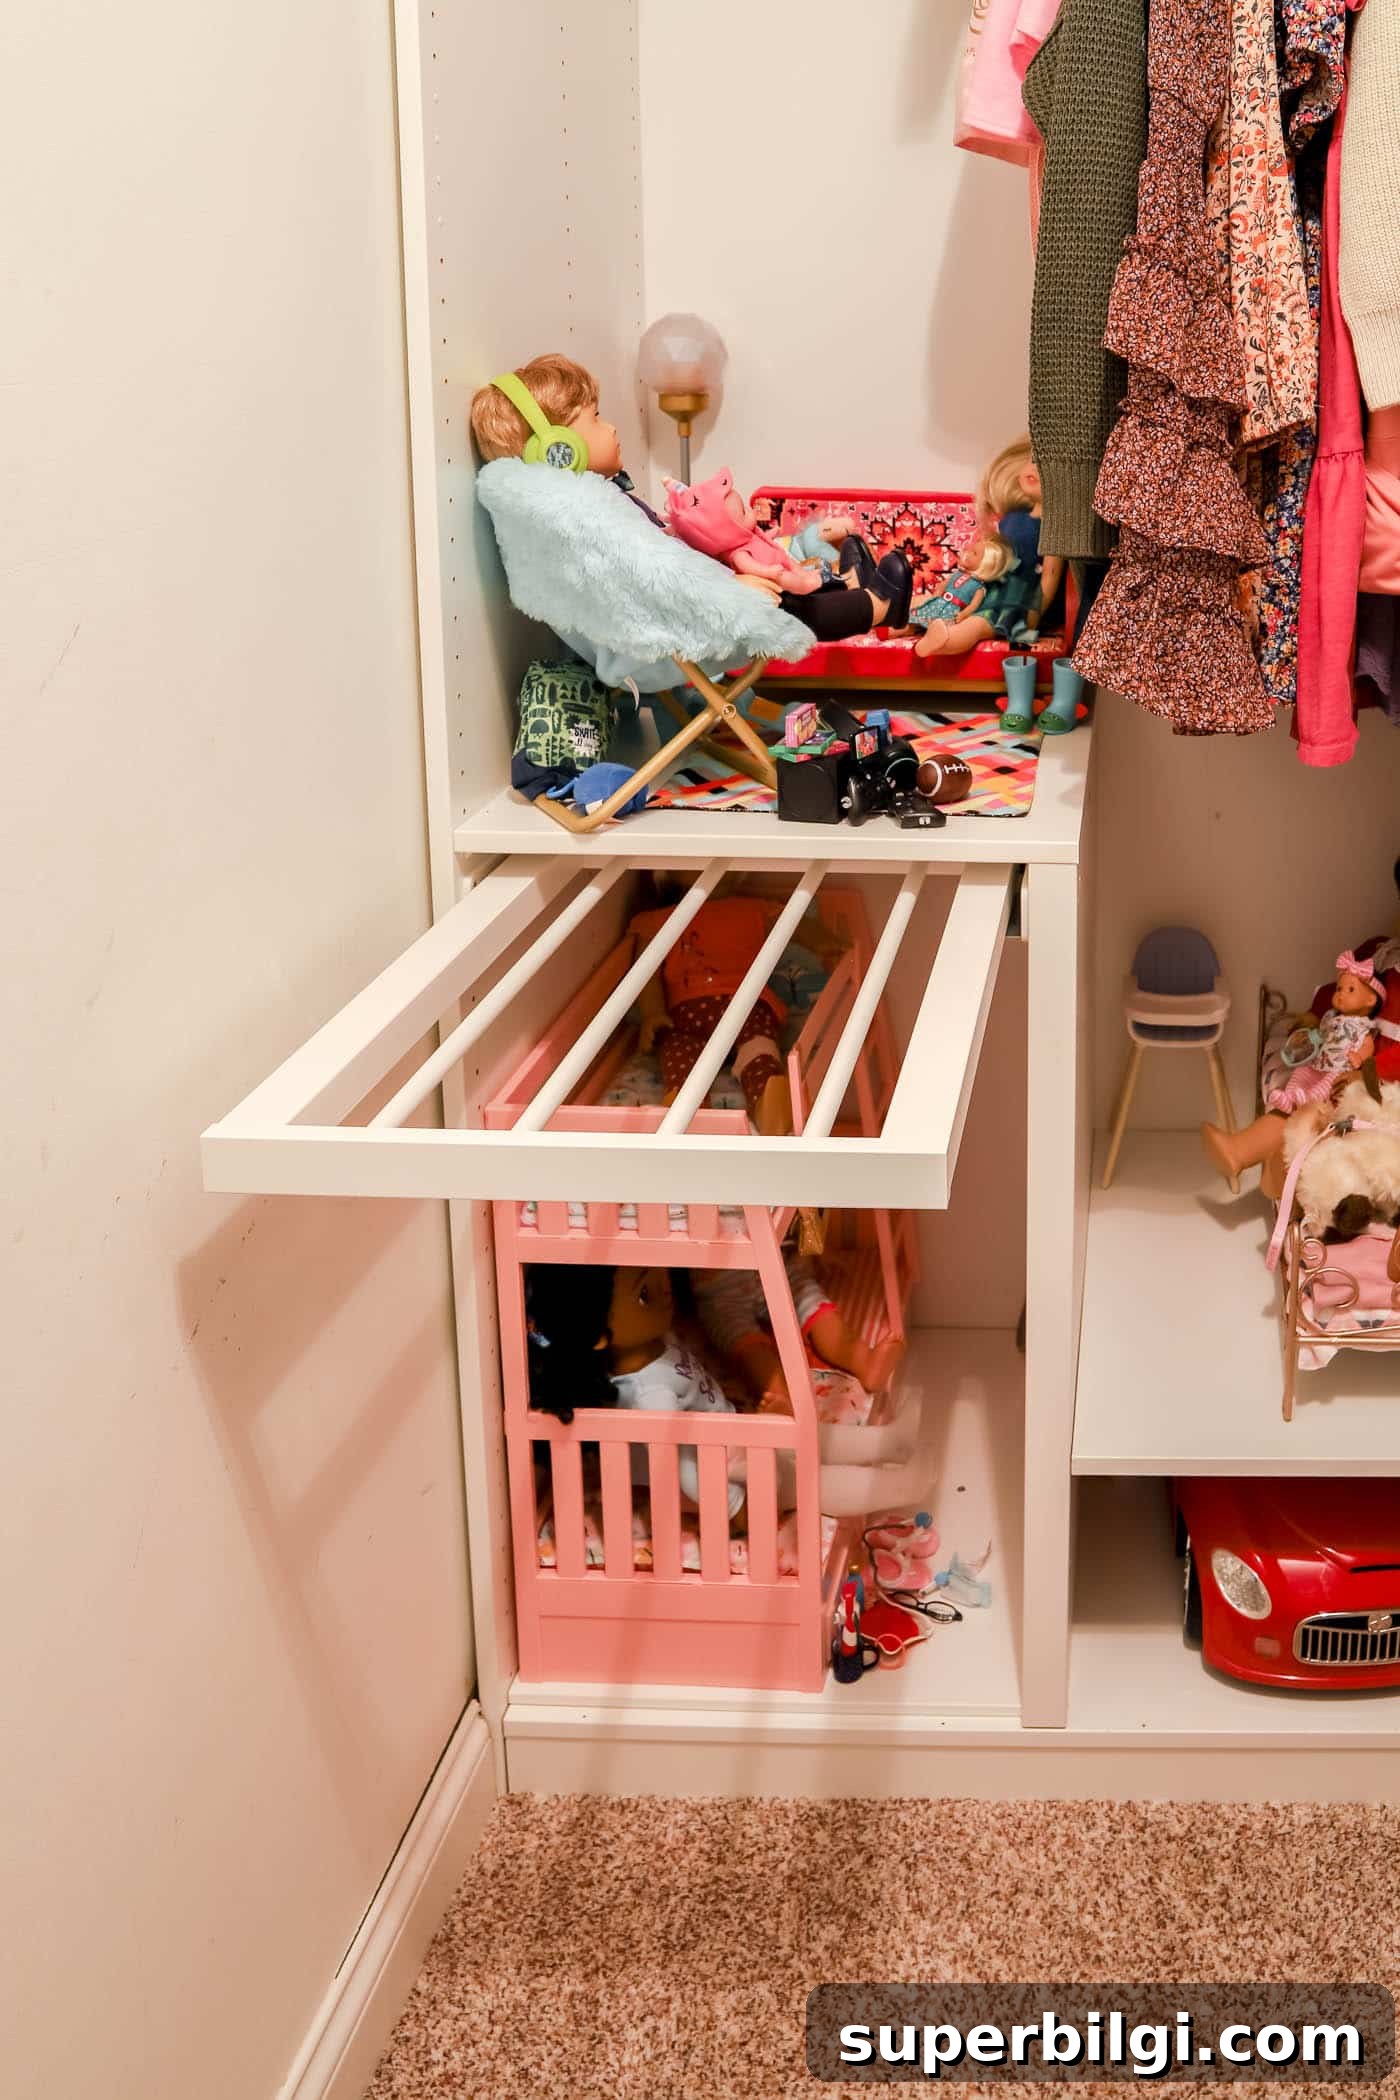
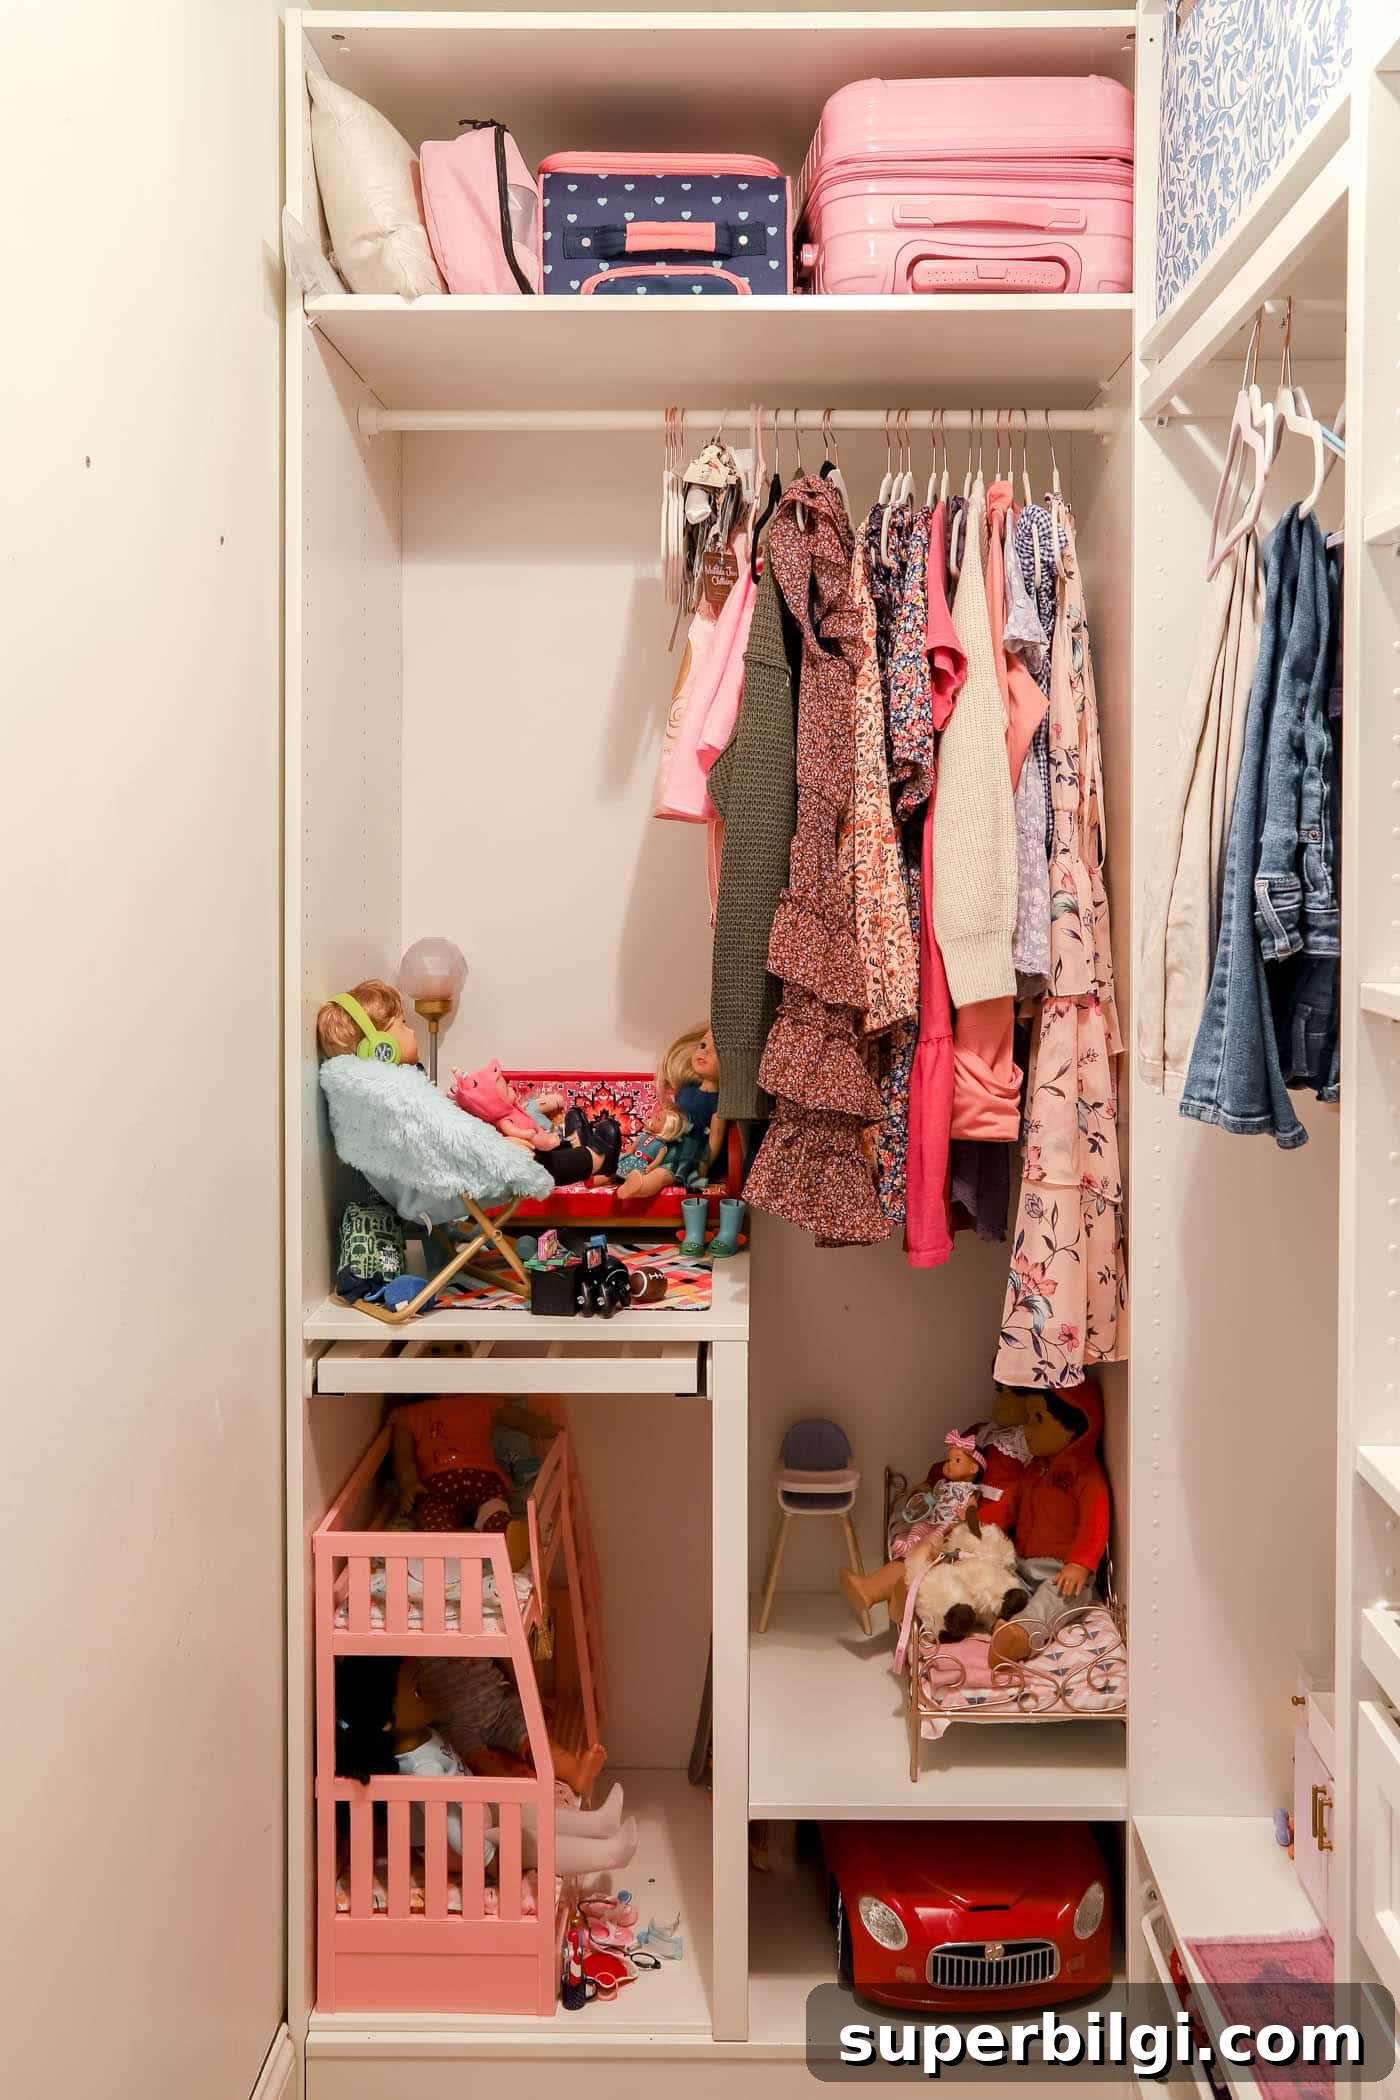
Note: Many photos show American Girl dolls and accessories. This closet is for a pre-teen, and those items currently occupy some of the storage while clothing needs grow over time.
KOMPLEMENT Pull-Out Pants Hanger
The pull-out pants hanger is a clever space-saver. In a 22-inch-deep frame it holds two pants per rail with slight overlap; in a 13-inch frame it holds one per rail. We installed one in a divider frame to maximize usable storage inside a larger unit.
KOMPLEMENT Mesh Pull-Out Basket
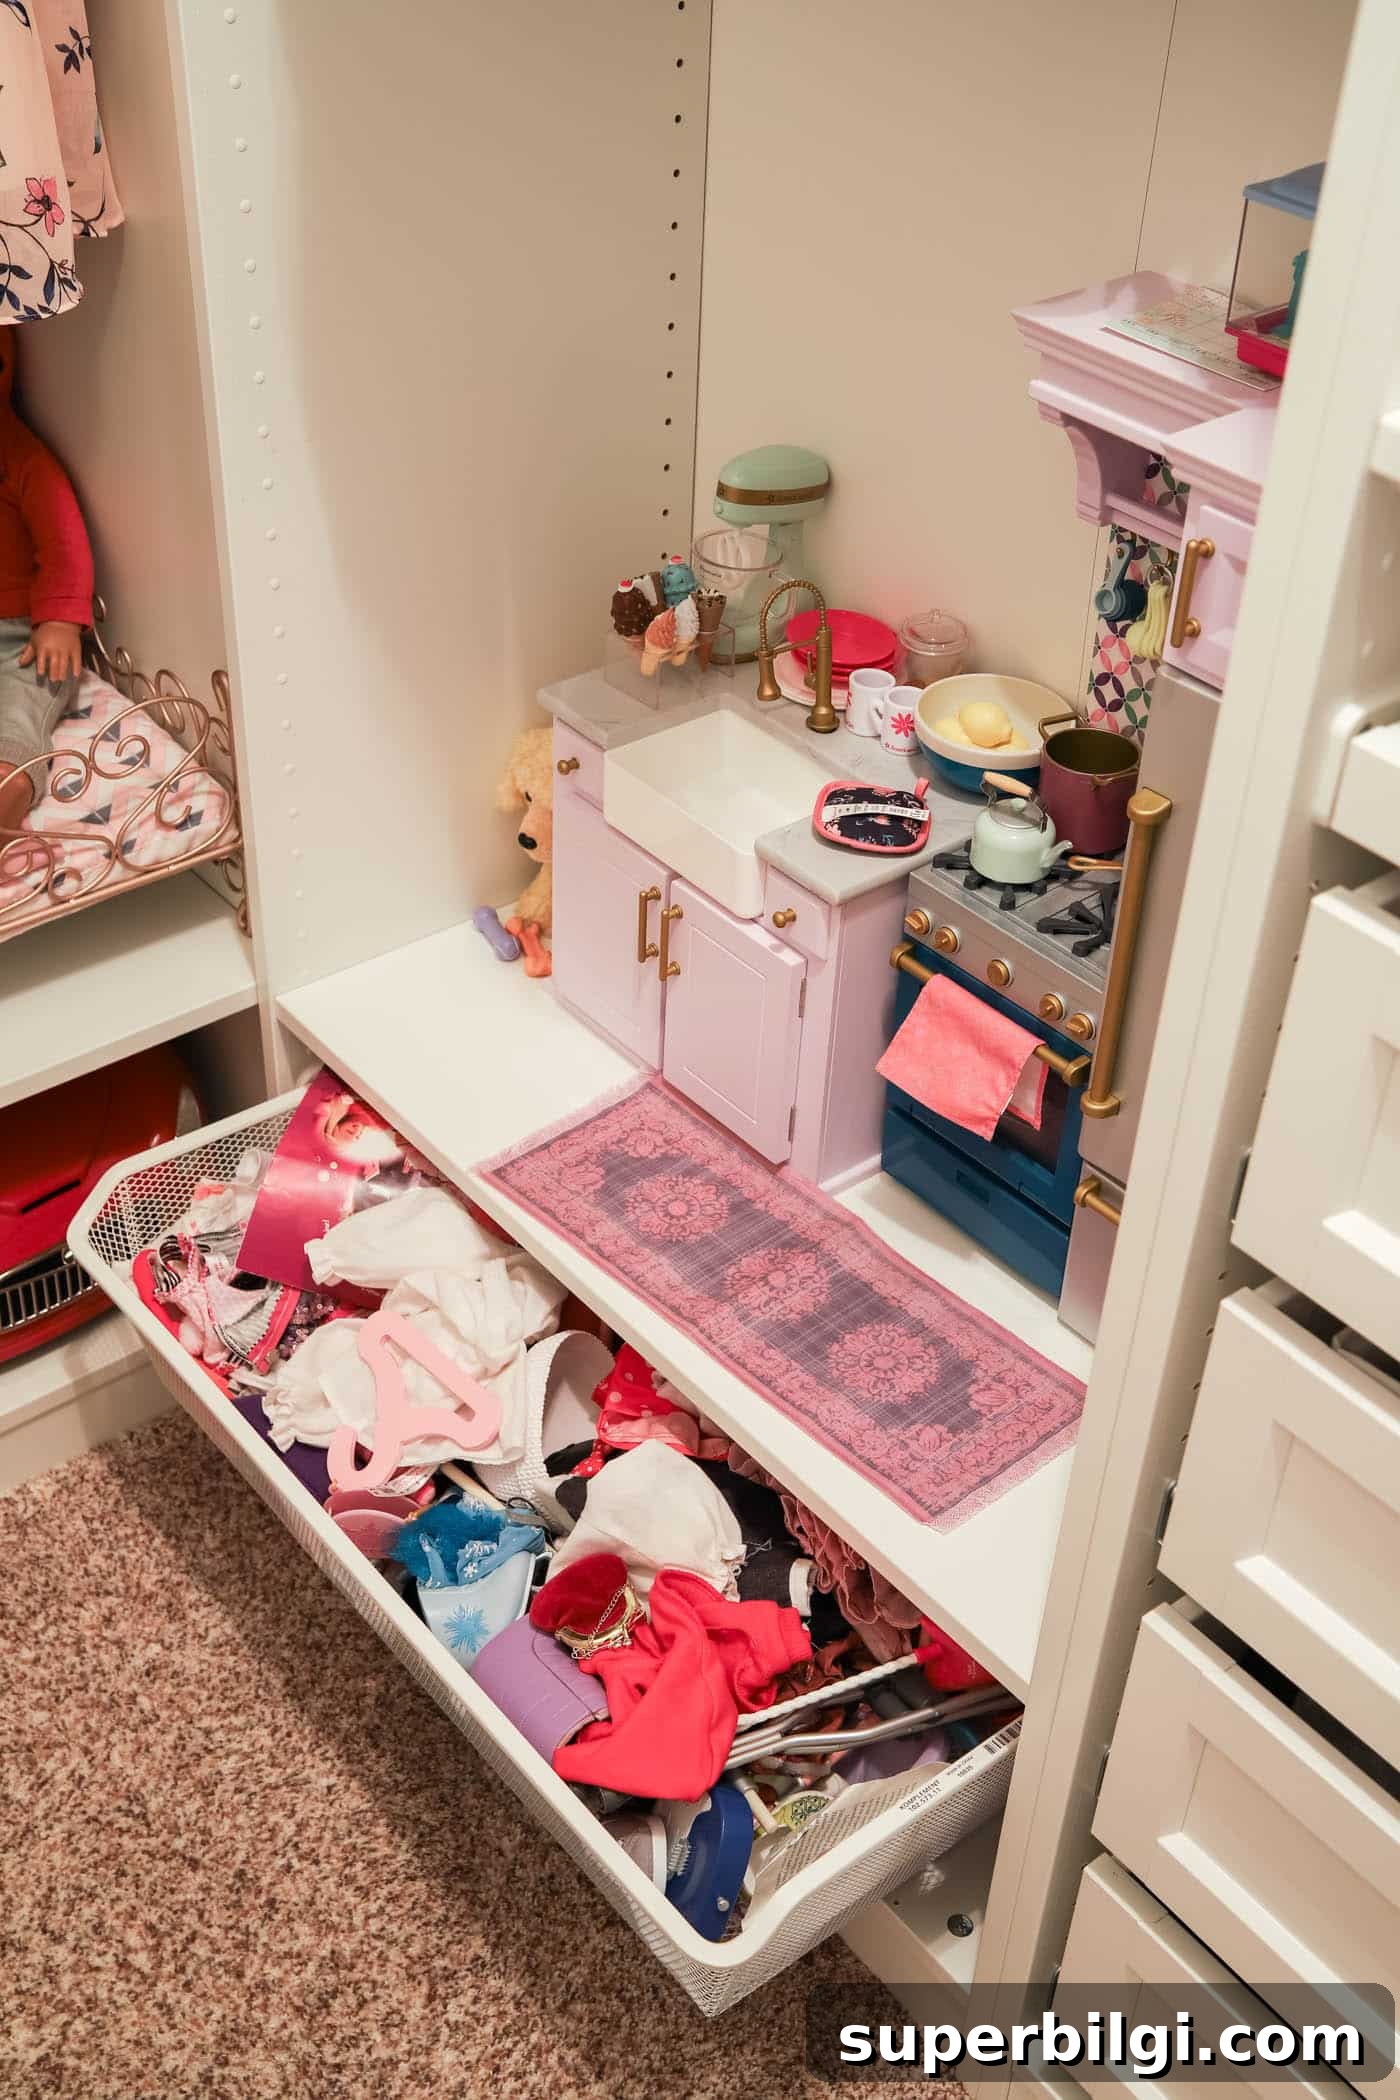
Mesh pull-out baskets provide breathable storage for shoes, clothing, or toys. We use one for doll accessories, but they work equally well for laundry items or athletic gear.
Basic Clothes Rail vs. KOMPLEMENT Clothes Rod
In deeper frames you can install a standard clothes rail for garments to hang side-by-side. In shallow frames you’ll use a KOMPLEMENT clothes rod that faces items outward. I placed a 22-inch-deep frame at the back so most clothing hangs side-by-side, reserving outward-facing rods for a few special pieces.
IKEA KOMPLEMENT Shelves
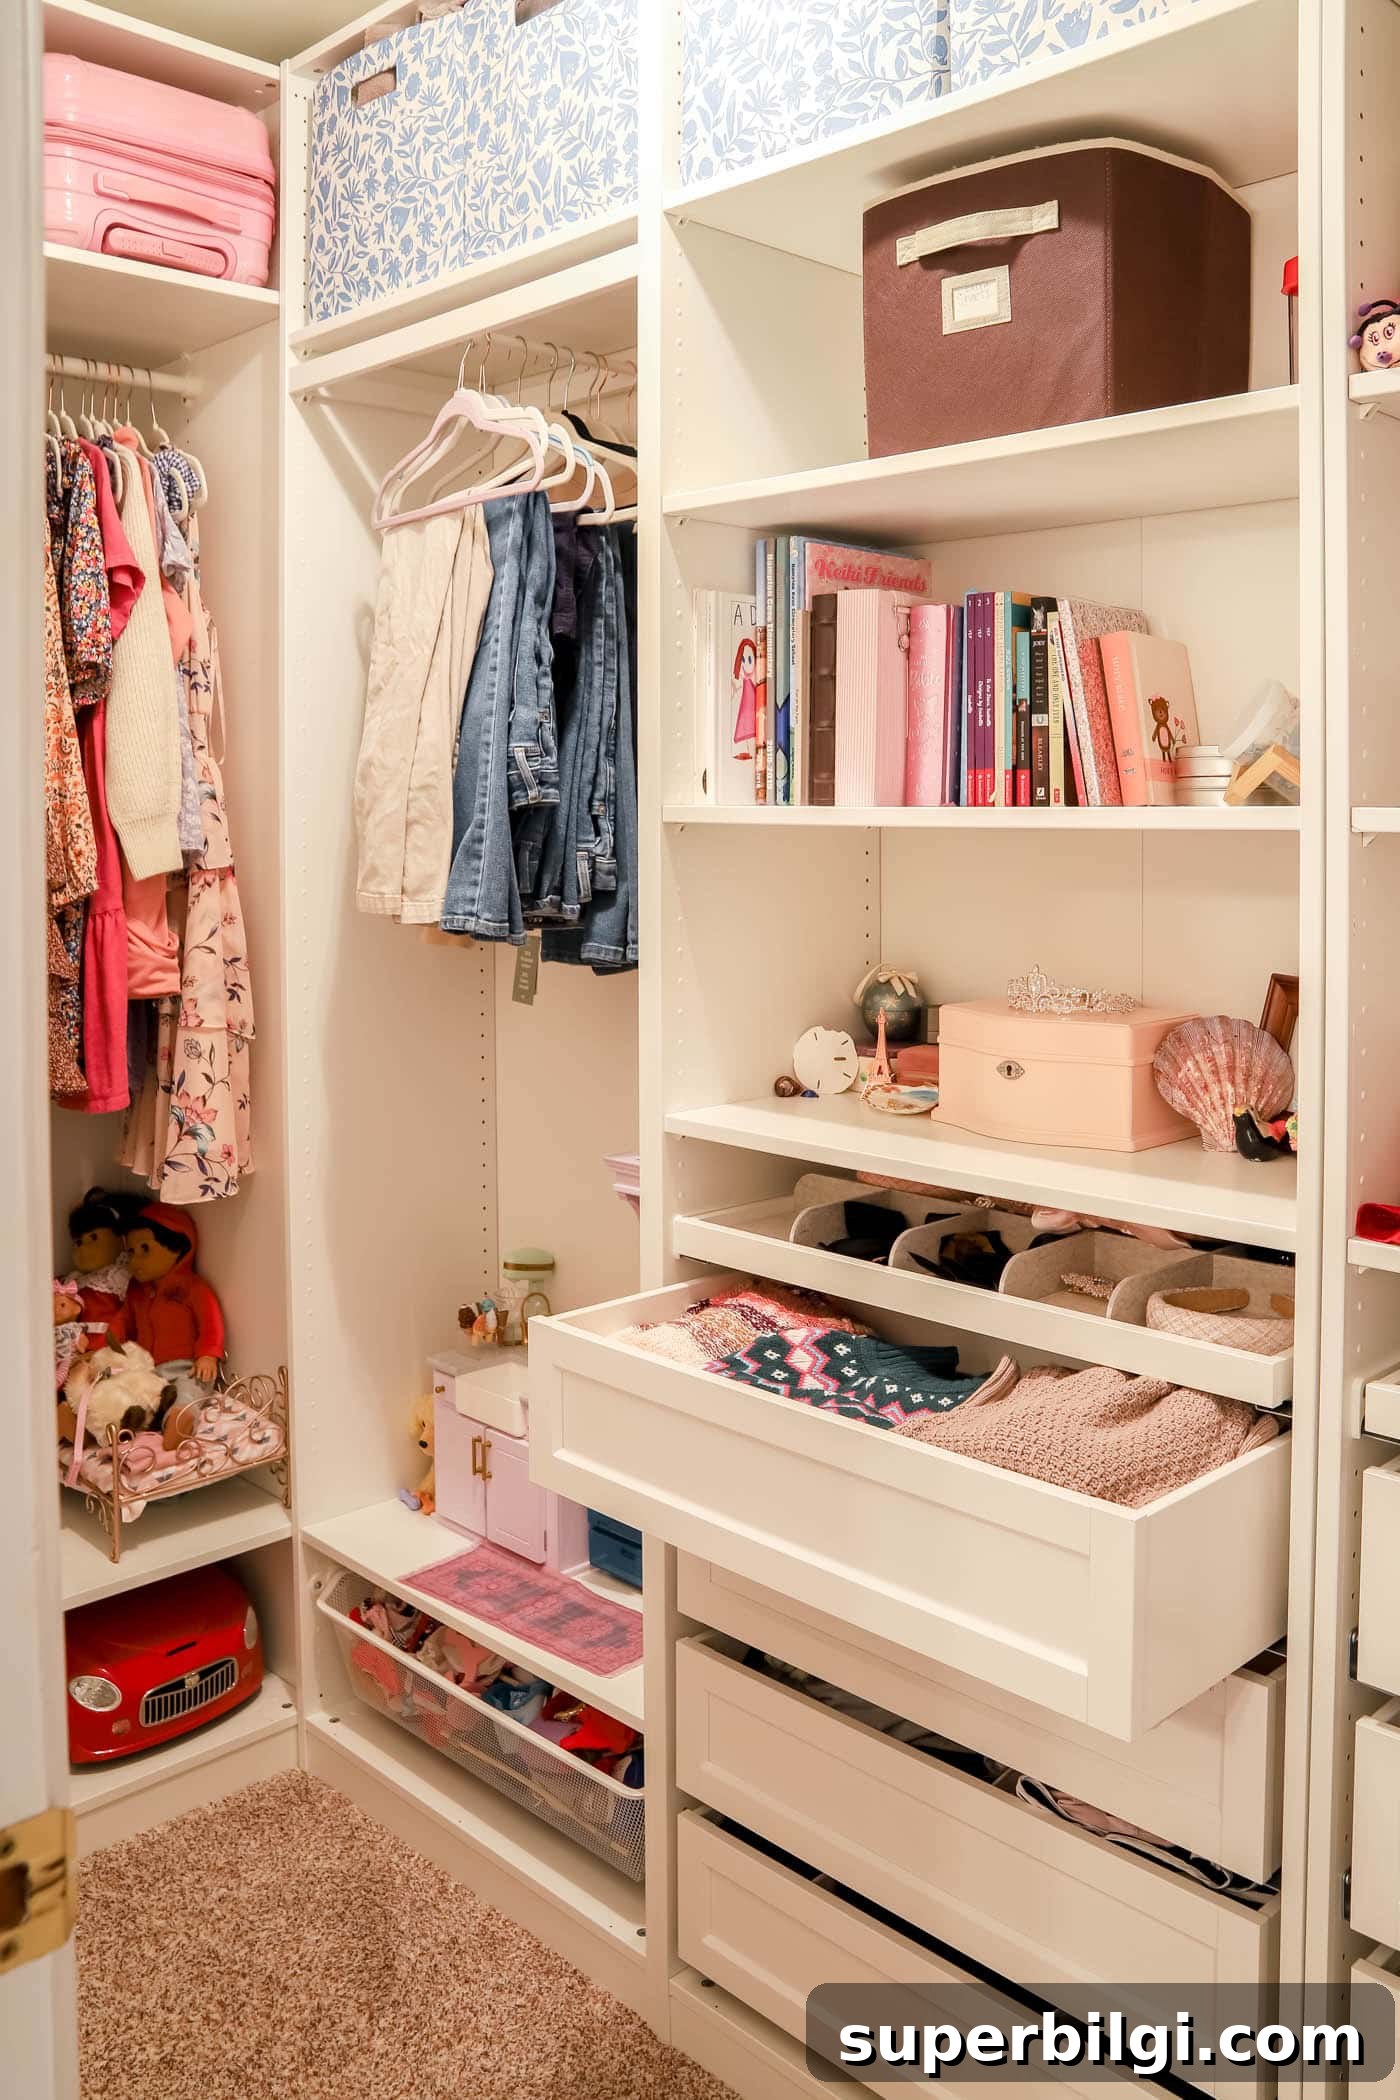
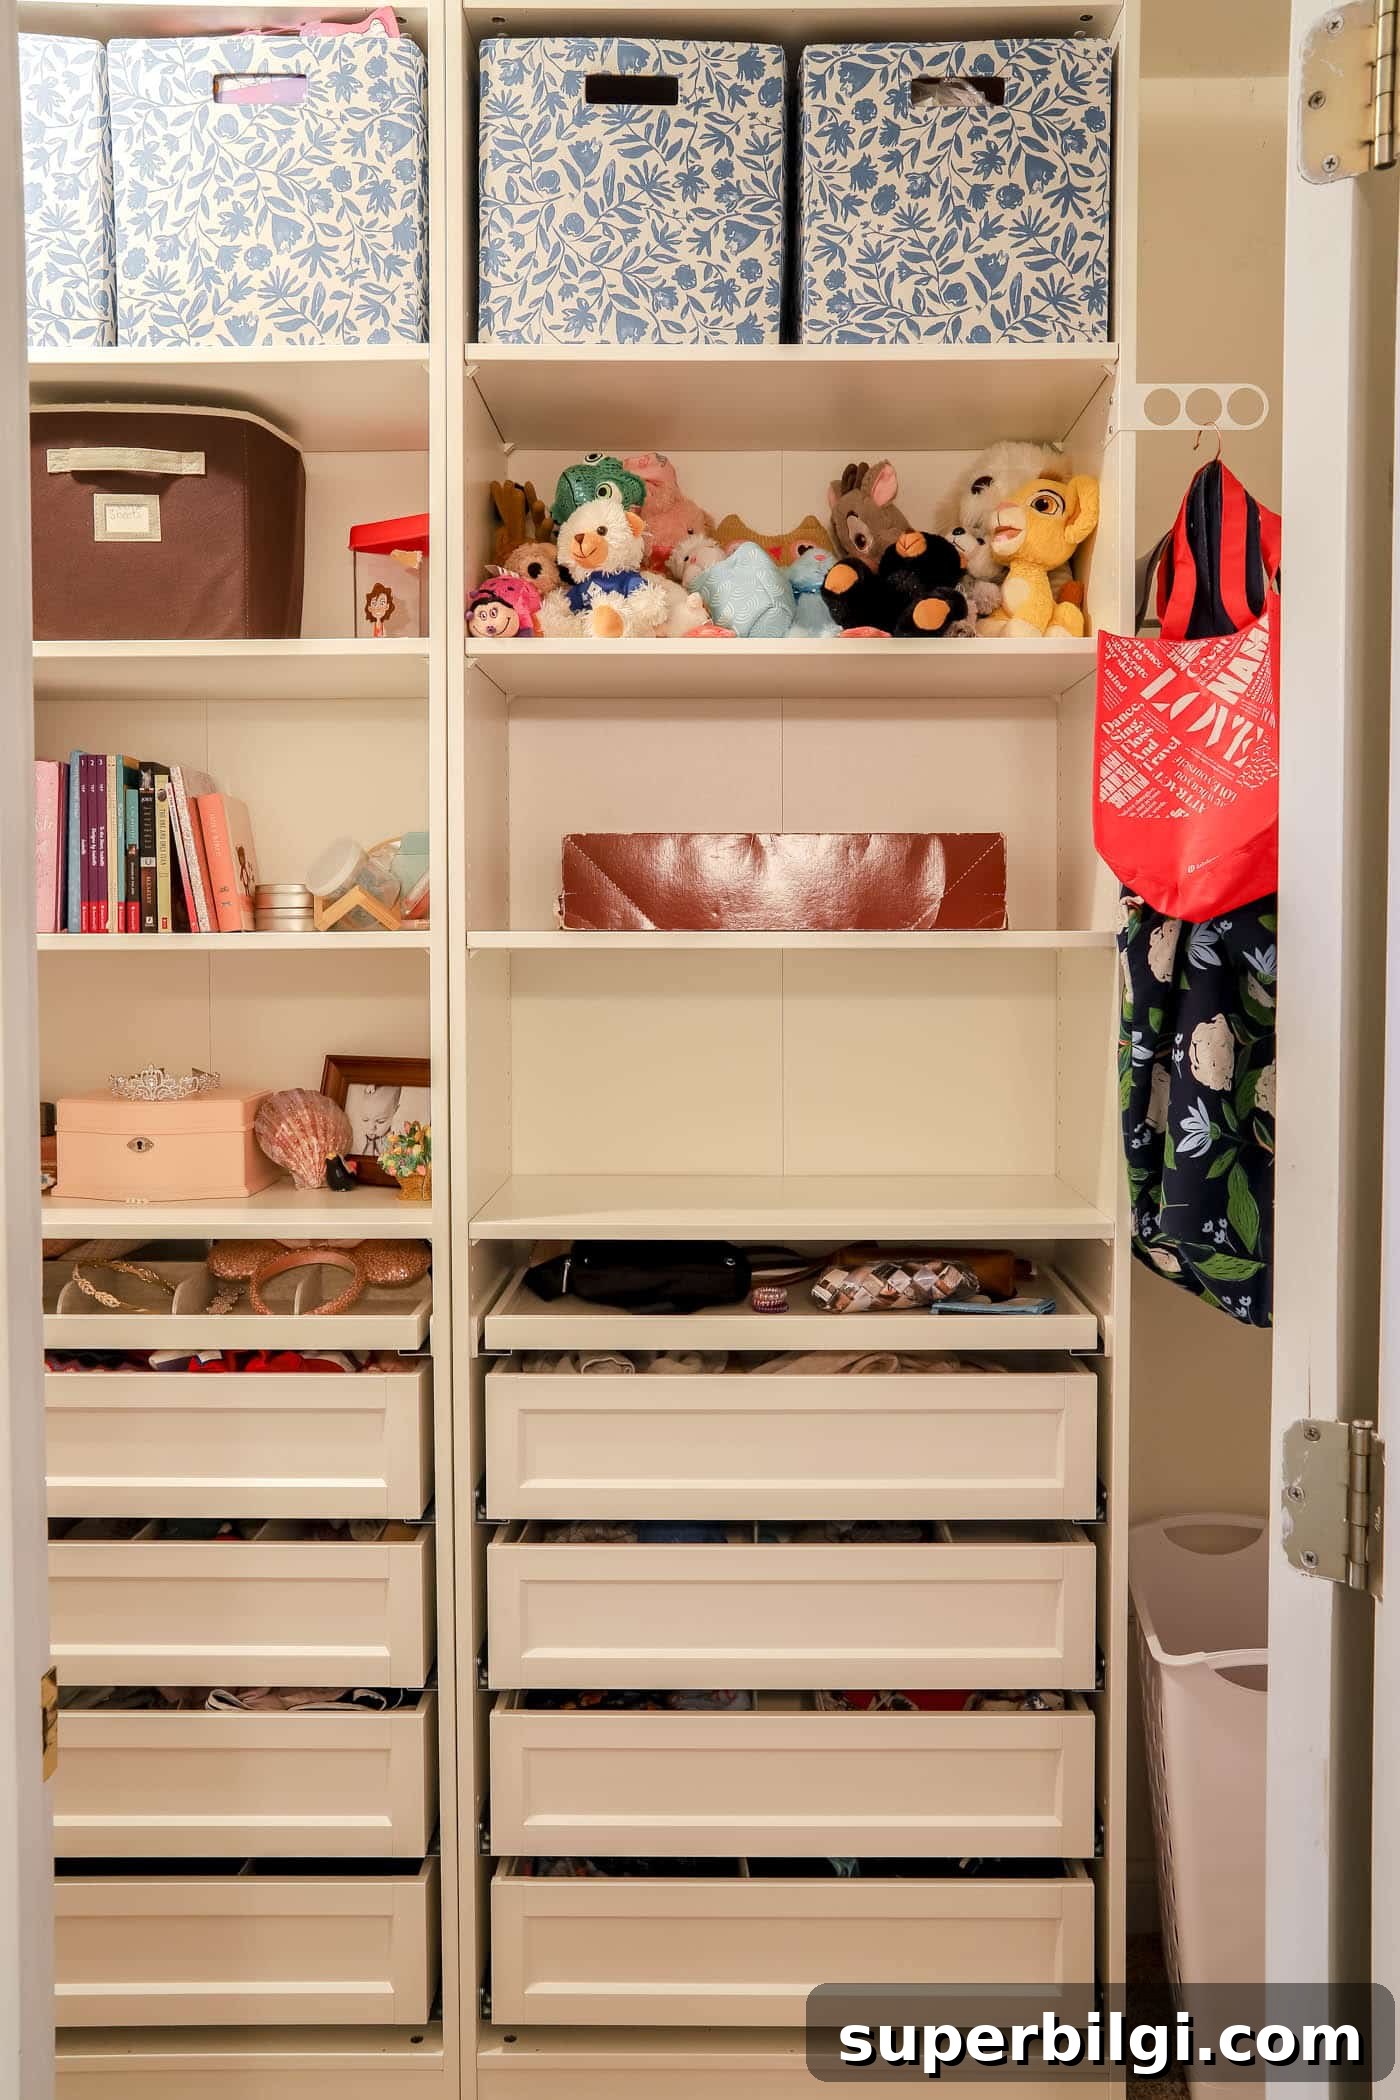
KOMPLEMENT shelving is versatile and we installed many shelves above drawers to maximize storage and keep dust out of the drawers. We measured top shelves to fit storage bins and created a jewelry drop zone to keep counters clutter-free.
KOMPLEMENT Drawers with Framed Fronts
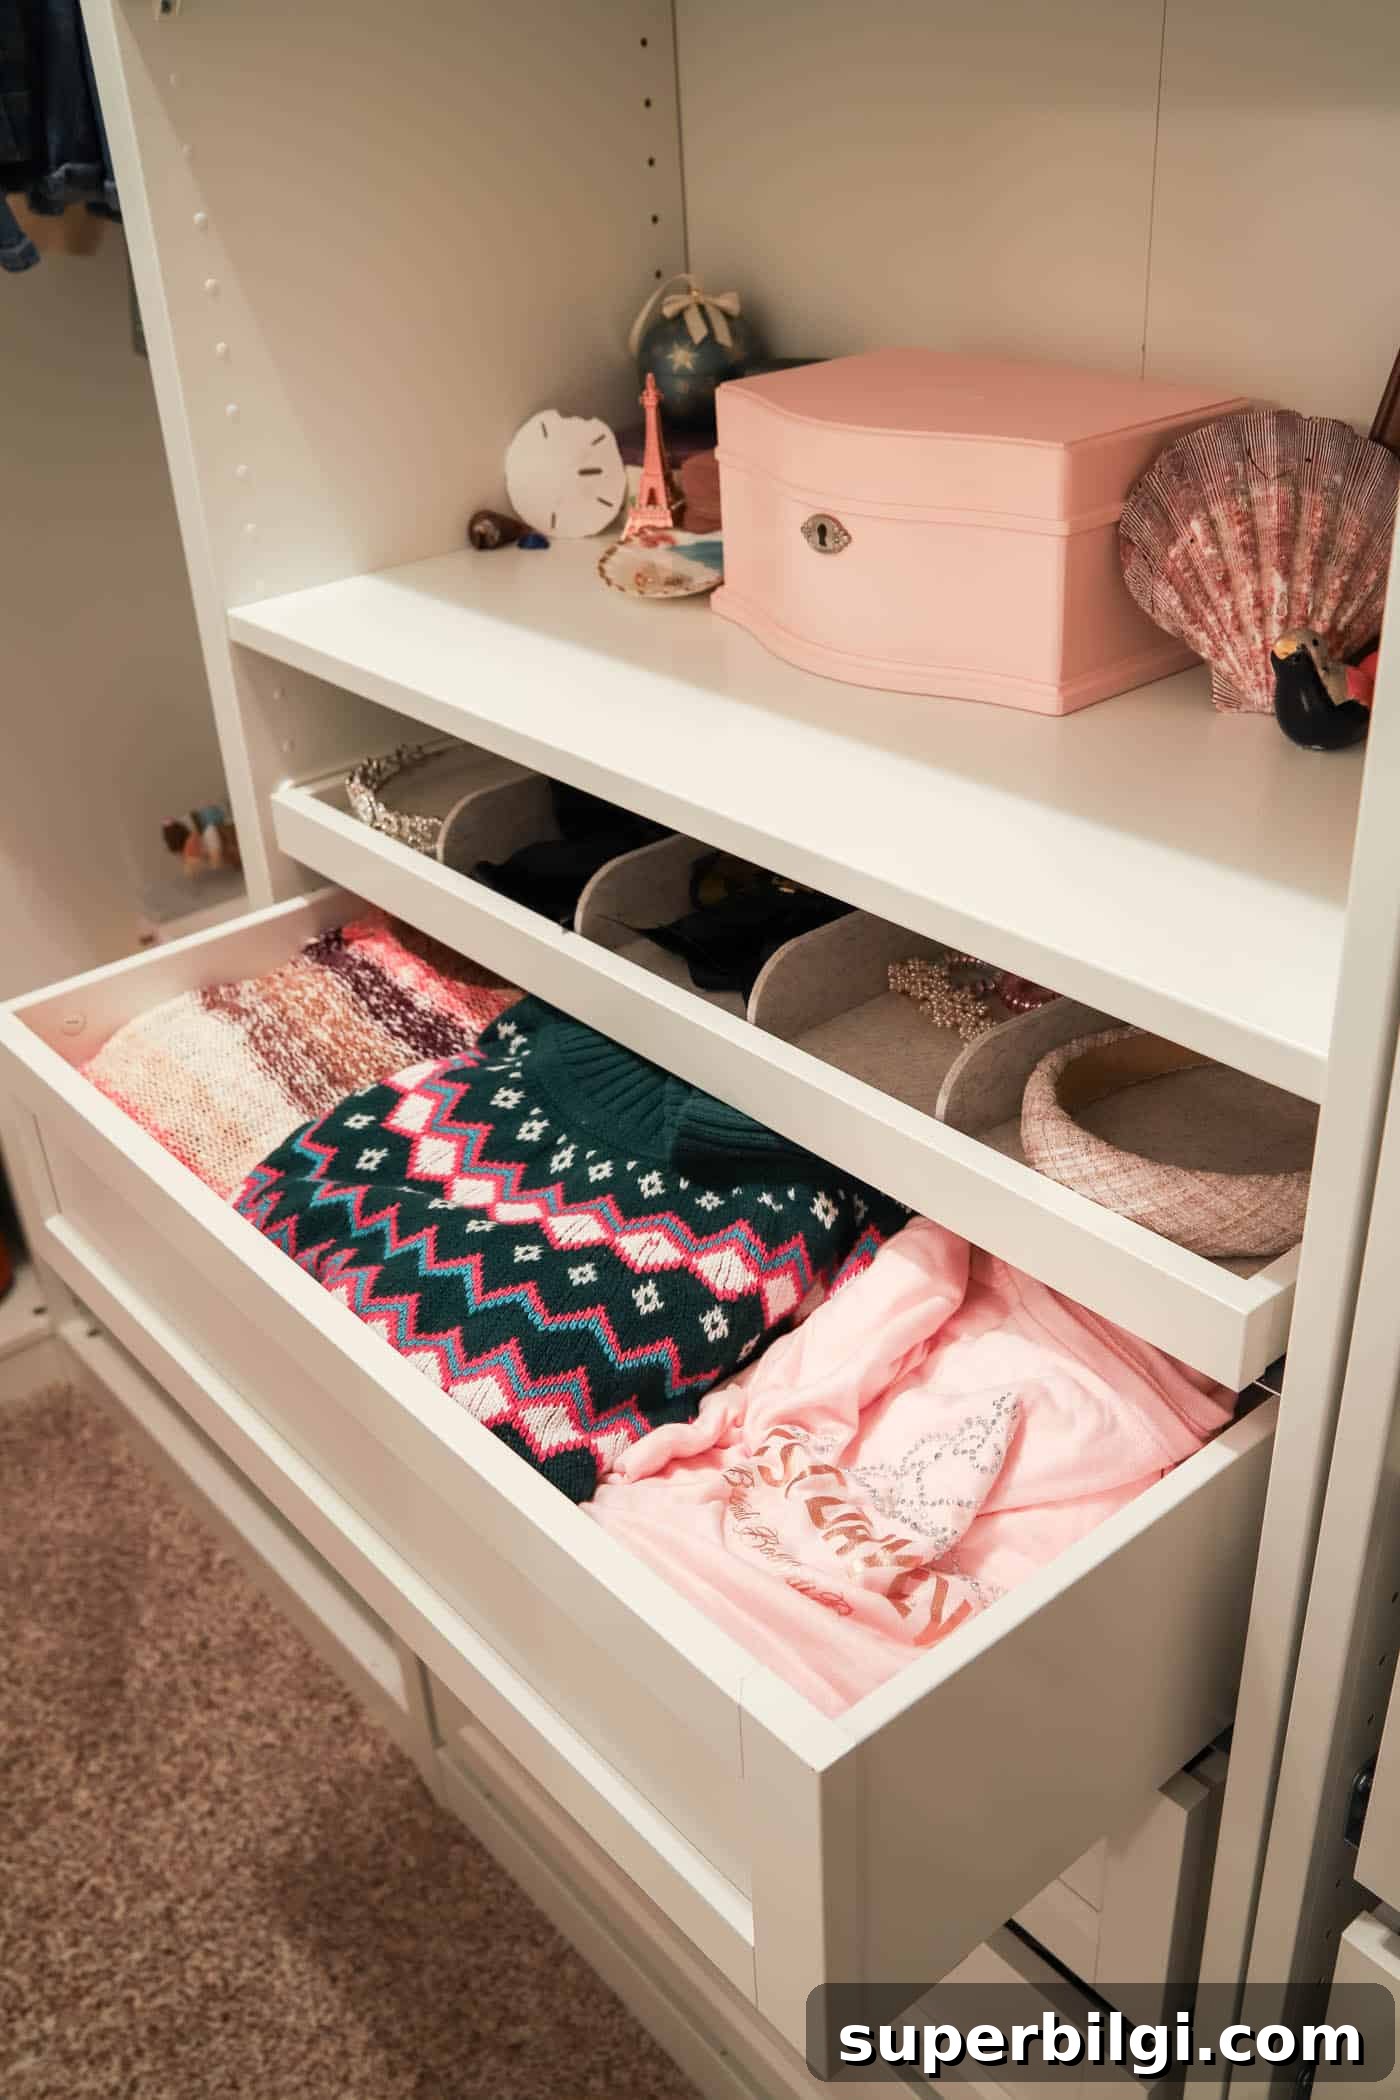
We chose drawers with framed fronts for a classic look and the option to add handles later. The drawers assemble easily, have soft-close mechanisms, and hold a surprising amount of clothing. These eliminated the dresser entirely, freeing up bedroom floor space.
KOMPLEMENT Pull-Out Trays with Inserts
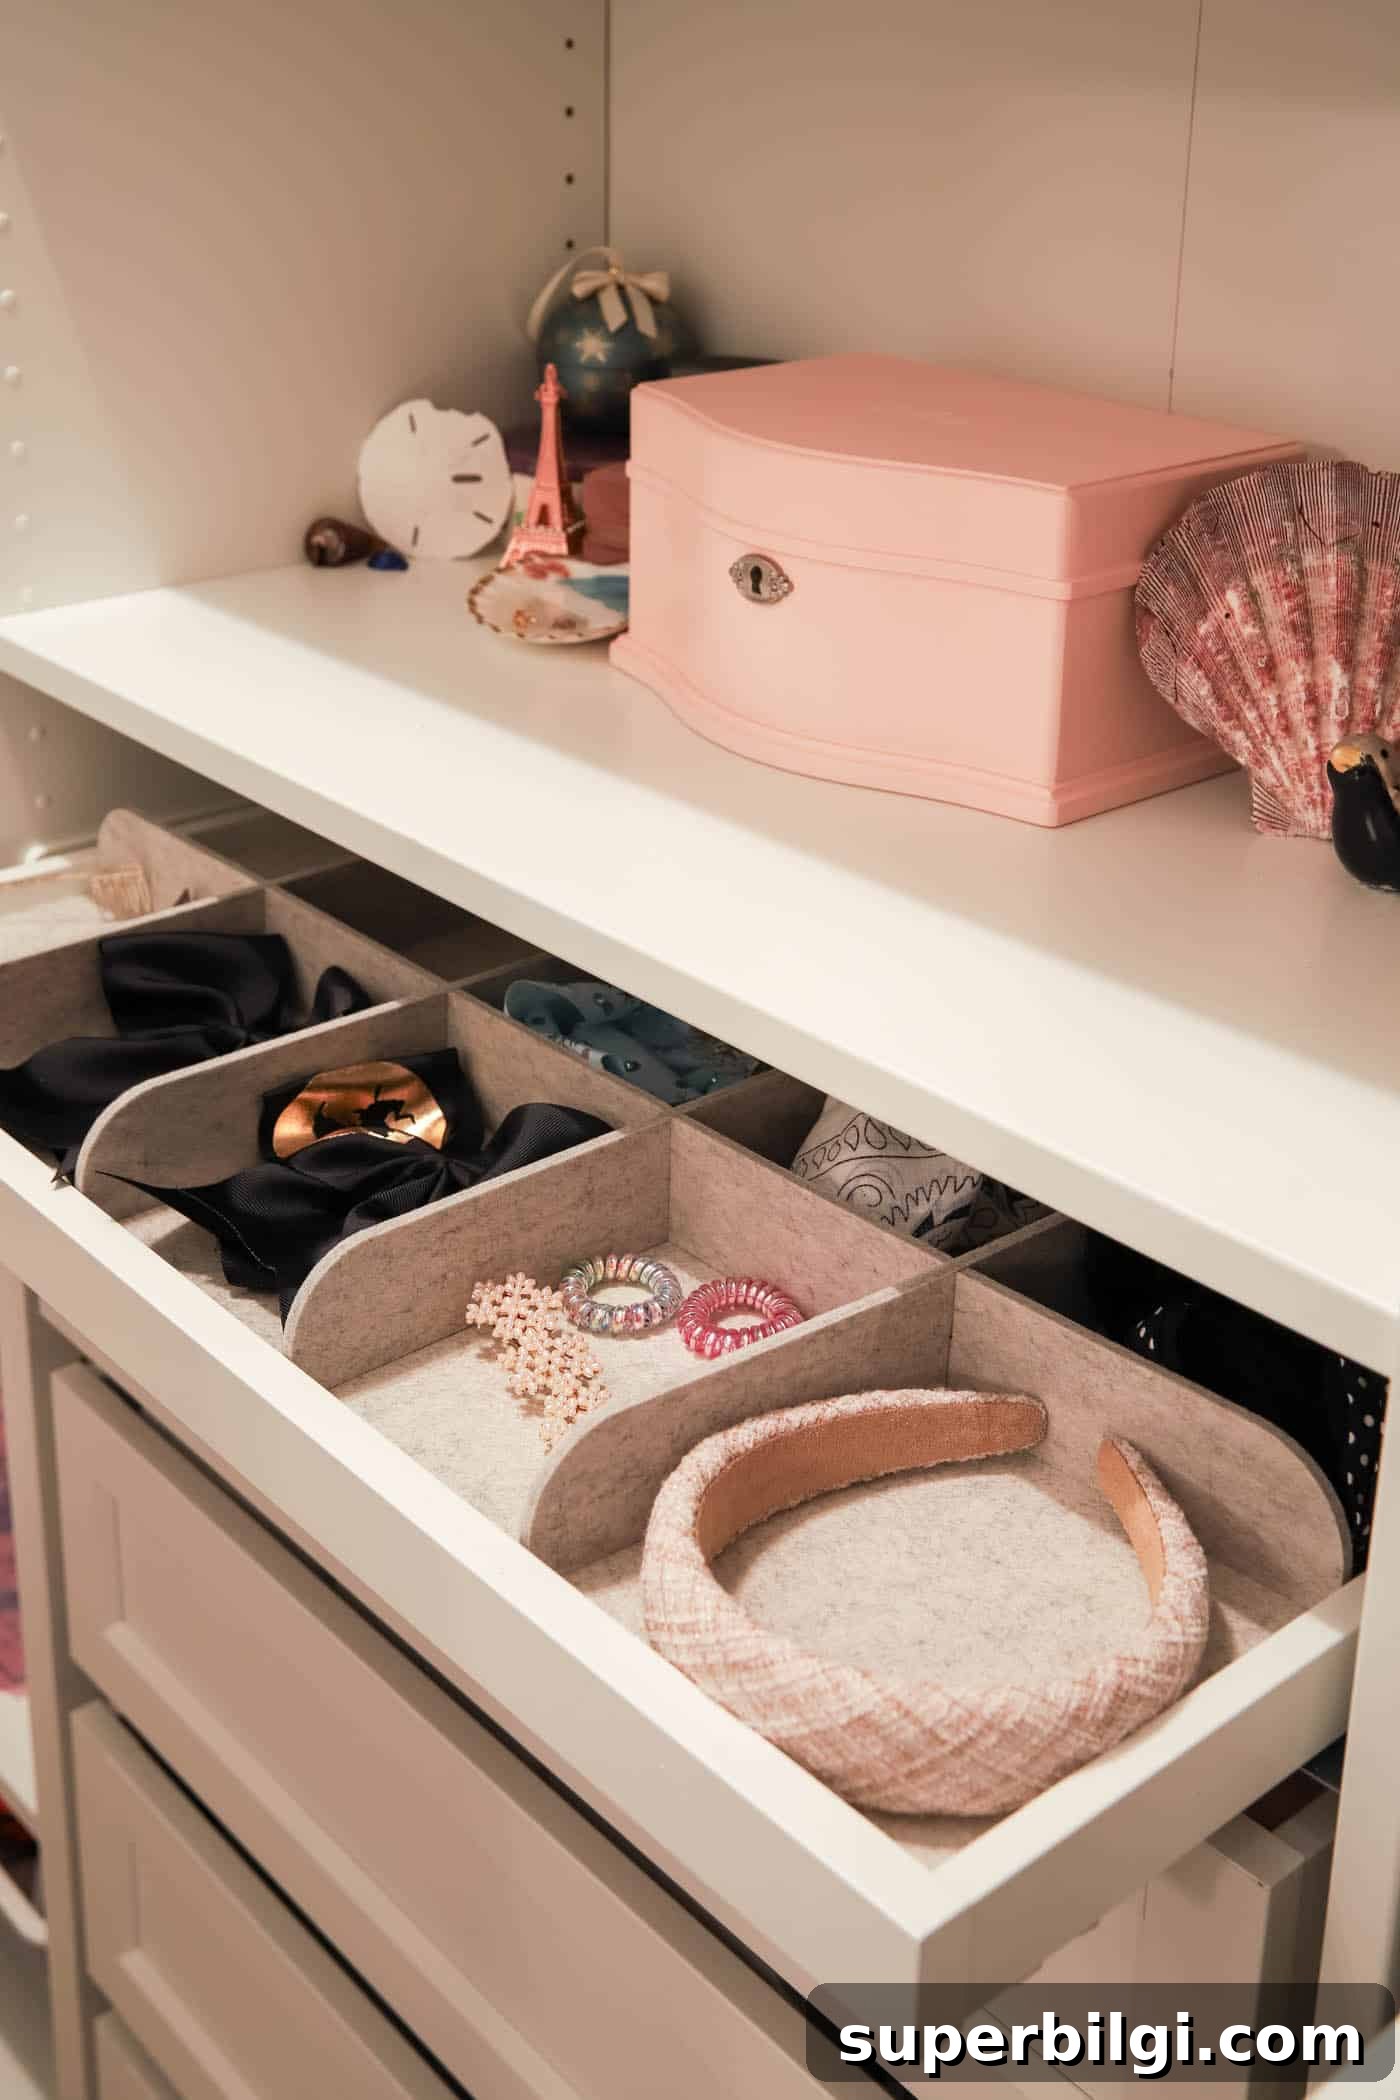
Pull-out trays with inserts are great for small items like hair accessories, jewelry, and small handbags. We used felt liners and dividers to organize bows, clips, and small purses; these trays will adapt as storage needs change.
KOMPLEMENT Valet Hanger
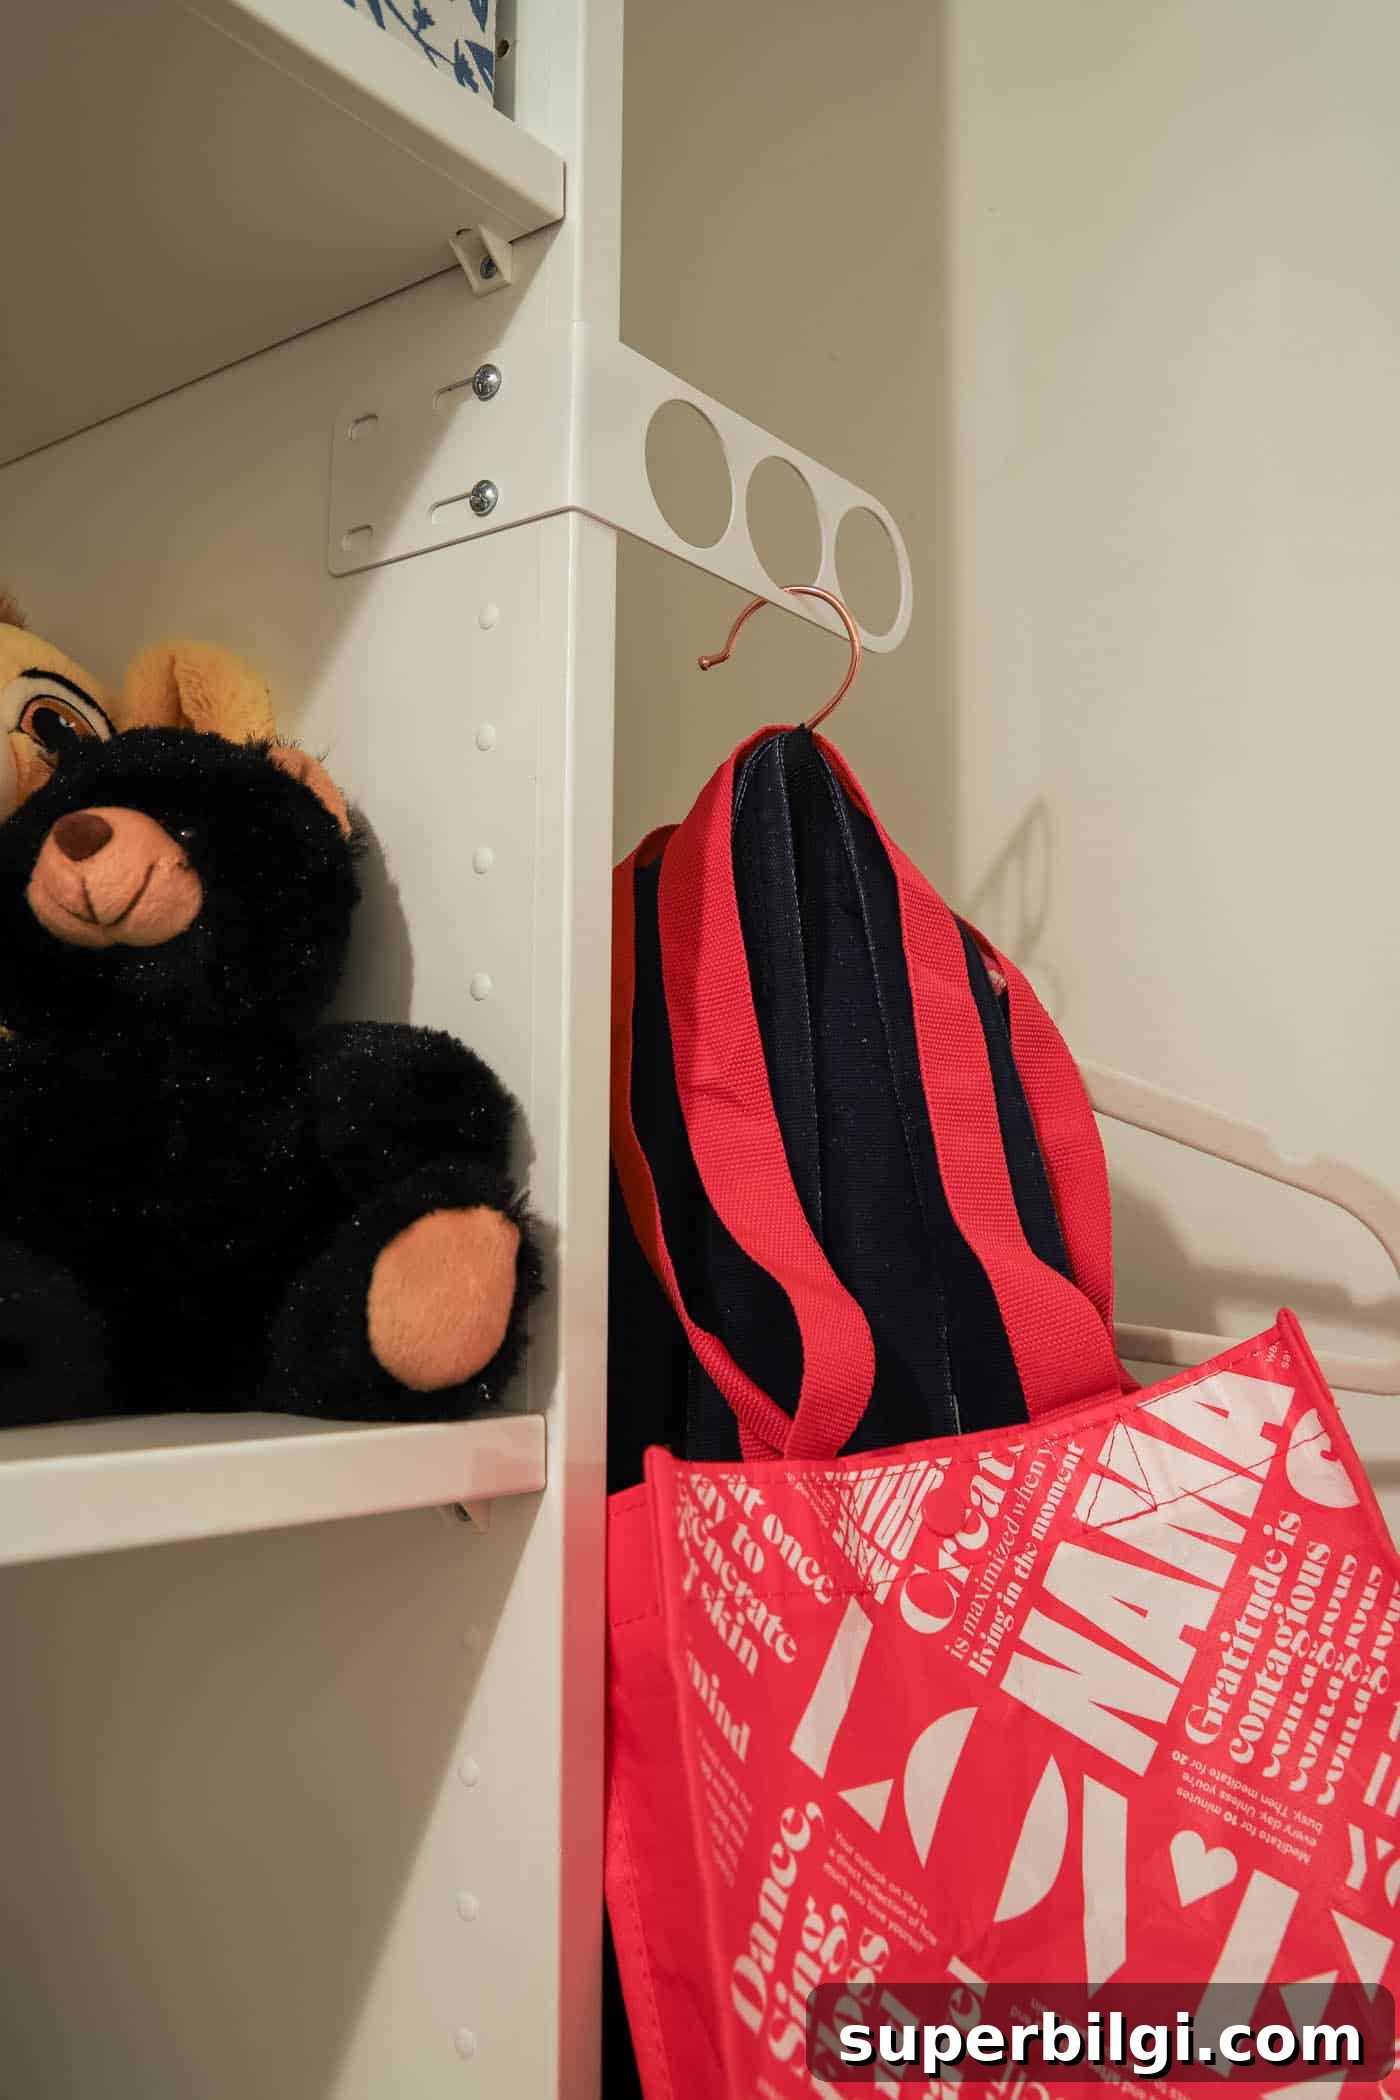
We left about a foot of clearance between the closet end and the wall for a slim hamper and added a valet hanger at the end of the run. It’s perfect for hanging tomorrow’s outfit, drying items, or holding bags — a small detail that makes daily routines easier.
Slim Clothes Hamper
A slim hamper fits neatly in the leftover floor space. We picked a sturdy, compact option with handles so the kids can carry laundry easily. It’s a practical solution for small closets and works well with a twice-weekly laundry routine.
More Interior Accessories I Didn’t Use
Depending on your needs, there are many additional PAX and KOMPLEMENT accessories available, such as pull-out shoe shelves, multi-use hangers for bags, glass shelves, dedicated shoe shelving, and pull-out mirrors. We didn’t need shoe storage upstairs, but these options are useful for many closet designs.
IKEA PAX Closet Delivery
We live three hours from the nearest IKEA, so having everything shipped was worth the delivery fee. The delivery team carried the boxes upstairs and placed them where we planned to assemble the frames, which saved a lot of heavy lifting. For a modest shipping cost, we avoided a long round-trip and the effort of loading and hauling multiple large boxes.
Final Thoughts
After assembly and organizing, I finished by covering unused frame holes with VARIERA hole covers to give a cleaner look. Some people add base trim or crown molding to make the system appear built-in; I may do that later, but for now the closet functions beautifully and looks tidy. The total cost for our installation was about $1,500 — a fraction of custom closet pricing — and the result freed up furniture, created much more usable storage, and will adapt as our daughters’ needs change.
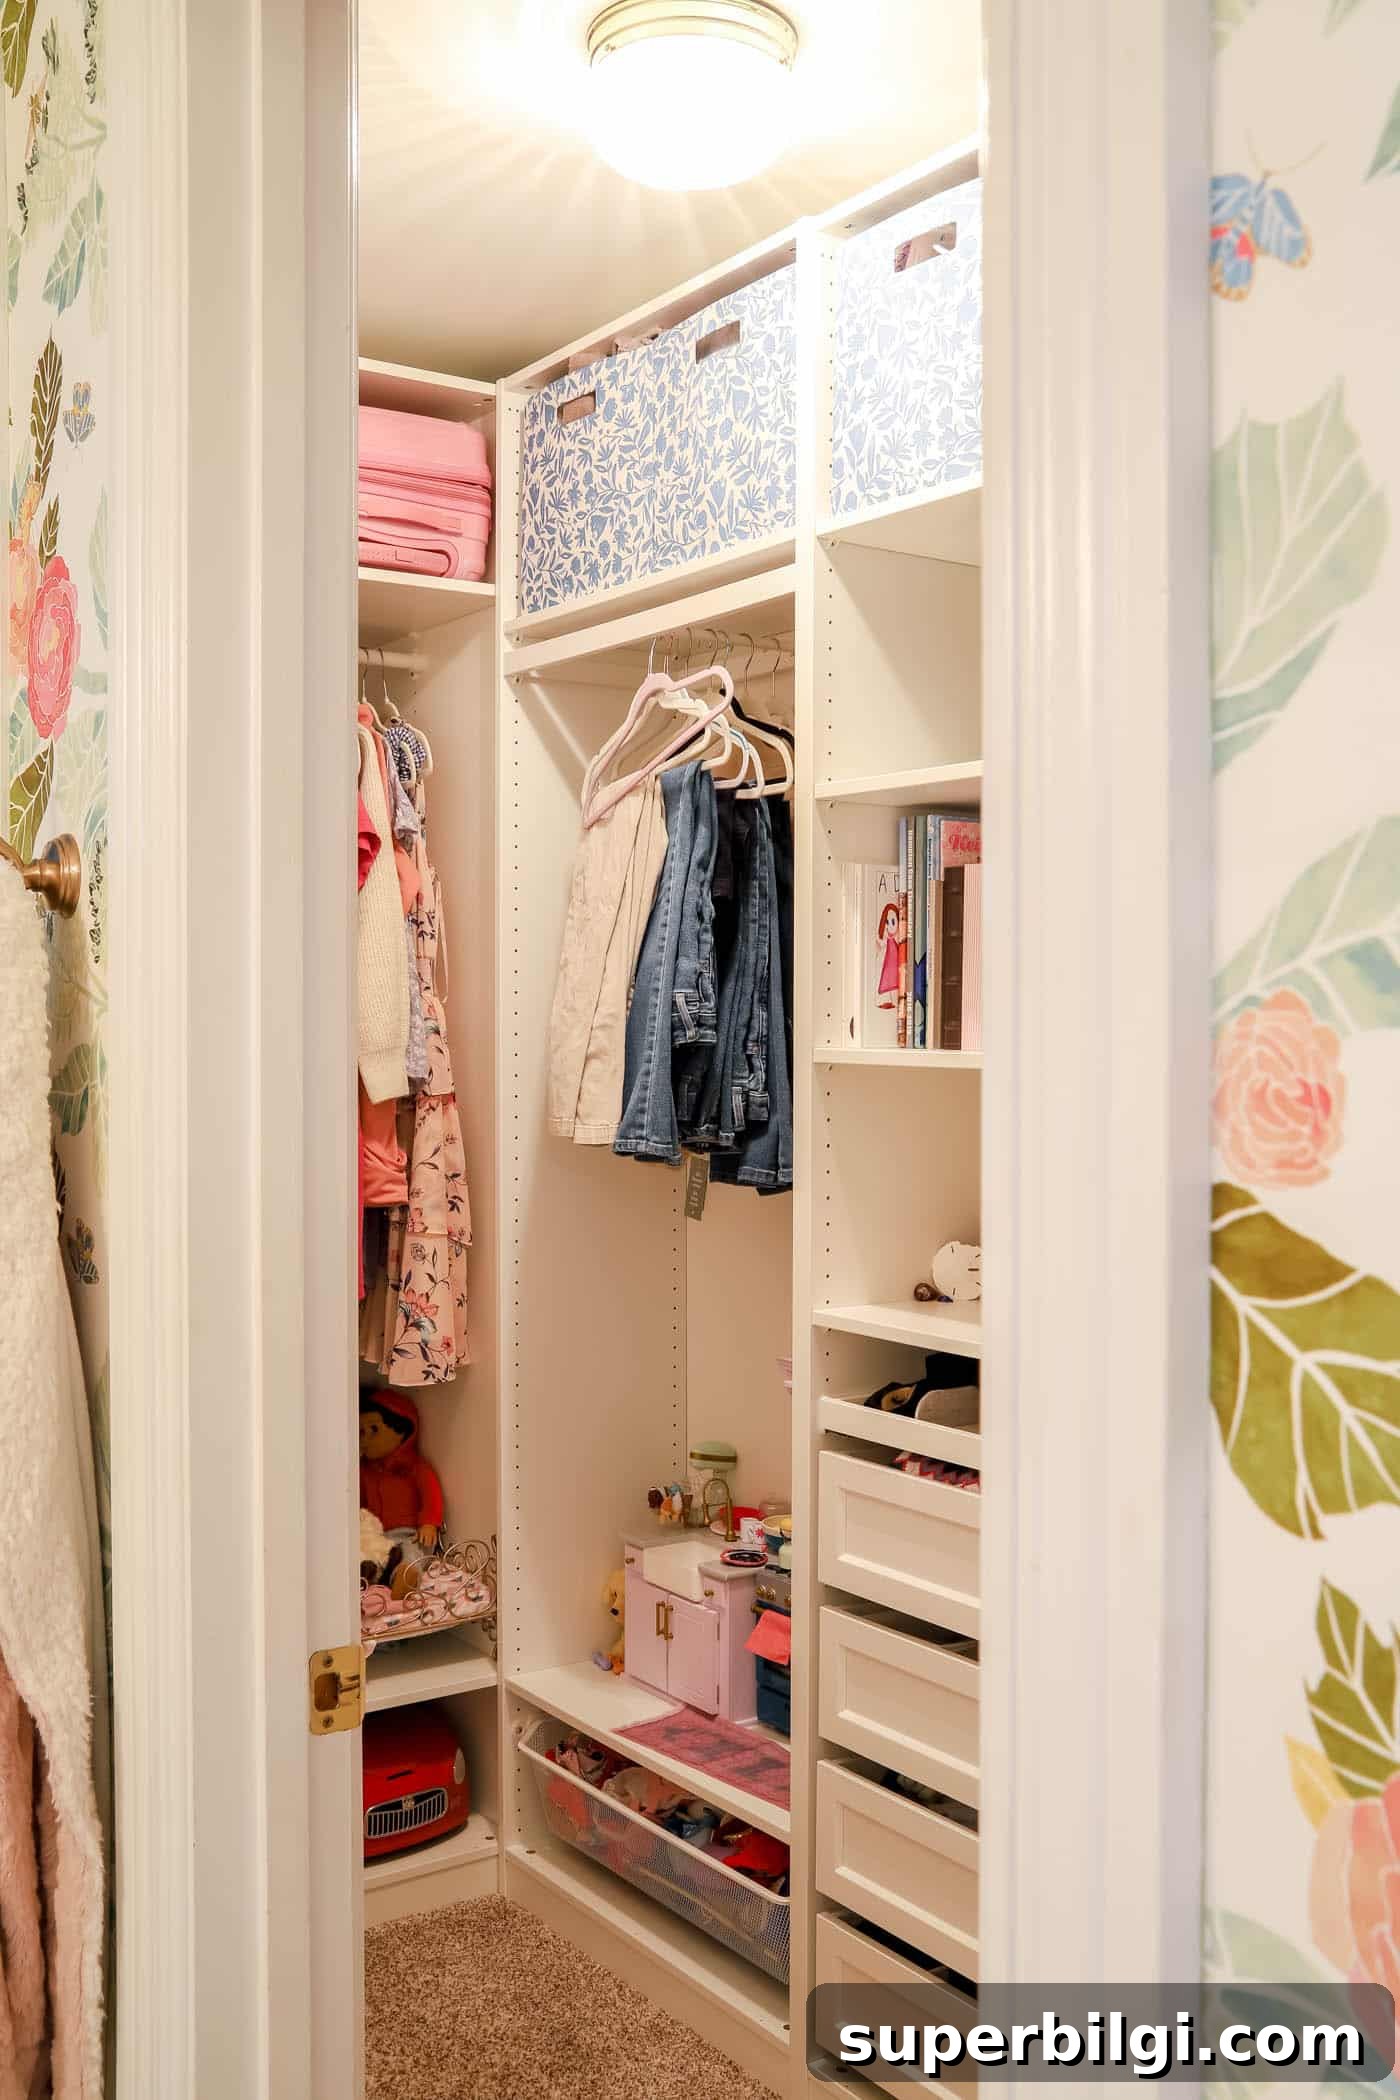
If you’re considering a closet overhaul, a PAX-based DIY route can be an affordable, flexible solution that delivers professional-looking results without a custom price tag.
More posts you will love:
- How to Declutter Your Home in 5 Simple Steps
- How to Organize a Pantry
- The Best Garage Storage Ideas
- The 10 Easiest Family Command Centers to Get Organized
- DIY Closet Shelves (beginner tutorial)