
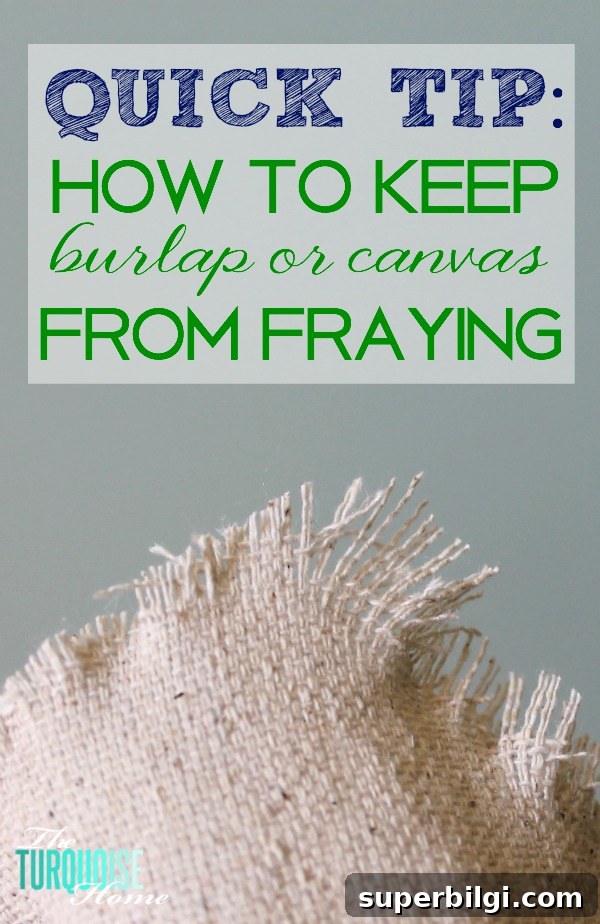
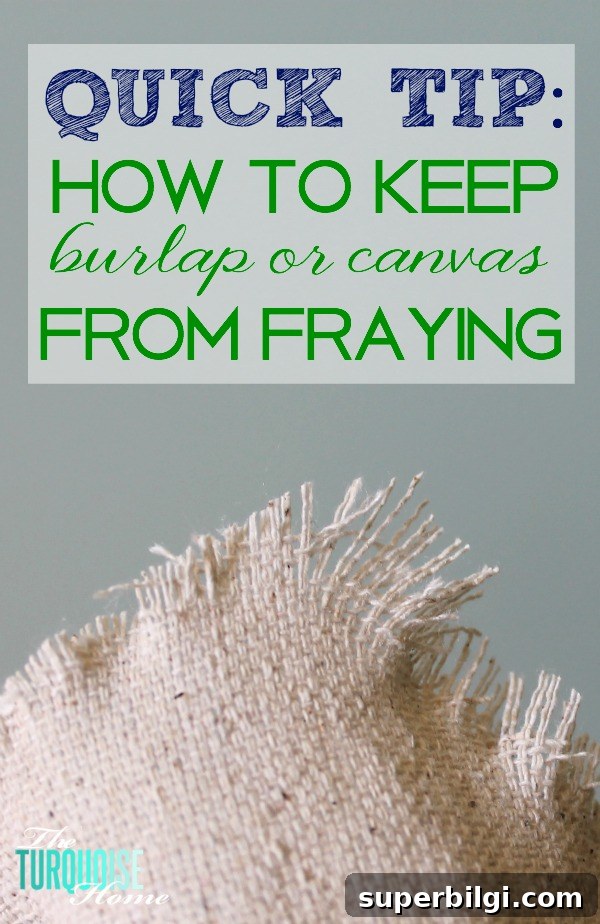
Learn how to keep burlap from fraying after you cut it with this simple step!
It’s been a little quiet here because I’ve been working through a sewing project for Baby G’s nursery. I started months ago and hit a snag when I realized the fabric I chose wasn’t cooperating. I began with a thin canvas-like material that was too flimsy and frayed immediately. Then I switched to a heavier drop cloth (canvas), thinking it would be easier to sew, but the cut edges kept unraveling as I stitched. The stitches wouldn’t hold because the threads along the edge were coming apart, and the project threatened to fall apart with every pass of the machine.
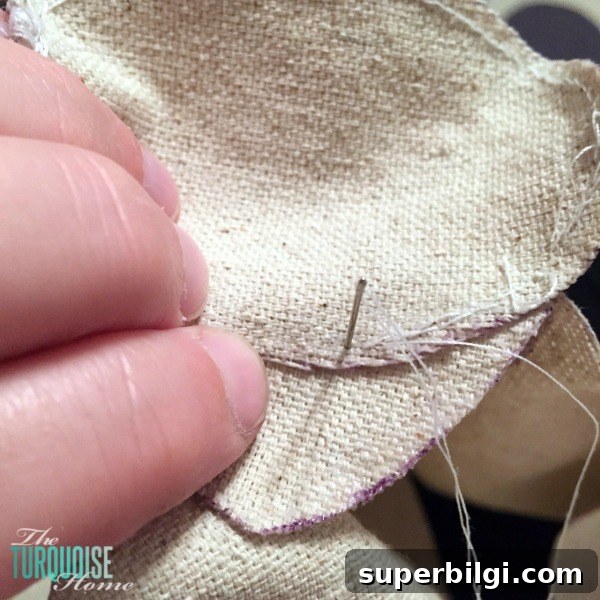
Simple fix: seal the cut edge before sewing
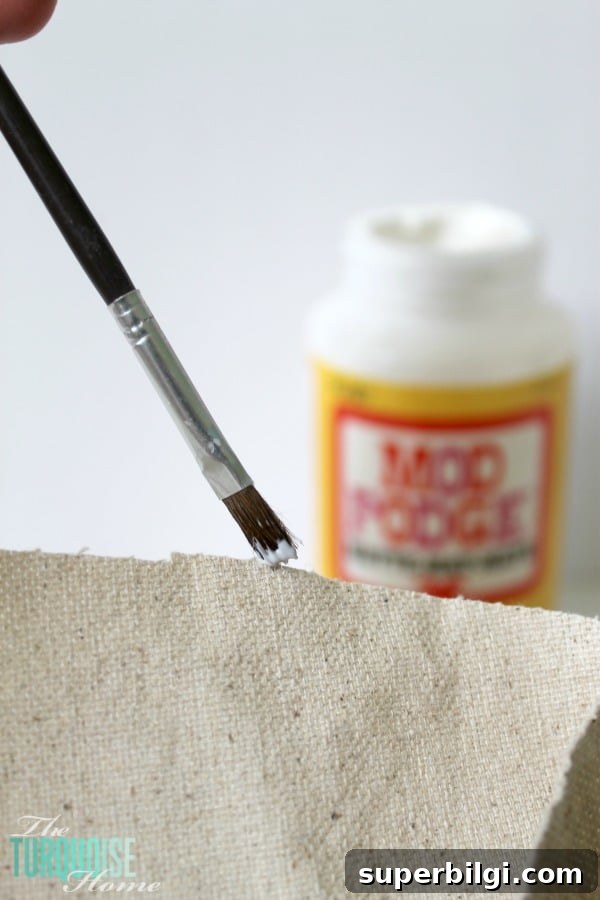
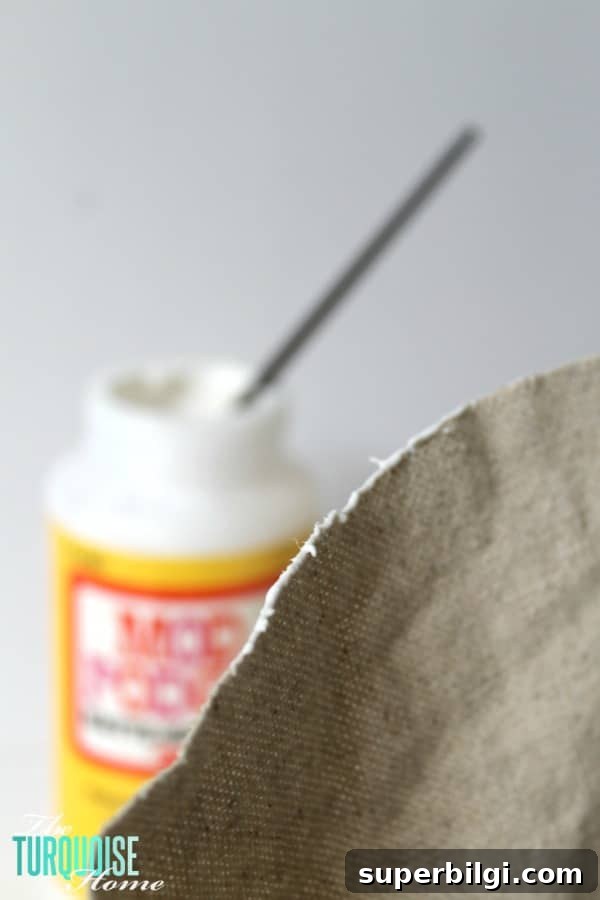
I needed a fast, reliable way to stop the edges from unravelling so I could keep sewing. After a little trial and error, I realized a craft sealer I already had at home would do the trick: Mod Podge. If you seal the raw edge with a thin line of a fabric-safe sealer and let it dry, the fibers lock together and won’t slip out when you sew.
How I applied it
All you need is a small paintbrush and a water-based fabric sealer or decoupage medium. Dip the brush and draw a thin line of sealer along the cut edge of the canvas or burlap. You don’t need to soak the fabric—just a light, even coating along the very edge is enough to bind the loose fibers.
Let the sealant dry completely before handling or sewing. Once dry, the edge stays intact and the fabric will sew without pulling apart. That simple step saved my project and let me continue stitching with confidence.
Tips and variations
- Test first on a scrap piece. Different burlap and canvas blends absorb sealers differently—try a quick test so you know how much to apply.
- Use a light hand. Too much product can stiffen the fabric and make seams bulky; a thin line does the job without changing the fabric’s drape.
- Apply to both sides if the weave is very loose. A touch of sealer on each face can strengthen the edge more thoroughly.
- Allow ample drying time. Depending on humidity, a water-based sealer can take from 30 minutes to several hours to cure fully.
- If you prefer a commercial option, fabric-specific fray preventers are made for this purpose and work similarly; the method and precautions are comparable.
- When sewing canvas or burlap, use a heavy-duty needle and longer stitch length to avoid bunching or skipped stitches. Stabilizers or interfacing can help with very open weaves.
- For synthetic fabrics, be careful with heat-based methods like hot knives—the wrong approach can melt fibers. When in doubt, stick with a water-based sealer and mechanical finishes (hemming, zigzag stitch, or serging).
After sealing the raw edges and letting them dry, I was able to sew without unraveling. The stitches held, the seams stayed tidy, and the project moved forward. I’m much closer to finishing the nursery decor now and can’t wait to share the final reveal.
Any guesses what I’m making? 🙂
More Posts You Will Love:
- Easy sewing tips for beginner projects
- How to choose the right needle and thread for heavy fabrics
- Simple ways to finish raw edges: hemming, zigzag, and serging
- Stabilizers and interfacing: when to use them