
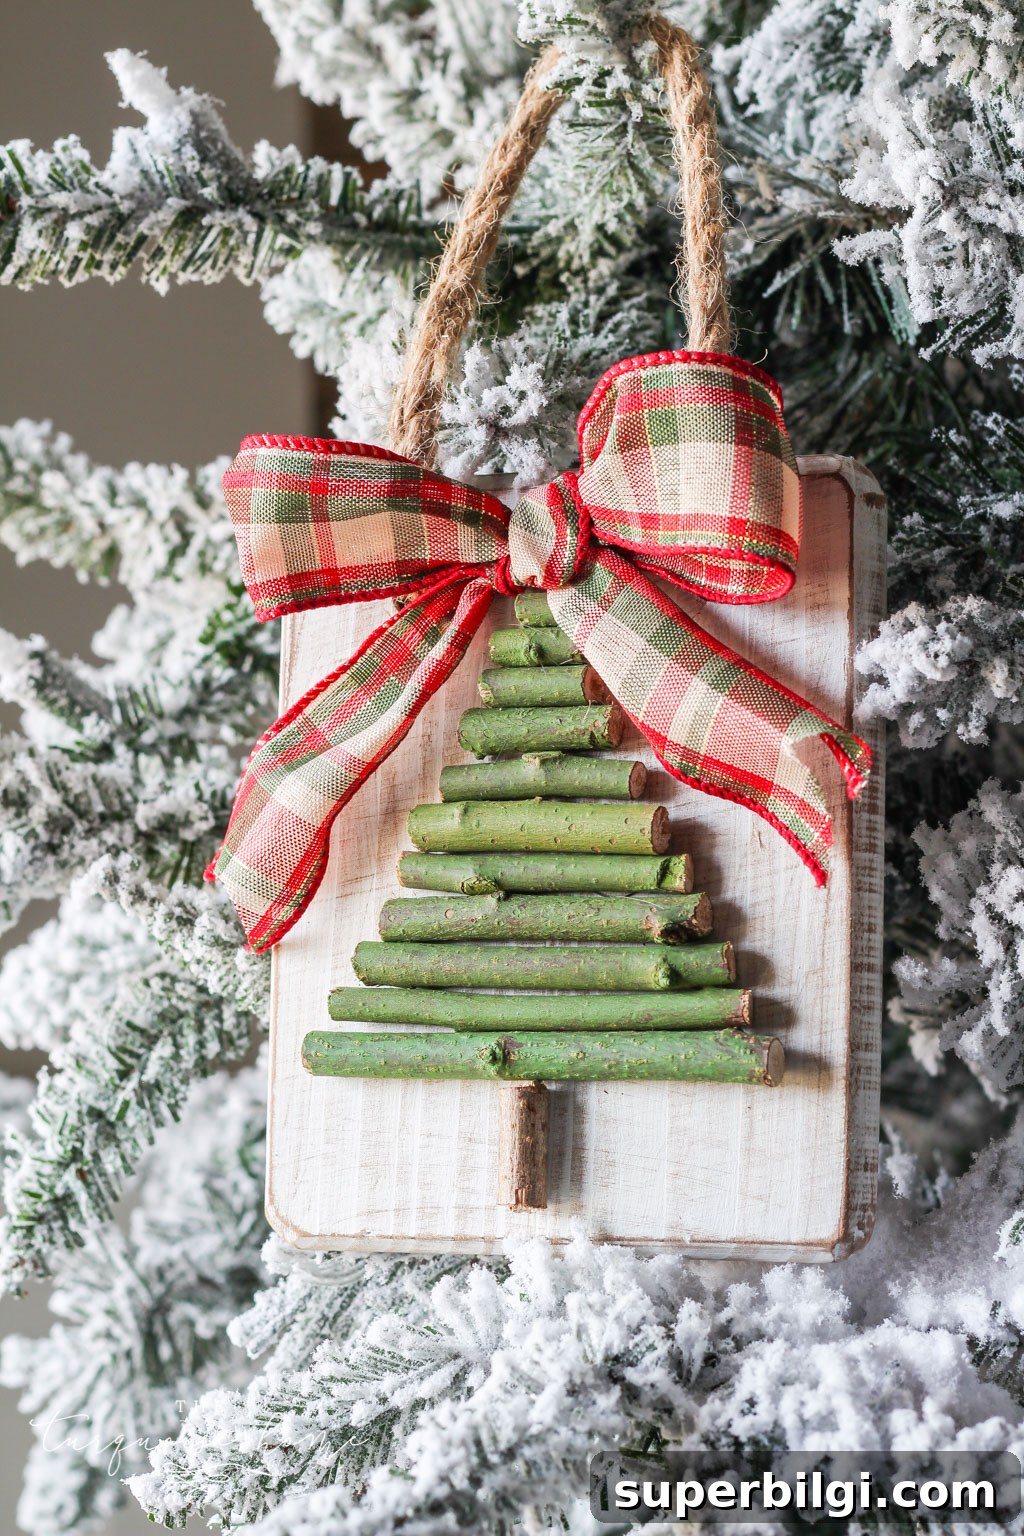
This DIY twig Christmas tree ornament is simple, charming, and quick to make. Add a small bow, a glittery star, or any tiny embellishment to personalize it. It’s so easy the kids can help!
My daughters each made one (with a little help) and every ornament turned out adorable and unique.
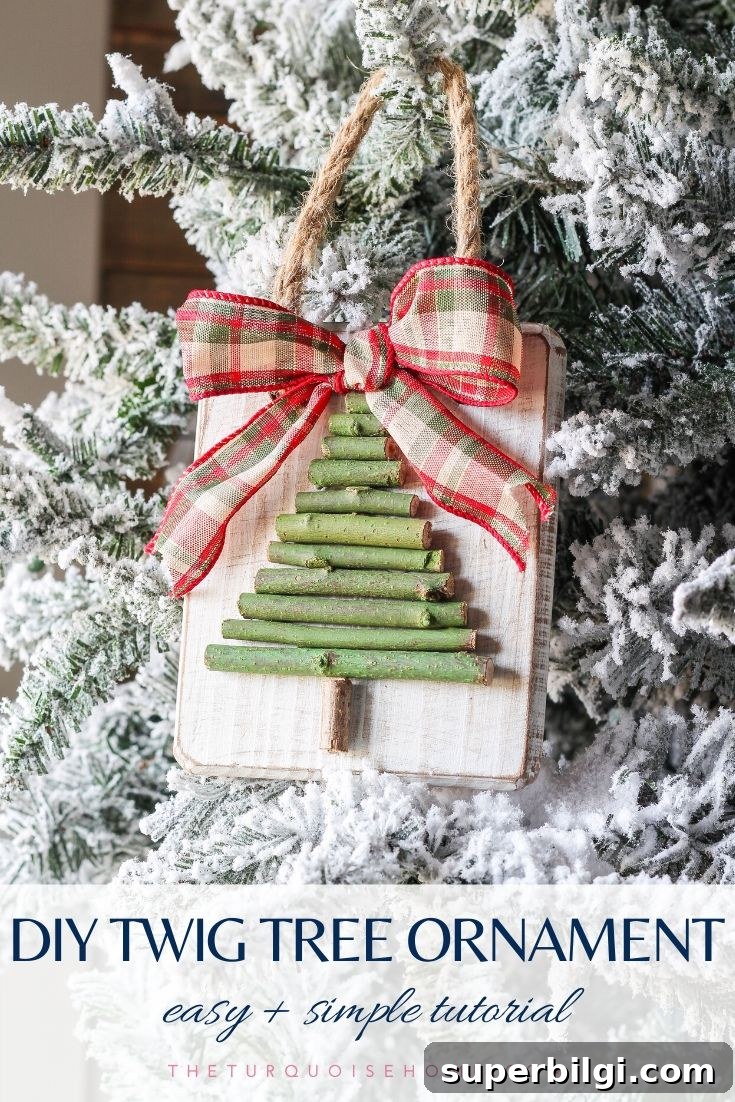
You can make this using a small scrap of wood or a ready-made plaque and a handful of twigs from your yard or from craft stores. This project is flexible: dress it up with paint, stain, ribbons, or leave it rustic and budget-friendly.
Note: this post originally contained affiliate links for convenience.
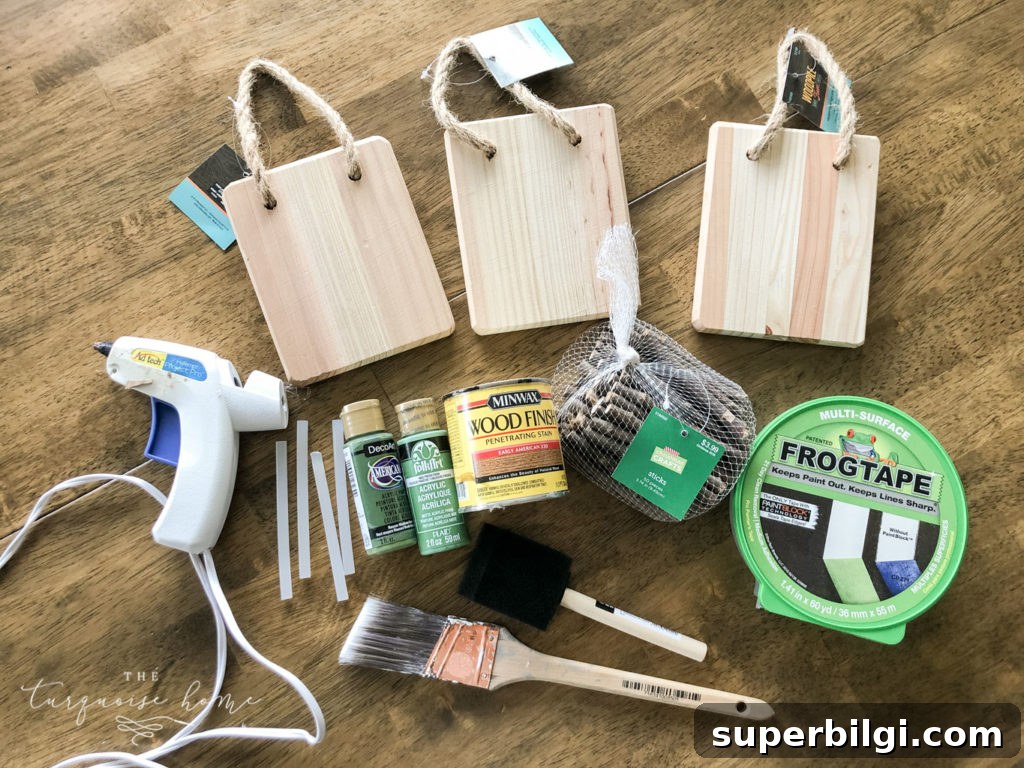
Supplies You’ll Need to Make a Twig Ornament
- Small wood plaque, scrap wood, or a pre-made ornament plaque with a hanger
- Short twigs or craft wood sticks (natural twigs look great)
- Hot glue gun and glue sticks
- Wood stain (optional) — I used a warm brown
- White paint for the plaque background
- Green paint or craft paint for the twig tree
- Fine sandpaper
- Paint brush and foam brush
- Hand saw or strong wire cutters to trim twigs
- Painter’s tape
- Small ribbon, tiny star, wooden craft embellishment, or glitter for the topper (optional)
How to Make a Twig Tree Ornament
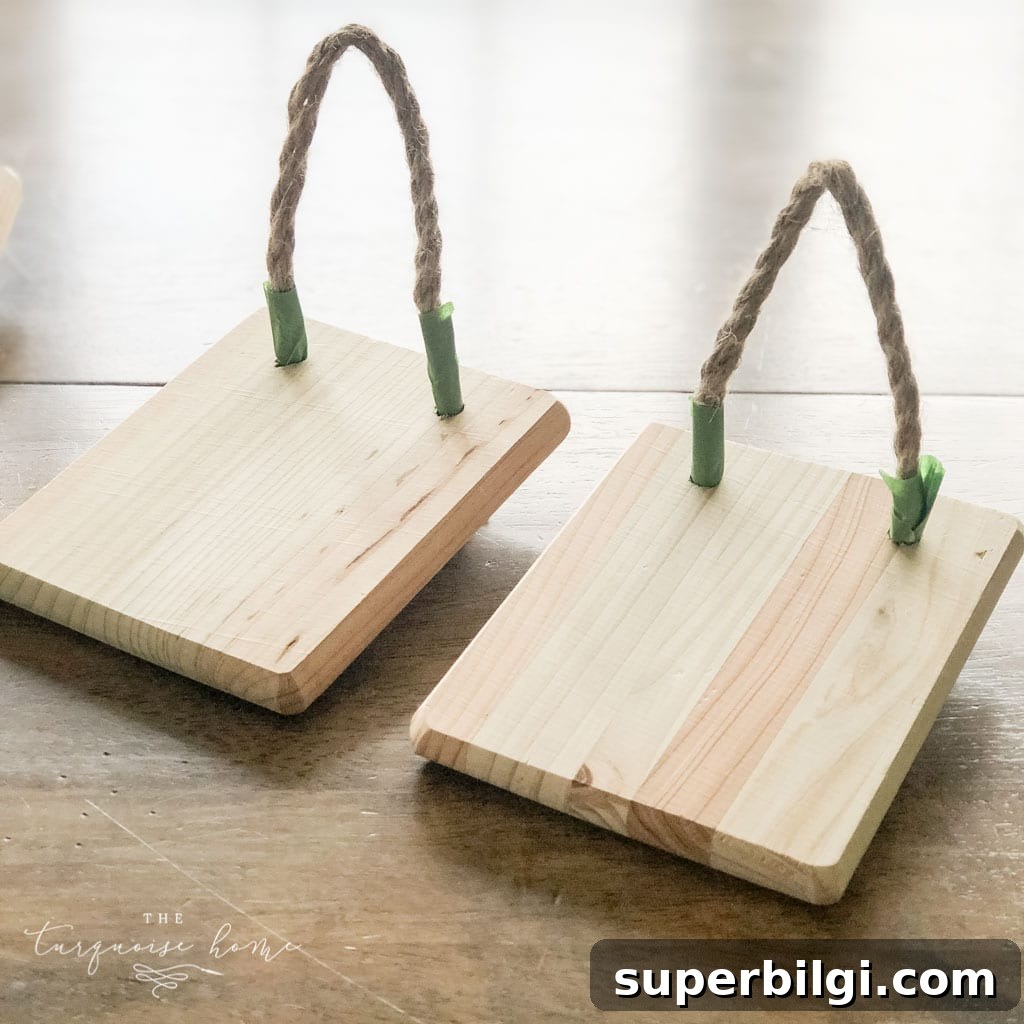
1. Tape off the Jute Rope
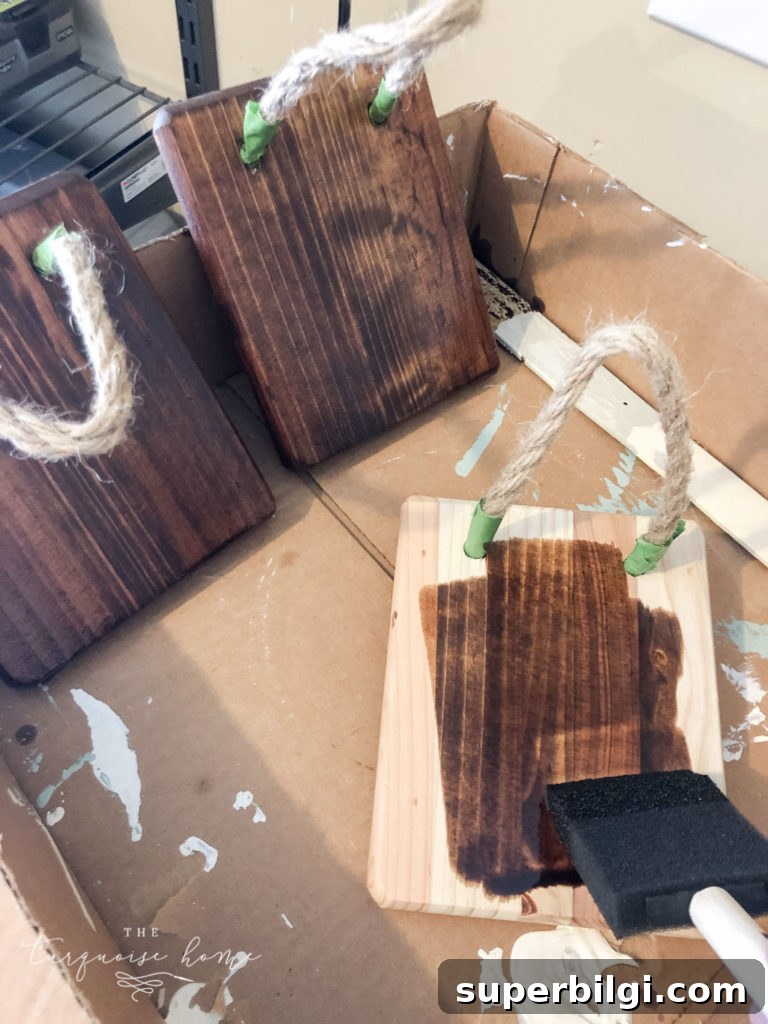
If your plaque has a jute rope hanger or any attached cord, protect it with painter’s tape where it meets the front so it won’t get stained or painted. This small step keeps the finished ornament looking neat and professional.
2. Stain the Board/Plaque (optional)
If you prefer a warm wood tone on the plaque, apply a thin coat of stain and wipe away the excess. Follow the stain manufacturer’s directions for drying time. If you’re short on time, allow it until it is dry to the touch before continuing. Staining adds depth and a rustic feel that pairs nicely with natural twigs.
3. Cut the Twigs
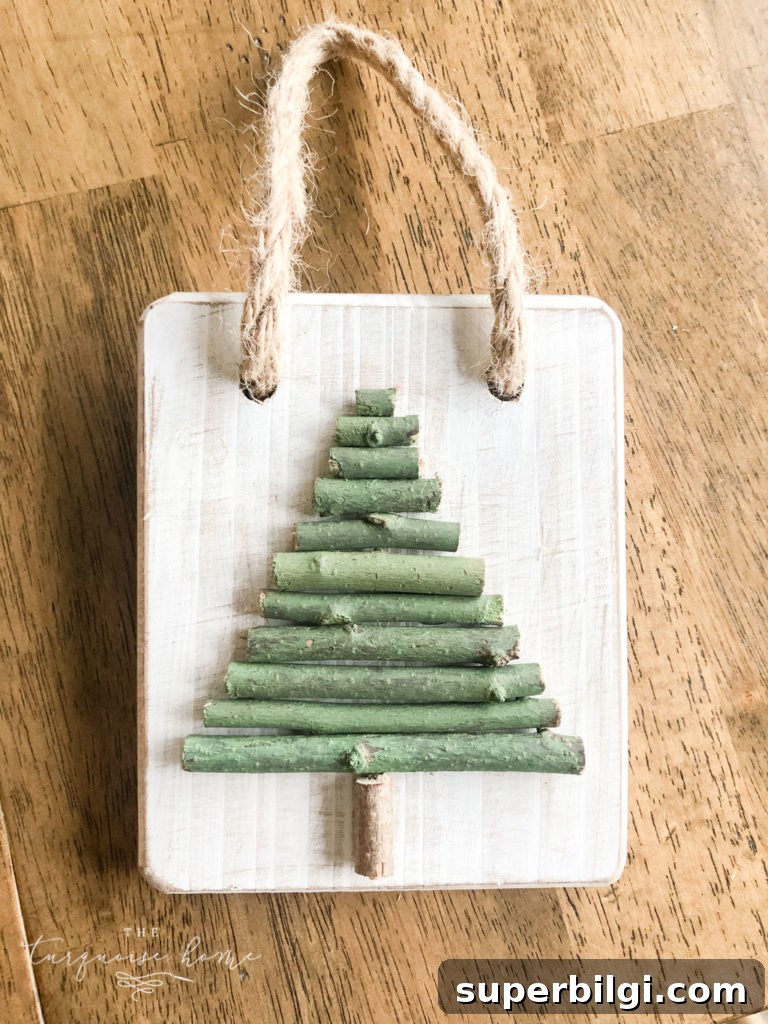
While the stain dries, prepare the twigs. I used twigs about 3.75 inches for the widest part of the tree and cut each successive twig slightly shorter until I had eleven pieces for a balanced, layered tree shape. Trim a short piece for the trunk. A small hand saw or sturdy wire cutters work well—saw partway through and finish the cut with cutters if needed to avoid splintering.
4. Paint the Board/Plaque
Once the stain has dried (or if you skipped staining), paint the plaque background. A single coat of white or off-white makes the green twigs pop, but you can choose any color to suit your decor. Let the paint dry thoroughly—about an hour for most craft paints.
5. Paint the Twigs
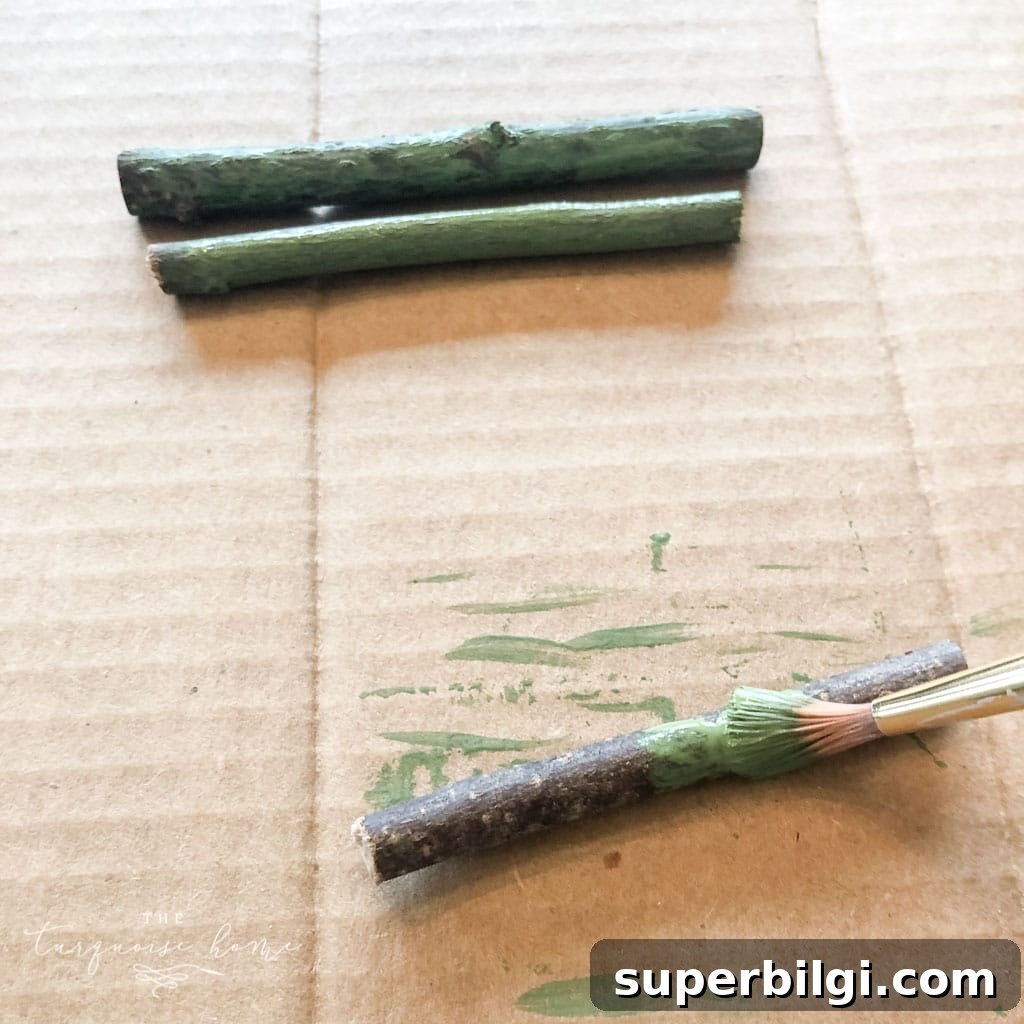
Paint the twigs green with a light, even coat. For a natural look, brush on the paint so the twig texture still shows through. Children might prefer to fully coat their twigs with color, which looks fun and festive. Allow the paint to dry completely before gluing.
6. Optional: Distress the Board/Plaque
For a farmhouse or vintage look, lightly sand the plaque edges with fine grit sandpaper to reveal a bit of wood or stain beneath the paint. Wipe off any dust before continuing. Distressing is optional but gives the ornament a nicely worn, handmade appearance.
7. Glue the Twigs to the Board
Arrange all the twigs on the plaque first to find the spacing and alignment you like. Start at the bottom and work upward, gluing one twig at a time with a hot glue gun. Press each twig gently for a few seconds to ensure a strong bond. Finish by gluing the small trunk piece centered under the layers of branches.
8. Add Embellishments
Add a tiny ribbon bow, a small wooden star, a dot of glitter, or a painted pomp to the top of the twig tree. You can also glue on mini pom-poms, sequins, or beads to mimic ornaments. Keep decorations lightweight so they don’t pull at the twine hanger.
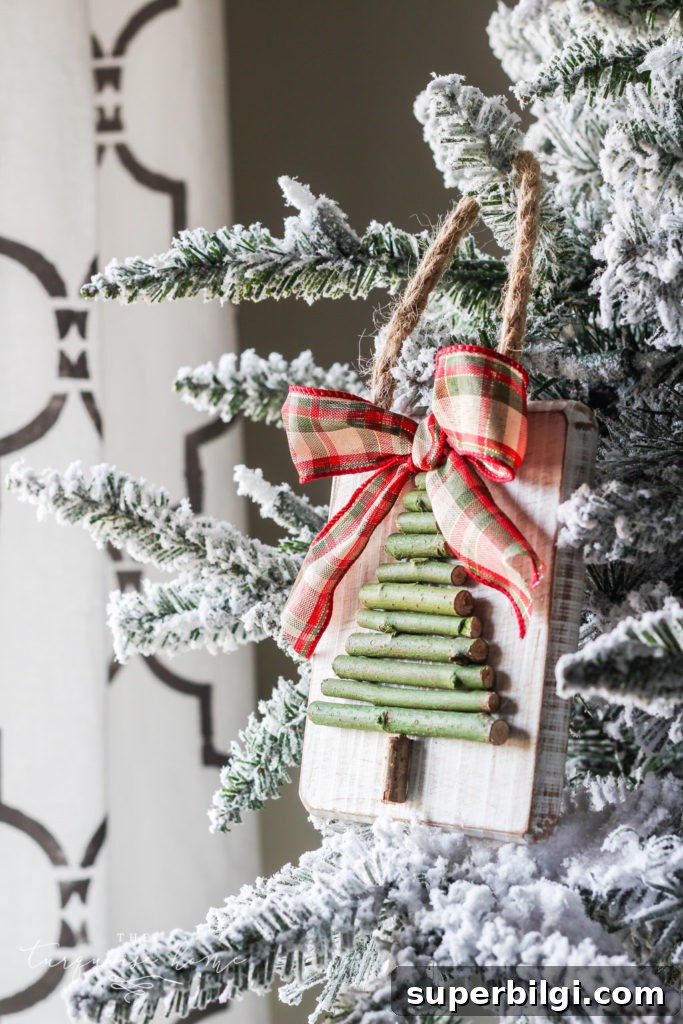
And that’s it — your twig tree ornament is complete. These ornaments are large enough to hang on a Christmas tree or be used as wall decor, in a vignette, or even centered in a wreath. If you’re mindful about materials and adhesives, these make lovely handmade gifts or kid-friendly craft activities.
Happy crafting!
More posts you might enjoy:
- DIY Wood Finial Ornament
- DIY Mason Jar “Snow Globe” Ornament
- How to Dry Orange Slices for Decorations and Crafts
- Orange, Blue and Brown Christmas Tree Ideas
- Christmas Gift Wrapping Ideas