
Learn how to organize an arts & crafts storage cabinet in six simple steps in under an hour — and enjoy the benefits for years!
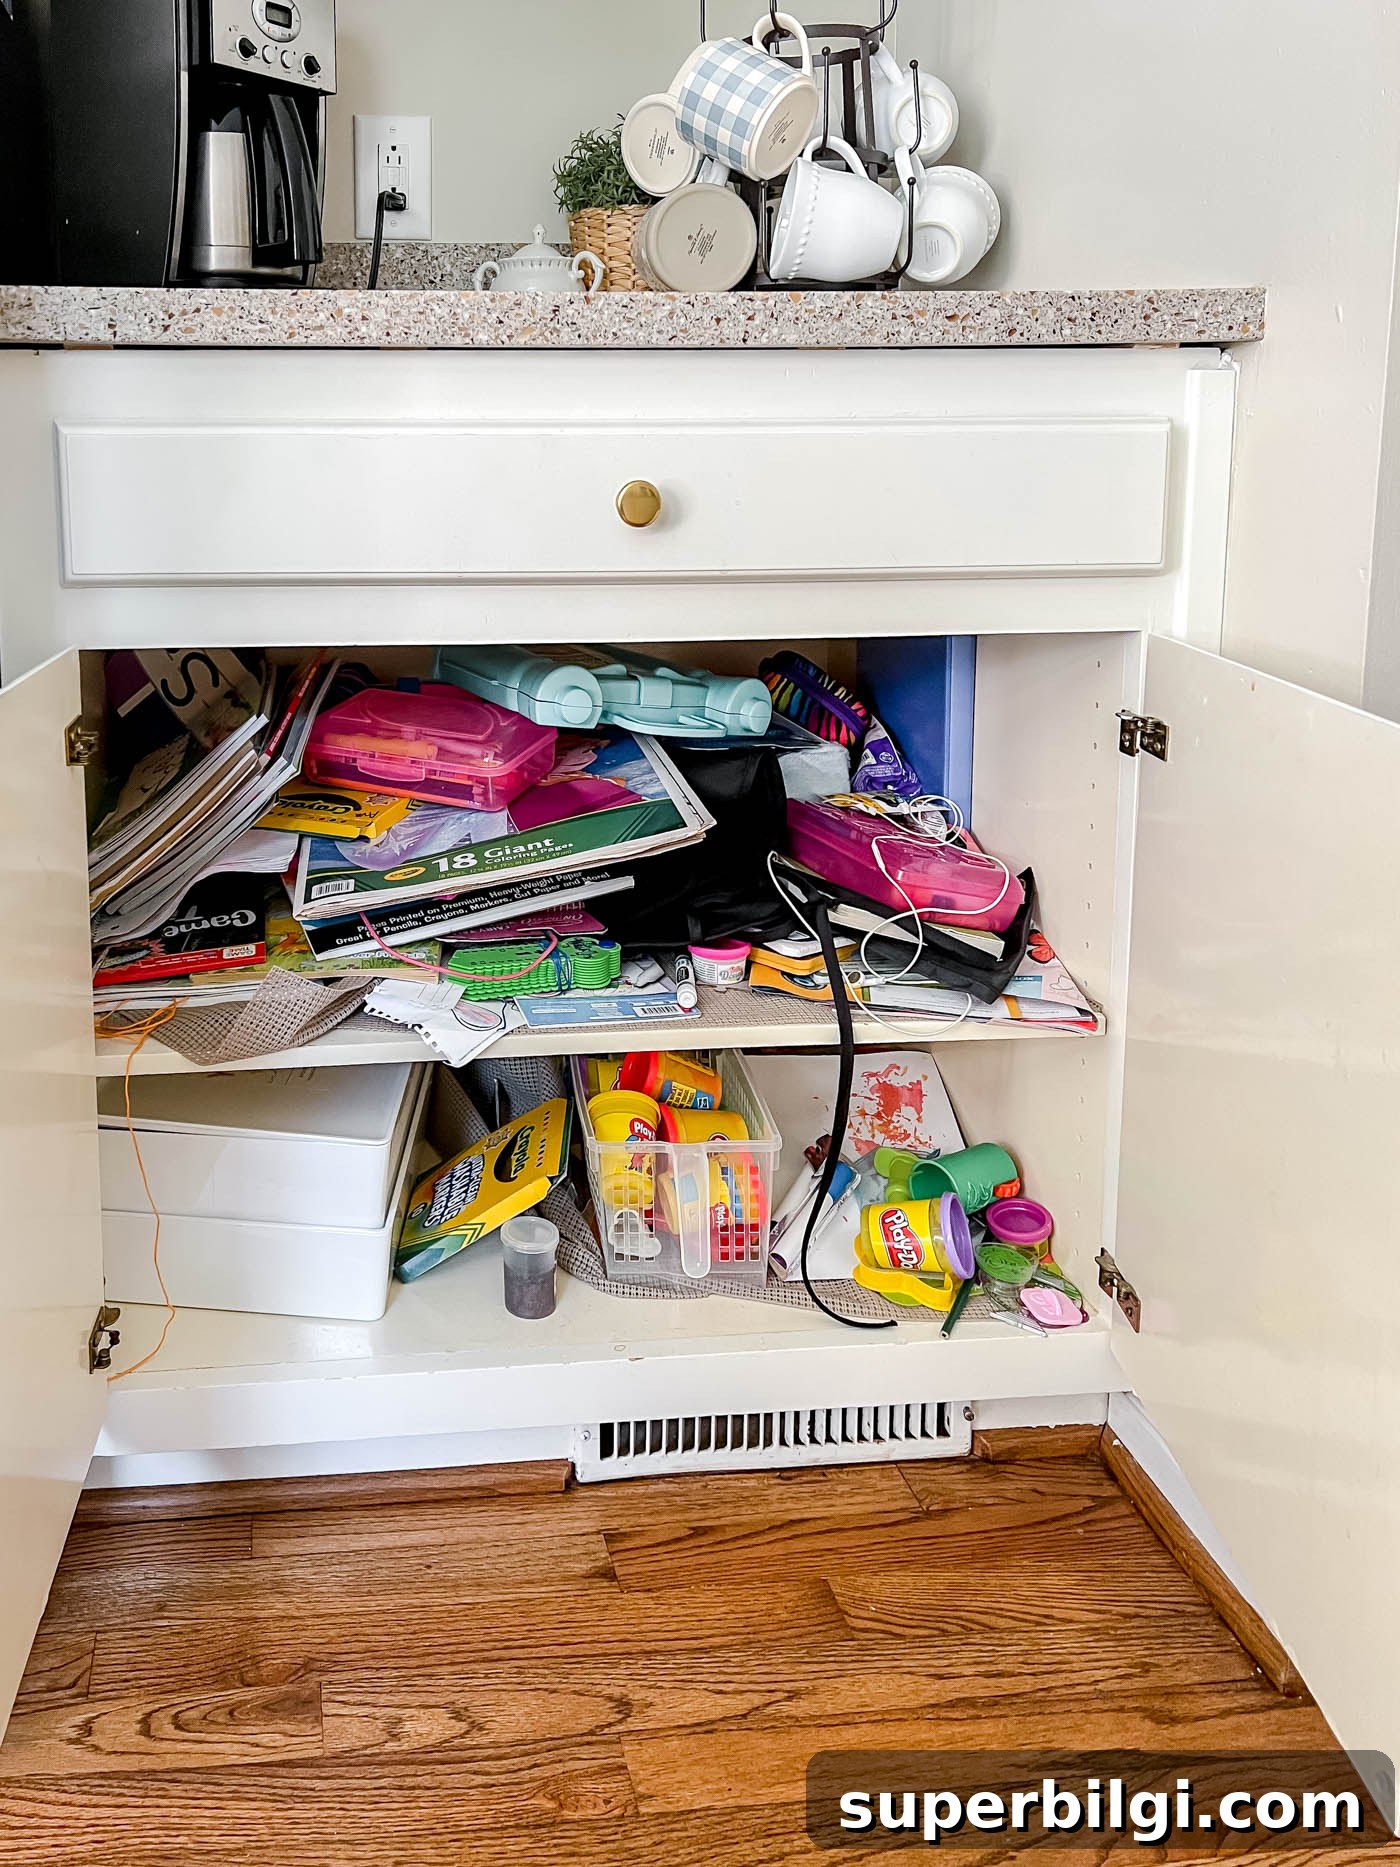
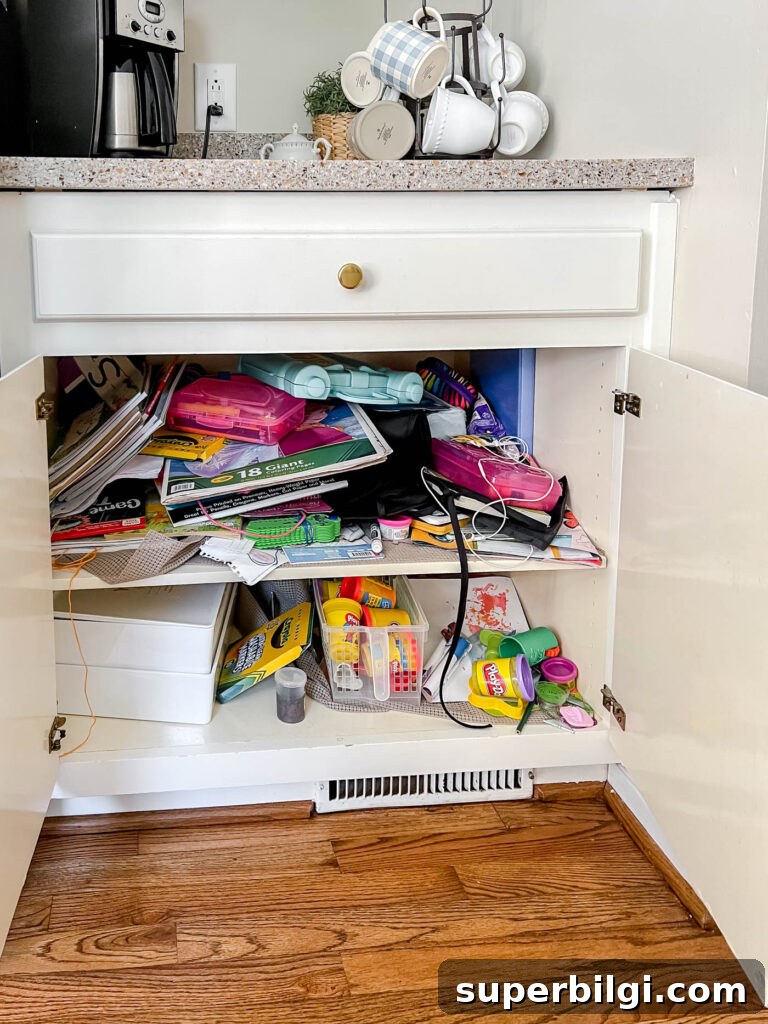
Do you have a cabinet that becomes a secret disaster zone the moment you close the doors? One you ignore for months or even years? That was our kids’ art cabinet in the kitchen. It may sound like an odd place for craft storage, but it made sense for us: the girls craft and write at the kitchen table all the time, and when we moved in we had extra cabinet space to spare.
Over time that useful cabinet turned into a chaotic pile of notebooks, papers, markers, play dough, and leftover game pieces. Every time I opened the door I worried things would topple out — so I decided to fix it once and for all.
Note: this article originally referenced product links and resources. Any shopping or sourcing suggestions are optional — always measure your cabinet before buying containers to ensure a good fit.
Tips for Organizing Cabinets
When I begin a small organizing project, I follow a few simple principles that keep the process fast and effective:
1. Keep categories simple
Simplicity makes maintenance realistic. For our art cabinet I used broad categories: notebooks and coloring books, writing paper and construction paper, markers and crayons, games and headphones, and a bin for utensils and tools. These categories aren’t rigid — they’re meant to be flexible so the system adapts to how we actually use the cabinet.
2. Make it easier to return items than to take them out
Set up storage so putting things away is quick and obvious. Open bins with handles, easy drop-in boxes, or clearly labeled compartments encourage kids (and adults) to return items instead of leaving them scattered on the table. This small change has a big impact on keeping surfaces tidy.
3. Use clear bins
Since the cabinet is behind closed doors, clear bins let you see contents at a glance without rummaging. If a storage area is always visible, decorative closed baskets may be preferable, but for tucked-away craft supplies, transparent containers keep things visible and simple to manage.
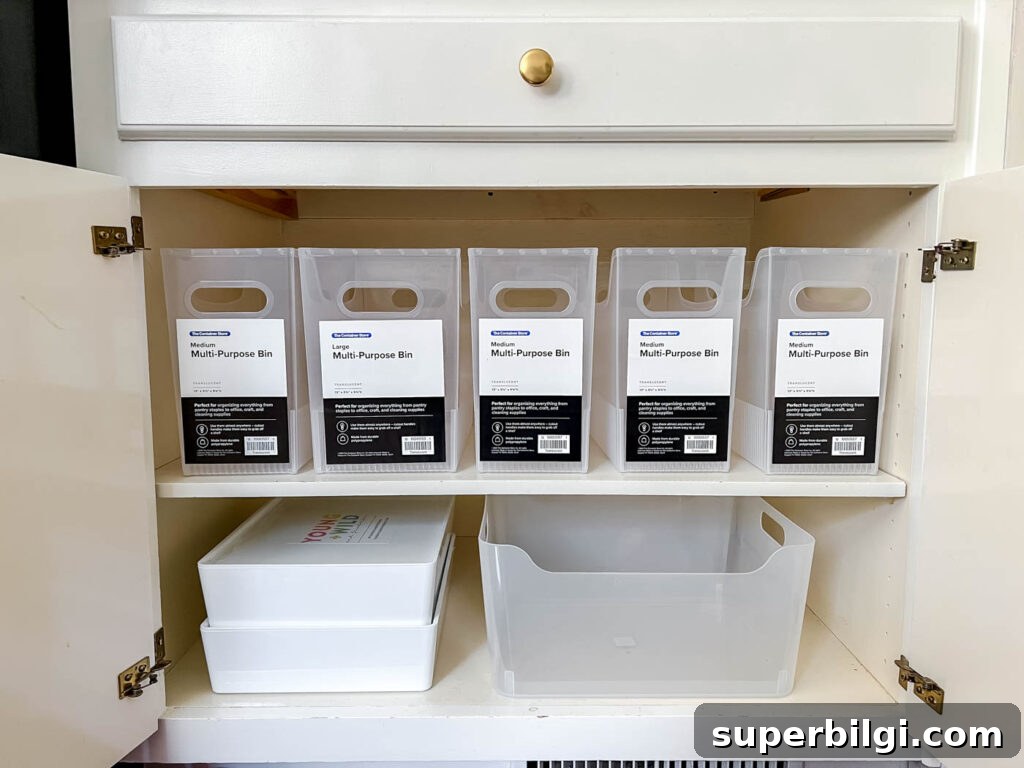
Before ordering any containers, I measured the cabinet shelves to ensure the bins would fit. I chose upright multipurpose bins with handles for notebooks and sketchbooks, so they can stand like files and are easy to grab. For paper stacks and utensils, I used clear tote-style bins with handles and placed one behind another when necessary to maximize space. The handles make it effortless to pull a bin to the table and return it when finished.
Steps for Organizing Any Cabinet
My basic workflow for organizing a cabinet is straightforward and repeatable for any small space:
- Pull everything out — empty the cabinet so you can see what you actually have.
- Sort into similar piles — group like items together: paper, markers, books, games, etc.
- Discard trash — toss dried-up markers, broken pieces, and obvious garbage.
- Clean surfaces — wipe the shelves so the space feels fresh.
- Return items to bins — place each category into a designated container.
- Label — add labels so everyone knows where things belong.
The whole project took about 45 minutes. My daughters were thrilled when they saw the finished cabinet — my oldest declared it a crafter’s dream. The real win came at dinner: clearing the table is faster now because every item has a clear place to go.
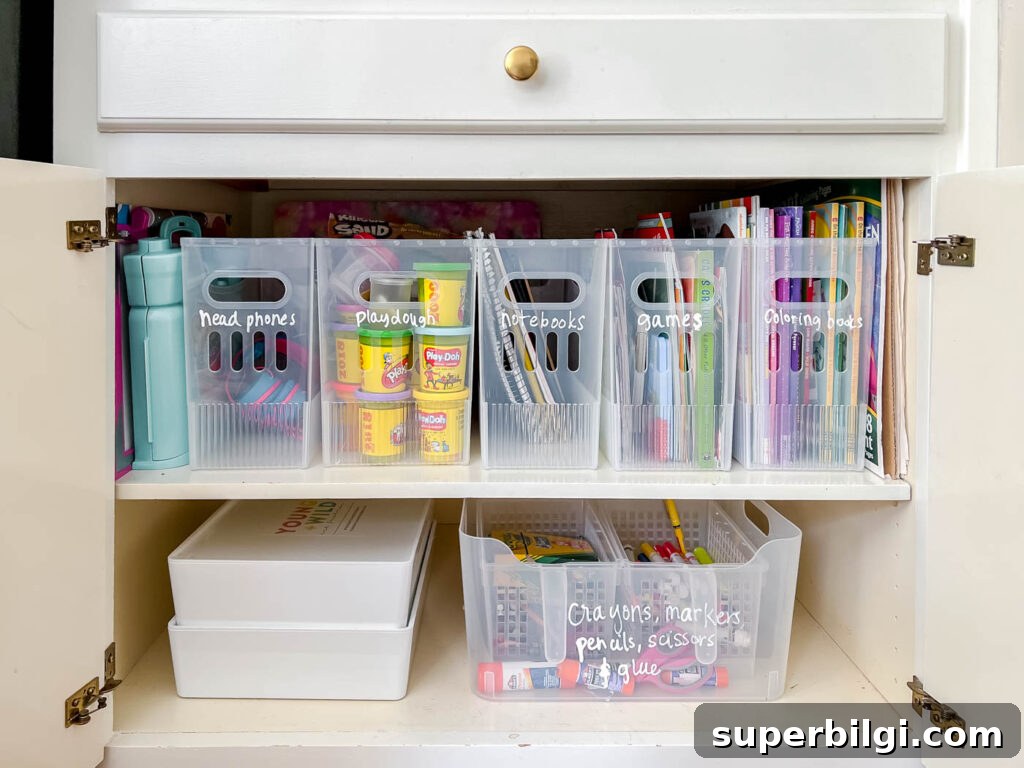
For now I’ve labeled the bins with a chalk marker until my label maker arrives. Even temporary labels help everyone know where things belong, and permanent labels will make the system even easier to maintain. In my experience, spaces that are truly organized and labeled — like our pantry and garage — tend to stay organized with minimal effort.
If you tackle one small cabinet and finish it in under an hour, you’ll feel accomplished and will enjoy the payoff every time you use that space.
More posts you will love:
- Organizing Kids’ Art and Memorabilia
- How to Organize Your Home in Four Simple Steps
- My Favorite Organizing Products
- Bedside Cord Organization Ideas