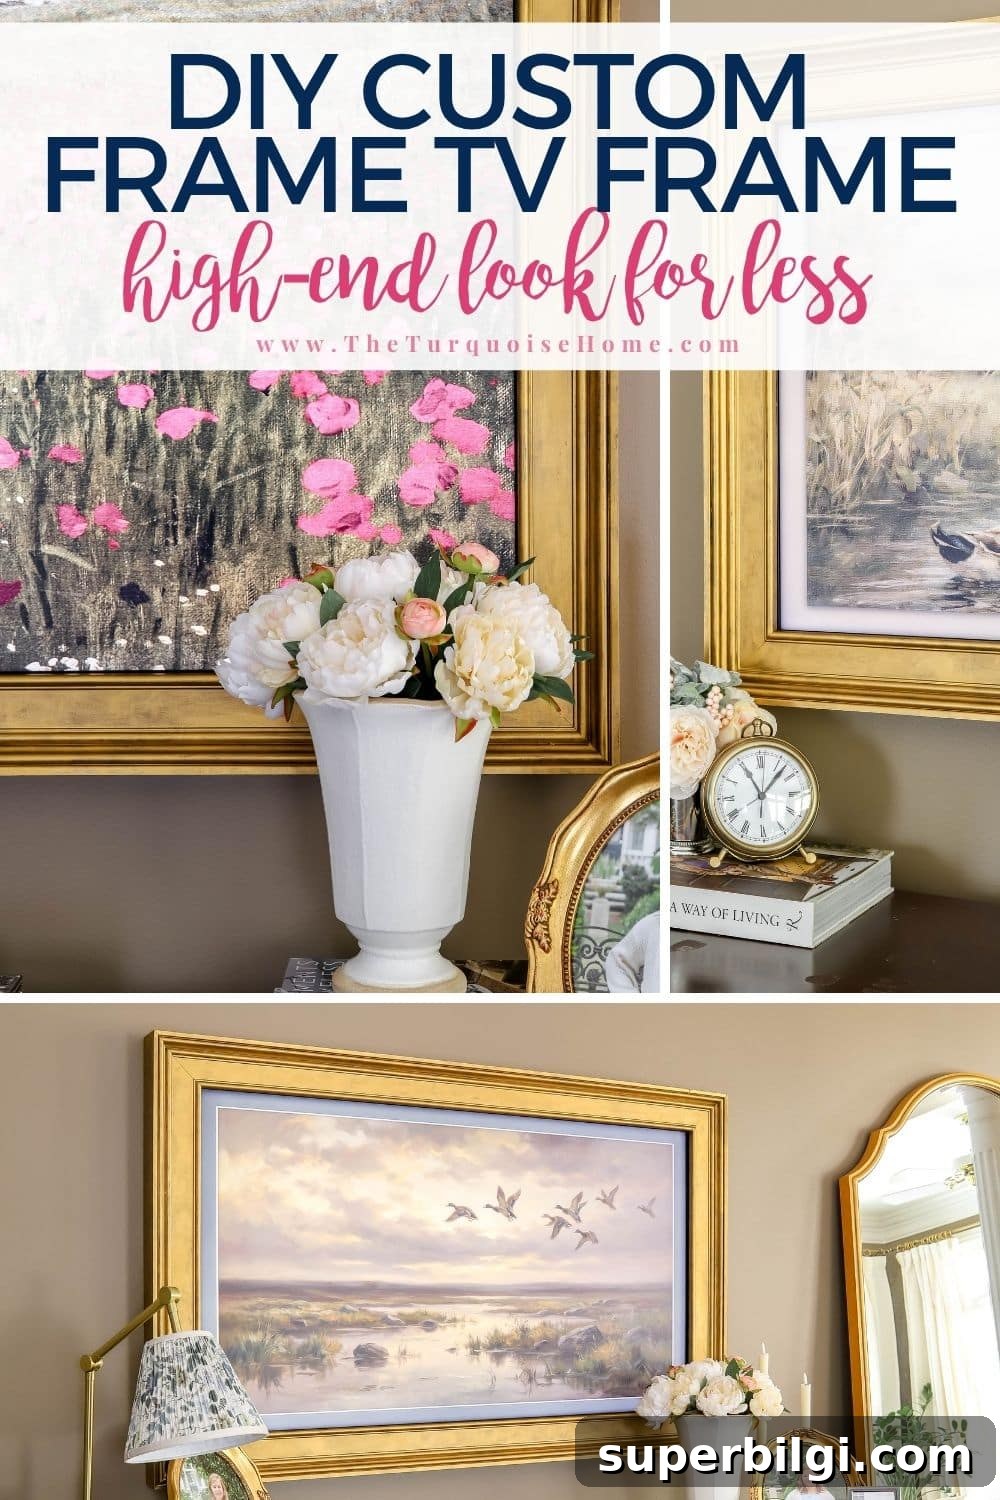
Learn how to build a custom Frame TV frame that makes your TV look like genuine artwork. This step-by-step DIY delivers a designer look on a budget.
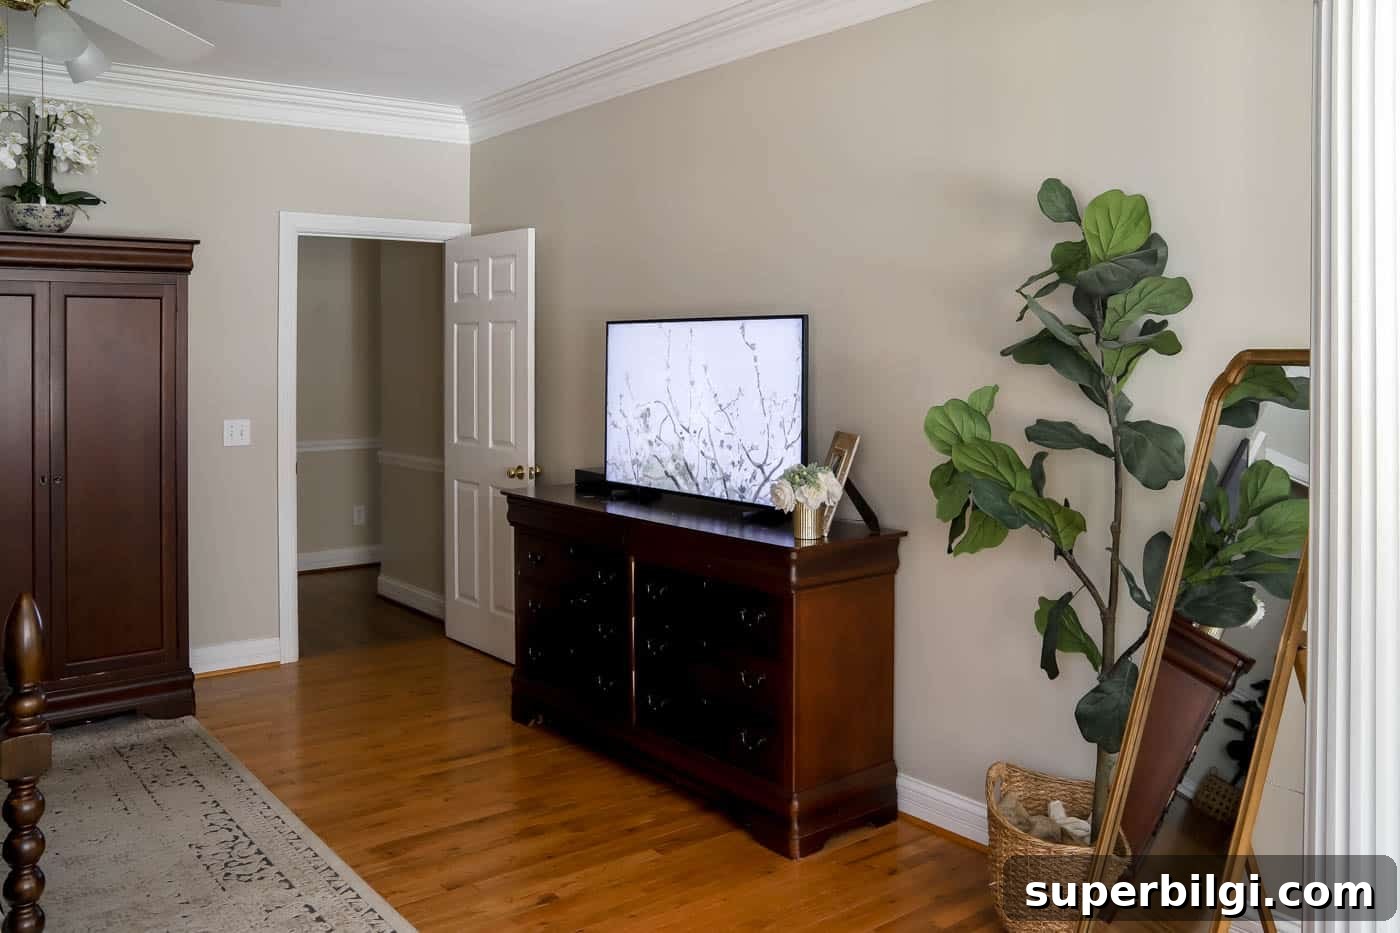
I had a large wall opposite our bed in the primary bedroom that felt unfinished even after mounting our Frame TV. The TV already blends in better than a regular screen because it displays art, but the wall still needed one more layer of polish. I wanted a frame that felt elevated and decorative—cozy, collected, and a little glam-meets-traditional to match the rest of the room—without paying $500+ for a pre-made ornate frame.
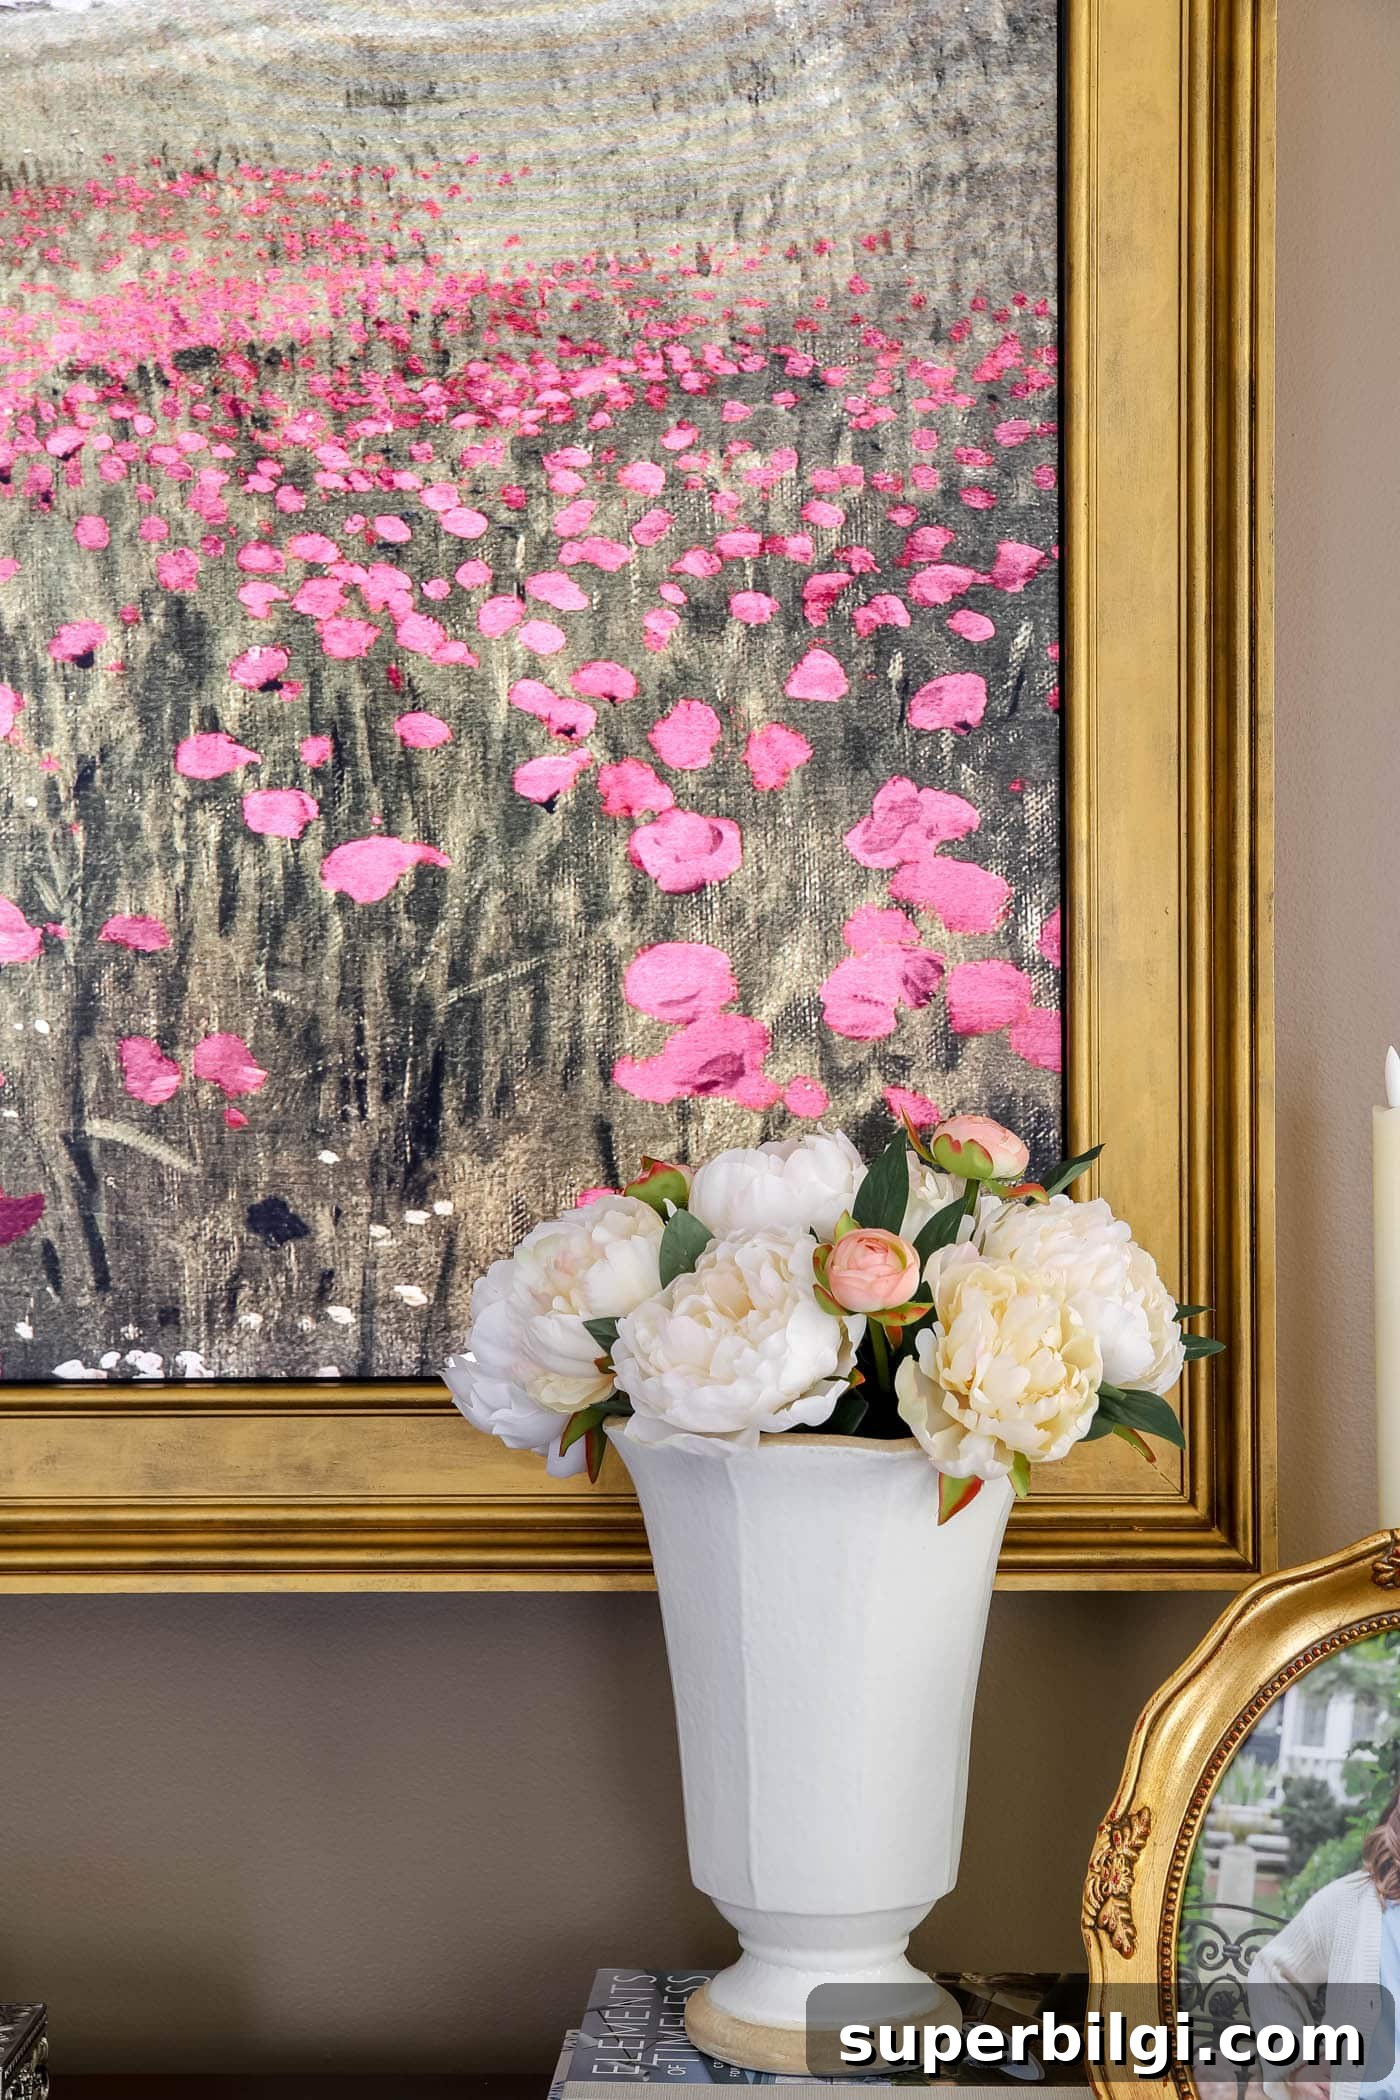
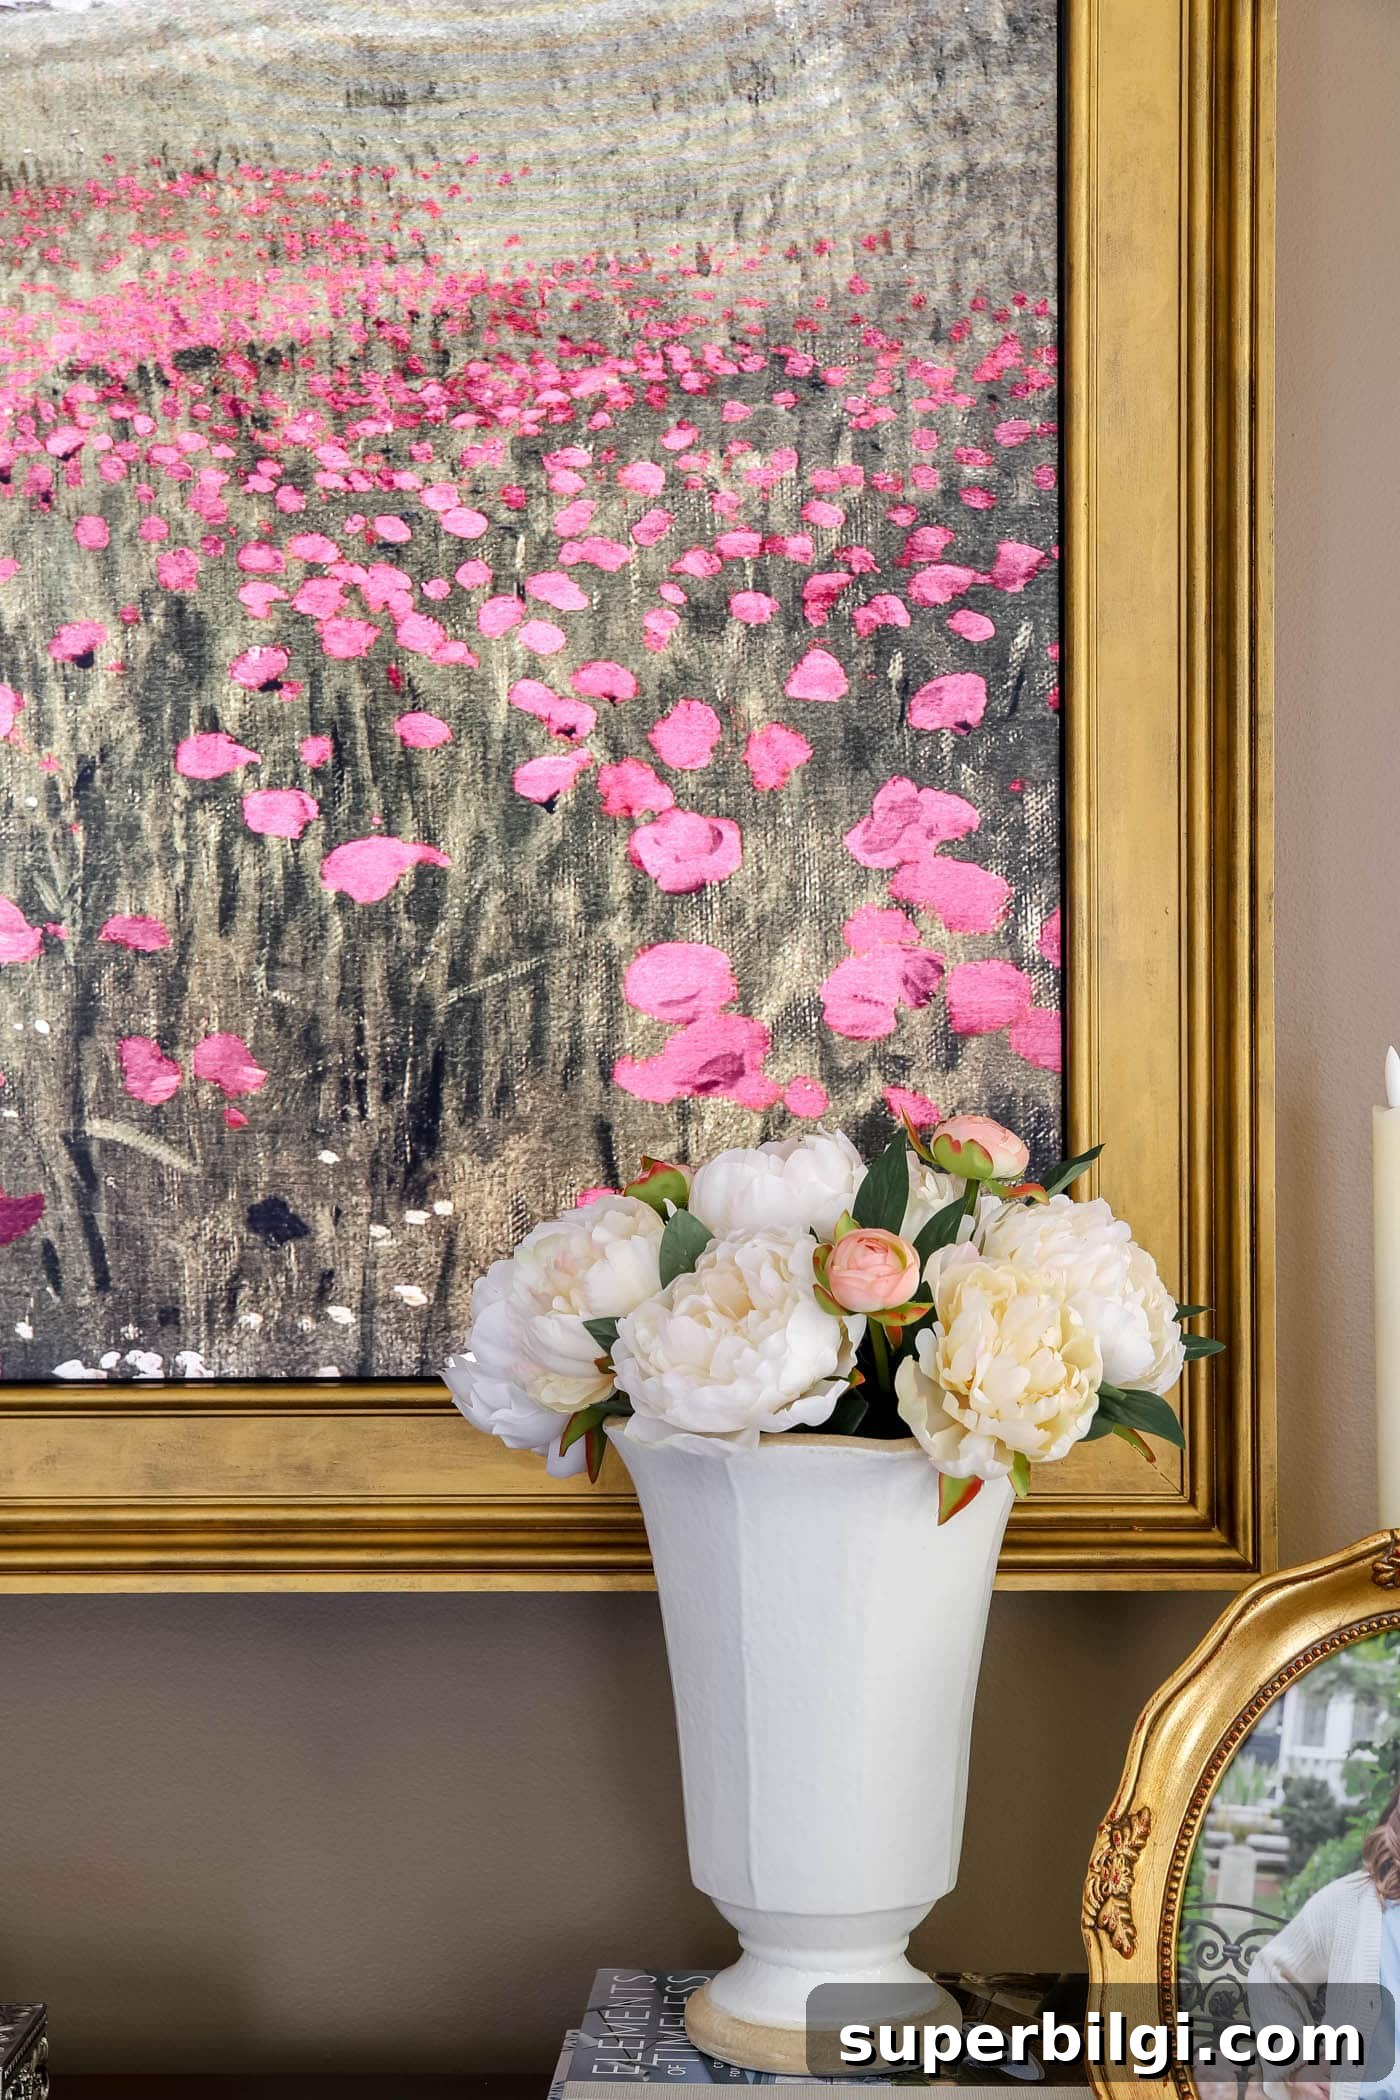
After experimenting with a simpler DIY frame for our living room, I designed a custom decorative frame for this bedroom that looks high-end but cost closer to $120 in materials. If you have basic tools, this project is approachable and makes a big visual impact. Below I’ll walk you through every step so you can build a similar high-end Frame TV frame on a budget.
Note: This post contains affiliate links for convenience. See my full disclosure policy.
What to Expect
This custom Frame TV frame is a beginner-to-intermediate weekend project. With a few tools and patience, you can build a decorative frame for roughly $100–150 depending on what you already have. The ornate look is achieved by layering decorative casing over a simple wood frame—once you break the process into steps, it’s straightforward.
If you prefer something simpler, there’s an easier version you can try first, but this tutorial focuses on a more decorative, gallery-style finish that really makes the TV feel like framed art.
Supplies Needed
The supplies are basic—most of the effect comes from the decorative trim applied to a simple frame structure.
Lumber and Trim
- 4 — 1 x 2 x 8 boards (for the inner and outer base frames)
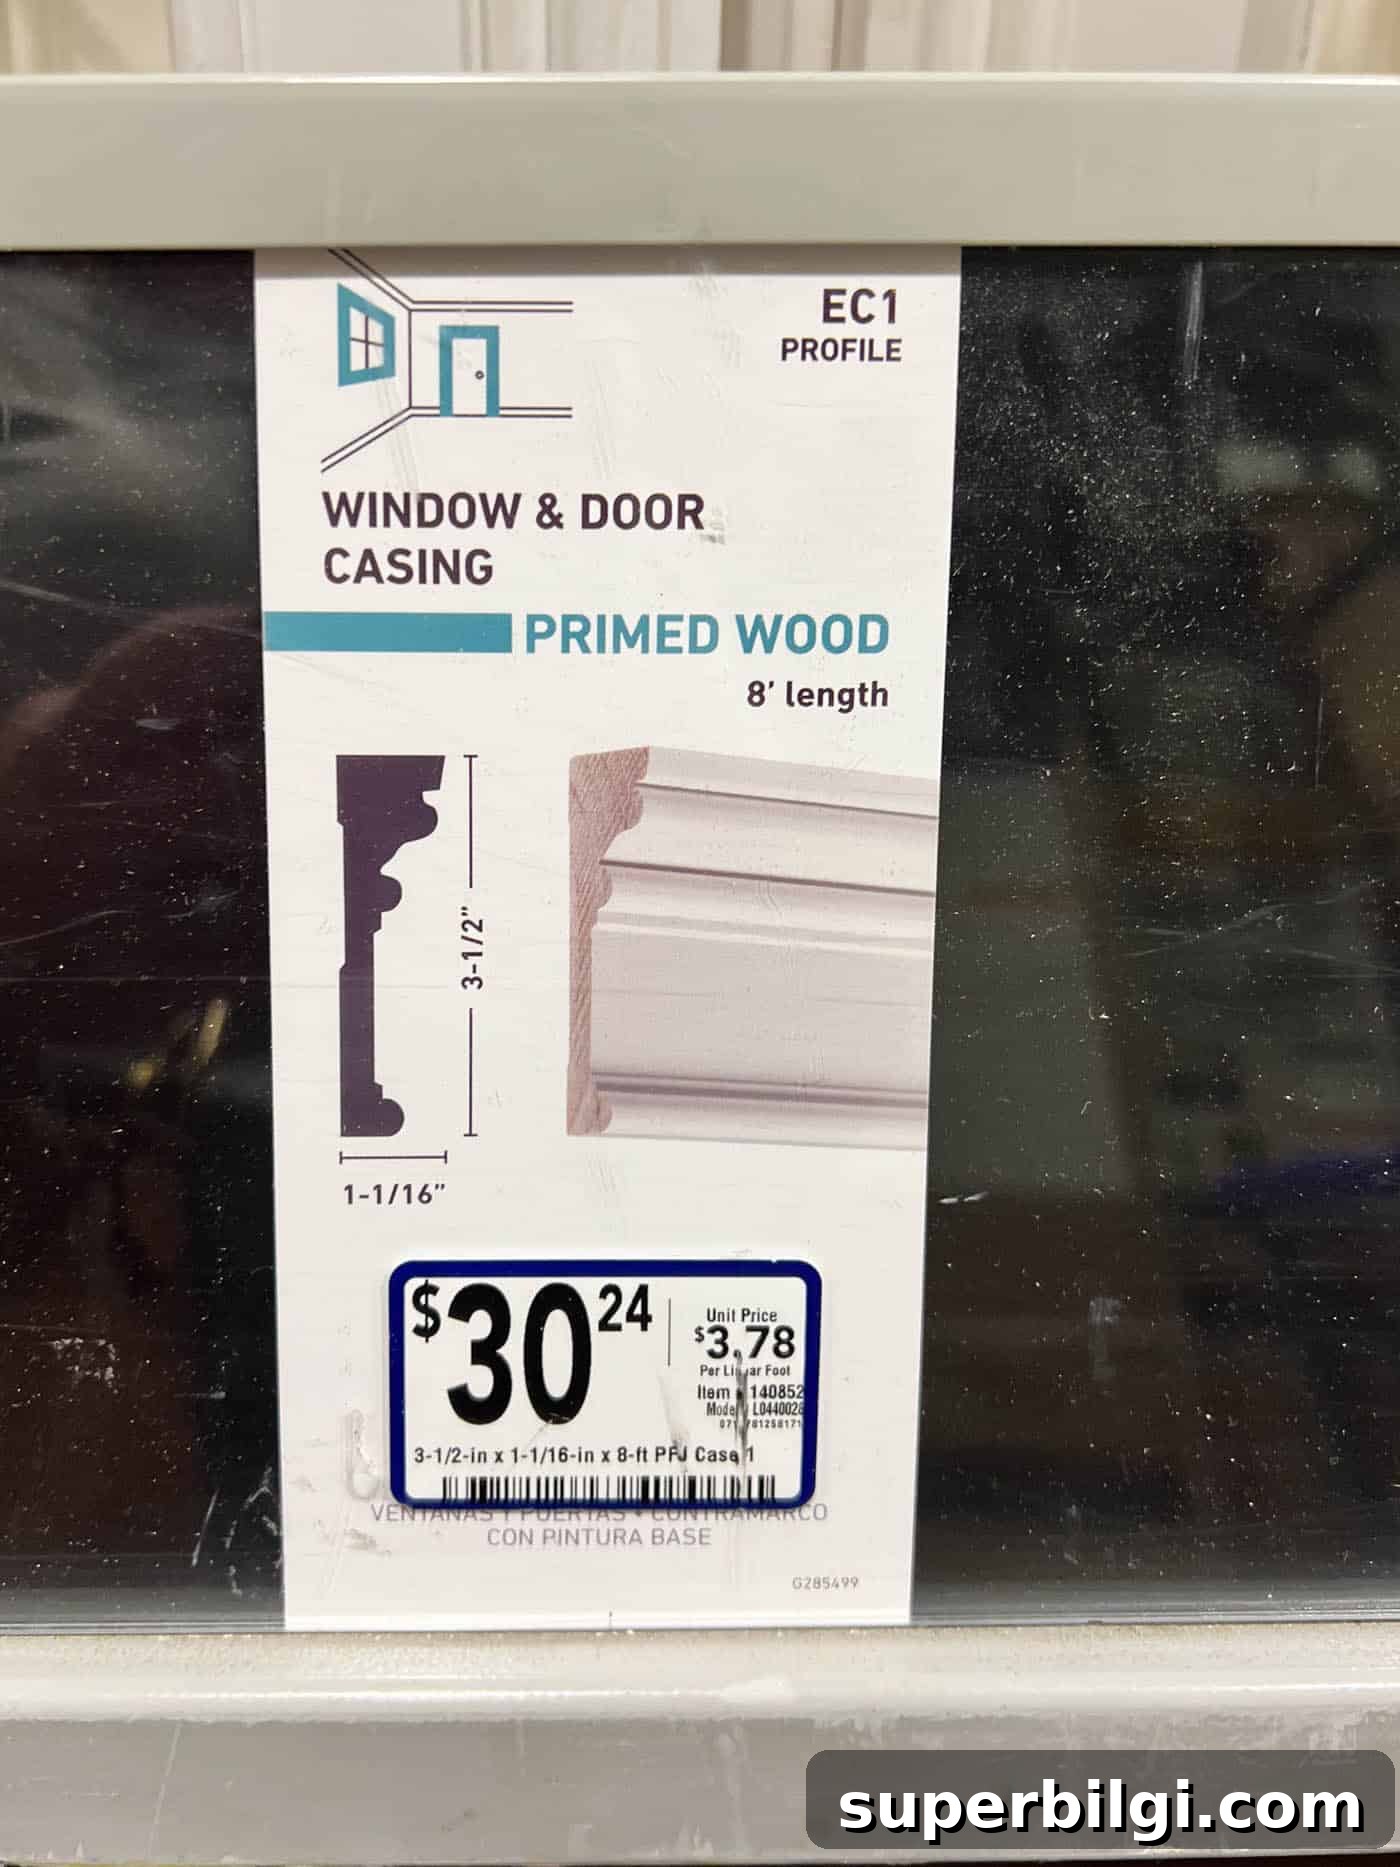
- 2 — 1-1/16″ x 3-1/2″ x 8′ casing boards (this is the decorative front trim that creates the ornate look)
Building Supplies
- Wood adhesive
- Wood filler
- 1½-inch brad nails
- 2-inch brad nails
Finishing Supplies
- Matte spray paint in a dark color (used as a base to add depth)
- Rub ’n Buff or similar metallic finish (I used a warm gold tone for an antique look)
Tools Needed
Basic power tools make the work easier and more accurate:
- Miter saw (for clean 45-degree cuts)
- Circular saw (an alternative for straight cuts)
- Brad nailer
- Clamps and corner clamps (recommended)
Read through the whole tutorial before buying supplies so you understand how pieces fit together and can measure your TV correctly.
Step-by-Step Tutorial
Step 1. Measure Your TV
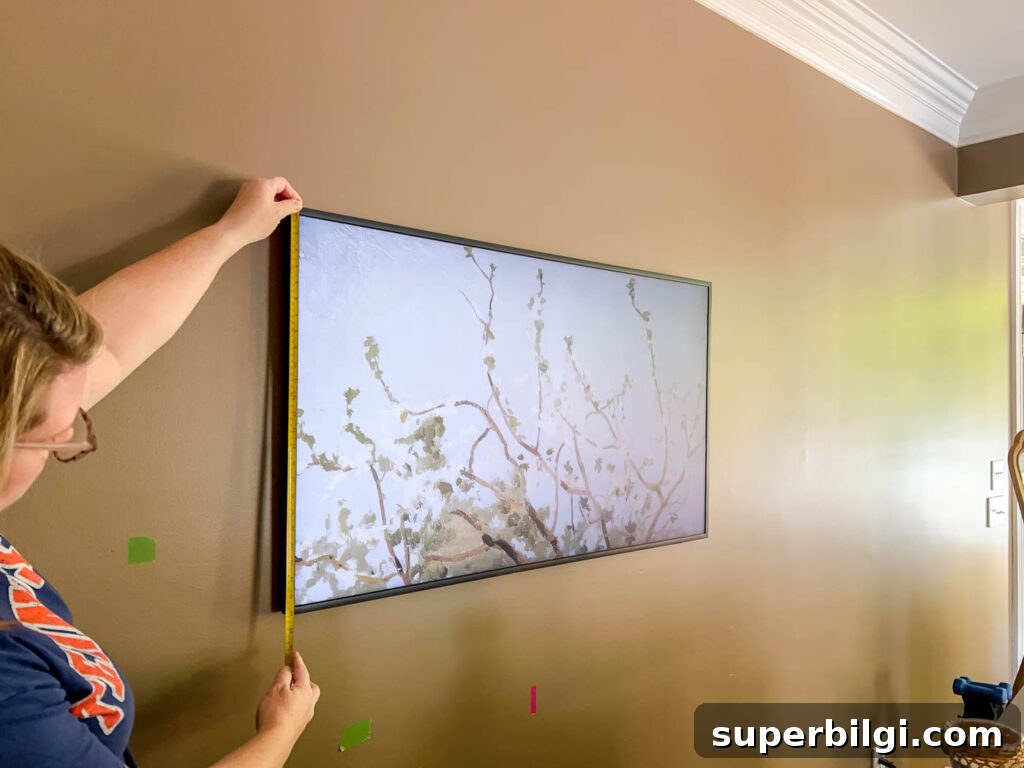
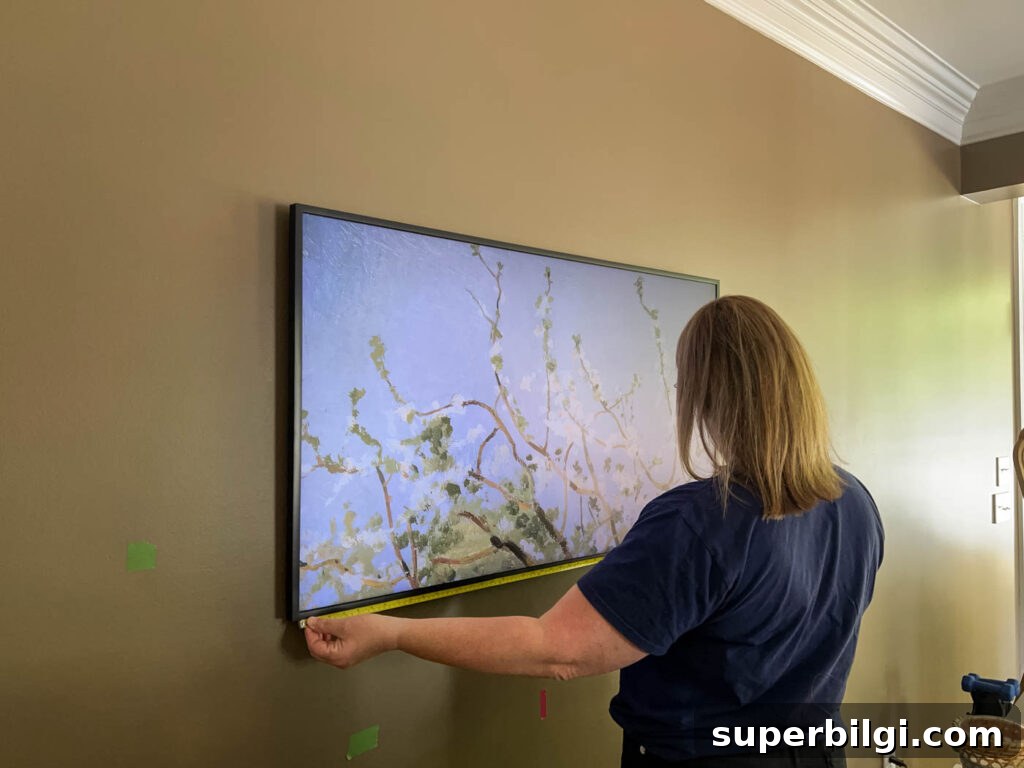
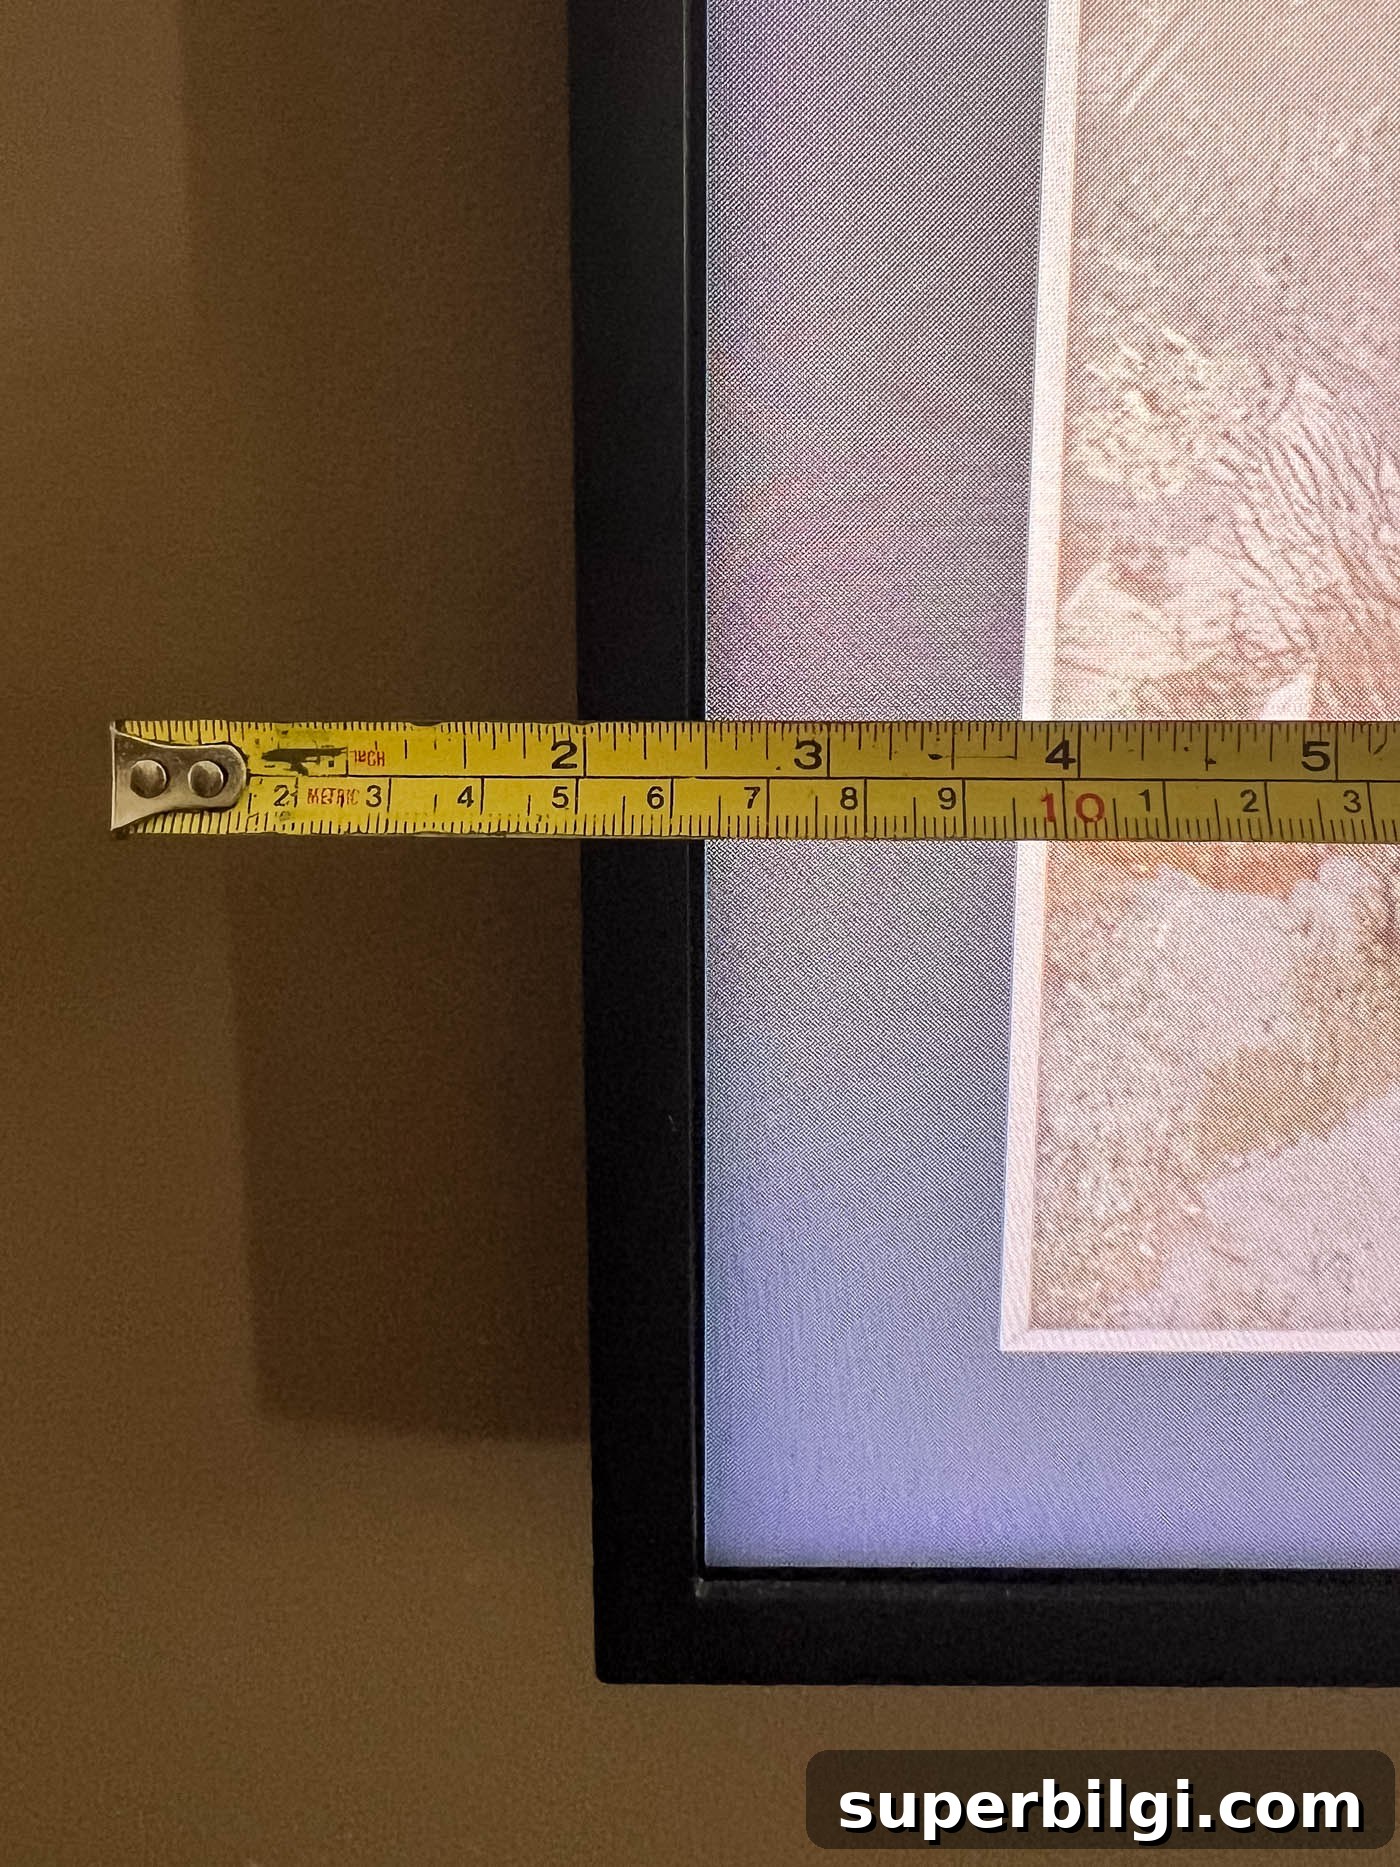
Measure your exact TV model carefully—measure twice. I added about 1/8″ to my TV measurements so the frame slips on and off easily; a very tight fit looks custom but can be hard to install. Also note any sensor or IR blaster that may sit behind the TV’s bezel; I later cut a small notch in the frame so the TV sensor could function.
Step 2. Build the Inside Base Frame
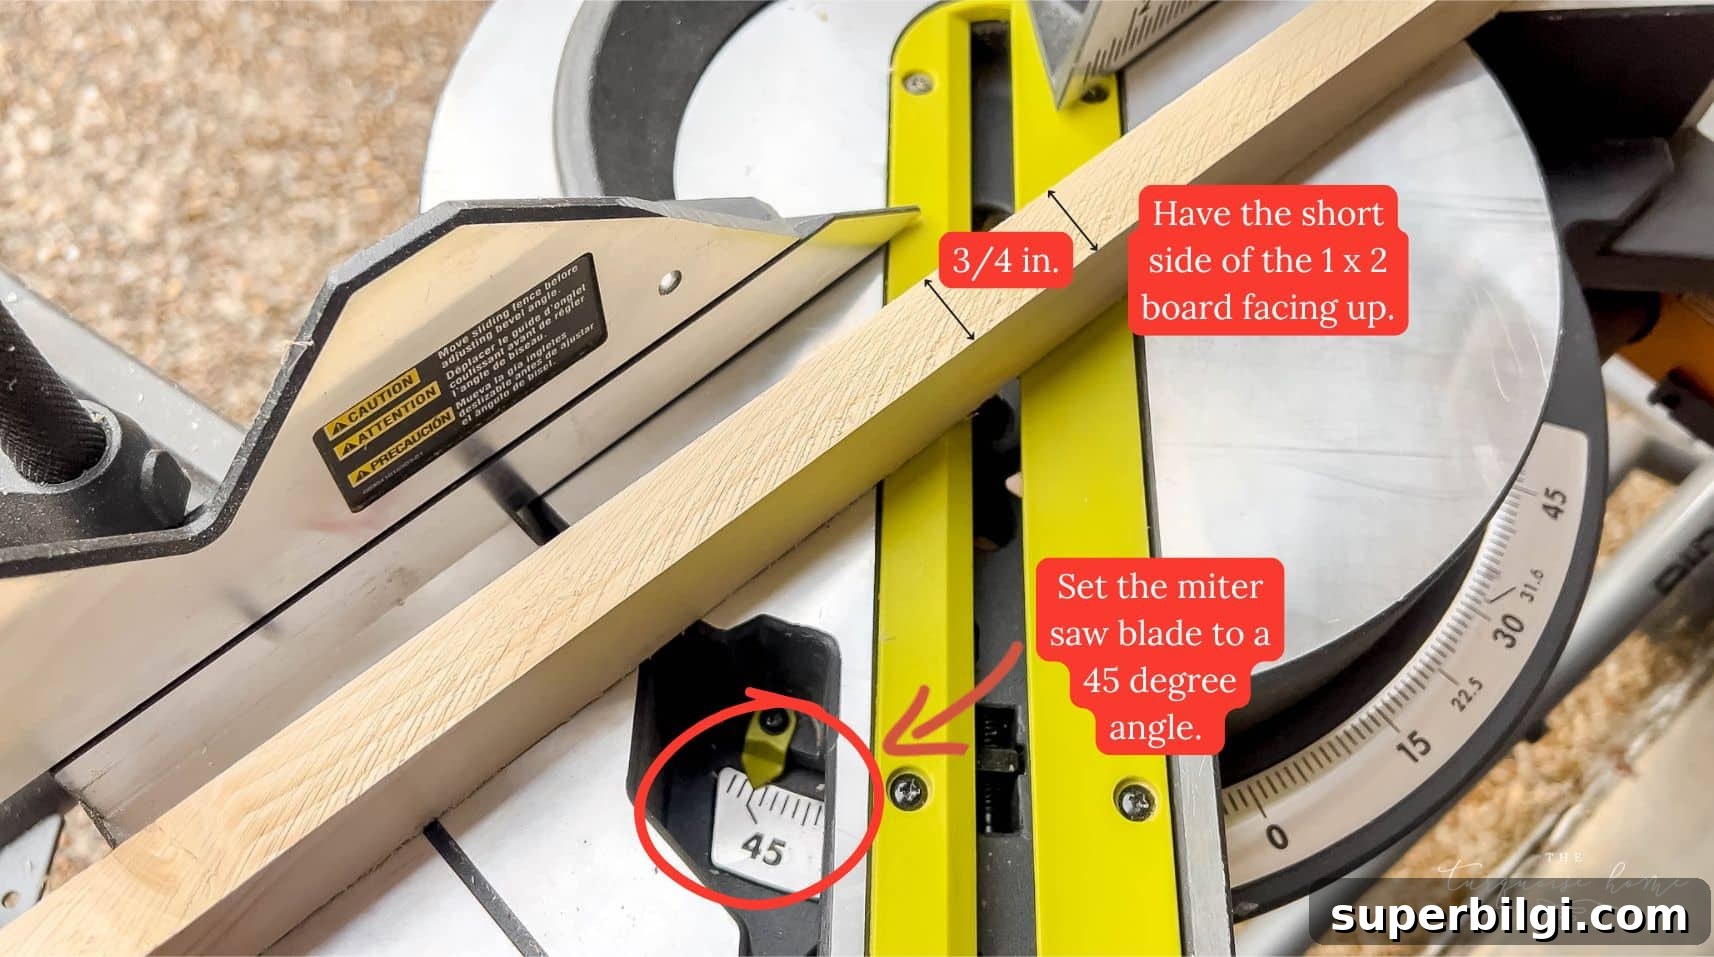
Cut the 1 x 2 boards to your inside dimensions with 45-degree mitered corners. Position the long side of each board against the TV and the short side facing outward to create a slim profile. Glue the corners, clamp squarely, and reinforce with finishing or brad nails after the glue dries.
Test the frame on the TV now to confirm fit before adding the decorative layer.
Step 3. Add Decorative Trim Molding
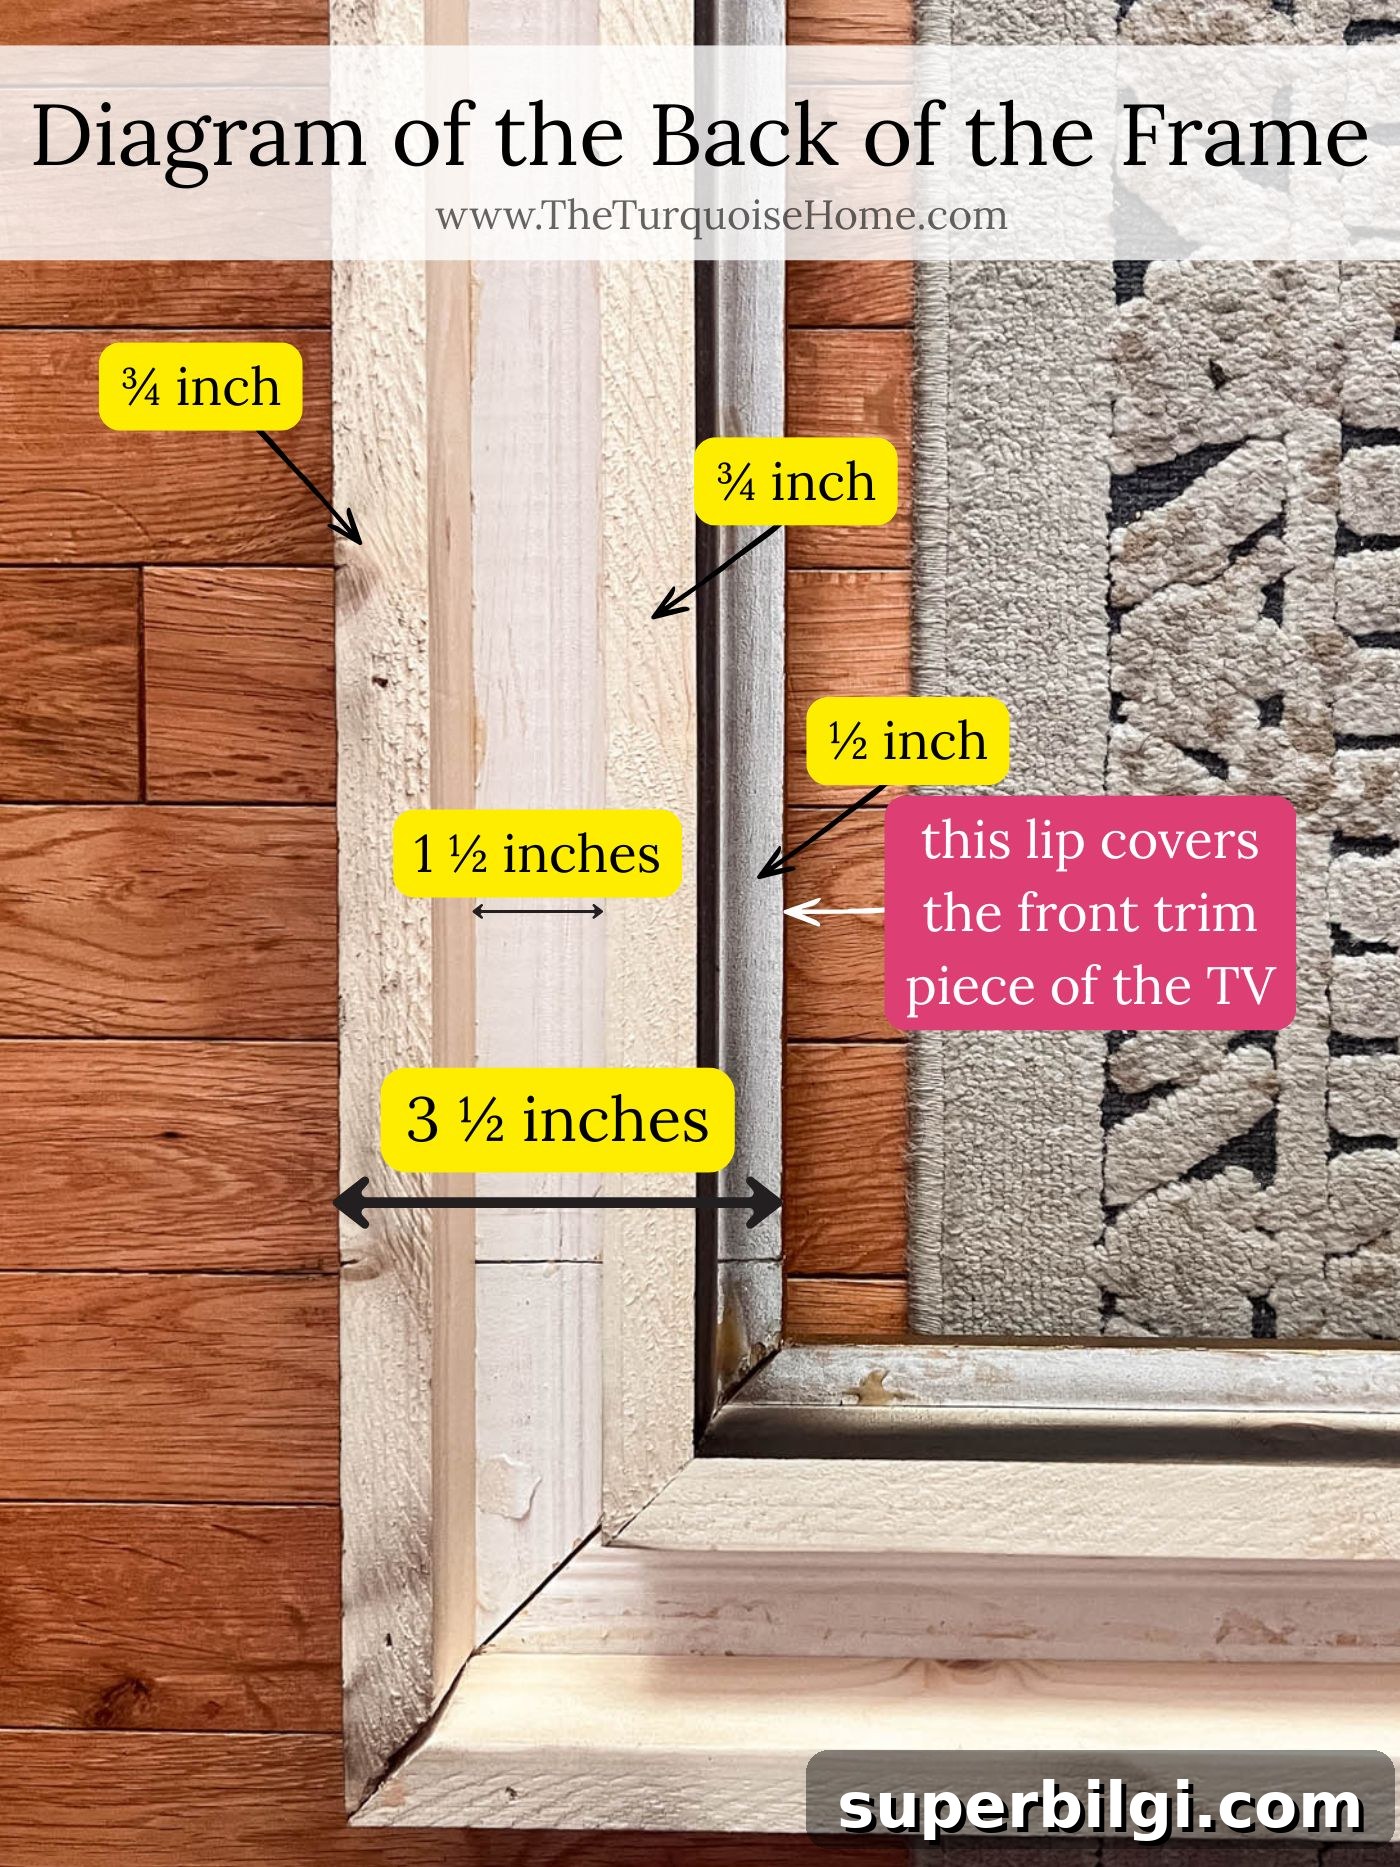
Choose a casing profile that complements your room. I selected a flat-edged, traditional casing about 3½” wide so the trim overlaps the base frame and screen edge for a finished gallery look. Cut the trim pieces to fit slightly smaller than the 1 x 2 base frame so the casing overlaps the front edge.
Measure the Inside TV Frame for Your Decorative Trim
Use the visible trim area of the TV as a guide. My TV had about a ½” visible edge, so I sized the decorative frame to overlap that trim. Cut the miters carefully and double-check lengths by lining parallel pieces side-by-side so the frame stays square.
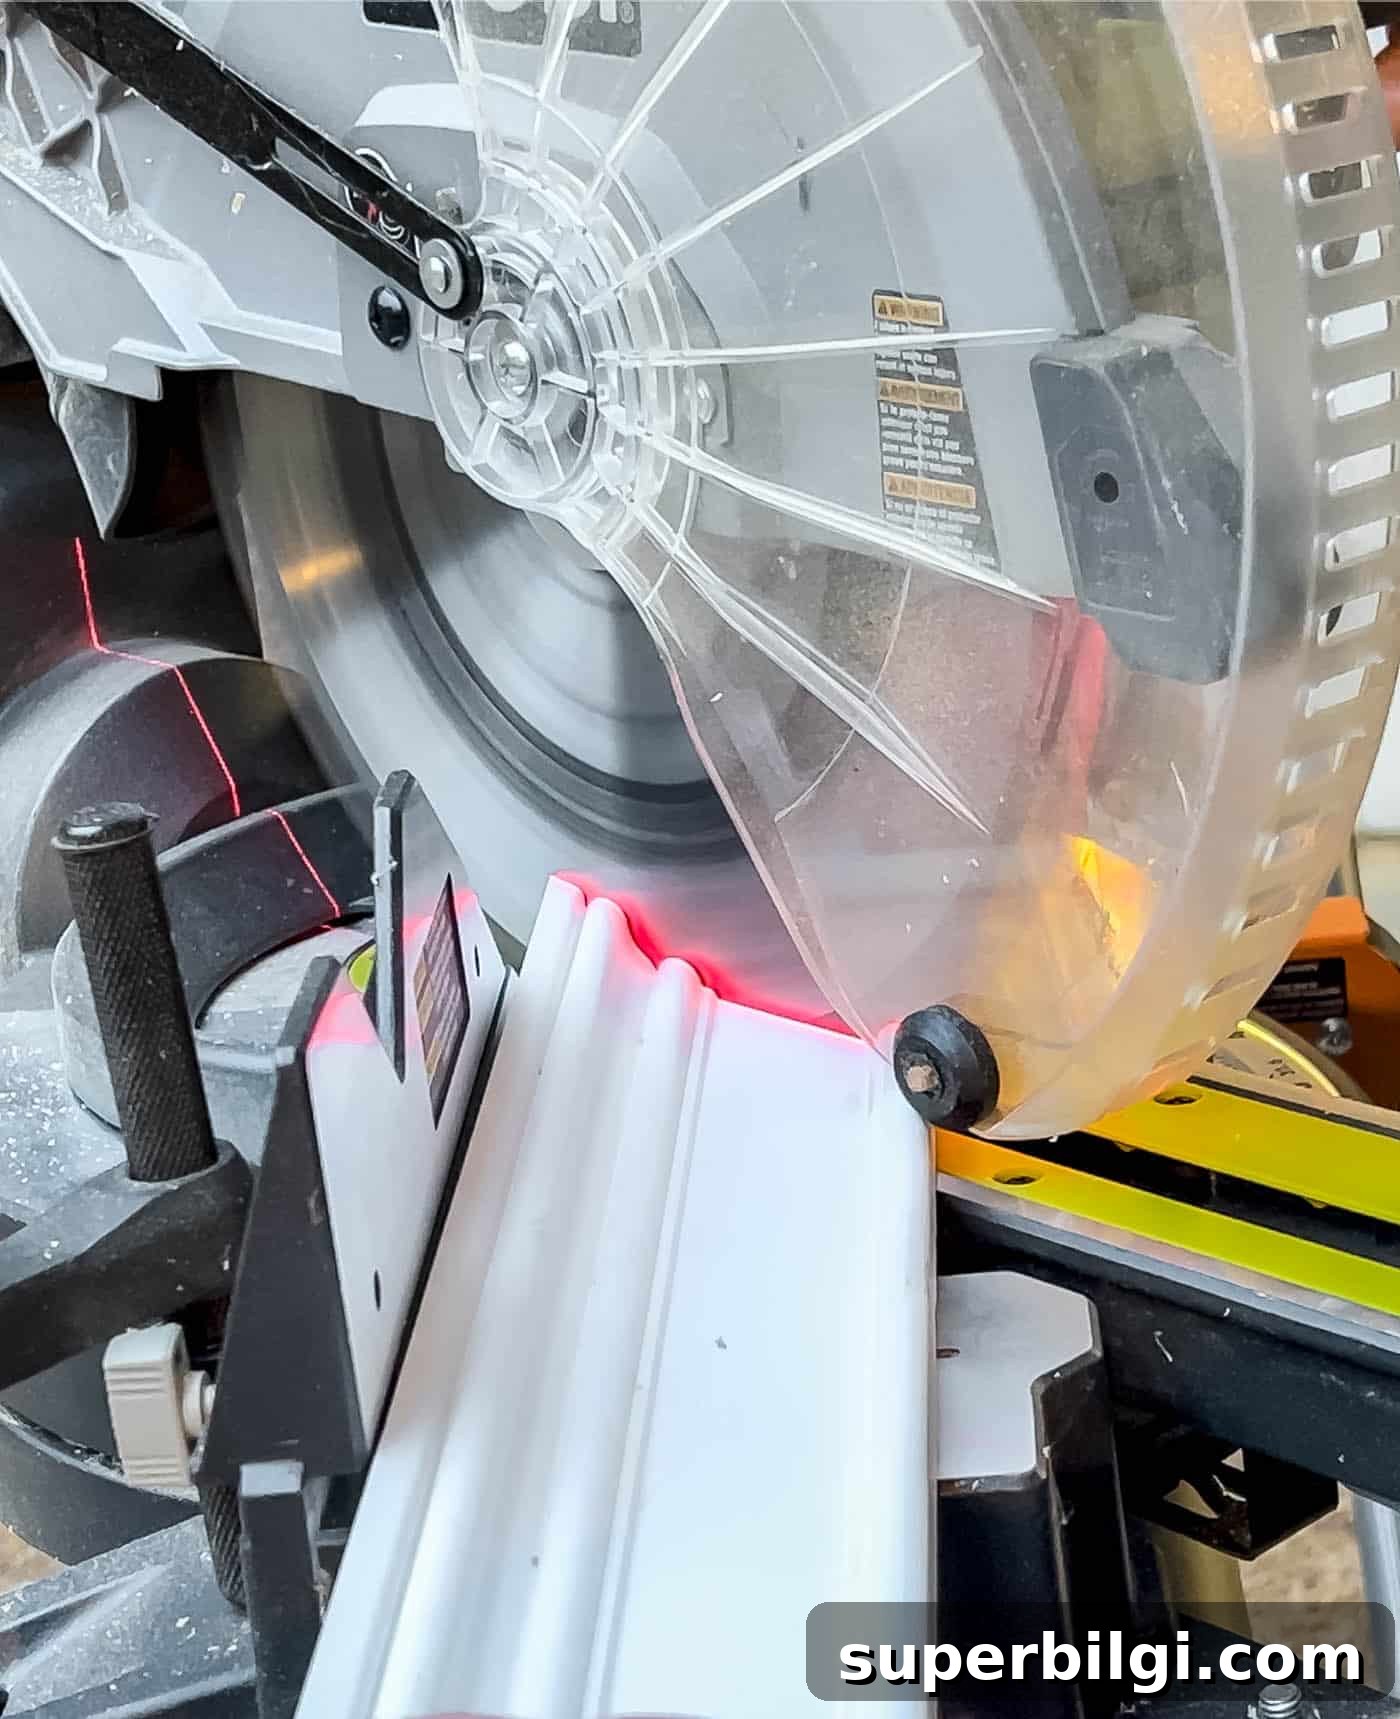
Glue and brad-nail the trim corners to form the rectangular decorative frame. I assembled mine on a level floor to keep everything true, then reinforced corners once the glue set.
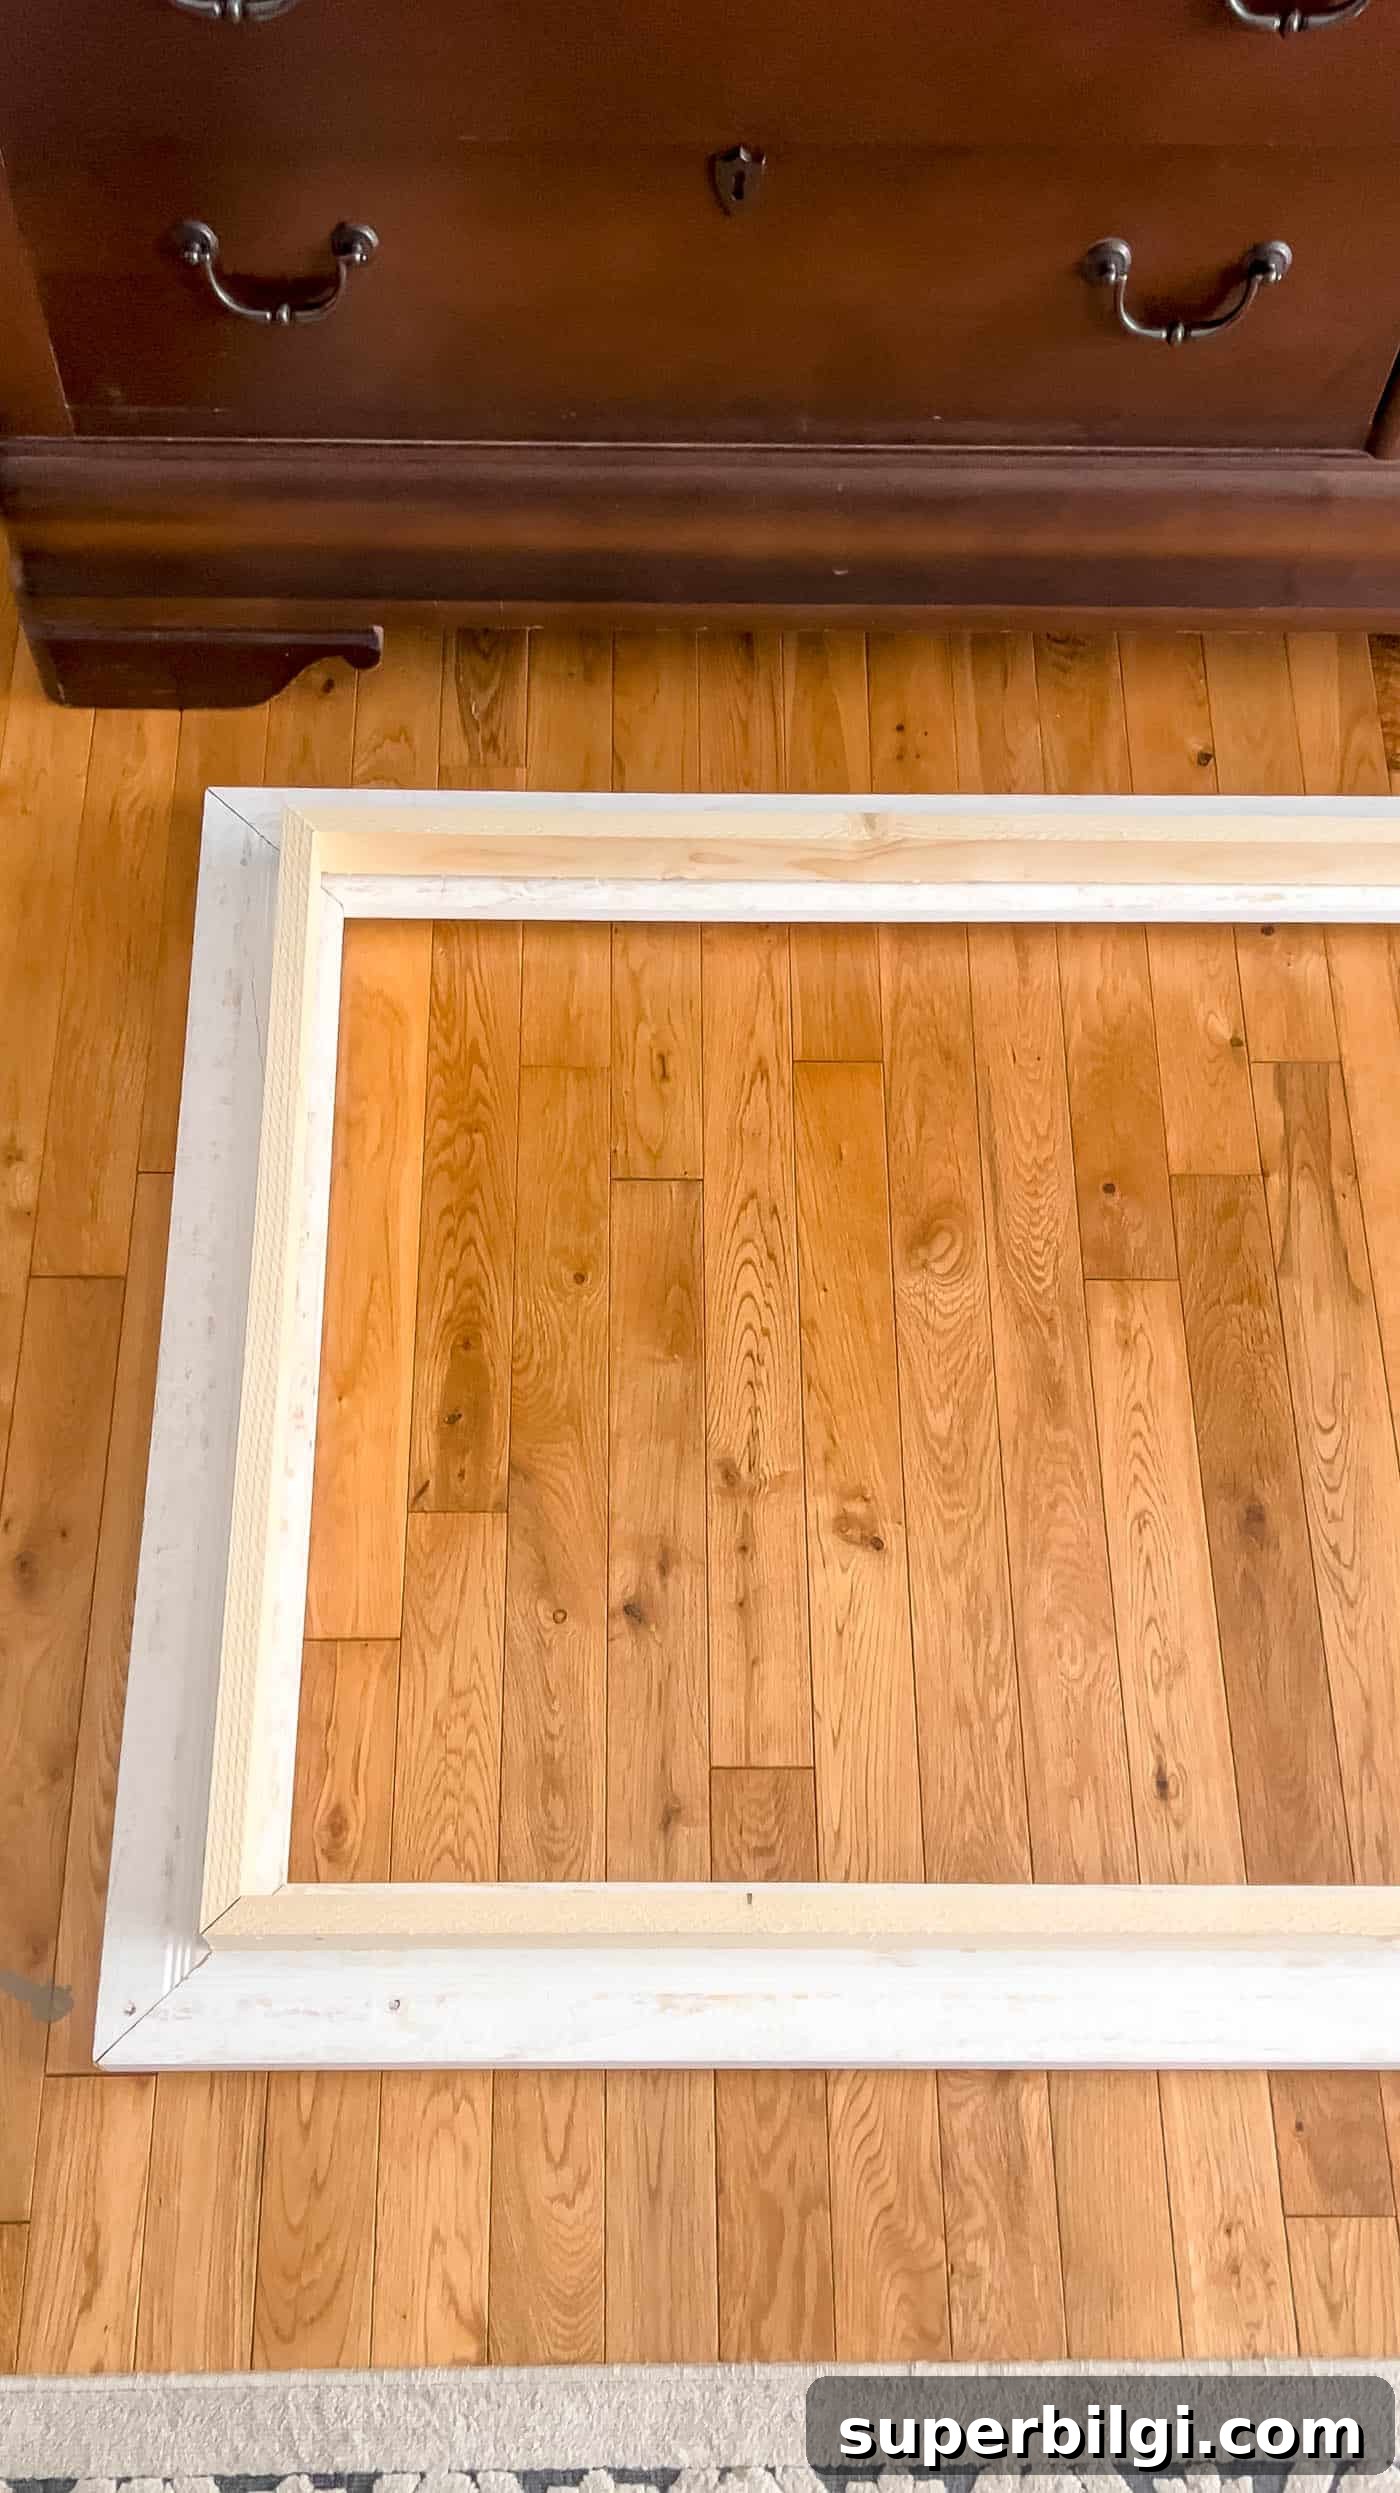
Step 4. Attach the Base Frame to the Decorative Frame
Apply wood glue between the 1 x 2 base frame and the decorative trim frame, clamp, and align so a ½” lip remains along the back inside edge of the trim. Once dry, add 1½-inch brad nails through the decorative trim into the base frame for a secure bond. Don’t worry about nail holes—they’ll be filled later.
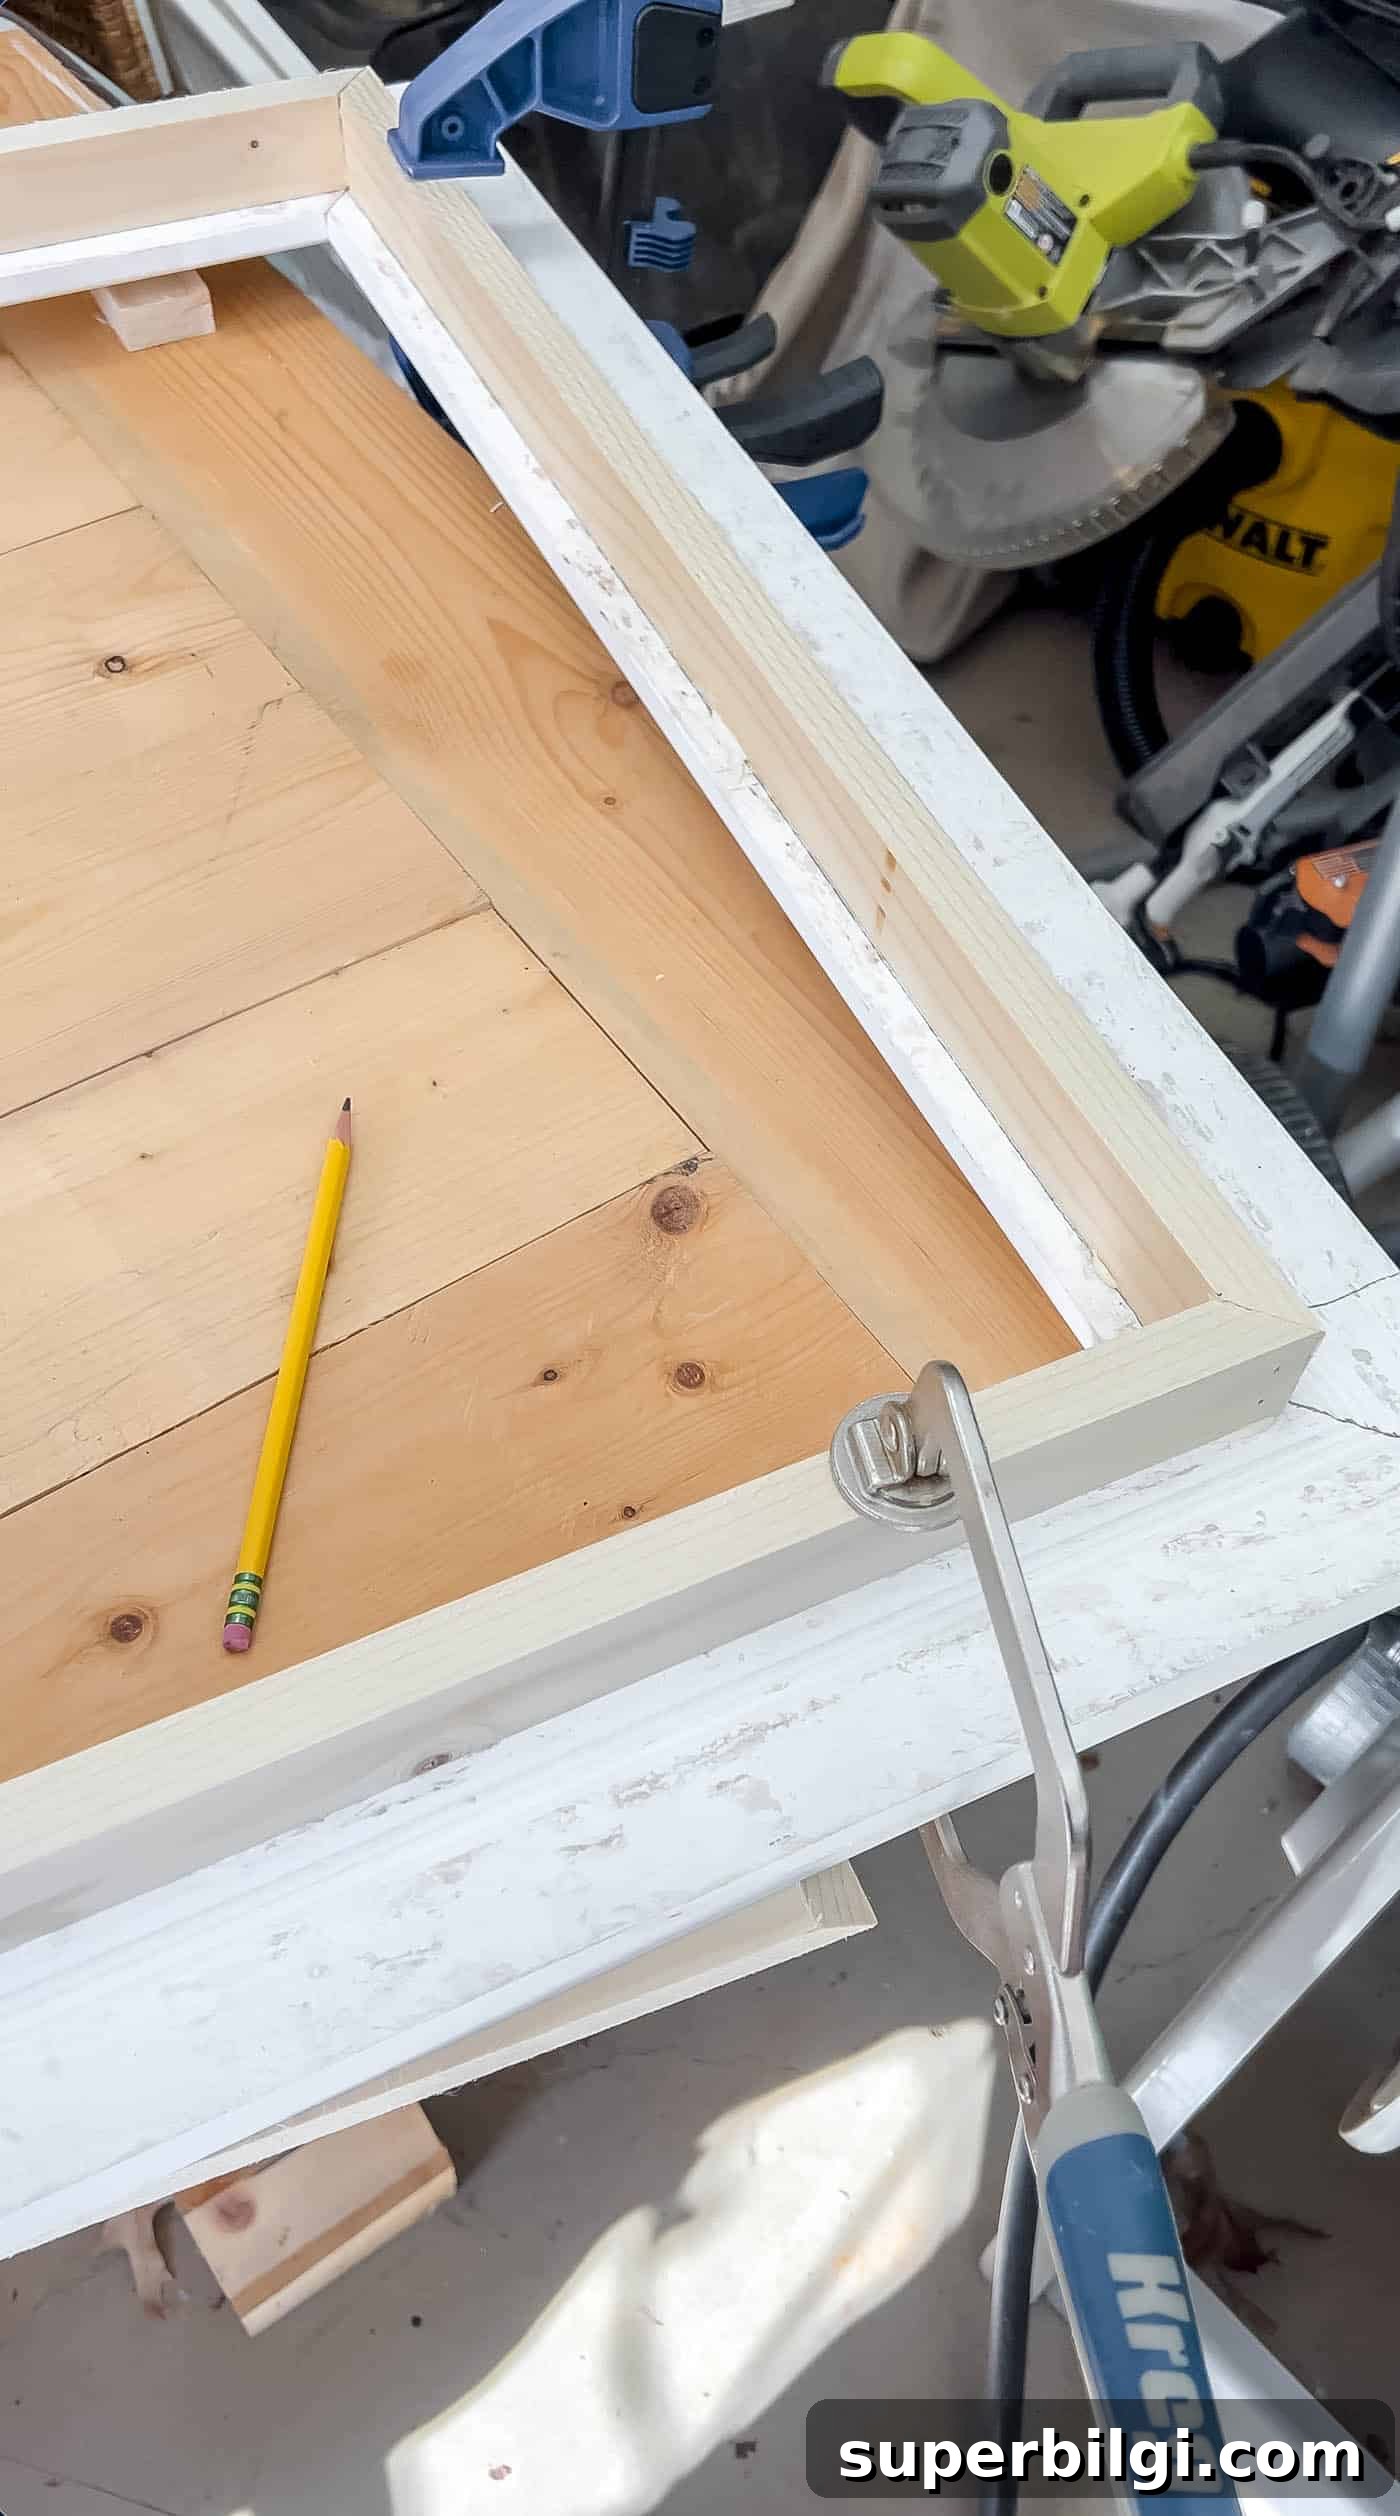
Step 5. Build the Outside Frame Base
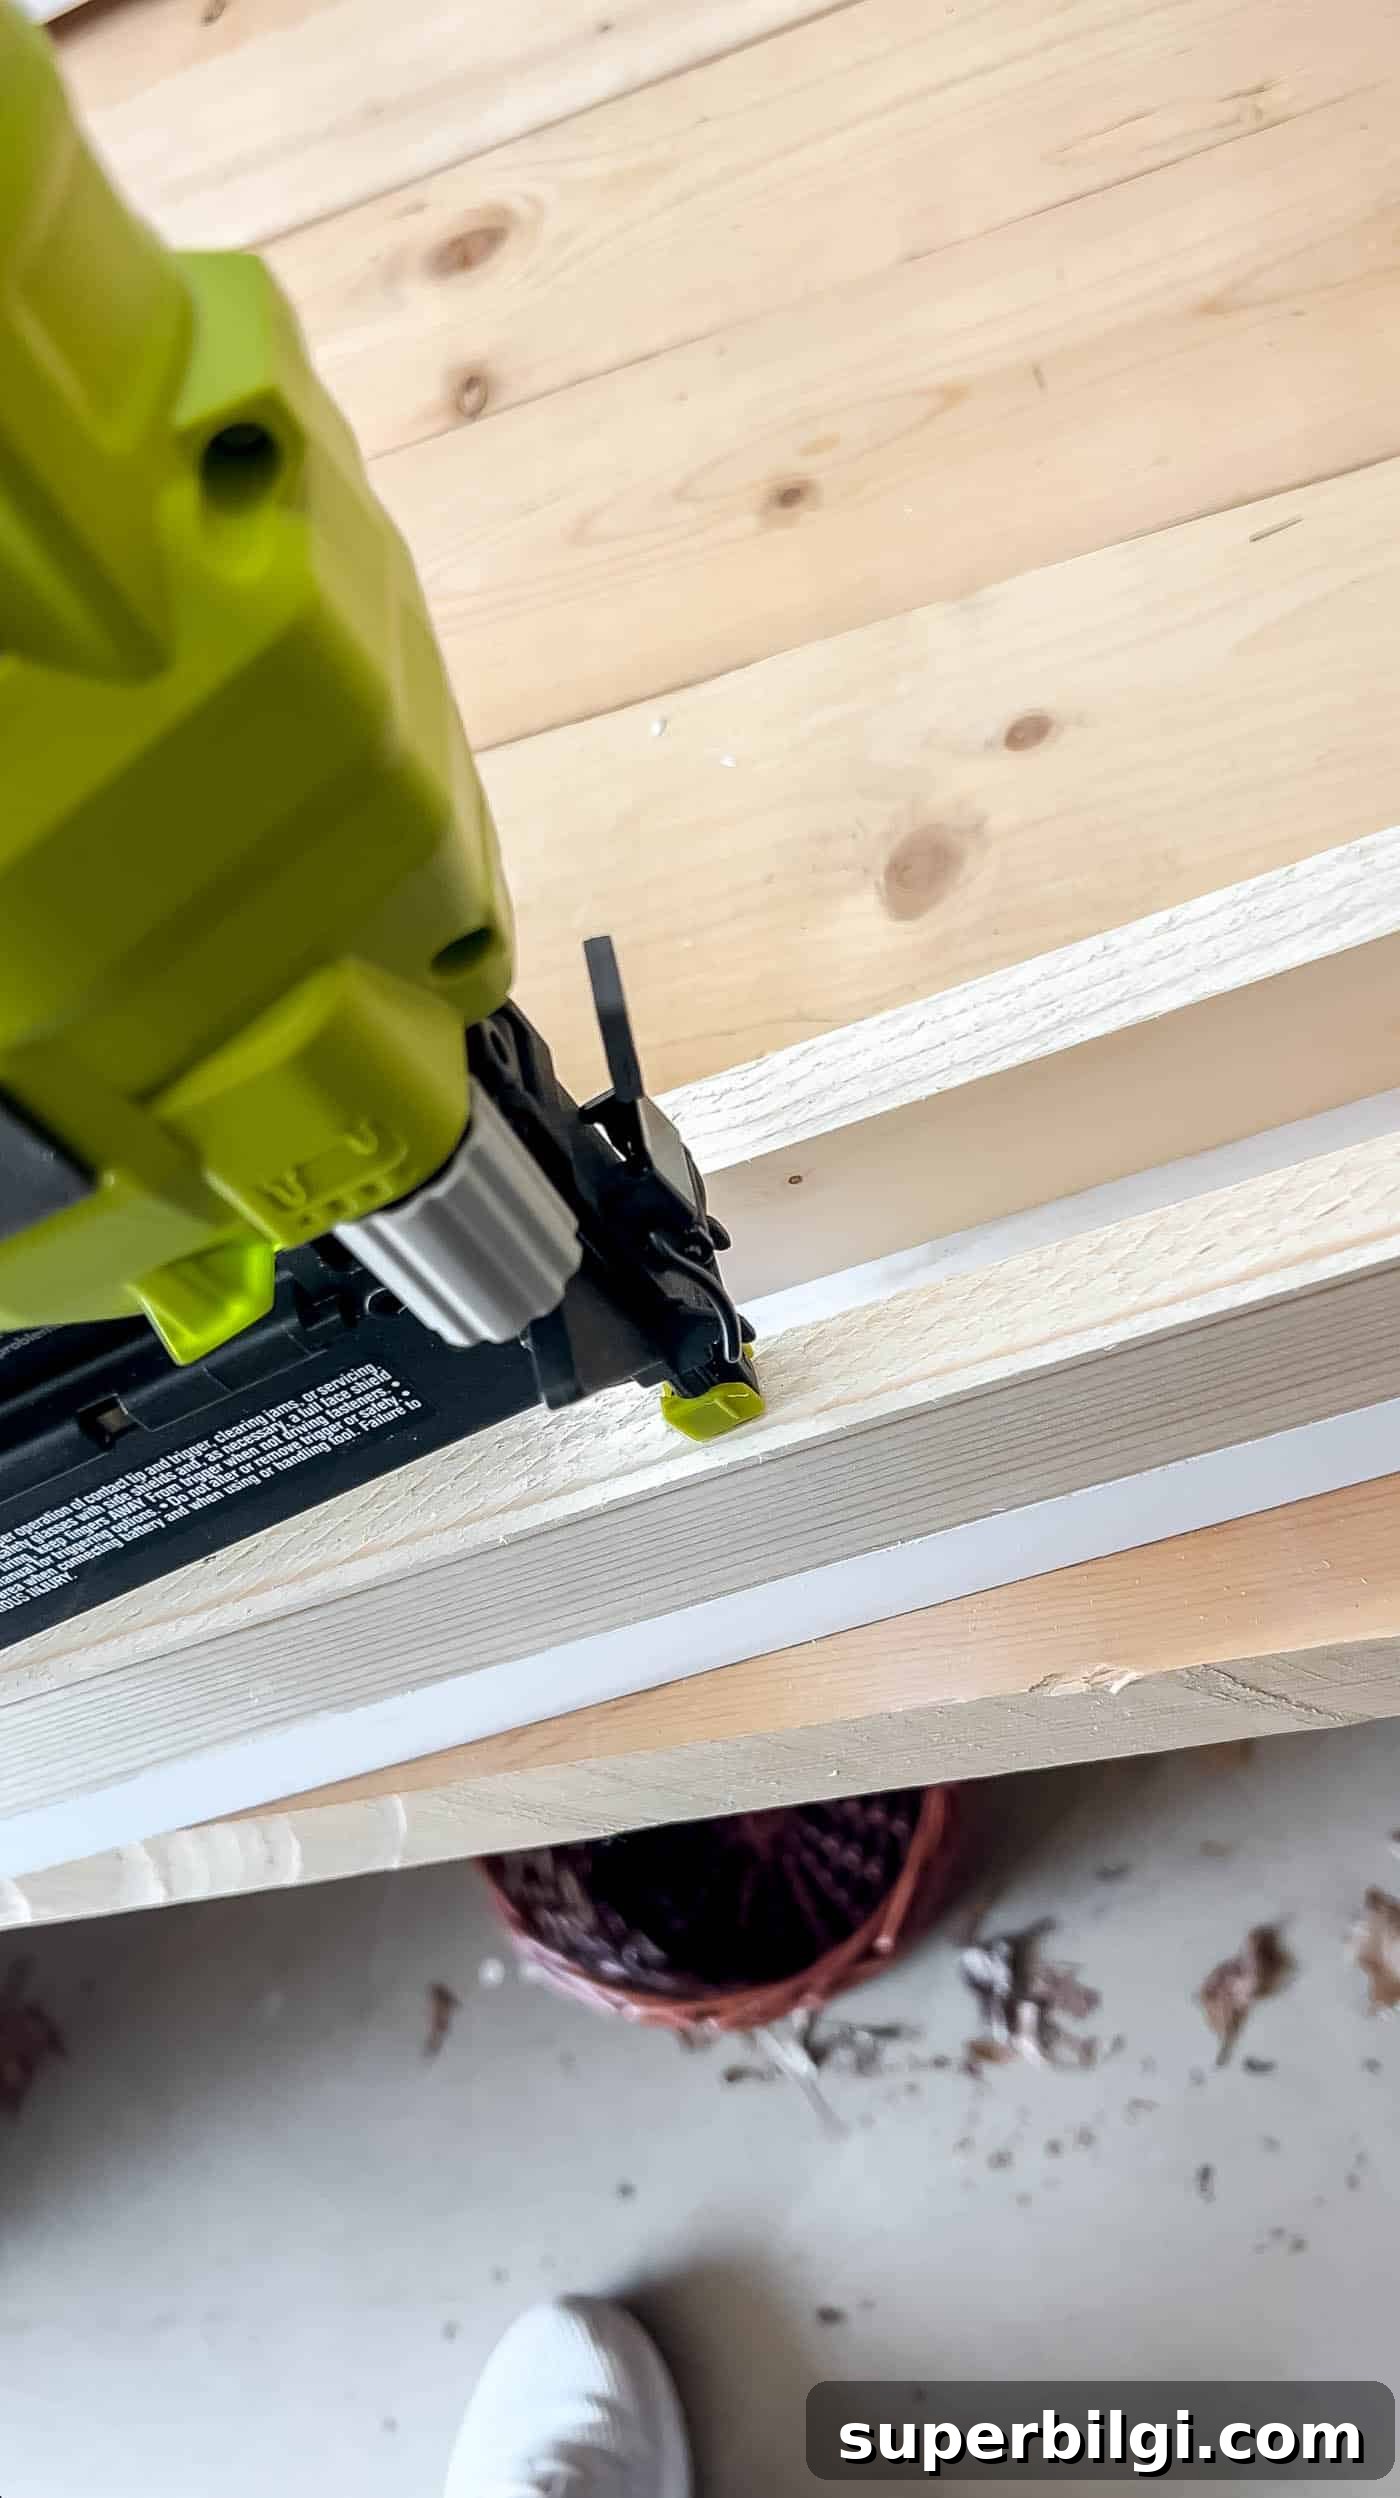
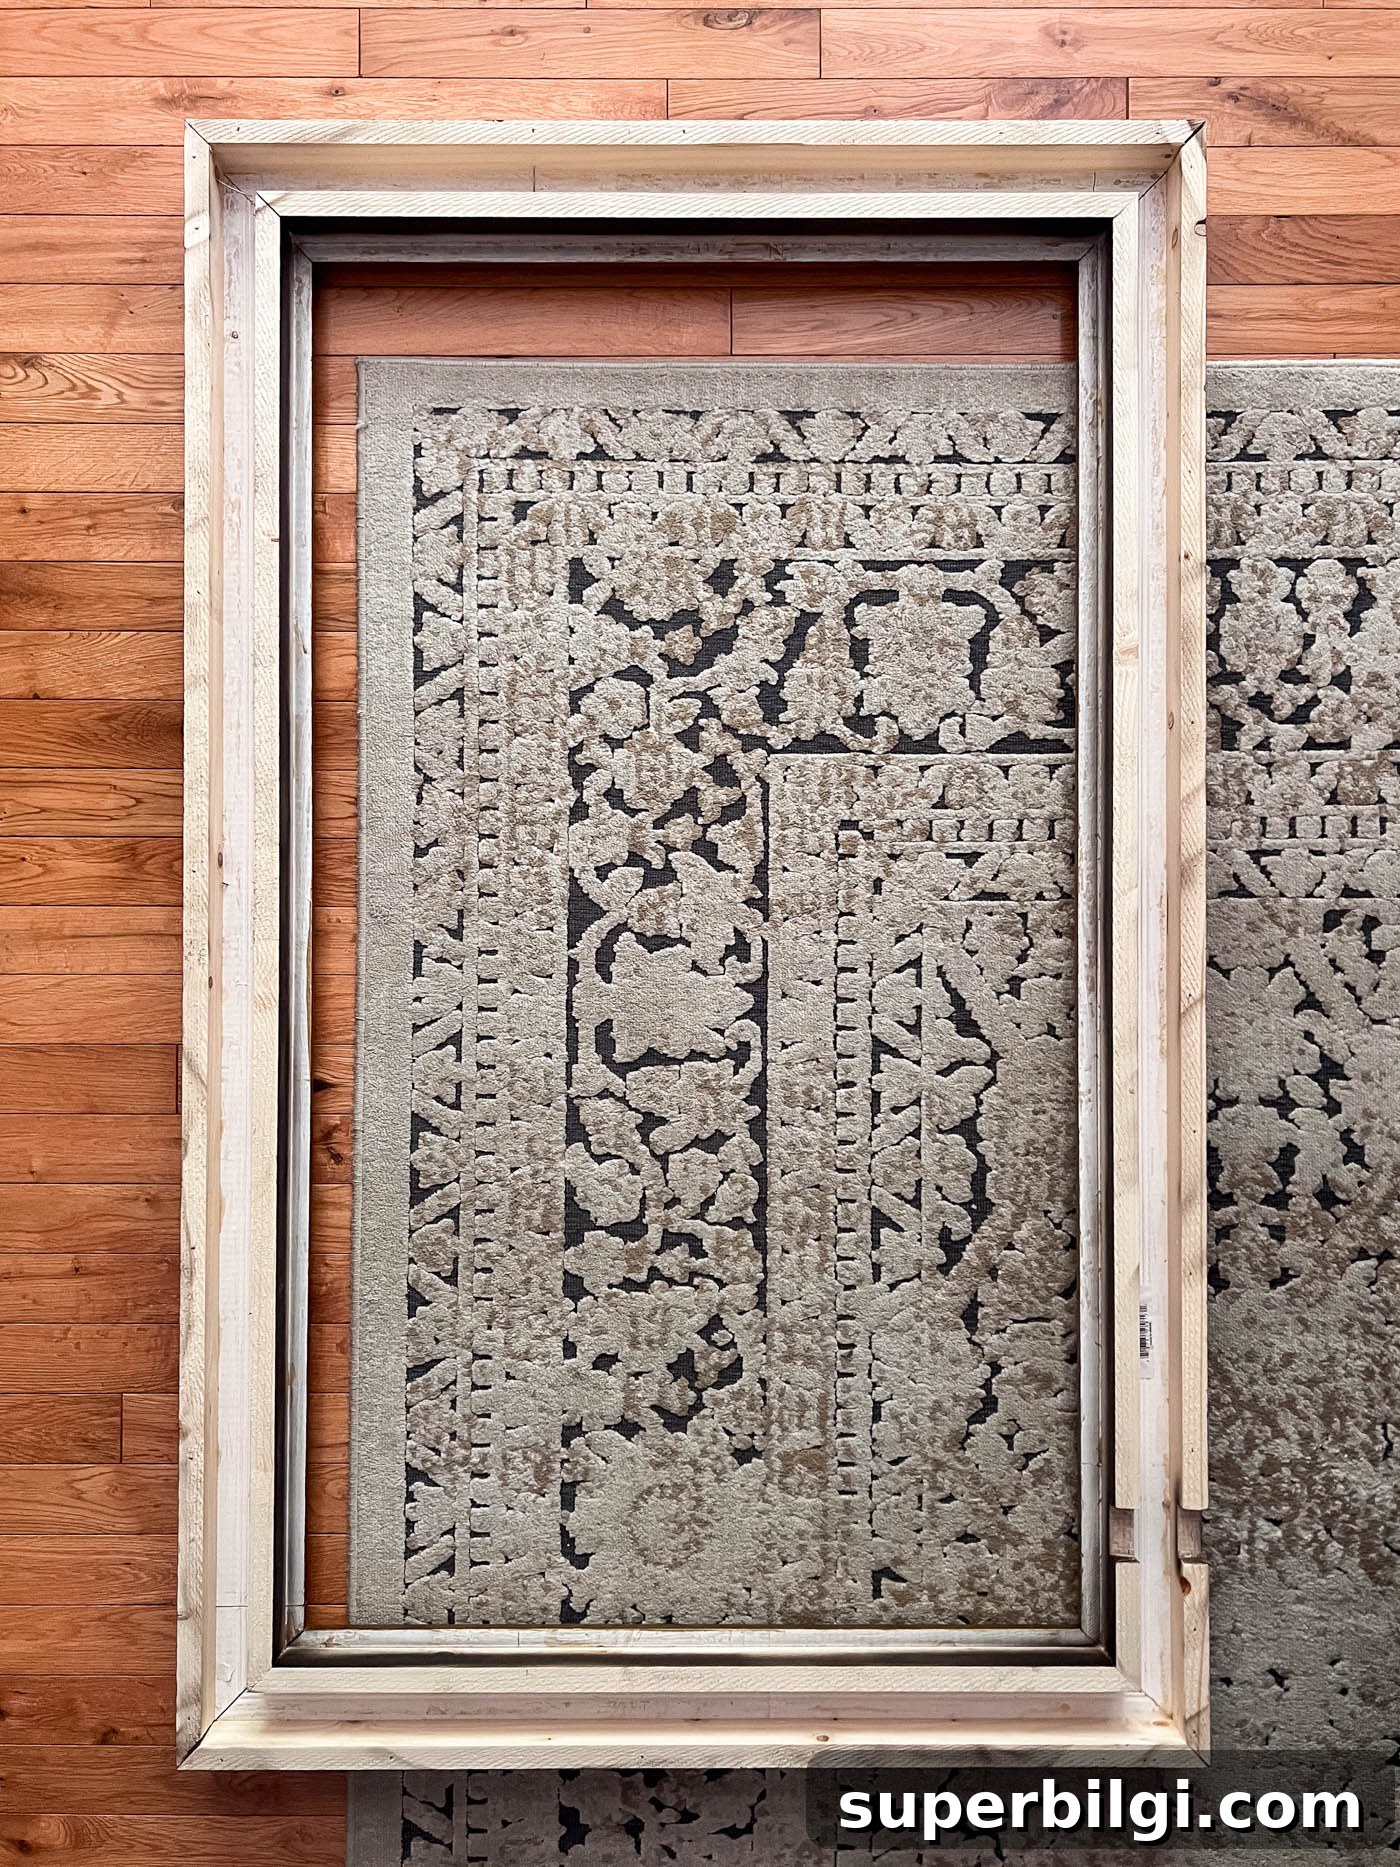
Measure the outside dimensions of the decorative trim frame and build a second 1 x 2 frame with 45-degree miters. This outer base sits behind the trim and adds stability and depth. Glue, clamp, and reinforce with 2-inch brad nails driven from the back into the decorative frame so the whole assembly is solid.
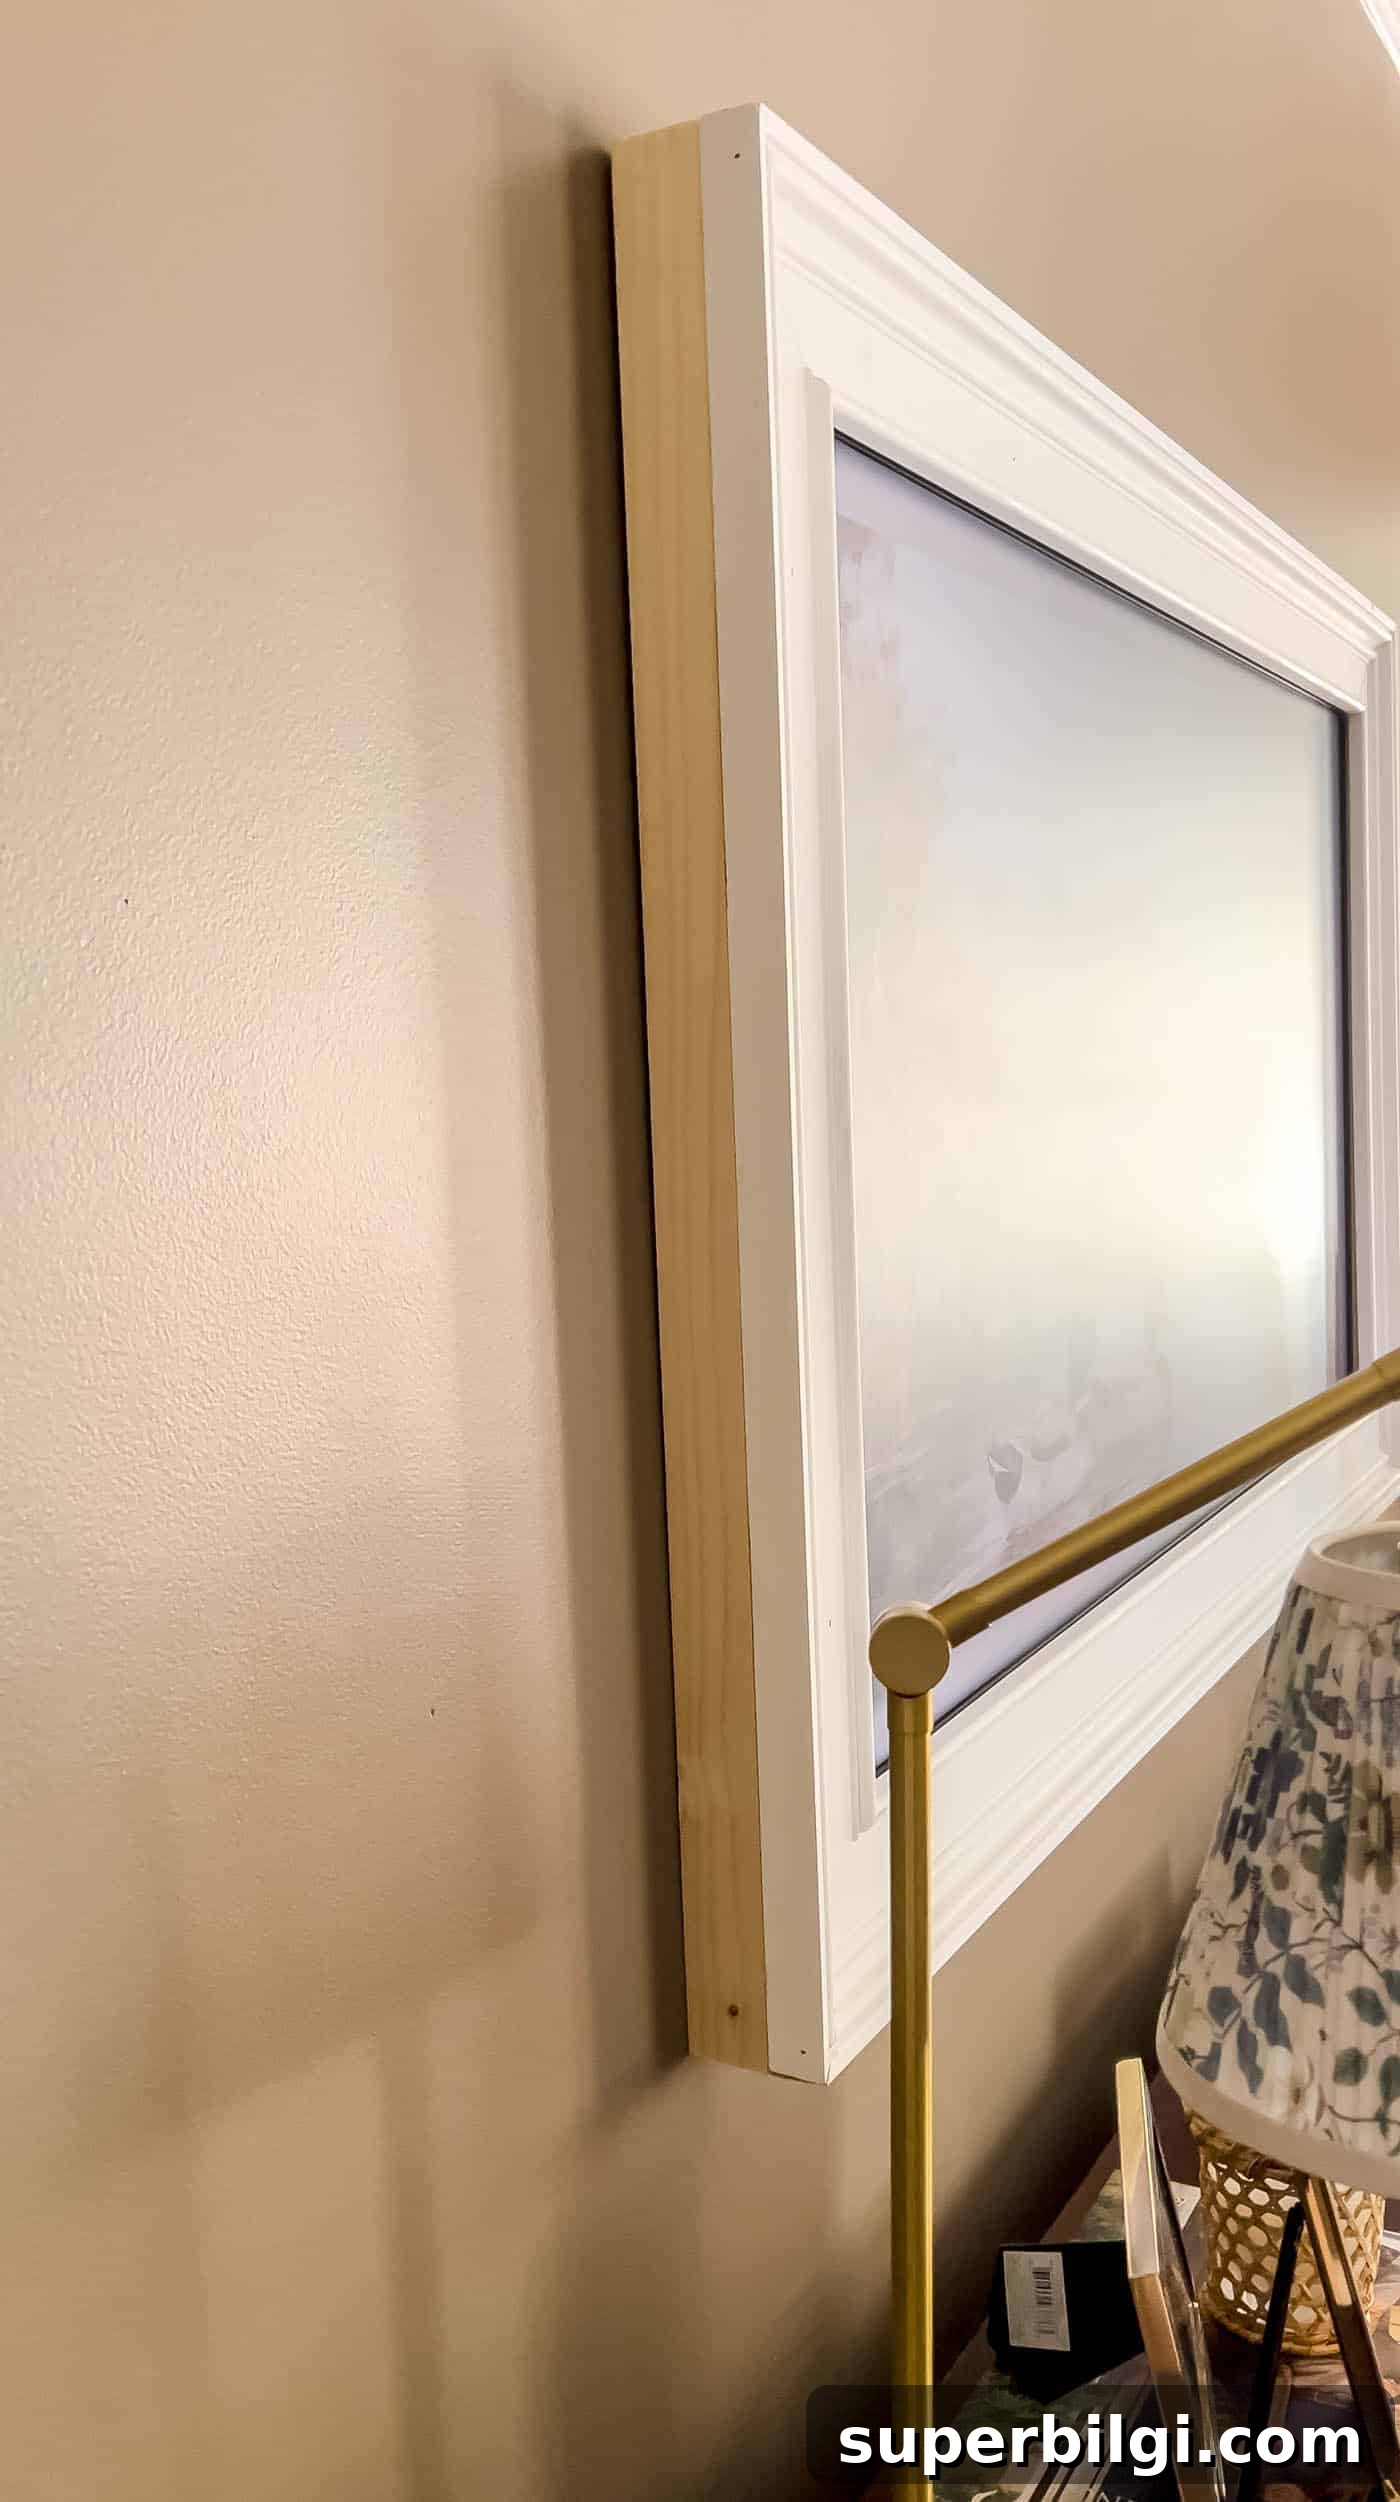
Test the assembly on your TV again to verify fit and that the frame still slides on and off comfortably.
Step 6. Cut a Notch for the Sensor
If your TV has a sensor or IR receiver under the bezel, mark its position while the frame sits on the TV. Make several close cuts with a circular saw in that area and remove the waste with a chisel. Sand the notch smooth so the sensor can “see” the room and your TV’s Art Mode and remote control work normally.
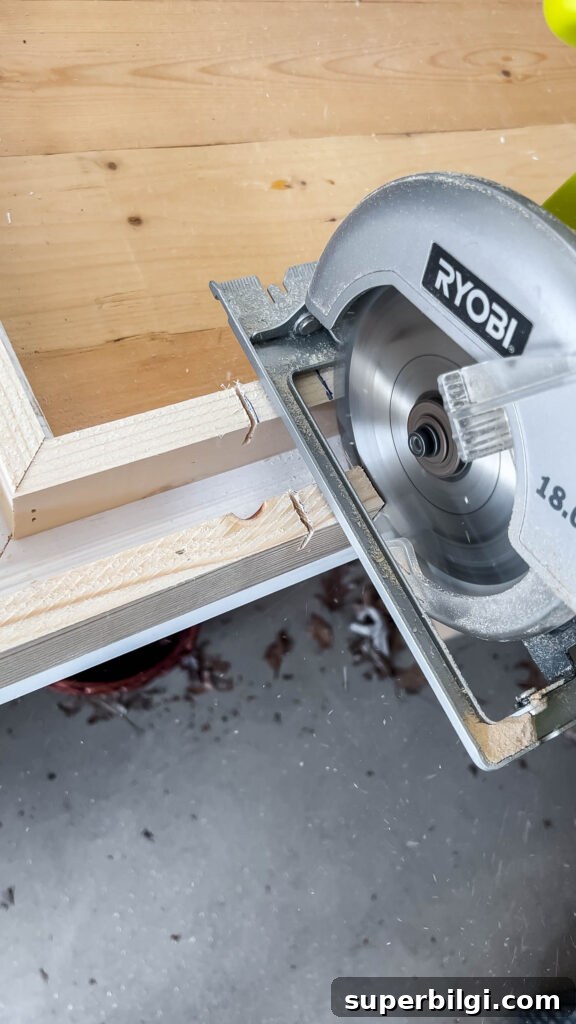
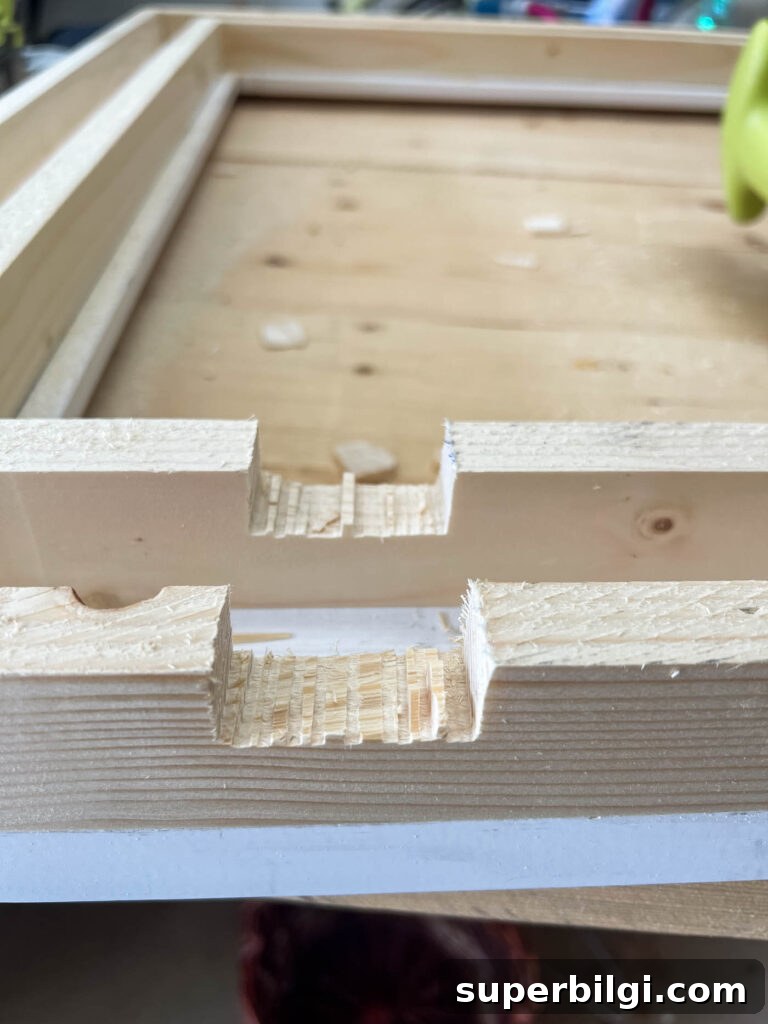
Step 7. Fill, Sand, and Prep
Use wood filler to fill nail holes, seams, and any gaps. Sand flat surfaces with a power sander and use hand sandpaper for grooves and detailed trim. Wipe with a damp cloth or tack cloth to remove dust so paint adheres cleanly.
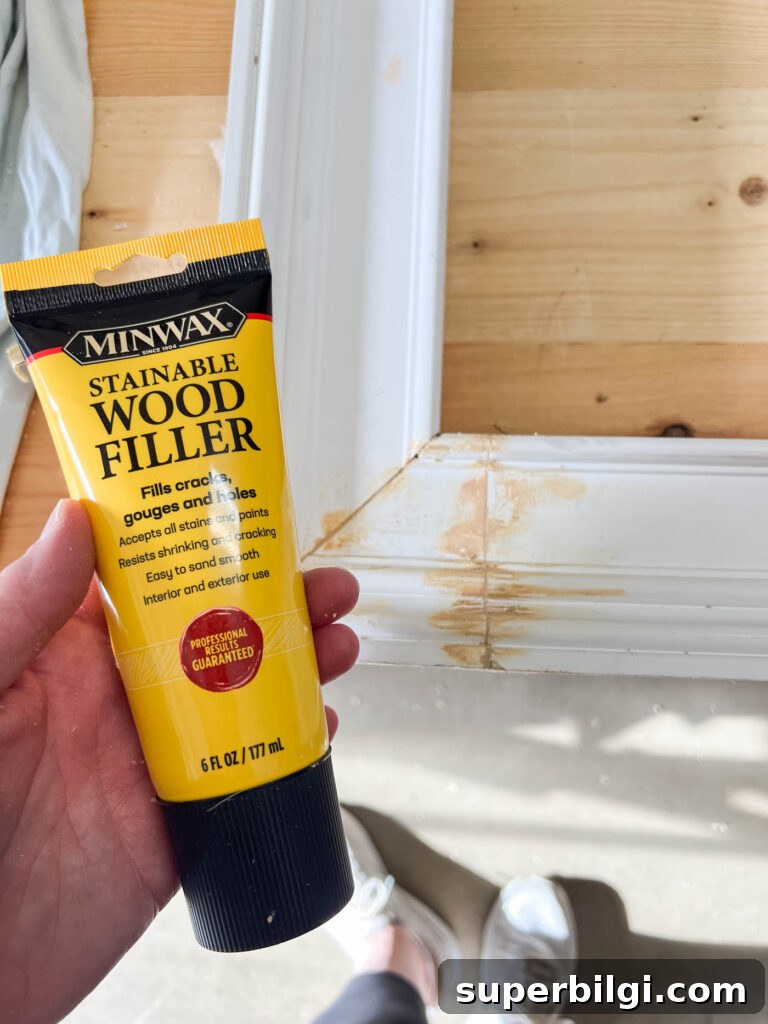
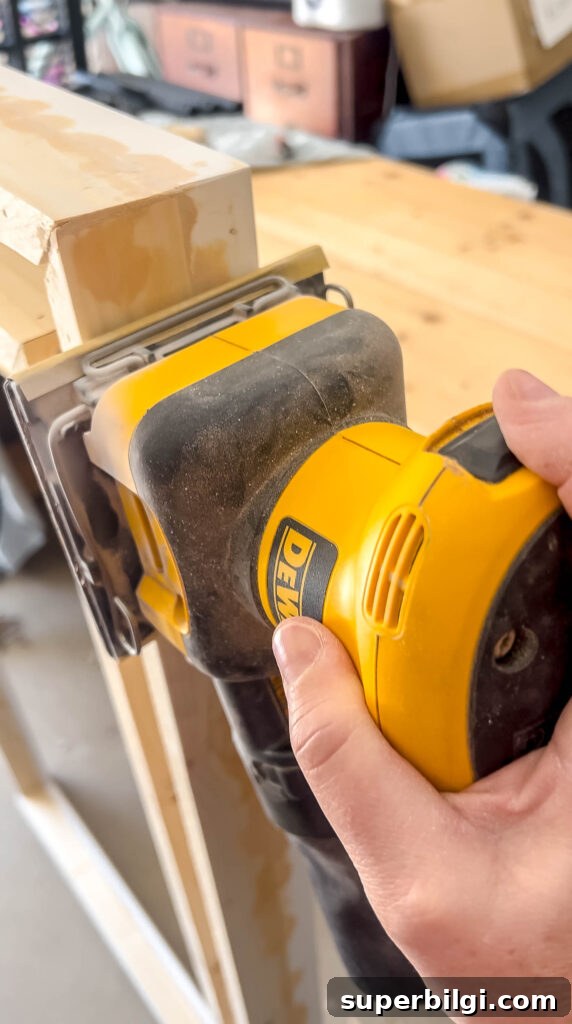
Step 8. Paint or Stain
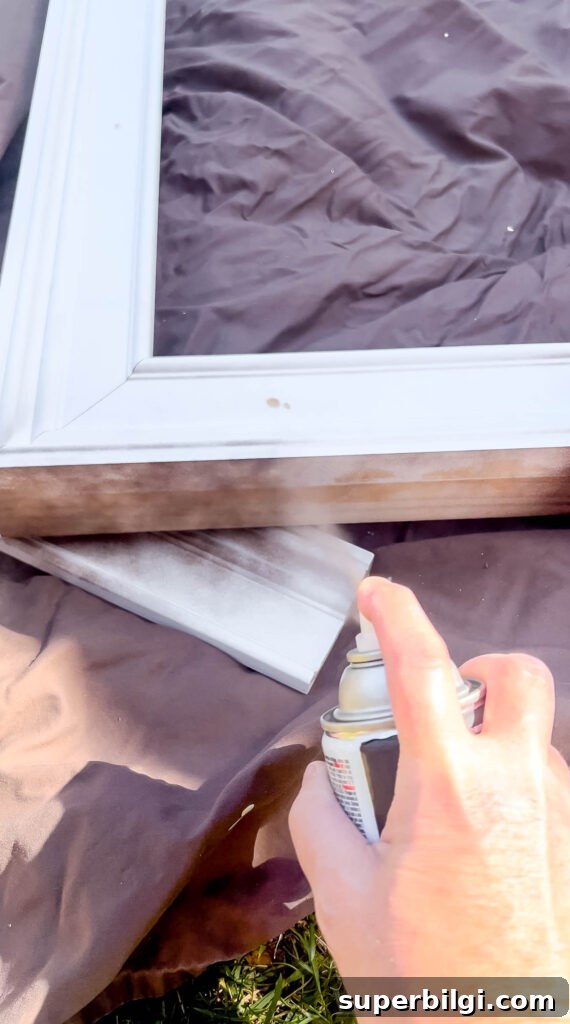
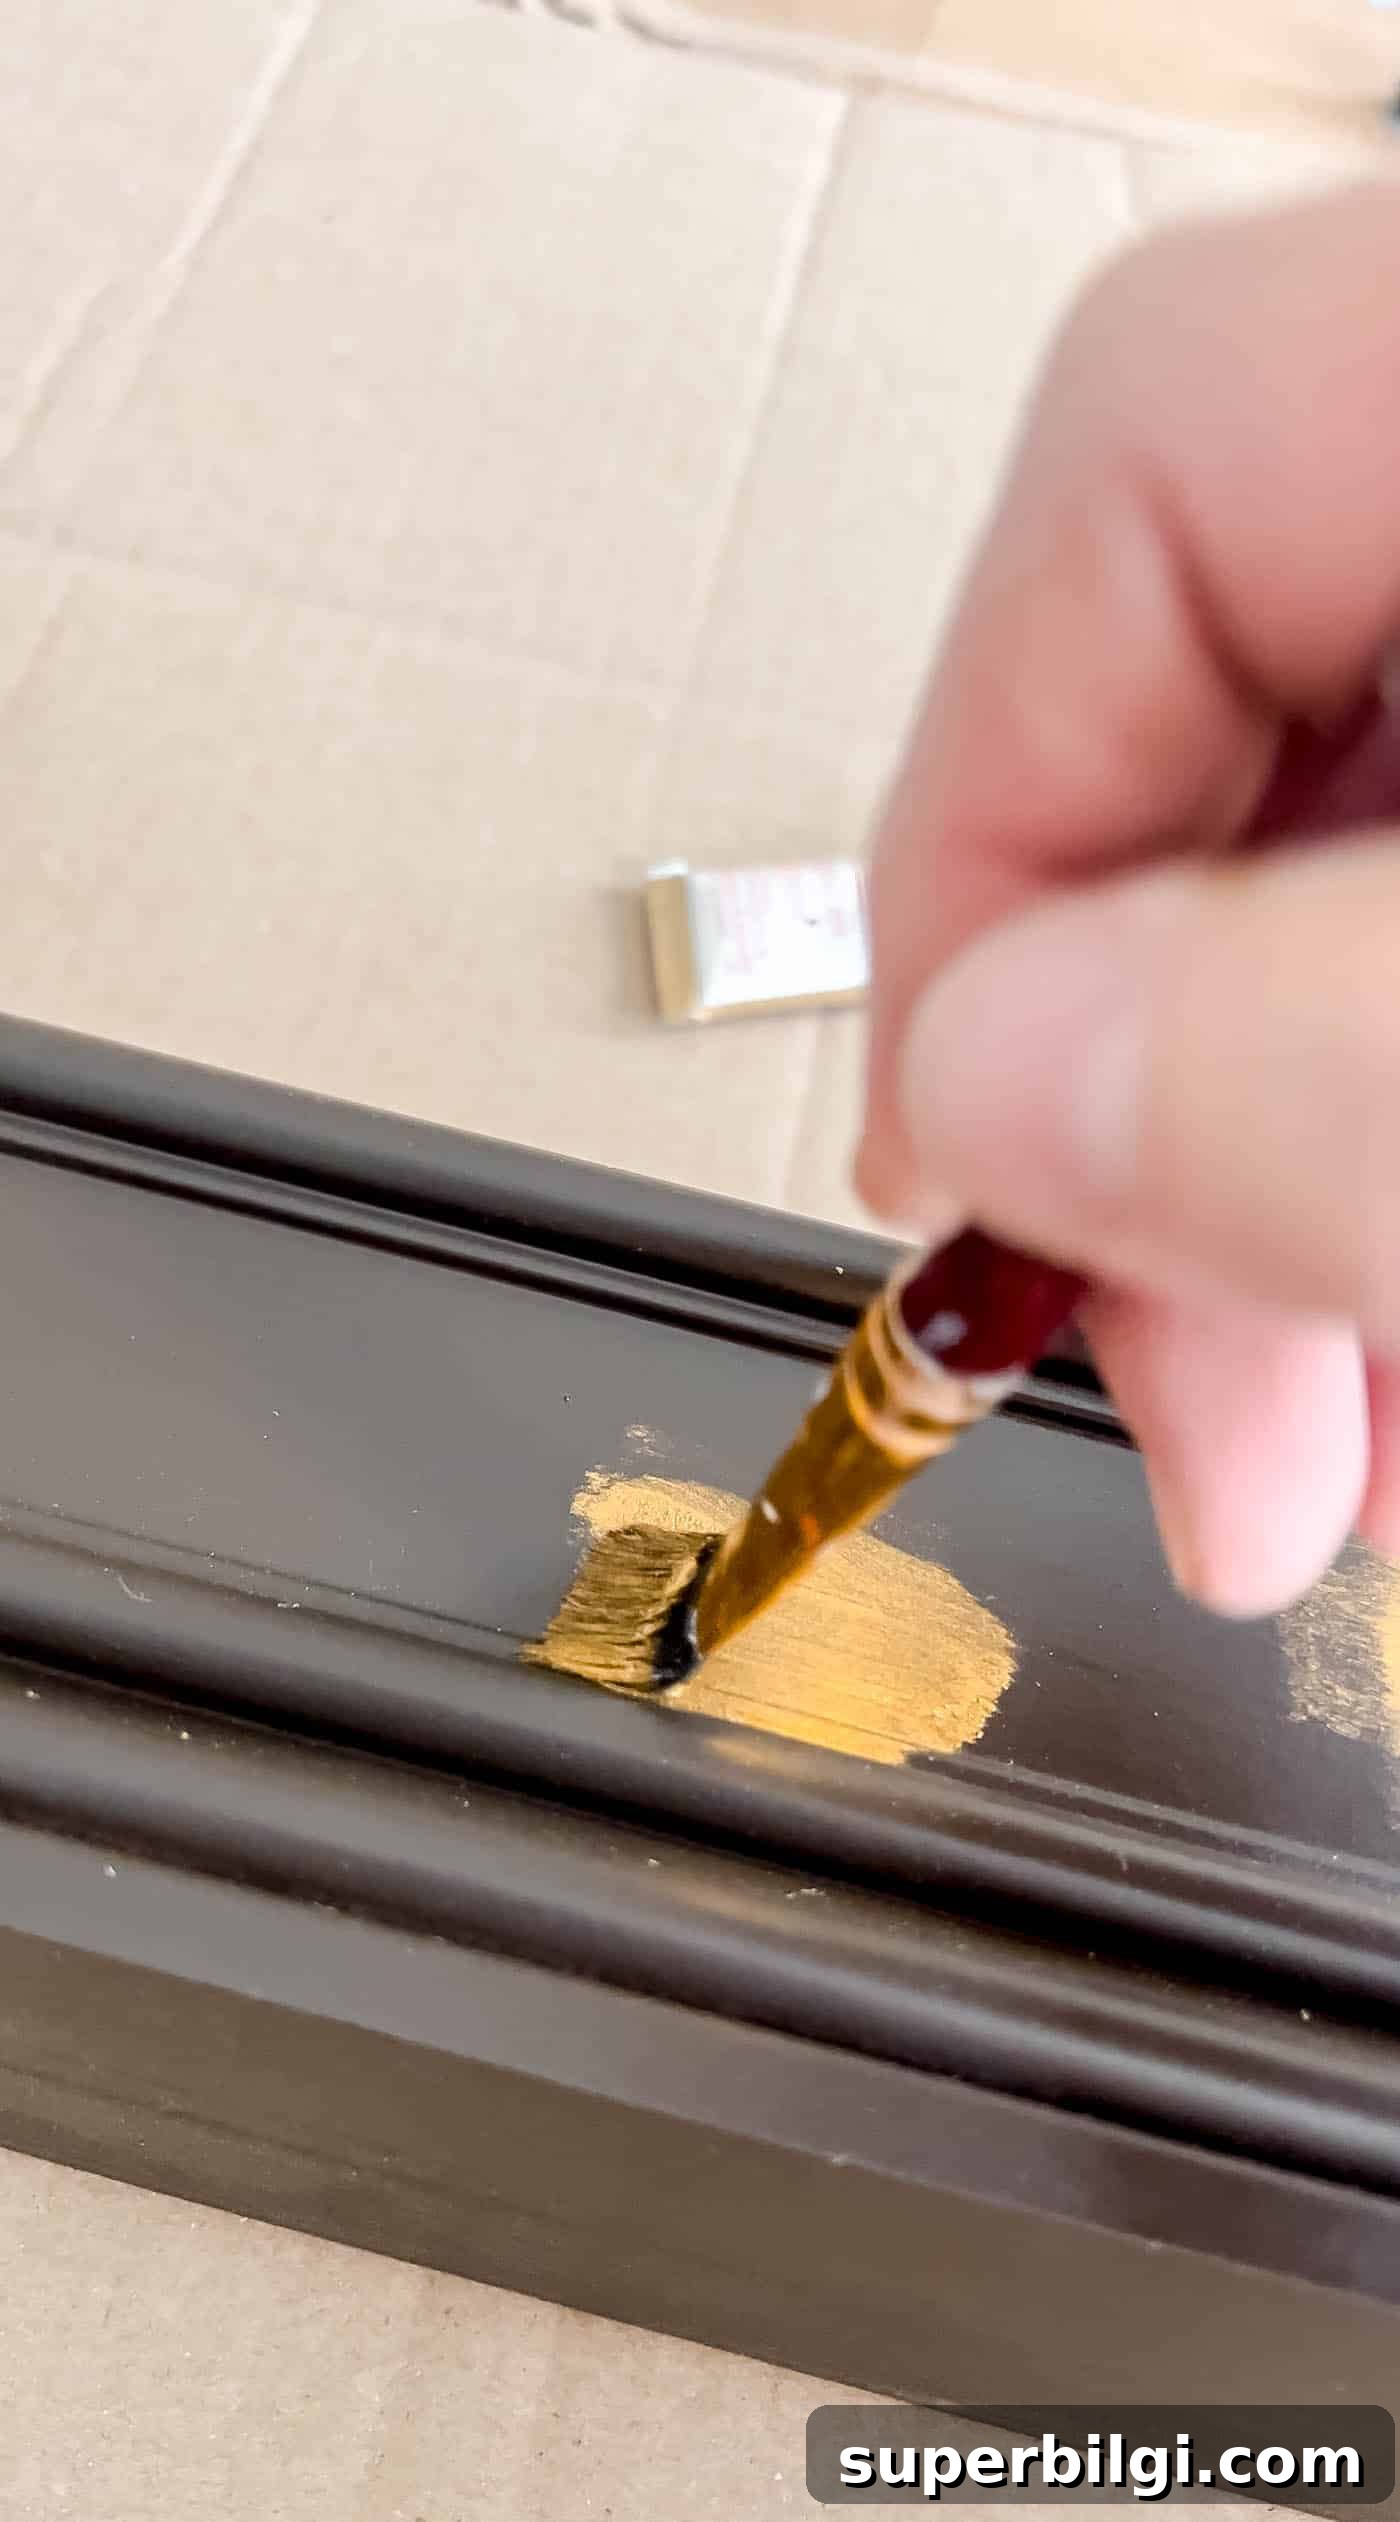
You can stain a raw wood frame for a natural look or paint a primed casing for a polished finish. I sprayed a deep matte brown base to add depth, then applied a thin metallic layer with Rub ’n Buff in a warm gold. Working in light strokes builds an antique-style patina—less is more.

Step 9. Attach Frame to TV
I built this frame to fit snugly around the TV so it simply rests in place. If you want extra security, a few removable adhesive strips behind the frame will help. A well-measured, well-built frame should sit securely without permanent attachment.
How to Style Your Frame TV
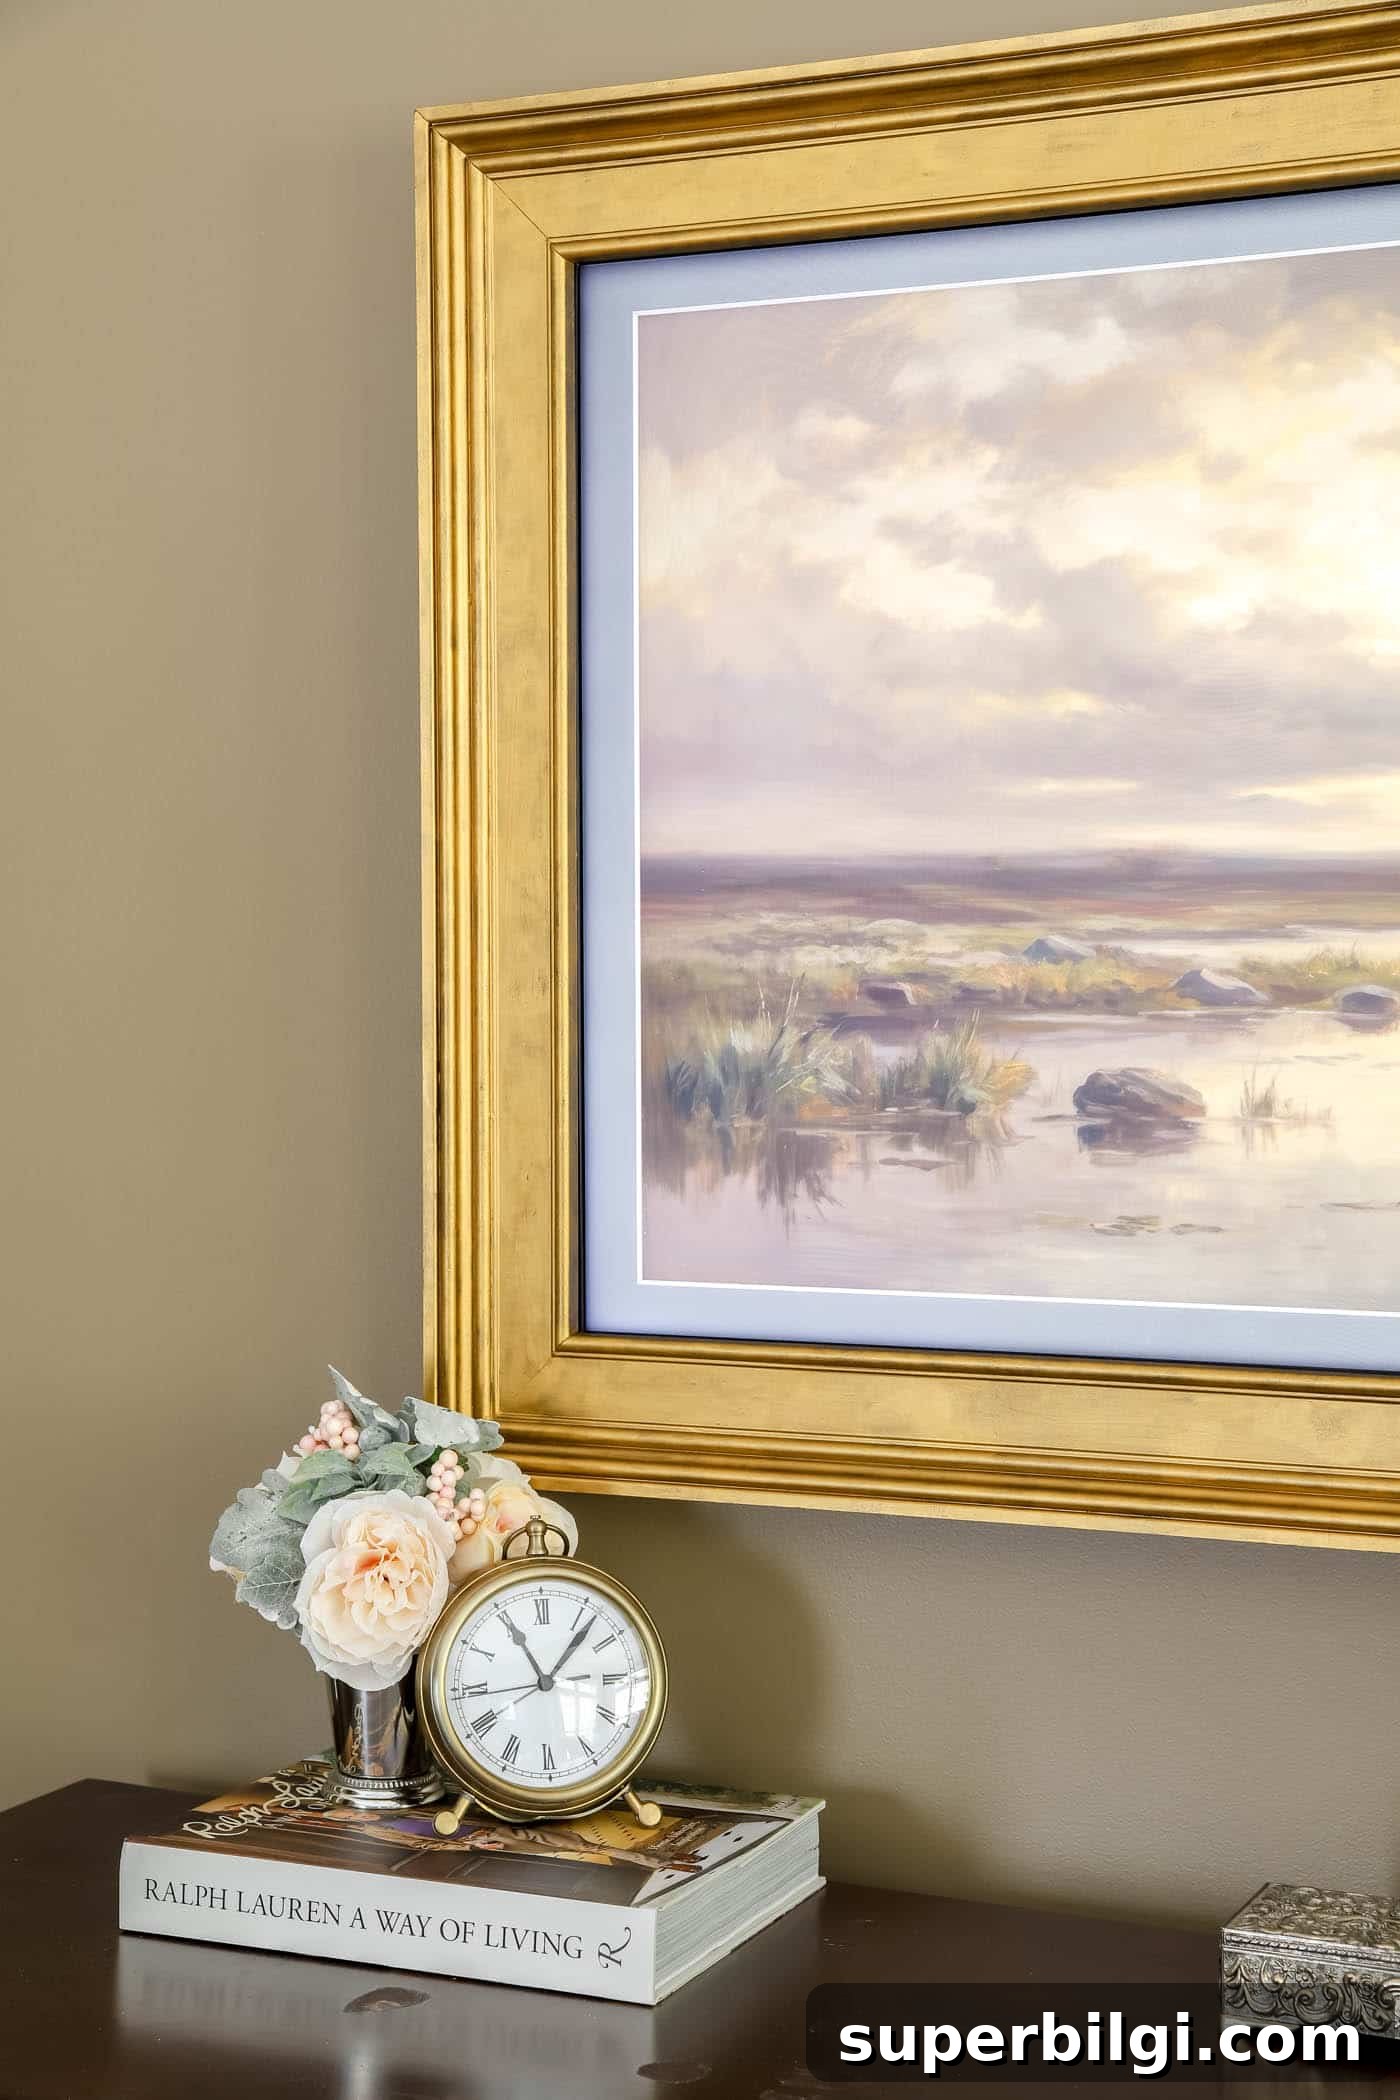
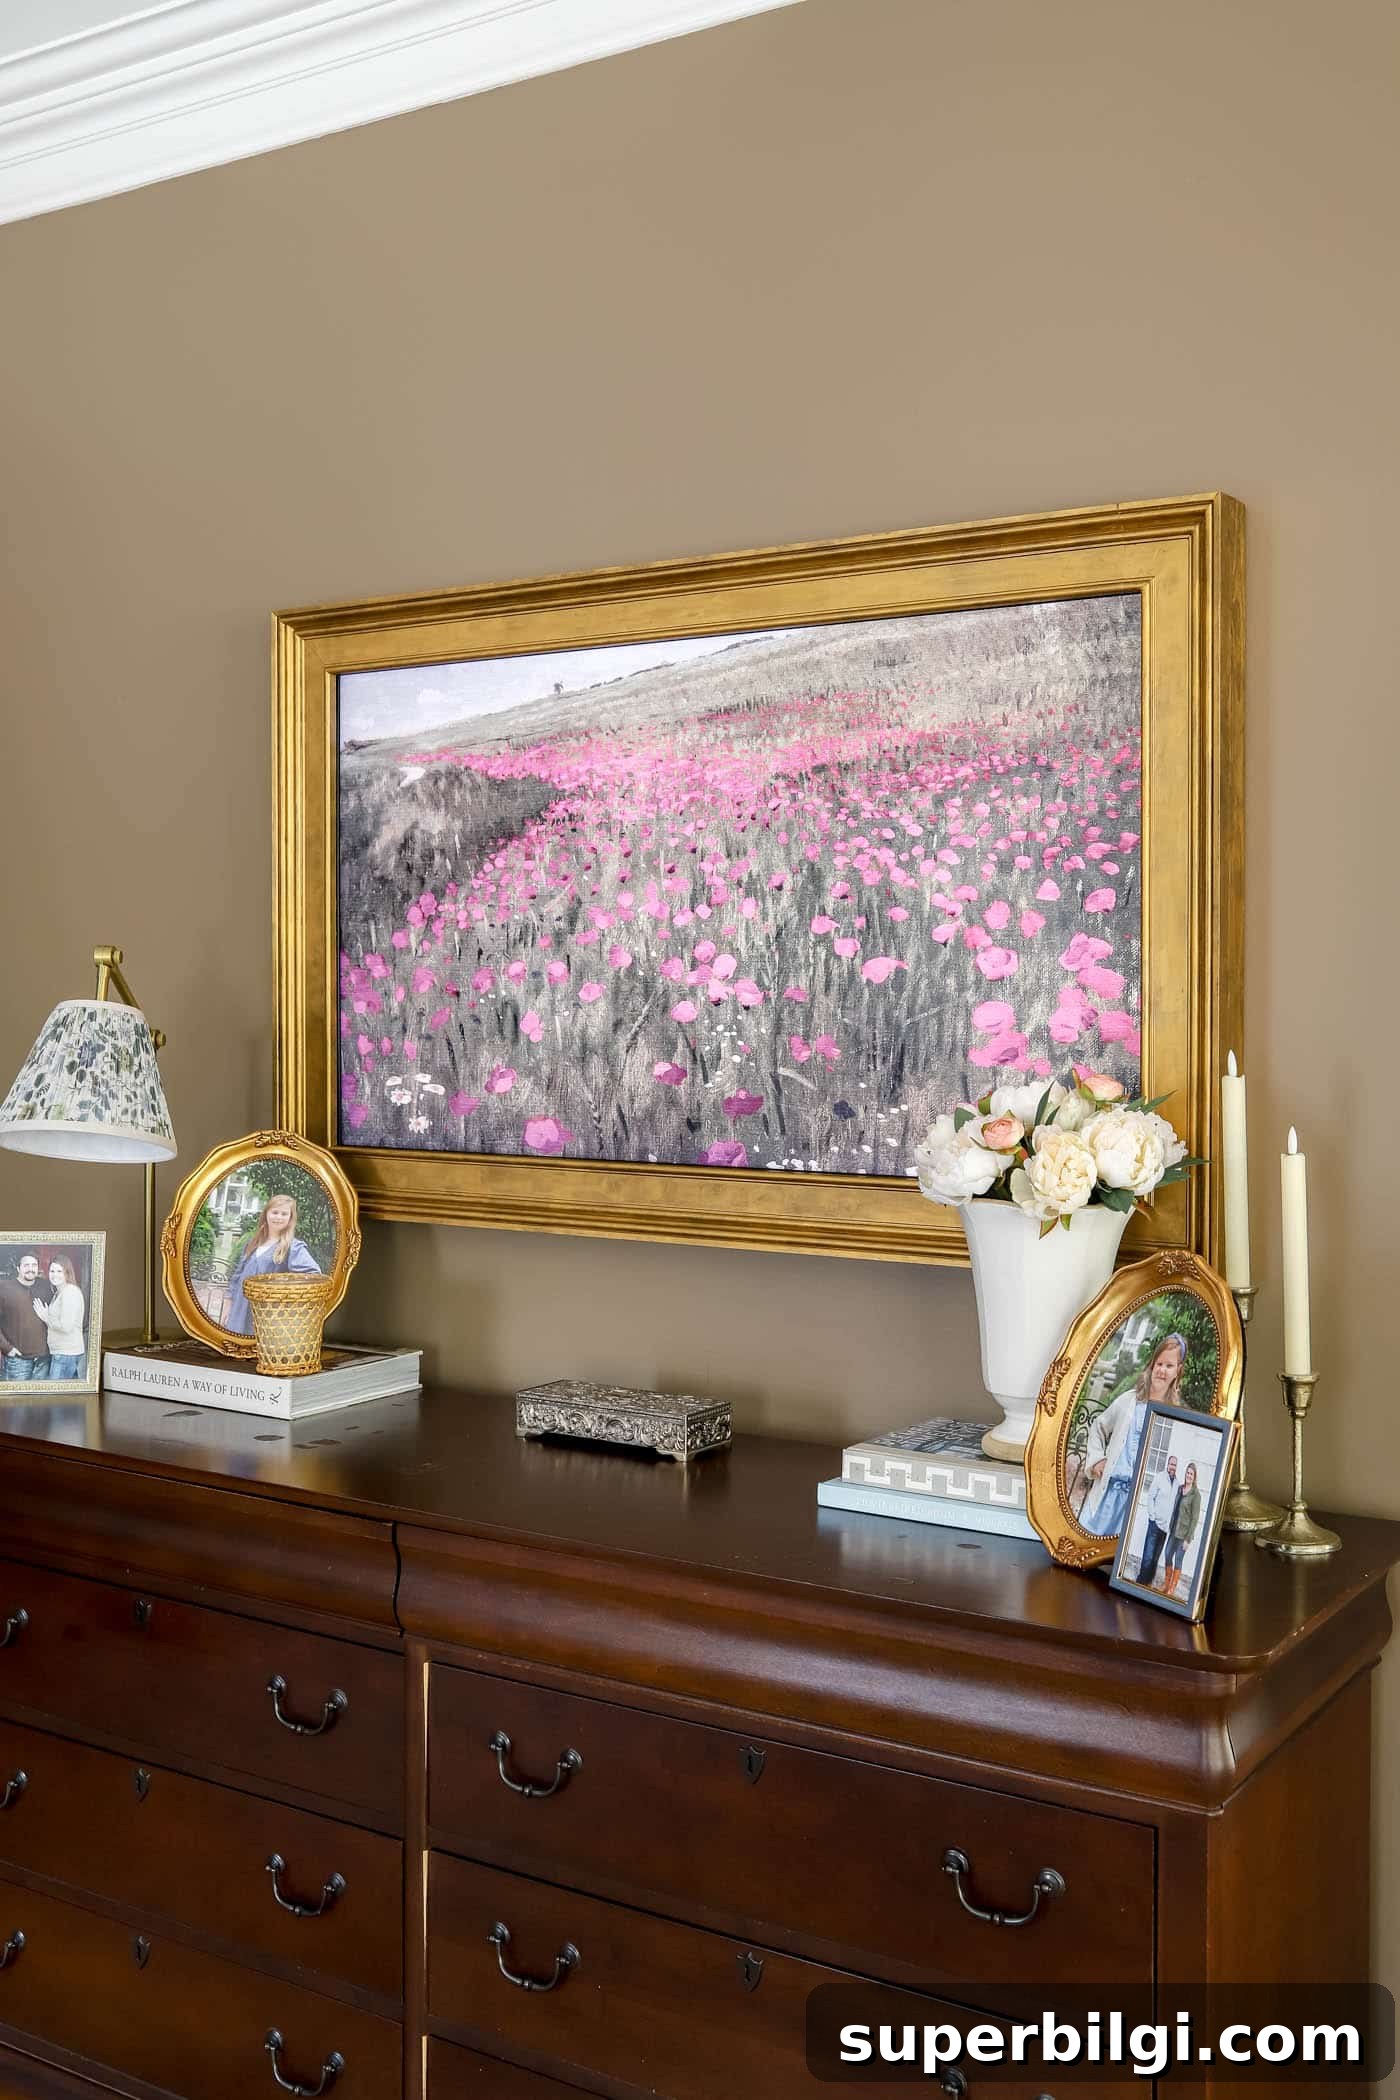
The goal is to make your TV read as artwork. Change the displayed art with the seasons to refresh the room—floral or light pieces for spring and summer, warm earth tones for fall, and cool neutrals or classic prints for winter. Seasonal artwork is an easy way to keep the space feeling intentional year-round.
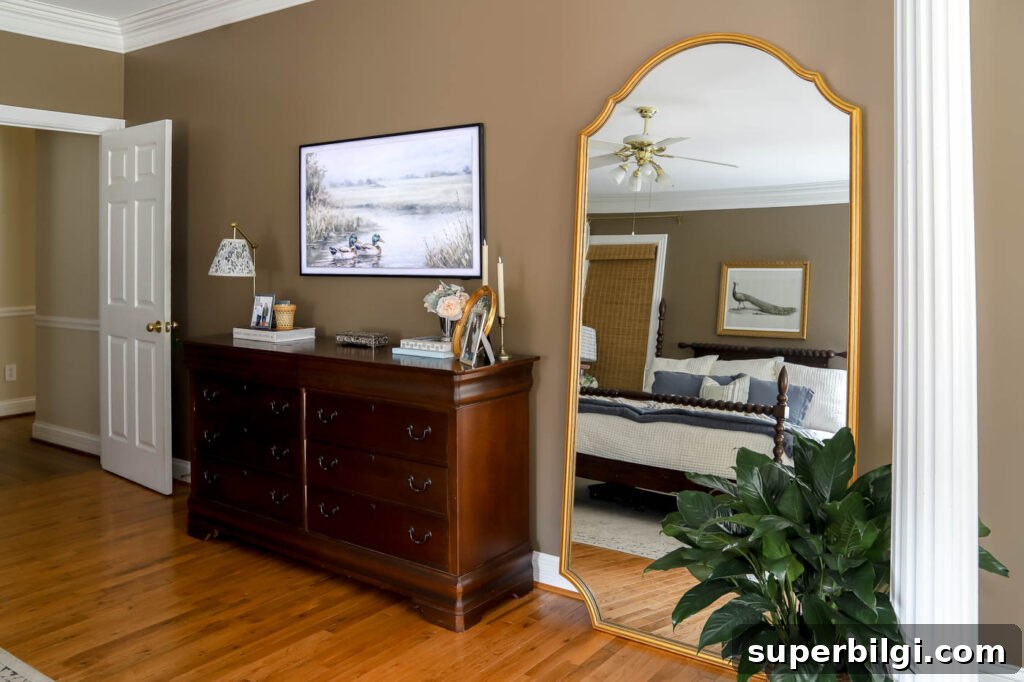
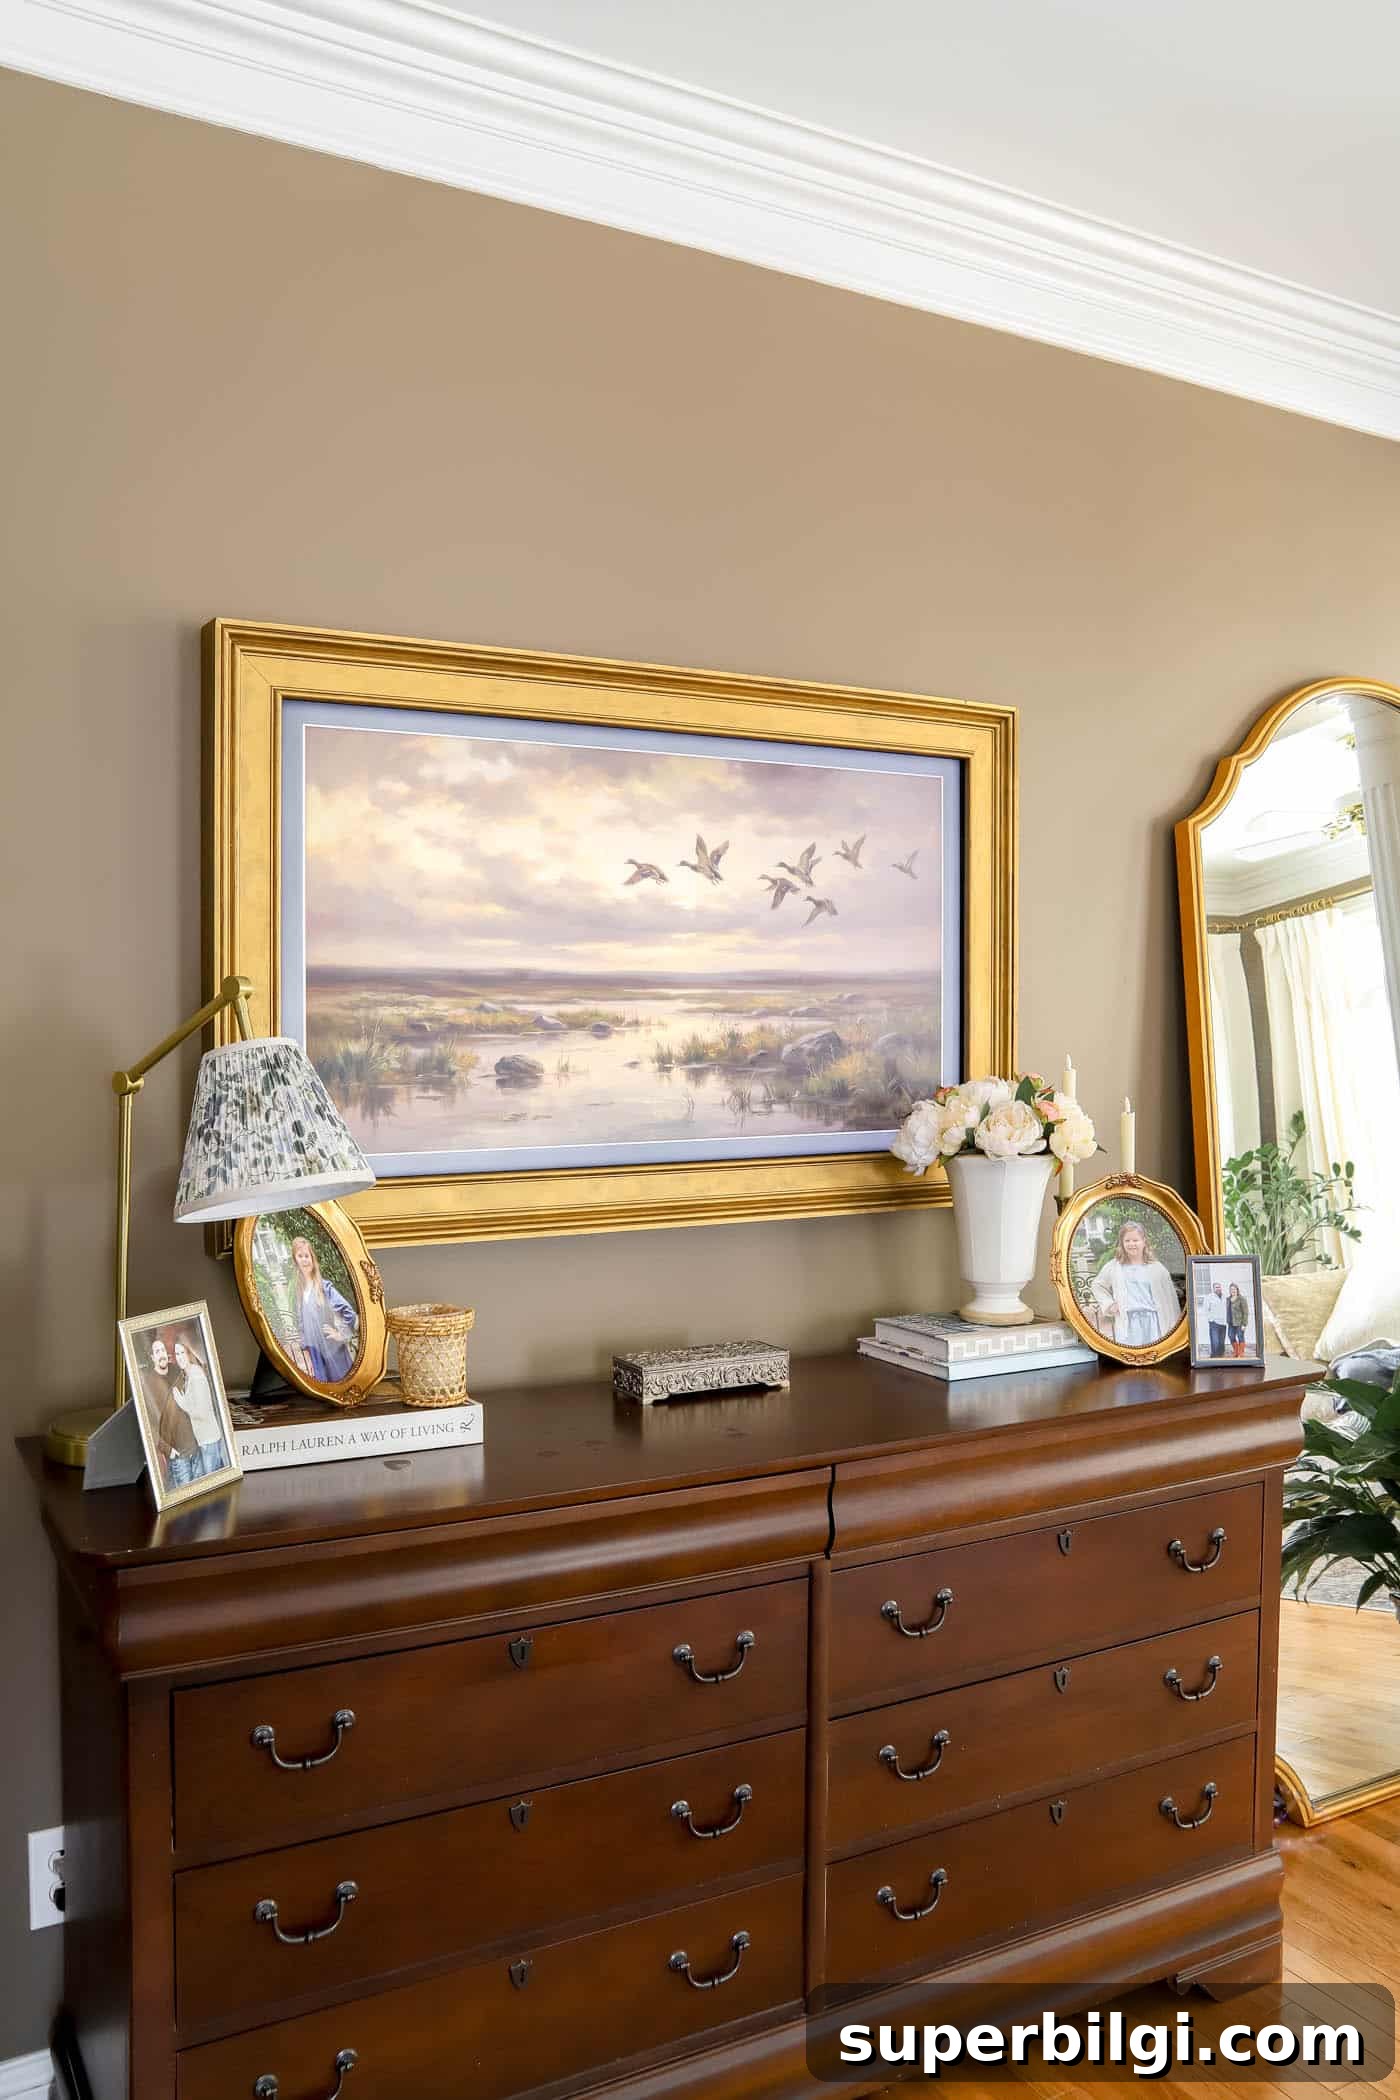
Dressing up the TV allowed me to style the dresser below with books, framed photos, flowers, lamps, and candles instead of fitting the TV onto the surface. It also gave me space to include sentimental items, like a childhood jewelry box, in the centerpiece of the vignette.
Before:
After:
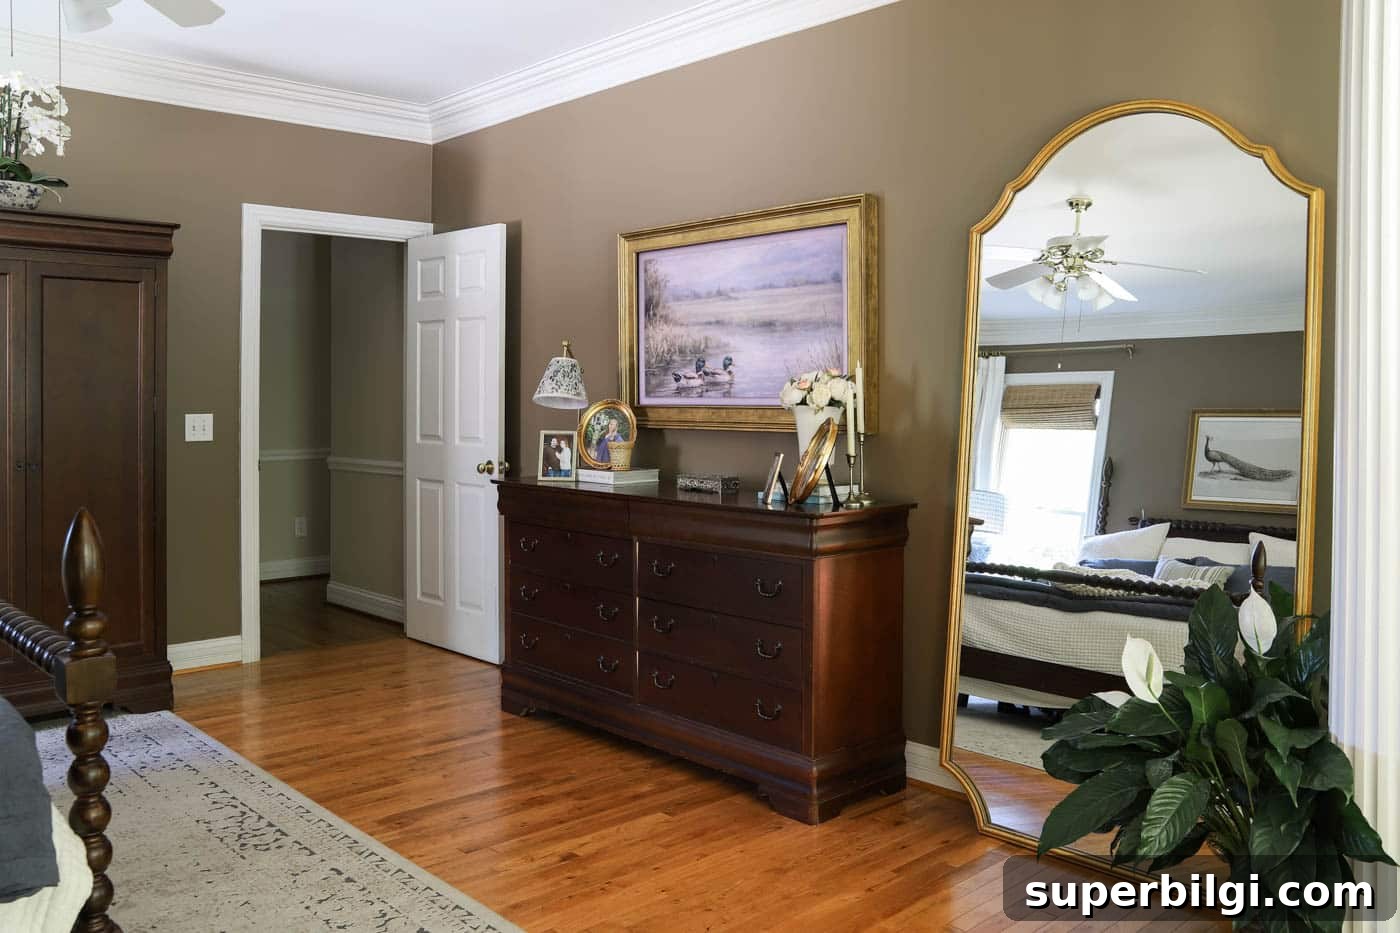
The large mirror and framed TV now suit the scale of the wall and help balance our long bedroom wall with high ceilings. The frame made a dramatic difference and anchored that area visually.
Frequently Asked Questions
Yes. Samsung Frame TVs are designed to look like artwork, and adding a DIY frame is a popular way to enhance that look. You can build a custom frame or buy pre-made frames, but a DIY approach is frequently more budget-friendly.
Does this frame block the sensor?
The frame can partially cover the sensor, which is why I cut a small notch so light still reaches it. If the sensor is overly blocked it can affect motion and light sensitivity features, but a notch or small opening usually resolves that.
Can you remove the frame easily?
Yes—if the frame simply rests around the TV it’s easy to remove to change artwork or make adjustments. Adhesive attachment methods will be more permanent and require more care to remove.
What type of molding works best?
A decorative molding around 3½” wide tends to balance the TV scale well, giving a substantial, gallery-style appearance without overwhelming the screen. Choose a profile that fits your home’s style, whether traditional, modern, or vintage-inspired.
Which Version Is Right for You?
If you want something quick, budget-friendly, and minimal, choose the simple frame version. If you want a layered, designer look and don’t mind extra steps, build the custom decorative frame outlined here. Both options cost a fraction of pre-made luxury frames and deliver a significant style upgrade.
Final Thoughts
Building this DIY Frame TV frame wasn’t just about saving money—it was about creating something personal, intentional, and connected to our home. Using basic tools and affordable materials, you can transform a black screen into a framed focal point that feels warm, collected, and uniquely yours. There’s a special satisfaction in seeing pieces you made with your own hands become meaningful parts of your home.