
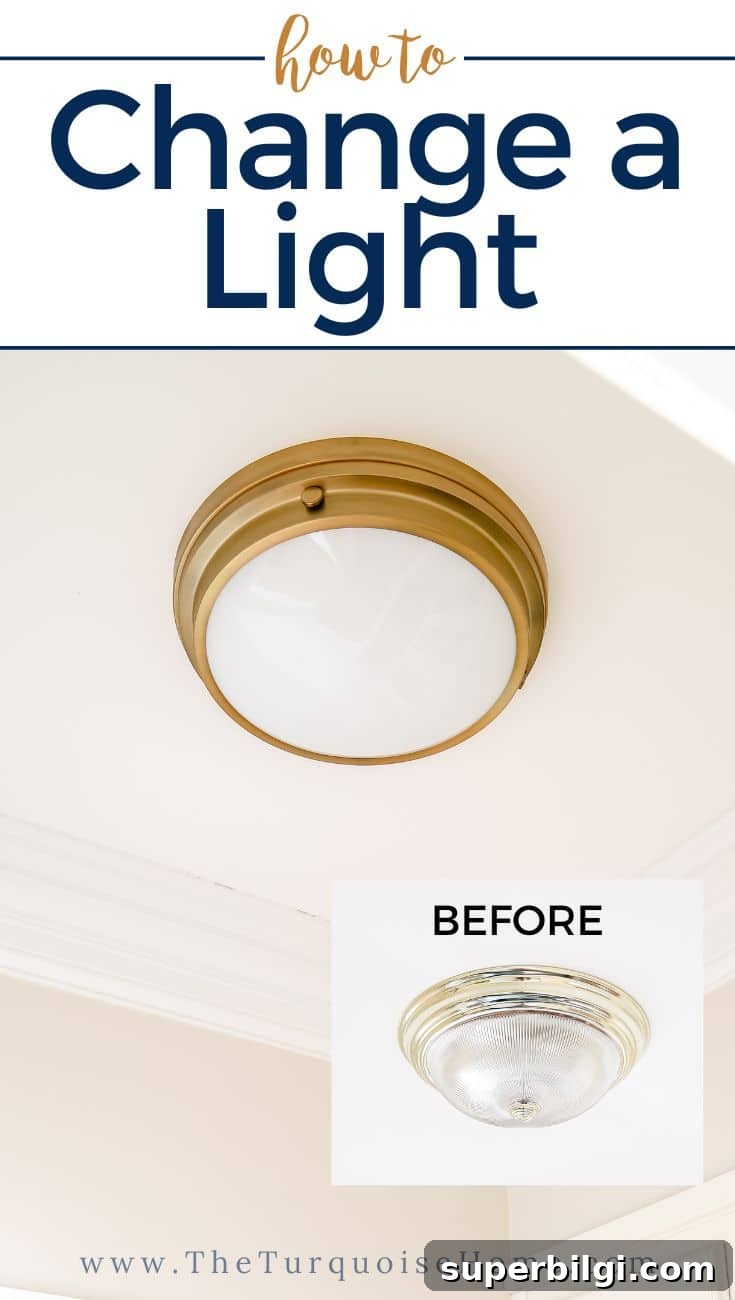
Learning how to change a light fixture is an easy way to refresh any room. New lighting can instantly update the look and feel of your home.
When we moved into our first home, I delayed swapping out the dated fixtures because I was nervous about working with electricity. After about five years I finally asked my husband to help me replace the dining room chandelier. It felt stressful at first—we were unfamiliar with the process—but after a few swaps it became straightforward. Now, in less than three years in our current house, I’ve replaced ten fixtures and plan to update the rest over time.
This post includes practical tips and product recommendations used in our projects. Please follow local codes and safety guidelines.
Replacing a light fixture is one of the most impactful, budget-friendly updates you can do. It improves lighting quality and instantly modernizes a space. If you’re comfortable turning off power at the breaker and following basic instructions, this is a great DIY project. If not, hire a licensed electrician—safety first.
What You Need to Change a Light Fixture
- New light fixture with mounting hardware
- Wire cutter and wire stripper
- Ladder suitable for the ceiling height
- Power drill or Phillips and flat-head screwdrivers
- Optional: non-contact electric voltage tester for extra safety
- A helper to hold the fixture while you connect wires
How to Replace a Light Fixture
1. Choose the Right Fixture
Selecting the right fixture affects both function and style. Consider size, light output, mounting type (flush mount, semi-flush, pendant, chandelier), and the room’s ceiling height. Check the fixture’s instructions and mounting hardware before you start so you know what components are included and whether any additional parts are required.
2. Turn Off Power
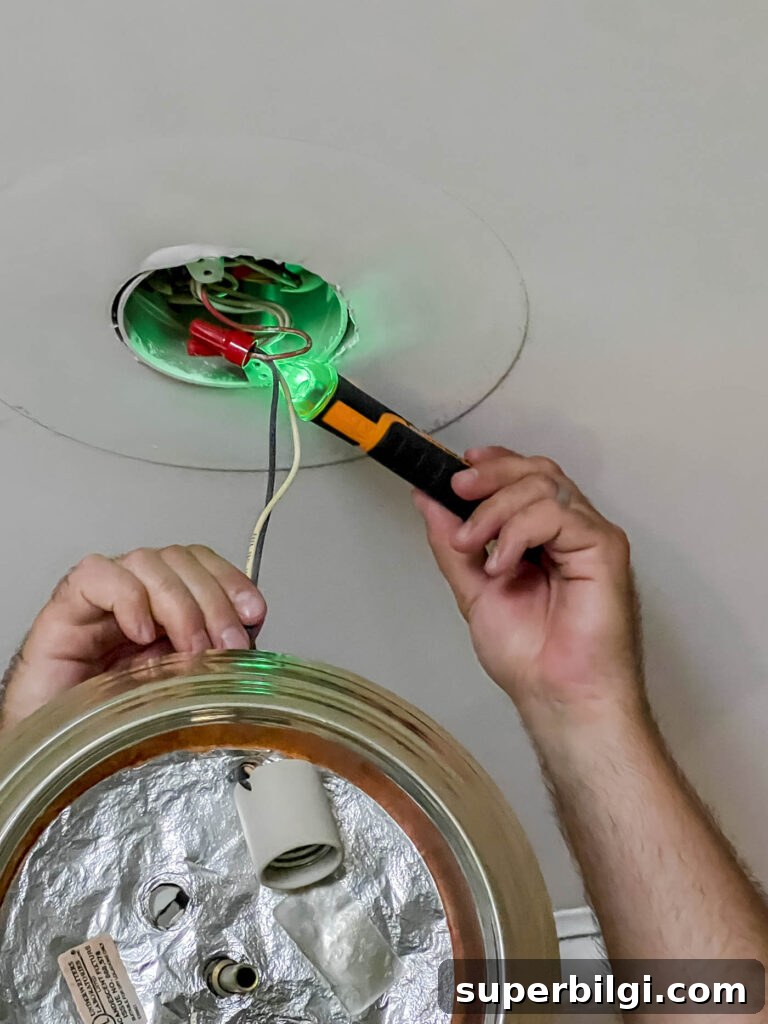
Before you touch anything, turn off the power at the circuit breaker. Leave the light switched on while you flip the breaker to confirm you’ve shut off the correct circuit. Use a voltage tester at the junction box for extra confirmation. Always re-check the light switch and tester before proceeding.
3. Remove the Old Fixture
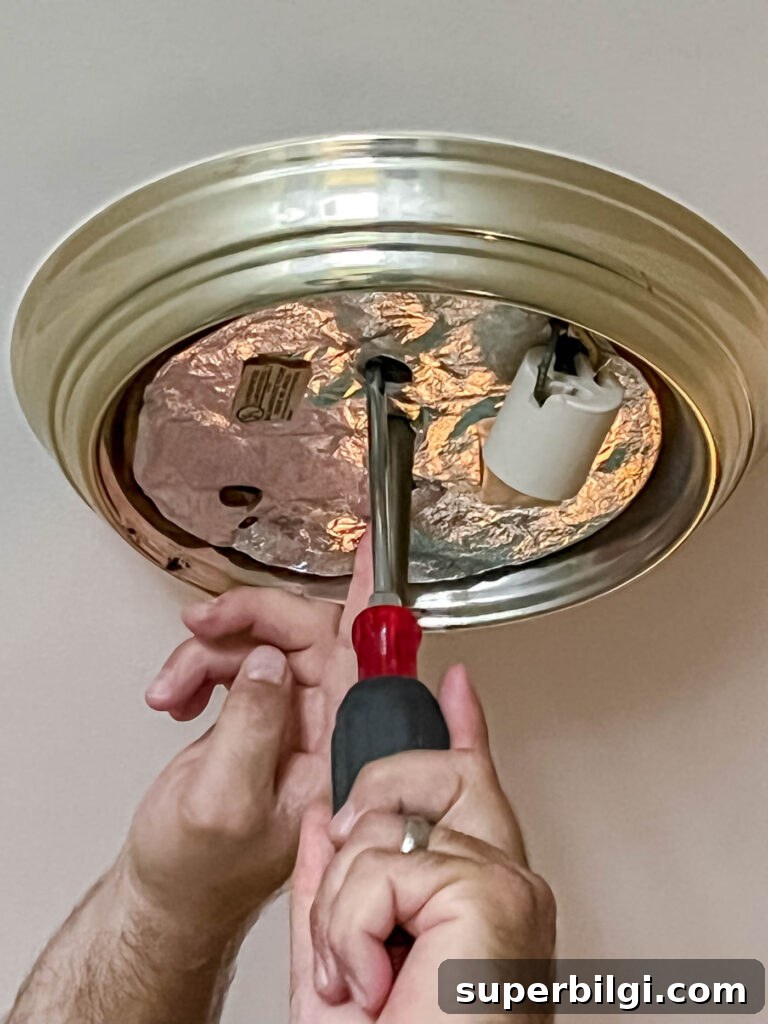
Most fixtures are held in place by screws that secure a mounting plate or canopy to a ceiling electrical box. Remove the screws and gently lower the fixture from the ceiling until you can access the wire connections. Keep track of any screws or small parts for reuse or to compare with the new fixture’s hardware.
4. Disconnect the Electrical Connections
Before disconnecting wires, take a clear photo of how the existing wires are connected—that photo can be a useful reference. Then, untwist the wire nuts and separate the fixture wires from the house wiring. Remove the old fixture and set it aside.
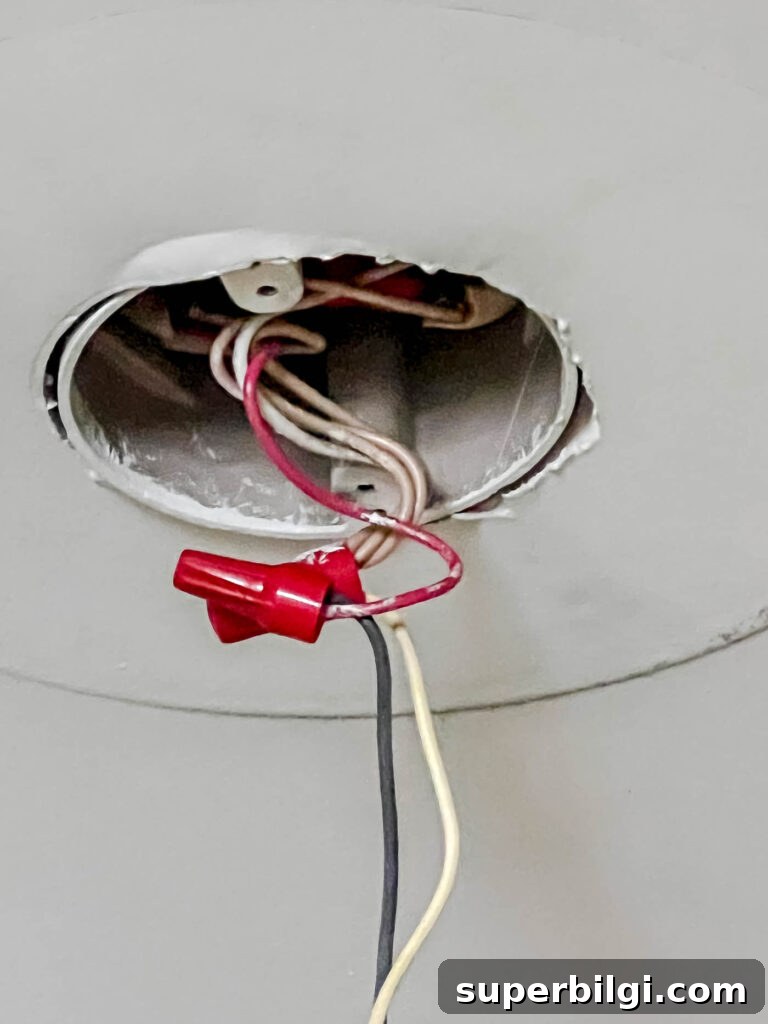
5. Prepare the New Fixture
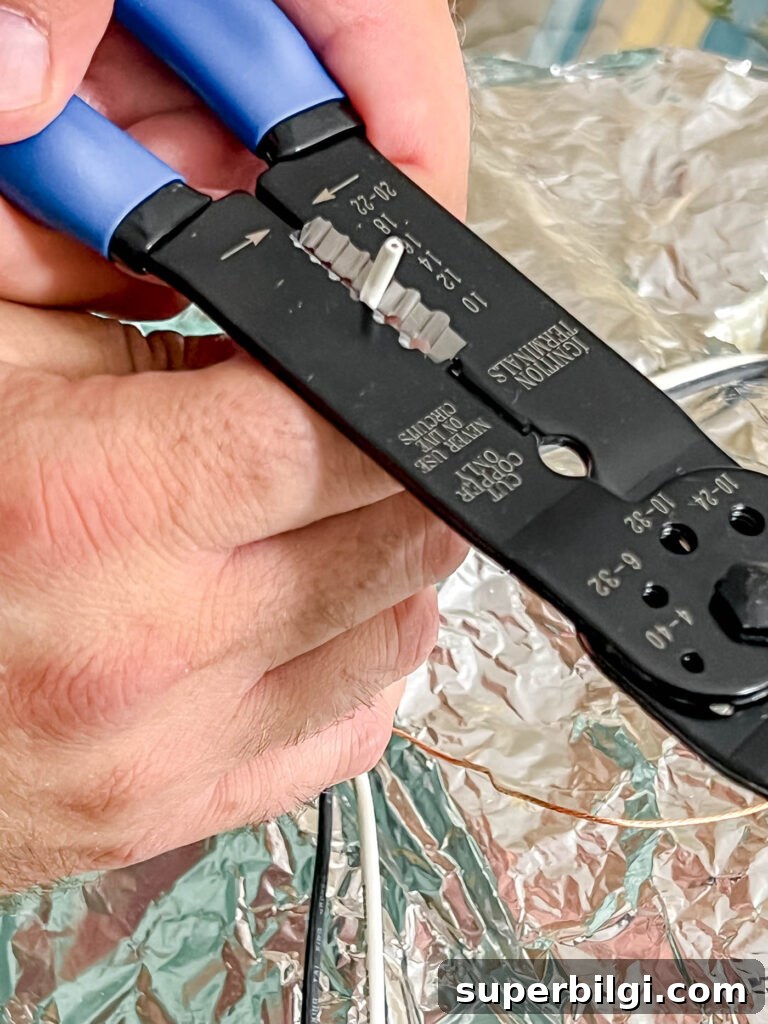
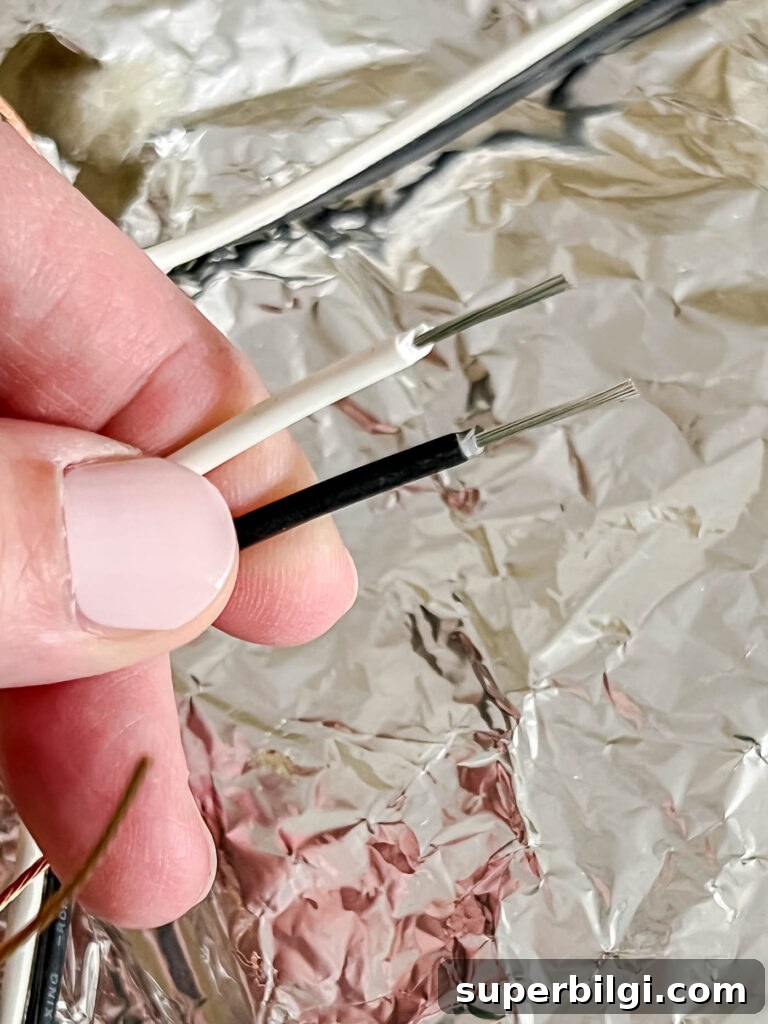
Read the manufacturer’s instructions carefully. Most new fixtures include a mounting crossbar, screws, wire connectors, and the fixture canopy. Strip about 1/2 inch of insulation from the fixture wires if needed so bare wire is exposed for secure connections.
If multiple white or black wires are present in the ceiling box (for switched circuits or multiple runs), twist like-colored house wires together as necessary before finalizing connections.
6. Install or Replace the Mounting Crossbar and Grounding
Compare the old crossbar or mounting bracket with the new one. If the new fixture includes a different bracket, replace the old bracket with the new crossbar. The crossbar secures the fixture to the ceiling box and typically includes a grounding screw. Connect the fixture ground wire to the metal box ground or the copper ground wire when present.
7. Connect the Wires
Ideally have a helper hold the fixture while you join wires. Connect ground to ground, then match neutral-to-neutral (usually white) and hot-to-hot (usually black or sometimes red). Twist wires together and secure with properly sized wire nuts. Make sure connections are tight and no bare copper is exposed beyond the wire nut.
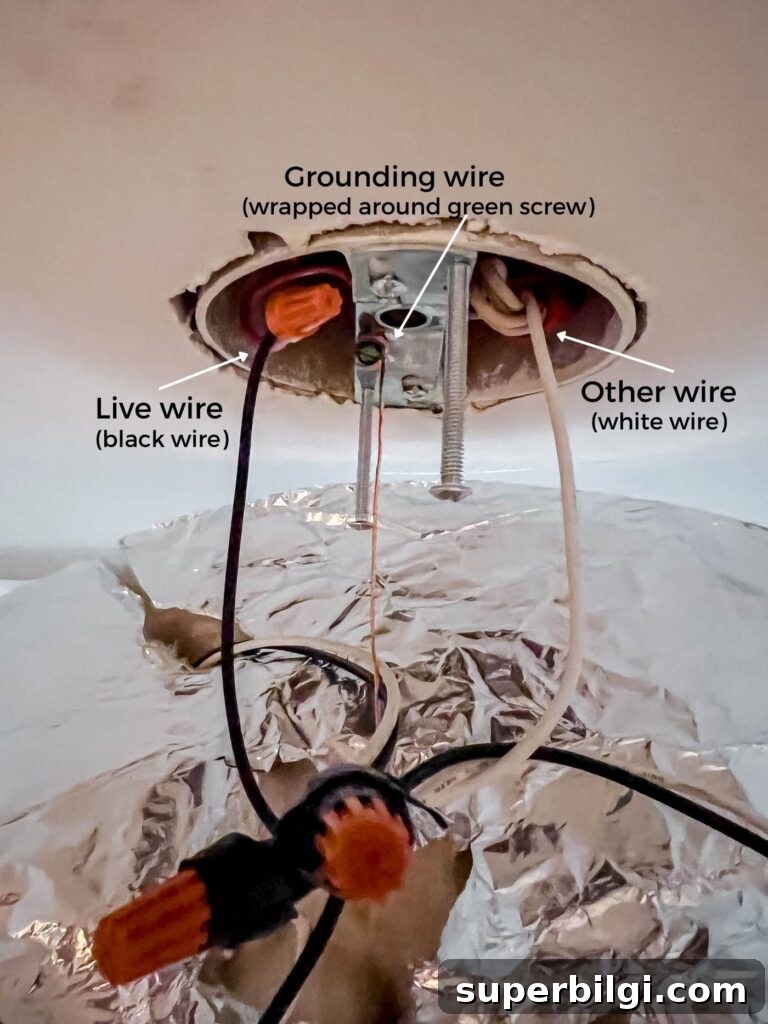
Once connected, gently tuck the wires back into the junction box so they won’t be pinched when the fixture is secured.
8. Secure the Fixture
Follow the fixture instructions to attach the canopy or base to the mounting bracket. Methods vary: some use screws, others use decorative nuts or threaded rods. Confirm the fixture is level and firmly attached.
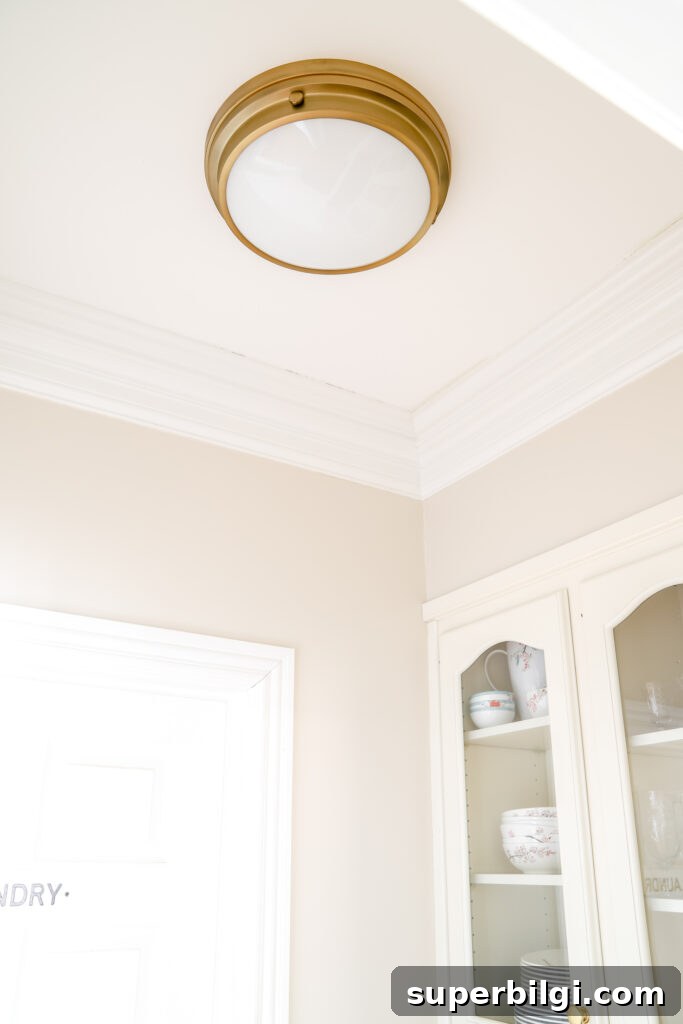
9. Install Bulbs and Shades
Use the recommended bulb type and maximum wattage specified by the manufacturer. Install any glass shades or covers and tighten all hardware. Restore power at the breaker and test the light. If the fixture doesn’t work, turn the breaker off again and re-check the wire connections and switch position.
You’re finished—step back and enjoy the new look and better lighting. Replacing a light fixture is a practical way to personalize and modernize your home.
More Posts You Will Love:
- DIY Cornice Board: How to Make a Fabric-Covered Window Cornice
- How to Build a Custom Frame for Your Frame TV
- How to Refinish Wood Furniture
- DIY Fall Hydrangea Wreath Using Faux Stems
- How to Hang Plates on a Wall
- Trash to Treasure: Peacock Framed Art
- DIY Chinoiserie Egg Wreath
- How to Patch a Small Hole in Drywall
- How to Dry Orange Slices for Decorations and Crafts