
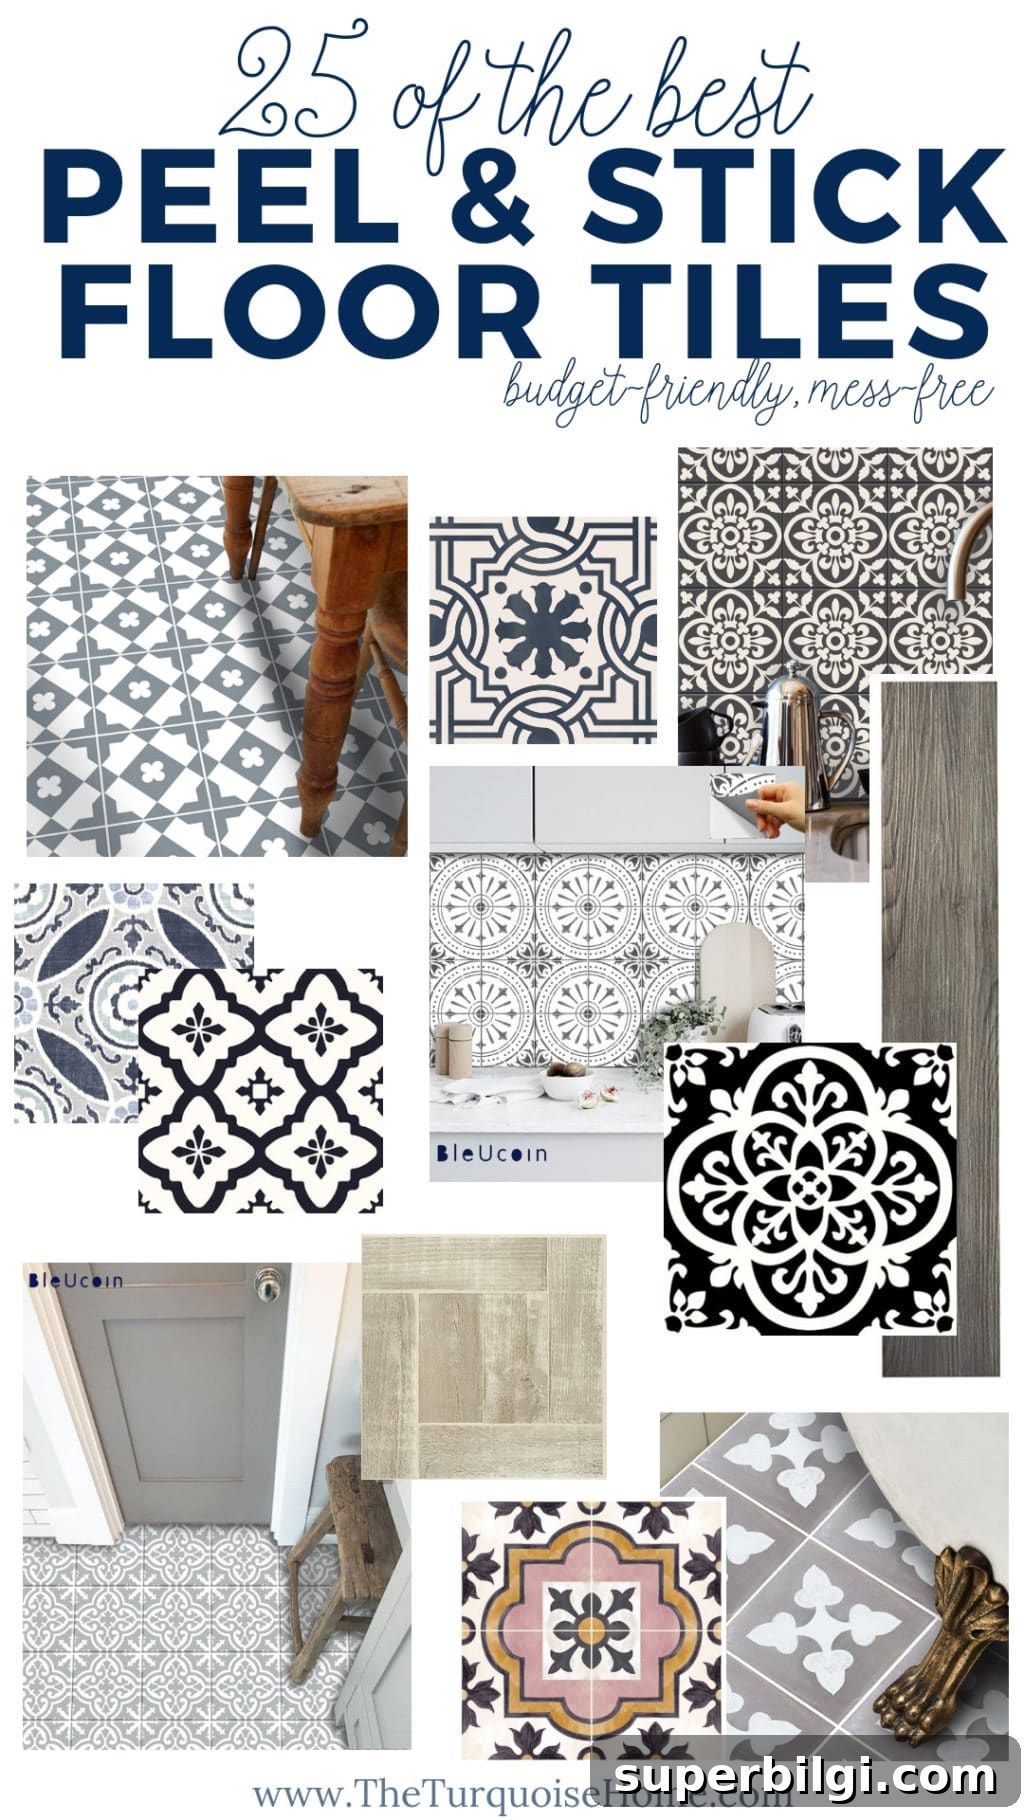
Want to transform your floors quickly and affordably? This shopping-guide roundup highlights peel-and-stick floor tile ideas — a budget-friendly, non-permanent, on-trend and mess-free flooring solution.
When we first walked through our previous home with the realtor, I knew I wanted to update every floor. Seven years later and the original floors are still in place; ripping them out and replacing them simply wasn’t in the budget. Thankfully, peel-and-stick flooring has evolved dramatically and has become a real game-changer for small renovations — starting with our guest/girls’ bathroom.
I’d heard so many positive reviews about adhesive peel-and-stick vinyl tiles that I finally had to try them. They offer an inexpensive, non-permanent way to give a space a whole new look without the time, cost, and disruption of a full flooring replacement. Best of all, they can be removed later if you change your mind or if a future homeowner prefers a different style.
If this first project goes well — and I expect that it will — I plan to update the laundry room and master bathroom next.
These are the current tiles in our girls’ bathroom:
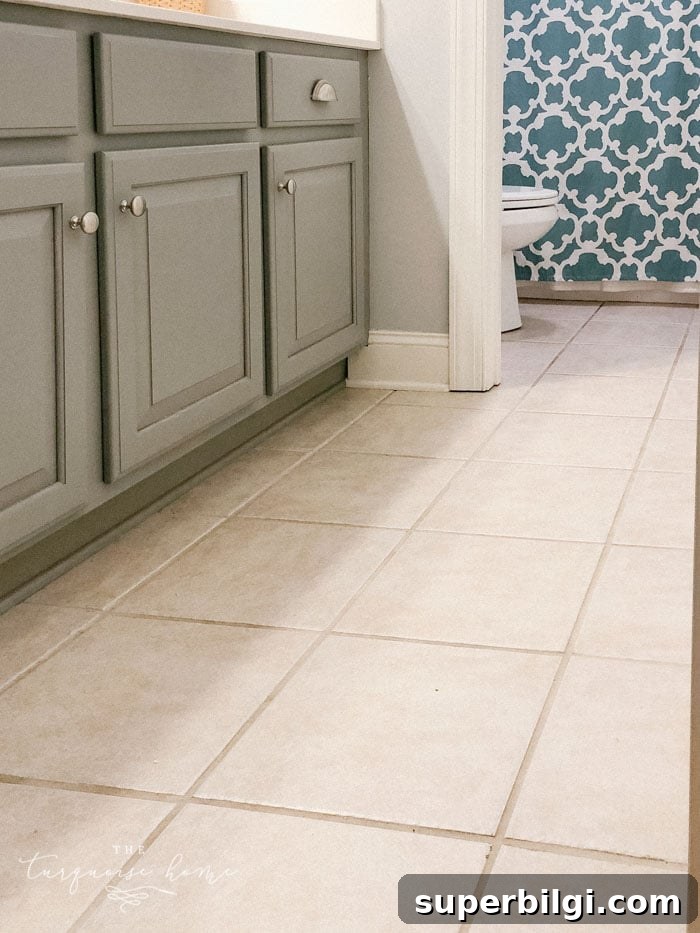
The existing tile is perfectly serviceable — not ugly, but not unique either. Adding patterned peel-and-stick tiles will bring personality and a fresh focal point to the room. While we’re at it, we’ll address those tired grout lines too.
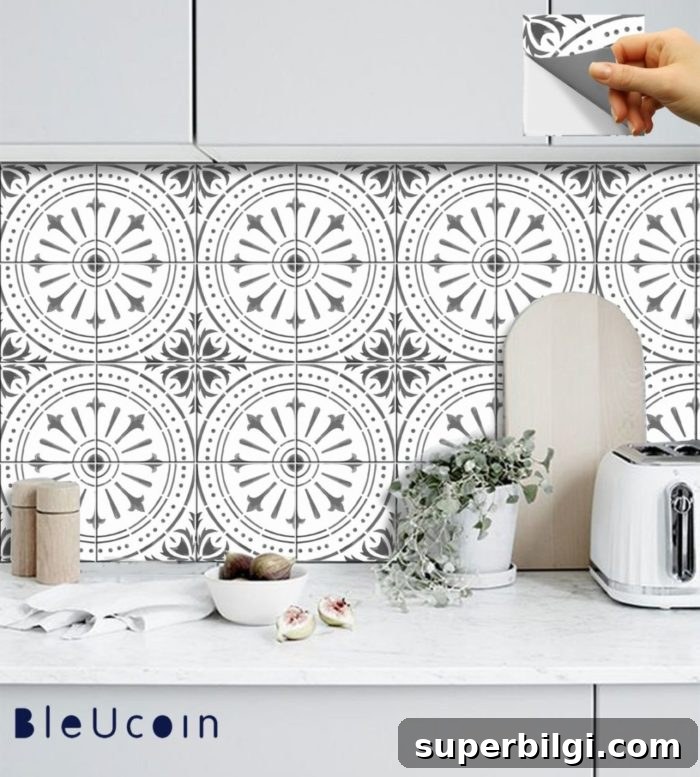
These are the adhesive floor tiles I chose for the bathroom refresh. I’m curious to see how the pattern on the floor will pair with the shower curtain — if it feels like too much pattern, I can always swap the curtain. The peel-and-stick tiles will remain, though; they’re the key update here.
Update: Want to see the finished result? Check the project update on the same site for photos and installation details.
25 Favorite Peel and Stick Floor Tile Ideas
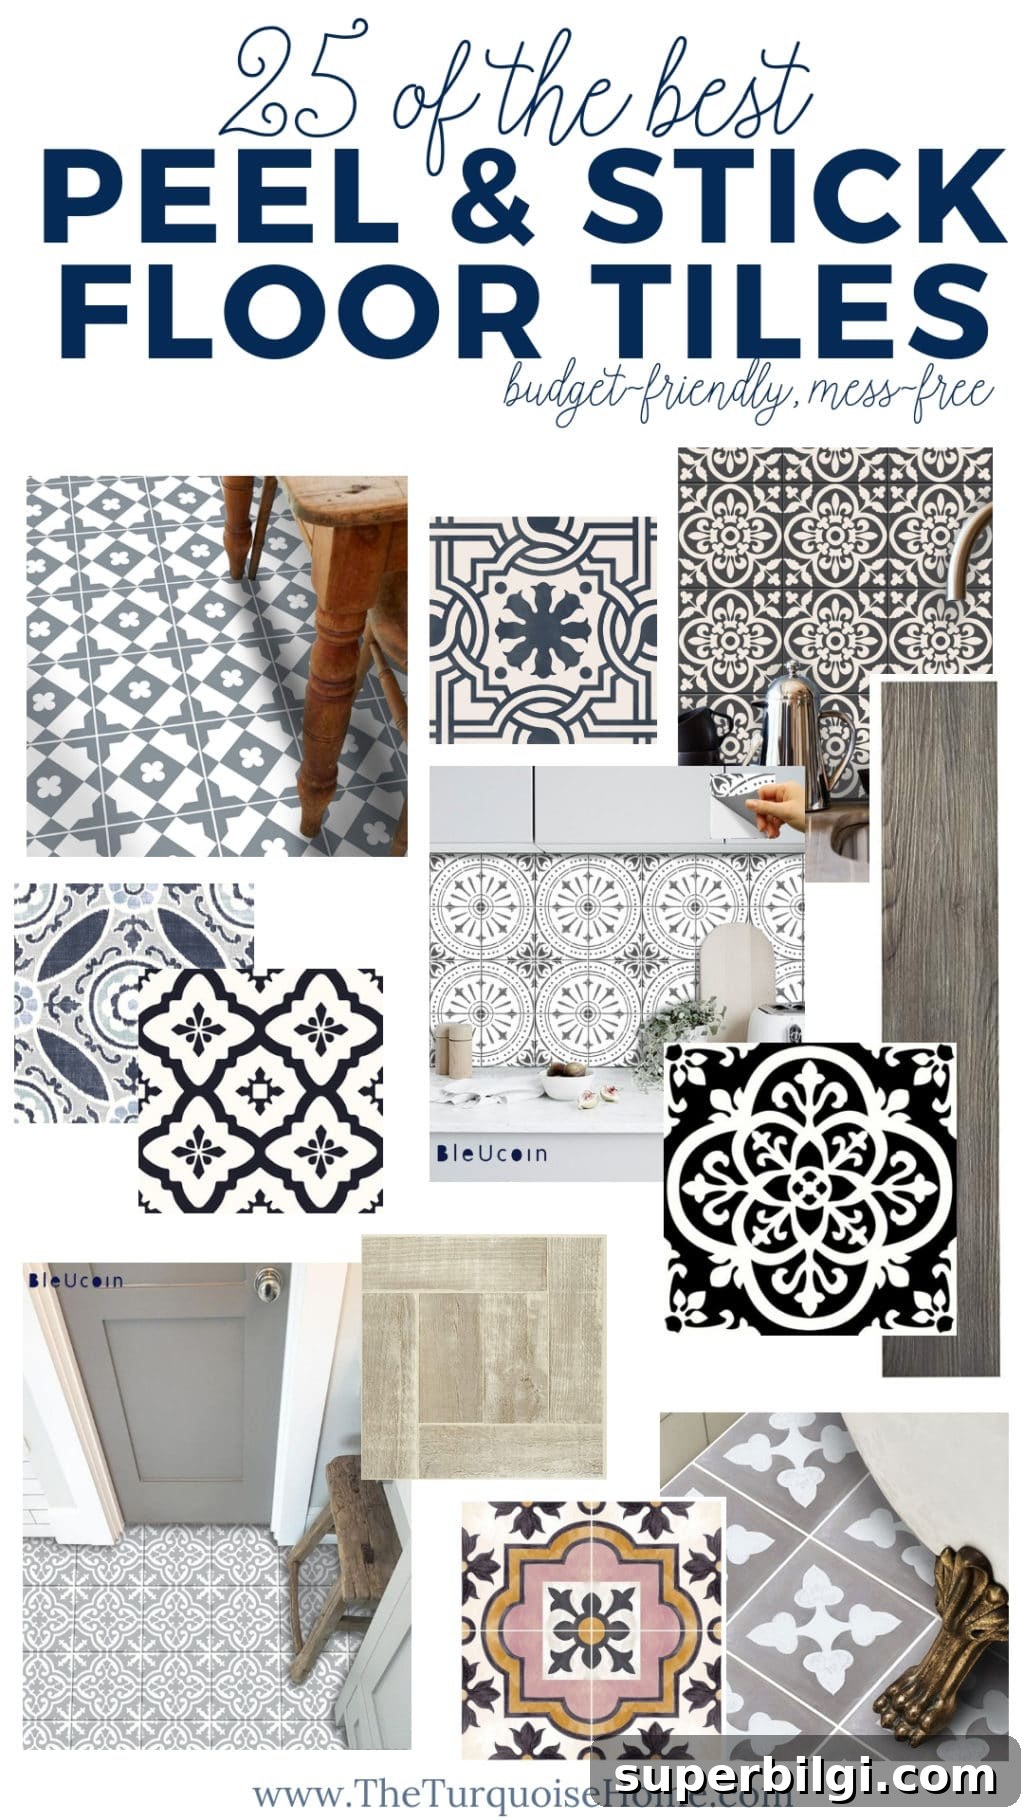
Before you order, do your research. Verify that the specific tile you choose is suitable for the room—especially bathrooms and laundry rooms where moisture exposure is more likely. Check product descriptions for water resistance and appropriate installation surfaces, and carefully measure the space multiple times so you order the correct amount. I measured my tiles four times before placing an order.
When possible, ask manufacturers or sellers about custom sizing options; some companies will cut tiles to size at no additional cost. In my case, the supplier was responsive and shipped quickly, which made the whole process easier.
Other Peel & Stick Tile Ideas
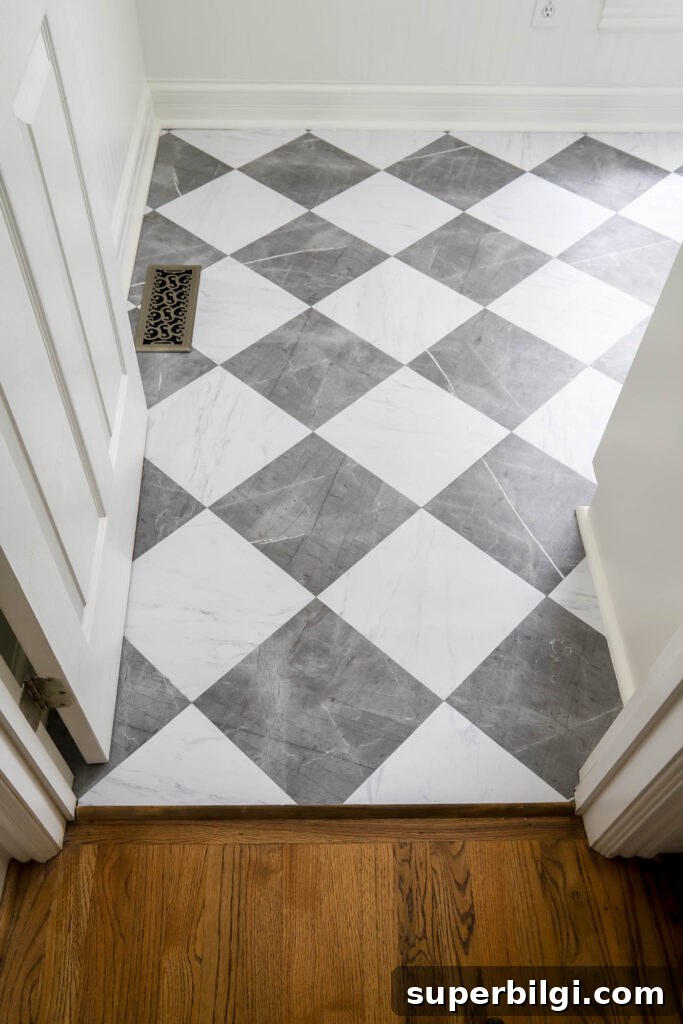
Peel-and-stick tiles come in far more than just encaustic or patterned looks. Popular design directions include wood-look vinyl planks, marble-effect tiles, and solid-color tiles arranged in checker or buffalo-check patterns. Here are a few ideas and real-life examples to inspire your next project:
- Marble-look vinyl tiles: These thicker vinyl tiles mimic stone and can offer a polished, refined look in entryways, kitchens, or laundry rooms.
- Driftwood or plank styles: Wood-look peel-and-stick planks provide the warmth of hardwood without the cost or permanence, and they can be a great option for rental-friendly updates.
- Bold checker or buffalo-check patterns: Using solid tiles to create geometric patterns is a simple DIY approach that delivers strong visual impact, perfect for kitchens or mudrooms.
Practical Tips for Choosing and Installing Peel-and-Stick Tiles
- Surface preparation: Clean and dry floors thoroughly. Remove dirt, wax, or residue so the adhesive can bond properly. If your existing floor is very textured, consider a smoothing underlayment for better adhesion.
- Measure carefully: Measure width and length, calculate square footage, and add 5–10% for waste and pattern matching. Double- and triple-check your measurements before ordering.
- Test placement: Lay out tiles dry before peeling to visualize patterns and cuts. This helps prevent surprises once the adhesive is exposed.
- Use the right tools: A utility knife, straight edge, and a hard roller ensure clean cuts and firm adhesion. A heat gun or hair dryer can help tiles conform around small irregularities.
- Expect occasional replacement: While durable, peel-and-stick tiles can lift at edges in high-traffic areas; keep extra tiles on hand for quick repairs.
I love these versatile options and the ability to experiment without committing to permanent renovations. Whether you prefer a patterned encaustic look, a realistic marble or wood effect, or a playful checkerboard, peel-and-stick tiles offer creative flexibility at a fraction of the cost.
Happy DIYing — and enjoy the instant impact these tiles can bring to your home!
MORE POSTS YOU WILL LOVE:
- DIY Peel and Stick Vinyl Floor Tile Stickers
- Luxury Vinyl Plank Flooring Review
- Cheap Flooring Ideas: Update Your Floors on a Budget
- Washable Kitchen Runner Rugs: 10 Favorite Pretty Floor Runners
- How to Choose the Best Entryway Rug