
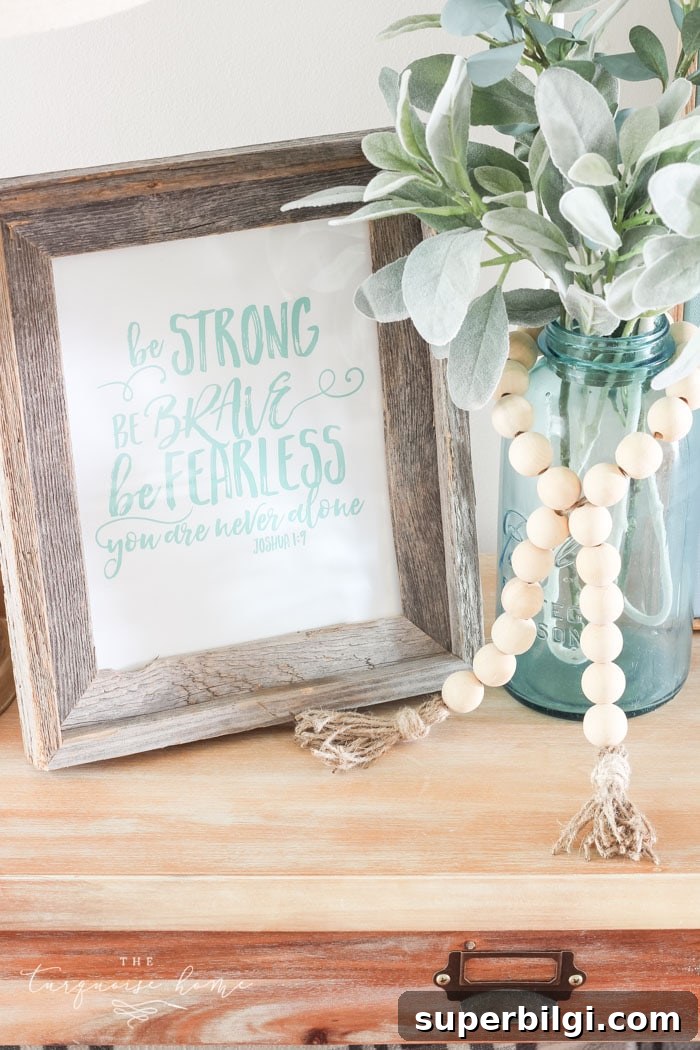
How to Make a Cute DIY Wood Bead Garland in About 10 Minutes
Wood bead garlands have been a staple of modern farmhouse and minimalist decor for a while now — they’re essentially pretty wooden necklaces for your home. Lightweight, textured, and versatile, they add instant interest to vignettes, tiered trays, jars, and mantle styling. The great news: you can make one in about 10 minutes with only a few supplies.
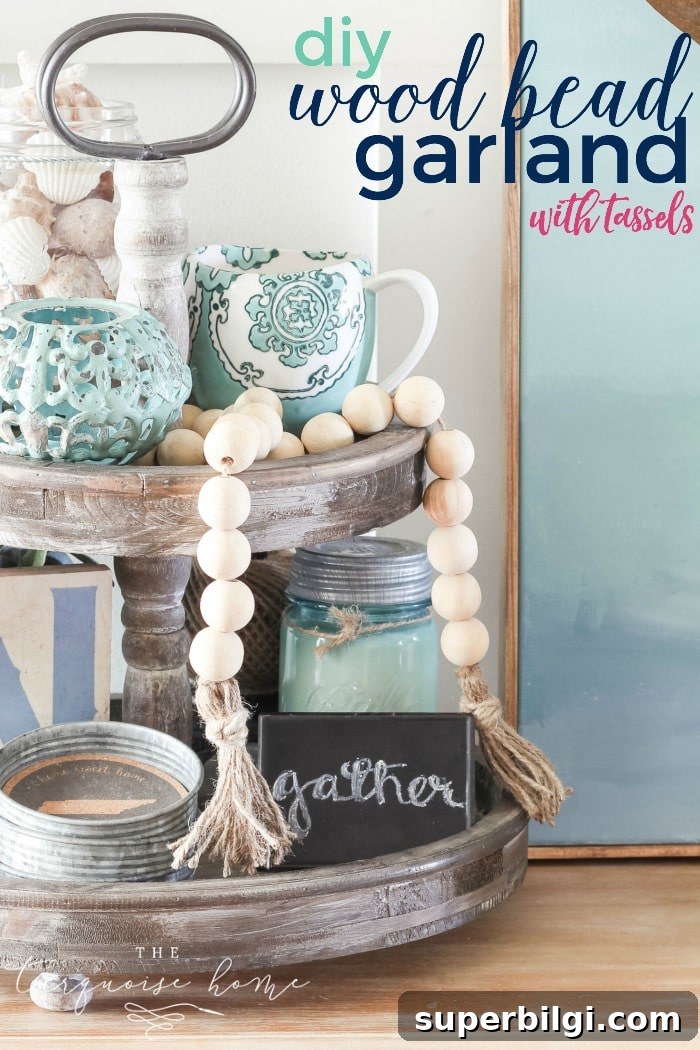

I put one together while my kids were running around and was able to snap a few photos faster than I expected. If you’re late to this trend, don’t worry — making a wood bead garland is incredibly simple and inexpensive. You can customize the size, color, and tassels to suit your style.
Supplies You’ll Need for a DIY Wood Bead Garland with Tassels
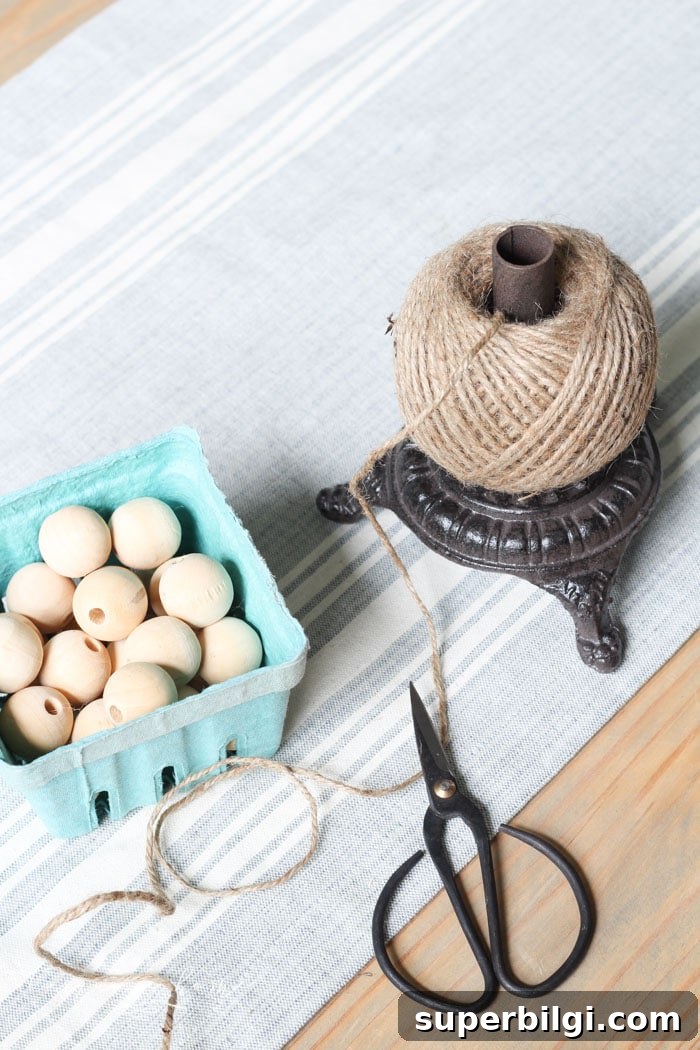
- Wood beads — I used sets that gave me 27 beads total; 25 mm beads work well but you can choose smaller or larger sizes.
- Jute twine (or similar twine, yarn, or string)
- Scissors
Steps to Make a DIY Wood Bead Garland with Tassels
Step 1. Gather Your Supplies
Choose beads that fit the look you want. The 25 mm beads I used are easy to handle and look great with chunky farmhouse styling. If you prefer a daintier garland, pick a smaller bead size, but I recommend not going below about 14 mm so the beads are easy to string and visible in your styling.
Step 2. Make Your First Tassel
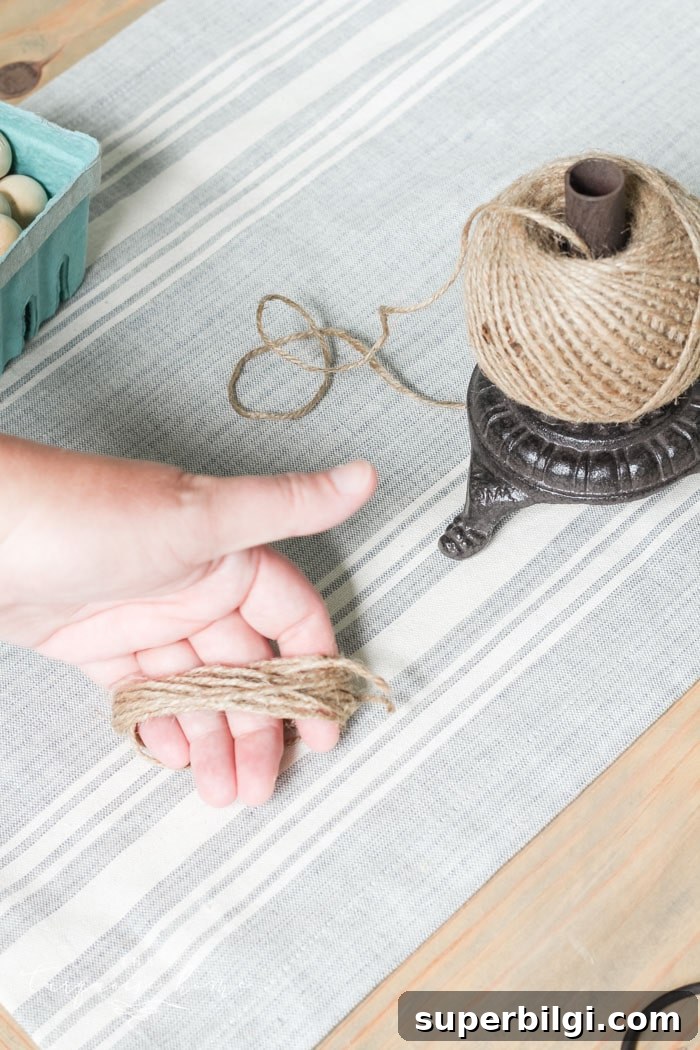
To make a tassel, hold one end of the jute and wrap the twine around your four fingers several times. This doesn’t need to be exact; just wrap until you have a thickness you like. I kept count so both tassels would match — about 15 wraps for mine.
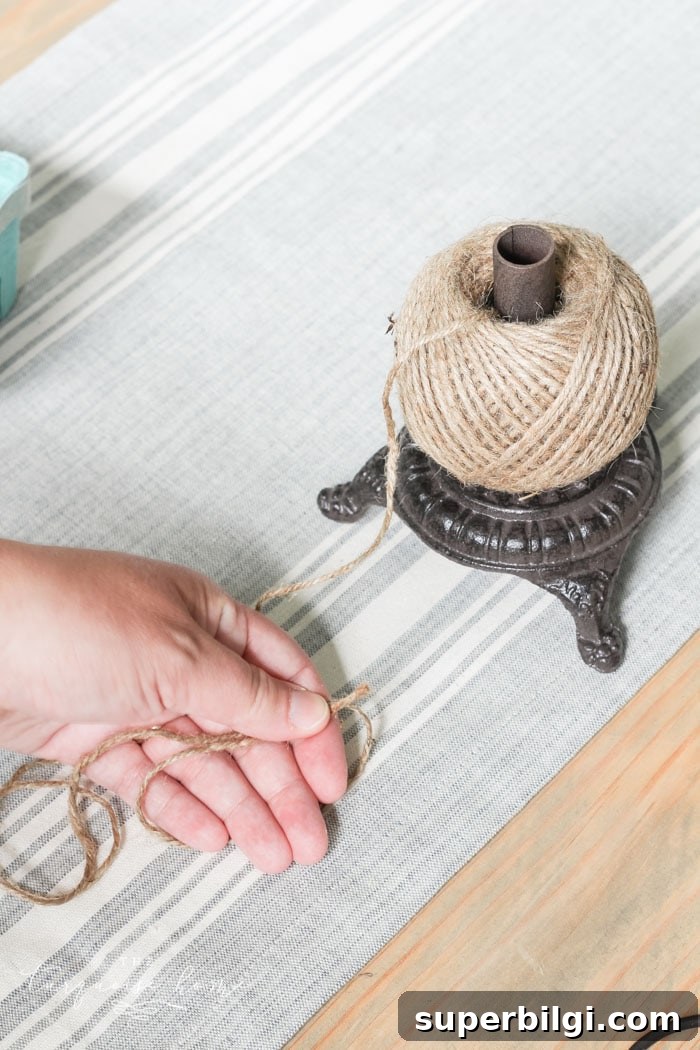
When you finish wrapping, make sure the cut end of the twine is on the same side as the wrapped end so both ends stick out together and are ready for tying.
Step 3. Tie Off the Top of Your Tassel
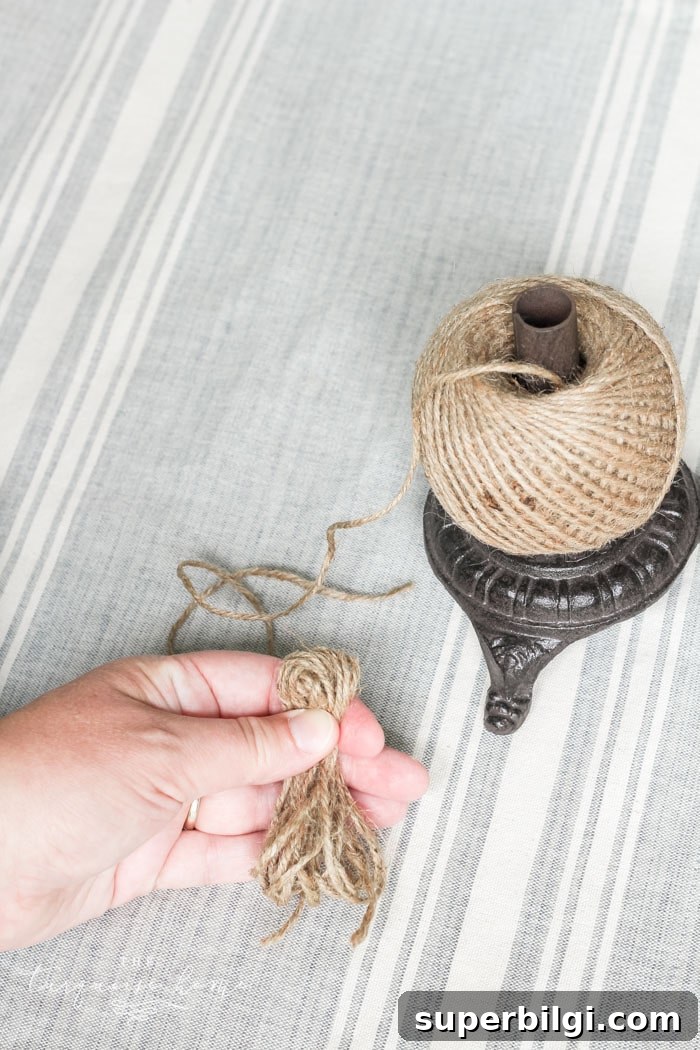
Pinch the wrapped loop at the opposite side from the cut ends. Use the tail of your jute to tie that top portion tightly so it becomes the tassel head. This also attaches the tassel to your main garland string.
Step 4. Wrap the Top of the Tassel
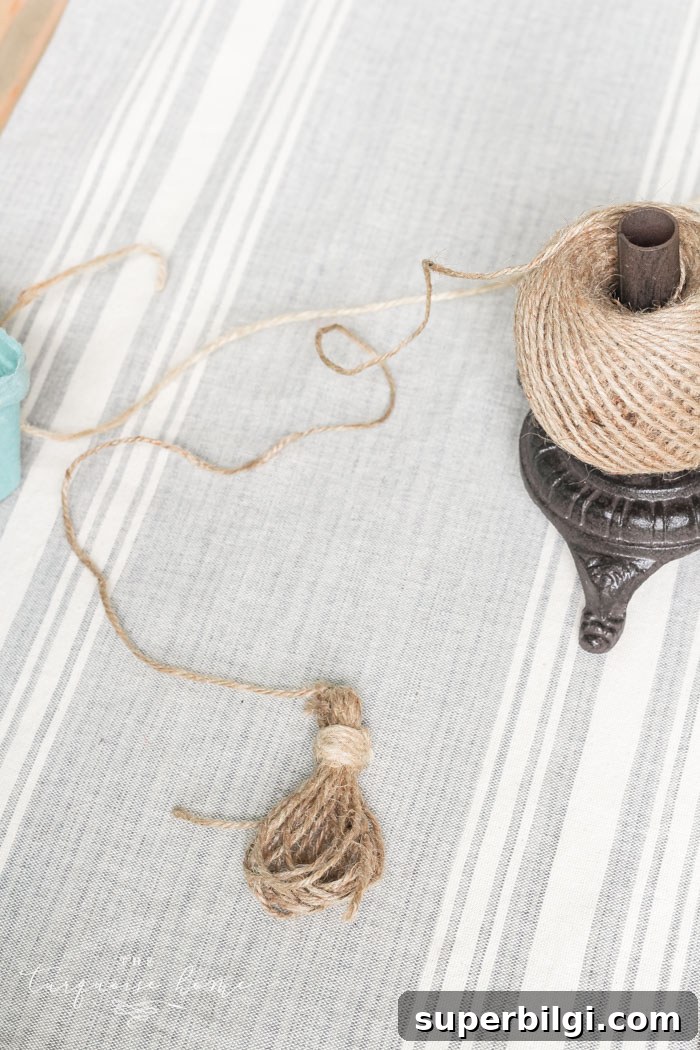
Take a longer piece of jute and wrap it several times around the head of the tassel to create a neat top wrap. Tie it securely and tuck or trim the loose ends. I used the tip of my scissors to tuck the end under the wrap so it stayed tidy.
Step 5. Cut the Bottom Loop to Finish the Tassel
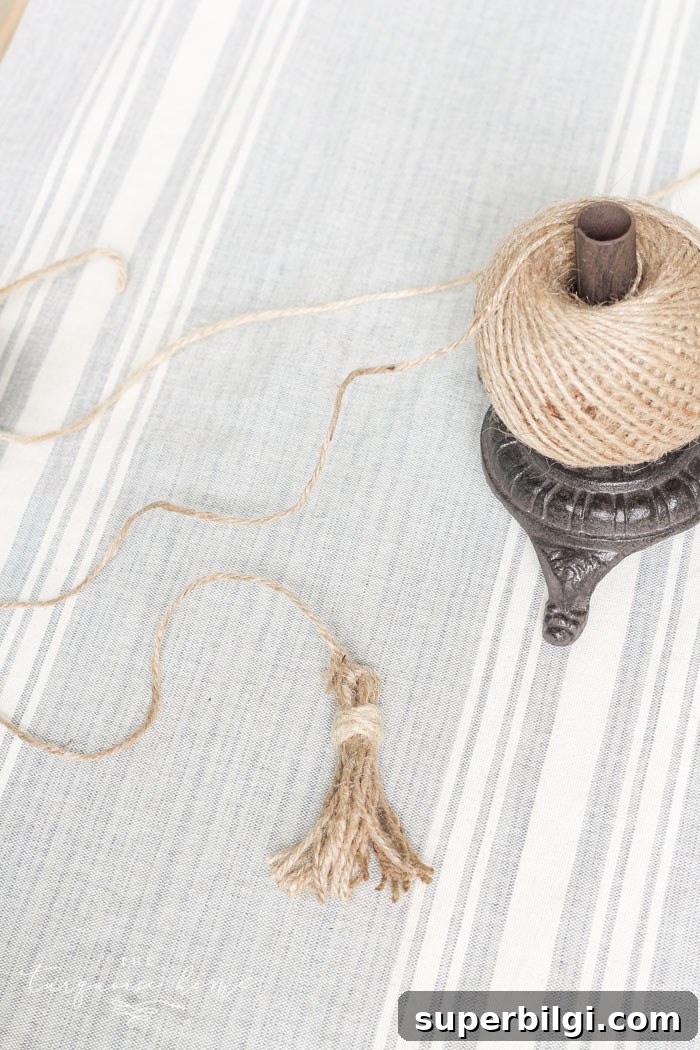
Cut through the bottom loops so the tassel has free ends. Trim them evenly and tidy up the shape so the tassel looks full and polished.
First tassel complete — yay!
Step 6. Cut Your String to the Length You Want
Decide how long you want the finished garland to be. Mine is about 26 inches long, not counting tassels, and holds 27 beads. Cut your main jute a bit longer than your desired finished length — around 8–10 inches extra to allow room for tassels and tying.
Step 7. String Your Beads
Slide the beads onto your main string until you reach your desired bead density. I used 27 beads, but you can add more or fewer depending on the length and look you want. Longer garlands can be wrapped around objects or layered for more impact.
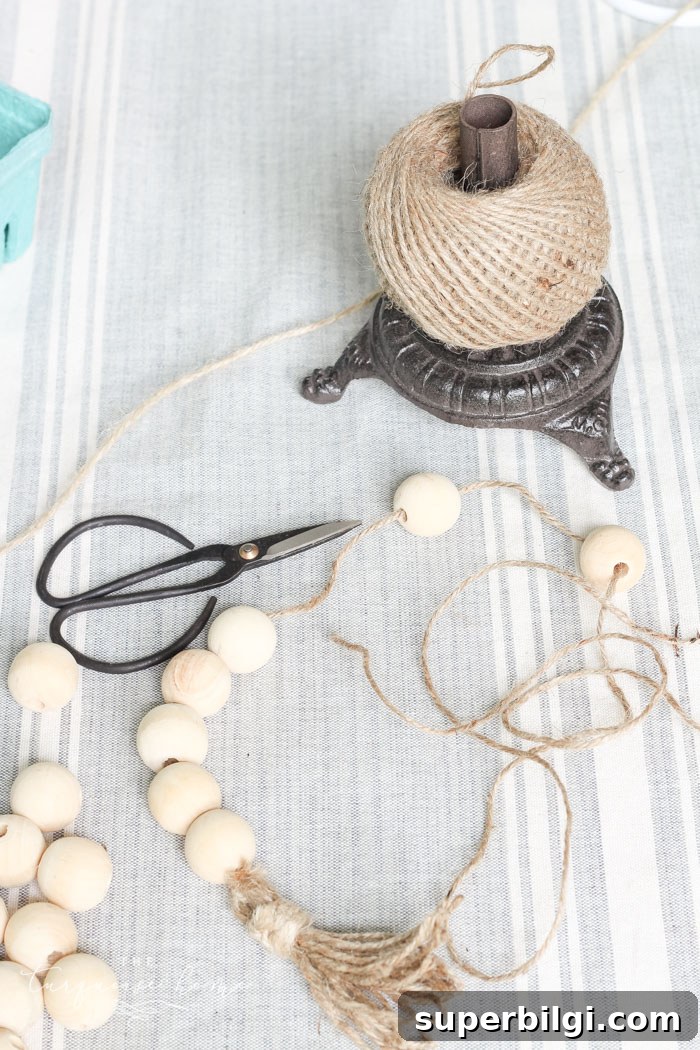
Step 8. Make a Second Tassel (Repeat Steps 2–5)
Use the remaining end of your garland to create a matching tassel. Trim the end, tie the tassel head to the garland, wrap the top, and cut the bottom loops. Leave a little extra on each end for natural movement.
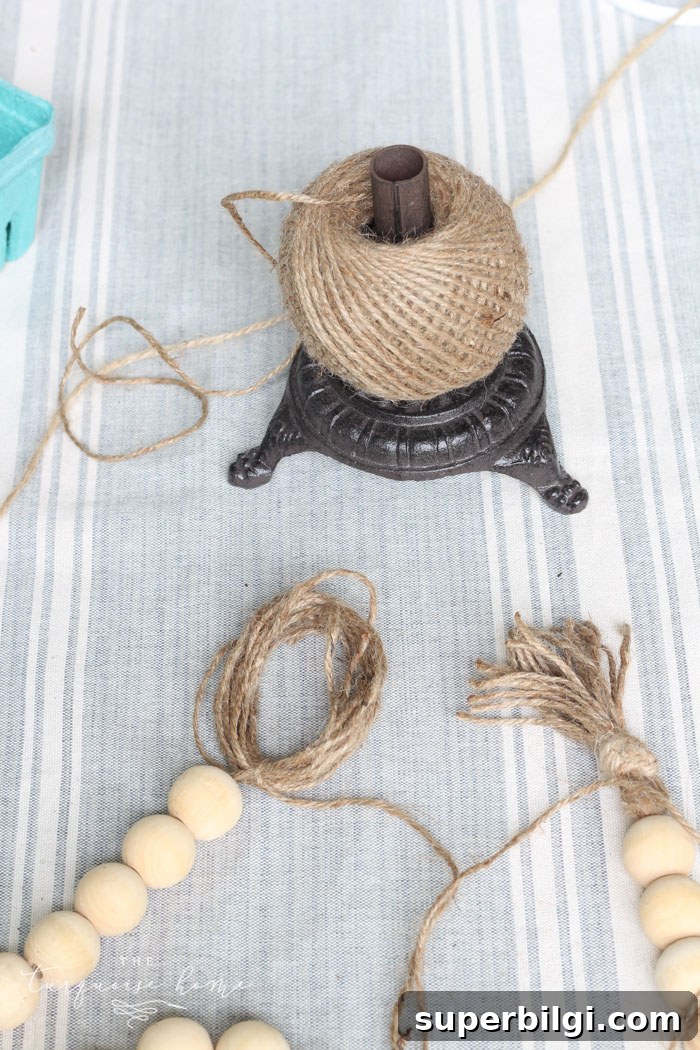
Once the second tassel is attached, your garland is finished. It’s a simple base piece that you can customize a hundred ways.
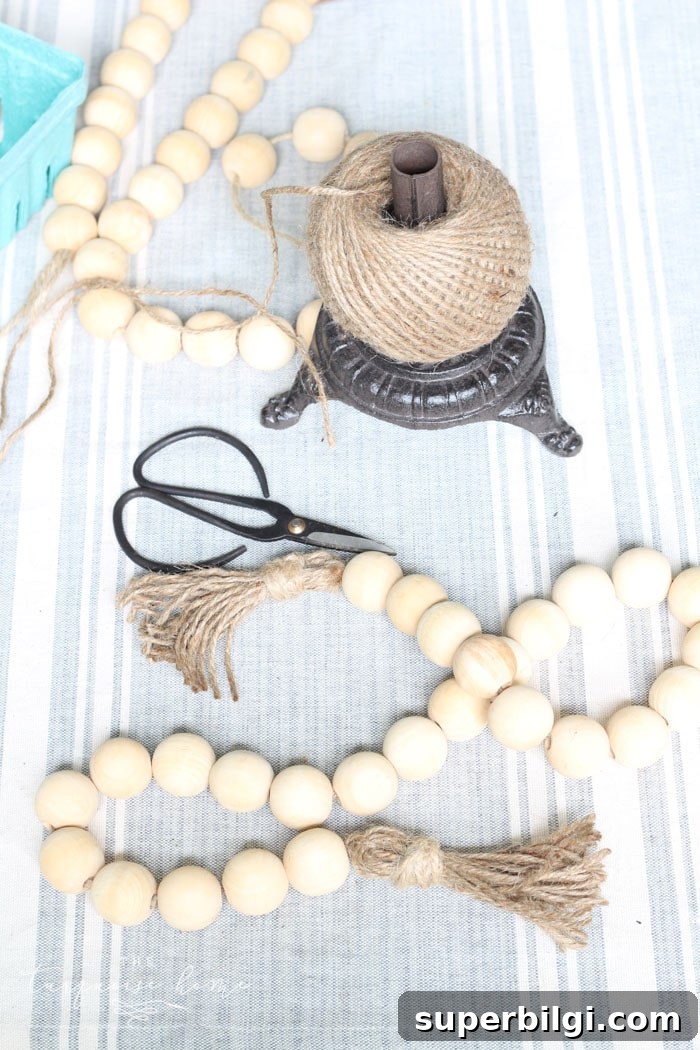
Customize by painting the beads, using colored or varied-size beads, adding charms or small bells to the tassels, or switching the twine material. The variations are limitless and make the garland uniquely yours.
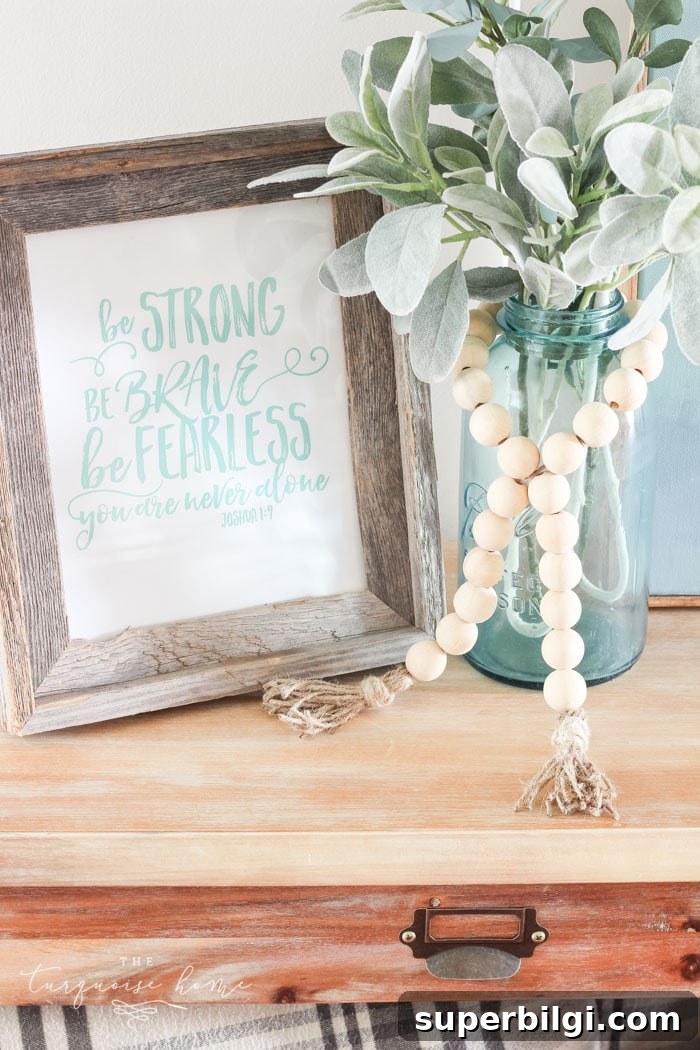
RELATED: Be Strong, Be Brave, Be Fearless Free Printable
I used my garland in a few different ways to show how versatile it can be. Drape it over jars, layer it on tiered trays, hang it across a shelf, or use it to accent a framed print — styling options change with each season and room.
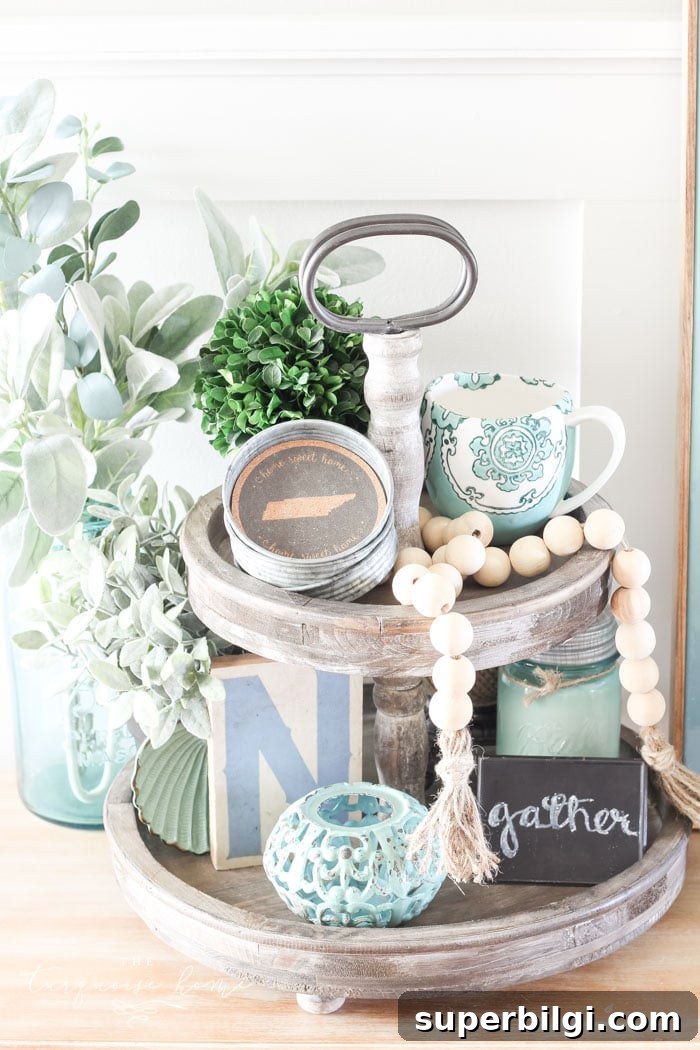
This quick craft is very satisfying: it’s fast, affordable, and instantly elevates simple decor. Your jars, vases, and trays will look styled and intentional with just a little texture added.
Want an easy shortcut? If you don’t have time, there are many ready-made wood bead garlands available for purchase in a range of colors and lengths. Sometimes it’s even cheaper to buy one than to make it yourself.
More Posts You Will Love:
- How High To Mount A TV (Guidelines & Tips)
- Adding a New Stair Runner
- 25+ Ways to Decorate Your Home on a Budget
- Budget-Friendly DIY Shelving Ideas for Your Home
- The Best Grout Refresh with Grout Paint
How will you use your new wood bead garland? Share your styling ideas and enjoy this tiny, charming update to your home decor!