
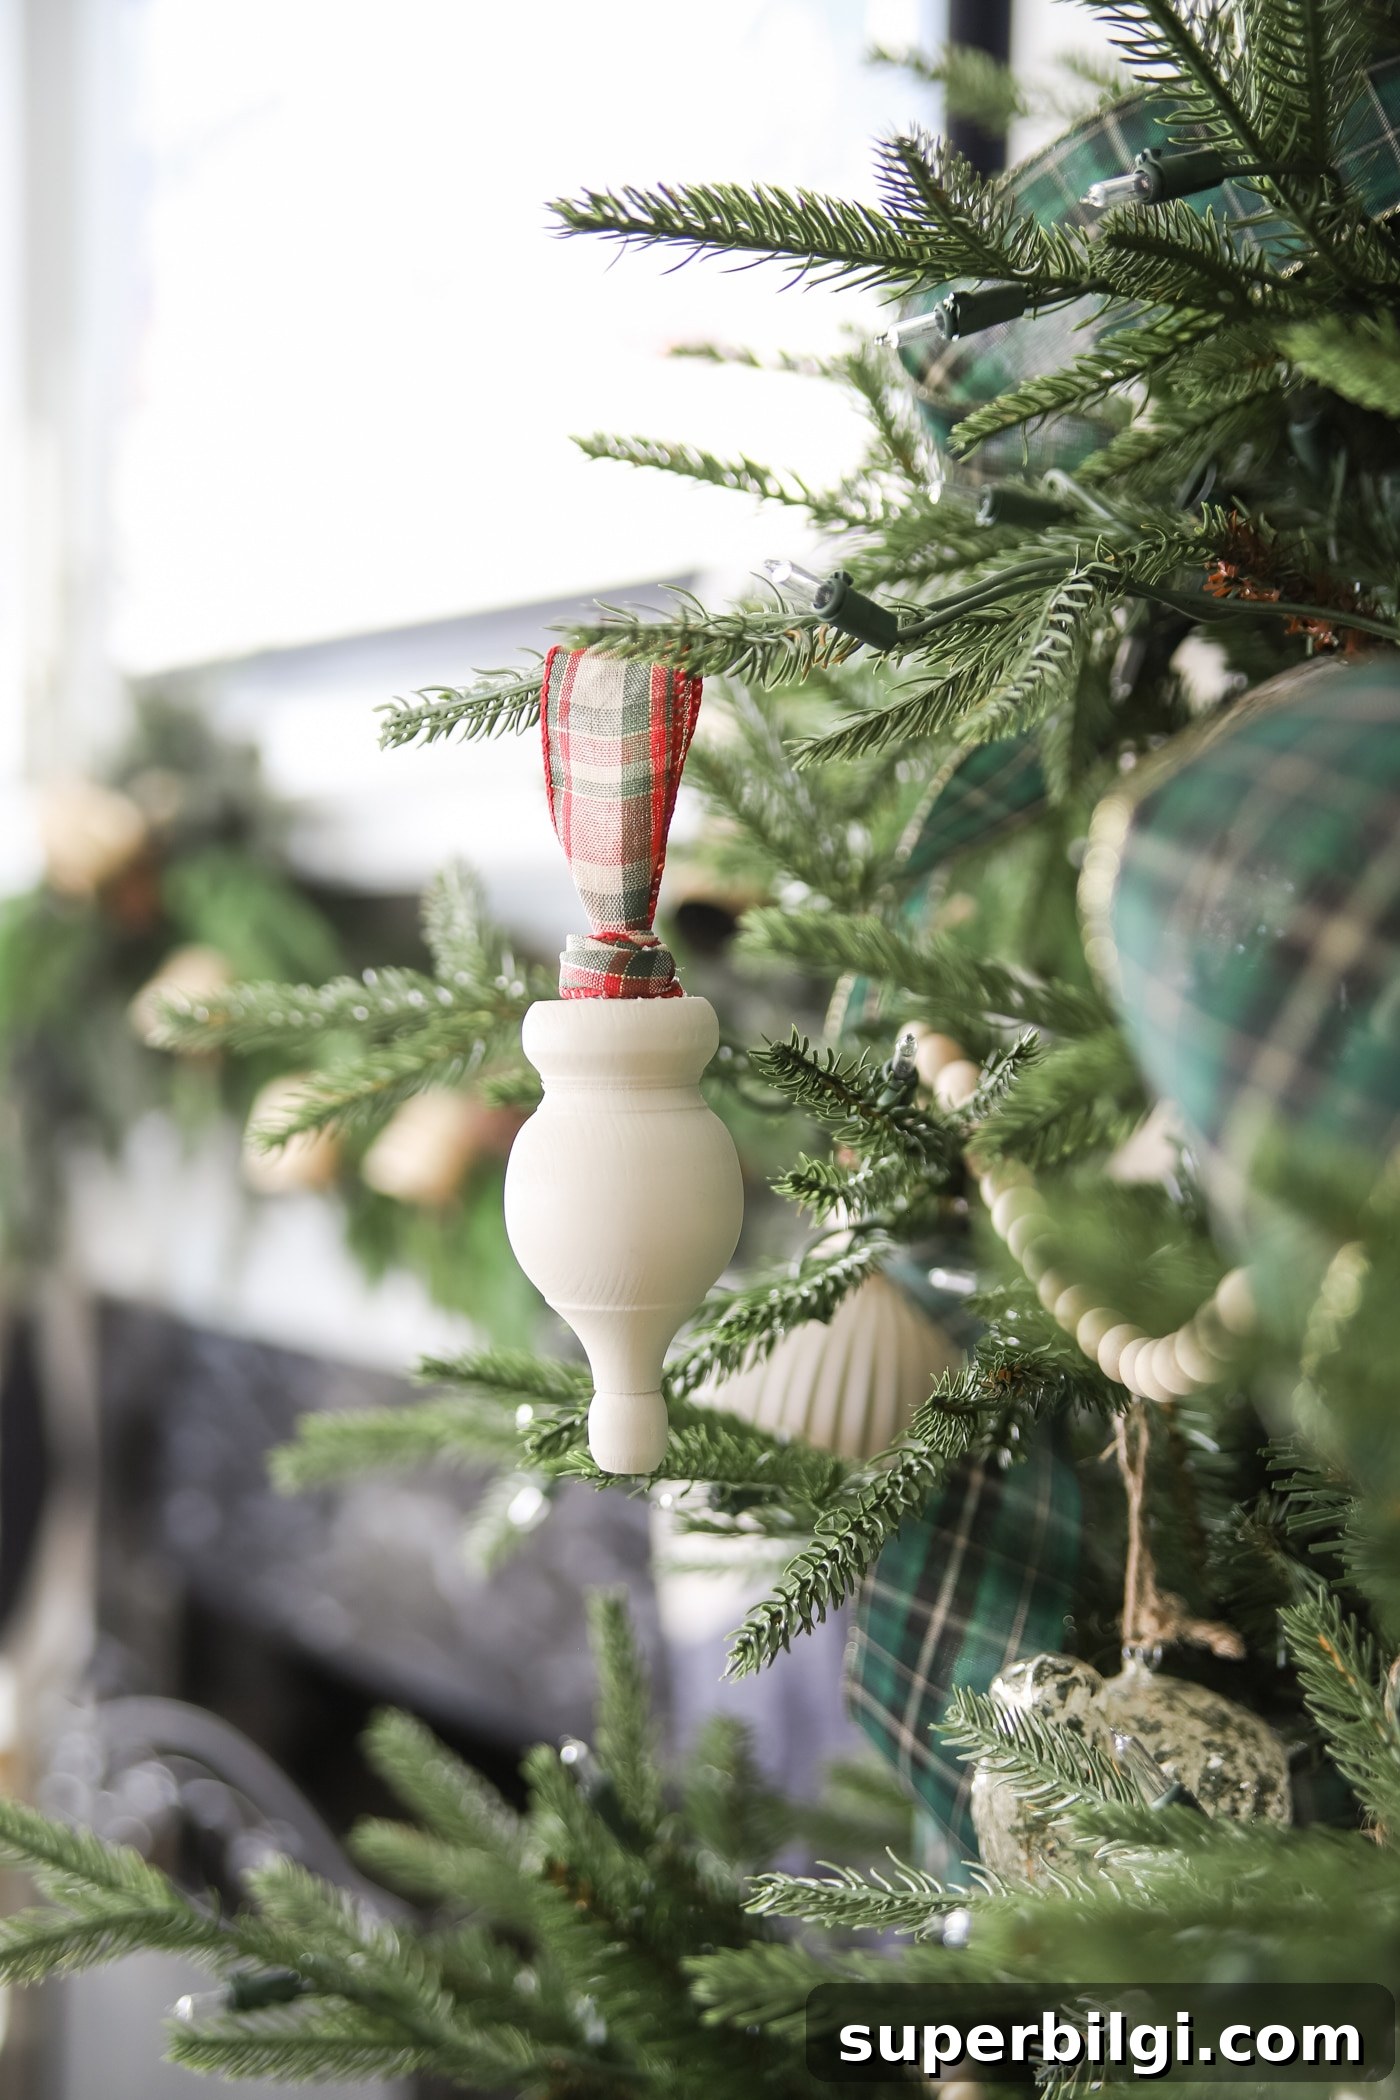
This quick and simple DIY wooden finial ornament is endlessly customizable. Using mostly items you likely already have, you can create beautiful ornaments with just a few supplies and minimal time.
Over the years I’ve made a variety of DIY ornaments, some elaborate and time-consuming. These wooden finial ornaments are among the easiest projects I’ve done—perfect when you need a few light-colored accents on the tree without spending much.
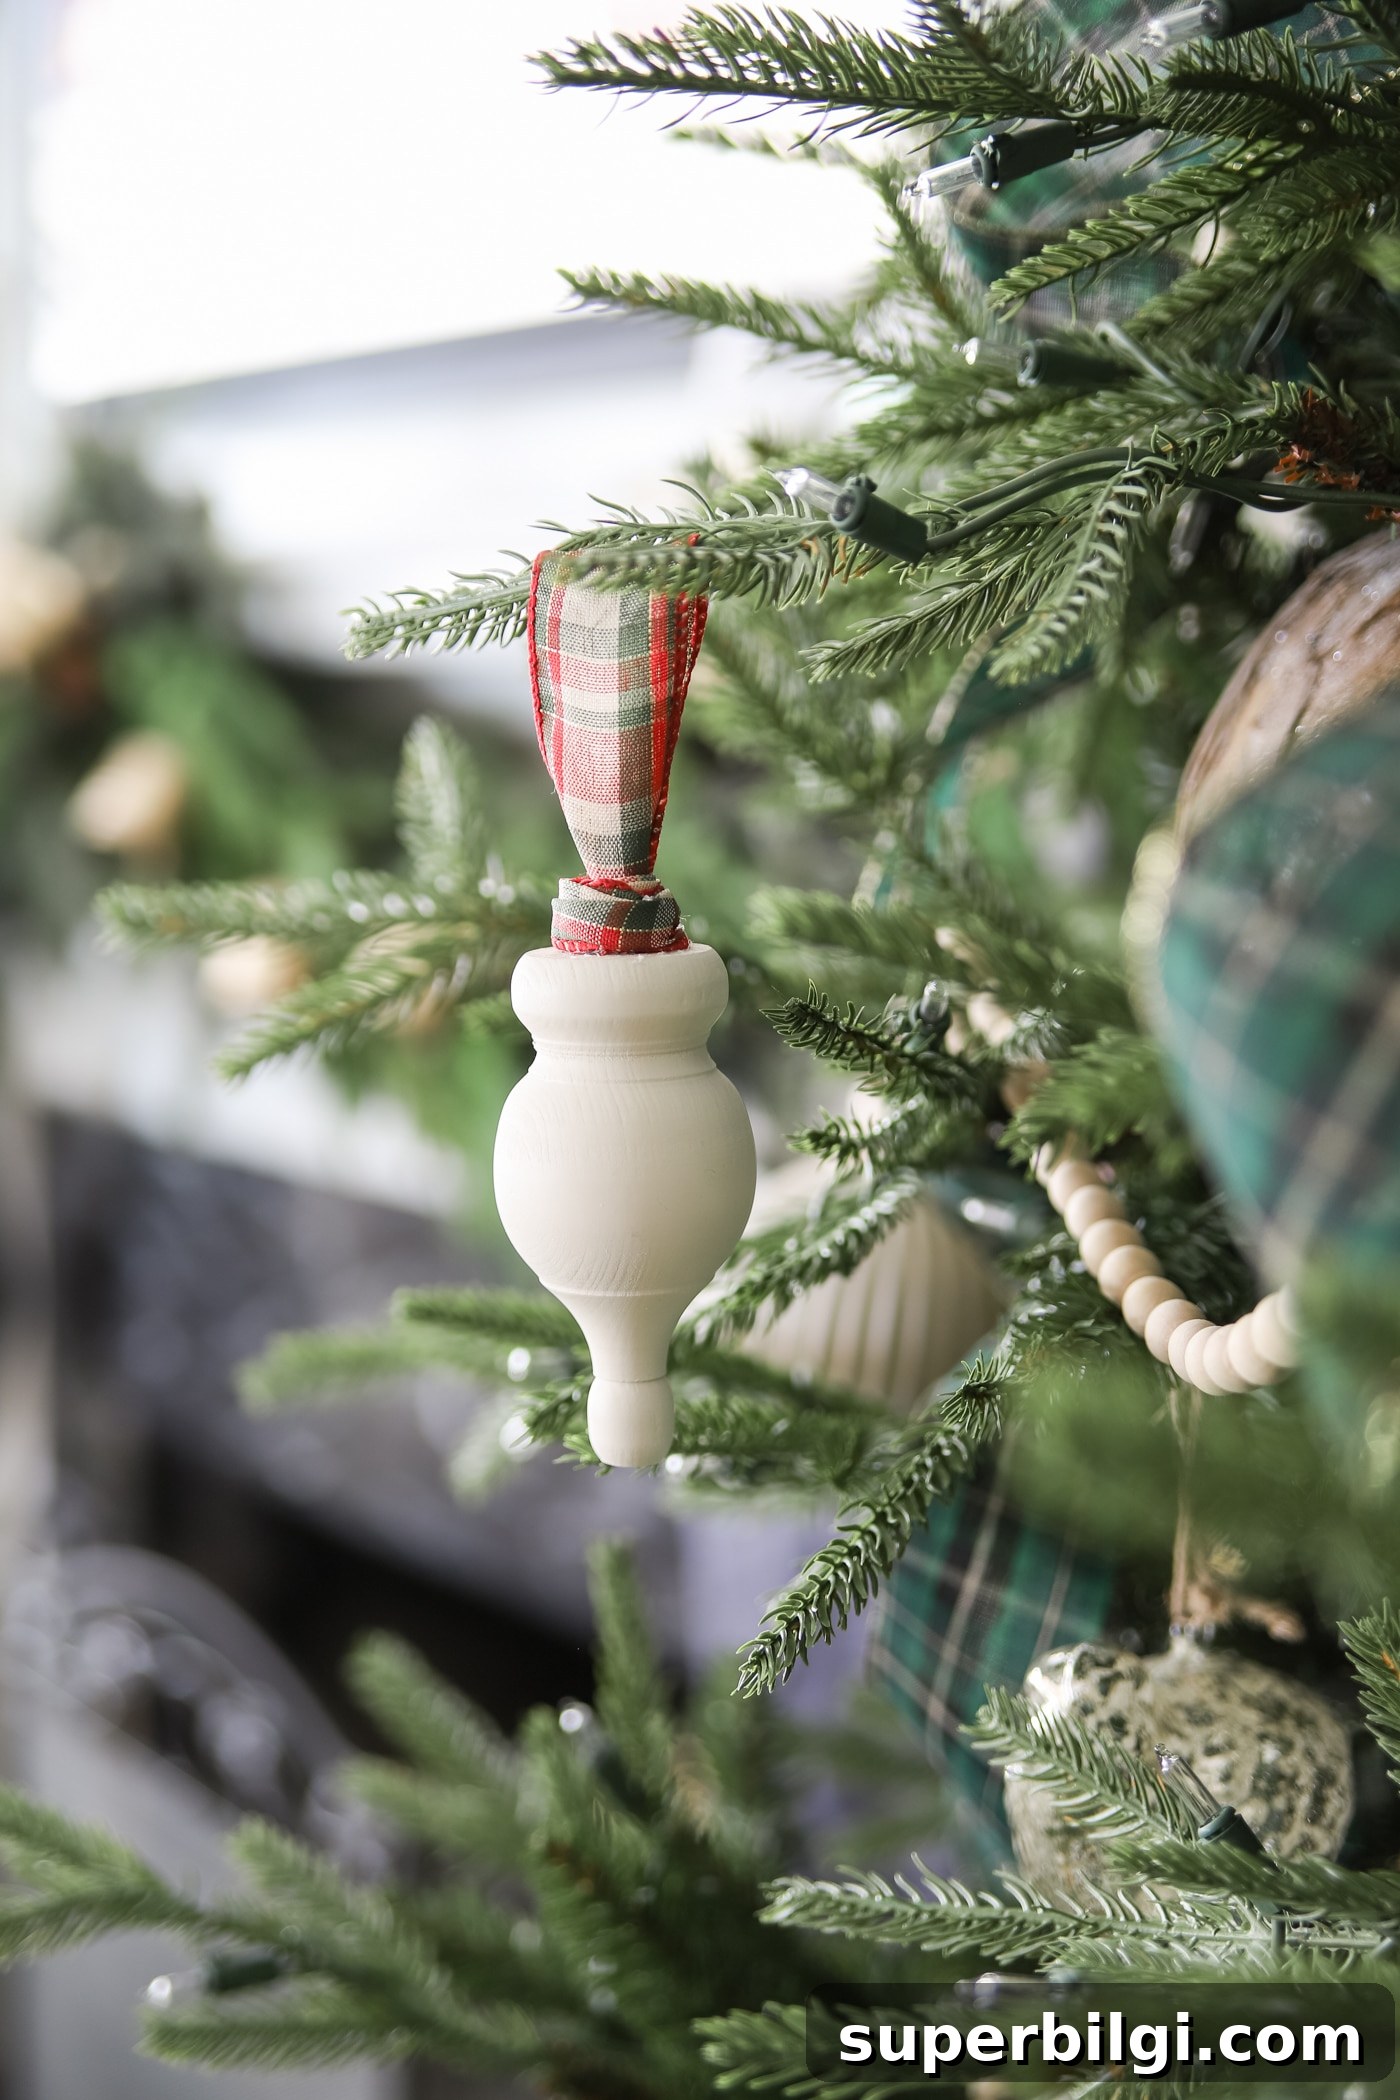
I wanted neutral ornaments to fill gaps on my tree and decided to make my own finial-style pieces rather than buying them. They’re inexpensive, quick, and can be tailored to your color palette and style—rustic, farmhouse, modern, or vintage-inspired.
Supplies you will need to make a Wood Finial Ornament:
- Wood finials – small turned finials or knobs from a hardware store work great; I found mine for under $3 each.
- Paint – spray or brush-on paint in the color you prefer; matte chalk-style spray paint gives a soft, furniture-like finish.
- Ribbon or twine – any ribbon, twine, or cord will do; I used 1.5-inch wired ribbon and removed the wire for a softer look.
- Hot glue and a glue gun – for attaching the ribbon loop and any trim.
How to Make a Simple DIY Finial Ornament
Step 1. Choose your finial and pick a finish.
You can leave the finials natural or paint them to match your tree. I chose a soft ivory matte spray paint to blend with my light-colored decorations. If you prefer a more rustic look, stain the wood or add a light whitewash. For modern or glam styles, try metallic or glossy finishes.
If you use spray paint, choose a well-ventilated area and protect surrounding surfaces. Multiple light coats produce the best coverage and avoid drips.
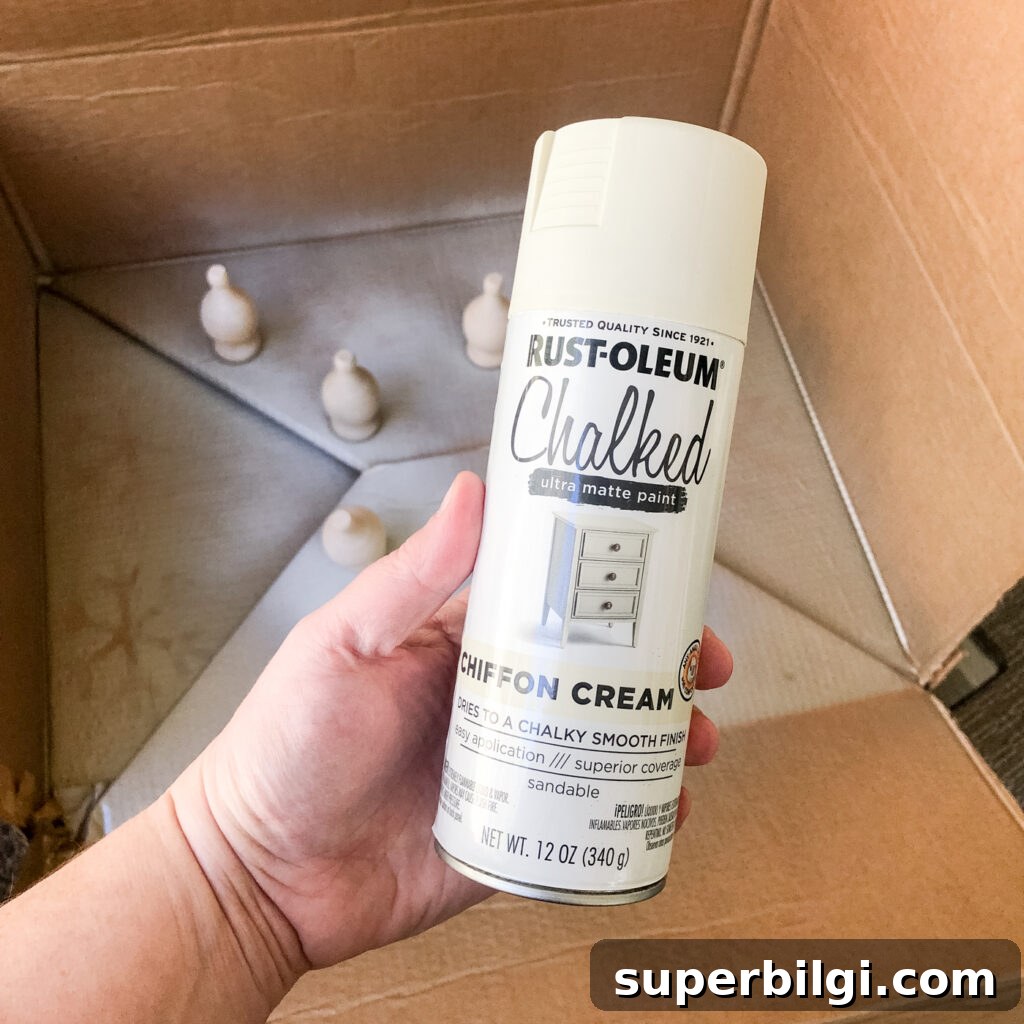
Step 2. Paint the finials.
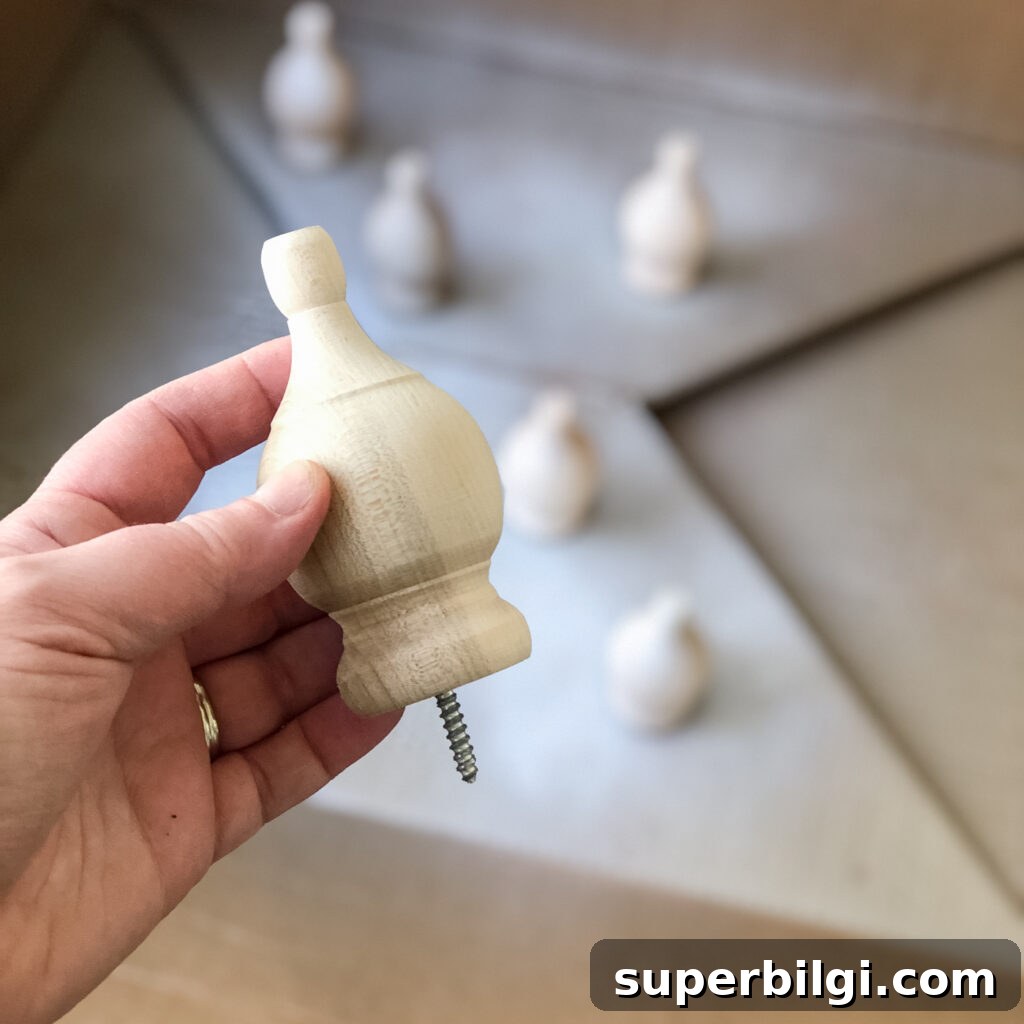
I used the screw stems to stick the finials into a large cardboard box so the pieces stood up while I sprayed them. Let the paint dry completely between coats. For a distressed finish, sand edges lightly after the paint dries to reveal a bit of the wood beneath.
Step 3. Attach a hanging loop with hot glue.
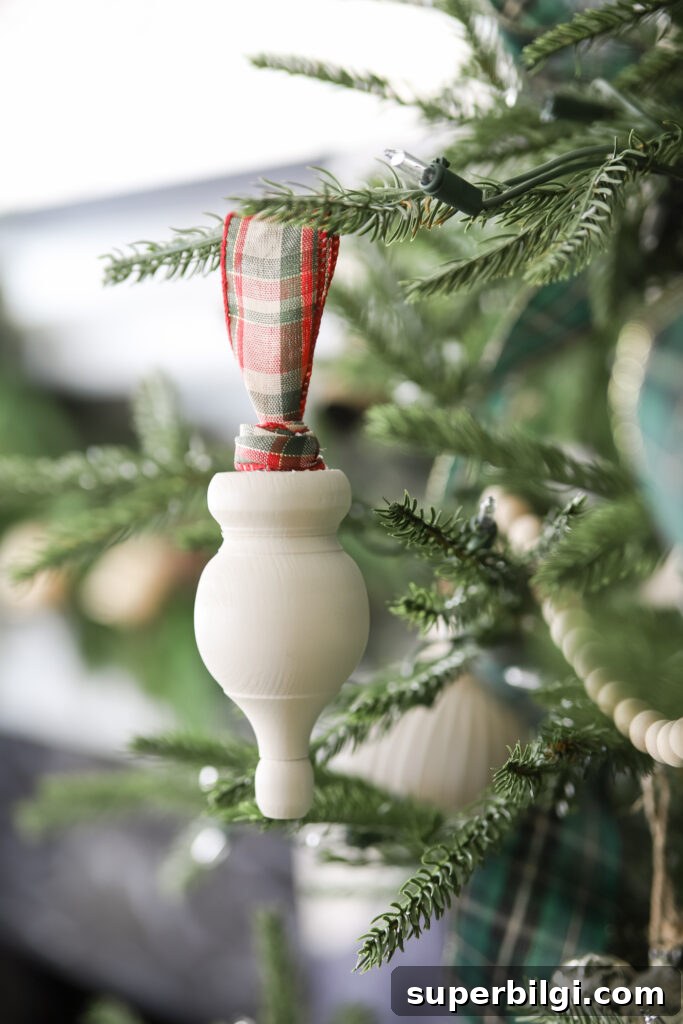
Cut a short length of ribbon or twine and form a loop. Apply a dab of hot glue to the top of the finial and hold the loop in place until the glue sets. For a tidy finish, glue a small tab of ribbon over the glued end and wrap a coordinating ribbon around the base of that tab to hide the glue and give a polished look.
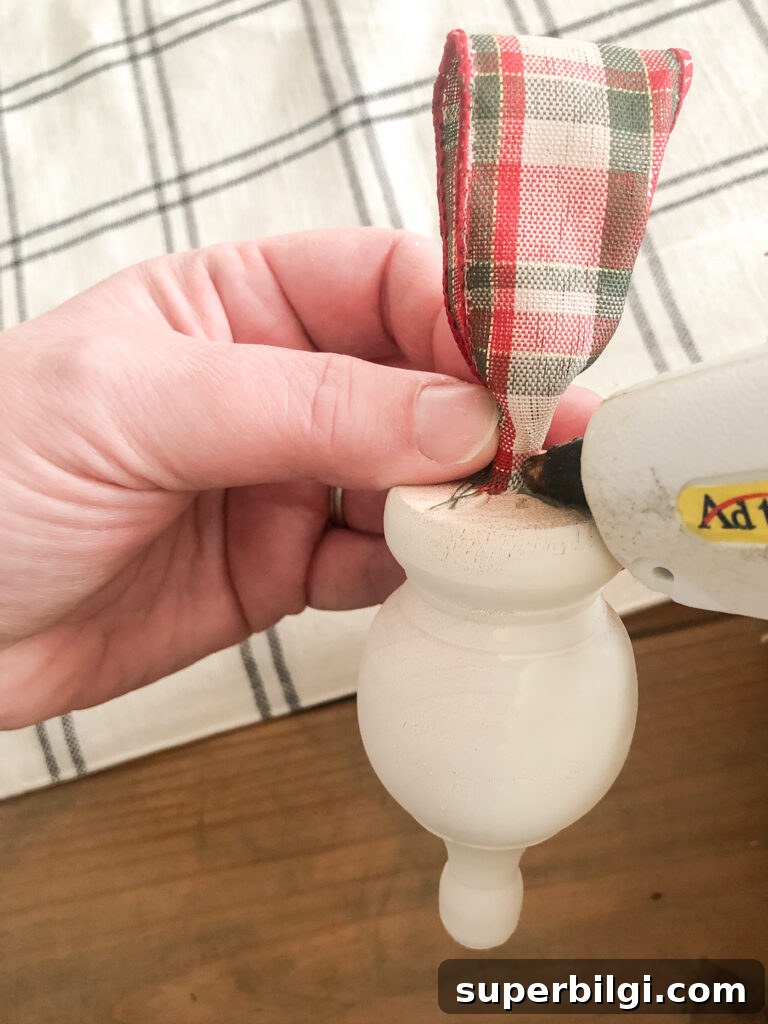
If you removed wired ribbon, make sure the edges are tidy. For a simpler look, use twine or thin leather cord and tuck the glued ends under a small decorative wrap or dab of paint to conceal them.
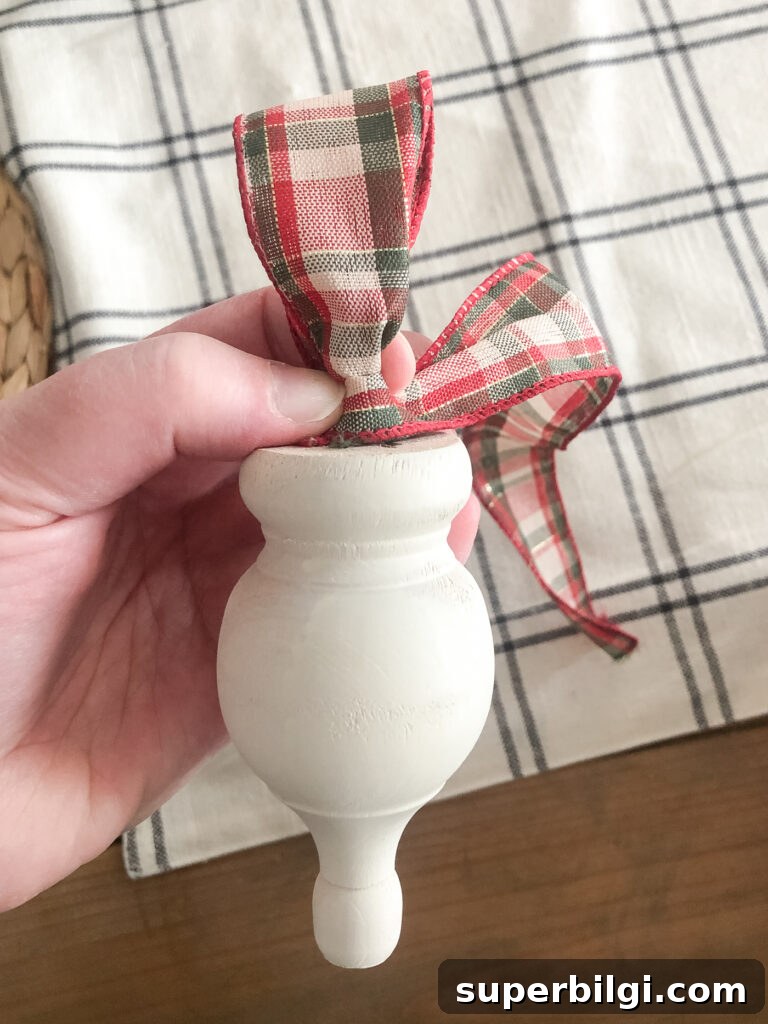
Allow the glue to cure fully, then hang the ornament on your tree. These make lovely accents when repeated in groups or mixed with other textures like glass, ceramic, or wooden beads.
Variations and styling ideas: paint a set in graduated shades for an ombré look, add a tiny dab of gold or silver leaf for shimmer, or tie a small bell or bead to the bottom for movement. For a farmhouse style, wrap twine around the midsection and add a mini wooden tag with a stamped letter or number.
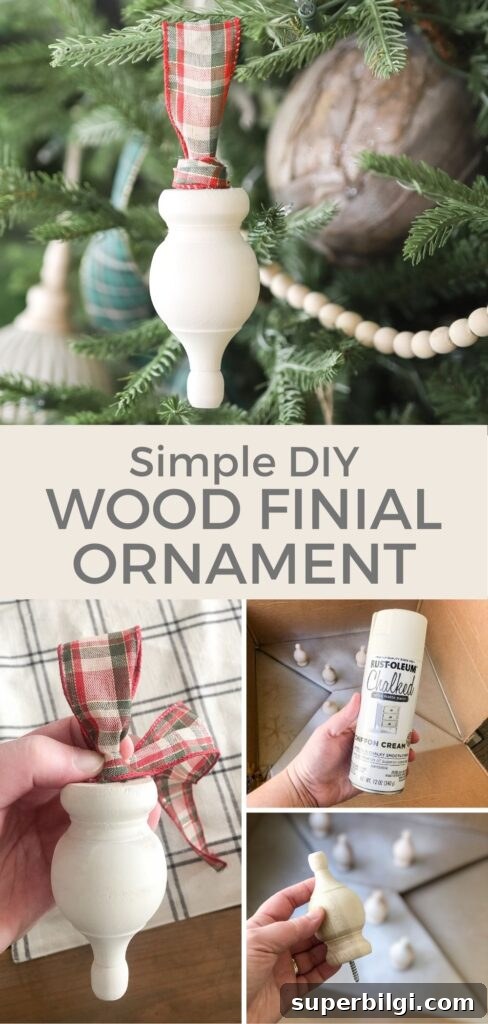
These finial ornaments are quick to make, budget-friendly, and perfect for last-minute decorating or gifting. They’re also a great project to customize for different holidays or seasons by changing colors and trims.
If you try this project, I’d love to see your results—tag me on Instagram @turquoisehome or send a photo via email. Happy crafting!
More DIY Christmas ornament ideas
- Mini wooden Christmas signs — small painted wood pieces with holiday phrases.
- Twig tree ornaments — natural and rustic shapes made from small branches.
- Mason jar “snow globe” ornaments — tiny scenes sealed in clear jars.
- Paper-covered ornaments — decoupage or layered paper designs.
- Bath bomb ornaments — fragrant, decorative, and giftable.
- Chalkboard wood slice ornaments — writable, rustic keepsakes.