
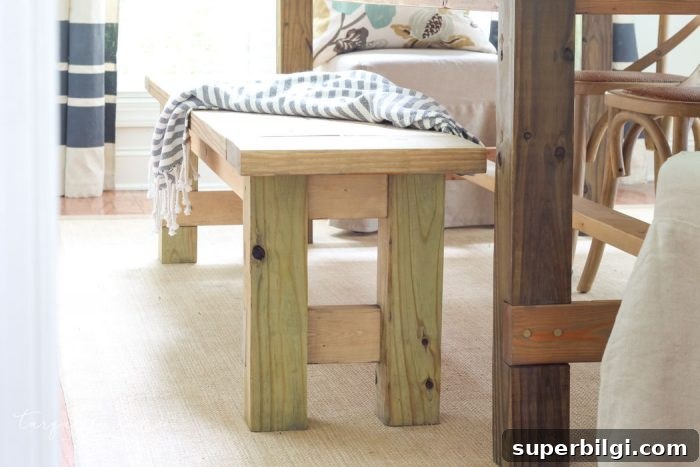
Nothing complements a farmhouse table better than a matching farmhouse bench. I built this simple bench for less than $40, and it transformed our dining area without breaking the bank. If you already have a farmhouse table, adding a bench gives you extra seating, a cozy look, and a practical solution for small spaces.
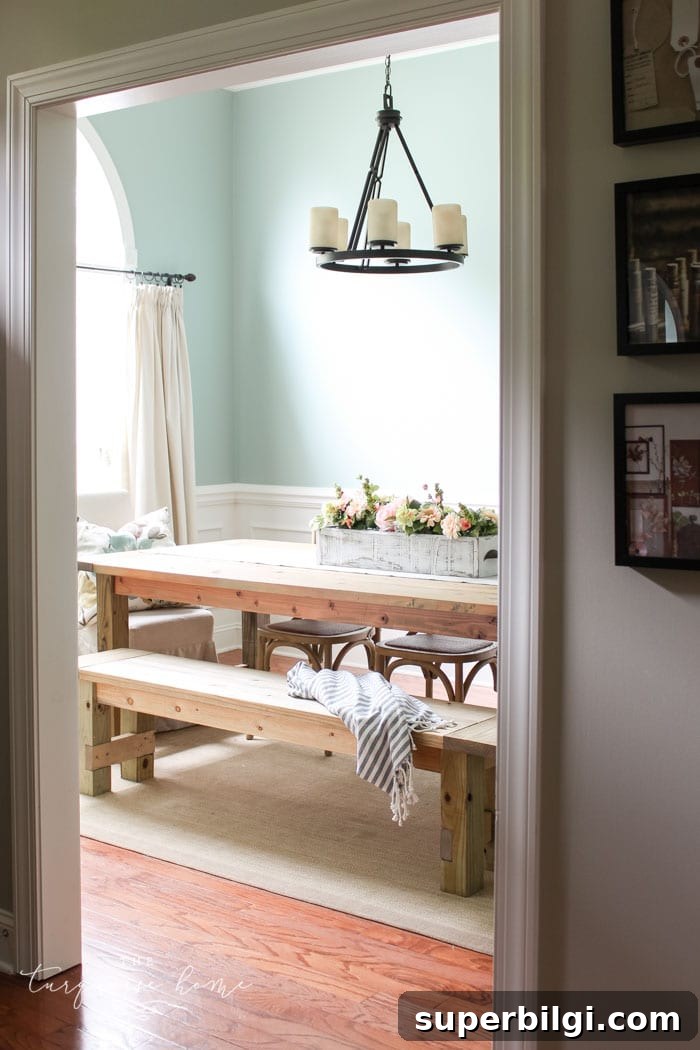
I built my farmhouse table back in 2012 and originally bought six x-back chairs to go around it. My plan was always to add a bench along one side and position the chairs on the ends and the opposite side. Life and a growing family delayed that plan—until I finally built the bench, which took just two afternoons. The result is a functional, attractive bench that complements our table perfectly.
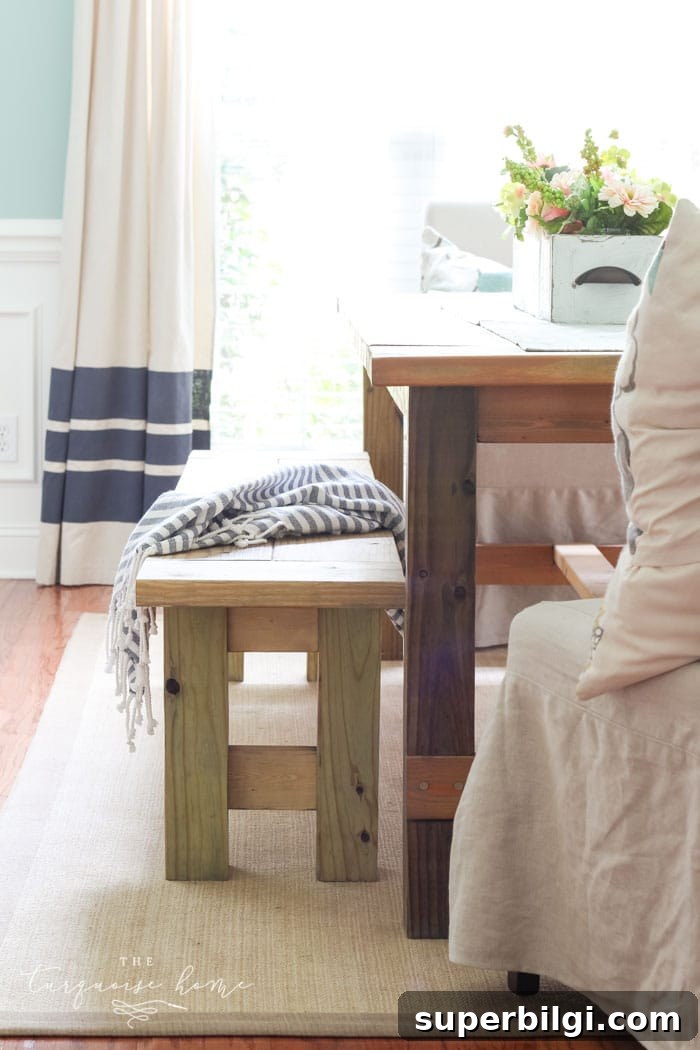
Related: DIY Drop Cloth Curtains
This bench is easy to build with basic tools: a miter saw, drill, circular saw, and a Kreg Jig. The best part is the cost—about $40 in materials. Buying additional chairs for that side of the table could have cost several hundred dollars, so building a bench saved a lot. It’s a straightforward project and an excellent weekend build for anyone who wants farmhouse style without a large expense.
The bench tucks neatly under the table when not in use, which is ideal if you need to clear the floor for other activities. If you plan to build one to match a specific table, measure to make sure the bench length will fit under the table when stored.
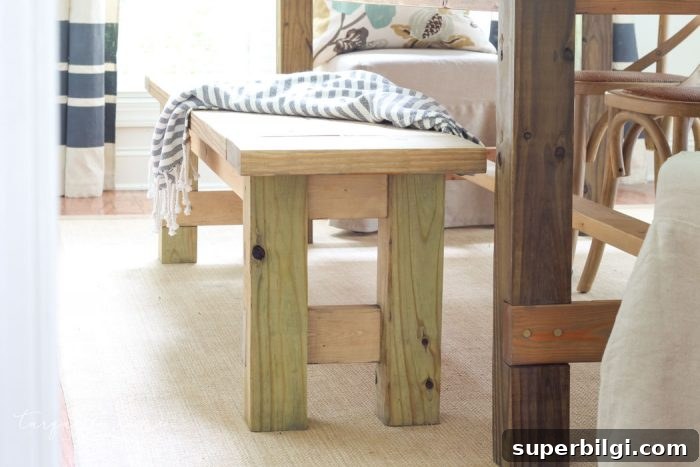
This style of bench also works great as extra seating in an entryway or a long hallway. Add storage baskets underneath and you immediately get seating plus hidden storage—perfect for a mudroom or landing area. The design is adaptable and multifunctional.
Note: This post contains affiliate links for convenience. See full disclosure policy in the original source.
Supplies You Need for a DIY Farmhouse Bench
- 1 – 4 x 4 x 8 board
- 2 – 2 x 8 x 8 boards
- 2 – 2 x 4 x 8 boards
- 2 1/2 inch pocket-hole screws (for Kreg Jig)
- 3 inch wood screws
- Miter saw
- Drill
- Circular saw
- Kreg Jig (or other pocket-hole system)
- Drill bits
- Wood glue (optional)
- Wood conditioner
- Wood stain or paint
- Polyurethane or protective finish
Cut List for a DIY Farmhouse Bench
- 4 – 4 x 4’s cut to 16.5 inches (bench legs)
- 2 – 2 x 8’s cut to 14.5 inches (breadboards)
- 2 – 2 x 8’s cut to 59.5 inches (bench top)**
- 2 – 2 x 4’s cut to 57 inches (long aprons)** — adjust length depending on where you place the legs under the bench top
- 2 – 2 x 4’s cut to 5 inches (short aprons)
- 2 – 2 x 4’s cut to 12 inches (supports)
**My bench is 74 inches long, so adjust the lengths to fit the final size you want.
How to Build a DIY Farmhouse Bench
Step 1: Cut your boards. Measure and cut each board to the final length you want. I measure and cut one board at a time rather than marking multiple boards at once to account for blade width and avoid shortening pieces unintentionally.
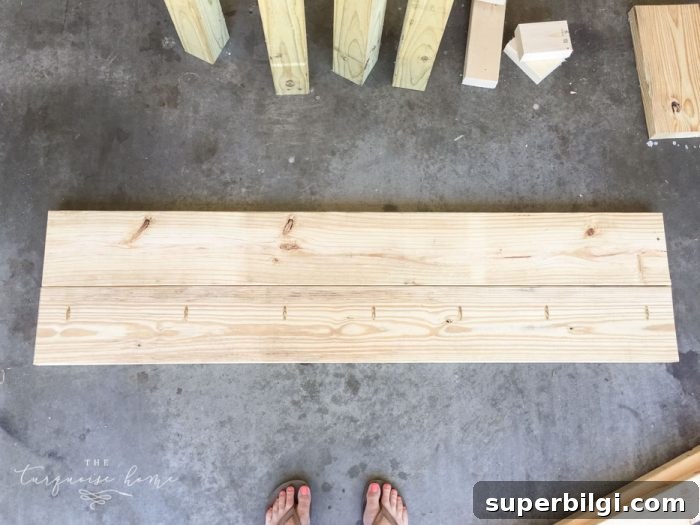
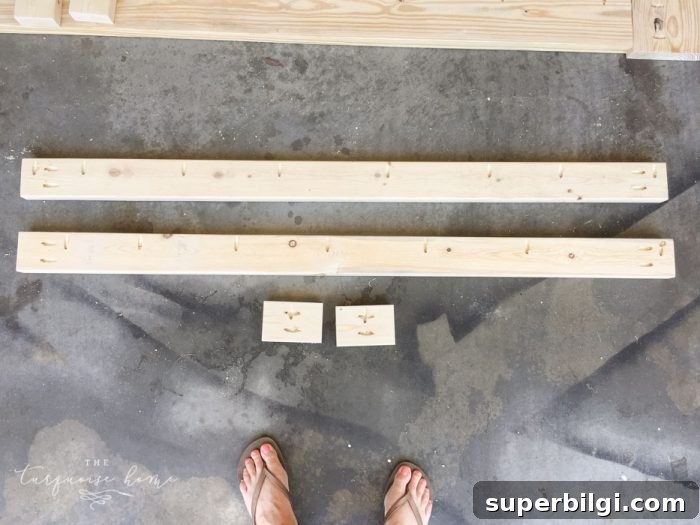
Step 2: Drill pocket holes with your Kreg Jig. Set the jig and drill bit to the actual thickness of your boards (most 2x lumber is 1.5 inches). Drill pocket holes in the aprons, bench top pieces, and breadboards as follows:
- Short aprons: two pocket holes at each end and one in the middle on the long side.
- Long aprons: two pocket holes at each end and additional holes every 6–8 inches along the long side.
- Bench top boards: drill pocket holes on one long side every 6–8 inches in one of the top pieces.
- Breadboards: drill four pocket holes along one long edge for attaching the ends of the bench top.
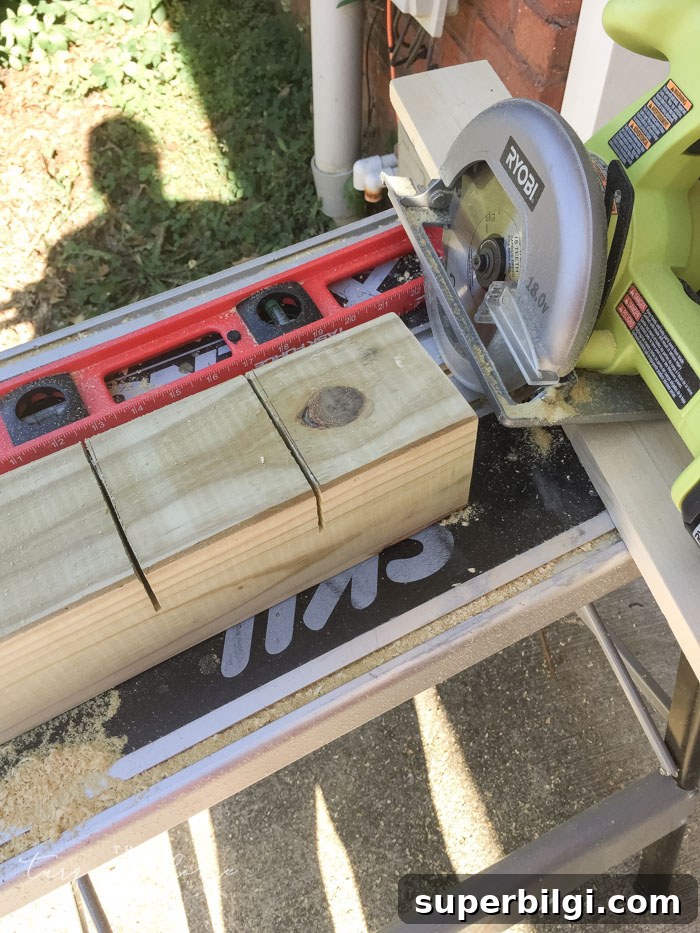
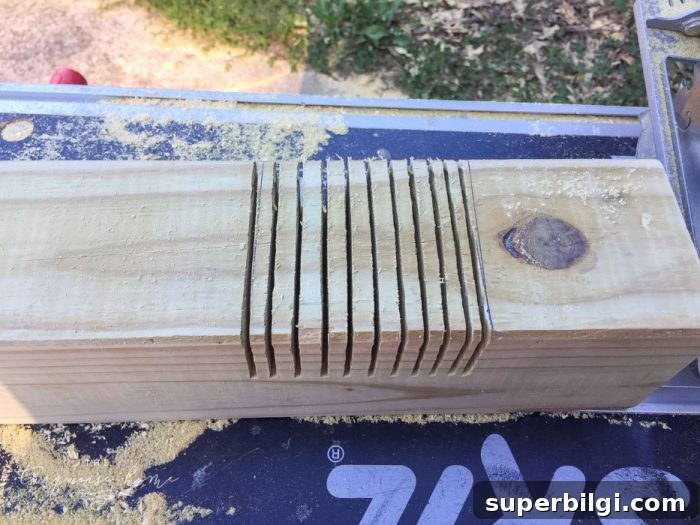
Step 3: Notch the legs for the supports. Mark the leg boards and use a circular saw to make shallow cuts at the notch depth: make cuts at 3.5 inches and 7 inches from the bottom, then cut every 1/4 inch between those lines. Clean out the waste with a chisel until the notch is flat and square.
Use the chisel to remove remaining wood and smooth the notch. It takes a little practice but is straightforward and creates a solid fit for the supports.
Step 4: Attach the leg supports. Pre-drill holes in the supports before driving the 3 inch wood screws; this prevents splitting. Measure carefully so the holes are centered and symmetrical.
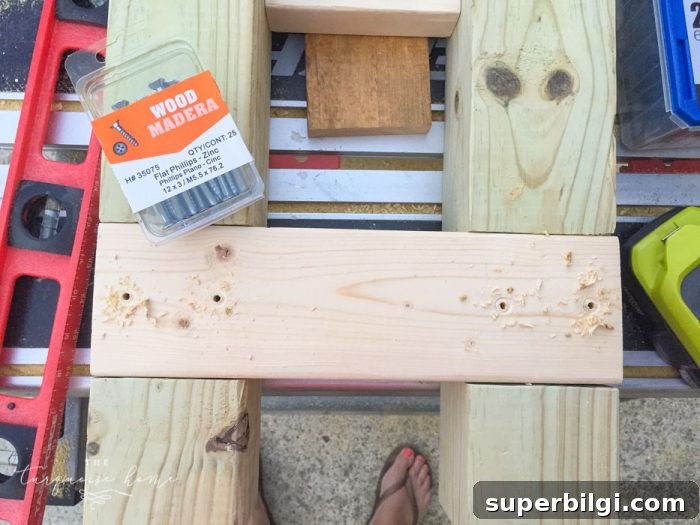
Step 5: Attach the short aprons between the legs. The aprons should sit flush with the tops of the legs. Use a scrap 1 x 4 under the aprons to set the inset and keep everything aligned while fastening.
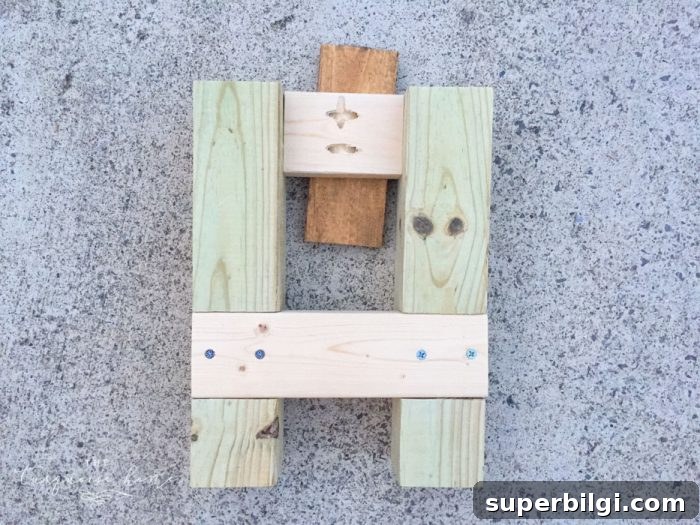
A quick note: small orientation mistakes can happen when assembling legs and aprons—flip pieces as needed before fastening to make sure the supports face the direction you prefer. Minor mistakes are often not noticeable after finishing.
Step 6: Attach the long aprons between the legs. Again, use a scrap board to set the inset and make sure the aprons are level and centered.
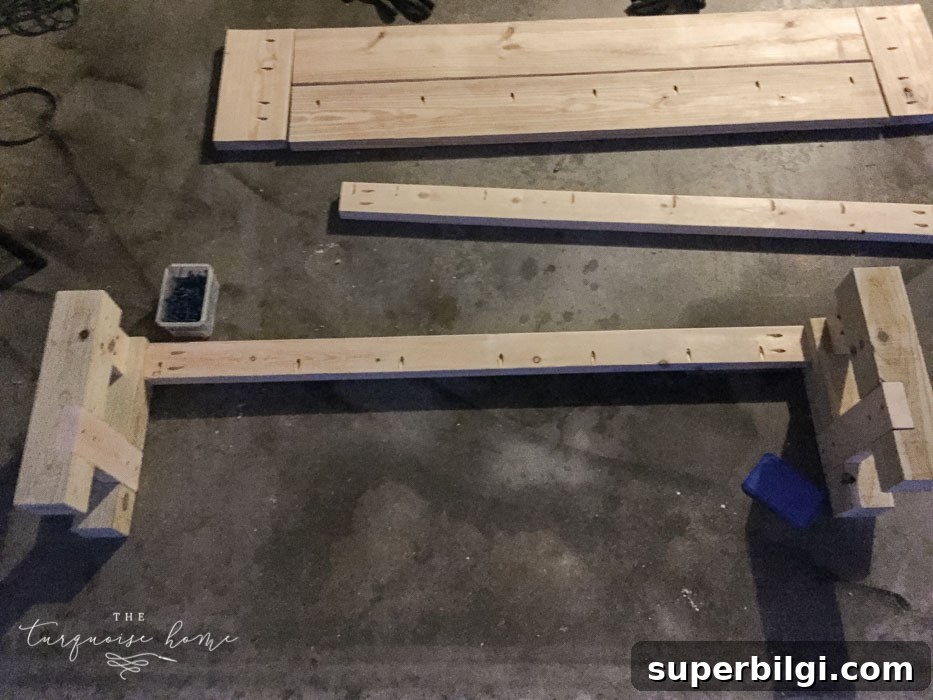
Step 7: Assemble the bench top. Lay out the bench top boards in the best visual order—swap boards if one is slightly warped so the seam fits tight. Apply glue between the boards if desired and drive pocket-hole screws to secure them together.
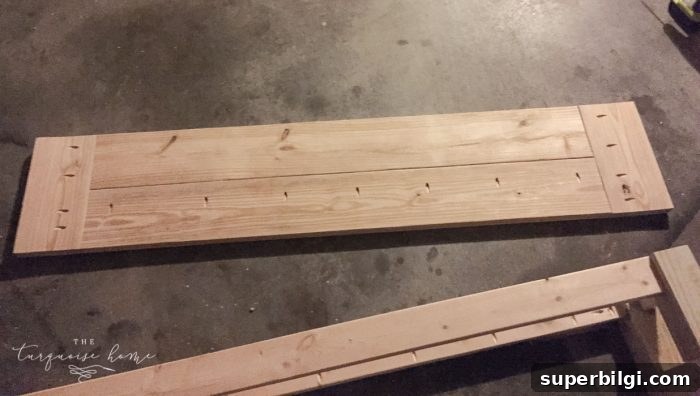
Step 8: Attach the leg/frame assembly under the bench top. Center the frame on the underside of the bench top and fasten it with 2.5 inch pocket-hole screws or 2.5 inch wood screws through the aprons into the top. Make sure the frame is square and centered before final tightening.
Flip the bench over and admire your work—you just turned raw lumber into a functional piece of furniture.
Step 9: Finish with stain or paint. Start by conditioning the wood with a pre-stain conditioner to help the finish apply evenly. Stain or paint the bench to your preferred color; I used a weathered oak-style stain for a gray, aged look. Once the color is right, protect the surface with two coats of matte polyurethane for long-lasting durability.
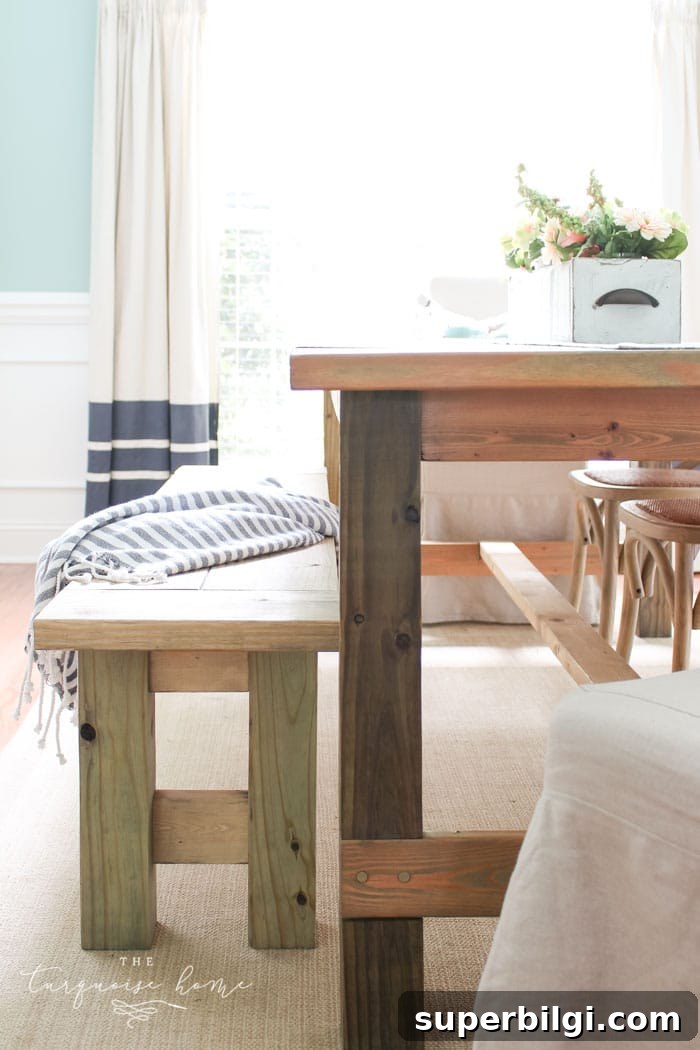
That’s it—now you have a beautiful, sturdy farmhouse bench to enjoy for years. It’s a simple project that adds significant seating and farmhouse charm to your home while staying budget-friendly. If you decide to build one, I’d love to see your results!
More Posts You Will Love:
- Closing the Space above Kitchen Cabinets
- 10 Tips for a Successful Yard Sale
- Beautiful Farmhouse Sinks + Farmhouse Faucets
- Summer Tablescape Ideas
- Traditional Dining Room Reveal