
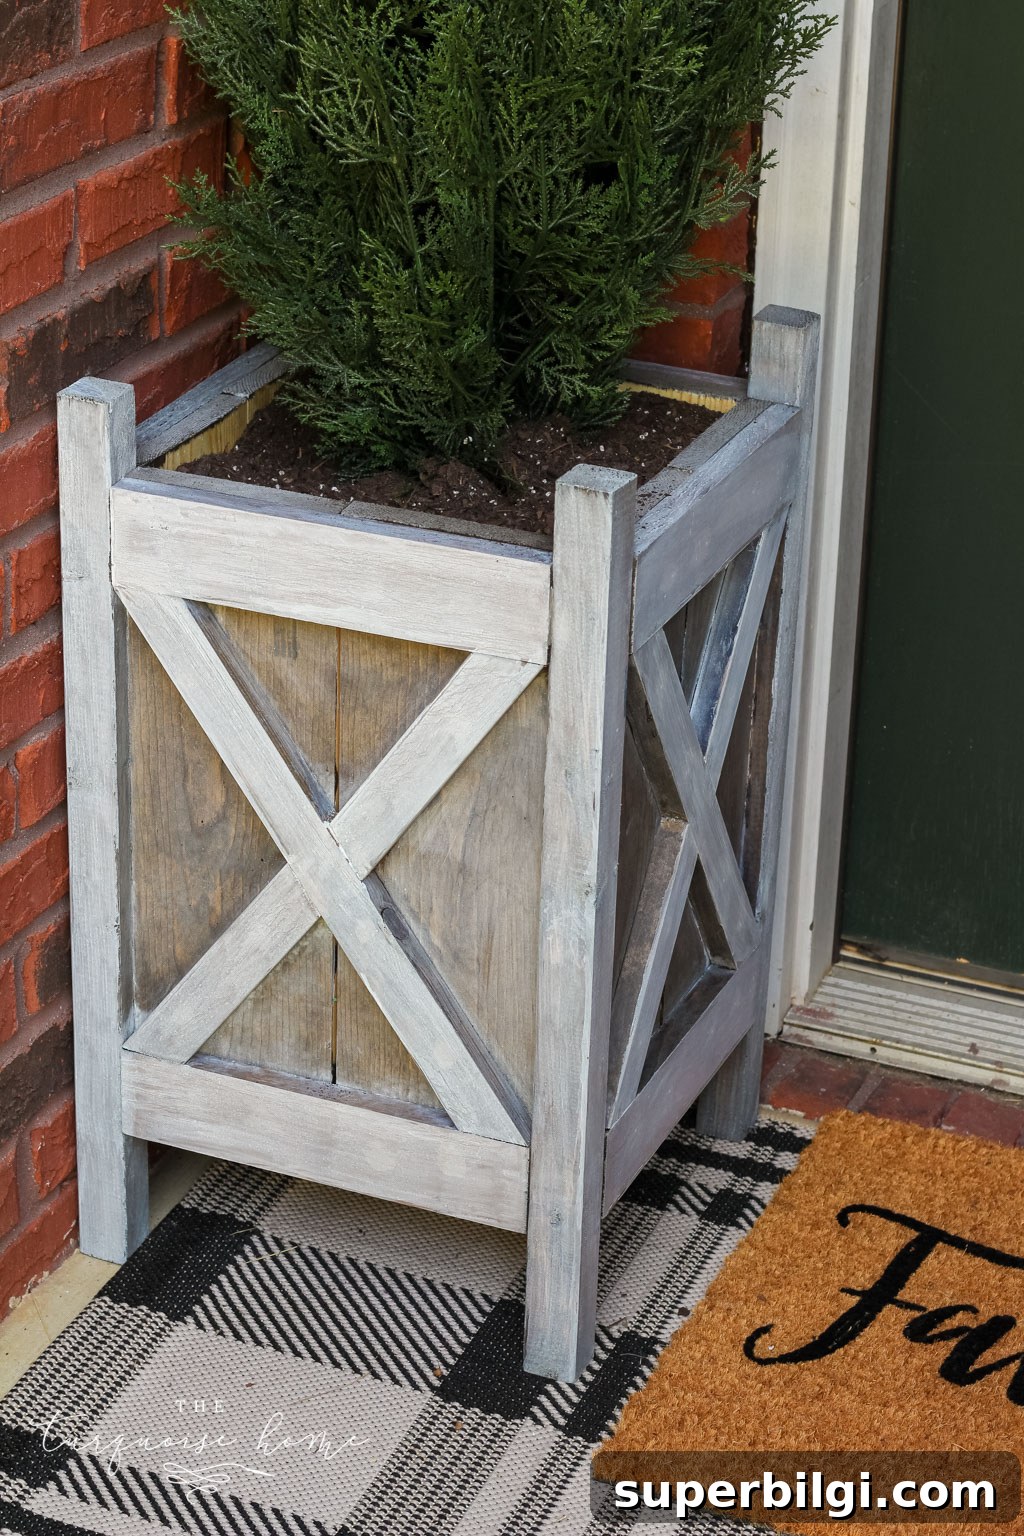
Learn an easy gray wash technique for raw wood using a simple paint mixture — just five quick steps to a beautiful weathered finish.
You might remember the DIY planters I built recently; I took photos of one finished planter and left the other only partially done. Finally, with my fall home tour approaching, I pushed myself to finish both. Deadlines are great for curing procrastination!
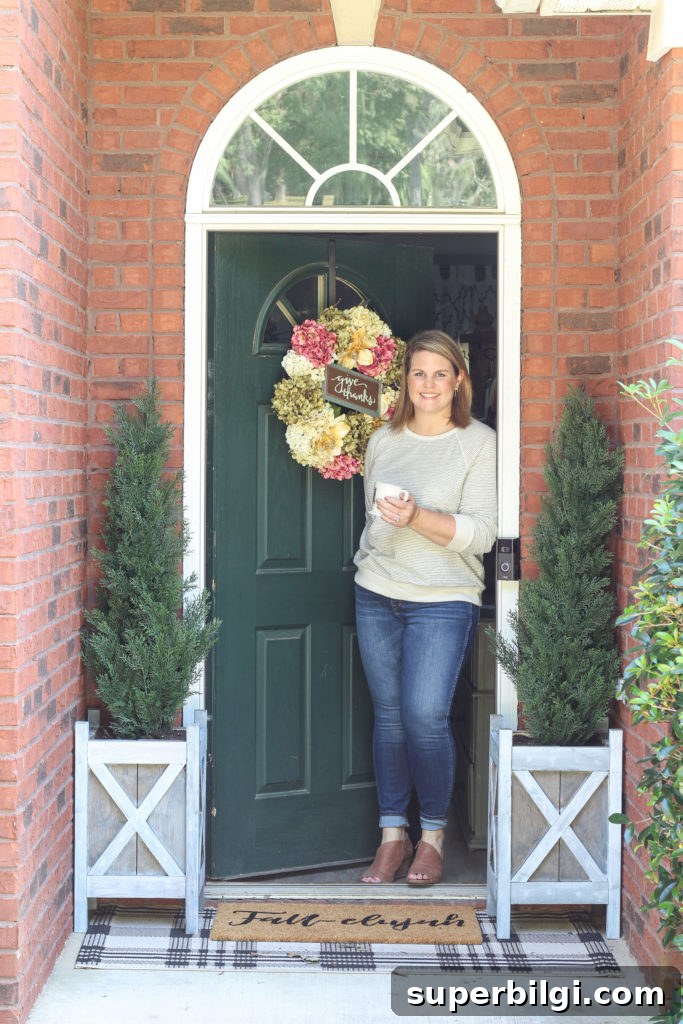
I’d been planning to add greenery to my front stoop for a while, so finishing these planters was at the top of my list. I debated whether to leave the wood natural with a protective sealer, stain it, or paint it. Ultimately I combined stain and paint to achieve a soft gray-washed look, and I’m thrilled with the result. Below I’ll walk through the supplies and a simple step-by-step process so you can recreate this finish on boxes, planters, furniture, or any raw wood surface.
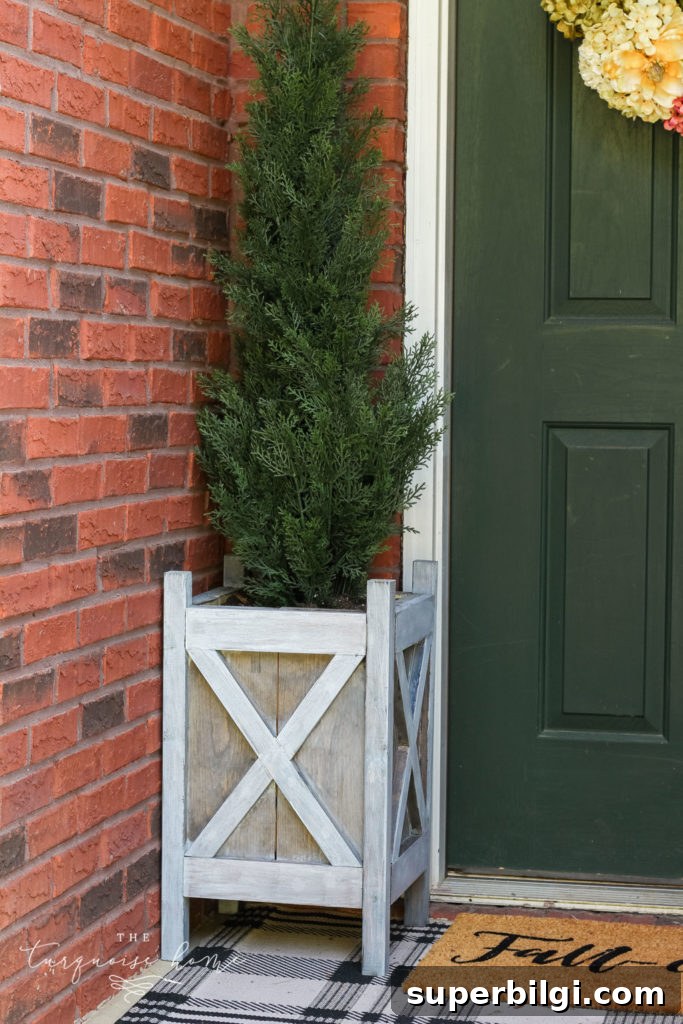
What You’ll Need for this DIY Gray Wash Wood Technique
- Dark wood stain (Dark Walnut or a similar deep tone works well for contrast)
- White latex paint (leftover entrance, trim, or interior paint is fine)
- Paint brush for applying paint
- Sponge brush or disposable brush for applying stain
- Lint-free rags or cotton towels for wiping away excess paint
- Outdoor sealer if the project will be exposed to the elements
How to Apply a DIY Gray Wash to Wood
This gray wash method is intentionally simple: stain first, then tint it with a thinned paint wash and remove the excess to reveal a subtle, weathered gray look. Follow these short, practical steps for consistent results.
Step 1. Stain the wood
Choose a dark stain for the base coat. A richer tone like Dark Walnut creates depth that the white wash can mute into a natural gray. Apply according to the stain manufacturer’s instructions, working with the grain and wiping off any excess to avoid blotches.
Step 2. Allow the stain to dry completely
Drying time depends on the product and ambient conditions. Follow the can’s directions so the stain cures before you apply the paint wash — this prevents smearing and helps you achieve an even gray effect.
Step 3. Prepare the paint wash
Mix equal parts white paint and water (50/50) in a container. Stir thoroughly until smooth. You can thin more for a subtler tint or use less water for heavier coverage — start with 50/50 and adjust on a scrap piece until you like the opacity.
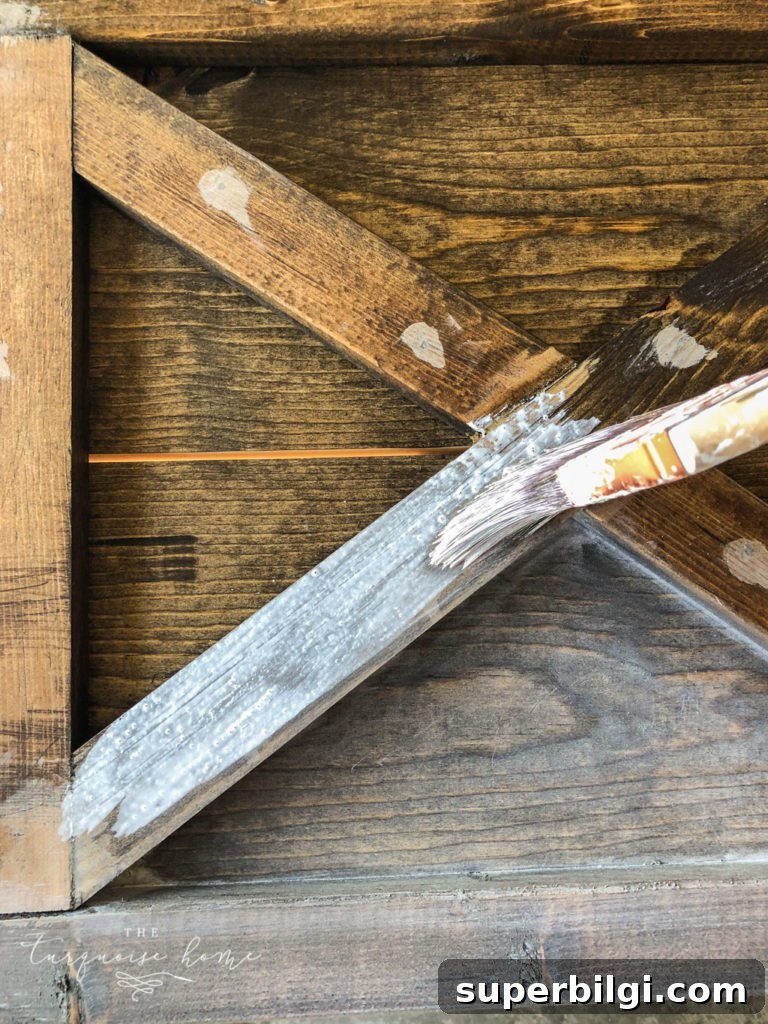
Step 4. Apply the paint wash in small sections
Brush the thinned white paint over the stained surface working in manageable sections. Apply lightly and avoid letting the wash sit and form puddles. Work along the grain and keep your movements smooth for an even tone.
Step 5. Wipe off the excess paint
After about 20–40 seconds, wipe the area with a lint-free rag to remove most of the paint. This step reveals the stained grain beneath and leaves a soft gray finish. If you leave the wash on too long, it’ll look more painted than washed, so quick wiping helps keep that subtle, weathered look.
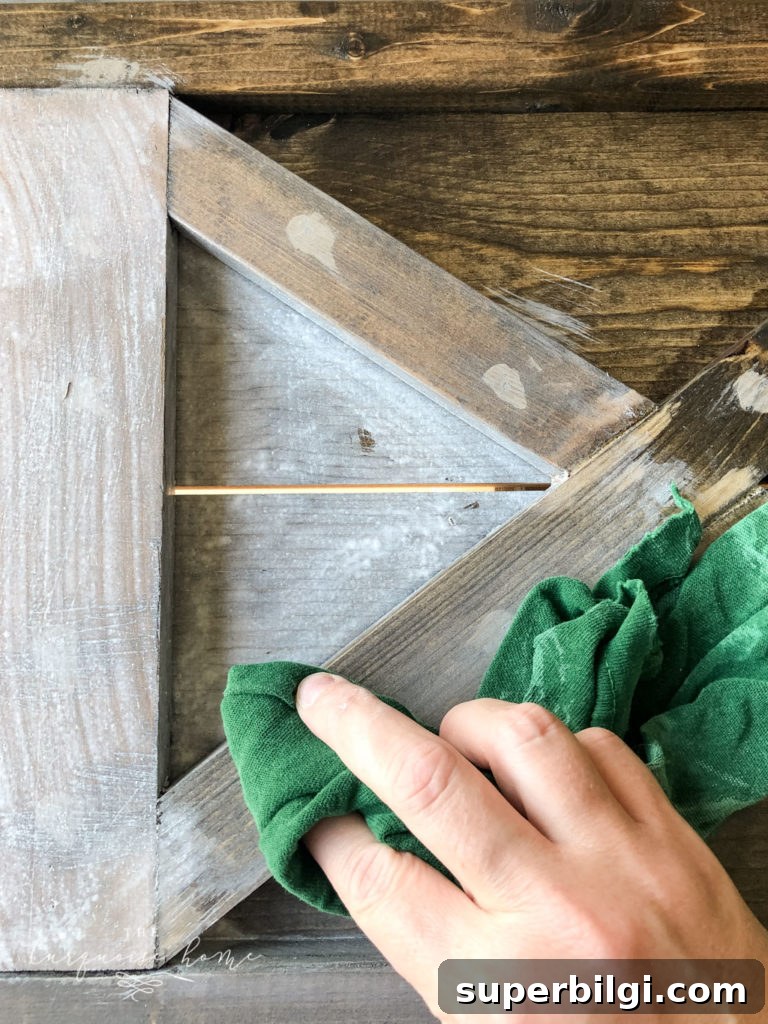
Step 6. Repeat until the entire piece is gray washed
Continue applying the wash and wiping it off across the whole surface. Step back occasionally and check the overall tone to ensure consistency. If some spots look too dark, you can add a little more wash and wipe again; if too light, apply a second thin layer sparingly.
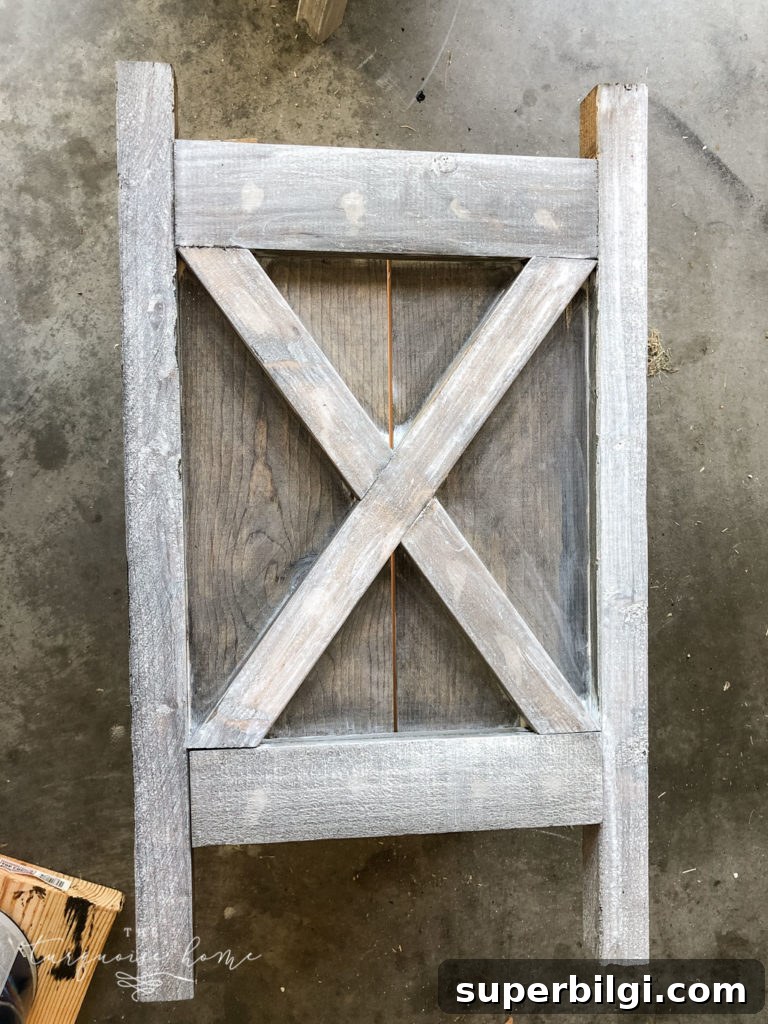
Once you’re happy with the gray-washed appearance, protect the finish if the item will live outdoors. Use an appropriate outdoor sealer to guard against moisture and UV fading. For indoor pieces, a clear matte or satin topcoat will preserve the look while keeping the natural texture visible.
On my planters I also painted the X-shaped accents with the paint wash but didn’t wipe them away, which made the filled nail holes stand out more than I expected. I ended up liking the contrast — the X’s read as slightly brighter and give the design some character — while the rest of the planter keeps that soft, weathered gray.
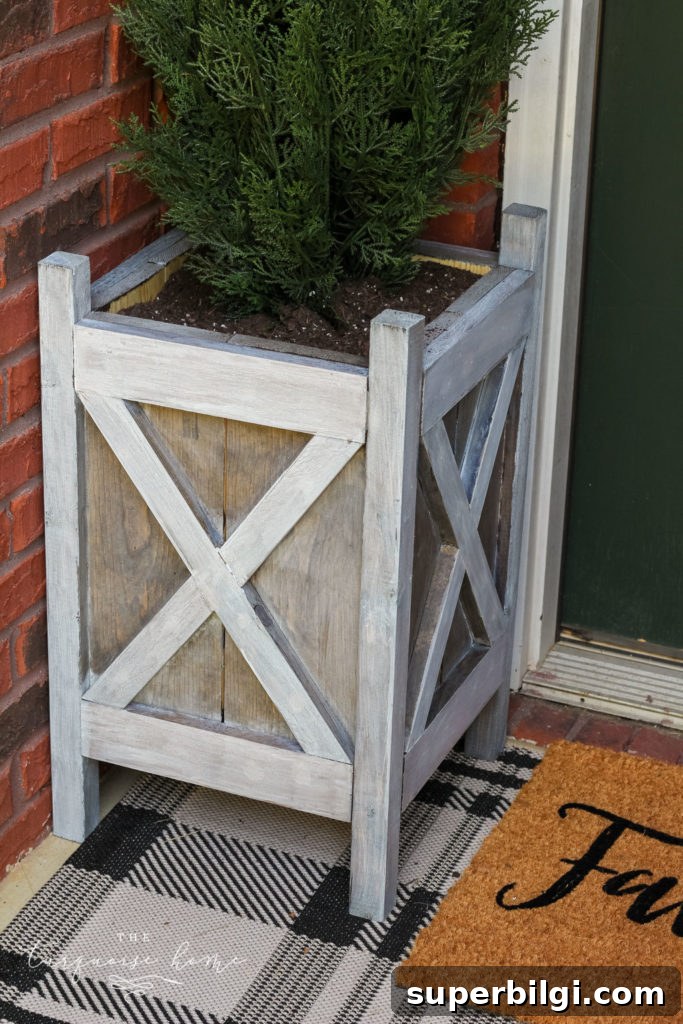
Tips for success: test the wash on a scrap piece or a hidden spot first, work in small sections to avoid uneven drying, and keep lint-free rags on hand for clean wiping. Adjust paint-to-water ratio to control opacity and experiment with different stain tones for warmer or cooler gray results.
More Posts You Will Love:
- 5 Easy Steps to Stain an Outdoor Structure
- How to Style a Console Table Behind a Couch (4 ways!)
- Butler’s Pantry Ideas: 10+ Beautiful And Functional Designs
- Sherwin Williams Extra White (SW 7006)
- How To Decorate With Ginger Jars