
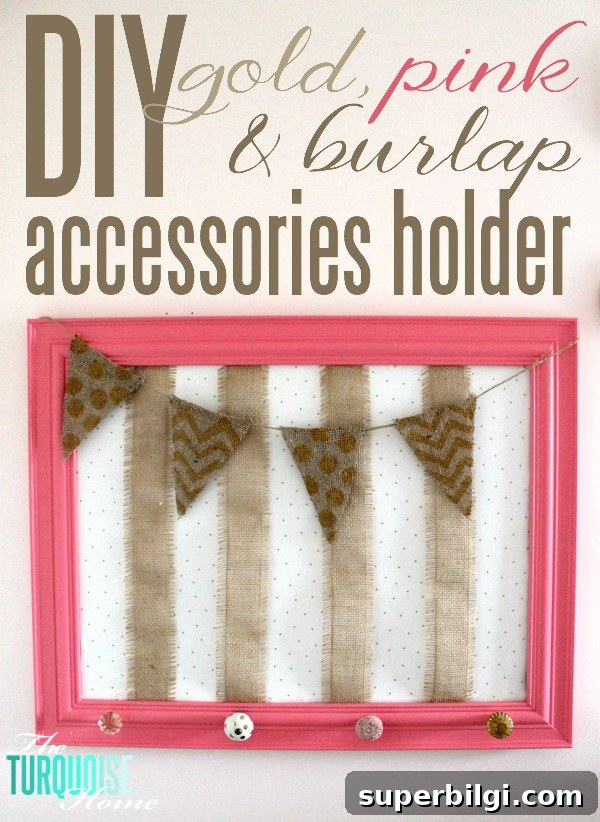
I know some of you will tell me to finish one room before starting another, but when inspiration strikes I can’t help jumping around. The other day I was on a quick mission through Hobby Lobby and stopped dead when I saw a sweet hair-bow and accessories holder in the little girls’ decor section. It was adorable, but the colors weren’t quite right for my plan. That’s when a simple DIY idea came to me. I already had a perfectly sized frame on hand, so I decided to turn it into a customized accessory display for Miss A’s room.
We’ve been slowly updating her room since we bought her big-girl furniture last fall. New bedding is on the way and I’m swapping out decor items to fit a gold-and-pink ballerina theme. While Baby G’s nursery still needs finishing, I couldn’t resist this quick project and wanted to share the results and the process.
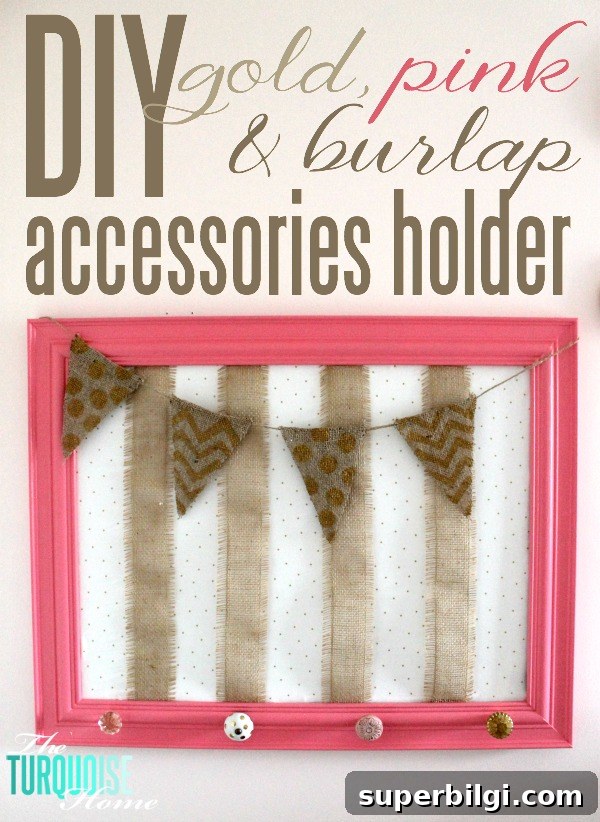
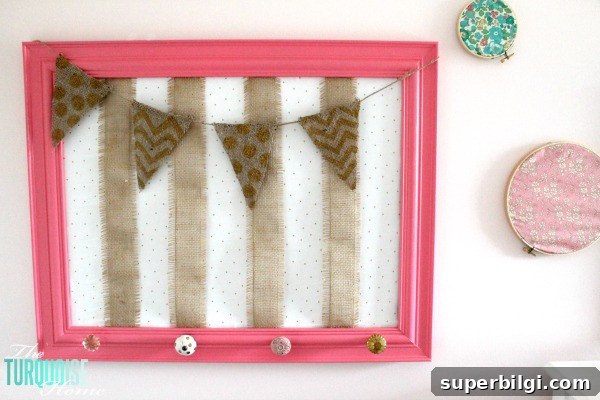
Miss A had an older bow holder I made a few years ago, but it was outgrowing her collection. This new holder gives us room for hair bows, headbands, necklaces and small purses, and it’s easy to customize so it fits the rest of the room’s palette.
Here’s what you’ll need:
- Frame (paint optional)
- Foam board cut to size
- Fabric for the face (I used gold polka dot fabric)
- Burlap ribbon for vertical accents
- Spray adhesive
- Small scraps of burlap
- Twine for bunting or accents
- Gold paint and a small brush
- Decorative knobs or hooks
How to Make a Bow Holder
1. Prepare and Paint the Frame
I already had a pink-painted frame from an earlier project, so I used that. If you’re starting with an unfinished frame, sand and paint it first and let it dry completely before moving on to the next steps.
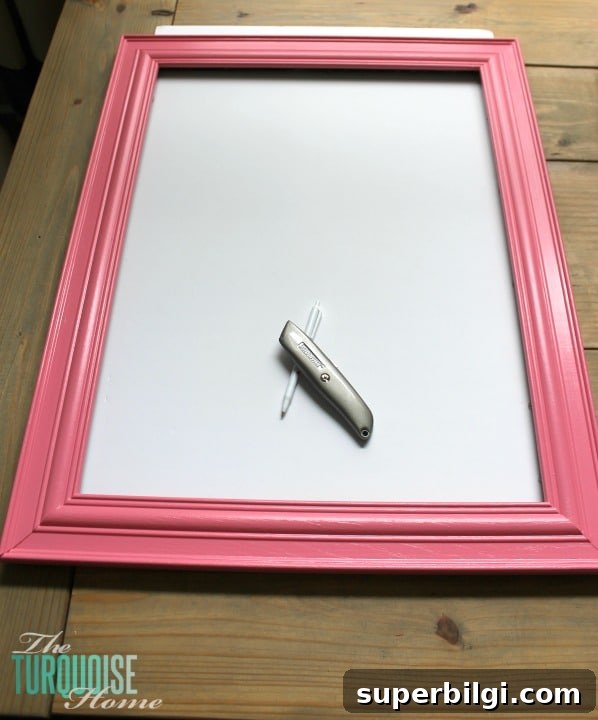
2. Add a Foam Board Backing
Cut a piece of foam board to fit snugly in the back of the frame. This will give the piece structure and a surface to attach fabric and embellishments.
3. Attach Vertical Ribbon Accents
Cut the burlap ribbon into strips and hot-glue them to the inset of the frame where the foam board will sit. Space them evenly so bows and accessories can be clipped or looped through. Hot glue sets quickly, so work carefully to get straight lines.
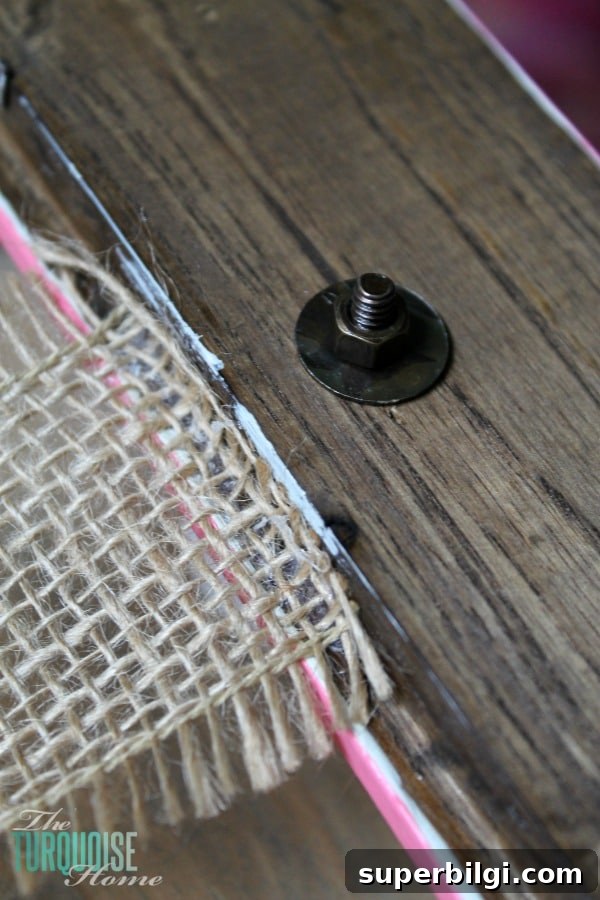
4. Drill Holes and Attach Knobs
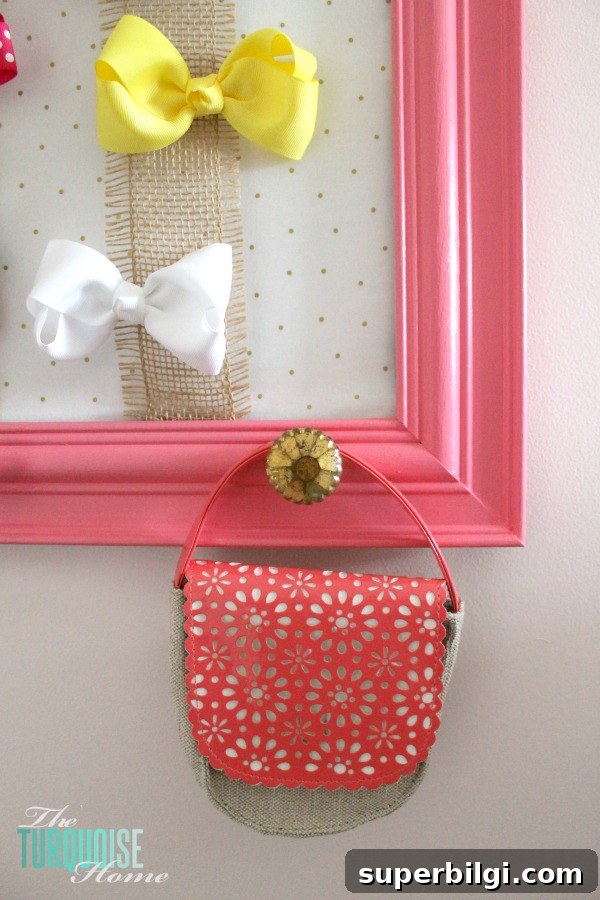
Mark where you want the knobs to go, drill small pilot holes through the frame, and secure the knobs. These will hold necklaces, headbands, and small purses. Use knobs that are sturdy enough to support the weight of the items you plan to hang.
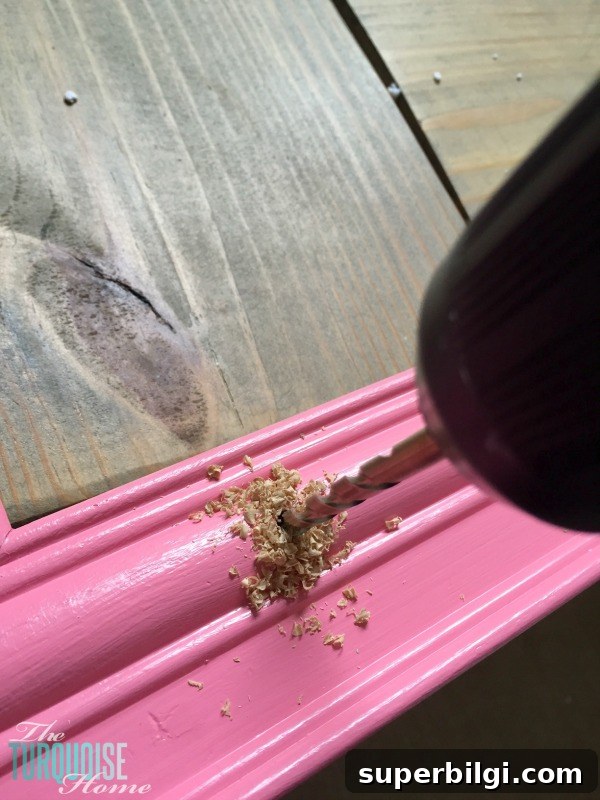
5. Cover the Foam Board with Fabric
Trim the fabric so it overlaps the foam board edges slightly. Spray a light, even coat of adhesive on the foam board (work outside or in a well-ventilated area), then smooth the fabric over it to avoid bubbles and wrinkles.
6. Insert the Foam Board into the Frame
Press the fabric-covered foam board into the frame so it sits flush. Make any small adjustments to ensure the ribbons and knobs align properly with the fabric surface.
7. Optional: Add a Bunting Accent
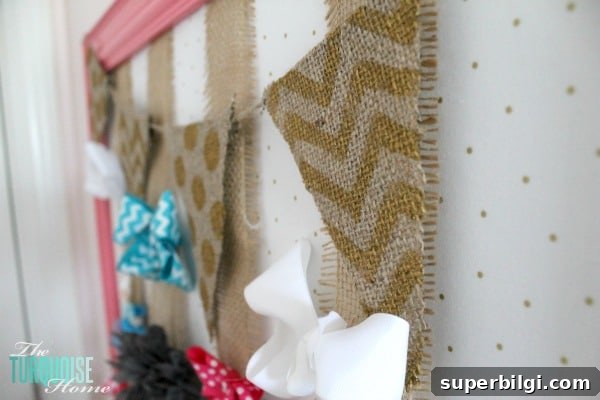
I created a small burlap bunting using twine and tiny triangle pennants cut from burlap. I added gold paint details—chevrons and polka dots—for a playful touch. A bunting is an easy way to introduce texture and coordinate colors without overwhelming the piece. (I used simple hand-painted patterns for this one.)
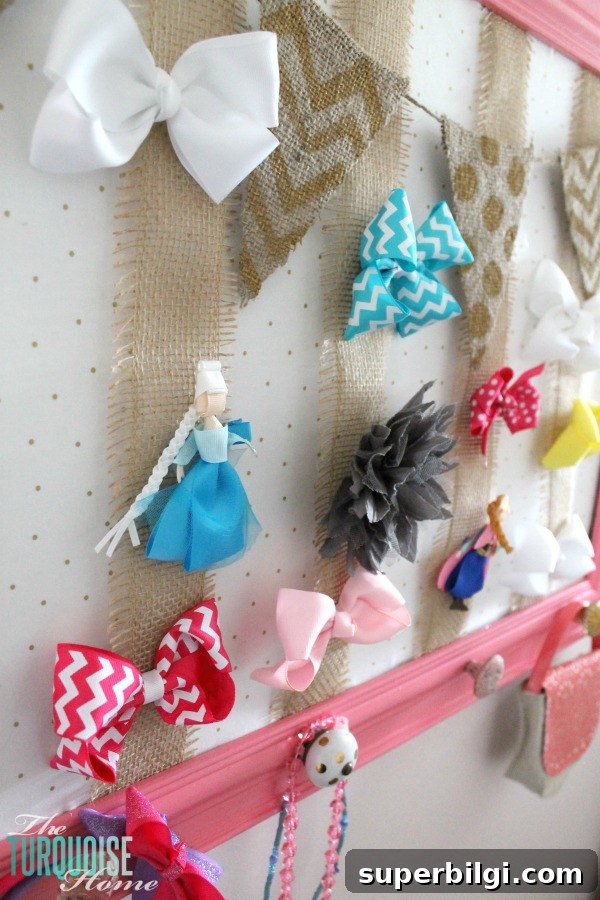
8. Fill and Hang Your New Holder
Attach the bunting if you made one, hang the finished holder on the wall, and organize bows, headbands, necklaces and small purses on the ribbons and knobs. It’s a practical and pretty way to keep accessories visible and tidy.
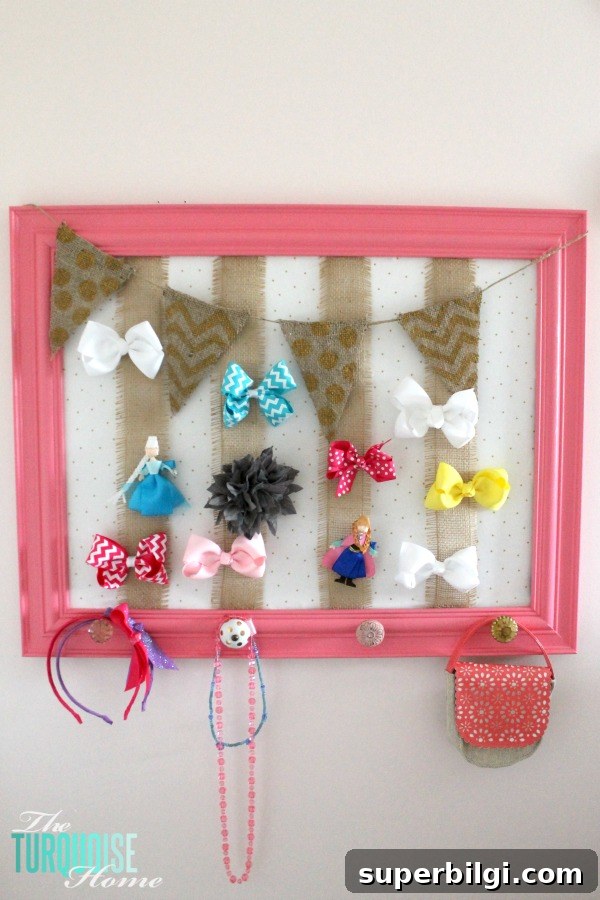
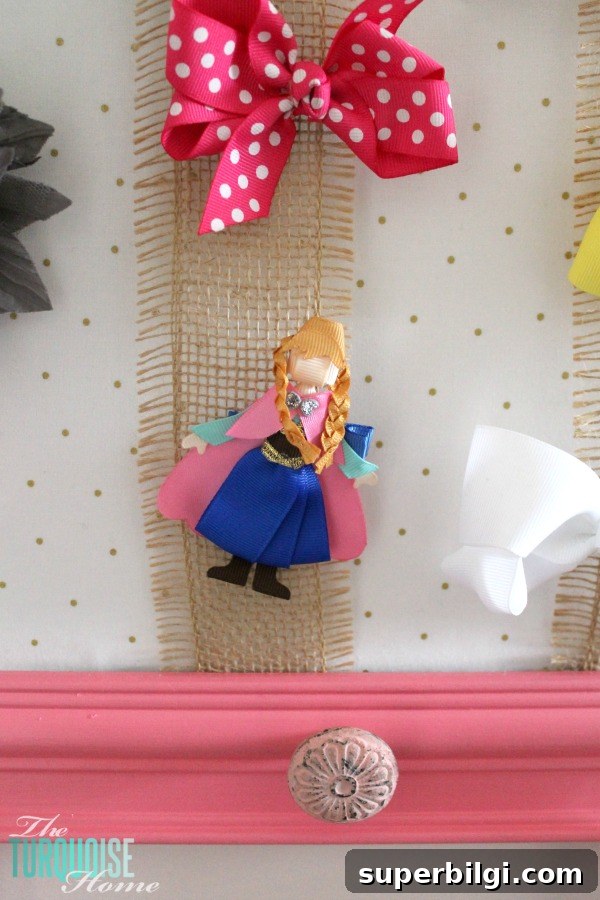
That Anna-from-Frozen bow is one of Miss A’s favorites—she received it for Christmas and hasn’t stopped wearing it. Little touches like that make the display feel personal and fun.
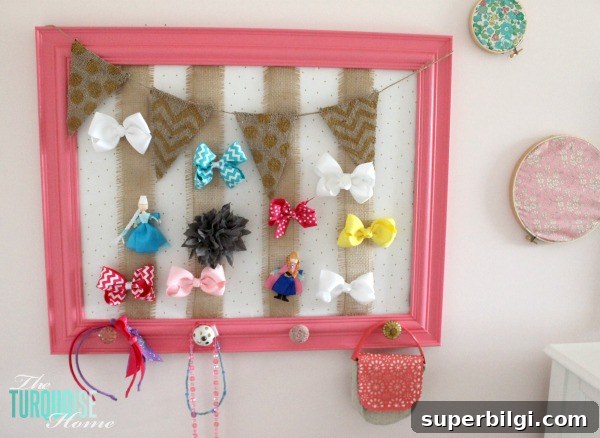
My daughter was thrilled with the new holder—she loves anything pink and gold—so this project was a win in every way. It keeps her accessories organized and adds a sweet, decorative touch to her room.
More favorite posts you will love:
- Best Gifts for Elementary-Aged Girls
- Beautiful Room Decor Ideas for Girls
- DIY Board and Batten in the Girls’ Bathroom