
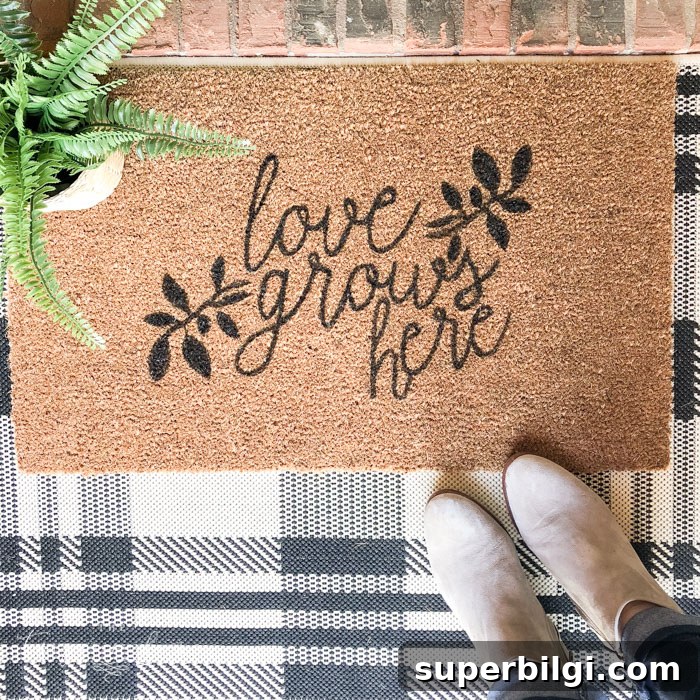
Learn how to make a charming DIY doormat with a sweet saying for under $20. This simple project delivers a professional look at a fraction of the cost. A free “Love Grows Here” Silhouette .studio file is included—have fun creating!
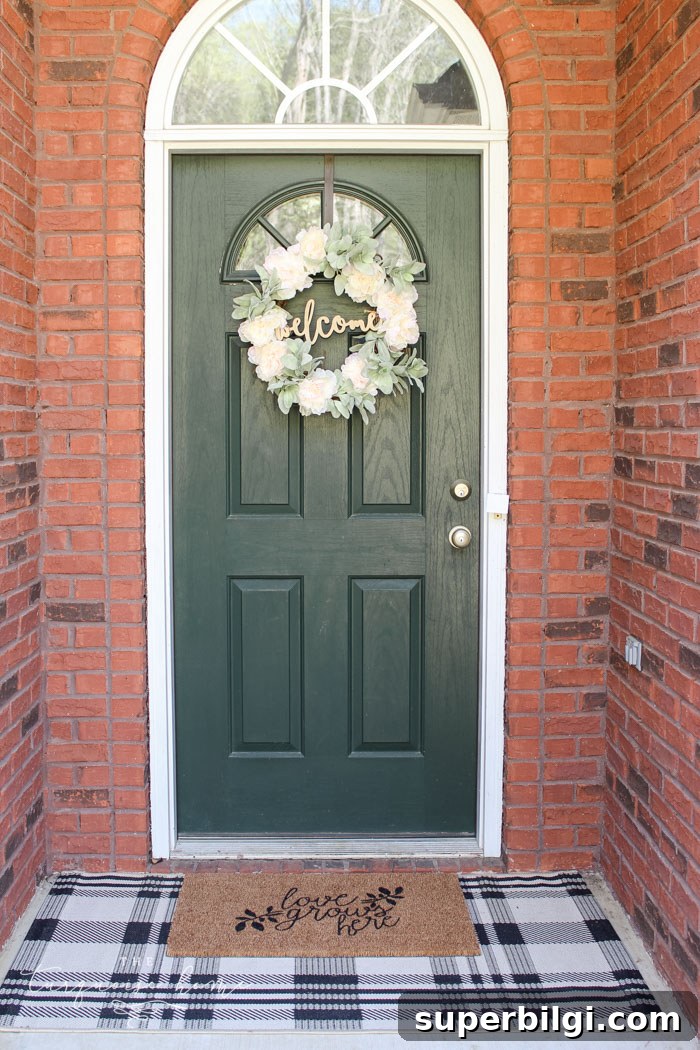
Those playful doormats with phrases like “welcome y’all,” “oh hello,” or “wipe your paws” are everywhere. The possibilities for wording are endless, but personalized mats can be expensive. Making your own lets you customize the size, font, and message while keeping costs low.
Below I walk through the materials and steps I used, plus a few tips I learned along the way to make the process easier and improve the final result.
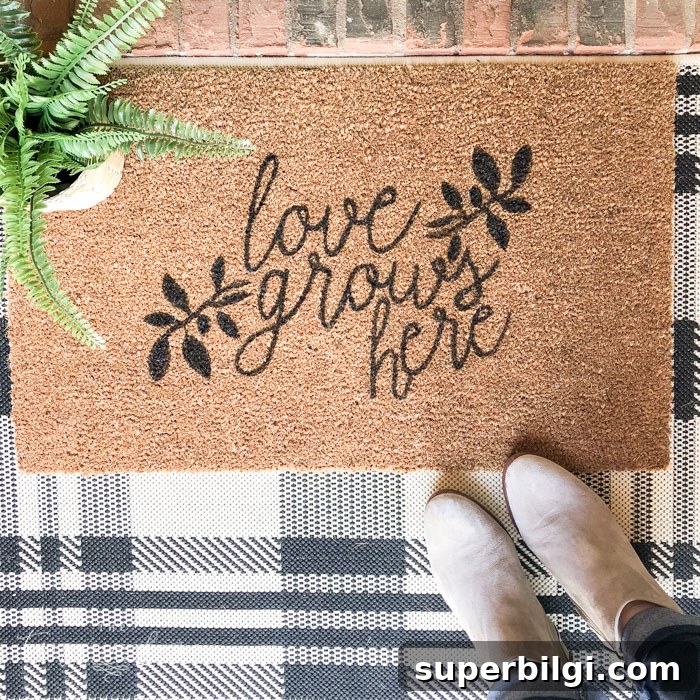
The black-and-cream plaid rug is still one of my favorite purchases—durable and still looks great. Mine is 2’7″ x 5′.
I picked up a few lessons while making my own mat, so I’ll share what I did and what I’d change next time. There are easier methods than the mistakes I made, and I’ll point those out so your project goes smoothly.
Let’s get started!
Supplies Needed for the DIY Doormat
- Plain coir doormat — an affordable, natural-fiber mat works best for a classic look. (I purchased mine online.)
- Stencil cutting machine such as a Silhouette Cameo — useful for precise designs. If you don’t have one, there’s a hand-cutting tip in Step 1.
- Cardstock or stencil material for the stencil — thicker paper or reusable stencil film pins better to coir than thin adhesive vinyl.
- Black outdoor acrylic paint — durable and weather-resistant for outdoor use.
- Stenciling brush (bristled, not foam) — for dabbing paint through the stencil without bleeding under the edges.
- Small art brush — for filling in details and darkening areas after the initial stencil pass.
- Exterior clear coat spray — to help protect the painted design from wear and the elements. Apply in light coats and allow to dry between coats.
Instructions for Making a DIY Doormat
1. Make Your Stencil.
Choosing the right stencil material is important. I originally used adhesive vinyl and found it didn’t stick reliably to the rough coir surface. Instead, cut your design from cardstock or a thicker stencil material and pin it in place with straight pins so it won’t shift while you paint.
If you’re using a cutting machine, export and cut your design to fit the dimensions of your doormat. Keep in mind both the mat size and the cutting area of your machine when planning the layout. I include my “Love Grows Here” Silhouette .studio file below for convenience.
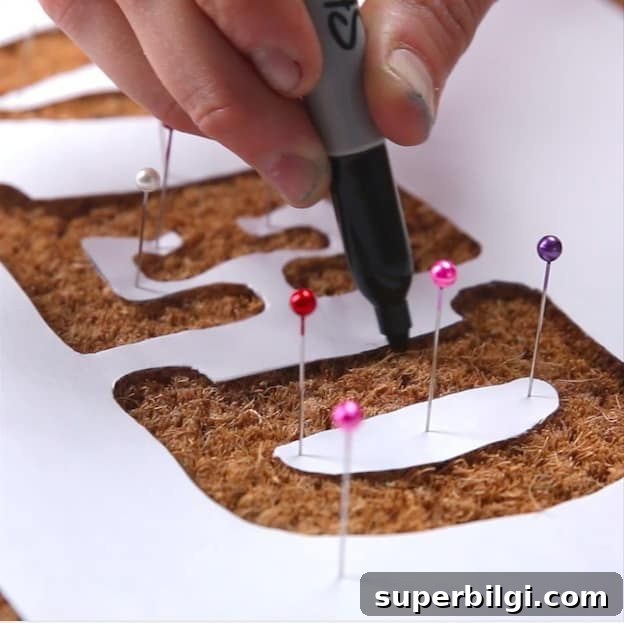
Tip: If you don’t have a cutting machine, print the letters at scale on cardstock, then cut them by hand. You can arrange the printed pieces on the mat and secure them with pins or small weights before painting.
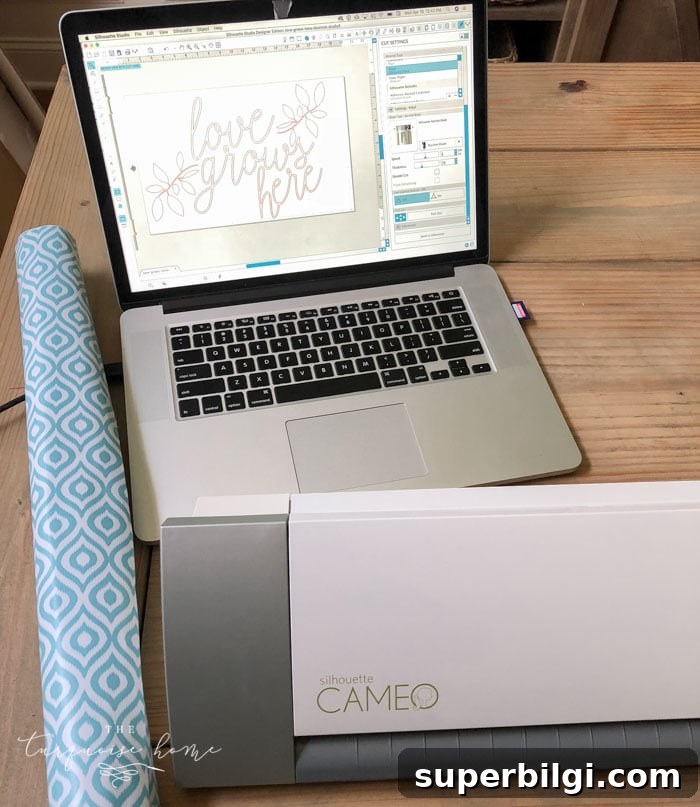
2. Gather Your Supplies.
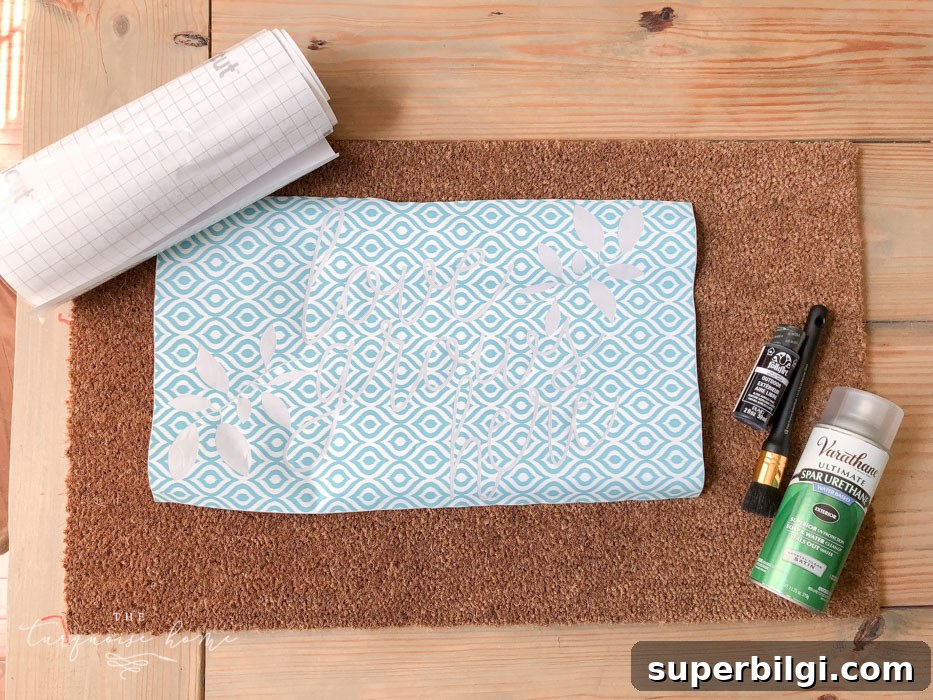
Lay out everything nearby so the process flows: mat, stencil, brushes, paint, and a scrap of cardboard or plastic to protect your work surface. Have pins, a small ruler or tape measure, and paper towels handy for touchups.
3. Stencil Your Image.
Center your stencil on the mat, checking spacing from each edge so the design looks balanced. If you use thin adhesive vinyl it may shift on coir, so pressing gently and securing with pins where possible will help. I made the rookie mistake of centering my stencil without noticing a slight offset in the design—so measure carefully.
Use a bristled stencil brush and load it lightly with paint. Dab straight up and down rather than brushing side to side to minimize paint bleeding under the stencil. Make an initial, light pass to create a guideline, then remove the stencil and refine the lettering and edges with a small art brush, adding more paint where needed to achieve an even, solid look.
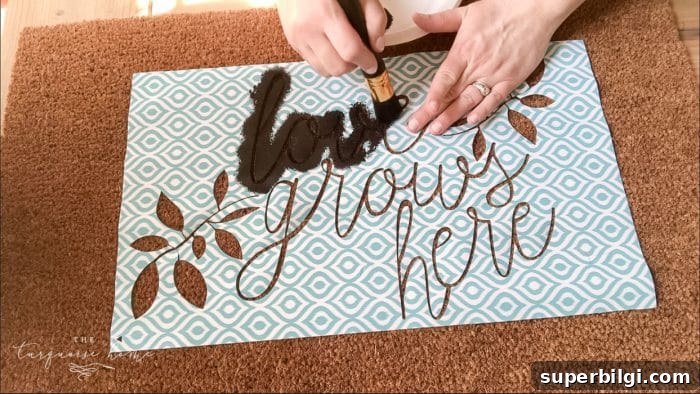
Allow the painted mat to dry thoroughly—ideally 24 hours—before sealing. This ensures the paint has penetrated the coir fibers and reduces the chance of smudging.
4. Finish the Doormat with a Clear Coat Spray.
Apply a clear exterior sealer in several light coats, allowing each coat to dry before applying the next. The rough texture of coir means the sealer won’t make the design completely impervious to wear, but it will help protect the paint and keep the mat looking fresh longer. I used three light coats and let the mat dry for another 24 hours before placing it at the door.
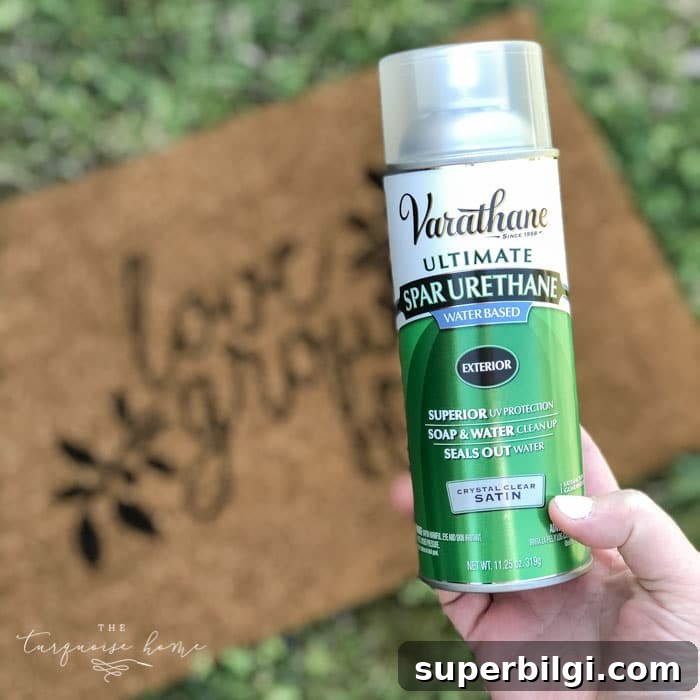
Now your mat is ready to welcome guests and add a personalized touch to your entry. Enjoy your finished project, and don’t be afraid to experiment with different phrases or fonts.
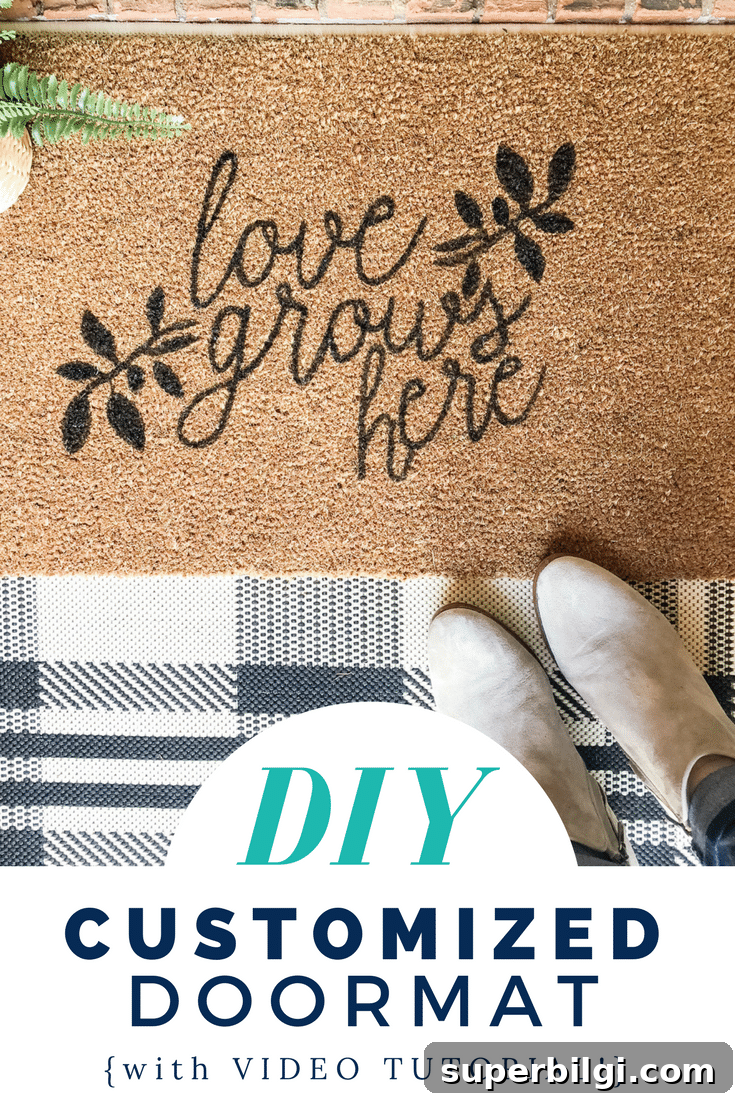
Here’s a short video that demonstrates the process I used and shows the painting and finishing steps in real time.
Free “Love Grows Here” Silhouette .studio File
Click the image above to get the free Silhouette .studio file for the “Love Grows Here” design. Use it as-is or customize the font and size to suit your mat.
Thanks for reading—if you try this project, I’d love to see your finished doormat on Instagram. Tag your photo so I can check it out!
More Posts You Will Love:
- DIY No-Sew Garden Flag
- {DIY} No-Sew Bunting Tutorial
- How To Make A Patriotic Wreath
- DIY Chinoiserie Egg Wreath
- DIY Lighted Pumpkin Candy Holder