
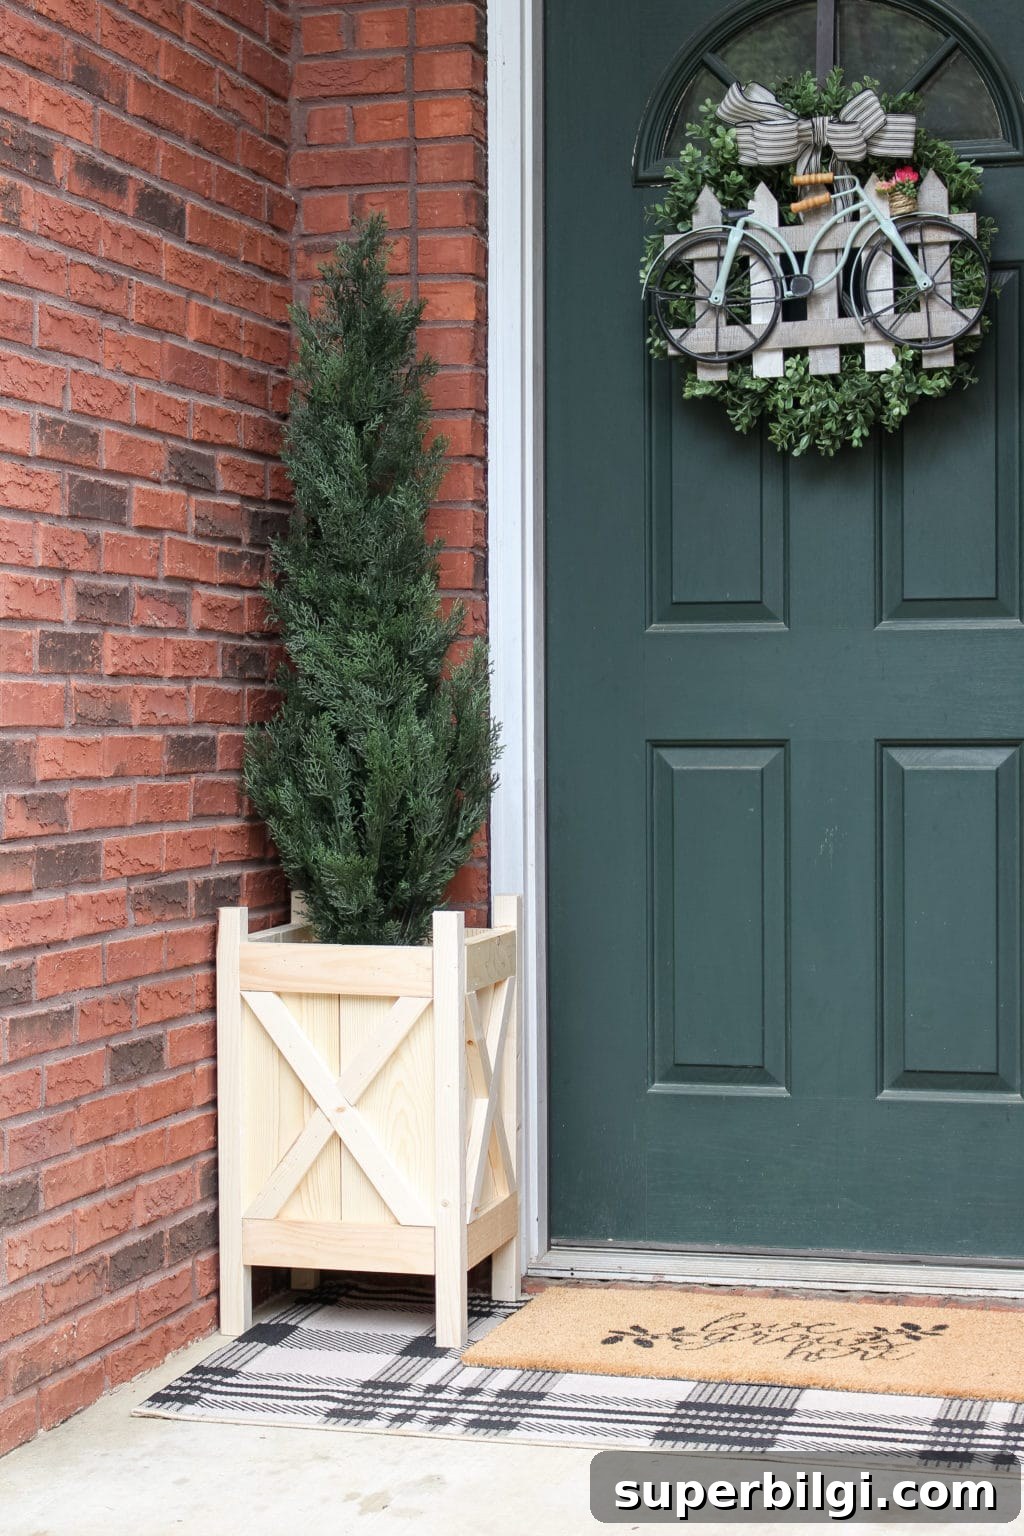
Looking to add charm to your outdoor space? This simple DIY wood planter box is a perfect beginner project. With only a few affordable materials and three basic tools, you can build a tall, narrow planter that adds warmth and character to a porch, stoop, or small garden.
I wanted to add interest to my front porch for a long time but couldn’t find a planter that fit the narrow space. When stores didn’t offer what I needed, I decided to make one. This planter design is straightforward, uses mostly straight cuts, and is forgiving for beginners. It’s also a great way to use scrap wood and reduce waste.
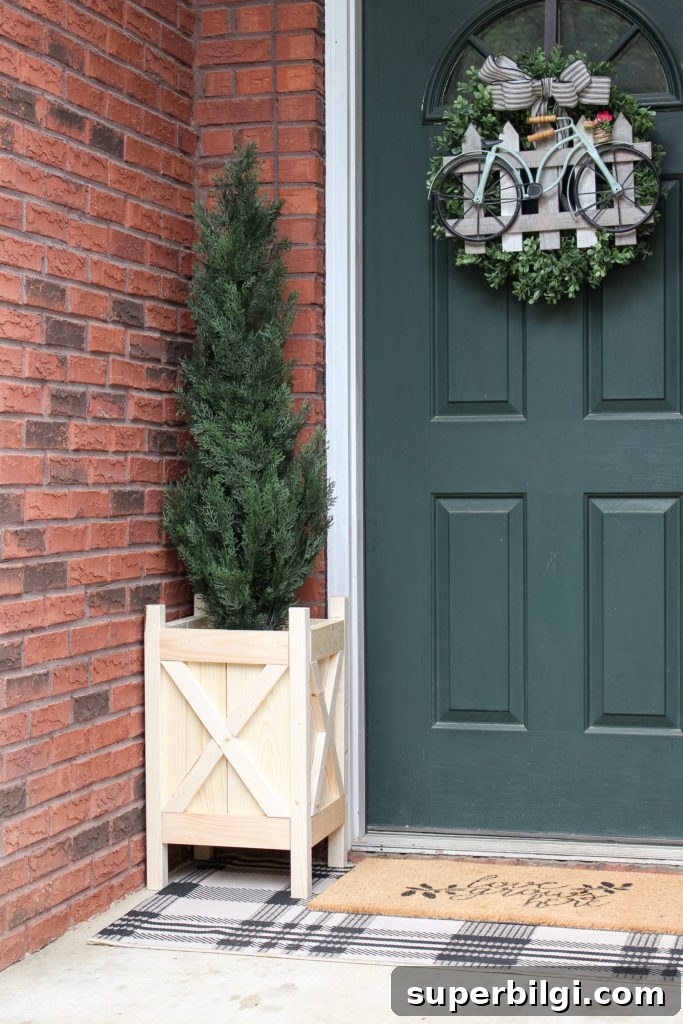
I adapted a classic planter plan to suit my narrow dimensions and added rustic “X” accents on the sides for a farmhouse look. Below you’ll find the supplies, tools, cut list, and a clear step-by-step build guide so you can make your own planter box. Read the whole guide first, then gather materials and start cutting. Feel free to adjust dimensions to fit your space and plants.
This post contains affiliate links for your convenience. See my full disclosure policy.
Materials Needed for Your DIY Wood Planter Box
Note: quantities below are for one planter. Double everything if you plan to build two.
- 2 — 1×6 boards, 8 feet long — for the side panels. Pine, cedar, or similar boards work; cedar or redwood offer greater rot resistance.
- 1 — 2×2 board, 8 feet long — for the planter legs/feet.
- 2 — 1×3 boards, 8 feet long — for top and bottom trim on each side panel.
- 2 — 1×2 boards, 8 feet long — for the decorative “X”s and for floor slats if desired.
- 1 1/4 inch brad nails — for attaching trim and decorative pieces.
- 2 inch wood screws — for extra reinforcement where needed.
- 1 1/4 inch pocket hole screws — for attaching panels to legs using pocket holes.
- Sandpaper (various grits)
- Wood glue
- Paint or stain and brushes/rollers as desired
- Outdoor water sealer to protect the planter from moisture
- Safety eyewear
- Scrap wood for cleats (internal supports for the planter floor)
Tools Needed
- Compound miter saw — for accurate straight and angled cuts (a basic 10″ or 12″ sliding saw works well).
- Kreg Jig — to drill pocket holes for strong concealed joints.
- Power drill/driver
- Measuring tape and pencil
- Brad nailer or finishing hammer and brad nails
- Hand sander or sanding block and sandpaper
Cut List
Note: These measurements are what I used; adjust as needed for your planter size.
- Sides: Cut the 1×6 boards into 8 pieces at 17 3/4 inches each.
- Legs: Cut the 2×2 board into 4 pieces at 23 1/4 inches each.
- Side trim: Cut the 1×3 boards into 16 pieces at 11 inches each.
- Cleats: Cut two scrap pieces to roughly 8 inches long to support the bottom.
- Bottom: When assembling the planter, cut 1×2 boards or plywood to fit for the bottom—about 11 inches across for this design.
- Optional X accents: Cut 1×2 boards to match the side panel angles; I used 15° and 36° cuts for my Xs.
Step-by-Step Guide to Building Your Wood Planter
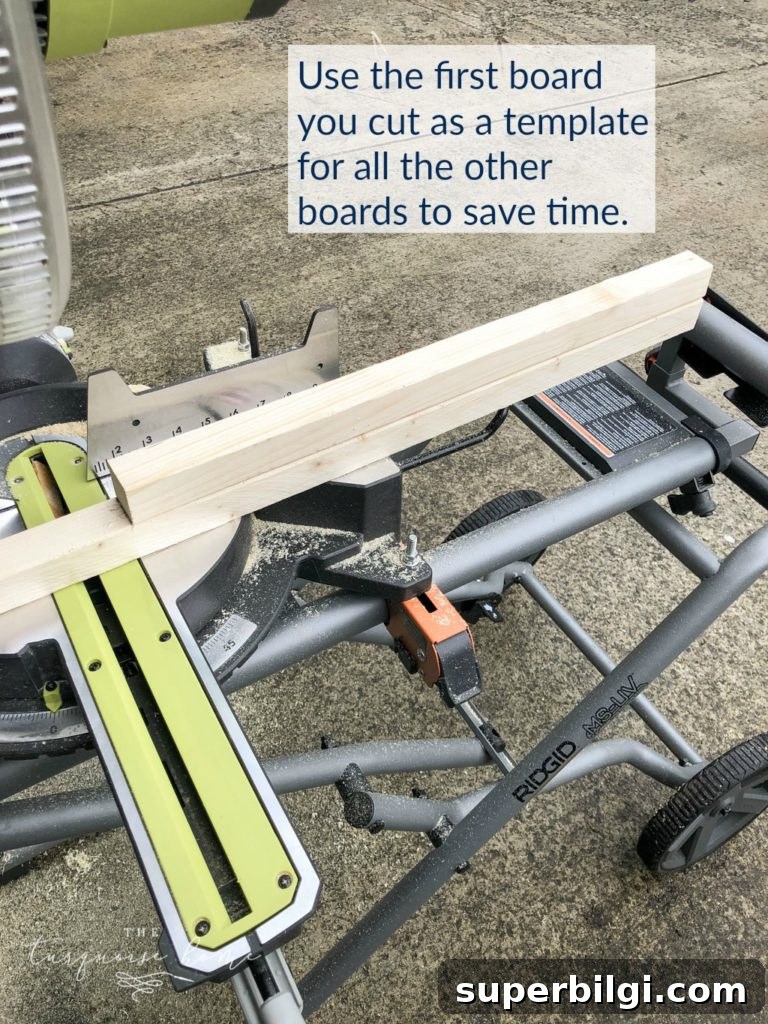
1. Cut the Boards from the First Four Bullets
Use your first cut board as a template to quickly mark and cut the remaining pieces. This keeps the sizes consistent and speeds up the process.
2. Create the First Side Panel
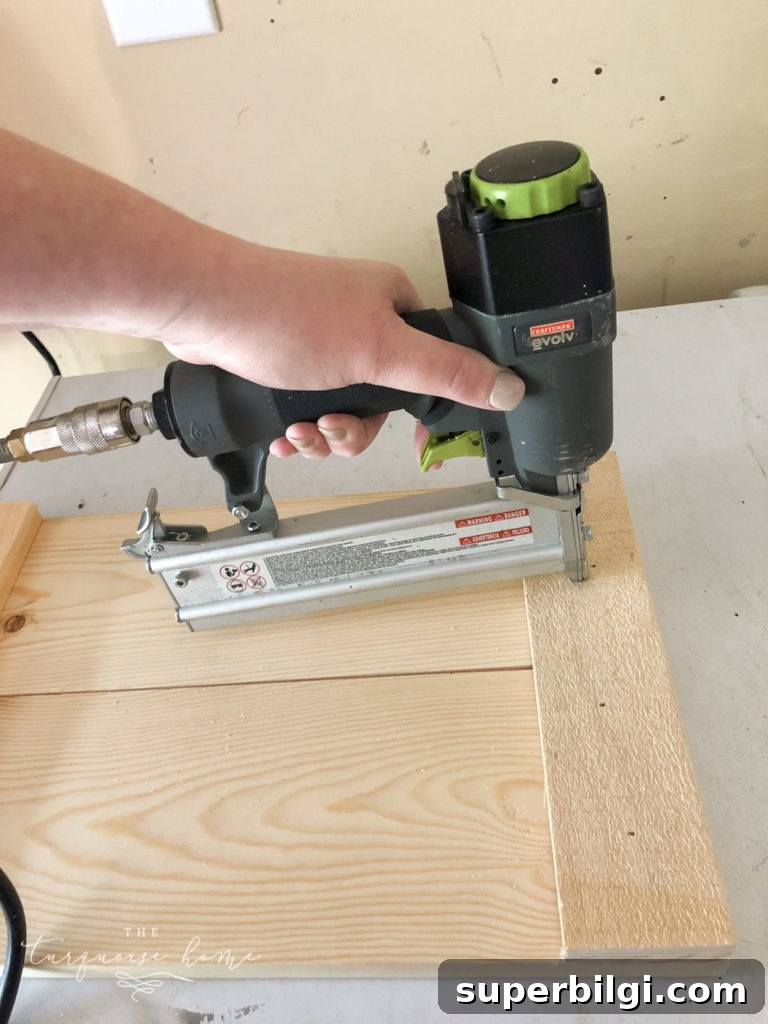
Place two 1×6 side boards next to each other. Nail a 1×3 trim piece across the top and bottom, flush with the edges. The trimmed side is the front of the panel. Doubling up the 1×3 trim can help match the depth of corner pieces and give a stronger edge.
3. Secure the 1x3s from the Back of the Panel
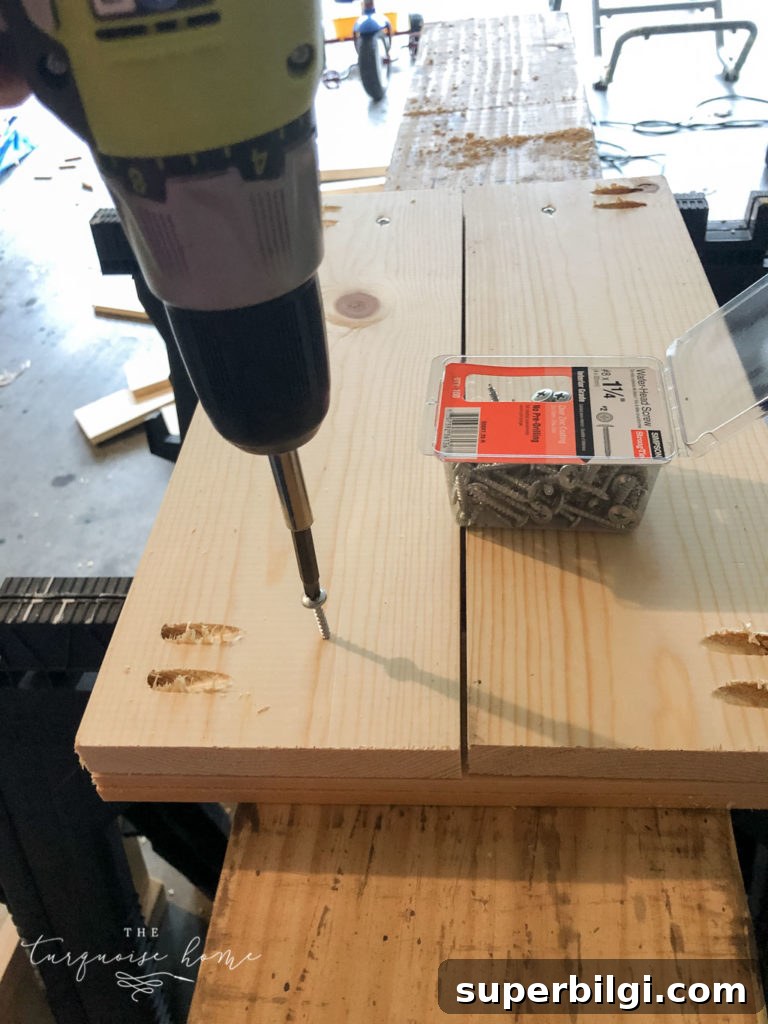
For added strength, flip the panel and drive 1 1/4 inch wood screws through the 1×6 into the 1×3 from the back, taking care not to poke through the front face.
4. Drill Pocket Holes for Attaching Panels to Legs
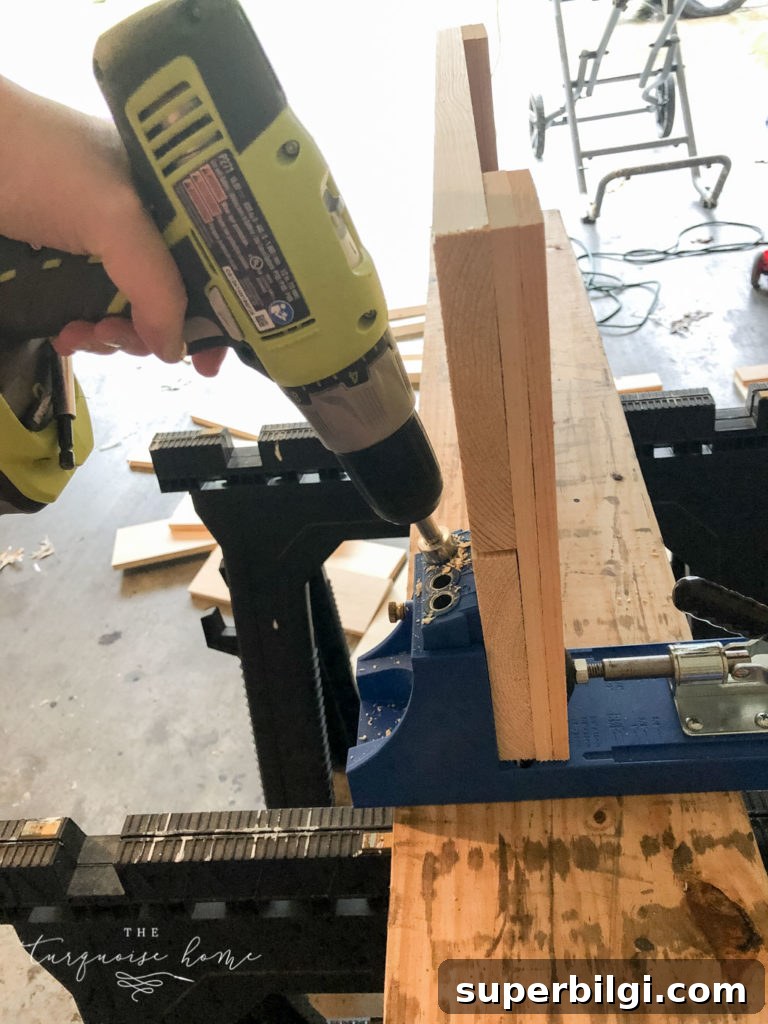
Use the Kreg Jig to drill two pocket holes in the back of each panel, positioned beneath the 1×3 trim. Set the jig to the correct depth for your board thickness (3/4 inch for typical 1x boards).
5. Repeat Steps 2–4 to Make Three More Panels
Build all four side panels using the same process so they match and assemble cleanly.
6. Attach One Panel to Two Legs (Do Twice)
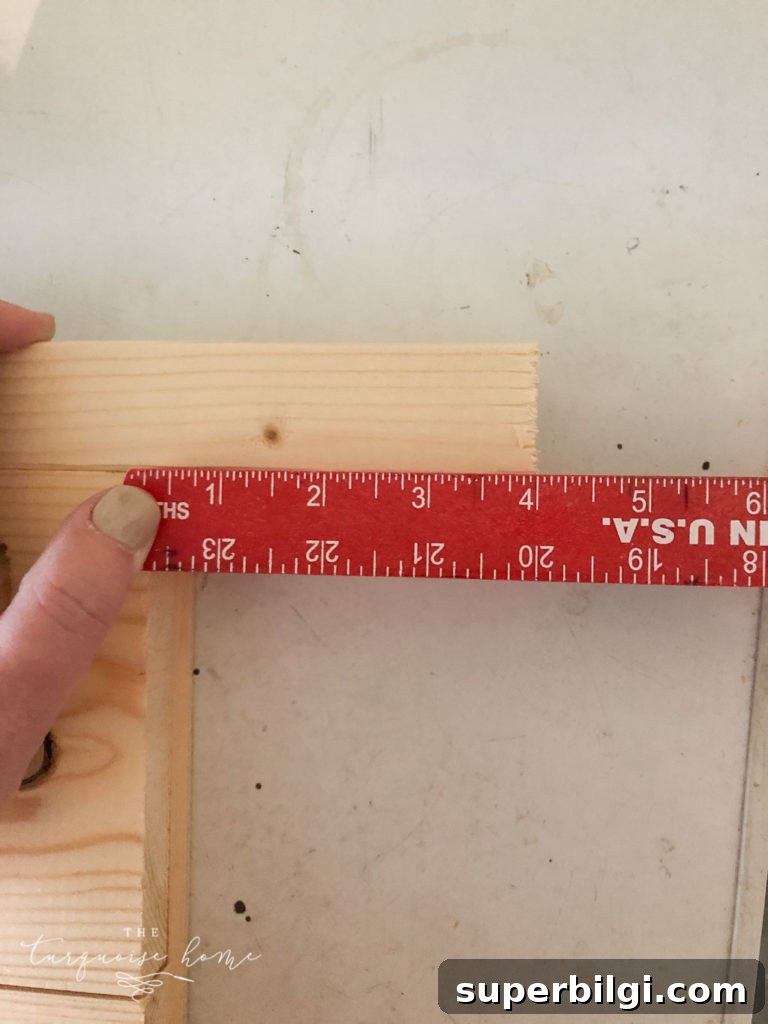
Measure 4 inches up from the bottom of each 2×2 leg and attach a panel to two legs using 1 1/4 inch pocket hole screws and wood glue. Repeat this to create two partial assemblies.
7. Attach Cleats Inside the Panels
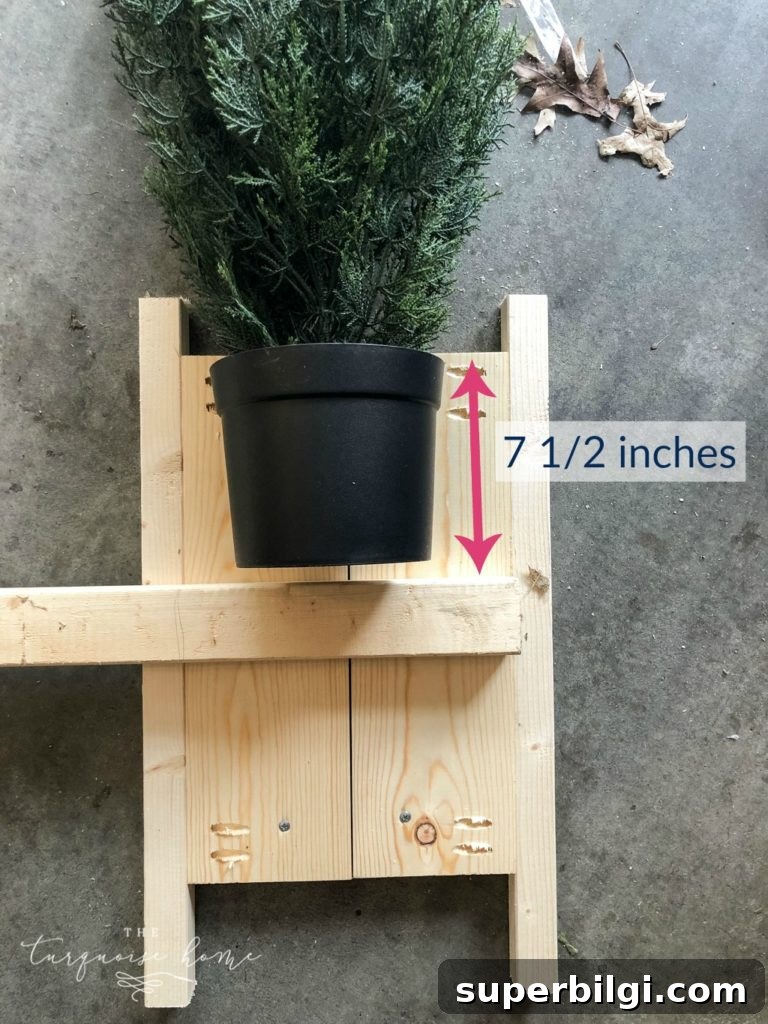
Screw cleats (about 8 inches long) on the inside of each assembled panel to support the bottom. Position these cleats based on the height of the plants or pots you plan to use—measure first to ensure a good fit.
8. Attach the Remaining Two Panels
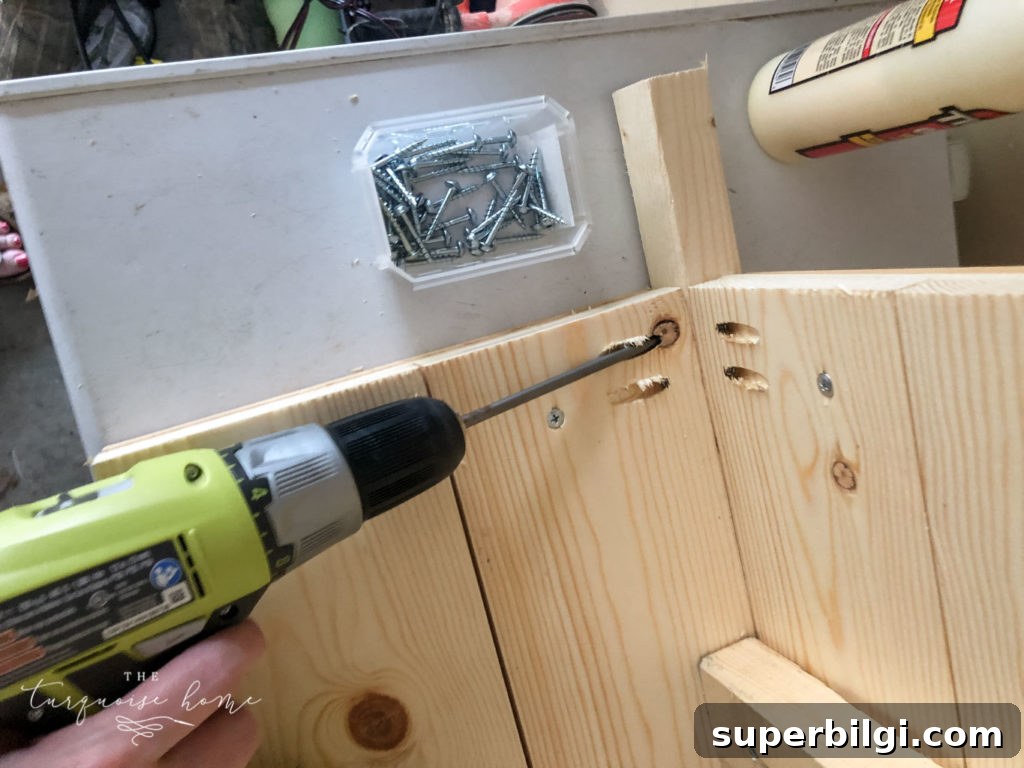
Join the two partial assemblies by attaching the remaining panels to the legs with wood glue and pocket hole screws to form the planter box.
9. Make the Floor of the Planter
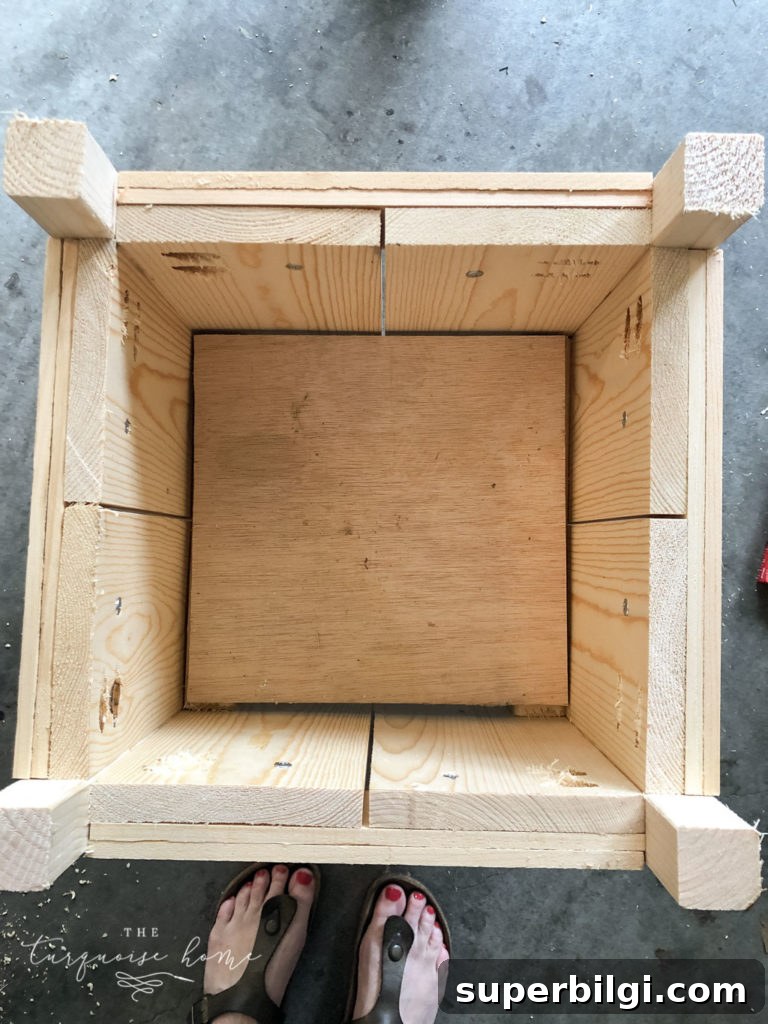
Cut 1×2 boards or a piece of plywood to fit and rest them on the internal cleats to form the planter floor. You can use several boards placed side by side or one plywood piece trimmed to size.
10. Add Optional X Accents to the Sides
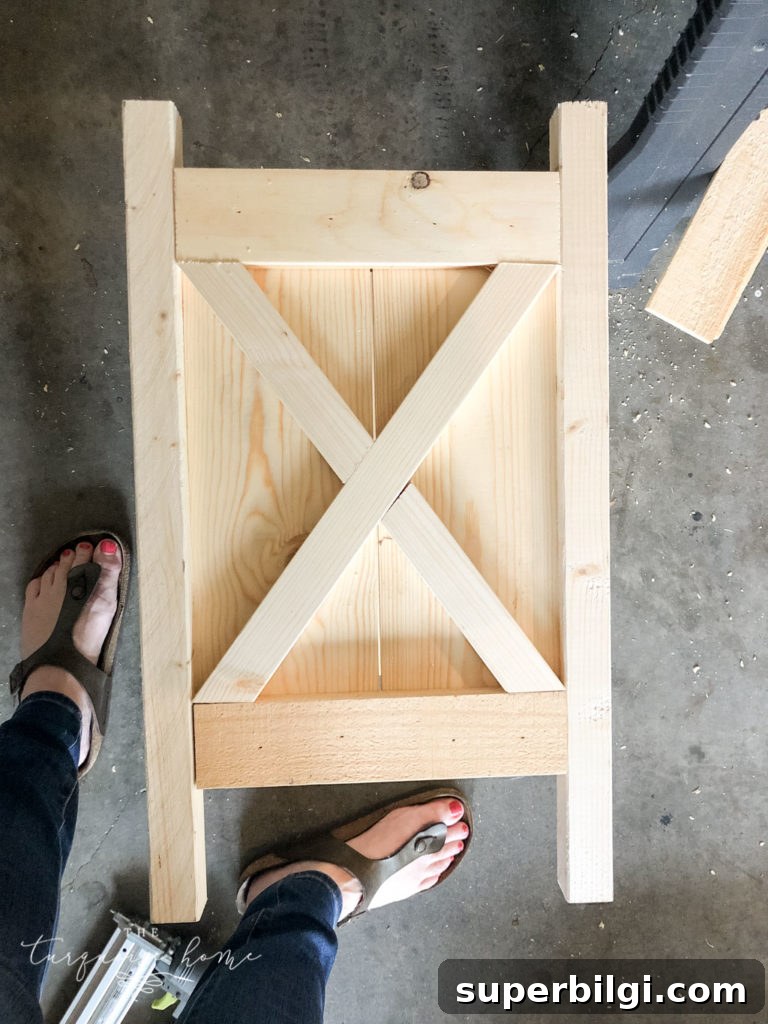
If you like the farmhouse look, cut two 1×2 boards for each side and attach them in an “X” pattern using wood glue and brad nails. Check the box angles before cutting the pieces so the joints fit nicely.
11. Finish the Planter with Stain, Paint, and Sealer
Sand all surfaces smooth, then paint, stain, or leave the wood natural. Apply an outdoor water sealer to protect the planter from moisture, rot, and mildew—especially important if your planter sits outdoors year-round. Use a non-toxic sealer if you plan to grow edibles.
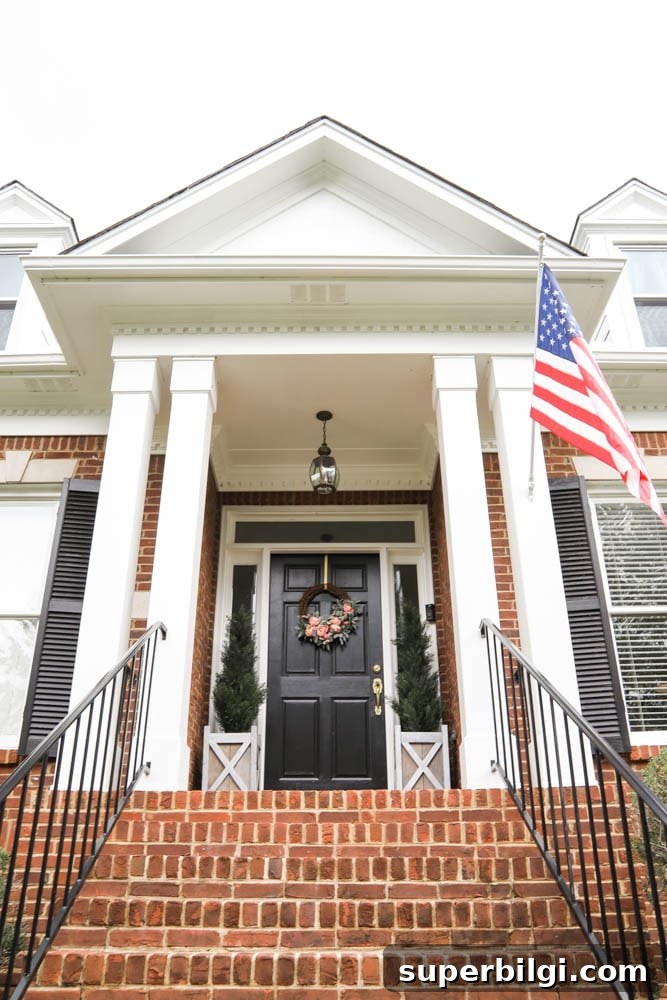
I finished my planters with a gray wash and then sealed them. They look natural and weathered while remaining protected from the elements.
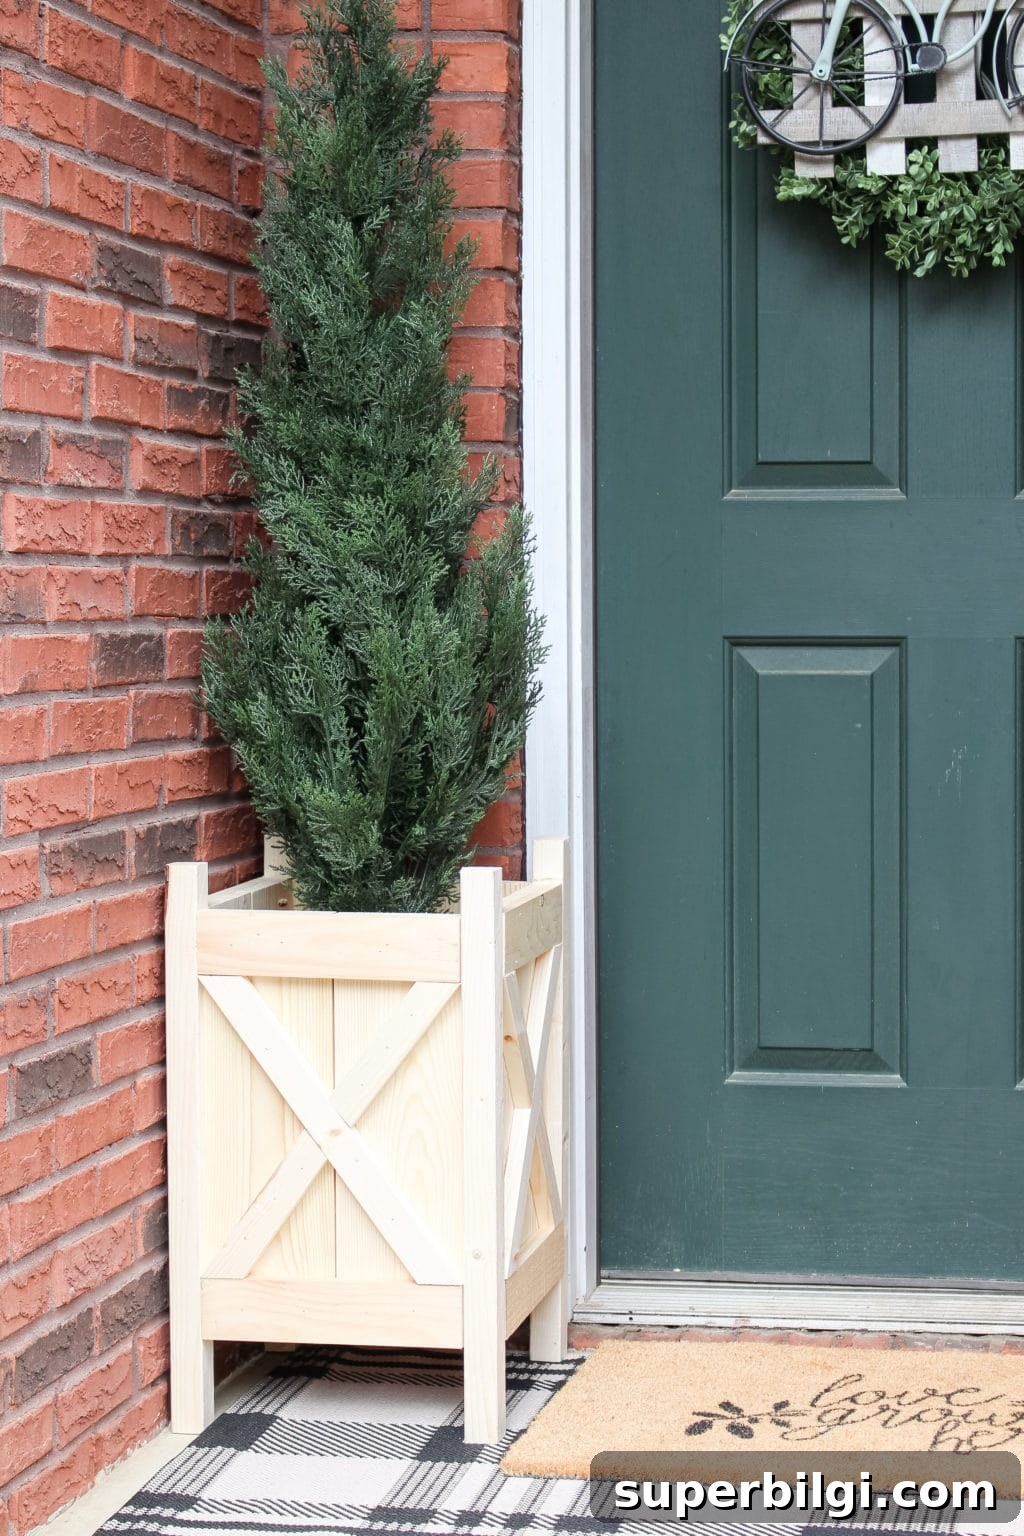
For styling, I used a faux evergreen so I wouldn’t need to water it. I also added real potting soil to make the display look realistic. Faux plants are a practical option for low-maintenance porch decor.
Frequently Asked Questions About DIY Wood Planters
Q: What type of wood is best for a DIY wood planter?
A: Cedar and redwood are excellent because they resist rot and insects naturally. Treated lumber can be used, but ensure it’s safe for plants and avoid using materials that could leach harmful chemicals into edible plantings.
Q: Do I need to seal my DIY wood planter?
A: Sealing your planter will extend its life, especially outside. Choose a water-resistant, outdoor-rated sealer. If growing food, look for non-toxic, plant-safe sealants.
Have you built a planter from scratch? Share tips or photos — building your own planter is an easy way to customize size, style, and finish to suit your space.
More Posts You Will Love:
- 50+ Things to Do When You’re Bored at Home
- How to Make a Headboard: 13 Beautiful DIY Headboard Ideas
- Budget-Friendly DIY Kitchen Cabinet Ideas
- 10+ Stylish Dog Crate Furniture Ideas
- 7 Rental-Friendly Home Decorating Ideas