
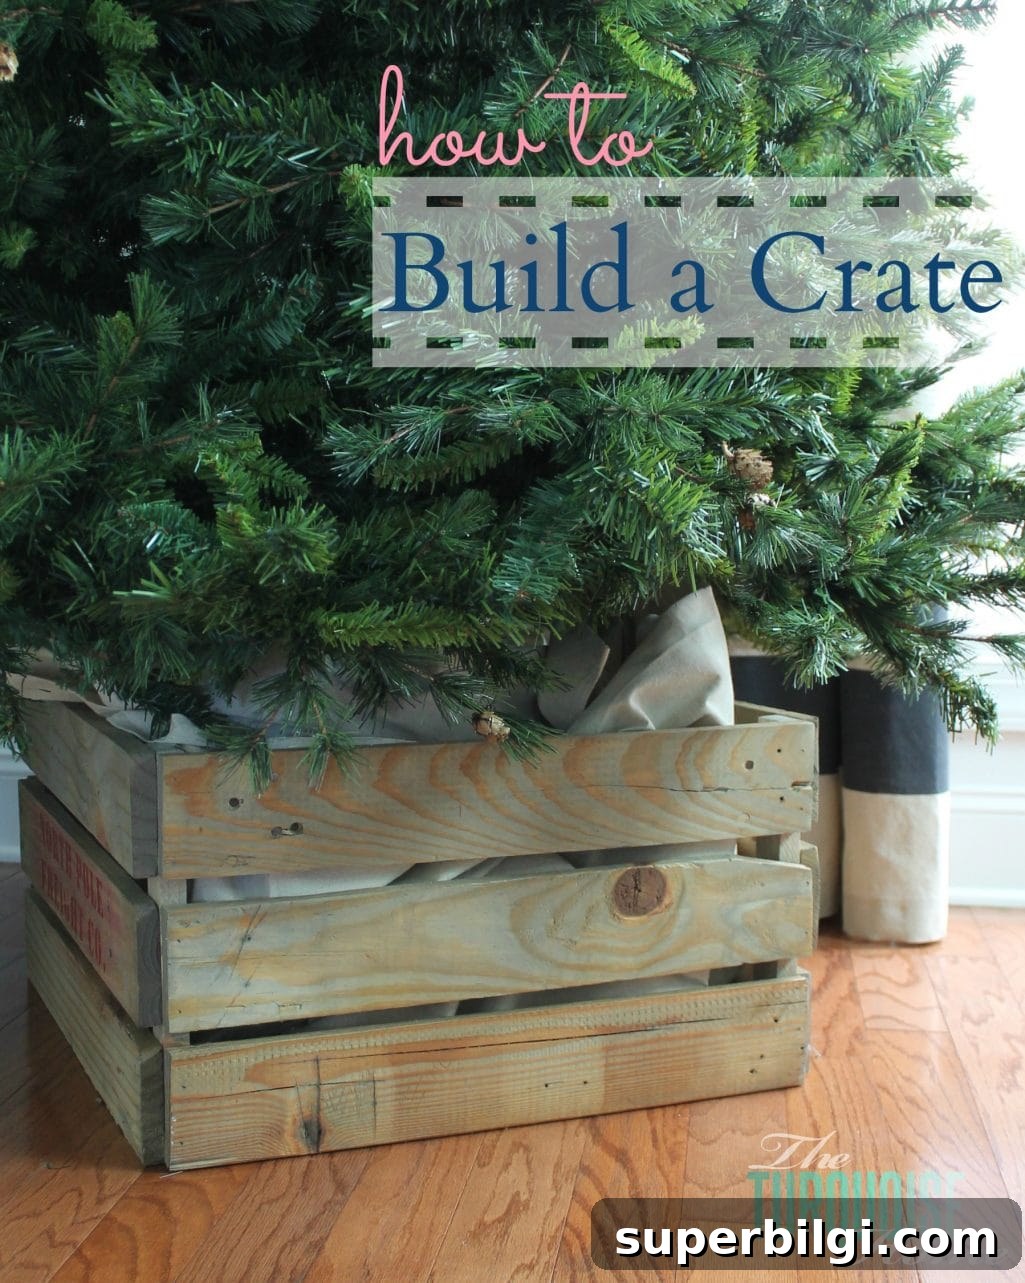
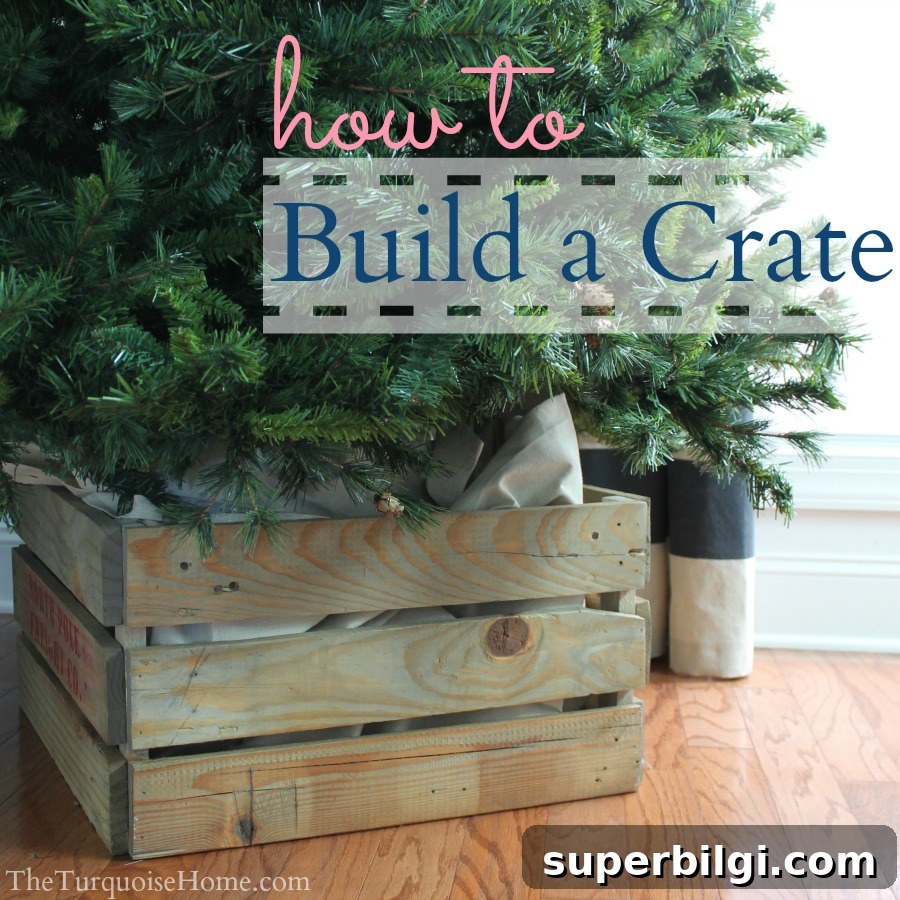
This beautiful, rustic DIY Christmas tree collar made from reclaimed pallet boards is a lovely way to add a custom, farmhouse-style base to your holiday tree.
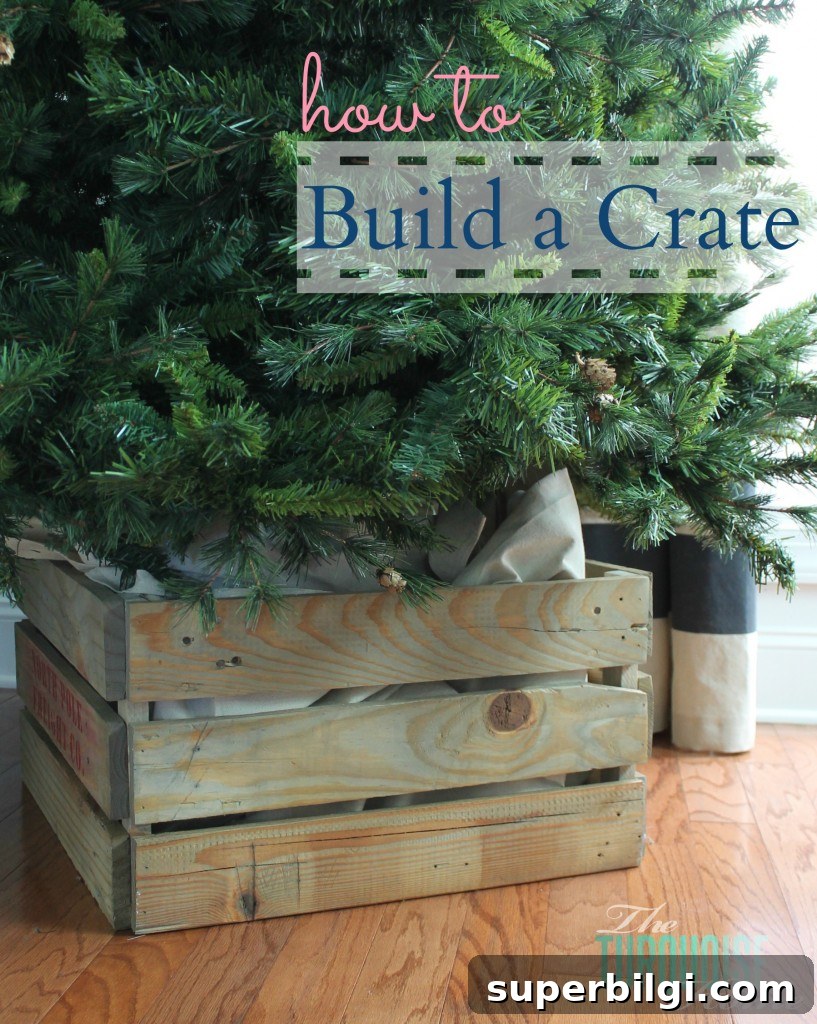
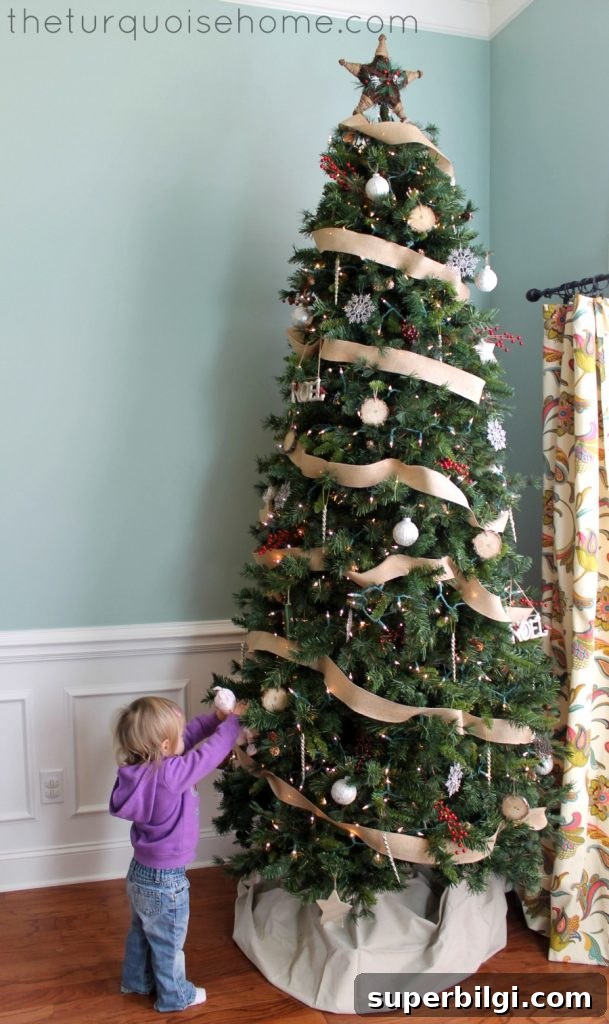
When I began setting up my Christmas tree this year, I realized I wanted a better solution for hiding the tree stand than a sheet or a random basket. Last year I wrapped a drop cloth around the base because I couldn’t find a basket with the right dimensions. This time I had pallets in the garage and decided to build a simple, rustic crate-style tree collar that fits my tree perfectly.
Why make a DIY Christmas tree collar from pallets
A pallet crate tree collar is economical, customizable, and adds a warm rustic touch to holiday decor. Using reclaimed pallet boards keeps costs low and gives you a textured, weathered look that pairs well with farmhouse, rustic glam, or industrial styles. Because you build it to fit your exact tree base, it provides a neat, tailored appearance that store-bought baskets often can’t match.
What you’ll need
- Pallet boards or new 1×4 pine boards — I used twelve boards cut to 21 inches each.
- 1×2 pine for corner supports — I bought a 4-foot piece and cut it into four 12-inch supports to elevate the crate slightly off the floor.
- Wood glue for extra strength.
- Nail gun with finishing nails (or a hammer and finishing nails).
- Wood stain such as Weathered Oak (optional) for a finished look.
- Stencil material and paint if you want to add lettering or a decorative stamp.
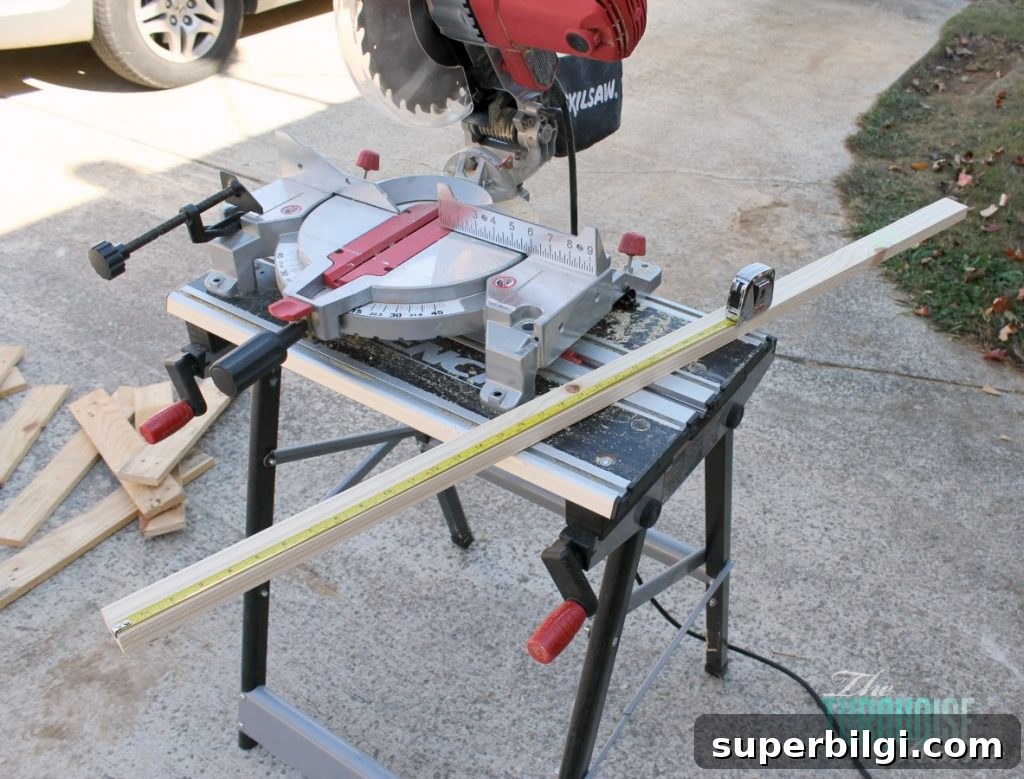
- Tools: hammer, reciprocating saw or pry bar to dismantle the pallet, miter saw or circular saw to cut boards to length, sandpaper or an orbital sander.
How to build the pallet crate tree collar
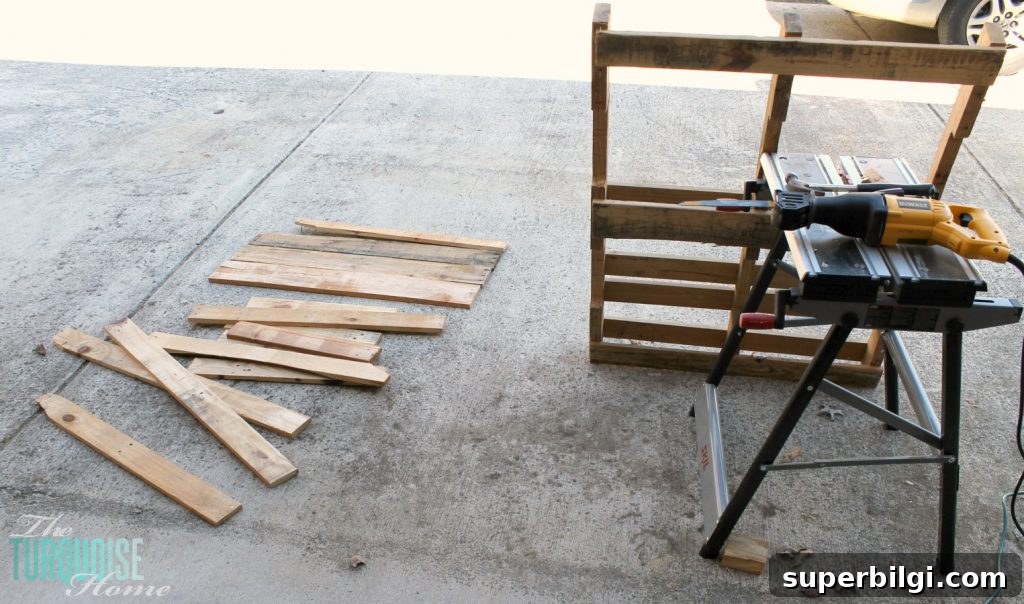
1. Disassemble the pallet boards. I usually start by prying the boards loose with a hammer or pry bar, then finish with a reciprocating saw when nails are stubborn. Work outdoors and wear gloves and eye protection.
2. Cut the boards to the desired length. My tree base measures 19 inches square, so I cut each board to 21 inches to create a slightly larger crate. Adjust the length to match your tree stand and any desired spacing between slats.
3. Build the side panels. Line up three slats side by side, apply a bead of wood glue along the edge where they meet the corner supports, then nail them into the 1×2 corner pieces. Repeat for the opposite side. These corner pieces act as vertical posts and keep the slats aligned.
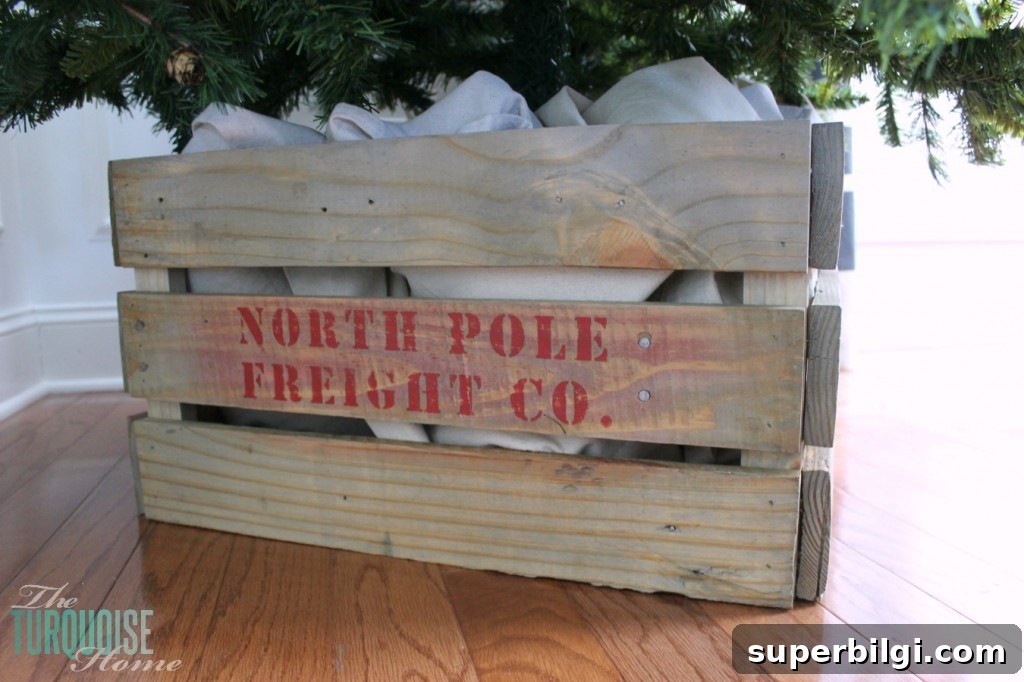
4. Assemble the crate. Stand the two assembled side panels upright and attach the remaining slats to form the other two faces, nailing into the corner supports. I left deliberate gaps between slats for a rustic look and to allow air circulation; this also makes it simple to tuck a drop cloth inside to hide the stand.
5. Optional bottom. I chose not to add a bottom because the tree sits inside the crate, but you can easily add slats across the bottom for a fully enclosed box if you prefer.
Finishing touches: stain, stencil, and distressing
After assembling the crate, I stained it with a weathered oak tone to enhance the wood grain and achieve a vintage feel. Stain brings out the character of reclaimed boards and helps protect the wood.
If you want lettering or a crate stamp, create a stencil. I used a stencil font and contact paper to cut the design, then used a Mod Podge trick when working on rough wood: brush a thin layer of Mod Podge over the stencil area and let it dry clear before painting the letters. That seals the wood beneath the stencil and prevents paint bleed, producing crisp, clean lines.
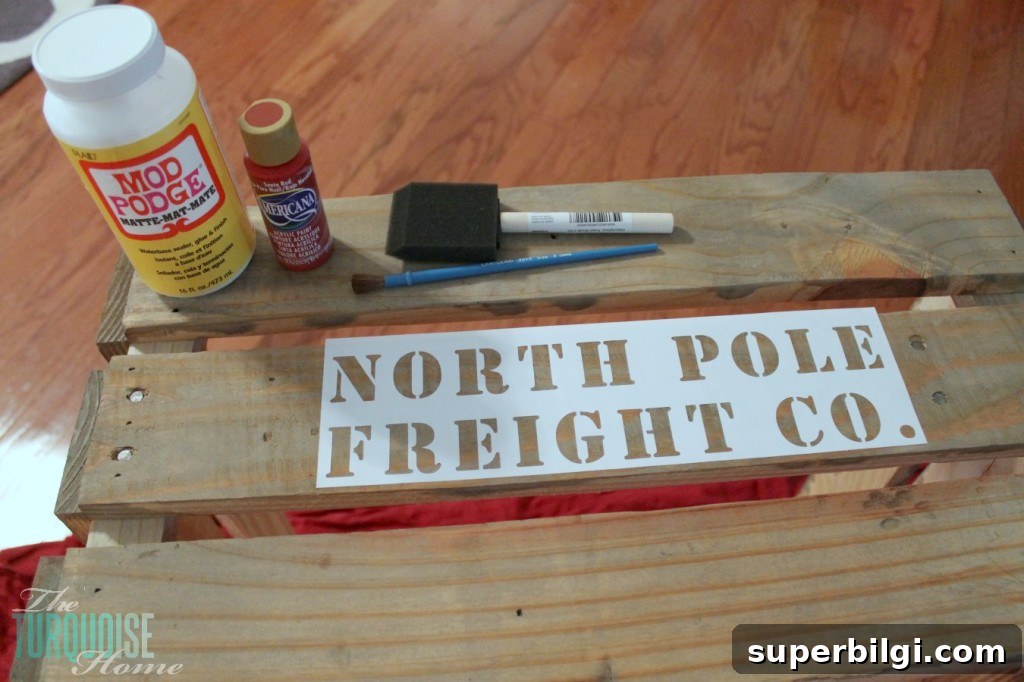
Note: When I tried stenciling, the letters looked a little too perfect against the worn wood. To age them, I sanded the paint lightly, but sanding reddish paint left a subtle pinkish halo around the letters. If you prefer a uniformly worn look, test sanding on a scrap piece first or use a dry brush technique to distress the letters more gently.
Tips and variations
- Adjust the height: If you want the crate to sit higher or show more of the tree trunk, increase or decrease the corner support length.
- Weathered finish: For an aged look, dilute paint with water and apply lightly, wiping away some areas to mimic wear.
- Full enclosure: Add a removable bottom or a hinged panel for easier tree watering access and a neater appearance.
- Safety: Ensure the crate does not interfere with tree stability or water access. Keep the crate away from heat sources and check the tree stand regularly for water level.
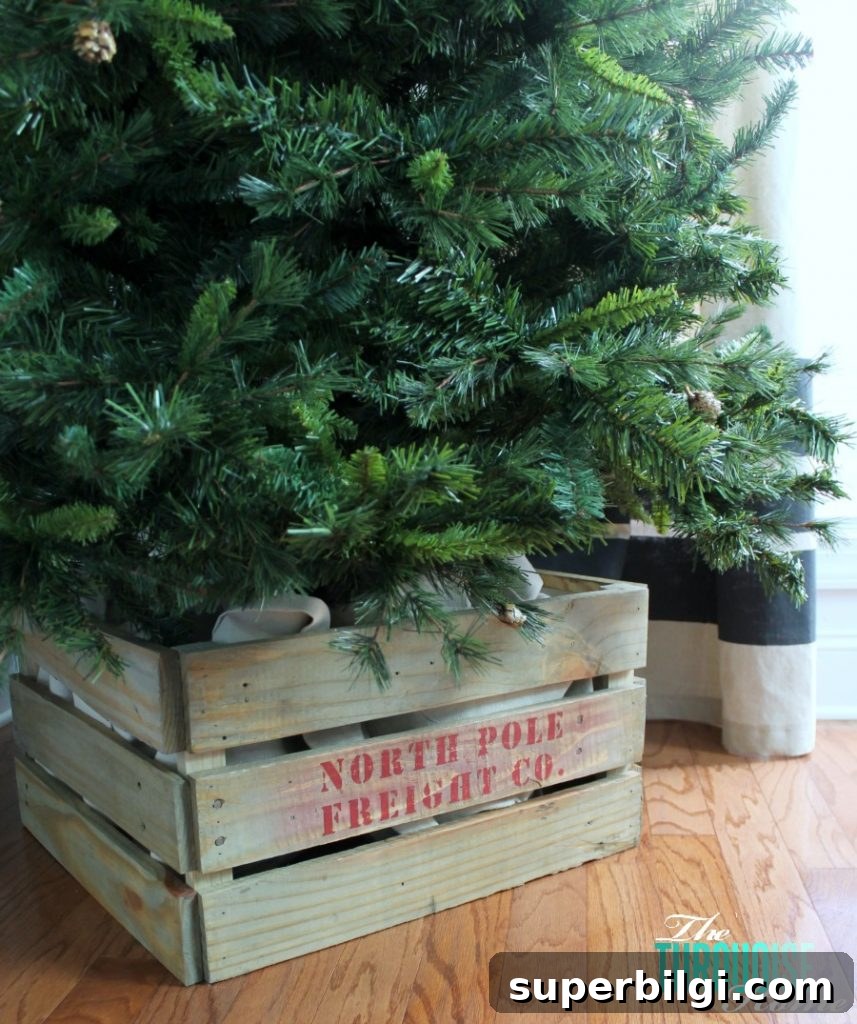
I love how this pallet crate turned out — whether I display the stencil prominently or tuck it toward the back, the crate gives my tree a tidy, cohesive base and a touch of handmade charm. It’s an easy weekend project that uses reclaimed materials and lets you customize size, stain, and decoration to match your holiday style.
More posts you will love:
- The Best Artificial Christmas Trees
- 40+ Amazing DIY Christmas Gift Ideas
- 21 Fun Holiday Ideas for Your Family’s Christmas Bucket List
- Quick & Stylish Christmas Card Holder Ideas
If you build a pallet crate tree collar, I’d love to hear how yours turns out and what finishing touches you chose. Happy building and happy holidays!