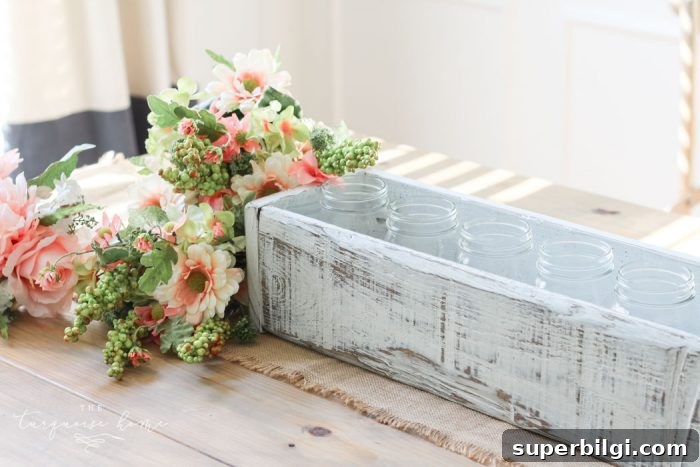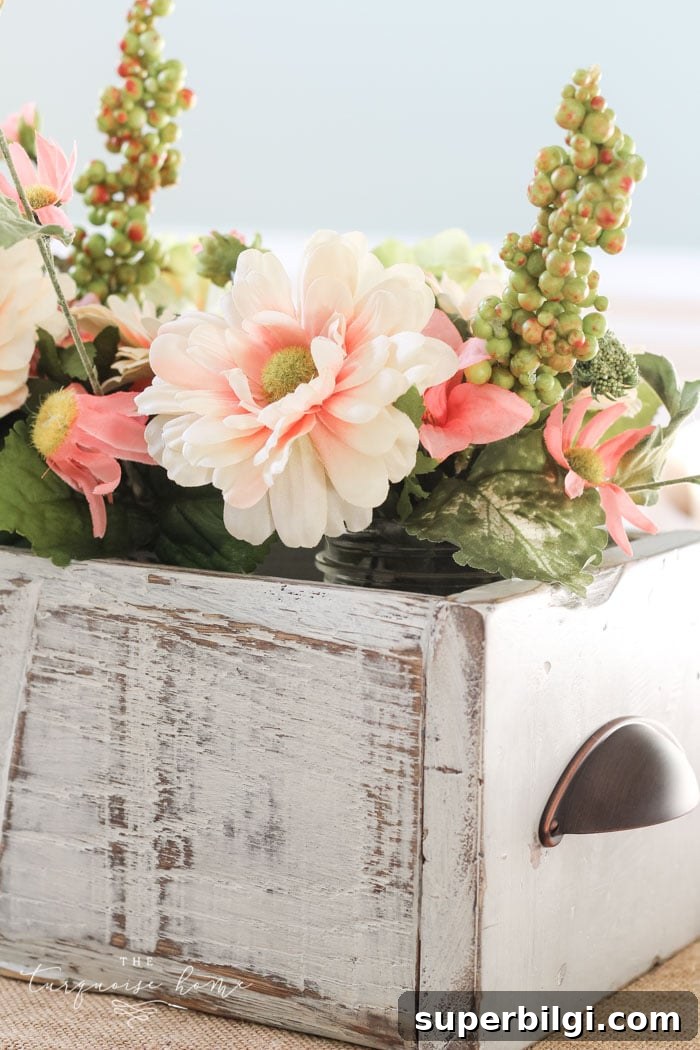
Build your own DIY wooden box with simple, step-by-step instructions. Perfect as a table centerpiece or rustic home decor accent.
This is one of my favorite quick projects—and the Kreg Jig is the star tool. With a few scrap boards, some pocket hole screws, and a bit of paint or stain, you can create a charming farmhouse-style wooden box in just a few hours.
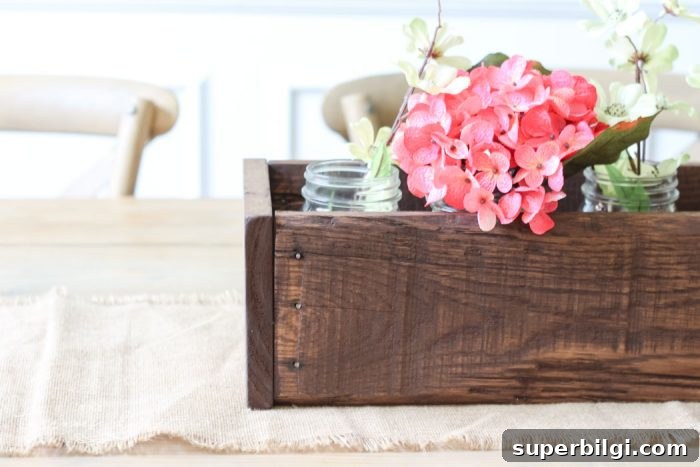
I used leftover 1×6 boards, a handful of screws, and paint to make a centerpiece that sits on my dining table. It cost almost nothing and the rustic imperfections only add character.
Plan the box size around where you want it to live and what you’ll put inside. If you plan to use mason jars or candles, size the interior accordingly so items fit comfortably.
My finished box dimensions: 27.5″ long × 7″ wide × 5.5″ tall. I used 1×6 boards (nominal), so adjust if you use different lumber. Note: nominal lumber sizes are slightly smaller in actual dimensions—measure your boards before cutting.
I made the long sides from two rustic boards and used a plain board for the bottom (since the underside won’t be seen). Don’t worry about small imperfections—they give the piece its farmhouse charm.

Tools Needed to Make a DIY Farmhouse Wooden Box
- Wood pieces. For the same size as mine, use 1x6x8 lumber and cut to:
- 3 boards at 26″ for the two long sides and the bottom
- 2 boards at 7″ for the end pieces (measure after assembling bottom and sides for an exact fit)
- Kreg Jig for drilling pocket holes—this makes joining boards quick and strong.
- Kreg pocket hole screws sized for 3/4″ material (commonly 1-1/4″).
- Screwdriver or drill/driver.
- Stain (optional) — I used a dark walnut tone underneath the paint for depth.
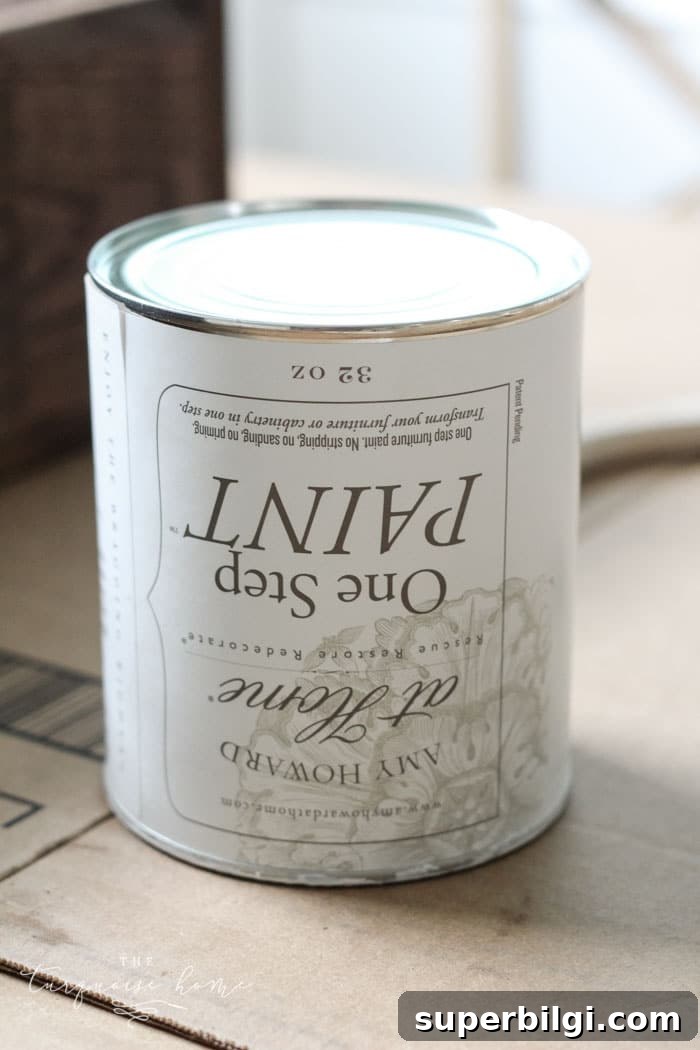
- Paint — I used a chalky, one-step paint in a neutral color.
- Clear finishing wax or sealer to protect the surface.
- Paint brush and wax brush or lint-free cloth.
- Handles or pulls (optional) and a drill bit for mounting.
- Sander and 180-grit sandpaper for distressing and smoothing.
Steps to Make a DIY Wooden Box Centerpiece
1. Decide on the box size.
Choose dimensions based on where the box will sit and what you’ll place inside. My box is sized for a large dining table, but you can scale it up or down to suit your space.
2. Cut your wood pieces.
Cut the boards to length and remember to check the actual width and thickness of your lumber. A nominal “1×6″ is typically about 3/4″ thick and 5.5” wide in actual measurements. Adjust your cuts accordingly.
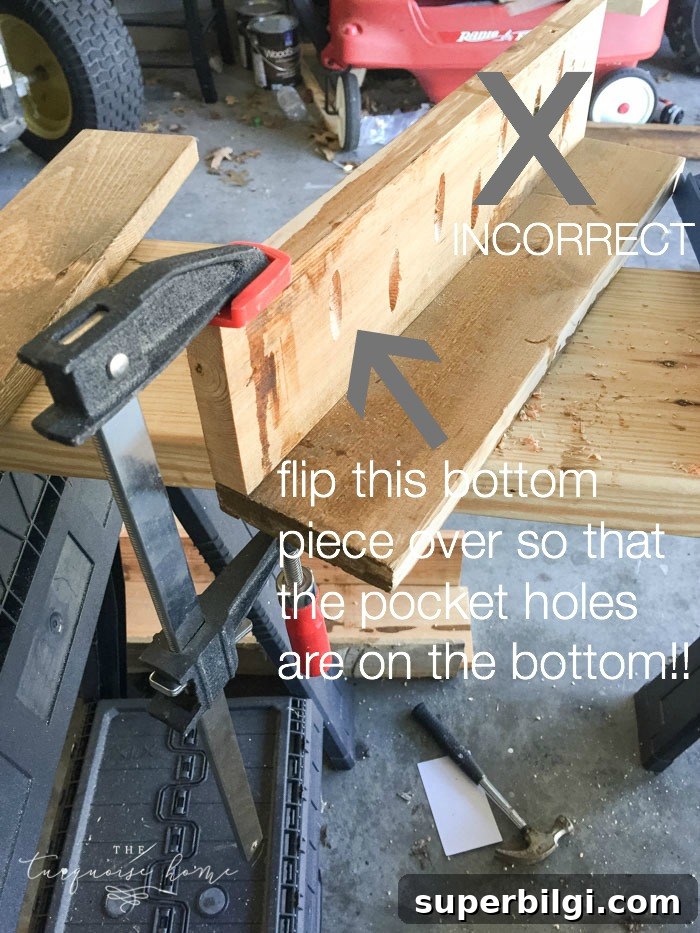
3. Drill pocket holes in the bottom boards.
Use the Kreg Jig to drill pocket holes on the underside of the board that will become the bottom. I drilled three pocket holes along each long edge and two holes near each short edge to create a strong connection.
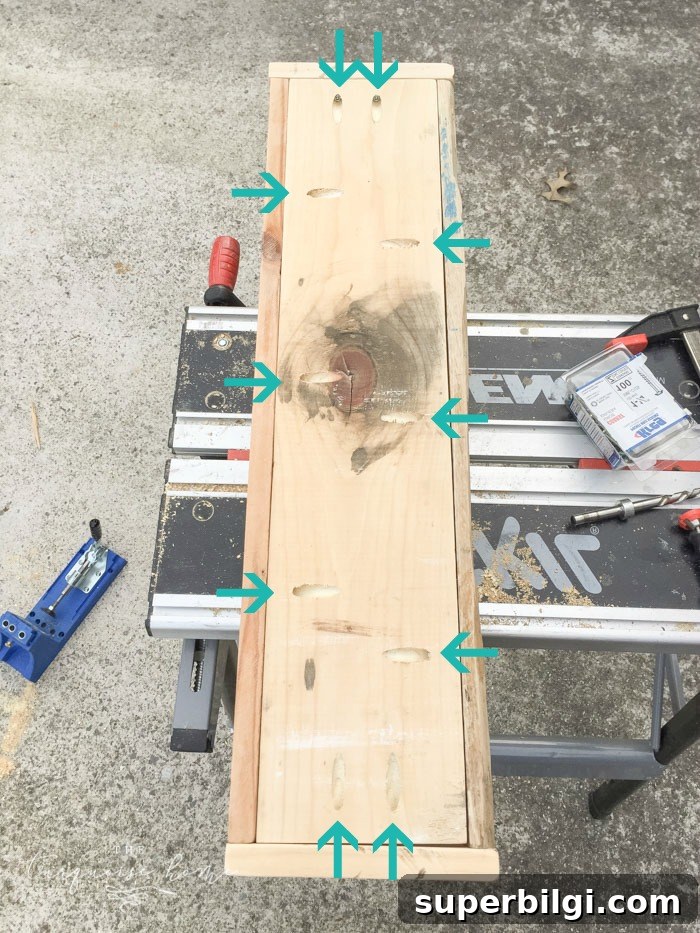
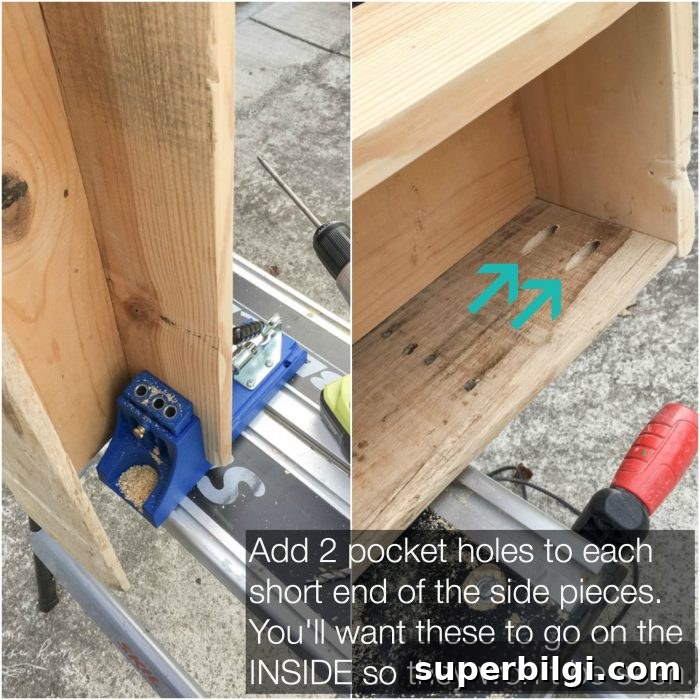
4. Drill pocket holes on the inside ends of the side pieces.
Drill two pocket holes on the short inside ends of each long side board before assembly. It’s easier to access these spots before the box is put together.
5. Attach the bottom to the side pieces.
Clamp a side board to the bottom board, aligning edges and corners. Fasten through the pocket holes on the underside of the bottom into the side board using the pocket hole screws. Repeat for the opposite side, keeping everything square and aligned.
6. Screw the end pieces into place.
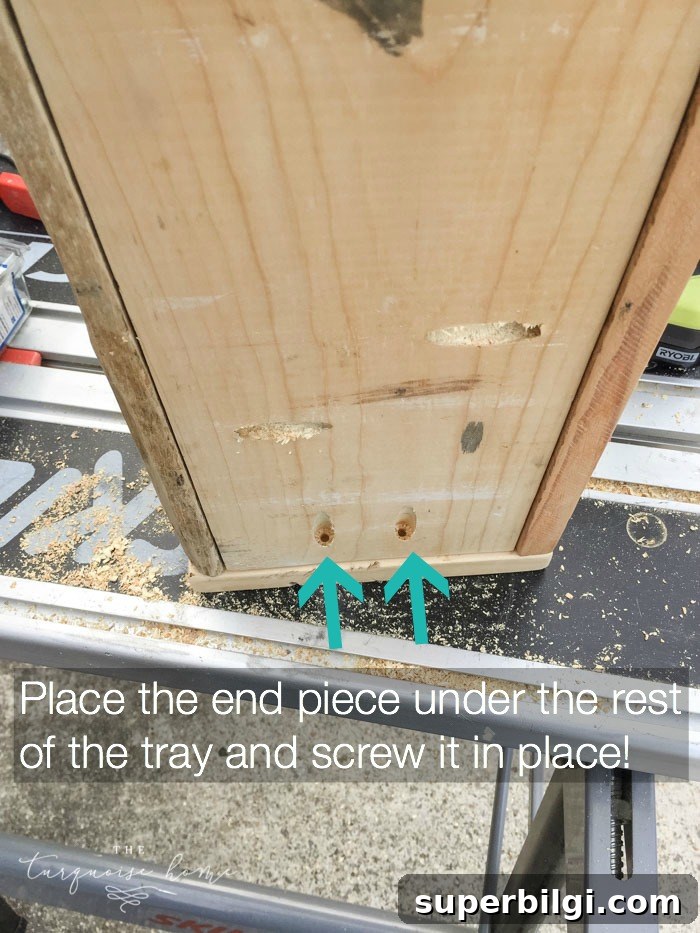
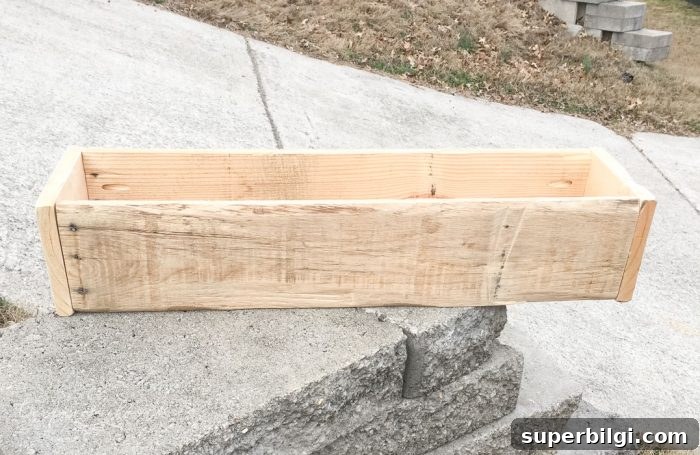
Measure the exact width between the two side boards and cut the end pieces to fit snugly. Fasten each end piece to the bottom and the inside of the side boards using the pocket holes you pre-drilled. Now you have a complete box.
7. Finish the box with stain, paint, or both.
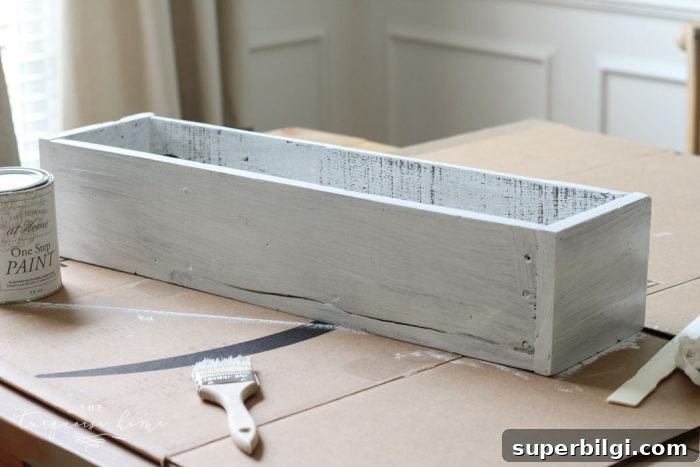
I stained the wood with a dark walnut first, then painted the exterior with a chalky paint color. Wipe away sawdust before staining or painting. If you plan to distress the paint, a dark stain underneath will add depth when you sand through the paint.
Apply paint to get into cracks and crevices, then lightly sand raised surfaces with 180-grit sandpaper to reveal the stain underneath and create a natural worn look. Wipe clean with a damp cloth to remove dust.
Protect the finish with a clear finishing wax or sealer, applied with a wax brush or lint-free cloth and buffed to a smooth surface.
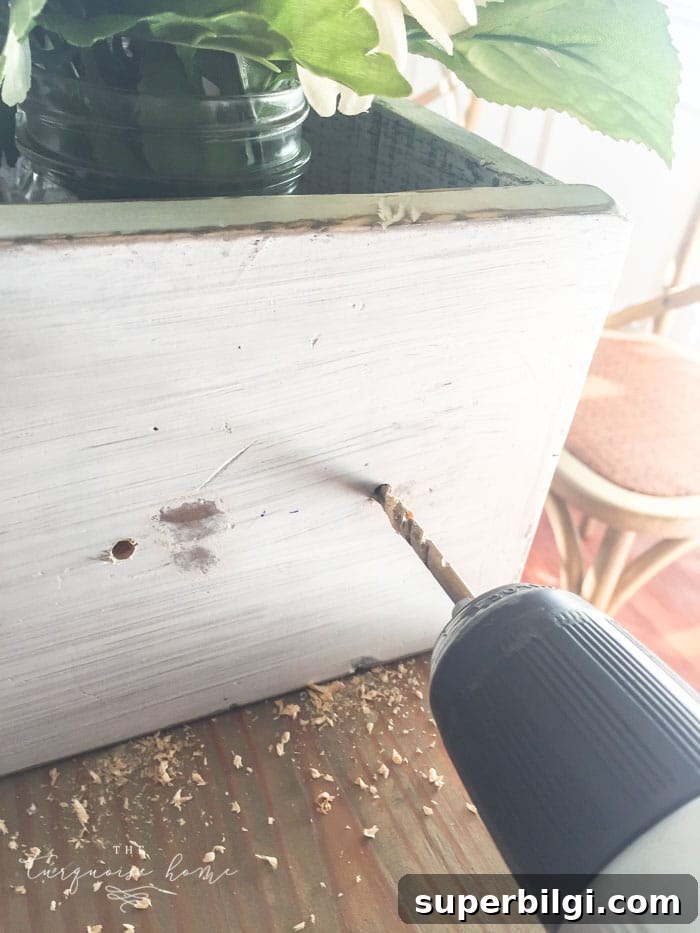
8. Add handles or pulls (optional).
Handles make the box easier to move and add visual interest. Mark the center of each short end, drill pilot holes sized for the handle screws, and attach the pulls with the supplied hardware.
Fill the finished box with mason jars, candles, or seasonal florals for an instantly cozy centerpiece. I filled mine with mason jars and faux floral stems, then arranged them for a rustic spring look that can be updated for other seasons.
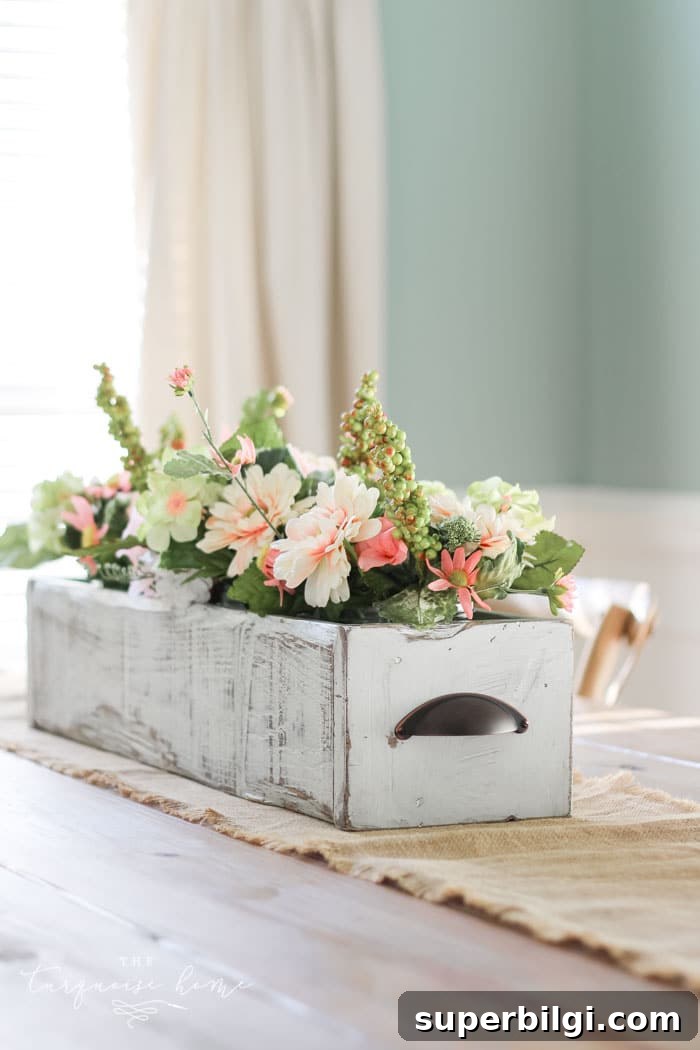
This project is beginner-friendly—if you can measure, drill, and clamp, you can make a beautiful box. It’s one of the easiest woodworking projects with a big decorating payoff.
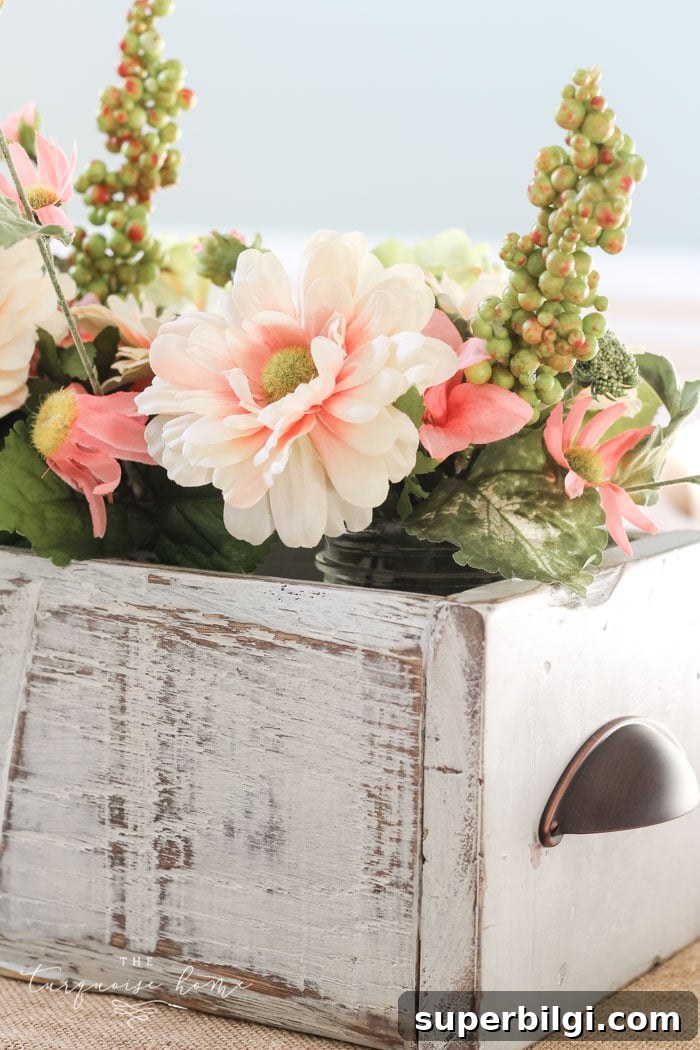
Quick tips: measure twice, drill pocket holes before assembly for hard-to-reach spots, and test-fit pieces dry before final fastening. A light sanding and finish will elevate the look and protect your work.
More posts you might enjoy:
- DIY Wood Finial Ornament
- 12 Gorgeous DIY Faux Fireplace Ideas
- How to Make a Headboard: 13 DIY Ideas
- DIY Monograms for Every Room
- DIY Dry Erase Wall Calendar
Ready to give it a try? With a Kreg Jig, a drill, and a sander (for a distressed finish), you can make a custom farmhouse wooden box that adds warmth and charm to your home.