
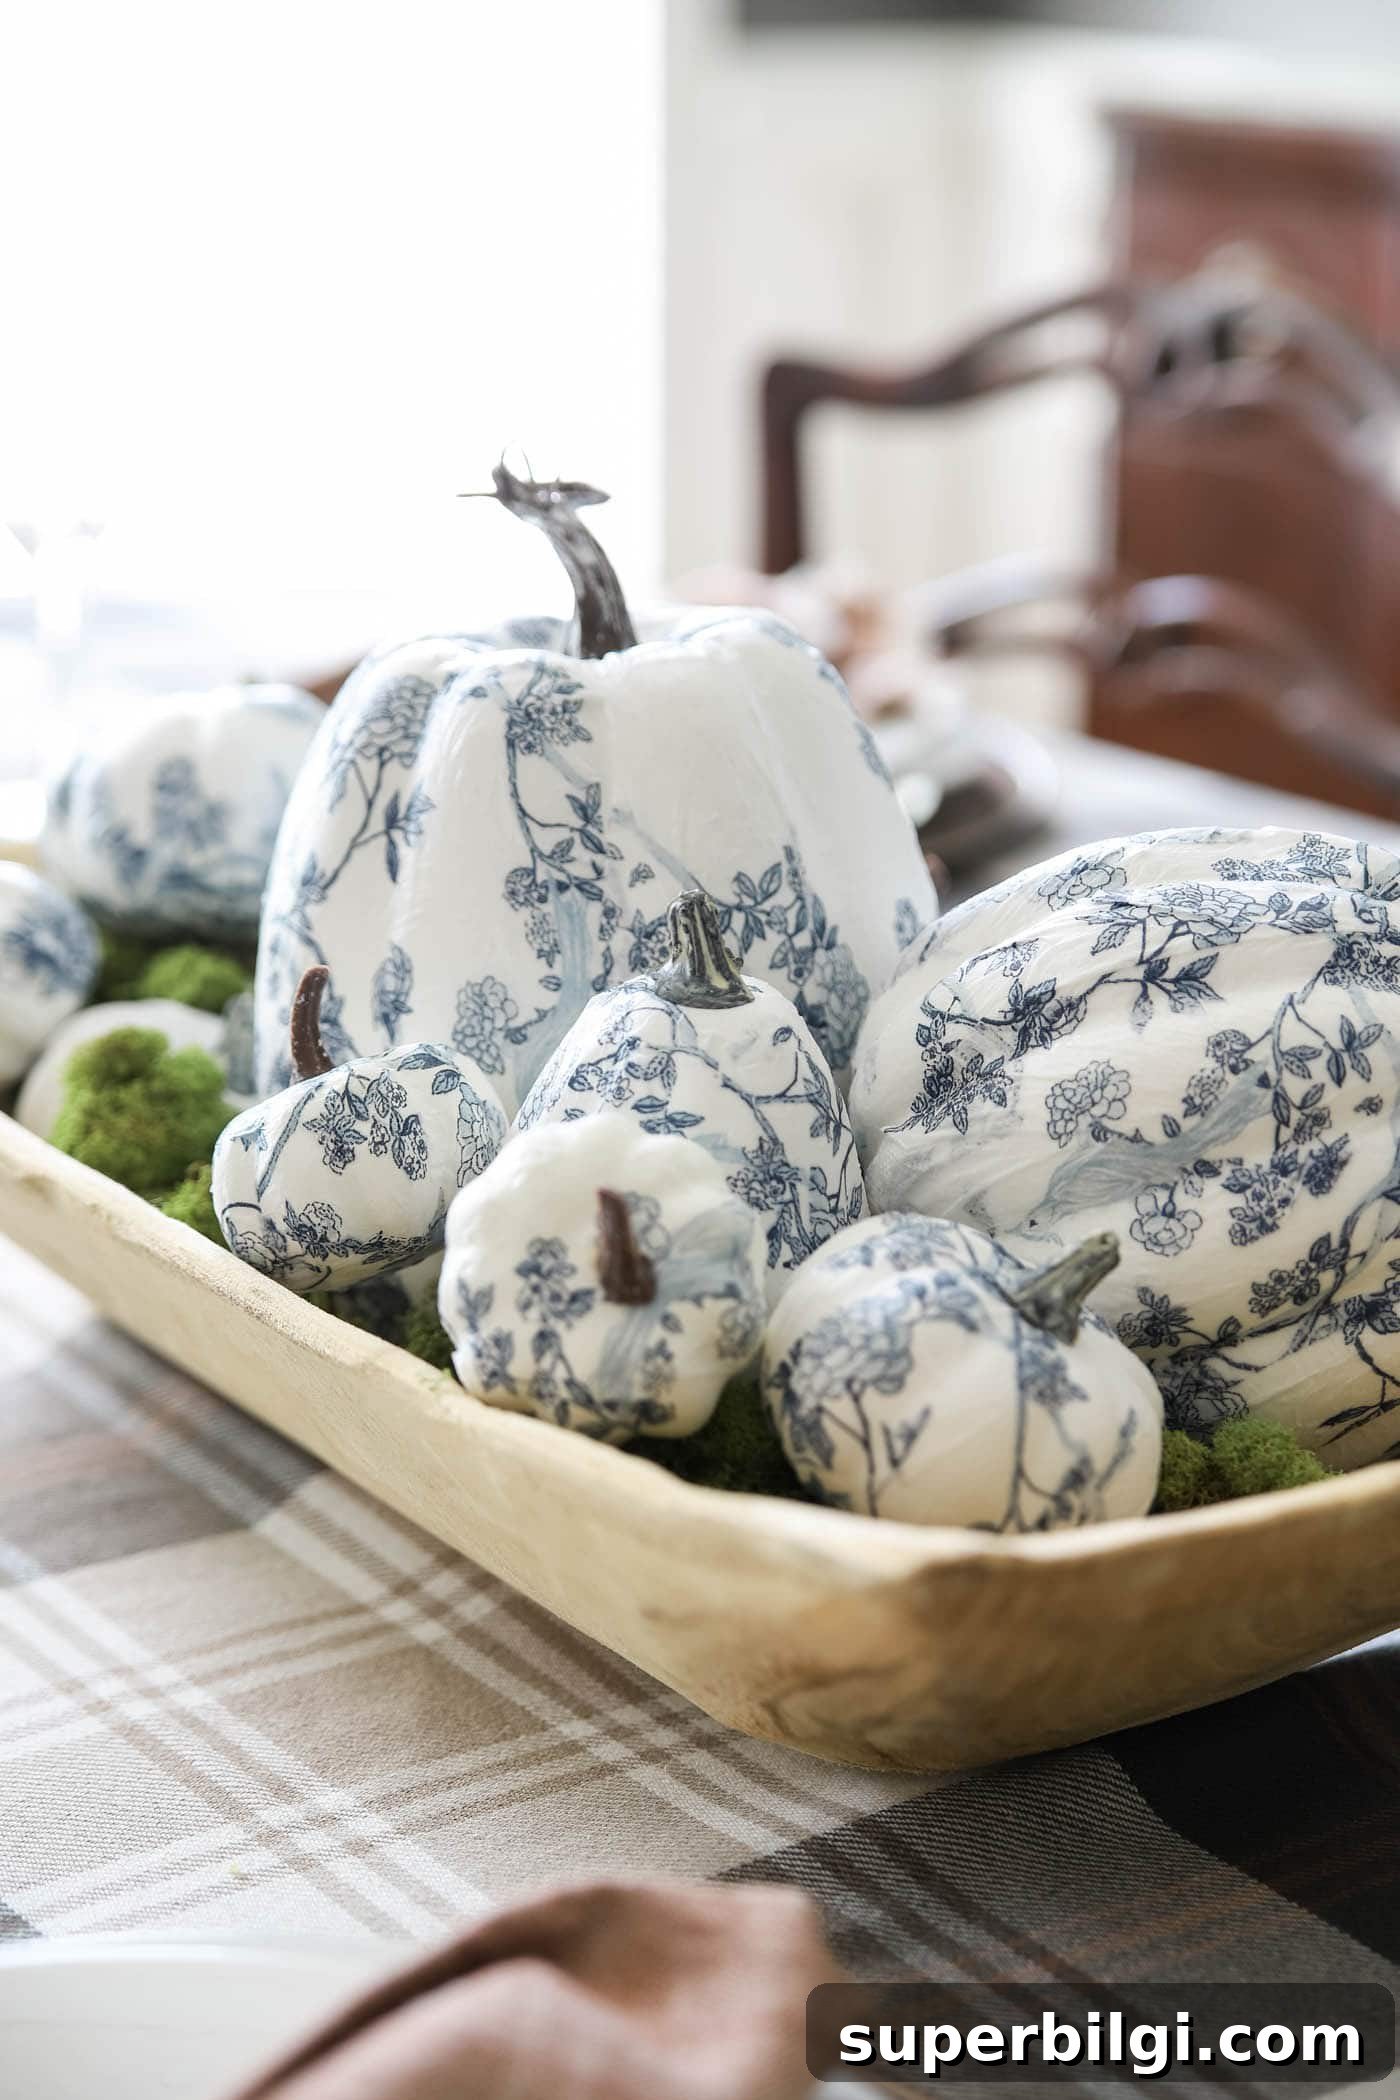
Learn how to create elegant blue-and-white chinoiserie pumpkins using just a few supplies and a couple of hours. This easy DIY adds a timeless, decorative touch to your fall decor.
I’ve long admired the charm of blue-and-white chinoiserie pumpkins. Years ago I saw a wooden bowl filled with moss and a cluster of these patterned pumpkins and loved how classic and cozy it looked. Rather than buying them, I decided to try a simple DIY version for my dining room centerpiece.
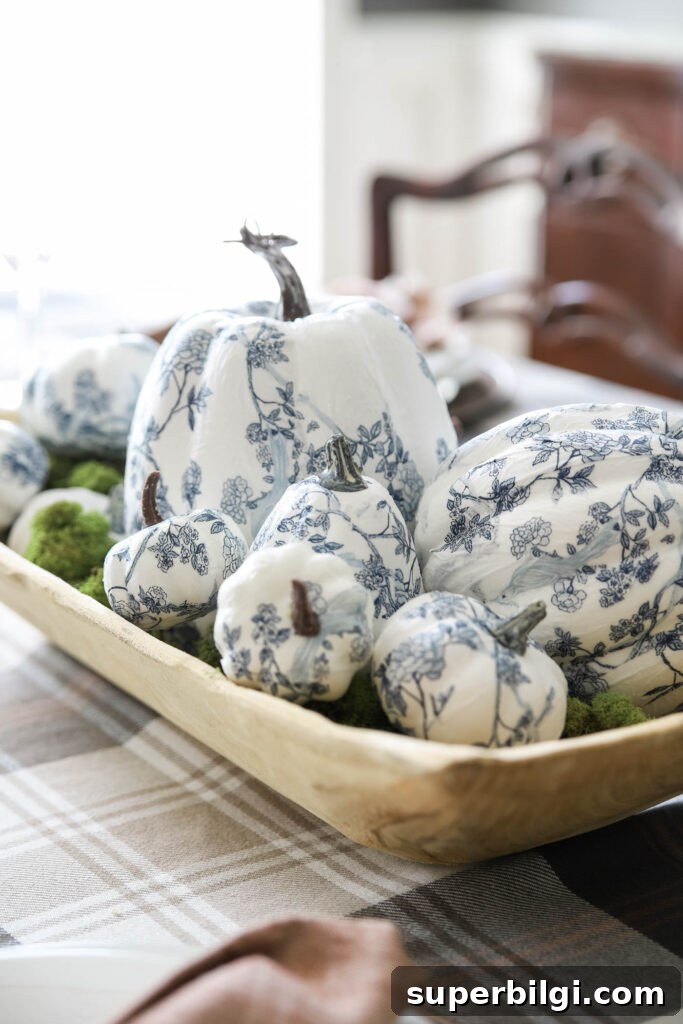
This project is surprisingly easy. If you can use scissors and a paintbrush, you can complete a pumpkin in an afternoon while catching up on a favorite show. Below are clear, step-by-step instructions and practical tips to help your pumpkins look polished and professional.
Watch the Video Tutorial
A short video tutorial accompanies these steps to show the process in motion. If you prefer visual instructions, watch the clip to see napkin separation and Mod Podge techniques in real time.
This post contains affiliate links for your convenience. See my full disclosure policy.
Supplies You’ll Need to Make the Chinoiserie Pumpkins
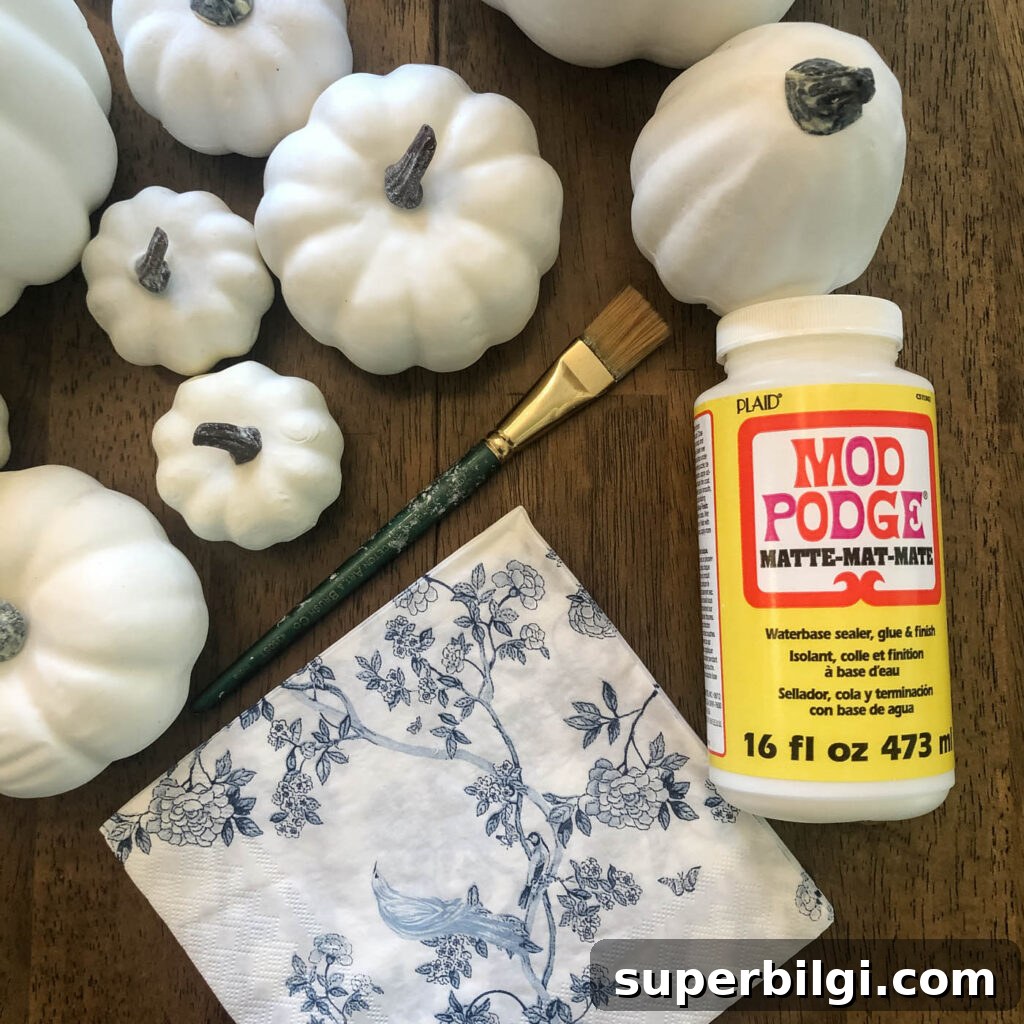
- White foam craft pumpkins (various sizes work well)
- Patterned paper napkins in a blue-and-white chinoiserie or floral pattern
- Mod Podge or a similar decoupage medium
- Small craft paint brush or foam brush
- Scissors
- Optional: small craft knife, tweezers, clear sealer for extra protection
How to Make Chinoiserie Pumpkins
The technique is simple decoupage: cut the patterned napkin to fit, secure it to the foam pumpkin, smooth wrinkles, and seal. These detailed steps include helpful tips for working with napkins and Mod Podge so you get smooth, neat results.
1. Trace and Cut a Wide Circle from the Napkin
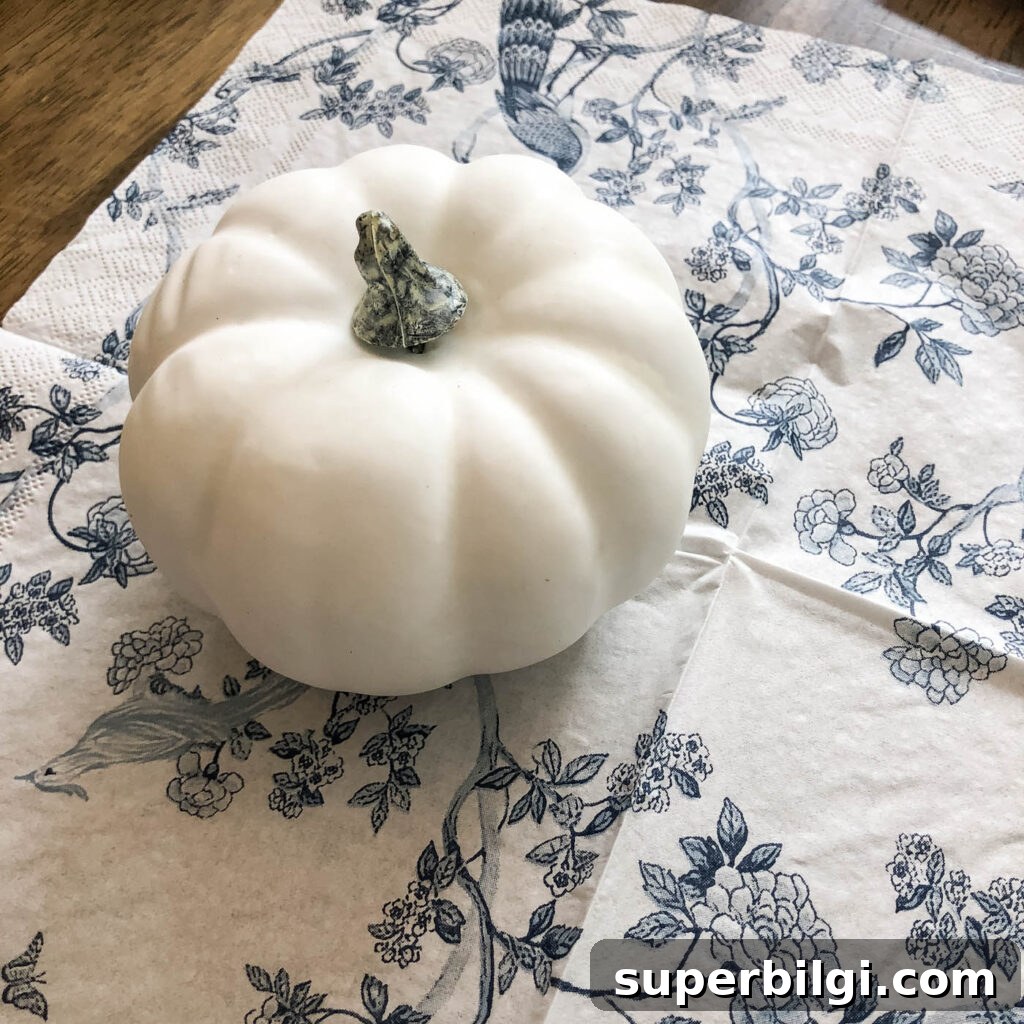
Place the pumpkin on the napkin and cut a circle large enough that the napkin will drape all the way to the base. If your napkins are layered, gently separate the decorative top layer from the backing to get a thinner paper layer—this helps the napkin conform to the pumpkin’s curves more easily.
2. Remove the Stem and Secure the Napkin
Carefully remove the pumpkin stem. Snip a small hole in the center of your napkin circle, then place the napkin over the pumpkin and reinsert the stem through the hole. This holds the napkin in place while you work and ensures a neat top finish.
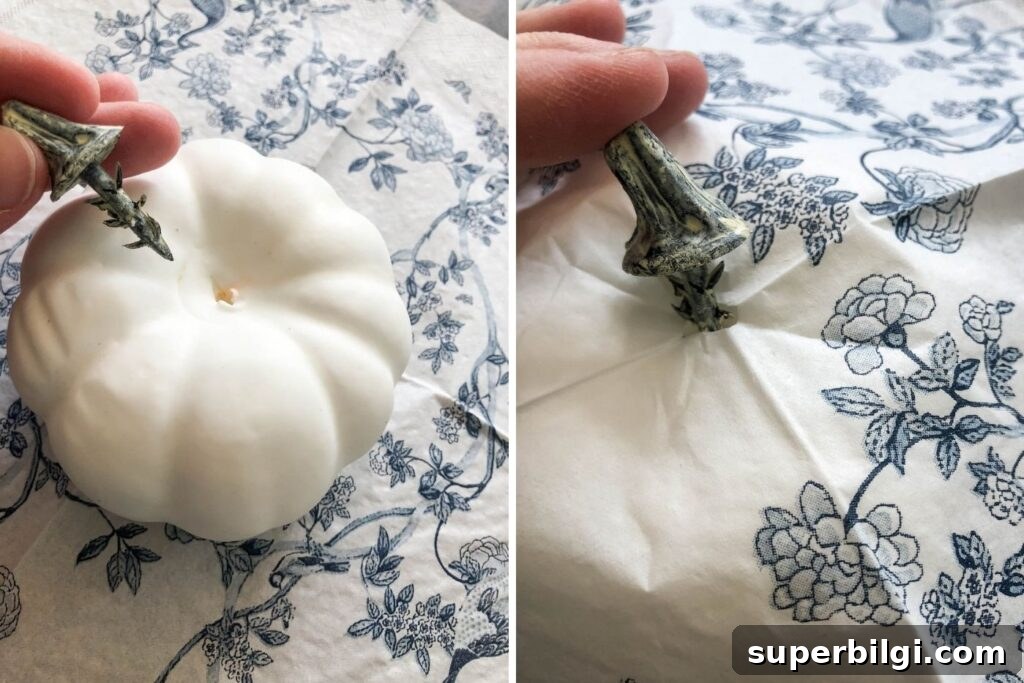
3. Make Vertical Cuts to Follow the Pumpkin Grooves
Cut long vertical sections from the edge of the napkin toward the center, aligning them roughly with the pumpkin’s natural grooves. These strips make it much easier to glue each panel down smoothly without bunching.
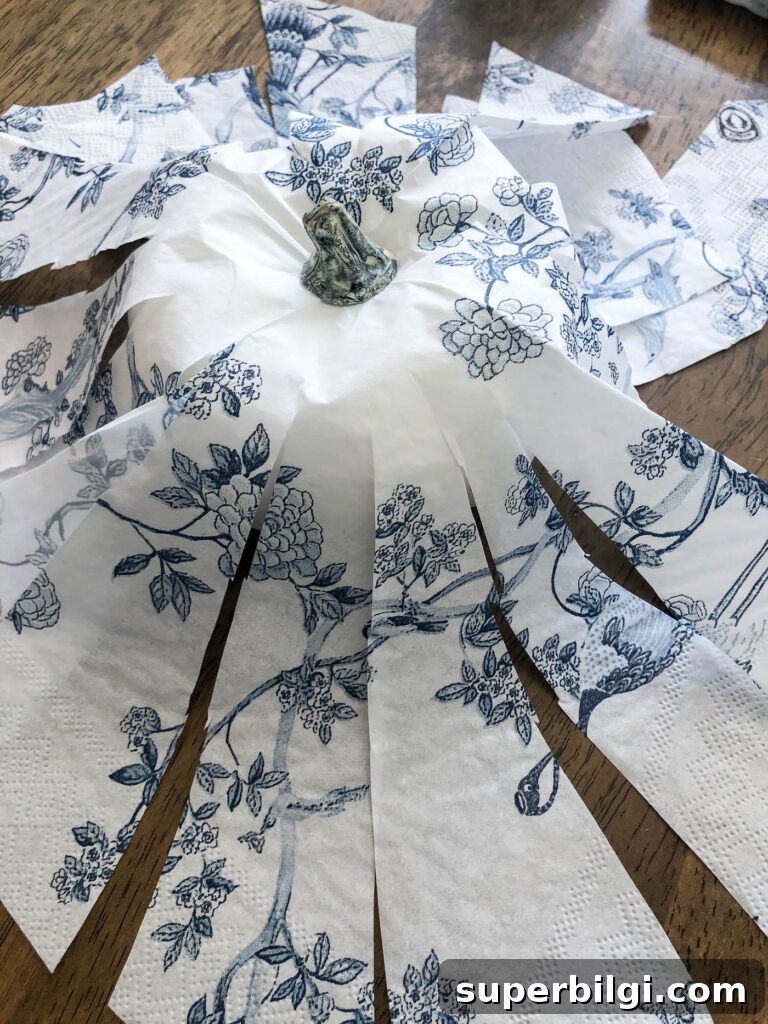
4. Trim the Bottoms of the Napkin Strips
Trim the lower edge of each strip so the paper just reaches under the pumpkin’s bottom edge. This reduces excess paper and creates a cleaner underside. If the napkin is wider than needed, trim strips narrower as you go to avoid too much overlap.
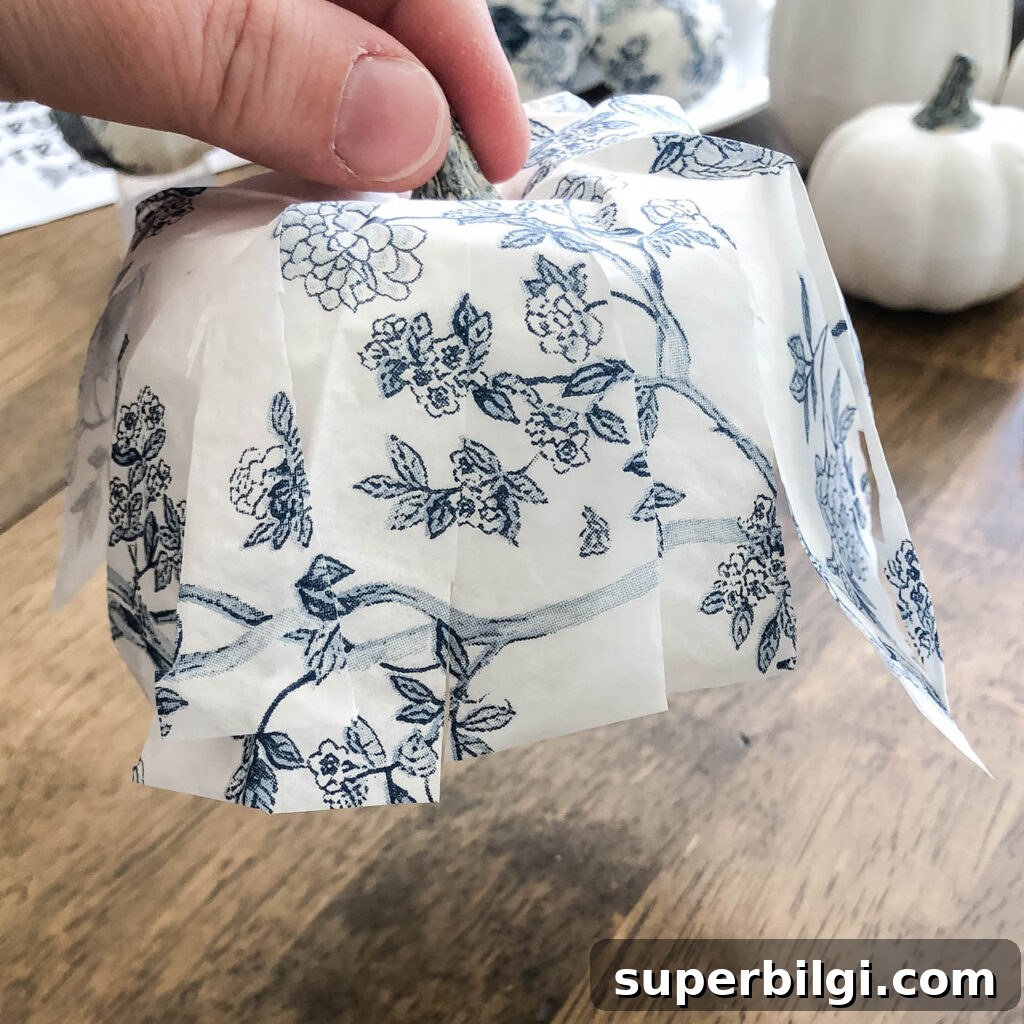
5. Apply Mod Podge to the Top and Attach the Napkin
With the pumpkin upside down and the stem held between your fingers, paint a thin layer of Mod Podge where the napkin will sit at the top. Flip it back over and press the napkin down, smoothing with your brush to remove wrinkles and air bubbles. Work gently so you don’t tear the napkin.
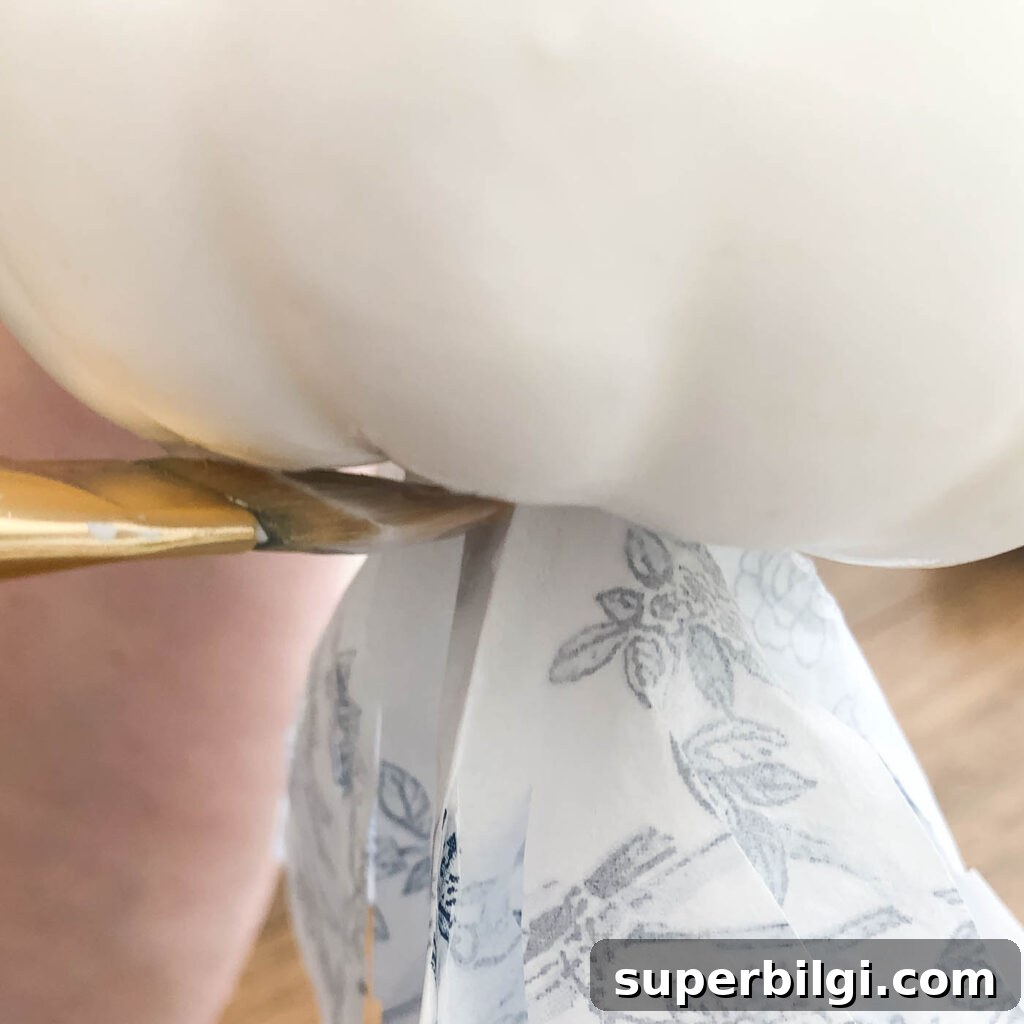
6. Adhere Each Side Section with Mod Podge
Paint a section of the pumpkin’s side with Mod Podge and use the brush to gently press and smooth the corresponding napkin strip into place. Work around the pumpkin piece by piece, trimming and adjusting as needed. Allow small overlaps where necessary but keep seams tidy.
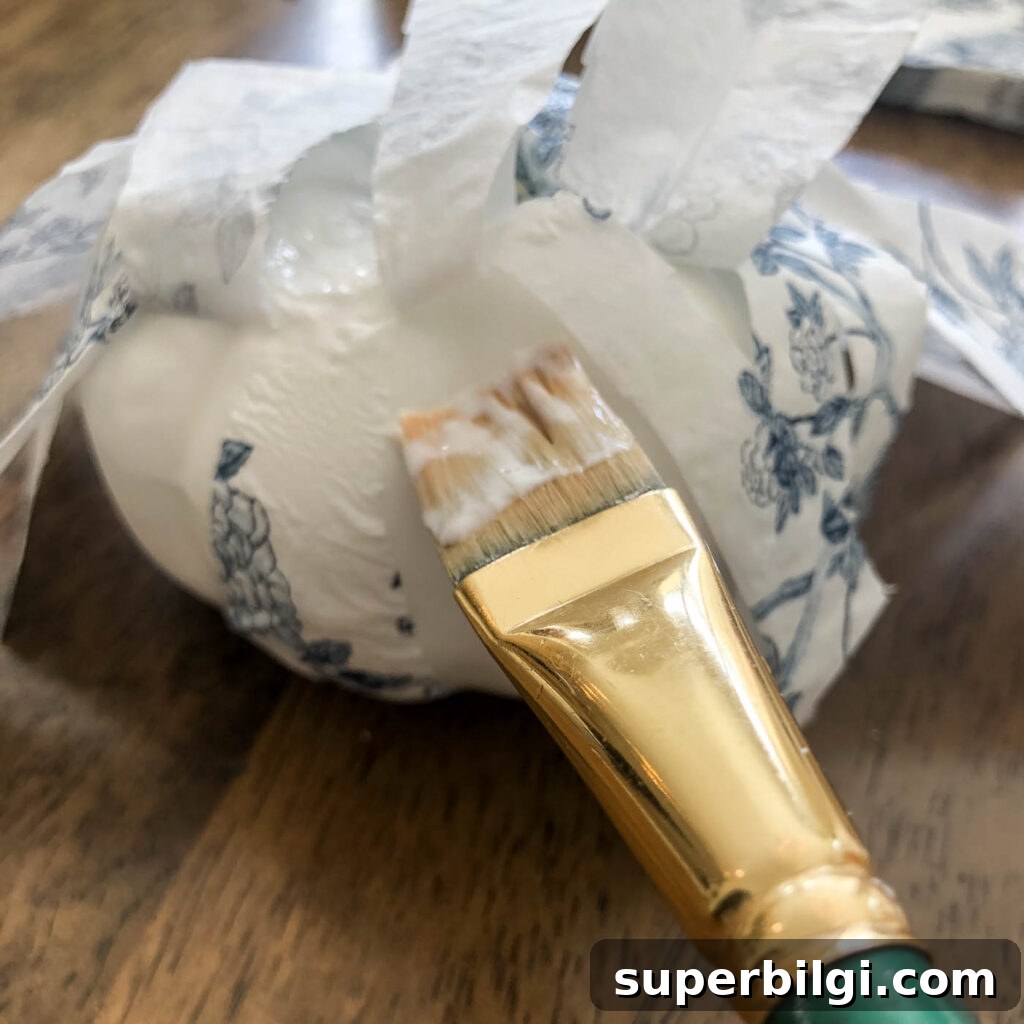
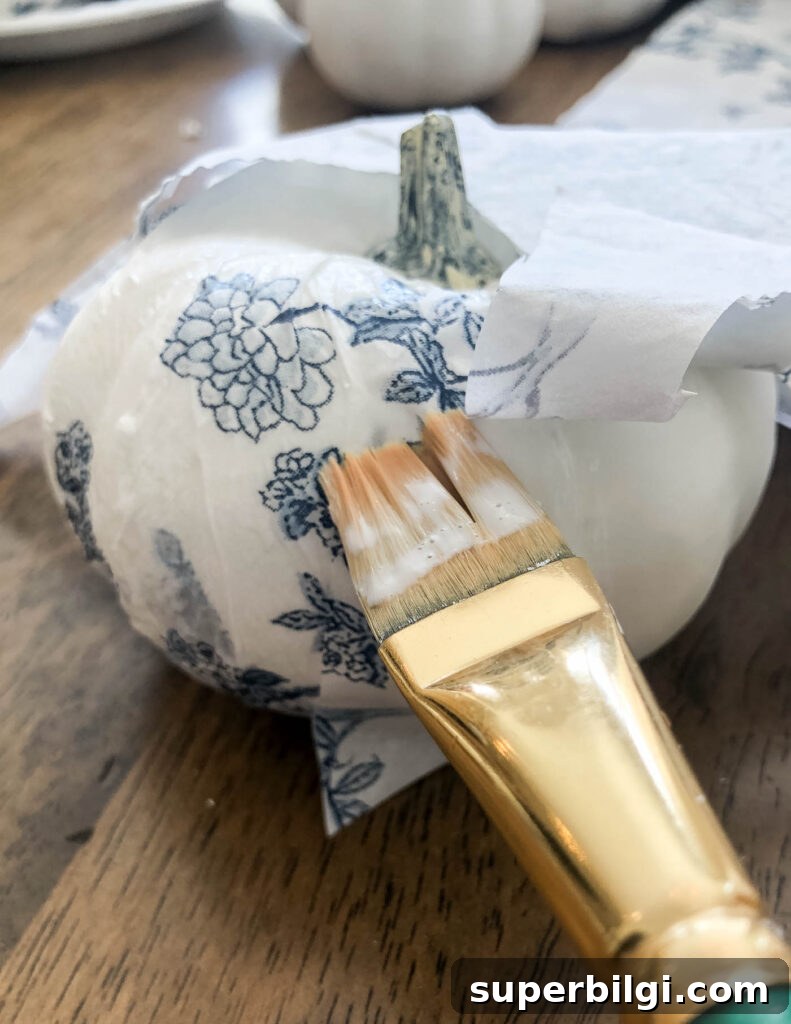
7. Let the Mod Podge Dry
Once all pieces are secured, let the pumpkin sit until the Mod Podge feels dry to the touch—usually an hour or so, depending on humidity. If you want a glossier or more protective finish, add a light second coat of Mod Podge or a clear acrylic sealer after the first coat has dried.
8. Optional: Cover the Bottom
For a polished look, cut a small circle of matching napkin and glue it to the bottom of the pumpkin to cover any visible foam. Let it dry completely before displaying.
That’s all there is to it—beautiful blue-and-white chinoiserie pumpkins you made yourself. Arrange several sizes in a bowl with moss, greenery, or candlelight for an elegant fall centerpiece, or place single pumpkins on mantels and shelves for a subtle seasonal accent.
Tips and Variations
- Use different patterned napkins for a mix-and-match display.
- For a vintage look, lightly sand some edges after sealing to distress the paper.
- Try metallic accents—gold or silver paint on the stem adds extra polish.
- Store covered in tissue paper to protect the paper finish between seasons.
More Posts You Will Love:
- Mason Jar Lid Pumpkin Craft
- 13 Adorable Wooden Pumpkins for Any Budget
- The Best Fall Decorating Ideas for a Cozy Home
- Fall Kitchen Decor Ideas
- 25 Amazing DIY Fall Wreaths