
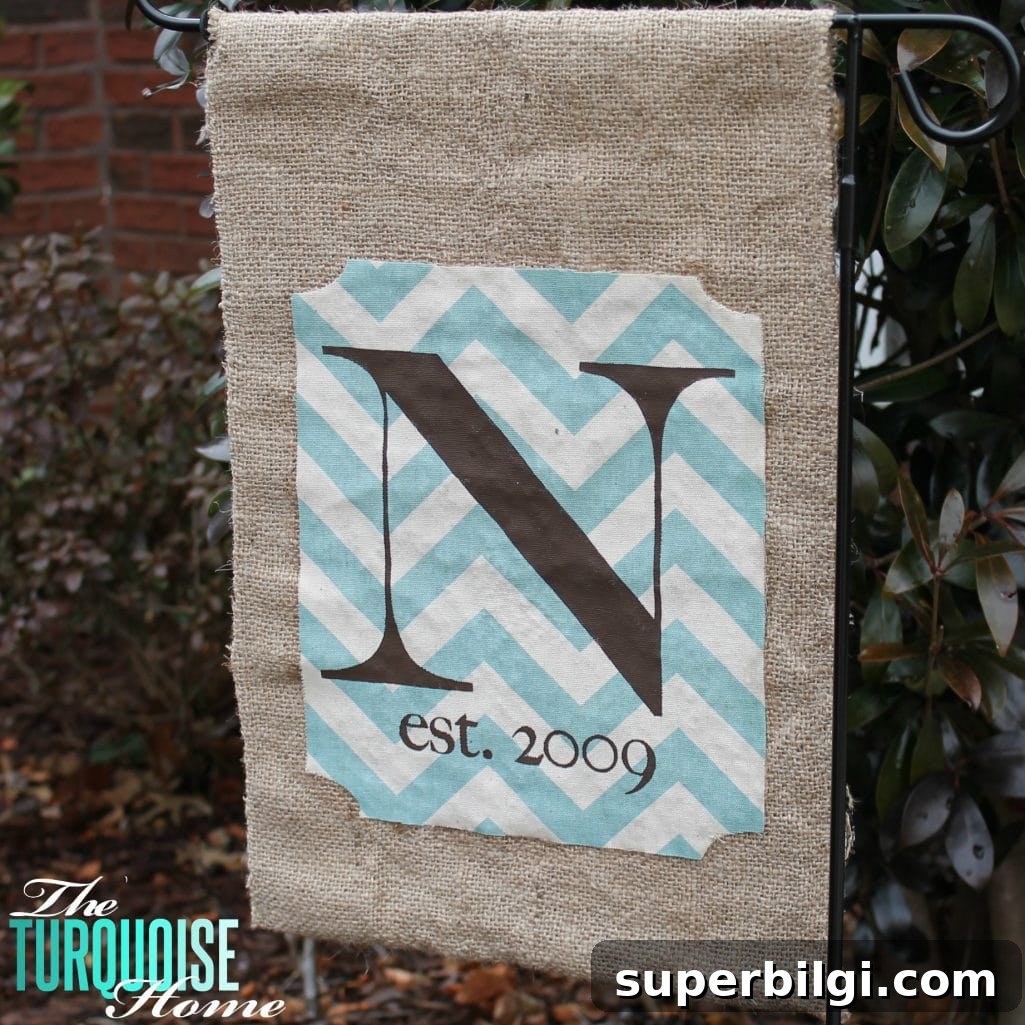
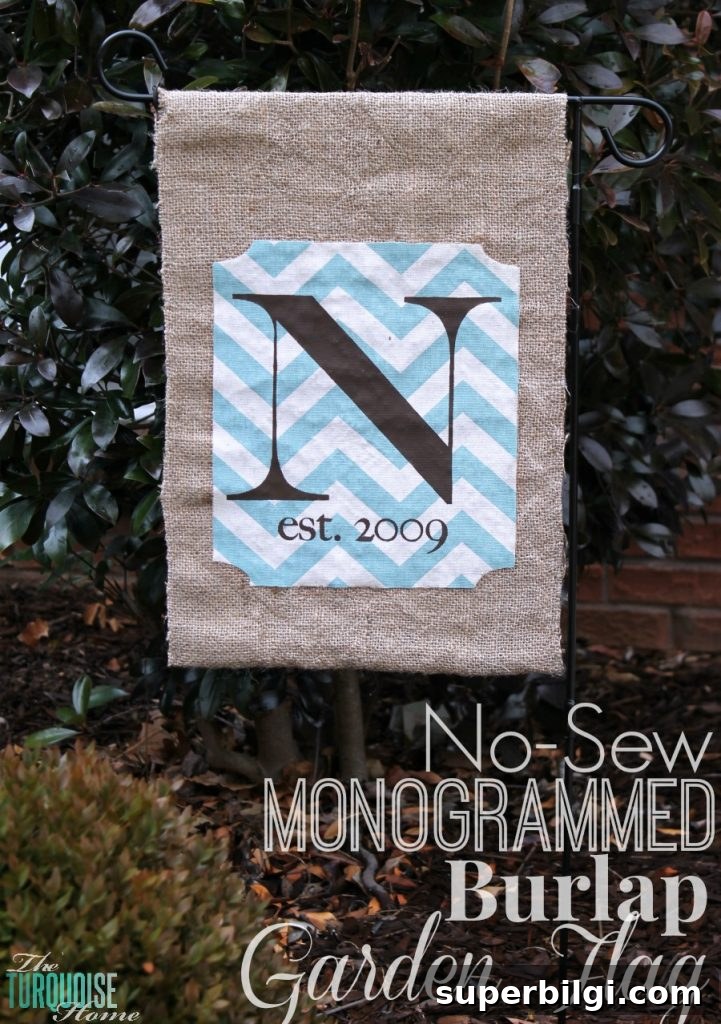
A simple, no-sew DIY garden flag adds a stylish, personal touch to any front entry. This monogrammed burlap flag is easy to make and creates a warm, welcoming accent for your home.
Original post date: February 10, 2014
I was dreaming of warmer weather while the forecast warned of snow in northern Alabama. To prepare for sunnier days, I put together this quick garden flag project—practical, affordable, and perfect for personalizing your outdoor décor.
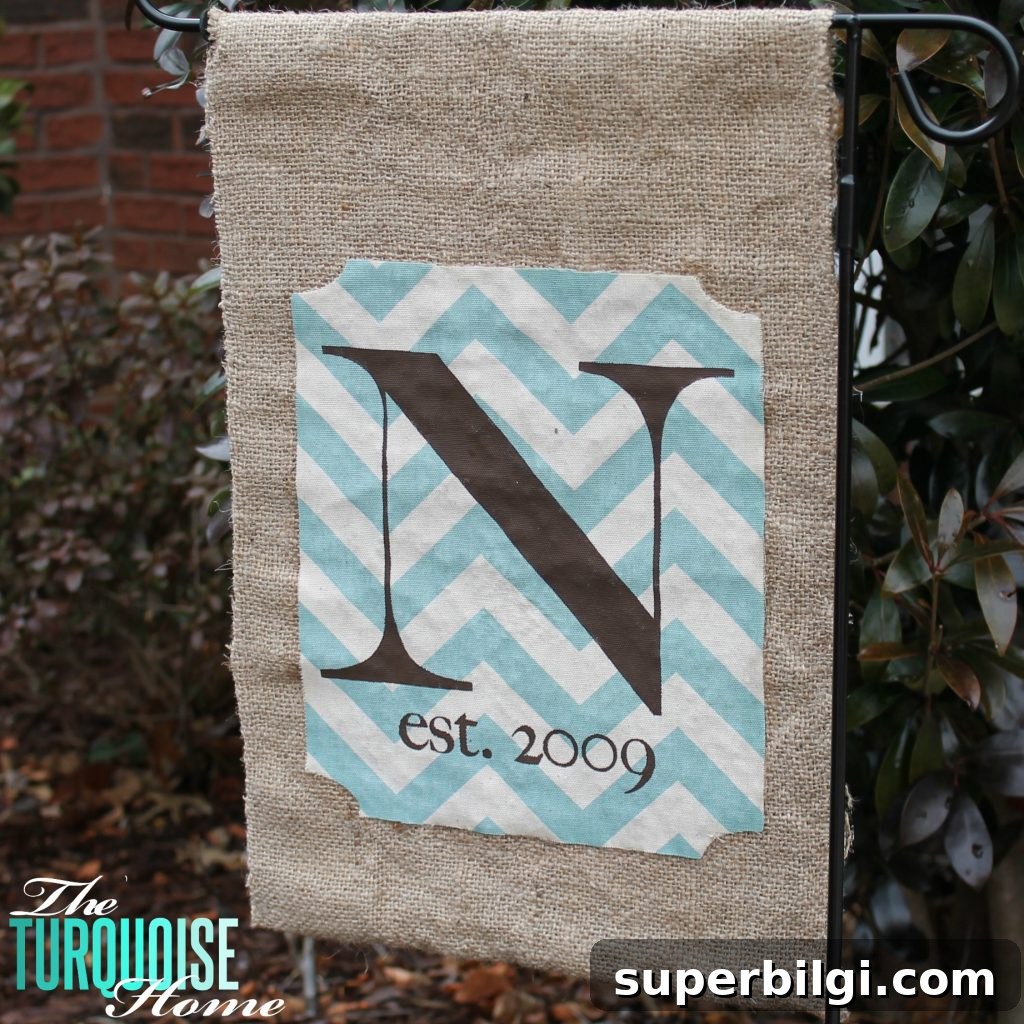
This DIY project is straightforward, and most crafters will already have many of the supplies on hand. Below is a clear, step-by-step tutorial so you can create a monogrammed garden flag with minimal tools and no sewing required.
This post contains affiliate links for convenience. See my full disclosure.
Supplies to Make a DIY Garden Flag
- Garden flag stand
- Burlap (approx. 12.5″ x 40″) or another background fabric such as canvas
- Hot glue gun
- Accent fabric for frame and monogram
- Paint and a small stenciling brush or spouncer
- Outdoor Mod Podge (or fabric adhesive suitable for outdoor use)
- Outdoor craft sealer (matte finish recommended)
- Silhouette cutting machine or craft knife/scissors and cardstock for hand-cut stencils (optional)
- Contact paper for stencil (or cardstock)
DIY Garden Flag Step-by-Step Tutorial
Step 1. Gather Supplies and Choose a Garden Flag Stand
Choose a garden flag stand that fits your entryway. Many hardware stores and garden centers carry stands in a variety of sizes and styles.
Step 2. Cut and Press the Background Fabric
Measure and cut your burlap to size. Standard garden flags are about 12.5″ x 18″, so cut a 12.5″ x 40″ piece to allow for a folded top pocket. Press the fabric to remove wrinkles and make it easier to work with.
Step 3. Assemble the Flag and Create a Pocket
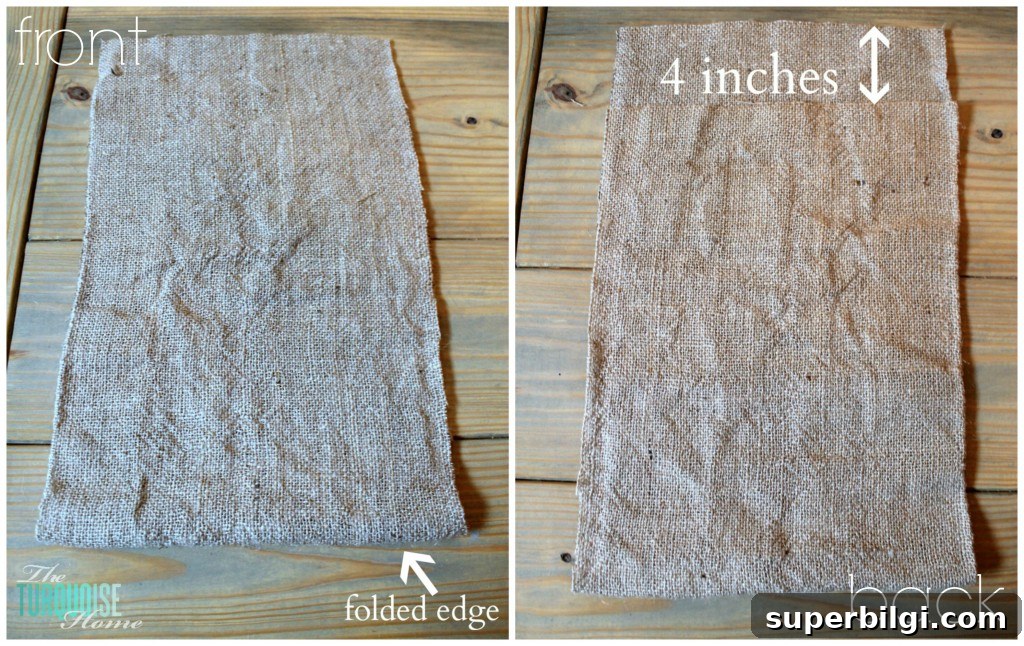
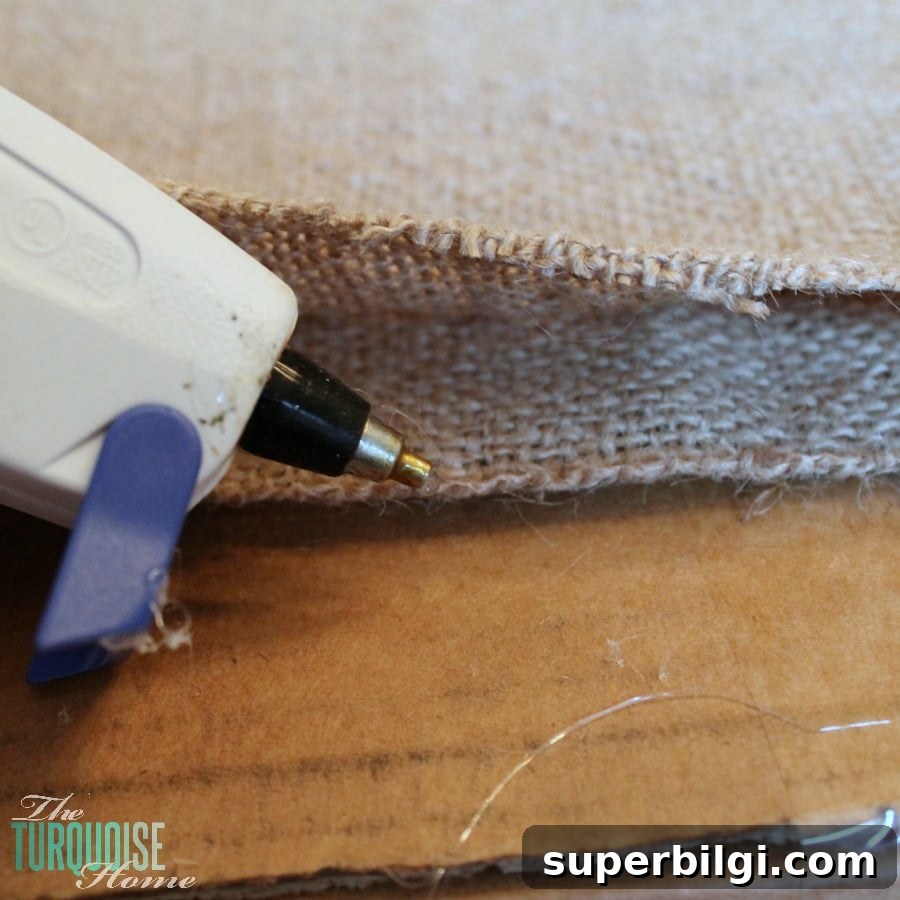
Seal the side edges of the burlap with a hot glue gun to avoid fraying and to create a neat finish. Fold down the top edge by about 4 inches and glue it to the back to form a pocket that will slide onto the flag stand. Aim for a 2-inch opening so the flag sits securely on the pole.
Step 4. Design the Monogram and Frame
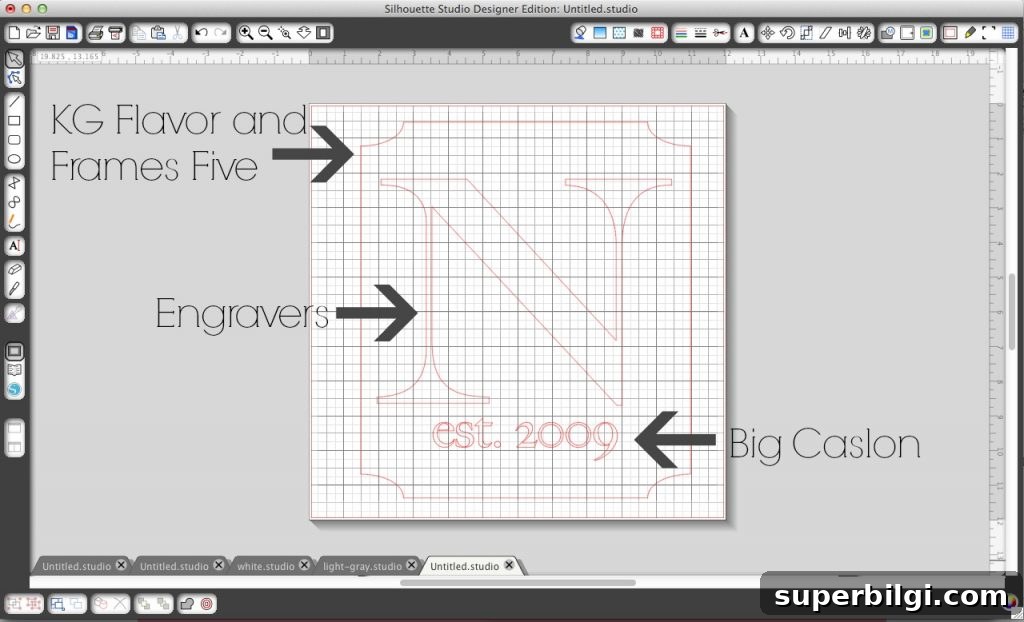
Design a monogram and decorative frame. If you use a cutting machine like a Silhouette, choose or create a frame shape and select a clear, readable font for the initial and any small text such as “est. 2009.” If you prefer hand-cut stencils, print your design on paper at the size you want and use it as a template.
Step 5. Cut the Frame from Accent Fabric
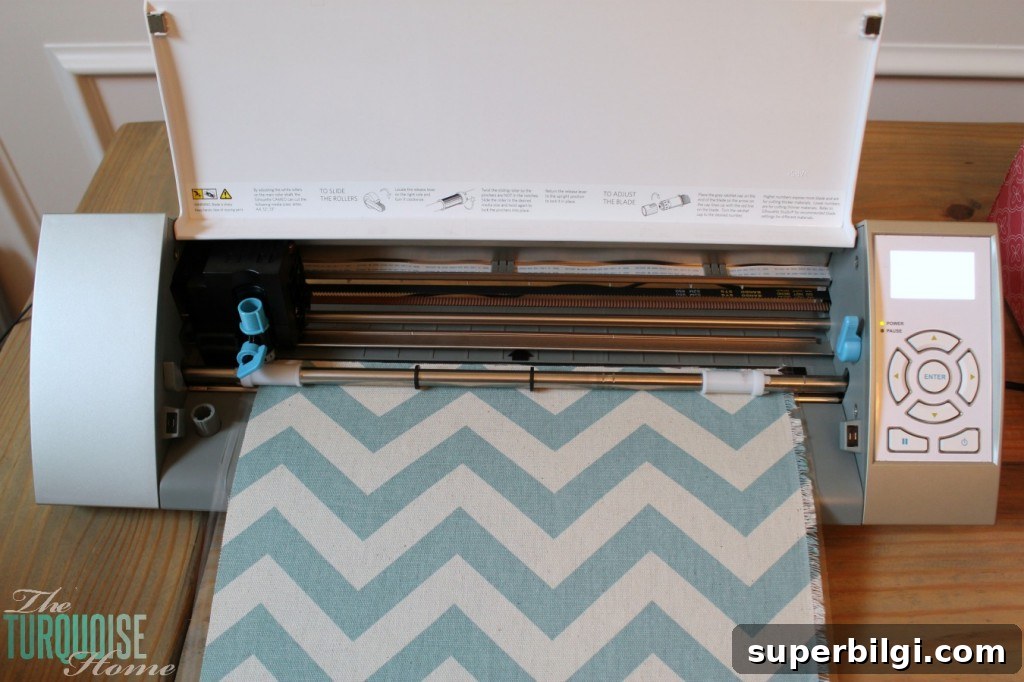
Cut the frame shape from your chosen fabric. With a cutting machine, use a fabric blade and appropriate settings; for thicker fabrics like duck cloth or canvas, select a heavier cut setting. If the blade does not cut completely through, finish the edges with sharp scissors. For hand-cut frames, trace the template onto fabric and carefully trim the shape.
Step 6. Create a Stencil for the Monogram
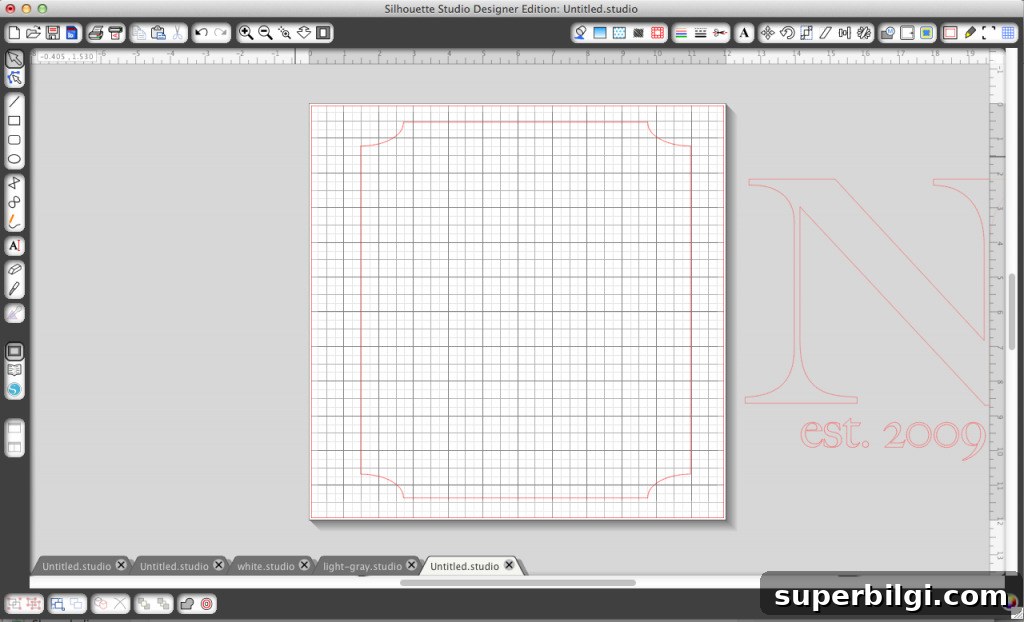
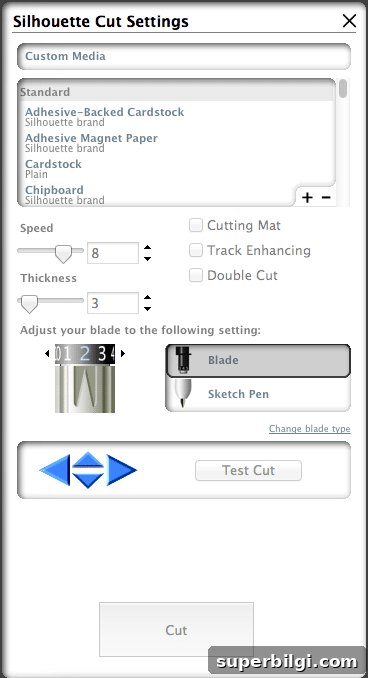
Make a stencil for the initial and any small text using contact paper or cardstock. If cutting with a machine, adjust blade settings to get a clean cut. For contact paper, test cut settings first; you may need to increase the blade depth slightly for crisp edges. Cut an outline of the frame as well to help center the monogram on your flag.
Step 7. Paint the Monogram
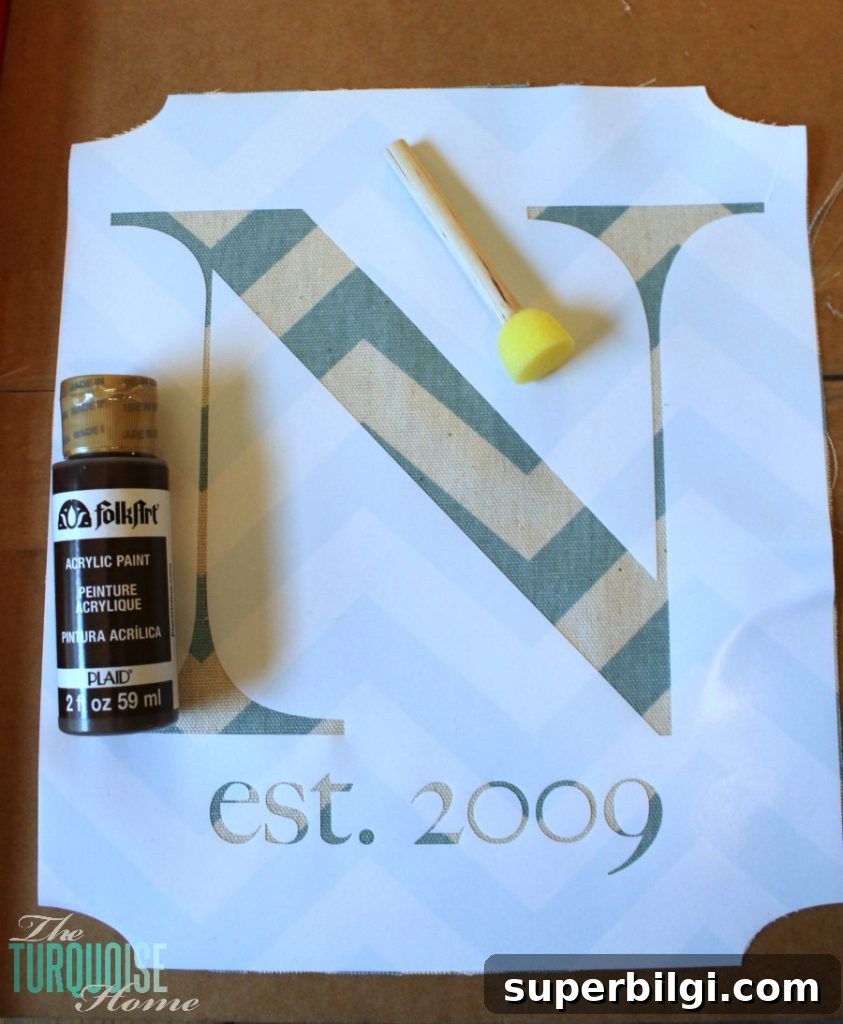
Position the stencil on the center of your flag, then use a spouncer or small stencil brush to apply craft paint. Use an up-and-down dabbing motion rather than brushing to avoid paint bleed and achieve crisp edges. Allow the paint to dry completely before removing the stencil.
Step 8. Adhere the Frame and Details
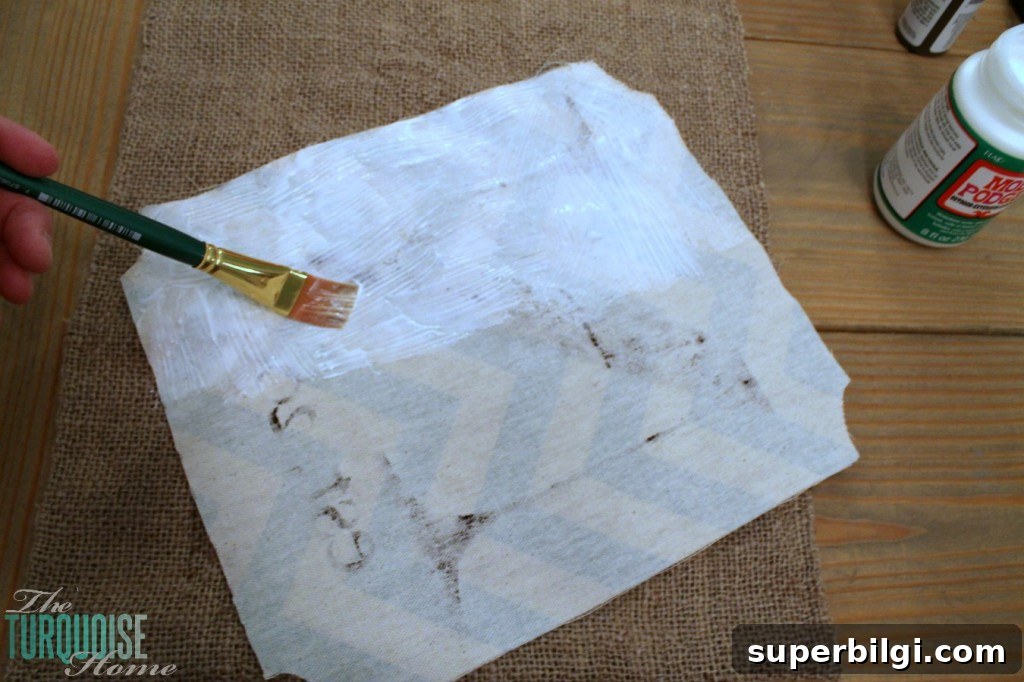
Use outdoor Mod Podge or a fabric-safe adhesive to glue the cut fabric frame and any appliqués to the burlap. Smooth the pieces into place and press to ensure good adhesion. Let the adhesive cure according to the manufacturer’s instructions before moving on to sealing.
Step 9. Protect the Flag with an Outdoor Sealer
Finish by spraying the entire flag with an outdoor acrylic sealer in a matte finish to protect the fabric and paint from moisture and sun damage. Wait for a warm, dry day to apply the sealer and allow it to cure fully before displaying the flag outdoors.
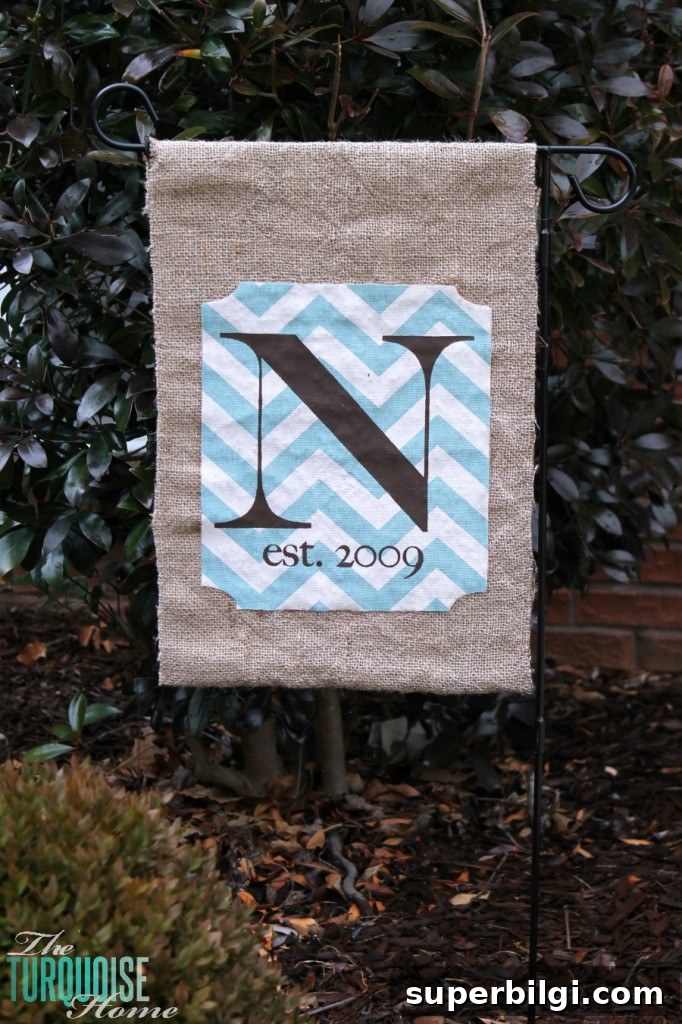
This no-sew burlap monogrammed garden flag is my first flag project, and I love the result. It’s an easy way to add personality to your porch or walkway and makes a thoughtful, handmade gift. If you enjoy small outdoor sewing-free projects, this tutorial gives a polished look with minimal tools.
More Posts You Will Love:
- Spring Favorites Free Printable
- 5 Craft Supplies to Throw Away Today!
- DIY Chinoiserie Egg Wreath