
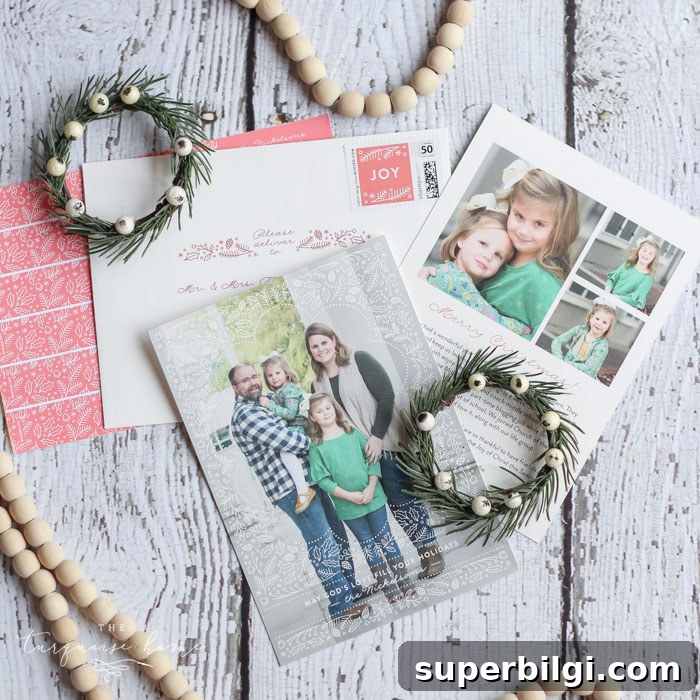
One of my favorite Christmas traditions is receiving Christmas cards—especially the photo cards. I look forward to checking the mailbox each day between Thanksgiving and New Year’s, certain there will be at least one card waiting. In fact, thinking about the perfect photo for our card often starts as early as September.
Photo Christmas cards have become more popular over the past decade, and I understand why. In a world where so much is digital, I still love holding a physical photo of friends and family. I save many of our cards and display them year-round on a DIY chicken-wire display. It’s a simple way to keep those faces close and enjoy the memories throughout the year.
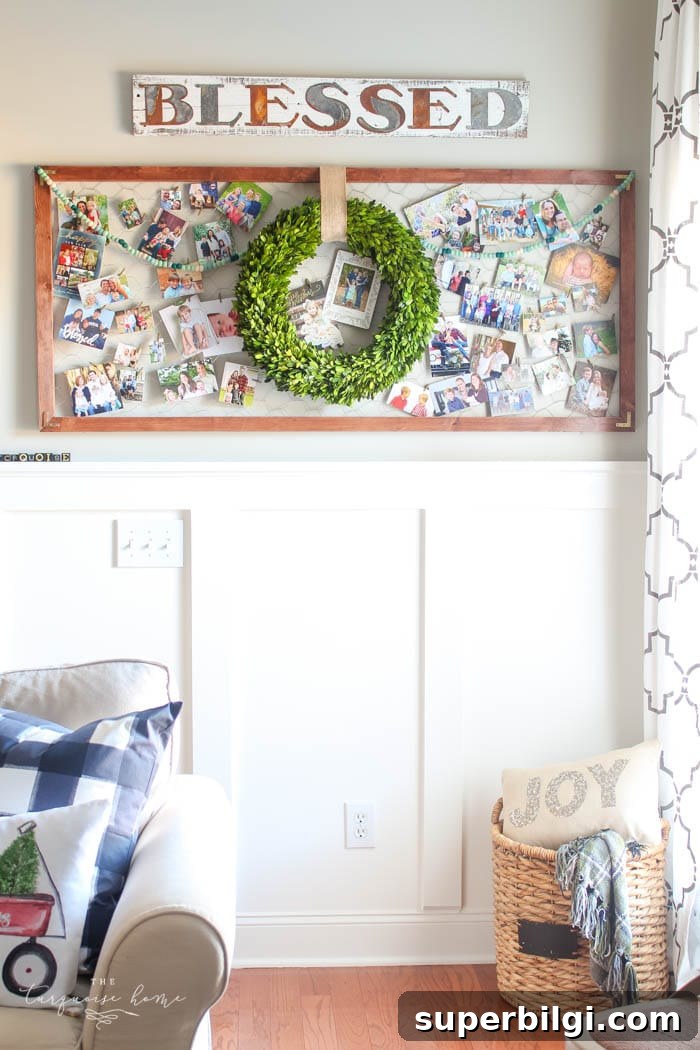
I also enjoy sharing decorating ideas for the holidays. Whether you’re styling a mantel with garland, adding printable decorations, or finding the perfect way to display your cards, small details make the season feel special. These moments are why I look forward to planning the card and choosing every detail each year.
Tips for Choosing a Photo Christmas Card
Before you pick a card design, you need a photo. You can either choose a card first and arrange a photo shoot to match it, or take your photos and then find a design that complements them. Either approach works—this year I took the photos first and then selected the card.
Book your photo session in October so you have time to receive the images and design your card without rushing.
A friend took some lovely shots of us at the park on a warm fall afternoon. I layered on a puffy vest to look like it was colder than it really was, and we got a few photos that felt seasonal and natural.
How to Choose the Perfect Photo Christmas Card
1. Select Your Best Photo
Decide which photo you love most—and note whether it’s landscape, portrait, or square. Think about where you want “white space” for text or how the image will fit into different card layouts.
2. Review Holiday Card Designs
I reviewed several photo card companies and chose a supplier that offered quality printing, a range of card formats, and helpful services like printed recipient addresses. Look for a vendor with the card styles and customization options you prefer so your photo and the design work together.
I picked a whimsical yet neutral style that complemented the colors in our photos. If you’re indecisive, save a handful of favorites and compare them with your photo to see which design enhances the image without competing with it.
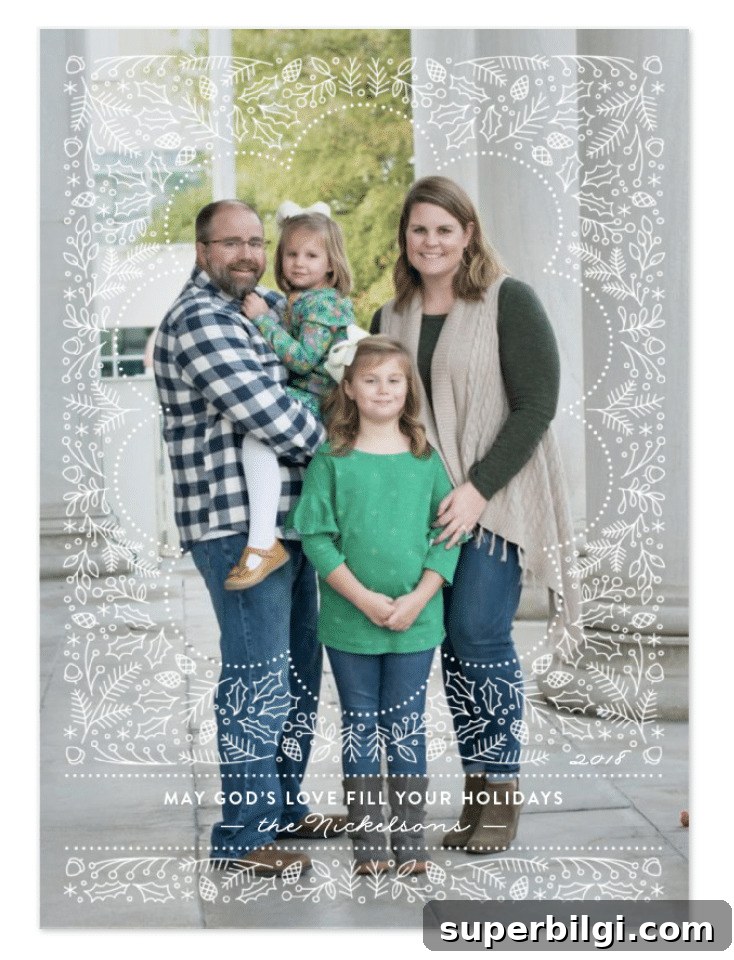
Over the years I’ve tried botanical and foil designs as well. Each style creates a different tone—botanical feels organic and calm, foil feels festive and elegant. Think about the message you want your card to convey when selecting a design.
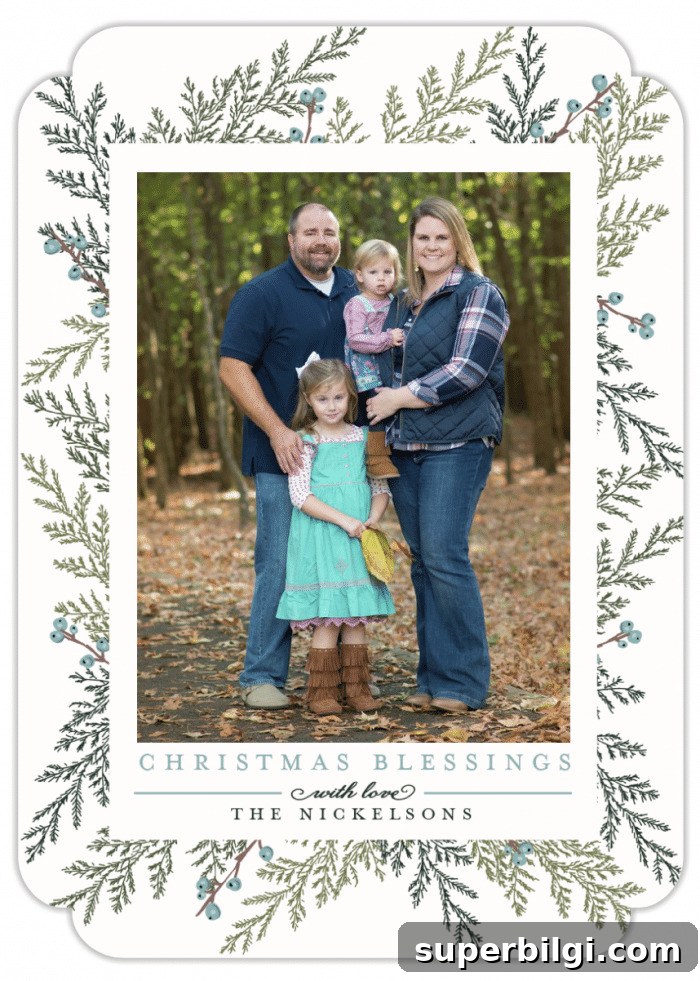
If you save a few designs, you can quickly narrow the options. Below are practical tips to speed up your decision process.
3. Use Preview Tools to See Your Photo in Each Design
Many card sites offer a preview tool that places your photo into multiple card templates at once. This is a huge time-saver—use it to instantly see which layouts and orientations flatter your image.
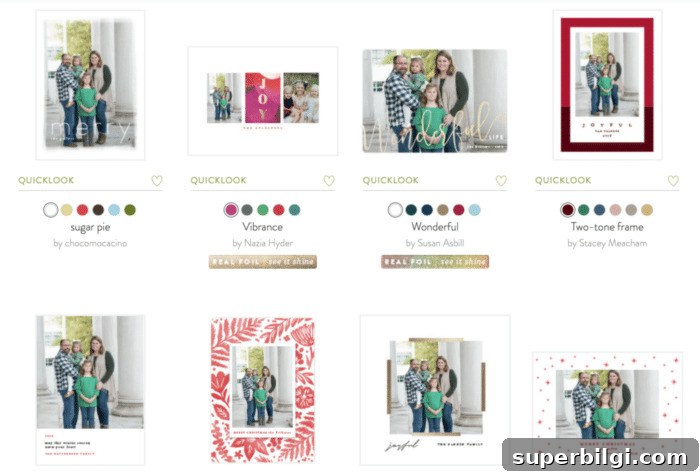
Filter results by number of photos, orientation, and style. Tip: favorite the designs you like so you can compare them side by side. If a card’s colors clash with your picture, consider converting the photo to black and white to create harmony.
4. Customize Your Card
Once you choose a design, customize it to reflect your family and budget:
- Choose corner shapes—rounded, scalloped, or square—to match your aesthetic.
- Consider a postcard format to save on printing and postage if you’re on a tight budget.
- Select color options that coordinate with your photo.
- Pick the greeting that fits your message—Holiday, Christmas, New Year’s, or a religious sentiment.
- Don’t forget to edit the name line so the card is personalized.
5. Add Practical Extras
Many vendors offer additional touches that make sending cards easier and more polished. Useful extras include:
- Colored envelopes to match your theme.
- Envelope liners for an upscale pop of color.
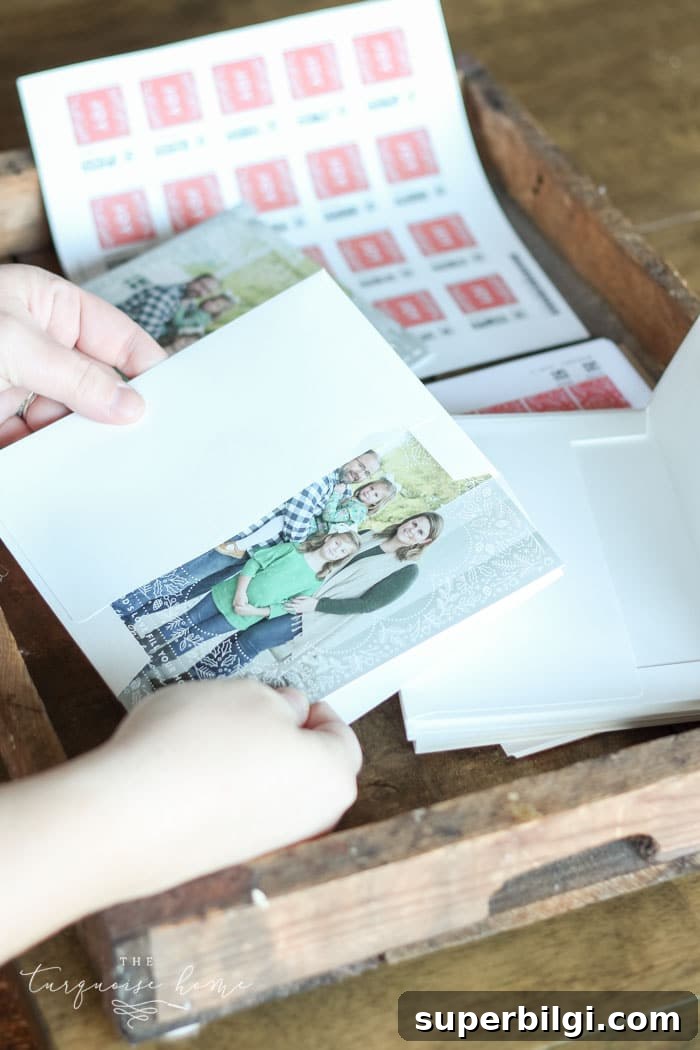
- Return address printing or wrap-around return address stickers to save time and create a cohesive look.
- Recipient addressing services—upload your address list and have the vendor print names and addresses for you. This step can save hours of writing and ensures a neat result.
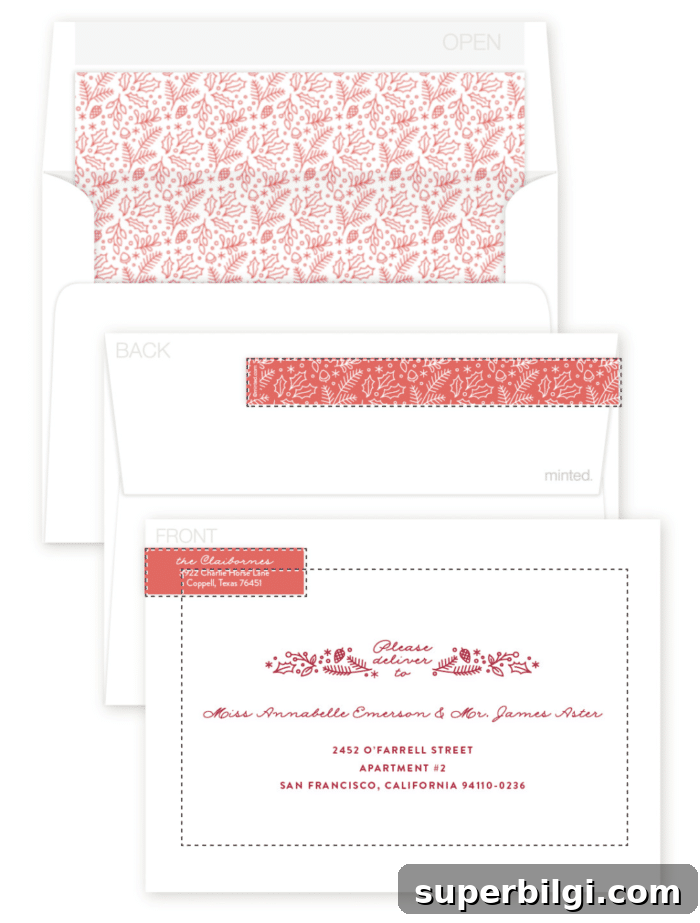
I usually print a list of recipients, add it to my holiday planner, and check off each card as it goes in the mail. It’s a small organization habit that prevents last-minute stress.
Do you enjoy photo Christmas cards as much as I do? I keep many of the photos year-round and love seeing them displayed in my home—each card brings a warm memory and a sense of connection.
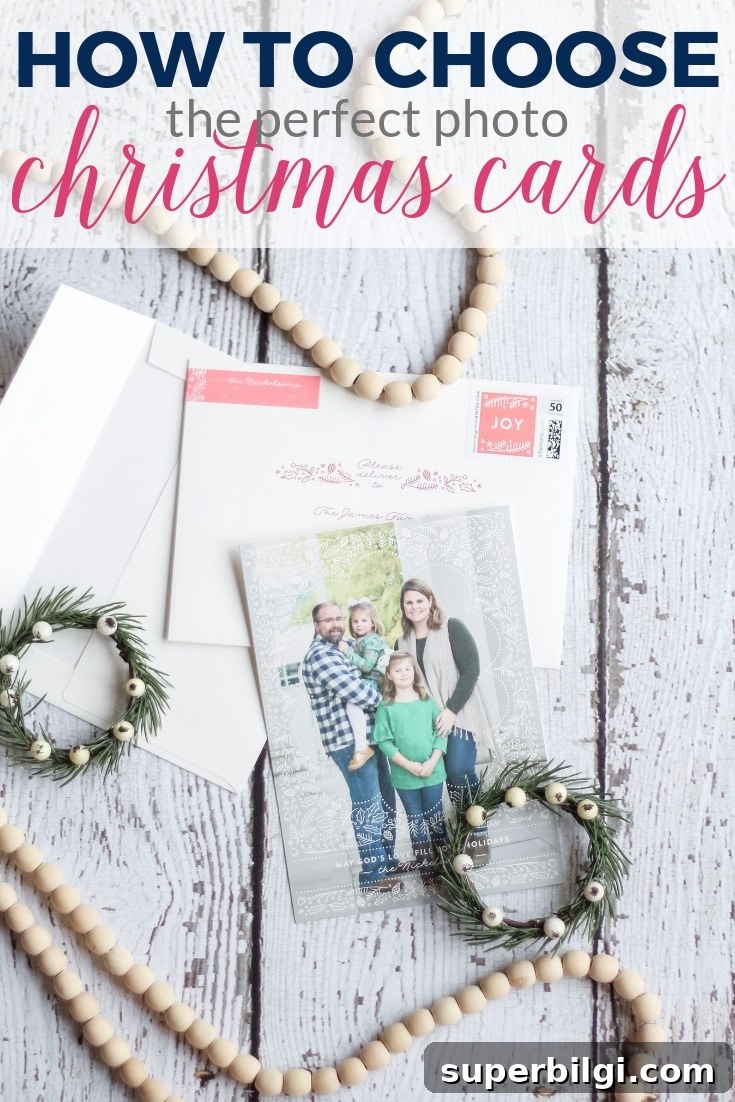
More posts you might enjoy:
- Christmas Gift Wrapping Station + Simple Gift Wrapping Tips
- Blue and White Christmas Living Room
- DIY Winter Wreath with Bells (step-by-step tutorial)
Note: This post was originally written as a sponsored piece in 2018 and has been updated since. I continue to use a service that offers a variety of designs and helpful printing options like recipient addressing and return addressing to simplify the process.