
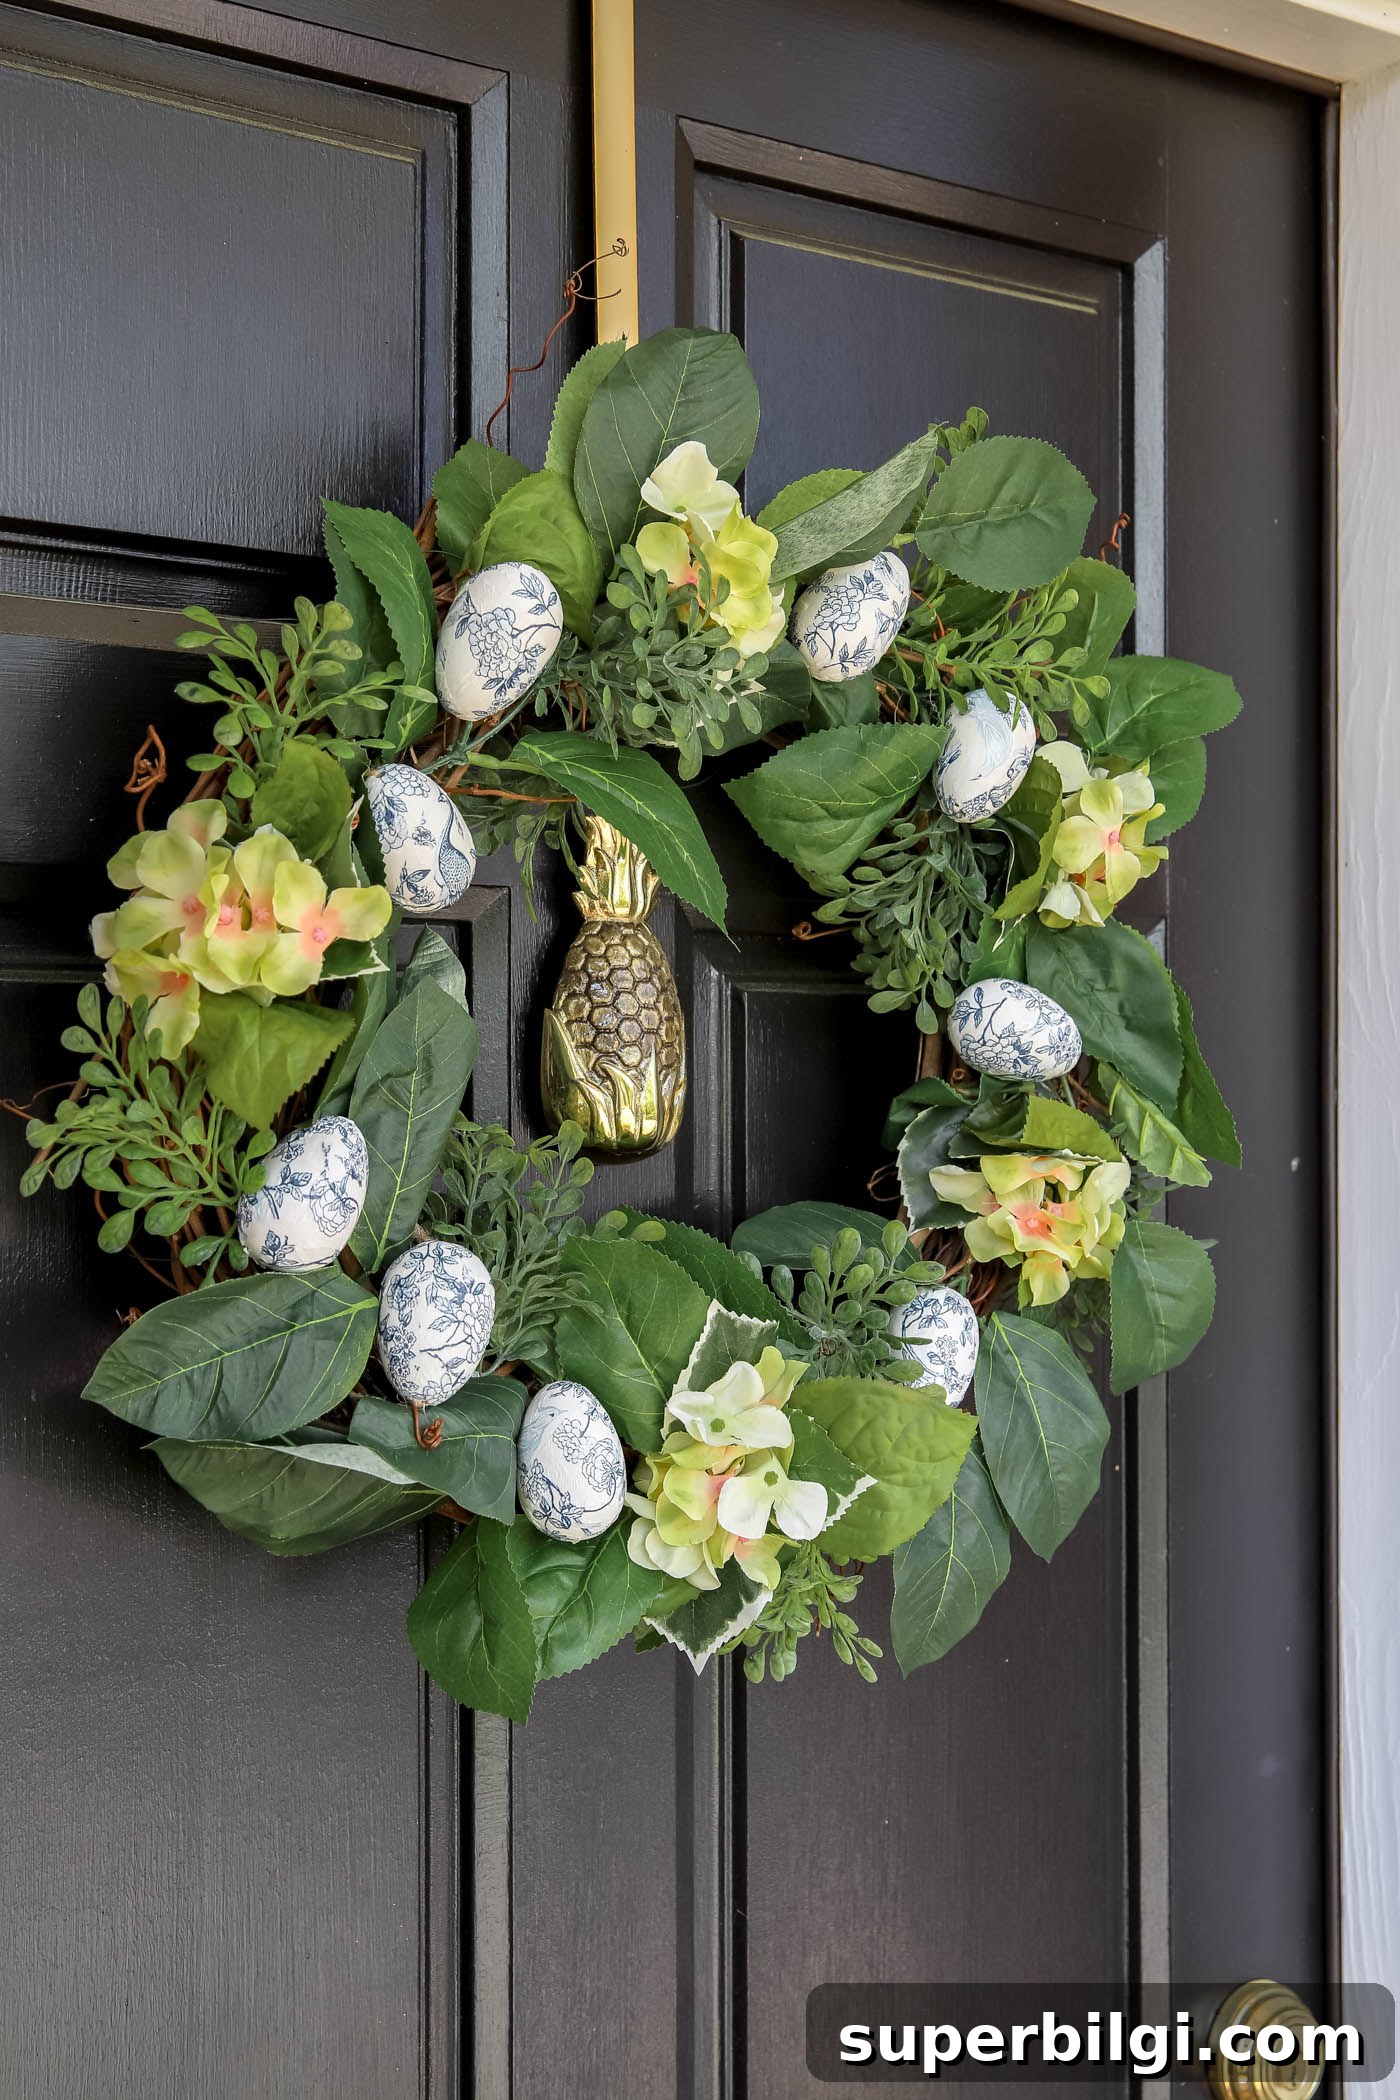
This wreath is a fresh twist on the classic Easter egg wreath, using decoupaged chinoiserie-style eggs in blue and white. It’s a lovely, timeless look that works for Easter and the whole spring season.
I’d been wanting to create an Easter decoration using items I already had on hand. An old lemon wreath sat in my craft closet along with several wooden eggs and a stack of blue-and-white paper napkins leftover from a previous project. The result was a simple, elegant wreath that feels both classic and modern — perfect for March through May.
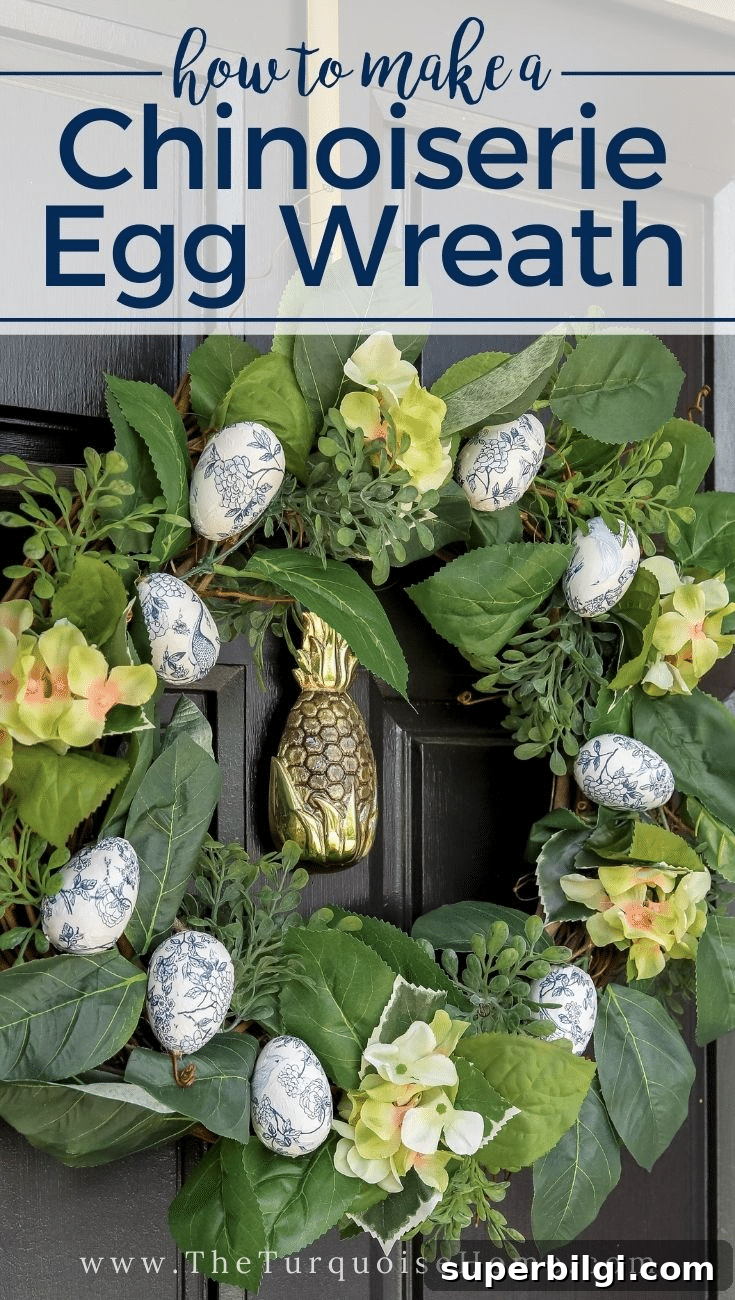
My idea was straightforward: decoupage the wooden eggs with blue-and-white napkin motifs, remove the lemons from the wreath form, add greenery and flowers, then attach the finished eggs using floral wire. The project is approachable for crafters of nearly any skill level and makes a beautiful door or wall accent.
This post contains affiliate links for your convenience. See my full disclosure policy.
What You’ll Need to Make a DIY Easter Egg Wreath
- 9 wooden or faux eggs — any lightweight faux eggs will work
- Blue-and-white paper napkins with chinoiserie or floral patterns
- Drill bit longer than the eggs
- Drill
- Light-colored paint (white or off-white)
- Small craft paintbrush
- Hot glue gun and glue sticks
- Mod Podge or similar decoupage medium
- Floral wire
- 18-inch grapevine wreath form
- Faux greenery stems for base coverage
- Faux flowers to add pops of color and texture
How to Make an Easter Egg Wreath
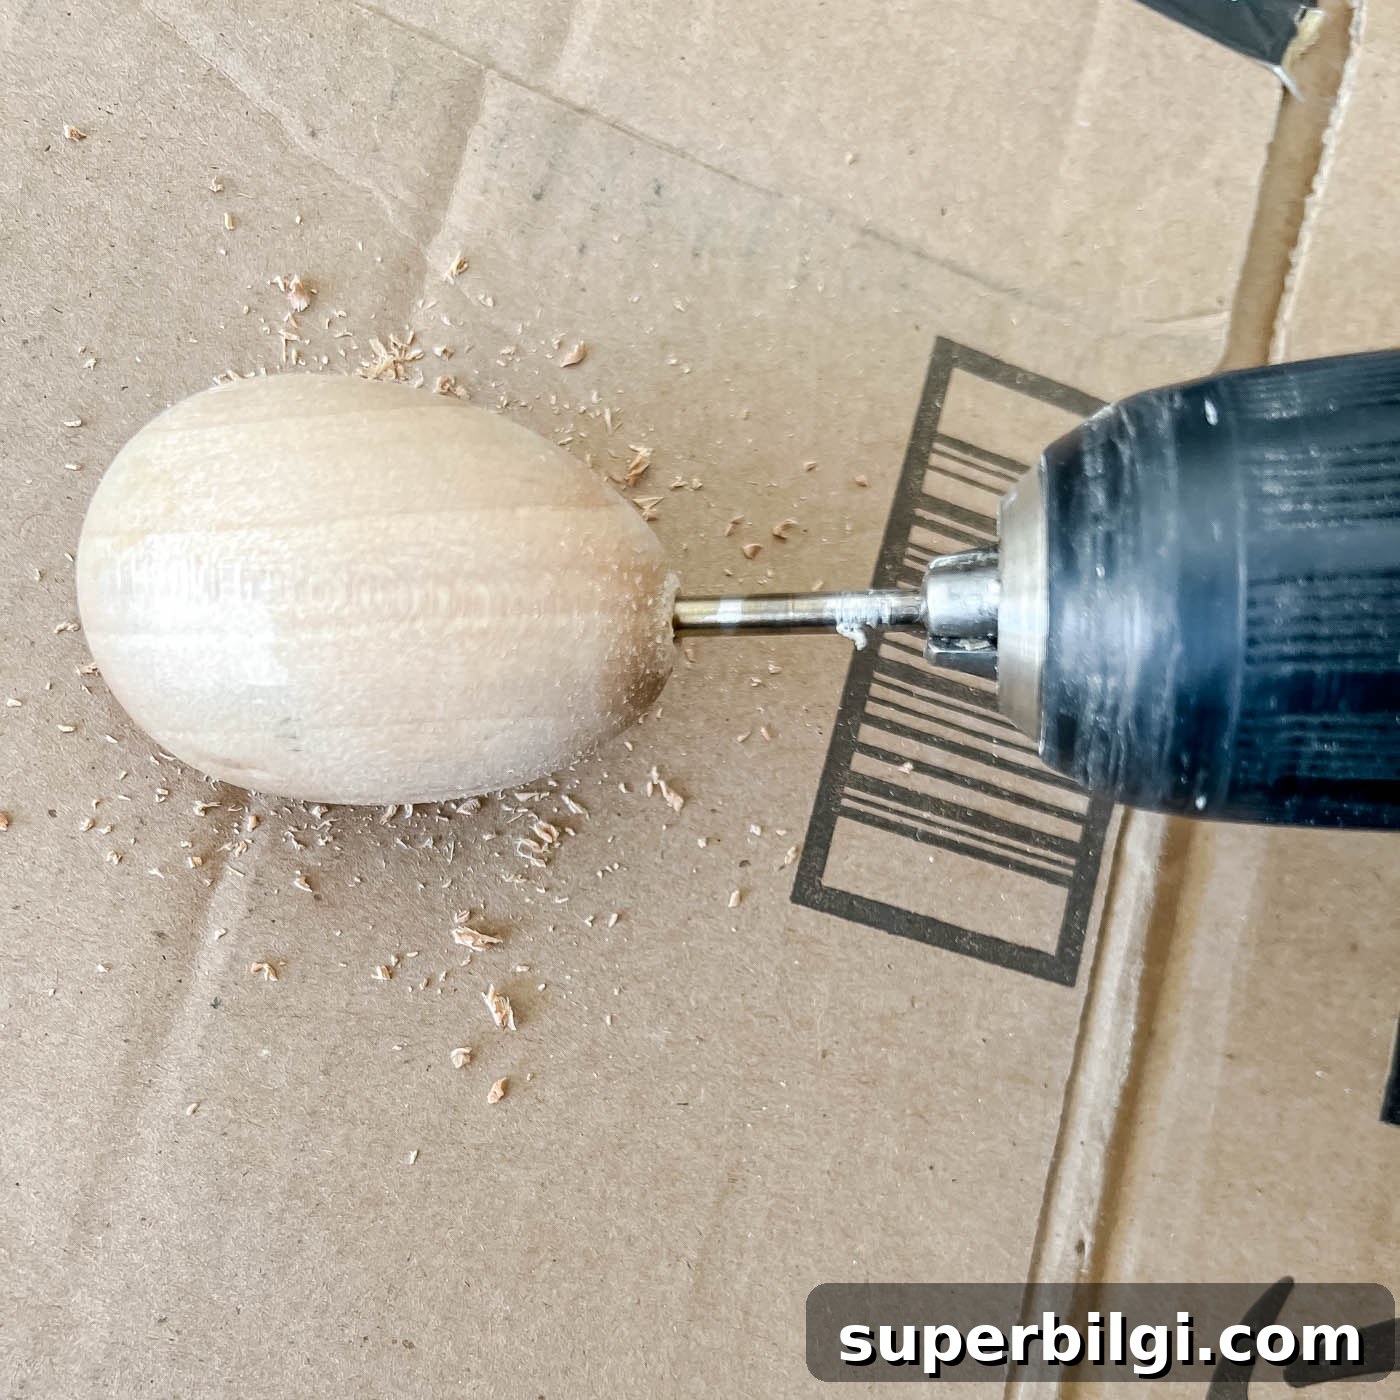
1. Drill a hole through the center of each egg
Begin by drilling a straight hole through the center of each wooden egg. Use a drill bit that is longer than the egg so you can easily pass the bit completely through. Attempting to meet two shorter holes drilled from each end can leave an uneven channel, so drilling straight through with a single long bit is the most reliable approach.
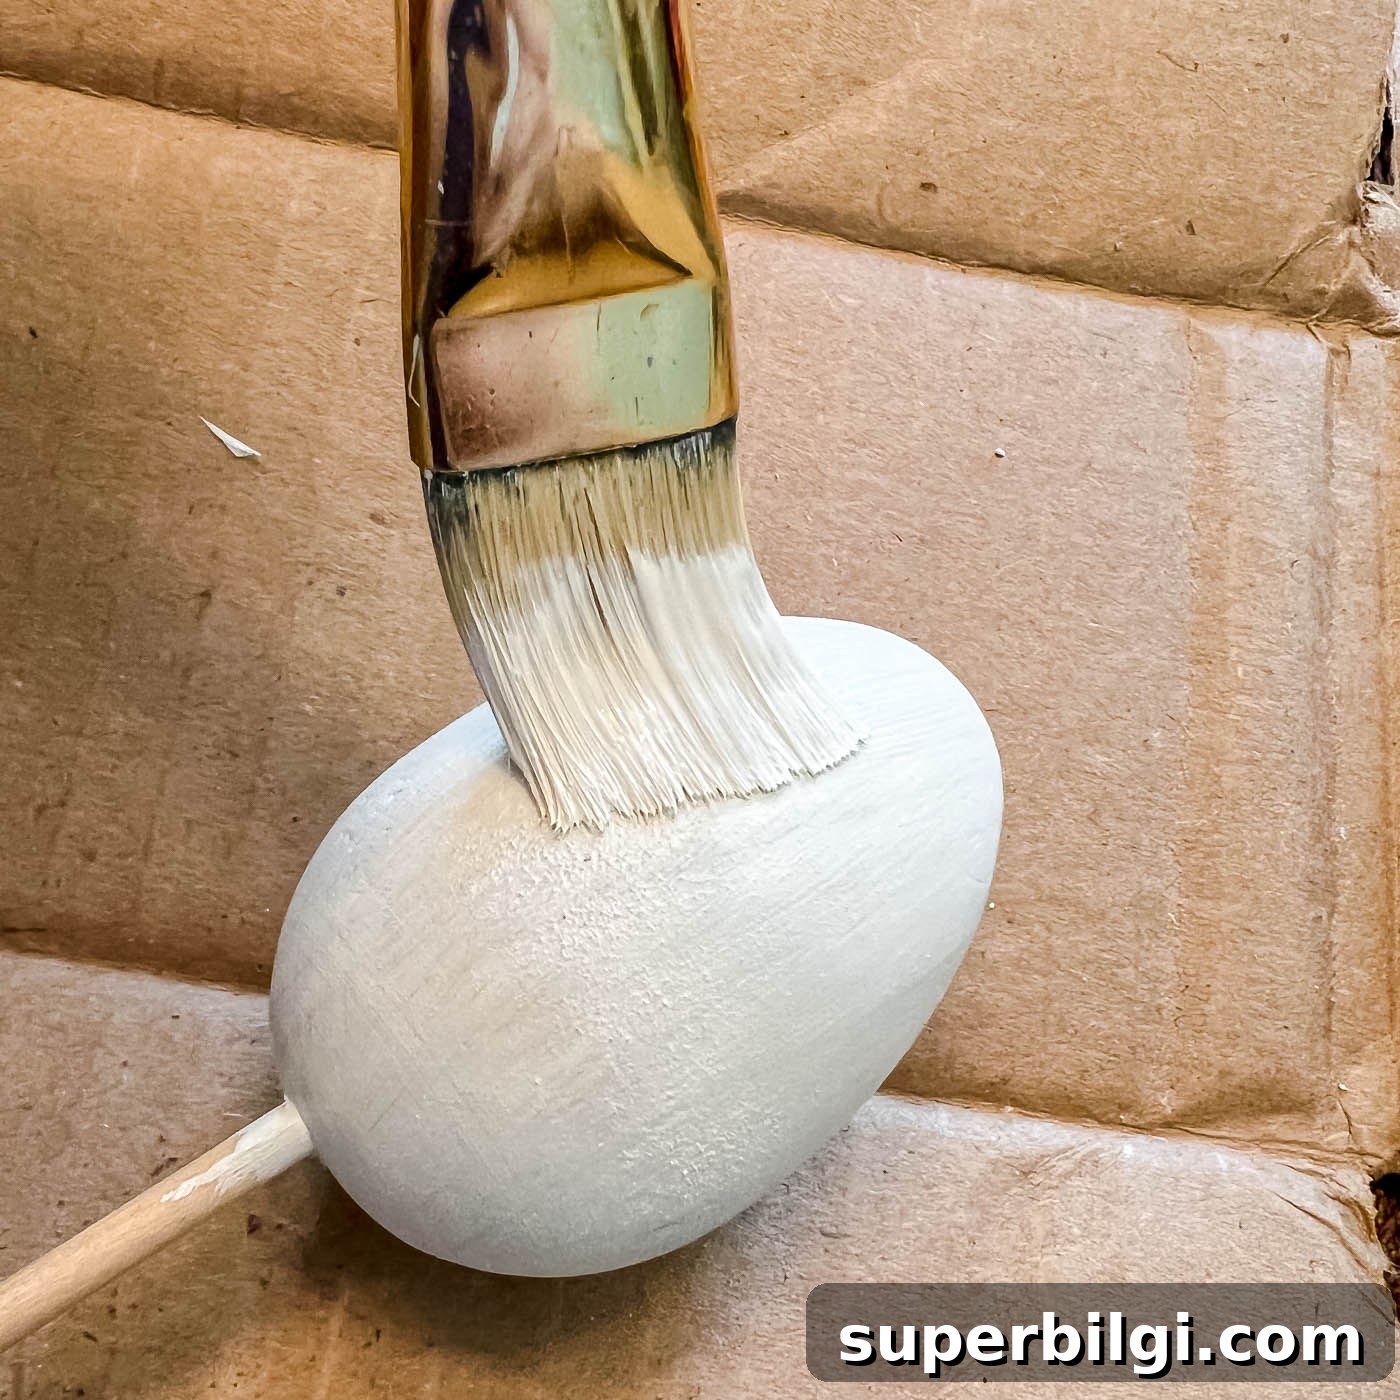
2. Paint the eggs a light, neutral color
Wood can be too dark for delicate napkin designs to read well, so paint the eggs with a light coat of white or off-white paint first. One thin coat is usually enough; the goal is to create a neutral base so the patterns on your napkin will pop. To make painting easier, insert skewers, toothpicks, or dowels into the drilled holes so you can hold and rotate the egg without touching wet paint.
Allow the paint to dry completely before moving to decoupage.
3. Decoupage the eggs with napkin pieces
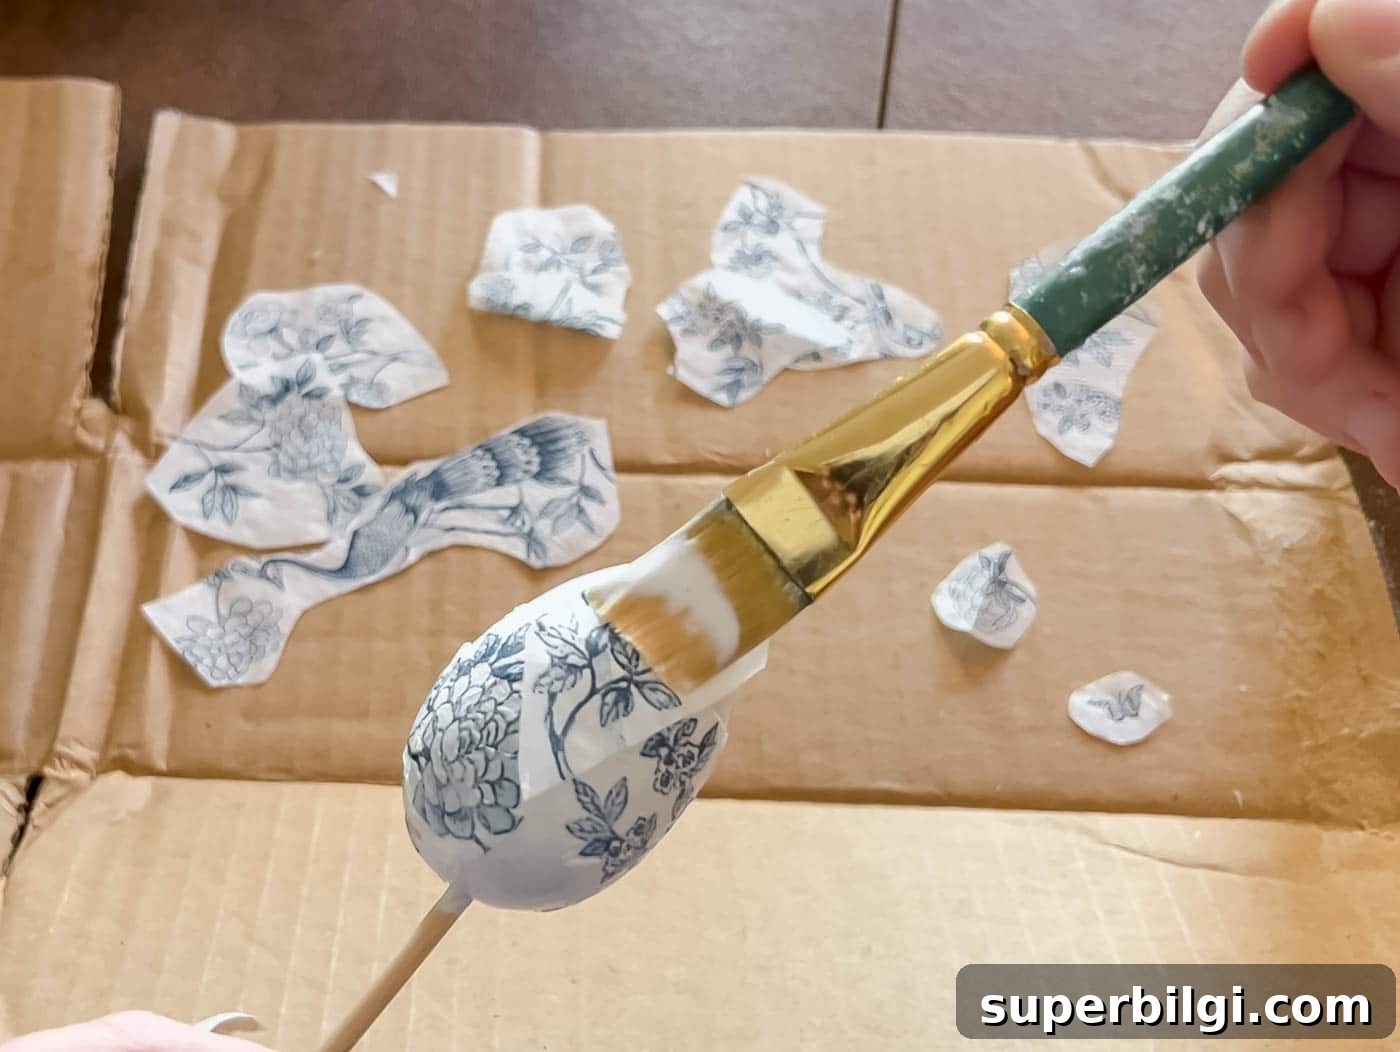
Most paper napkins are two or three plies; gently separate them so you have a single thin layer for decoupaging. Cut or tear the napkin into small pieces or shapes that will fit the curved surface of the egg. Working with smaller pieces prevents bunching and helps you achieve a smooth finish.
Apply a thin layer of Mod Podge over the entire egg, position the napkin pieces, and smooth them down gently with your brush or finger. Brush another light layer of Mod Podge over the napkin to seal it. Work in small sections until the entire egg is covered and the design looks continuous. Let the eggs dry fully between coats and after finishing.
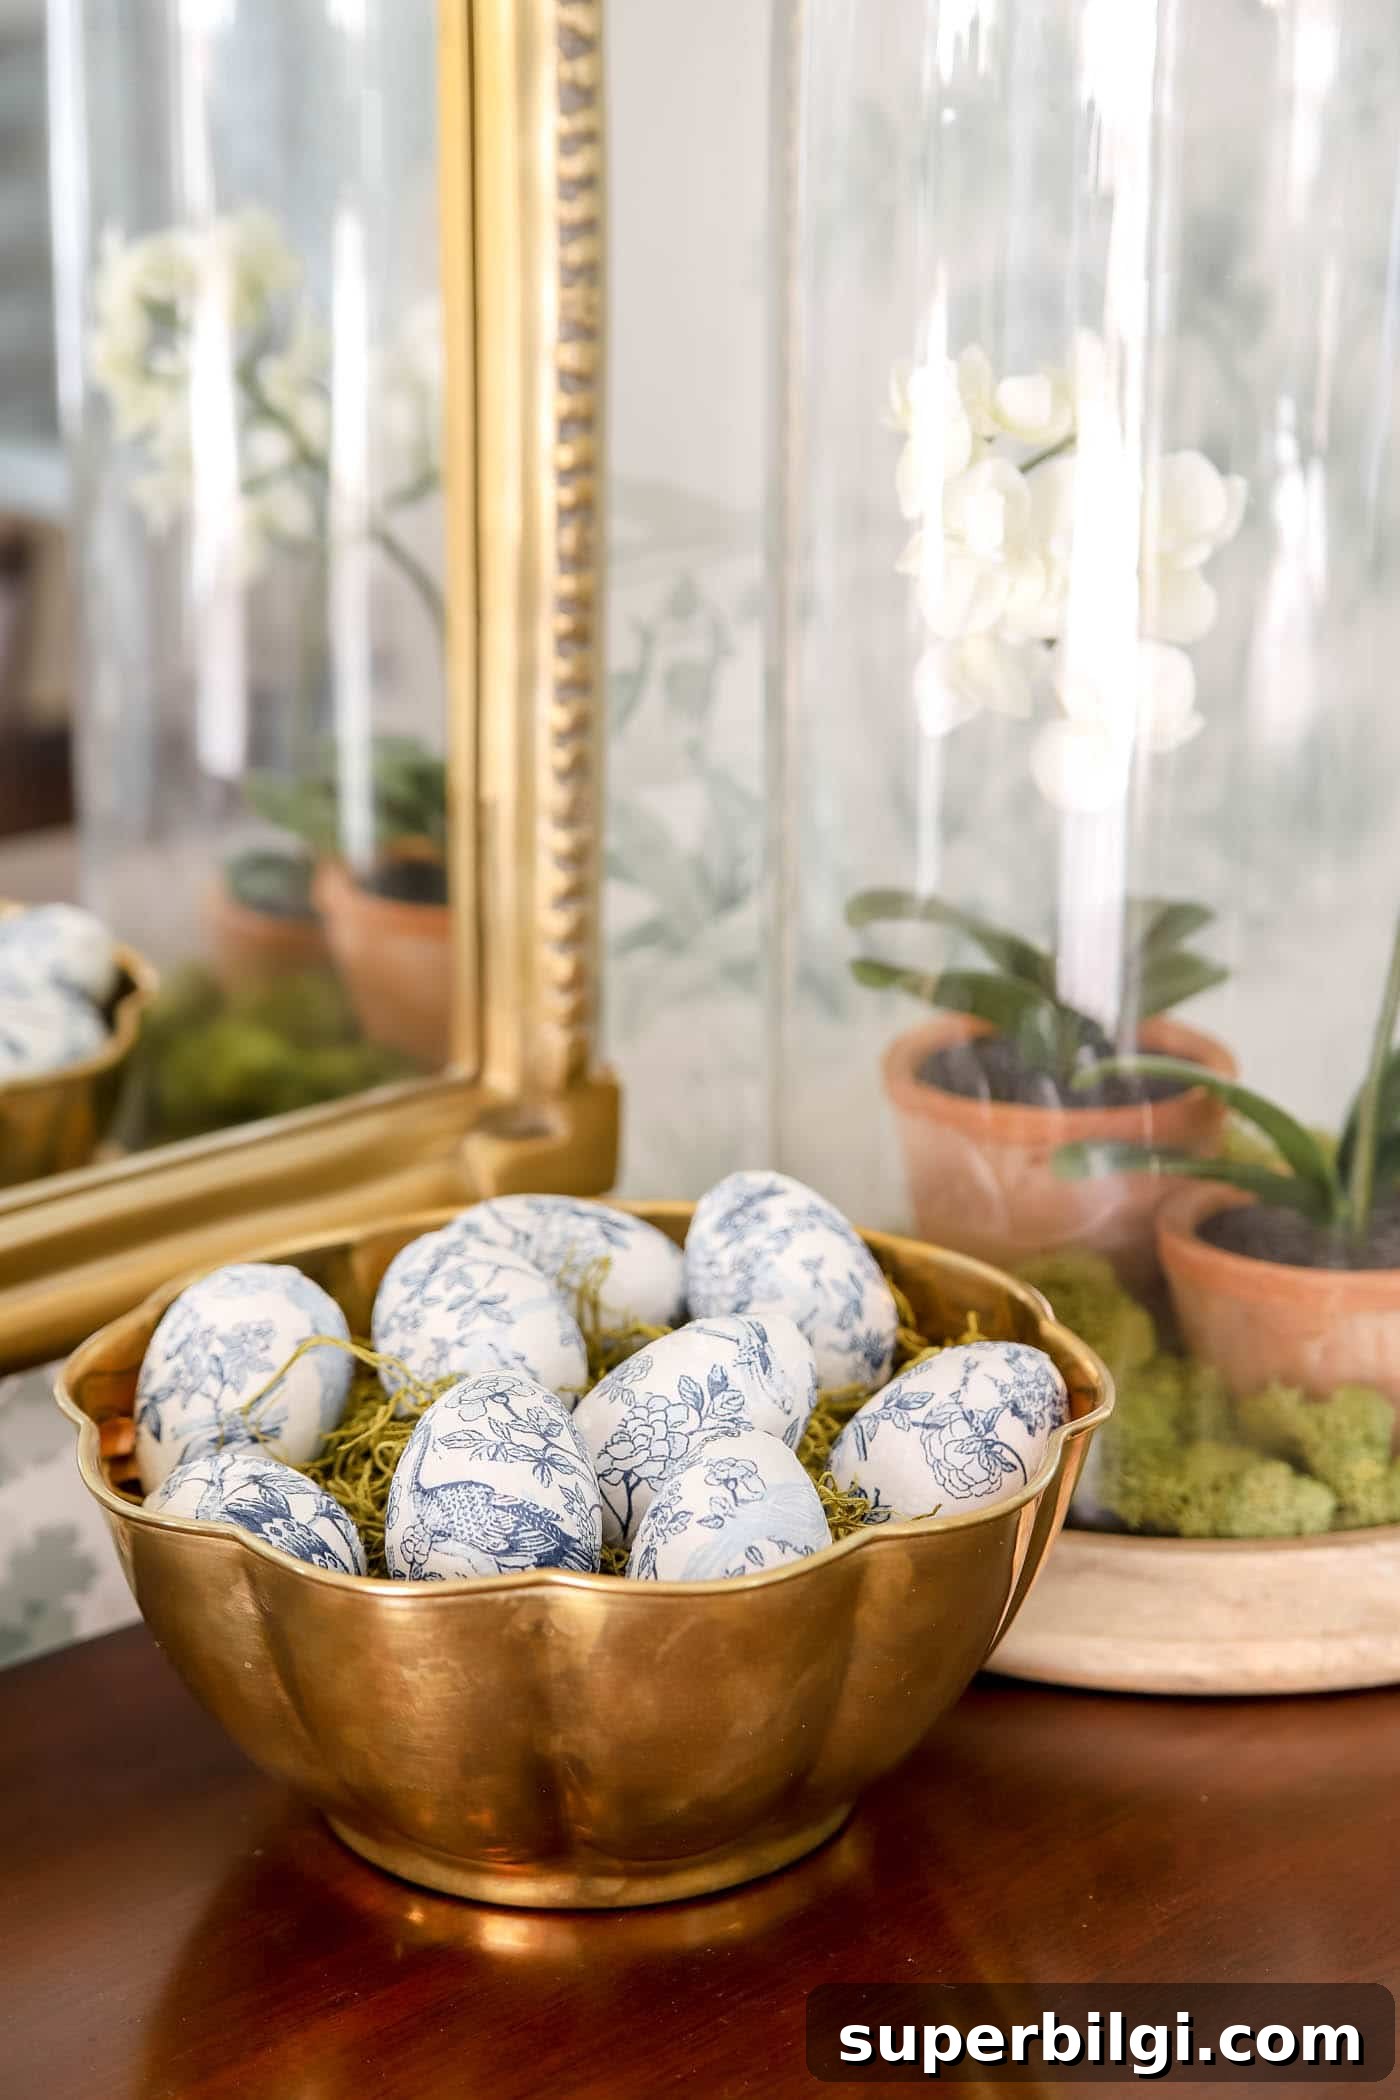
At this point, the decoupaged eggs also look lovely grouped in a bowl if you prefer not to make a wreath.
4. Prepare the wreath base with greenery and flowers
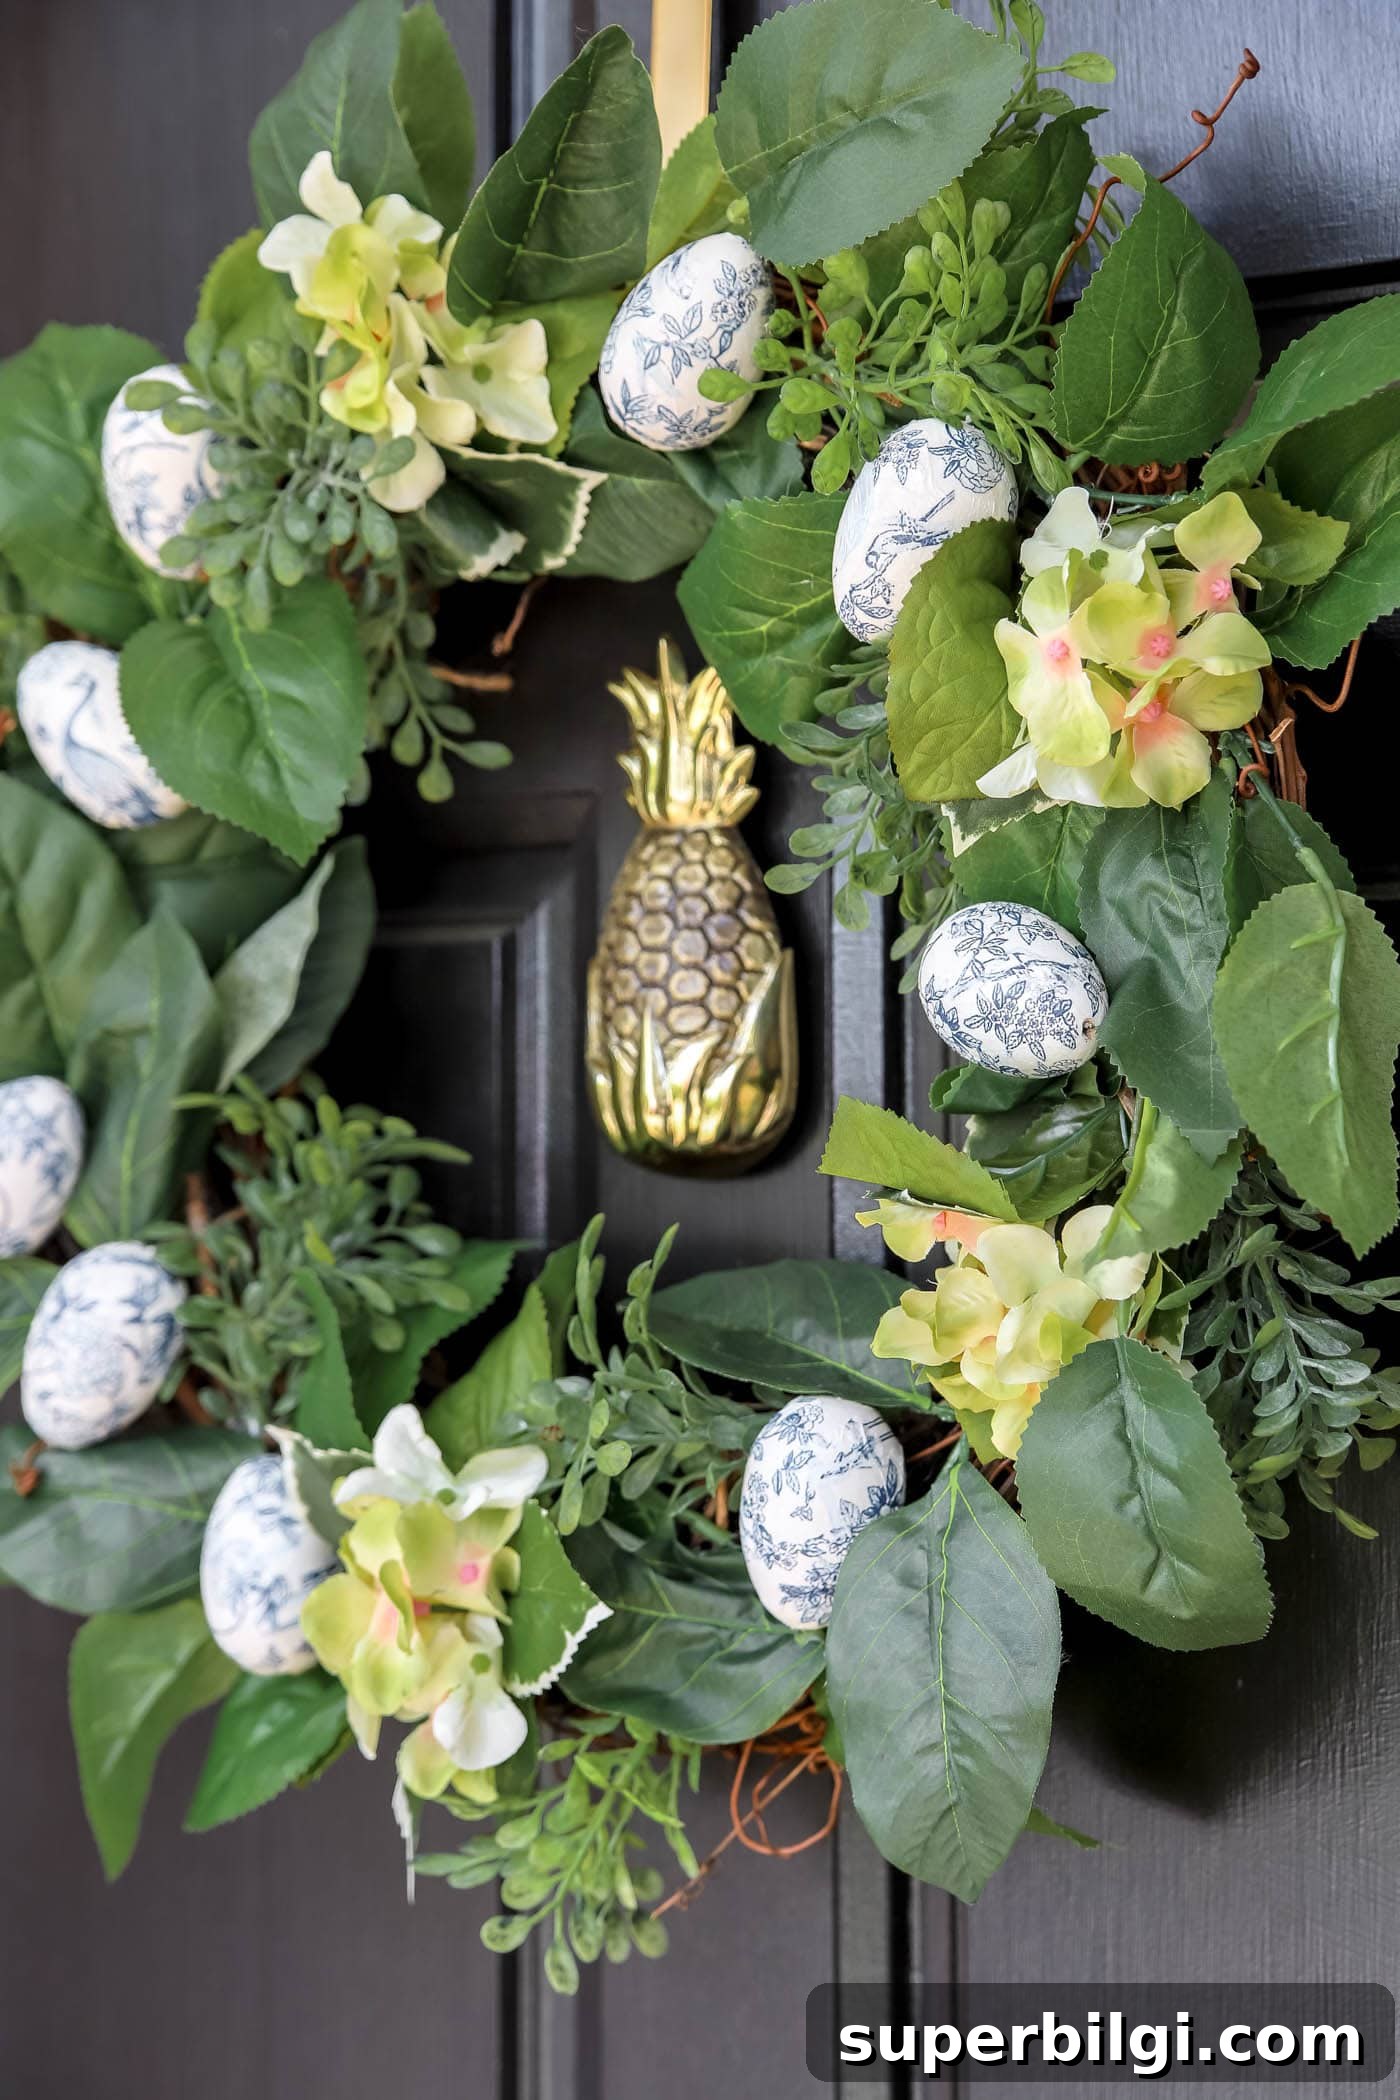
If you’re new to making wreaths, start by arranging faux greenery around the grapevine base to cover the form and build volume. Layer in faux flowers where you want focal points — clusters on one side or spaced evenly all the way around both work well. Secure stems with hot glue or wire as needed, tucking them into the grapevine for a natural look. Step back occasionally to check balance and adjust spacing until the composition feels right.
5. Attach the eggs to the wreath
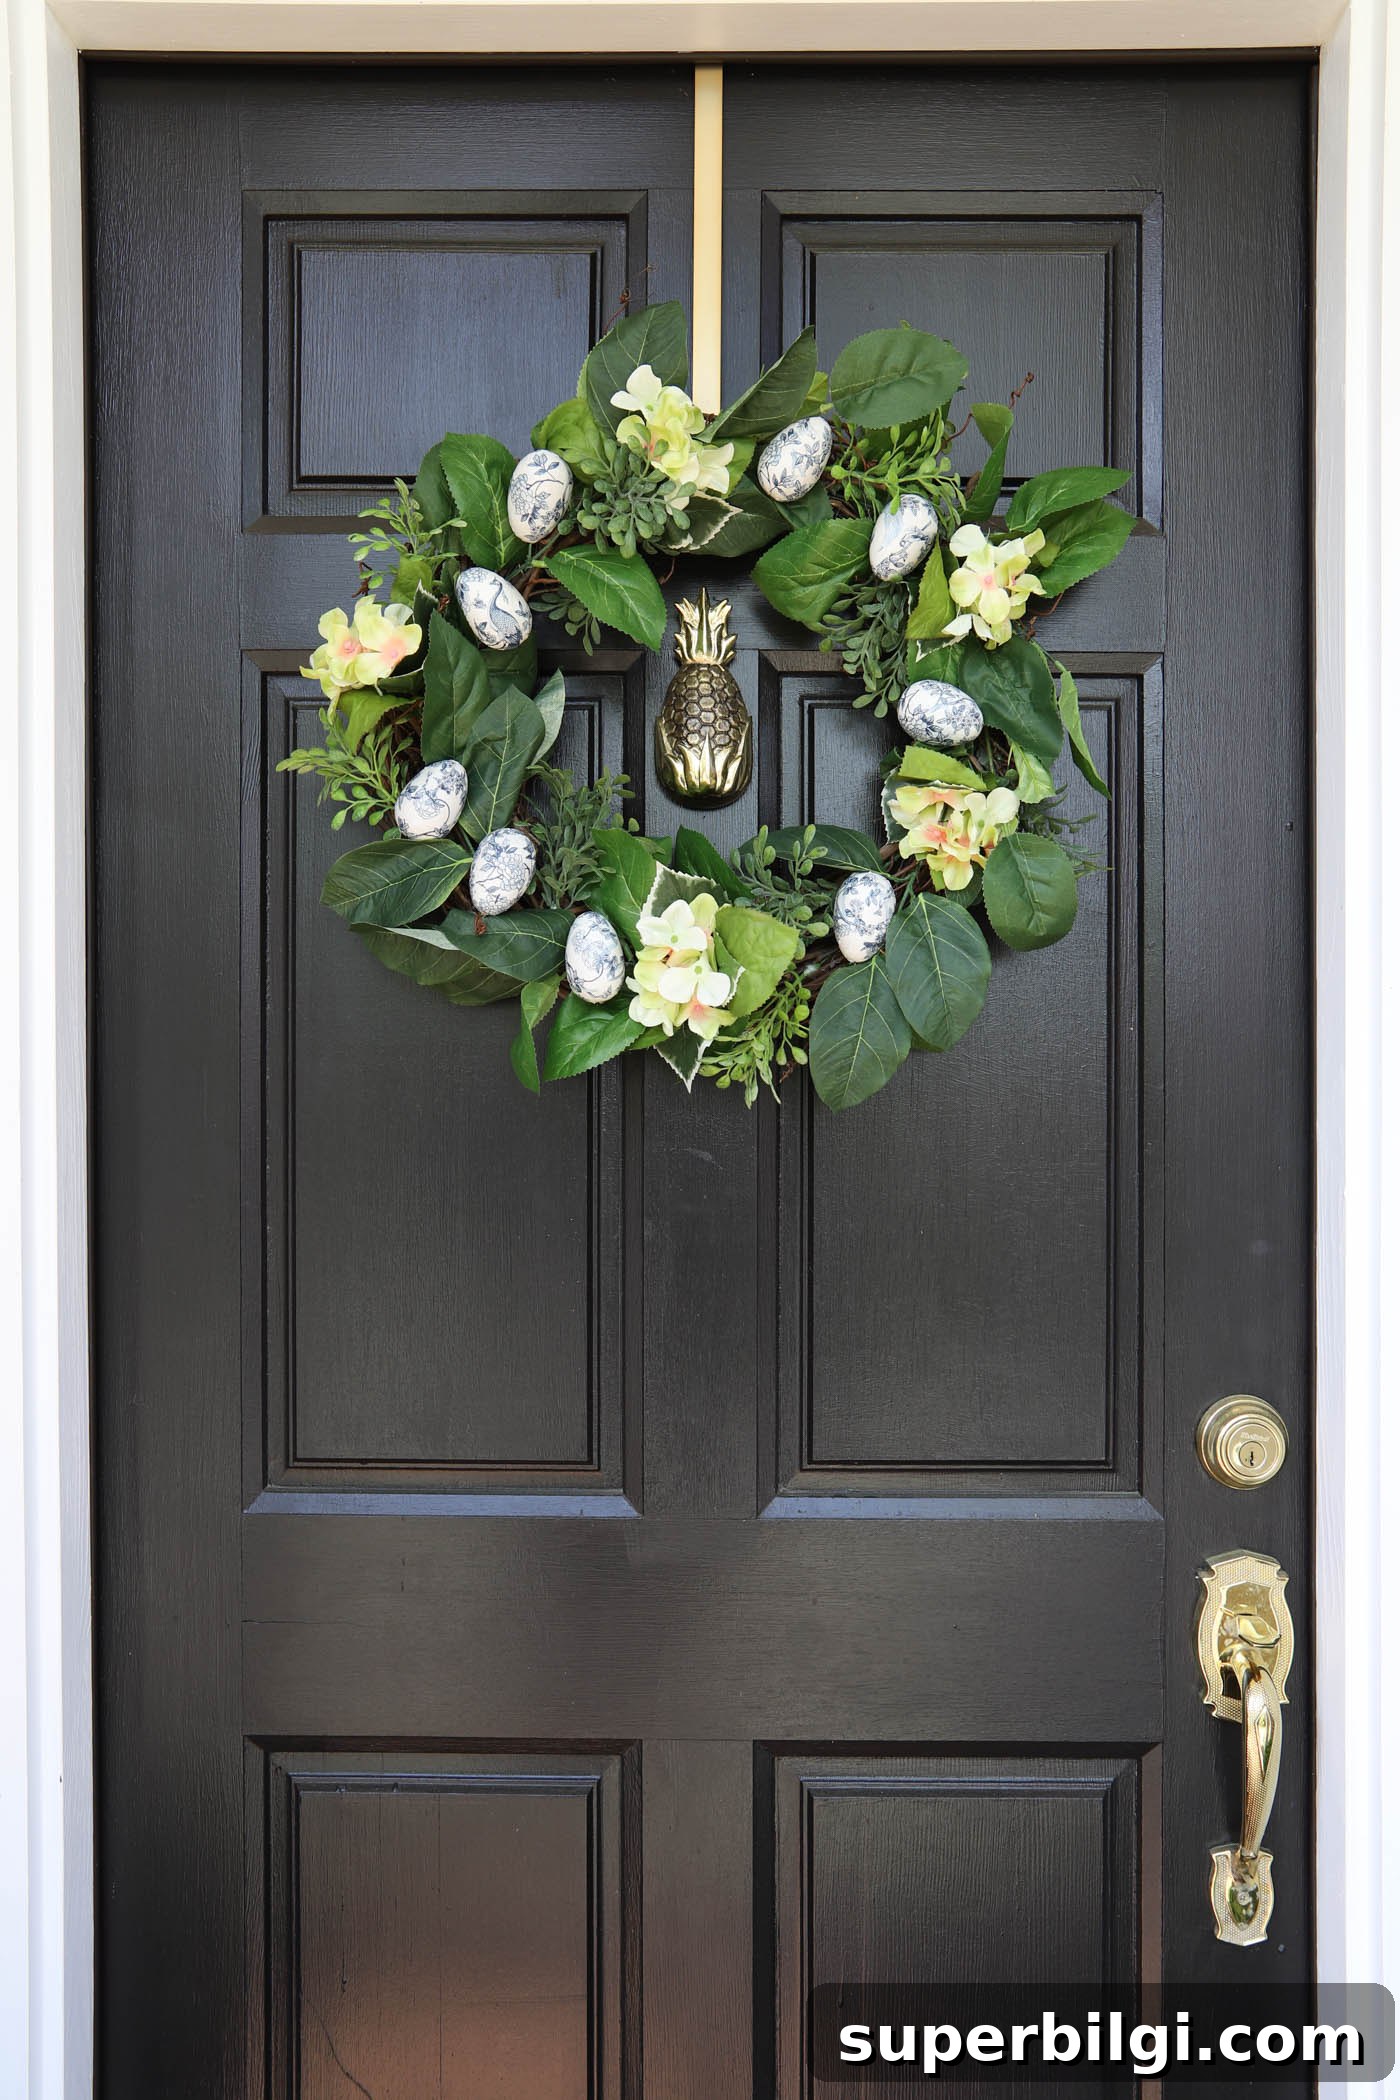
Thread floral wire through the hole in each egg and secure the wire to the wreath base. Wrap the wire tightly around a grapevine branch or through the wreath so the eggs sit firmly in place. You can cluster eggs together, space them evenly around the wreath, or concentrate them on one side for an asymmetrical design. Add any ribbons or additional embellishments you like, then hang your wreath and admire the finished piece.
This chinoiserie-inspired blue-and-white wreath adds understated sophistication to a front door or entryway and is easy to swap into seasonal decor setups.
Tips: Work with small napkin pieces to avoid wrinkles, test placement before gluing, and allow each layer of Mod Podge to dry fully to prevent tackiness. If using plastic eggs, ensure your drill bit and wire are appropriate for the material.
More project ideas you might enjoy:
- Spring table decorations
- Popular paint color highlights
- Fun spring doormats
- Spring mantel decor ideas
- Simple ways to refresh your home for spring