
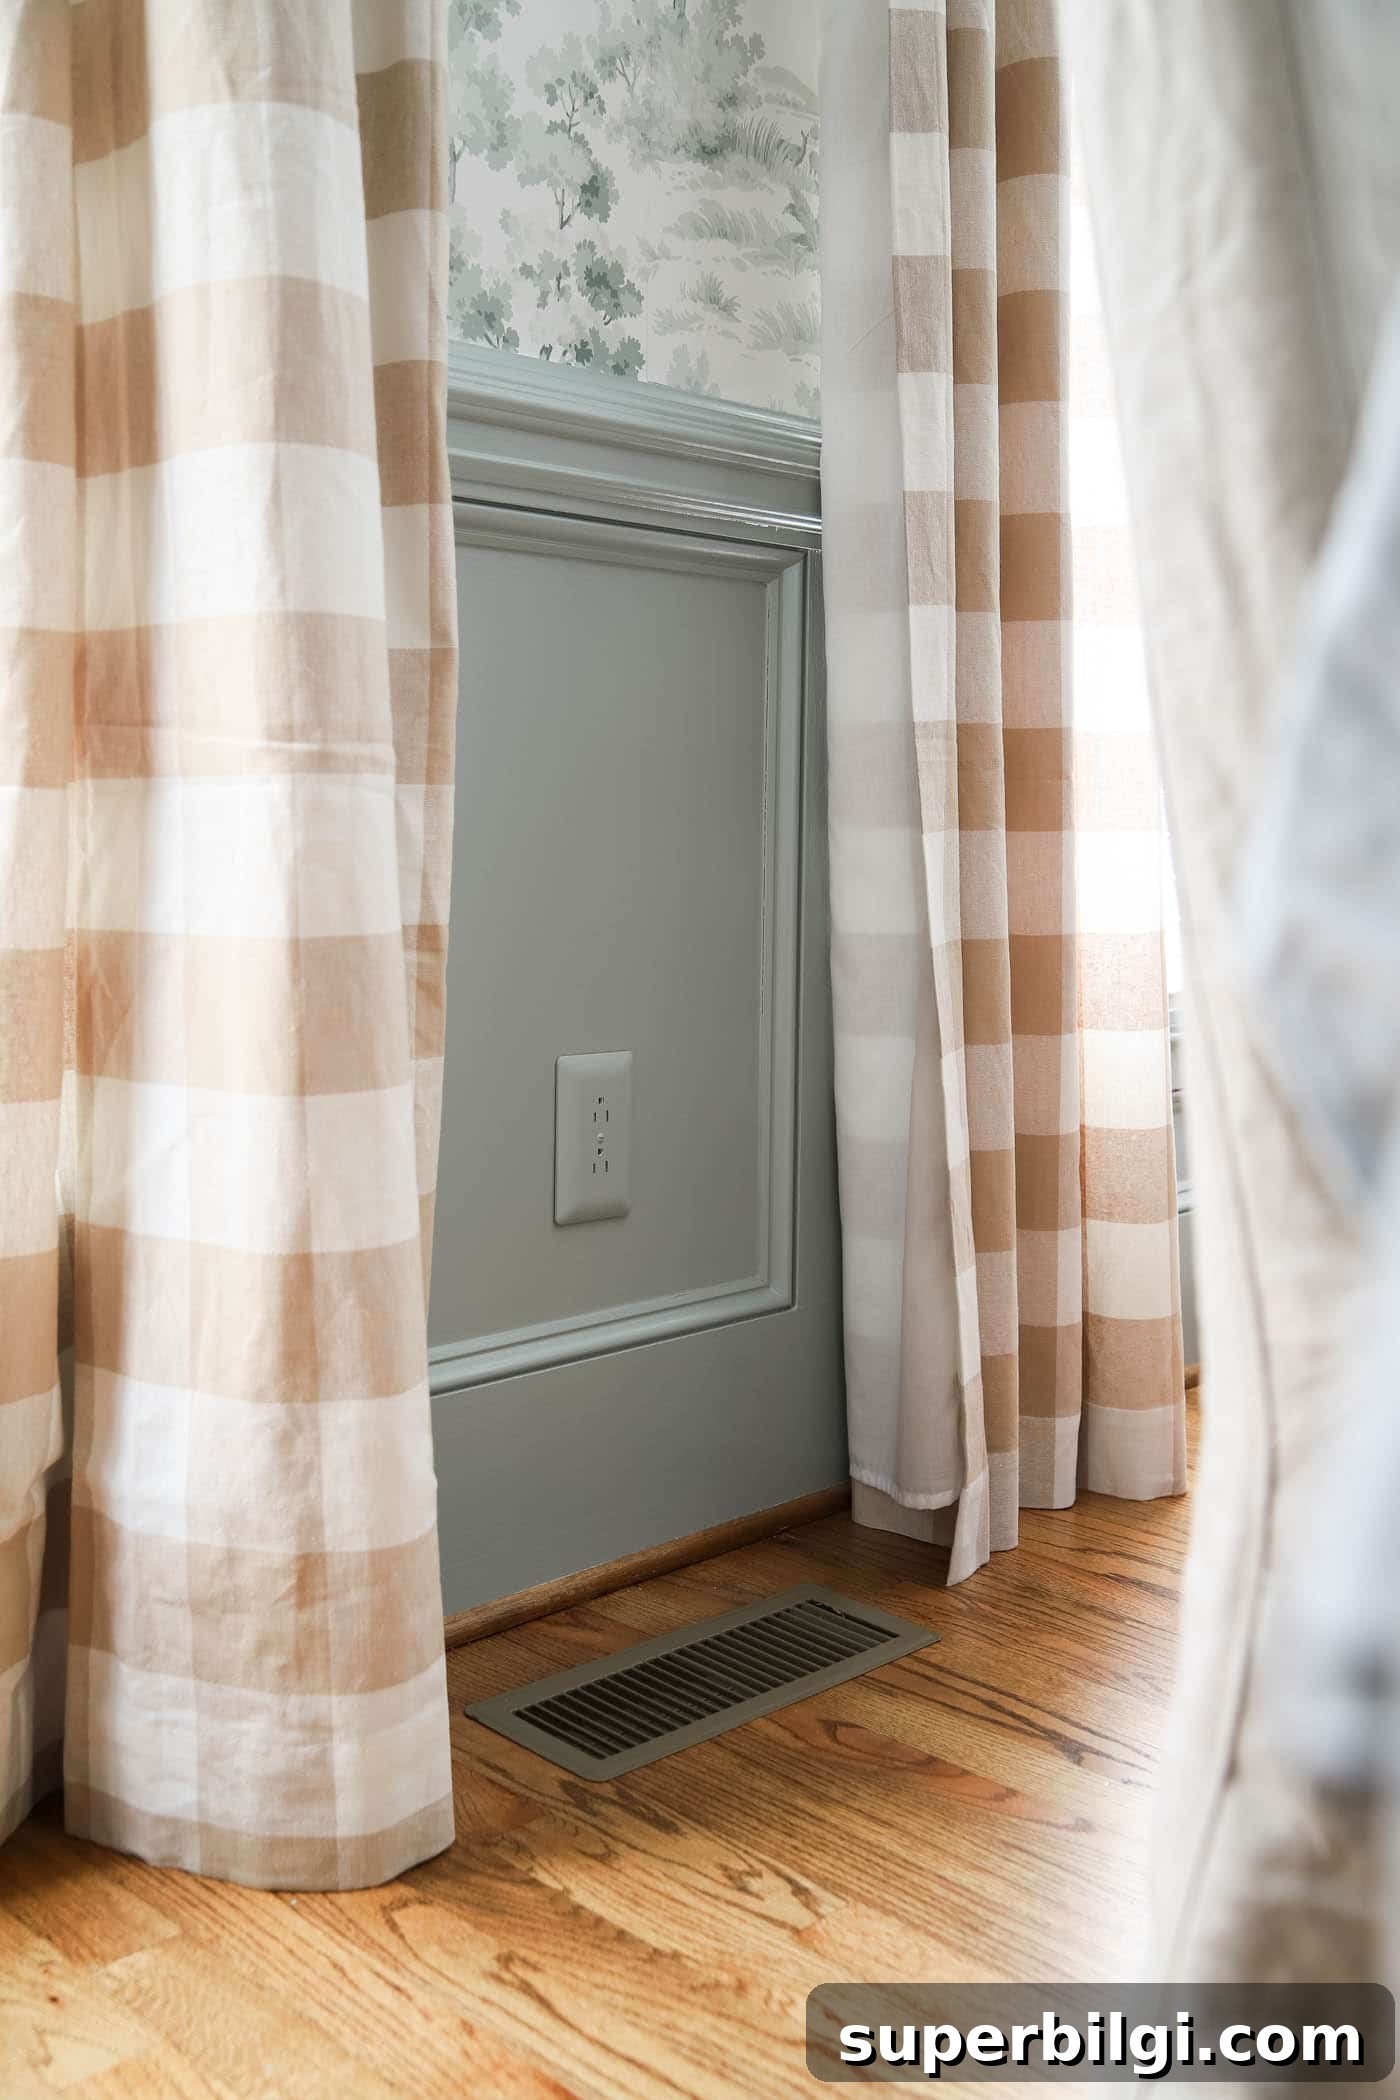
Don’t let outlet covers stick out like a white blotch on your freshly painted walls. Painted outlet covers are a simple, high-impact detail that instantly refines any room.
Have you ever noticed how a standard white outlet cover clashes with a colored wall? Painting outlet covers to match the wall color is an easy, inexpensive way to create a seamless, custom look throughout your home.
I only recently tried this myself while working on a dining room refresh where I painted the lower trim in a rich green. The bright white cover against the painted lower third looked off, so I explored options and discovered paintable textured outlet covers that sit over the existing plate and come with a paintable screw. The result is clean, consistent color without any exposed white plastic.
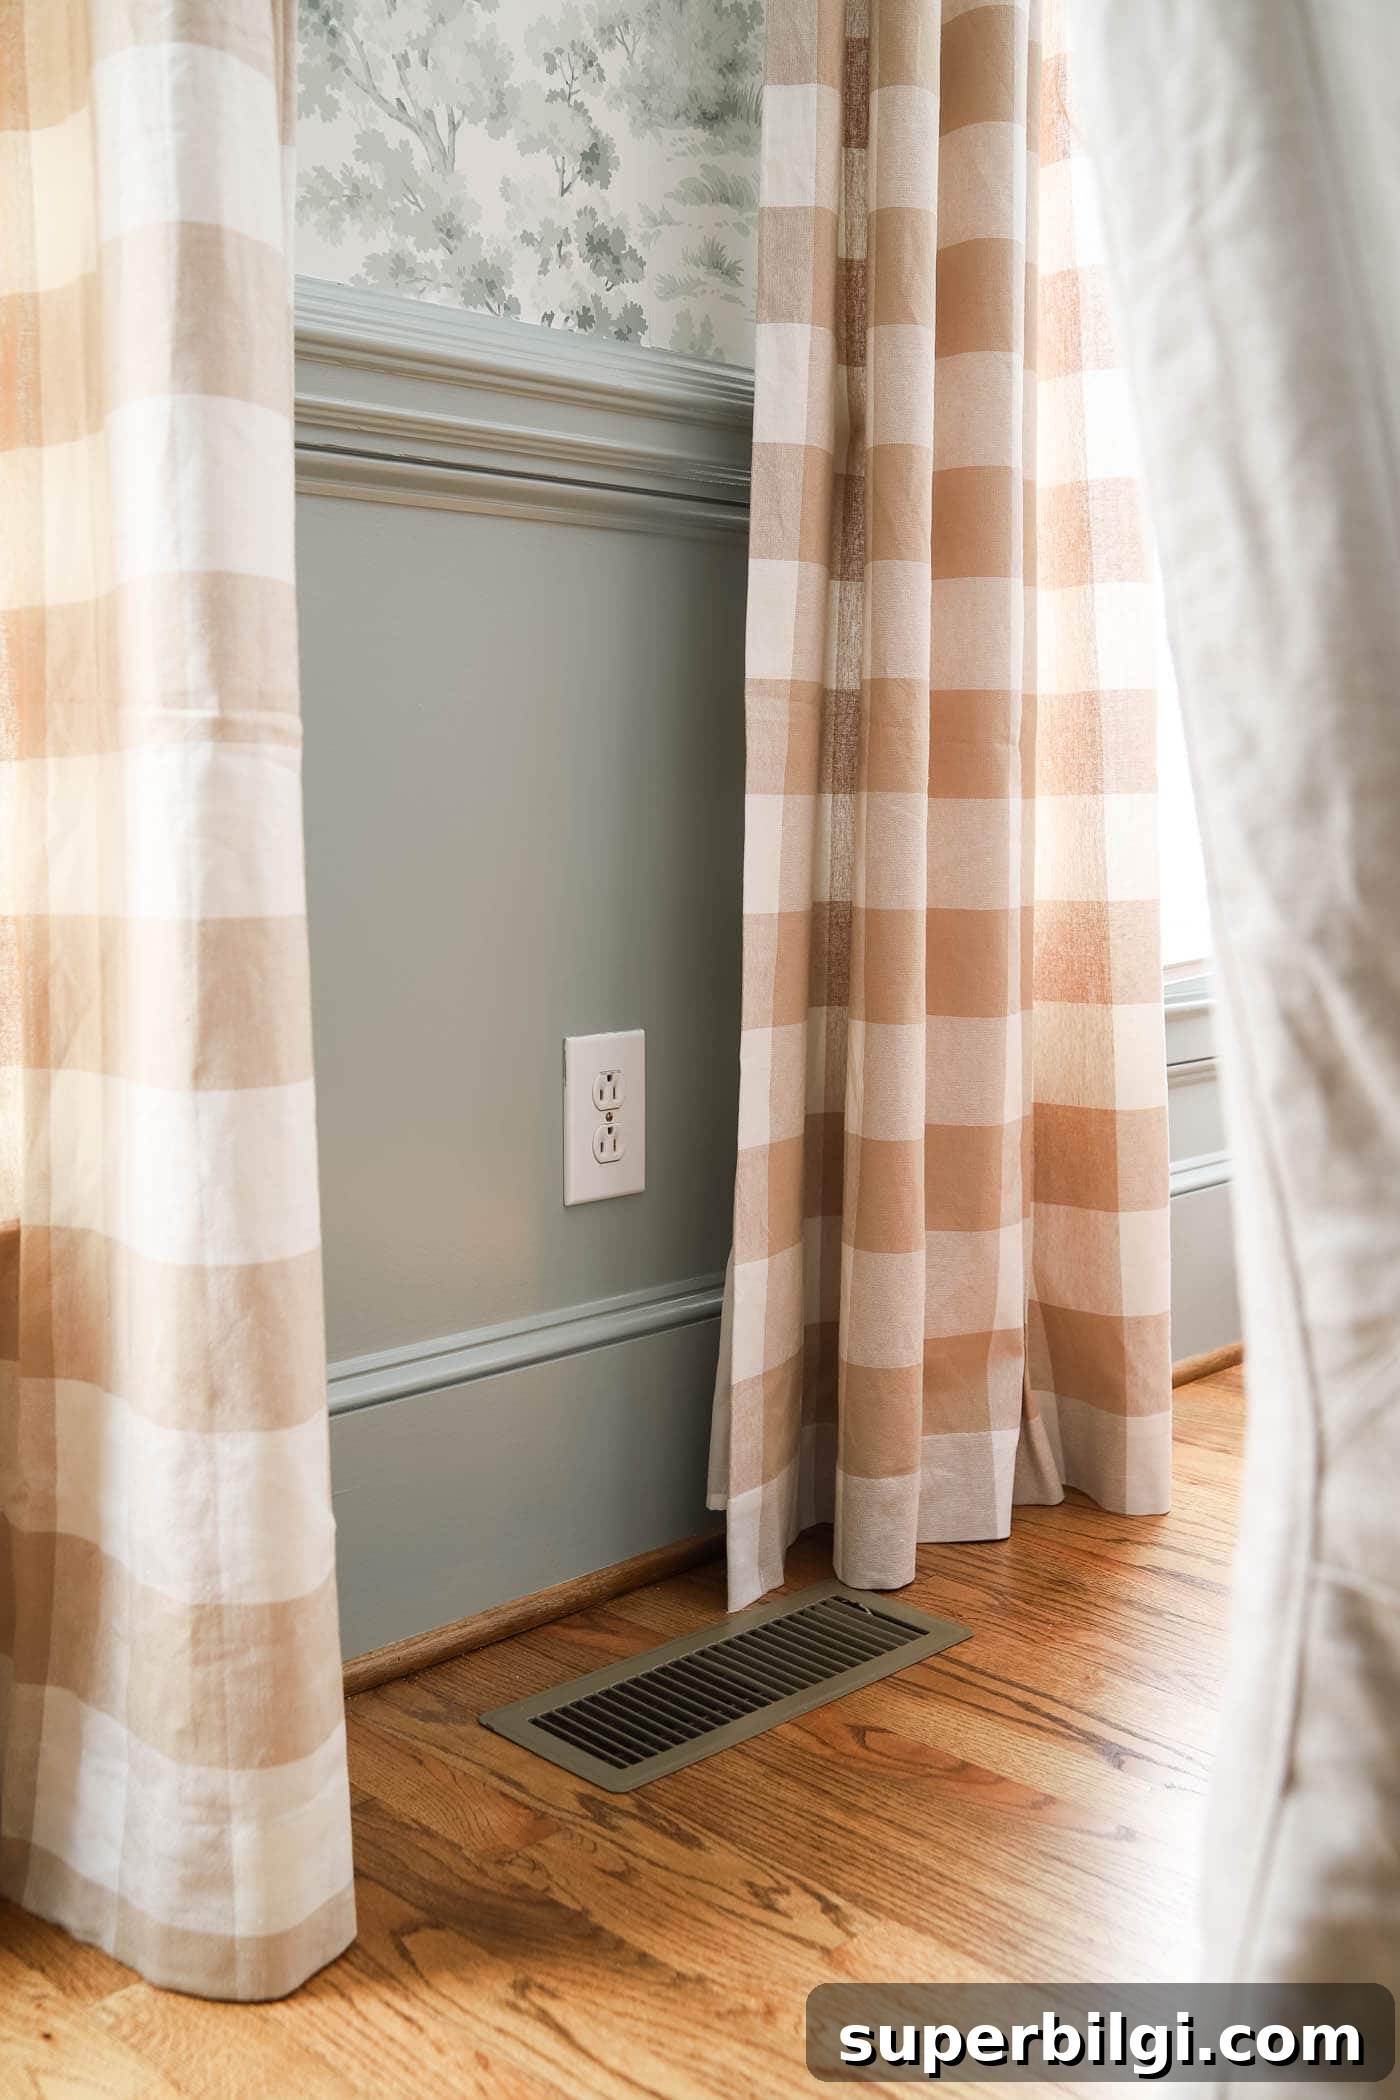
Painting Outlet Covers – the easy way!
At first I considered priming and painting the existing plastic cover, but I didn’t want to risk painting the inner receptacle area where plugs make contact. Instead, I found textured covers designed to fully overlay the original plate. These covers conceal the old white edge and include a screw you can paint for a seamless finish.
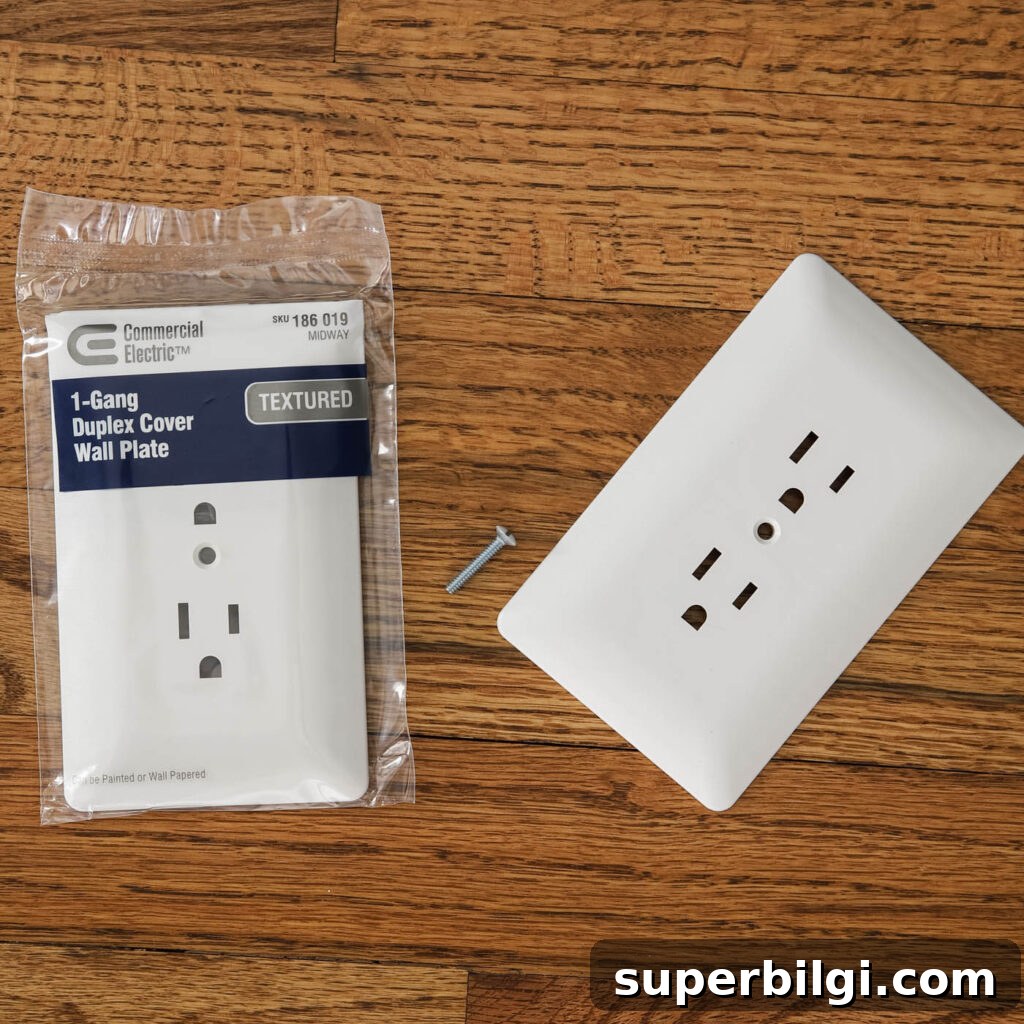
Supplies You Will Need
- Paintable outlet cover (textured covers that sit over the existing plate)
- Paint — I used the same semi-gloss paint I used on my walls for durability and easy cleaning
- Small paintbrush or mini roller for a smooth application
- Screwdriver to remove and install the cover
- Optional: very fine sandpaper and a tack cloth for better adhesion
How to Paint Outlet Covers
The process is straightforward and quick:
- Turn off power at the outlet (recommended as a safety precaution) and remove the existing outlet cover with a screwdriver.
- Clean the new textured cover to remove dust or oils. If needed, very lightly sand the surface and wipe it with a tack cloth.
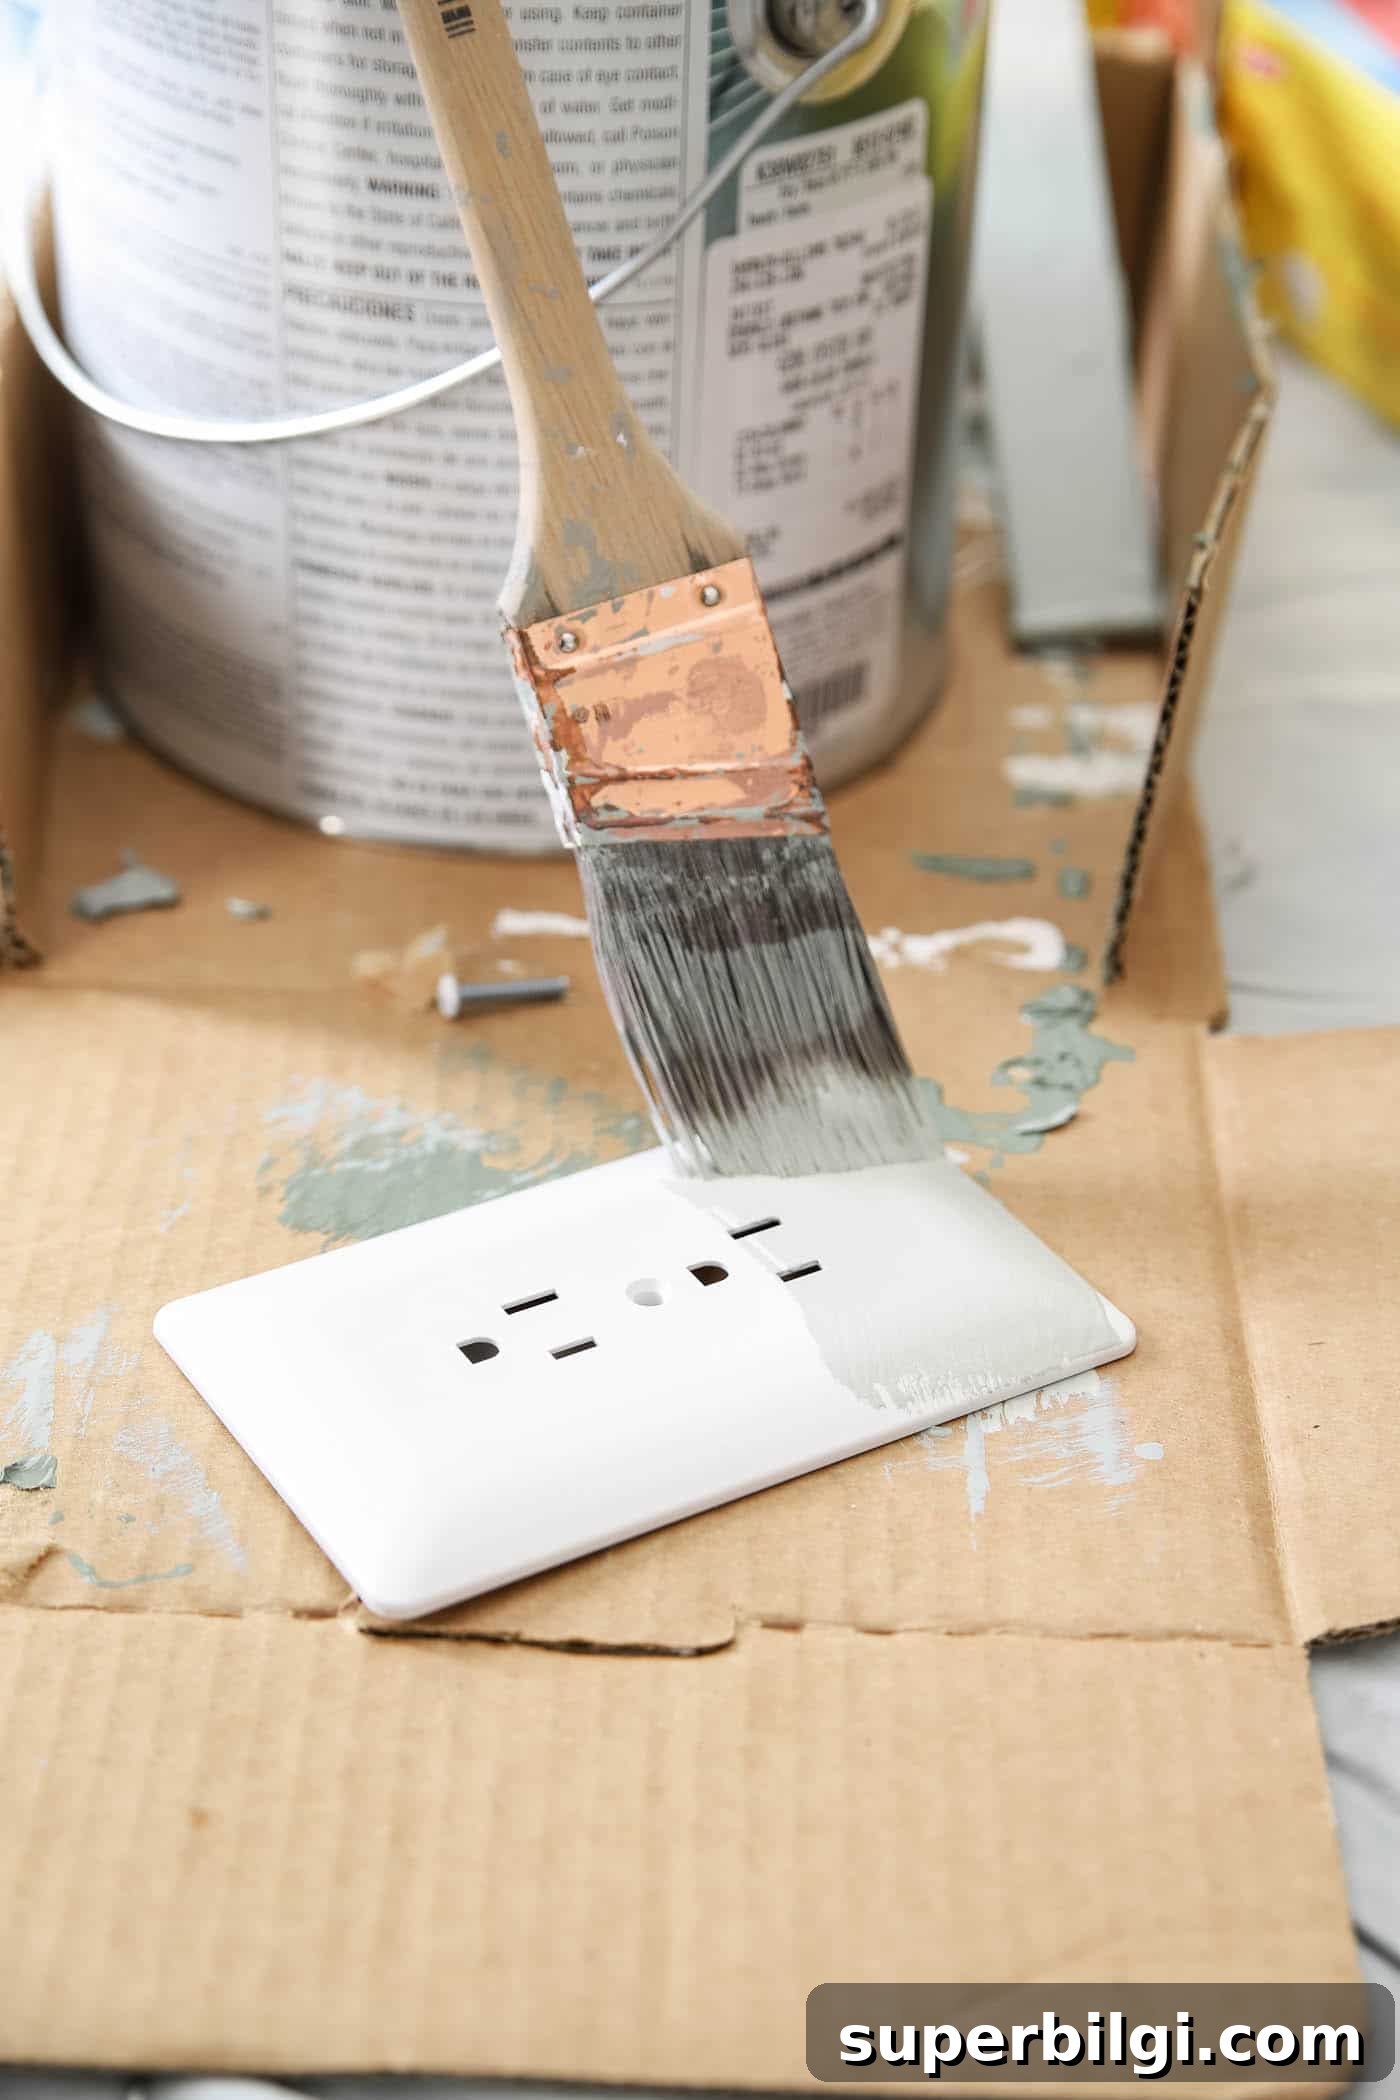
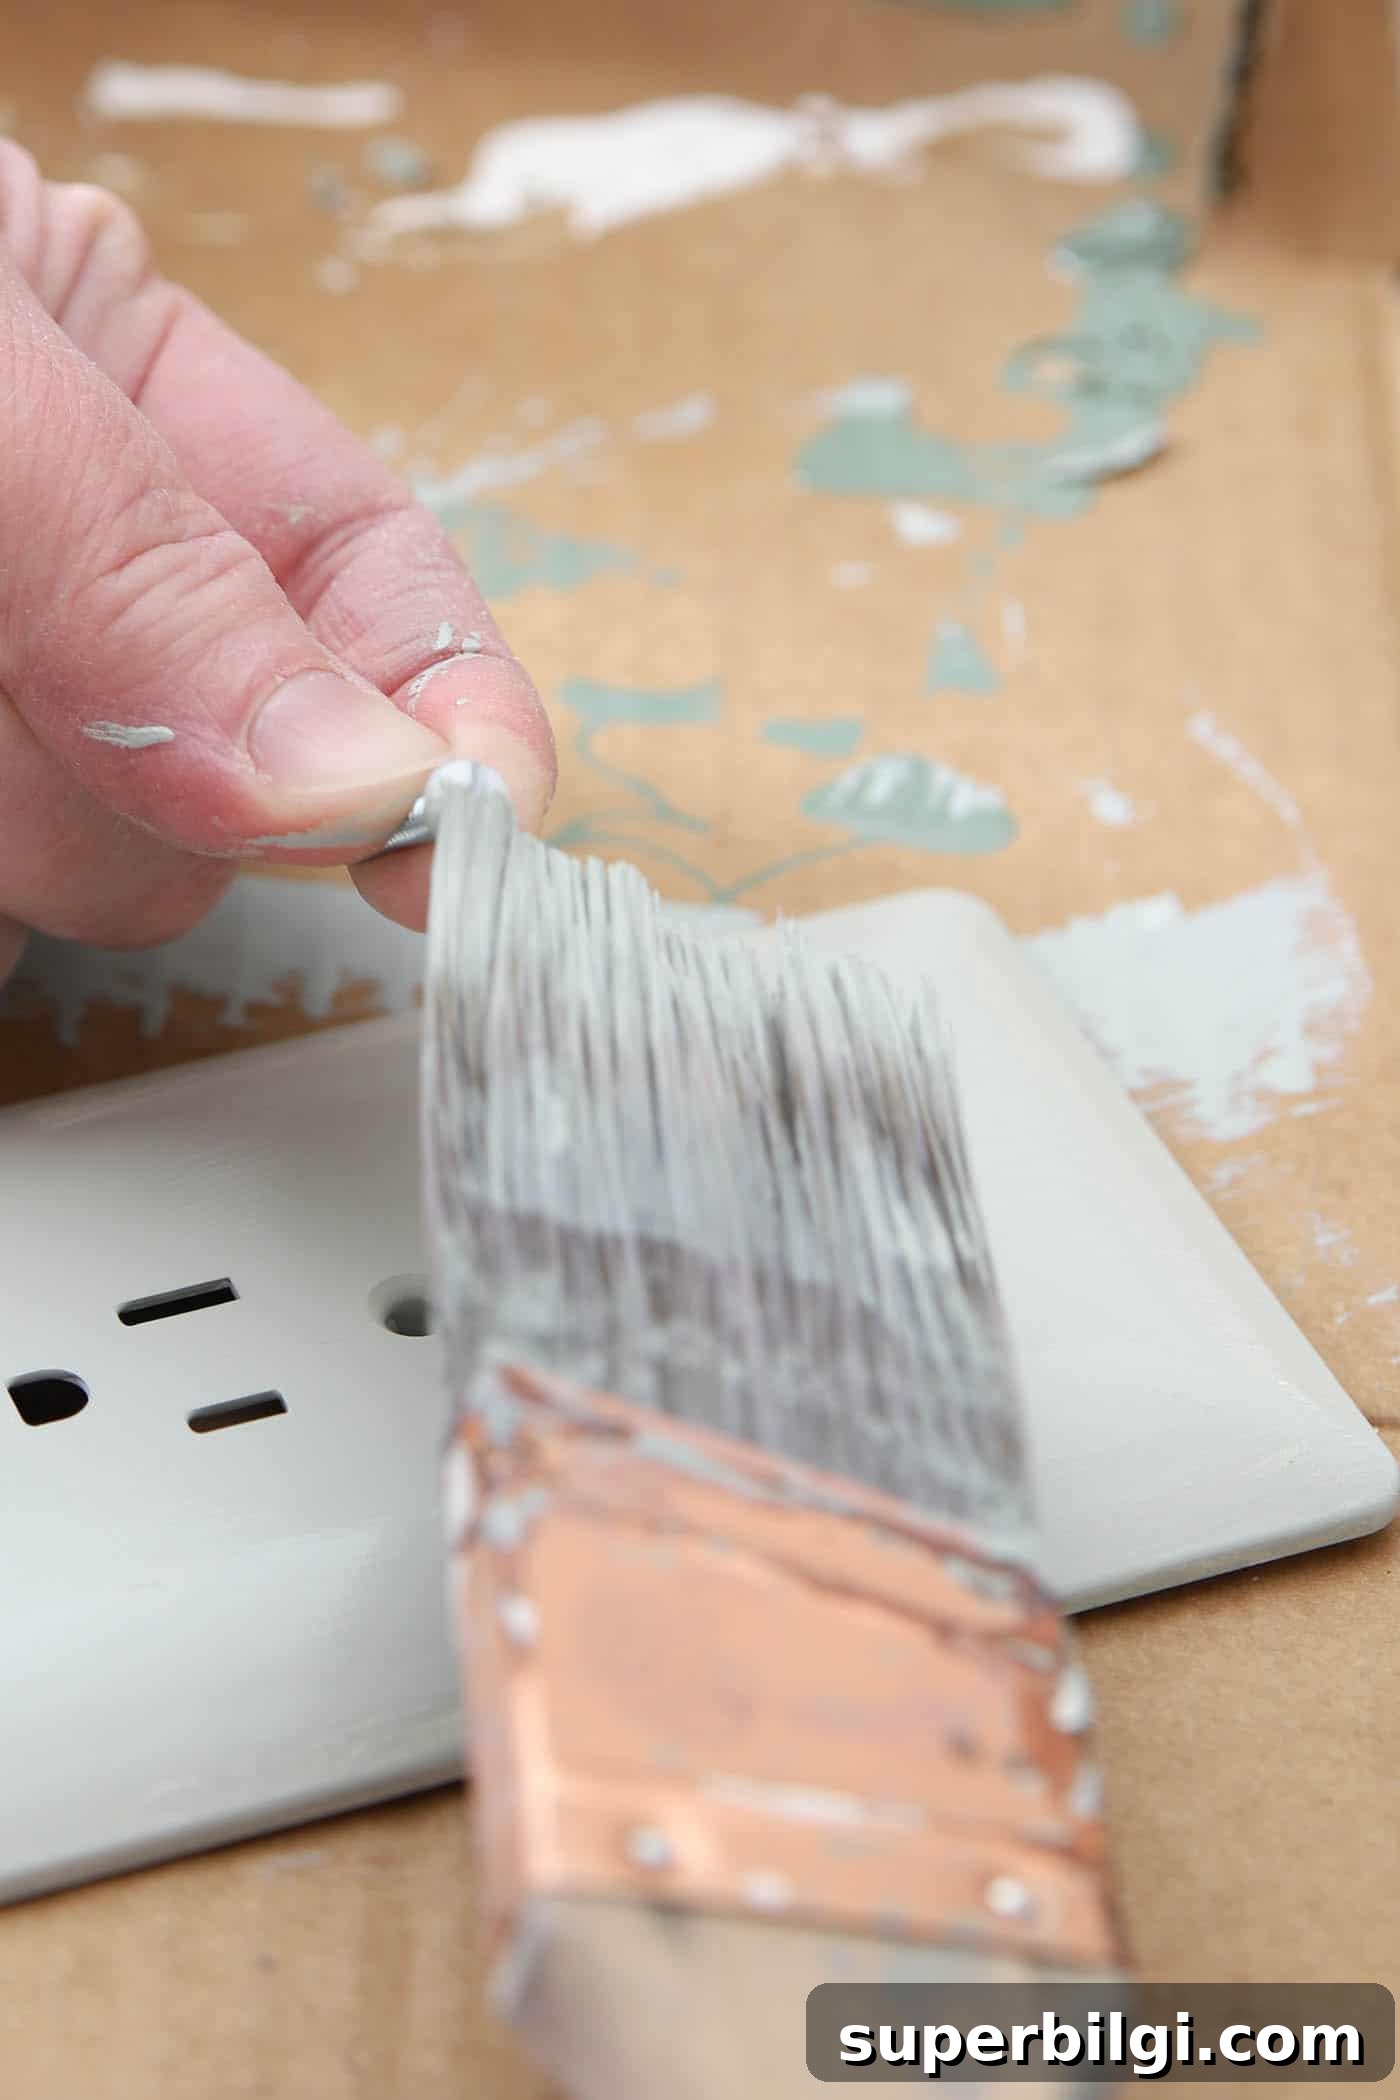
- Paint the cover and the included screw with the same color and finish you used on the wall. Two thin coats usually give the best, even result. Allow appropriate drying time between coats according to your paint’s instructions.
- Once fully dry, attach the painted screw and install the cover over the existing outlet plate, then restore power.
Tips for a Professional Finish
- Use the same sheen as your wall paint for a consistent look. Semi-gloss or satin is often easier to wipe clean and gives a slightly more finished appearance than flat paint.
- Apply thin coats rather than one thick coat to avoid drips and uneven texture.
- A small foam roller can help achieve a smooth, uniform finish on textured covers, but a quality small brush works well for detailed edges.
- Don’t forget to paint the screw — a painted screw finishes the look and eliminates the remaining flash of white metal.
- If you prefer to paint existing covers instead of replacing them, be cautious not to paint electrical contact areas and ensure proper curing before reattaching.
Why This Small Detail Matters
Matching outlet covers to your wall color elevates the overall design of a room in a subtle but effective way. When baseboard trim or a lower wall section is painted a statement color, standard white plates can appear jarring. Swapping to paintable covers creates cohesion and makes a space look thoughtfully finished.
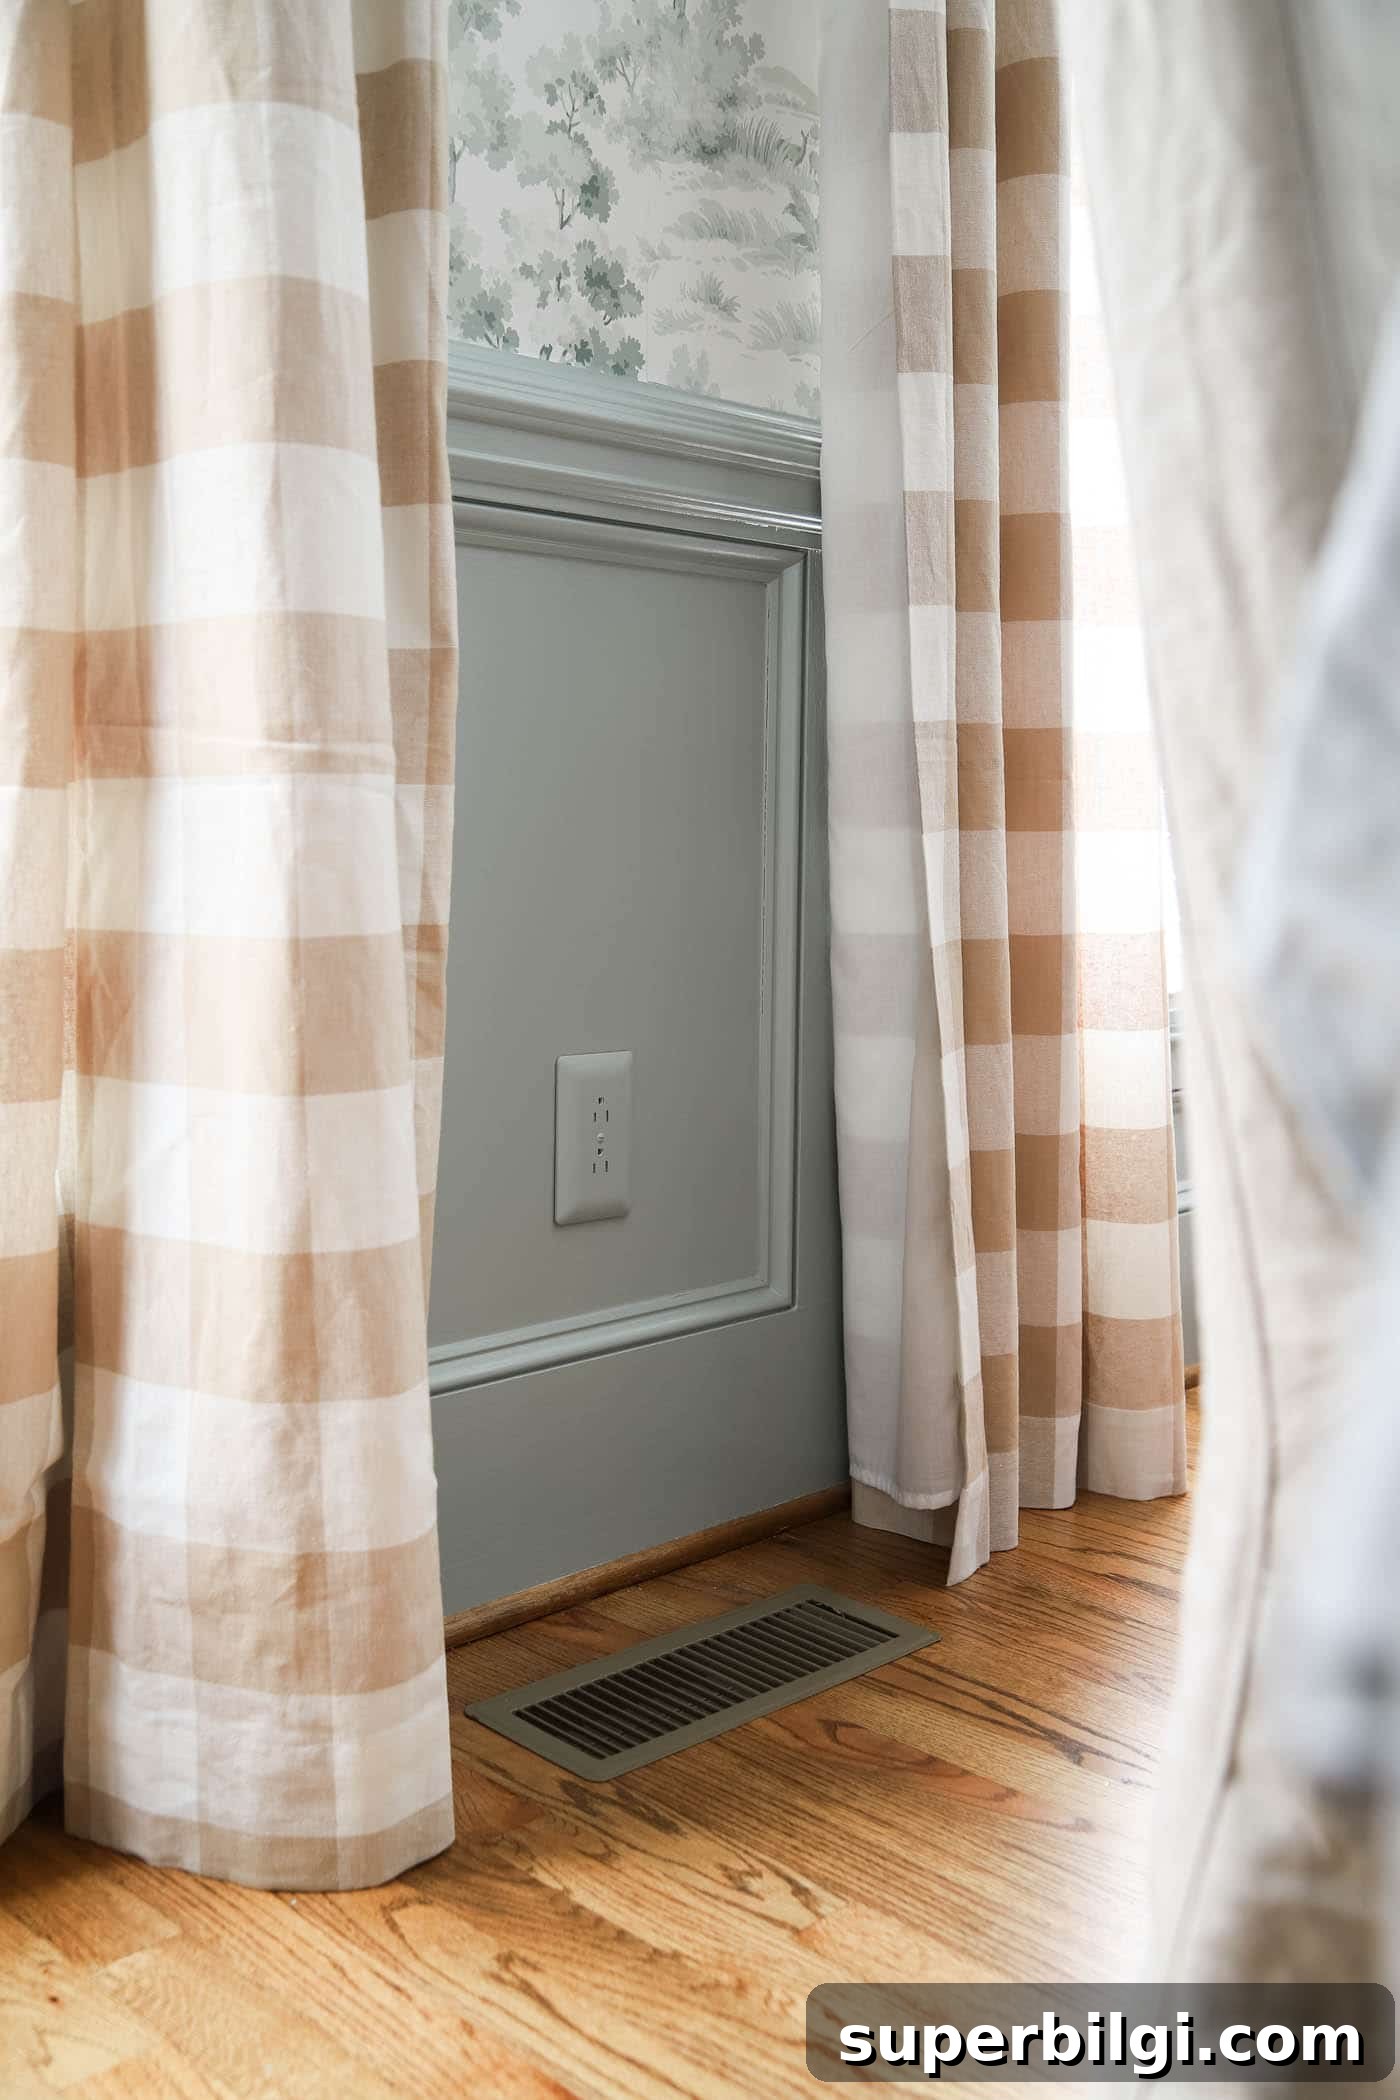
I’m already planning to install these painted covers elsewhere around the house — they’re a low-effort upgrade that makes a surprisingly big difference. Have you tried paintable outlet covers in your home? If not, they’re worth a look next time you refresh a room.
More posts you may enjoy:
- My Favorite Paint Tools, Tips and Tricks
- Paint a Room Like a Pro in 5 Easy Steps
- Which Interior Paint Finishes to Use? (+ Where To Use Them)
- How to Paint Trim: A Step-by-Step Guide
- How to Paint Countertops to Look Like Marble