
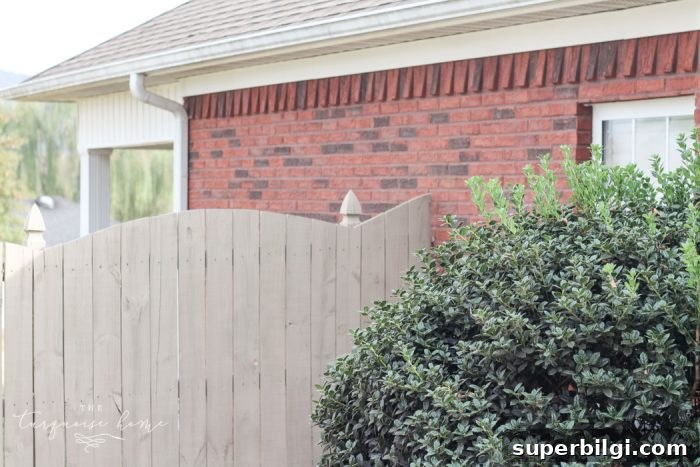
If you want an easy, fast way to refresh your wood fence, painting it with a paint sprayer is one of the best options. Follow these five simple steps to get professional-looking results without hiring a contractor.
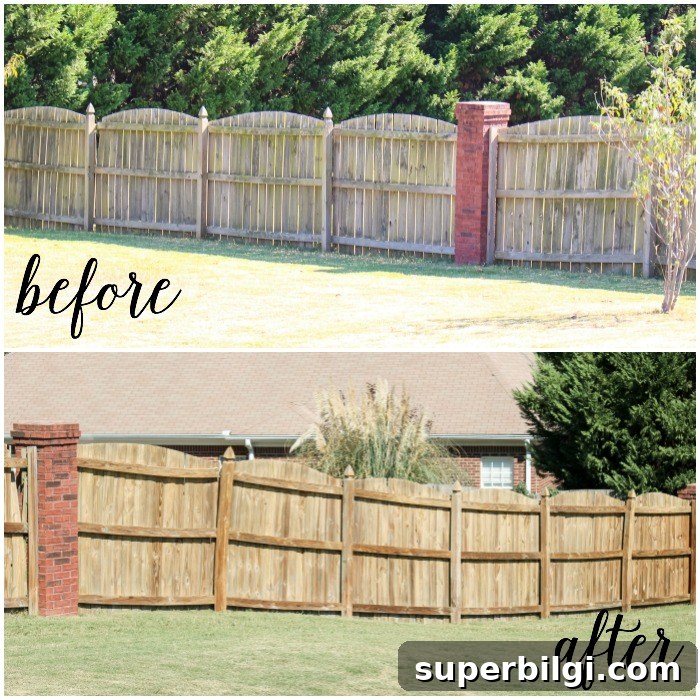
In our previous home we had a large backyard surrounded by a wooden fence. After a few years of weather and normal wear, the fence looked dull and worn. The HOA also required us to repaint the fence in the community-approved color, so I decided to tackle the project myself and try a paint sprayer for the first time.
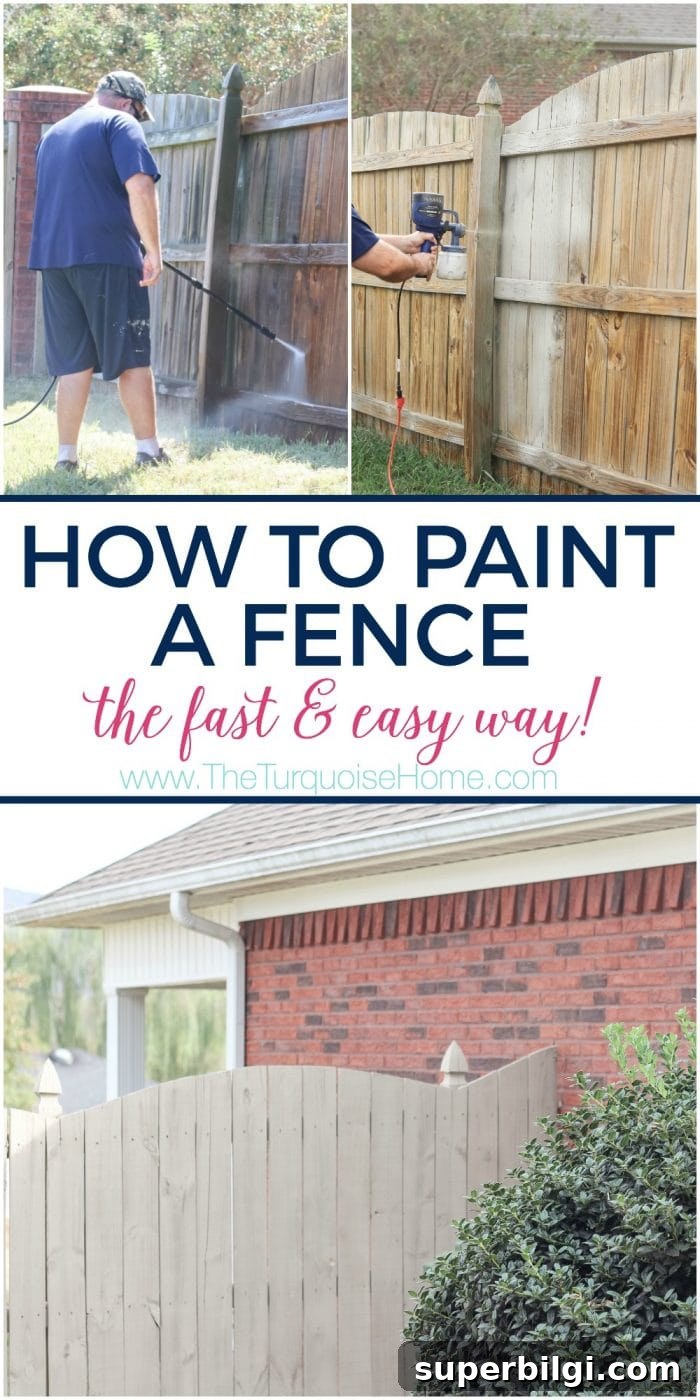
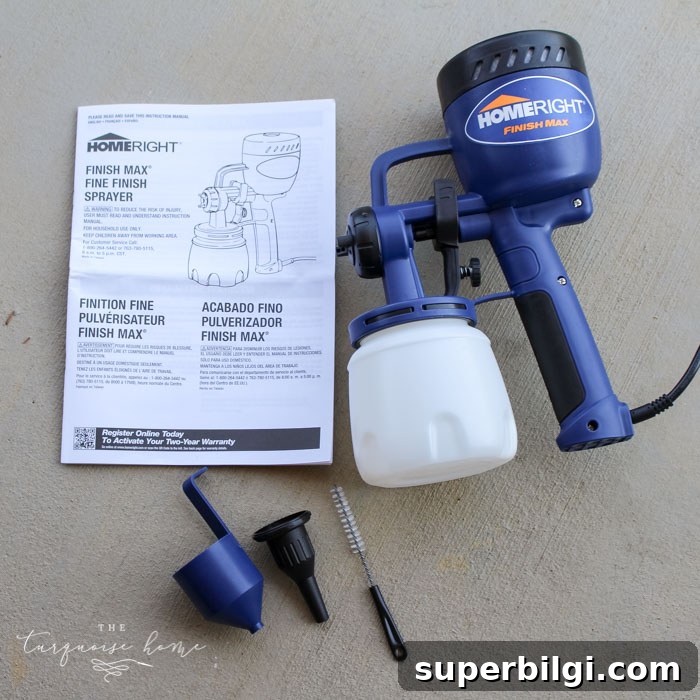
I chose the HomeRight Finish Max paint sprayer because it’s affordable and easy to use on large exterior projects. After reading the manual and testing the settings, the job went much quicker than I expected. Below I’ll walk you through the tools you’ll need and the five basic steps to paint a wood fence with a sprayer, plus a few practical tips I learned along the way.
Tools You Need to Paint a Wood Fence
- Paint sprayer (I used the HomeRight Finish Max)
- Exterior paint or solid stain suitable for fences
- Extension cord, depending on the distance to a power source
- Clear plastic sheeting to protect nearby surfaces from overspray (optional but helpful)
- Pressure washer to remove dirt, mildew, and loose paint
Steps to Paint a Wood Fence
1. Clean the fence
Start by removing dirt, mildew, and loose debris. A pressure washer is the quickest way to strip away that top layer of grime and restore the wood’s surface so the paint or stain can adhere properly. It doesn’t need to be perfect, but removing the heaviest dirt will dramatically improve the finish and longevity of your paint job.
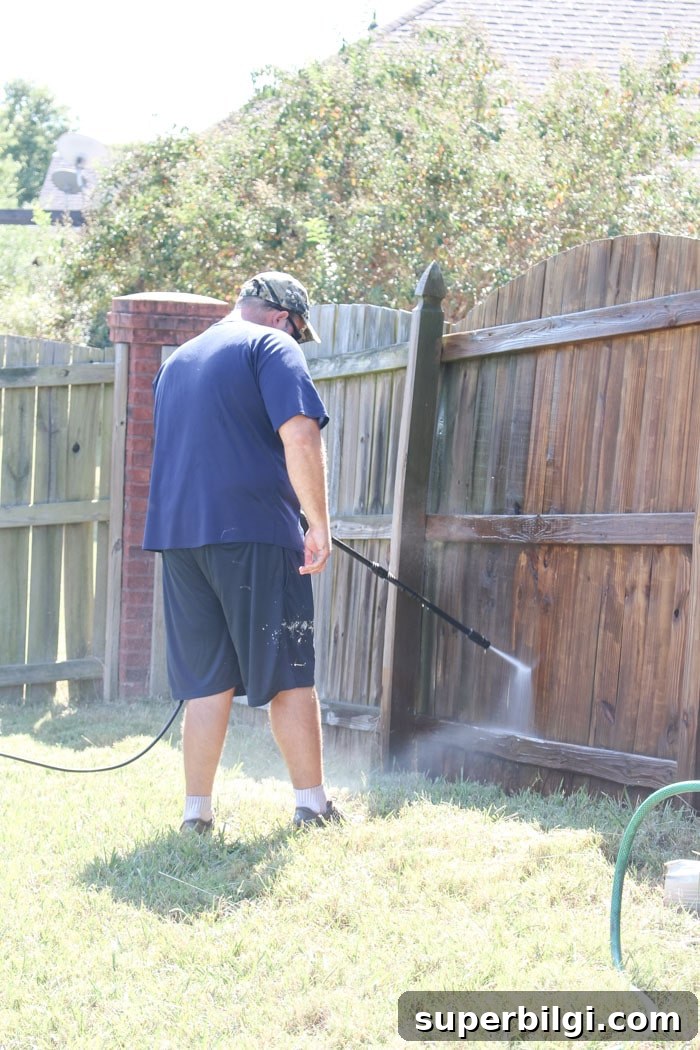
After power washing, allow the fence to dry completely—typically at least 48 hours depending on weather. Painting over damp wood will prevent proper adhesion and can lead to peeling later on.
2. Protect areas you don’t want painted
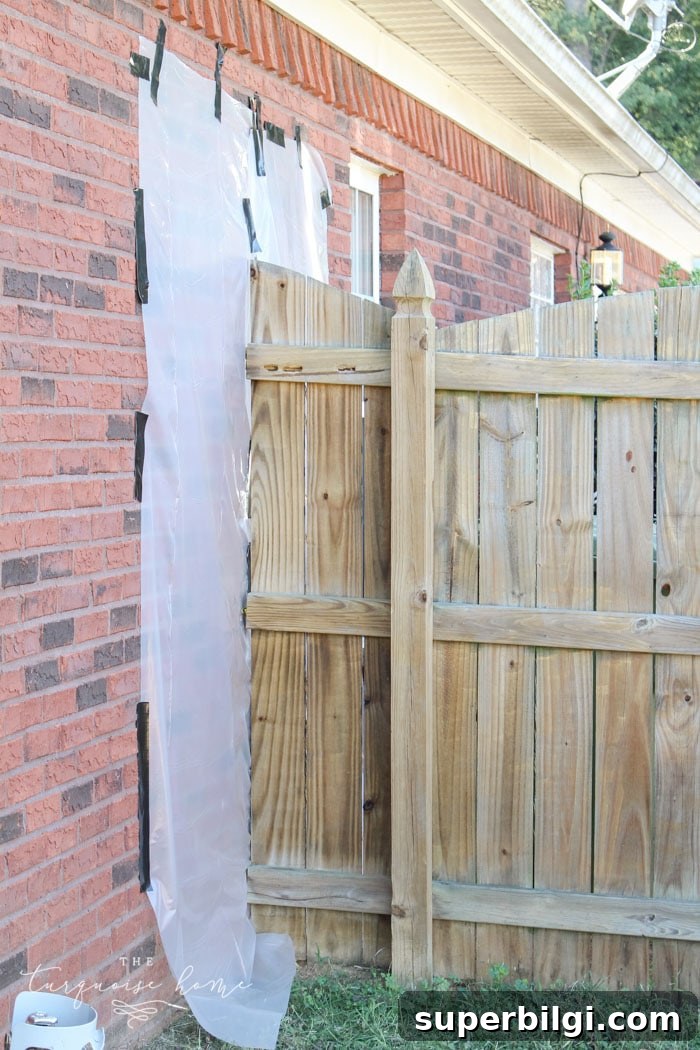
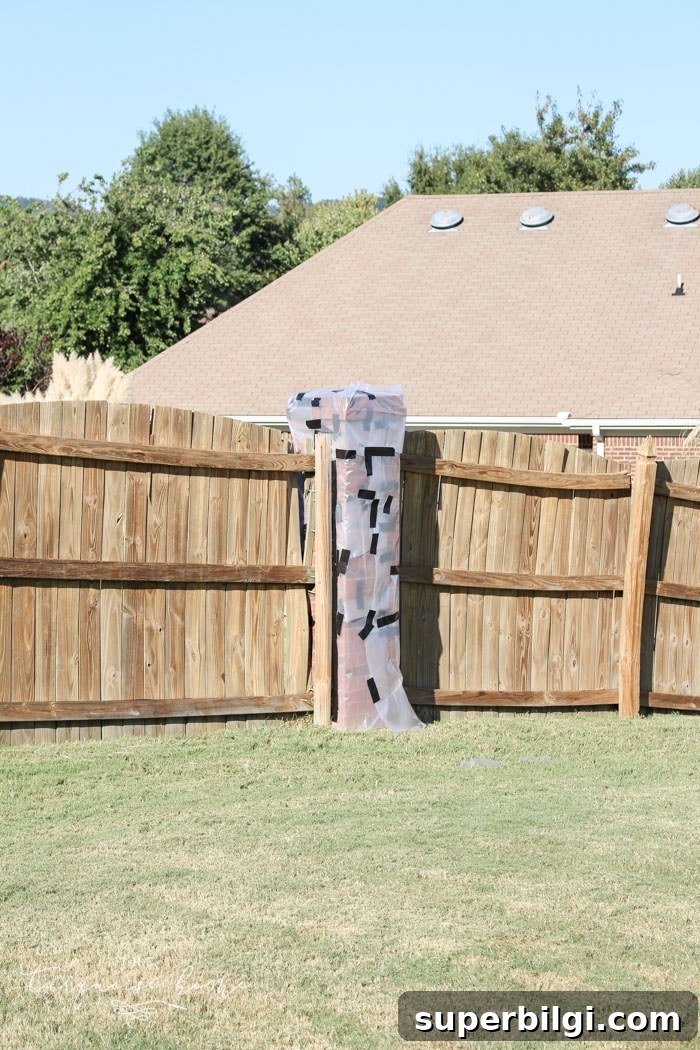
Cover anything near the fence that could be affected by overspray: house siding, windows, brick pillars, plants, and outdoor furniture. Use clear plastic sheeting secured with painter’s tape or clamps. Wait to hang large sheets until you are ready to paint so wind won’t dislodge them before you start.
3. Prep the paint and sprayer
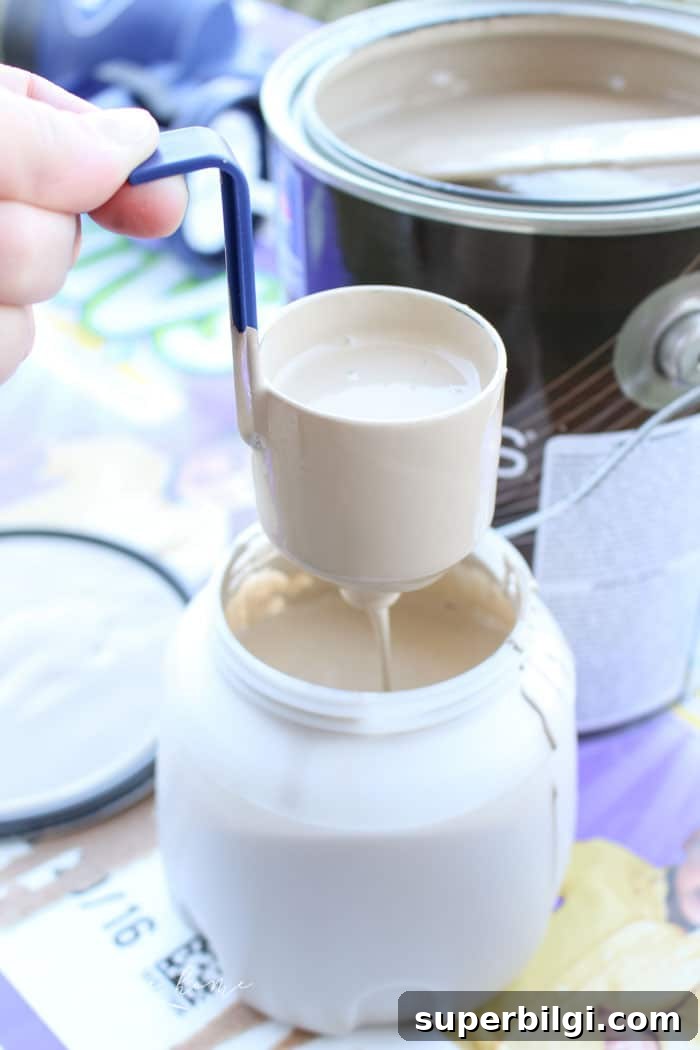
Read your sprayer’s manual and test the paint flow using the supplied funnel or flow gauge. Many exterior paints and solid stains require thinning for use in handheld sprayers—often with water for water-based products. Test the paint by timing how long it takes to flow through the funnel and adjust per the manufacturer’s recommendations. I ended up thinning my stain roughly 50/50 to get the right consistency for even spraying.
4. Paint
Fill the sprayer reservoir, plug in the unit, and practice on a scrap board to dial in the spray pattern and flow. Hold the sprayer 8–12 inches from the surface and move at a steady, even pace. Overlap each pass slightly to avoid streaks and thin drips. For fence boards we sprayed vertically and set the nozzle accordingly.
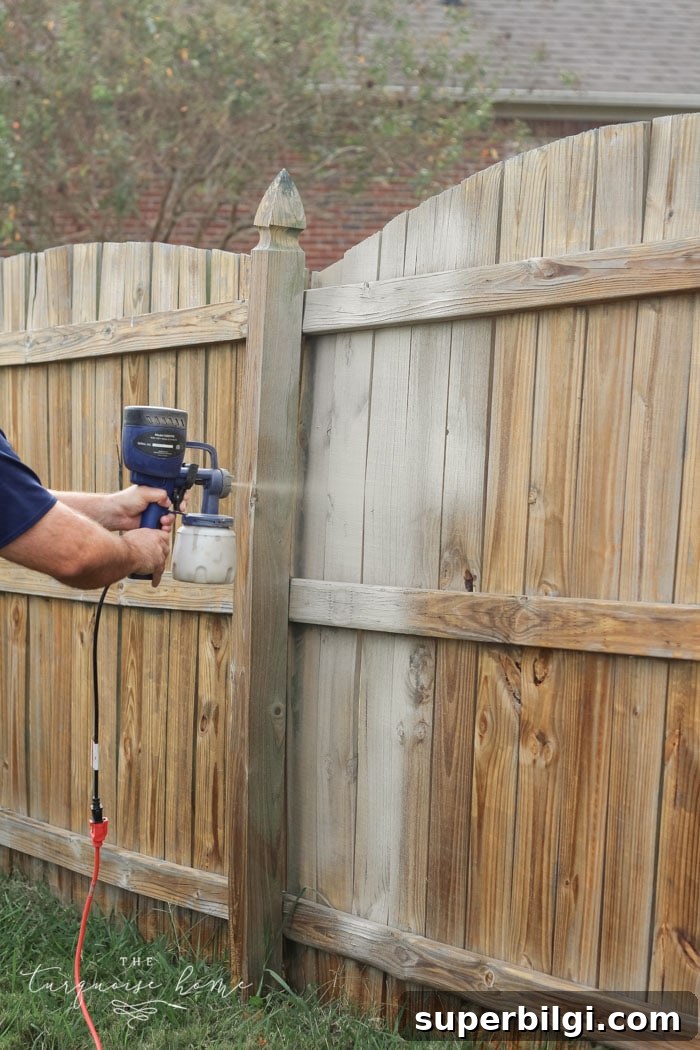
Apply light, even coats—thin layers dry faster and reduce runs. I did two thin coats to achieve full coverage. If you must pause for more than 20–30 minutes, expect to clean the nozzle if paint begins to dry; follow the sprayer directions for disassembly and cleaning to restore proper flow.
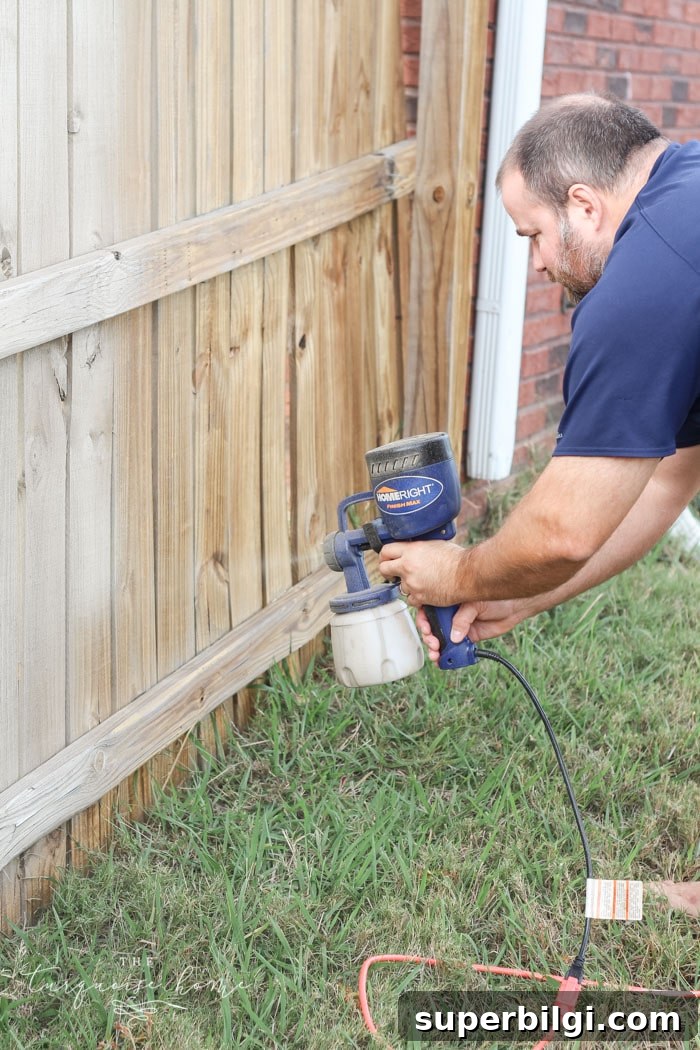
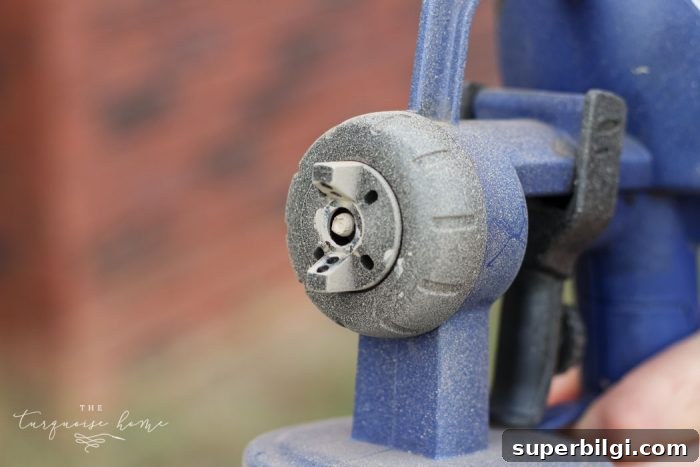
Tip: Avoid long breaks without cleaning the sprayer—dried paint can clog the nozzle. If clogging occurs, remove and clean the nozzle parts according to the manual; once clear, spraying should resume smoothly.
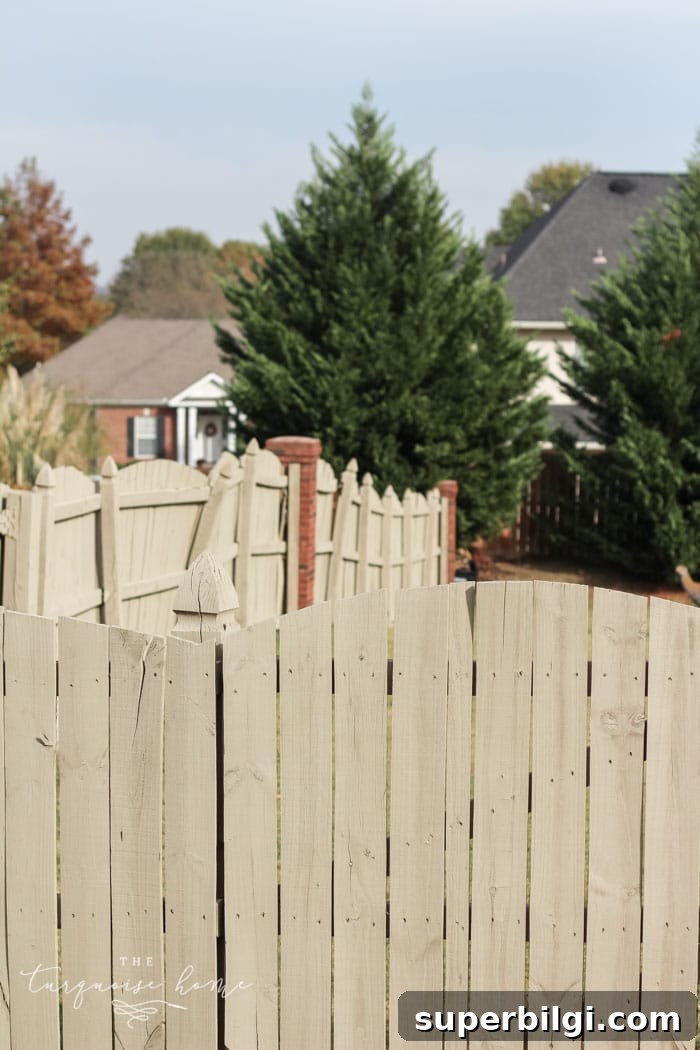
5. Clean up
Disassemble the sprayer and clean it immediately after finishing. For water-based paint or stain, warm soapy water will generally do the job; for oil-based products use the appropriate solvent. The Finish Max sprayer includes a cleaning wand that makes it easier to reach tight spots. Let all parts dry completely before reassembling and storing the sprayer.
Final thoughts
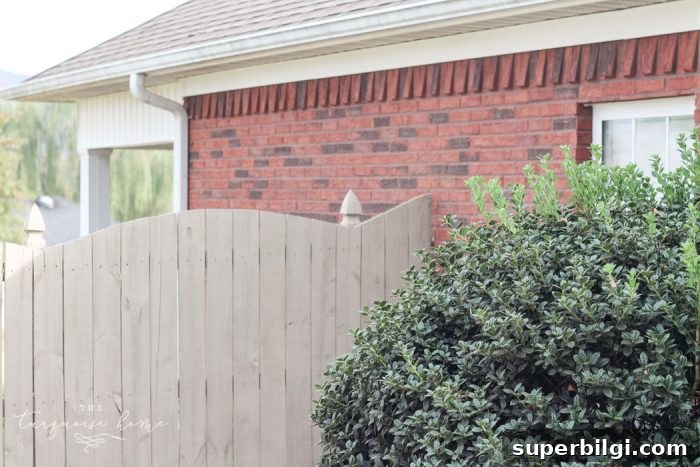
Painting a wood fence with a handheld sprayer is a cost-effective way to get a smooth, even finish in a fraction of the time it would take with brushes or rollers. Proper prep—cleaning the fence, protecting nearby areas, and thinning the paint as needed—makes all the difference. Once I tried the sprayer, I felt much more confident using it for other large projects around the house.
More posts you might like:
- 12 Drool-Worthy Screened-In Porch Decorating Ideas
- Our Brick House Exterior Makeover (White Trim & Black Shutters)
- Beautiful Lake House Decor {inspiration}
- How to Organize a Messy Garage
- How to Paint Outlet Covers