
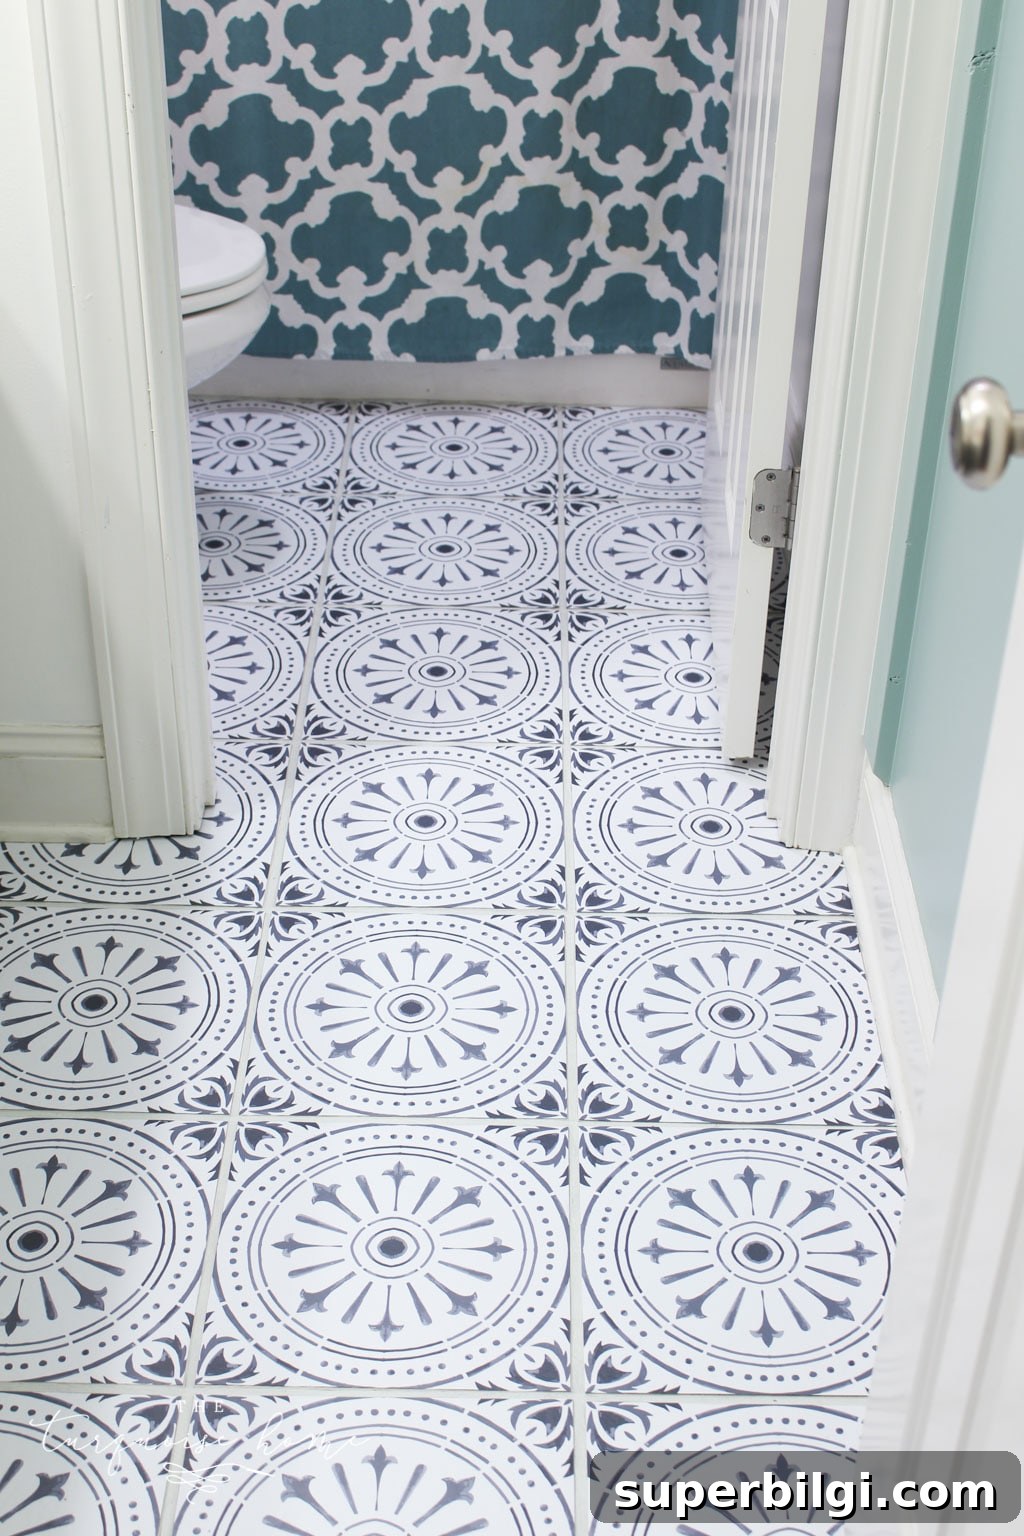
Have you ever wanted to apply peel and stick vinyl floor tile stickers? You’re in luck — here are clear tips, tricks, and an honest look at the pros and cons.
This is a straightforward review and how-to for applying peel and stick vinyl floor tile stickers at home. It’s a budget-friendly flooring update: far cheaper than full replacement and much less messy than painting the floors.
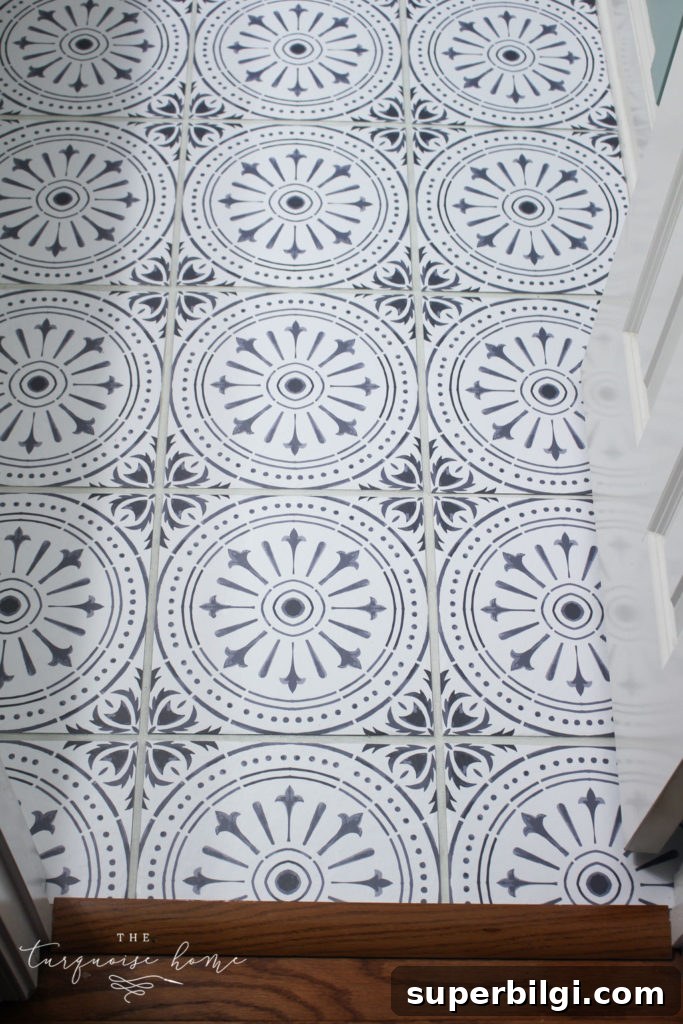
I’m a fan of simple DIY projects that avoid demolition and heavy dust. Peel-and-stick tile decals are exactly that kind of project.
Painting my kitchen cabinets is about as intense a DIY project as I’ll tackle. Big renovations like removing cabinets, replacing countertops, or ripping out floors are jobs I’d hire a pro for. That said, small, high-impact projects are my favorite.
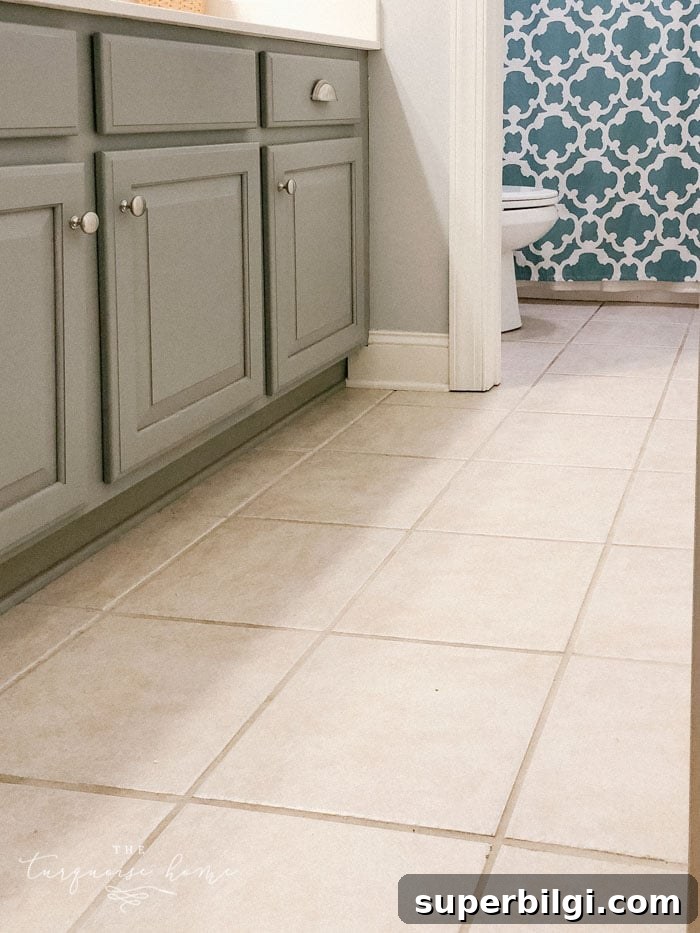
Before the tiles… all the beige floors in the house! I’d already painted these cabinets years ago.
We moved into a home with beige floors, walls, and cabinets. I’ve been slowly changing things room by room. The same beige tile showed up in both bathrooms, the laundry room, and even on the fireplace — not the most creative palette!
I wanted to update the floors but didn’t want to:
- Commit to demolition,
- Risk permanent damage,
- Or tackle a complicated process.
I love the current trend of Moroccan-style floor tiles and originally planned to stencil them. Then I discovered peel-and-stick tile decals — an easier option. Read on to learn whether I’d use them again.
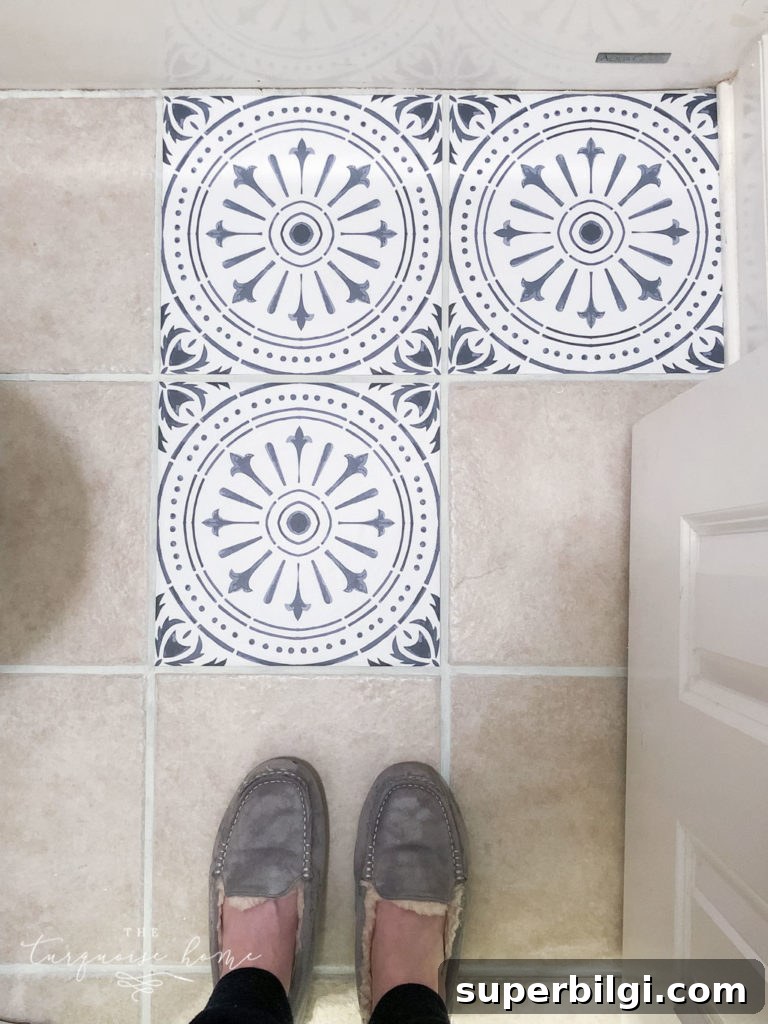
I tested them first in a small space: our girls’ guest bathroom. It’s a compact, visible area where a bold floor could make a big difference.
There are so many styles available; I narrowed my options down and chose a pattern that suited the bathroom mood board I was working on.

Want to Save This?
Enter your email below and I’ll send it directly to your inbox!
Prep Work
Before you order tiles, do these three things:
- Calculate how many decals you’ll need. I added 3–4 extra tiles to my order as backups in case of mistakes.
- Measure your tiles inside the grout lines. Don’t include grout in the measurement. Order decals about 1/8″ smaller than your tile size to avoid edges catching on beveled tiles.
- Confirm your surface is level. Stick-on vinyl works best on flat tiles, linoleum, or wood. Beveled or textured tile edges can cause lifting; if yours are beveled, plan for trimming or leveling before application.
Note: Always read the seller’s prep instructions carefully; they may recommend additional steps.
Supplies You Will Need
- Peel-and-stick tile decals — choose a pattern and material rated for the area where you’ll use them (bathroom/kitchen-safe if applicable).
- Cleaning spray and cloth — a degreaser or general floor cleaner to remove grime and oils.
- Scissors for trimming edges and corners.
- Paper cutter (optional) for very straight, precise cuts.
- Pencil to mark cut lines on the backing.
- Wallpaper smoothing tool (optional) to press out bubbles and ensure full adhesion.
Steps to Apply Peel-and-Stick Vinyl Tile Decals
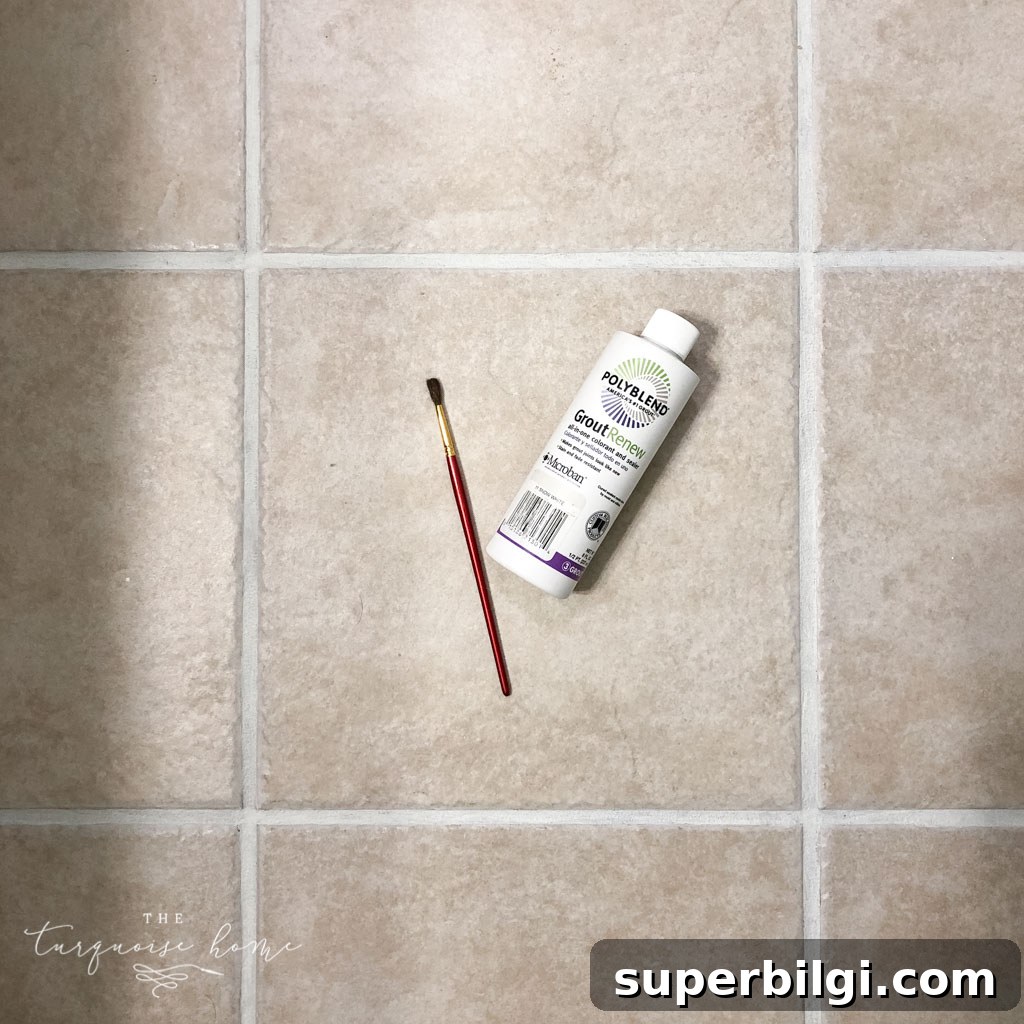
1. Paint the grout lines first
If you want crisp grout lines, paint them before installing the decals. In my case I painted the grout as-is but later realized I should have ordered smaller decals to avoid them overlapping the bevels. Painting the grout first gives a cleaner, more finished look.
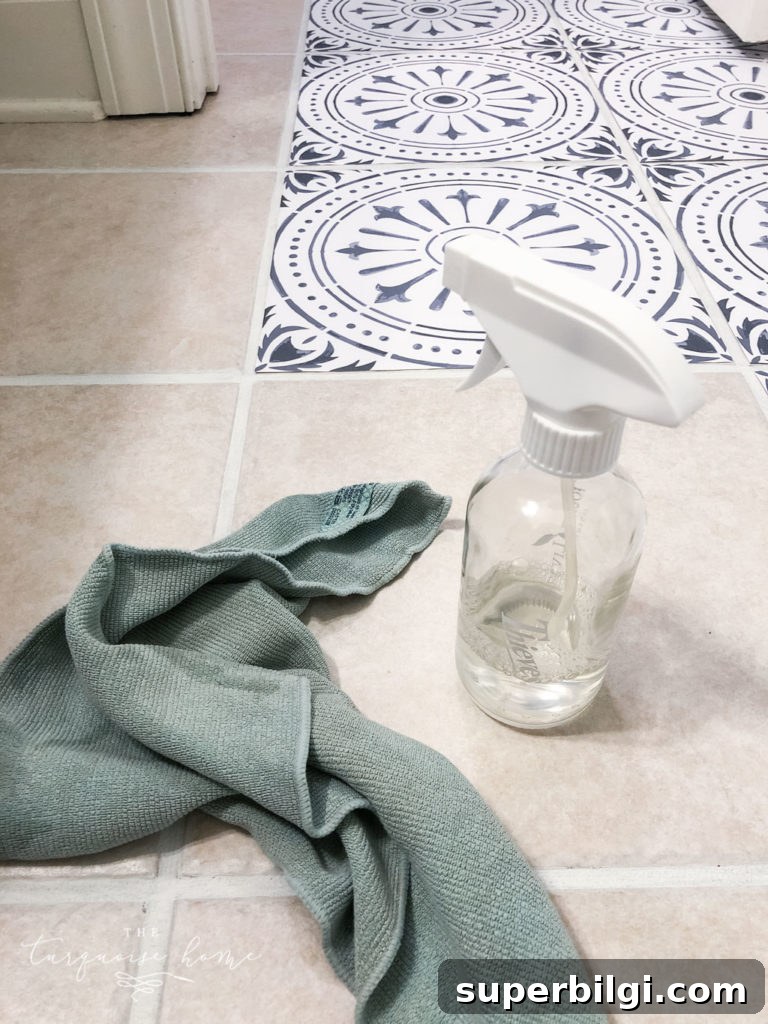
2. Clean tiles thoroughly
Vacuum and degrease the floor, then wipe each tile with a cleaner and allow it to dry completely. A clean, dry surface is essential for good adhesion.
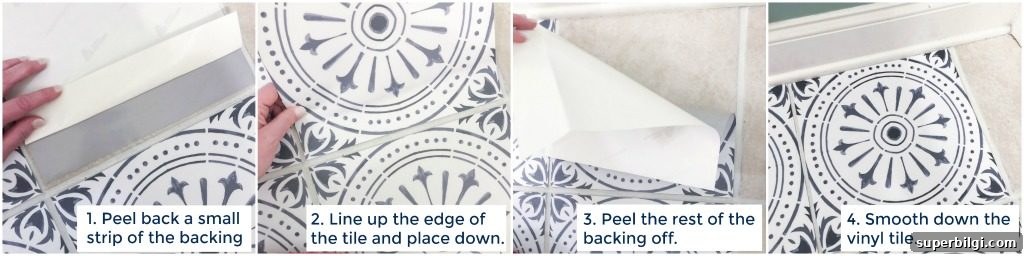
3. Start with a small peel and position
Peel back a small strip of backing to align the decal, press it into place, then remove the remainder of the backing. If you make a placement error you can usually lift it and reposition quickly before it fully adheres.
4. Smooth out bubbles
Use a wallpaper smoothing tool, the side of a paper cutter, or your hand to press out air bubbles and ensure the decal fully adheres. Work from the center outward.
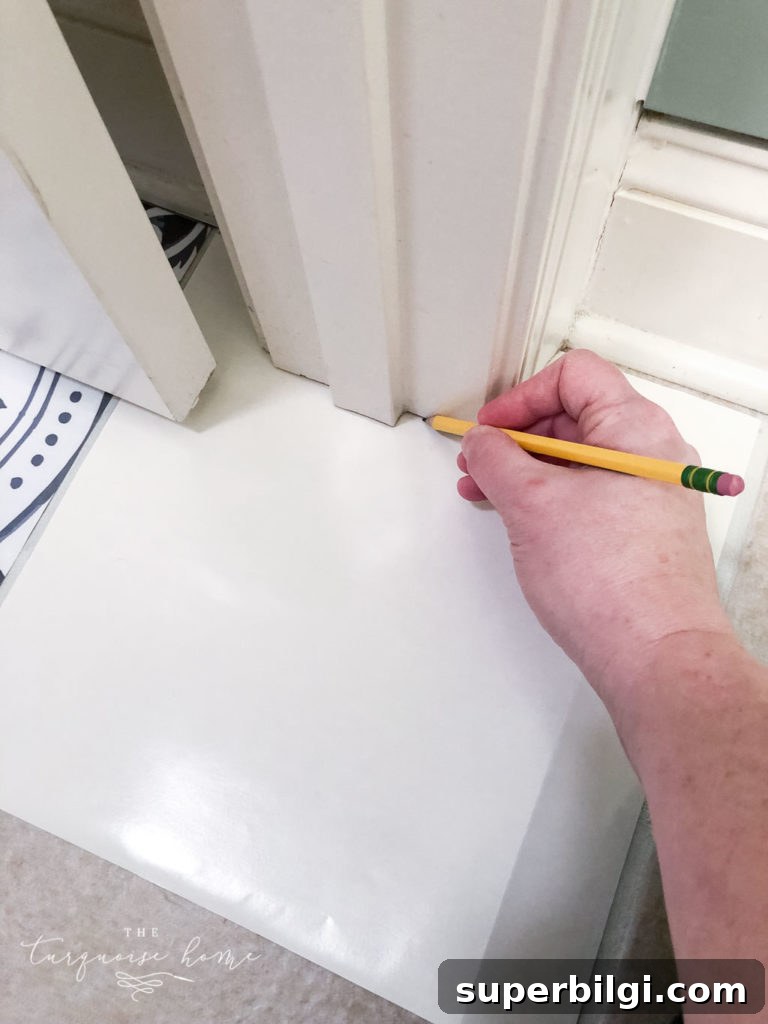
5. Trim for corners and trims
Use the paper backing from an old sticker as a template to trace odd angles, corners, or trim pieces. Cut with scissors and leave about 1/8″ clearance under trim if the trim doesn’t touch the floor.
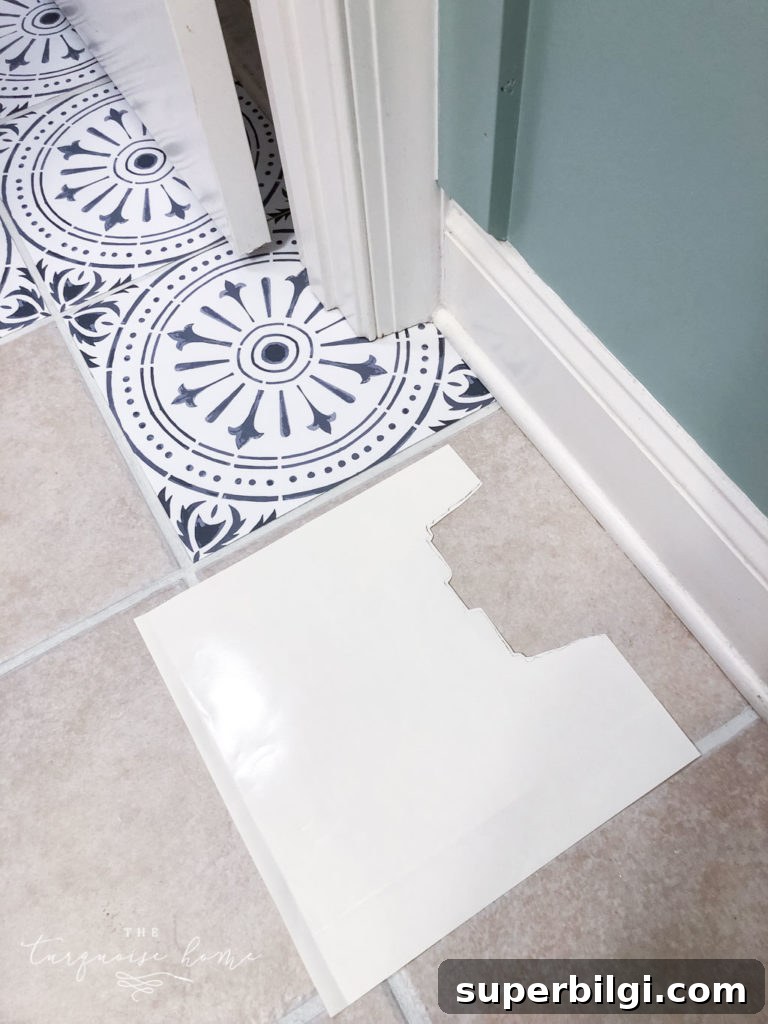
That’s it — a simple process that delivers big visual impact for relatively little cost and effort.
Pros and Cons
Pros
- Decals are thick and durable; the quality is often surprisingly good.
- Installation is quick and beginner-friendly when the surface is prepared properly.
- Ordering from a responsive seller makes the process easier and usually ensures more accurate sizing.
Cons
- Beveled tile edges and textured ceramic can prevent full adhesion and cause edges to lift.
- If your tiles are slightly beveled, you may need to trim decals 1/8″ from two adjacent sides (making each decal about 1/4″ smaller overall) so they lie flat without wrapping around the tile edges.
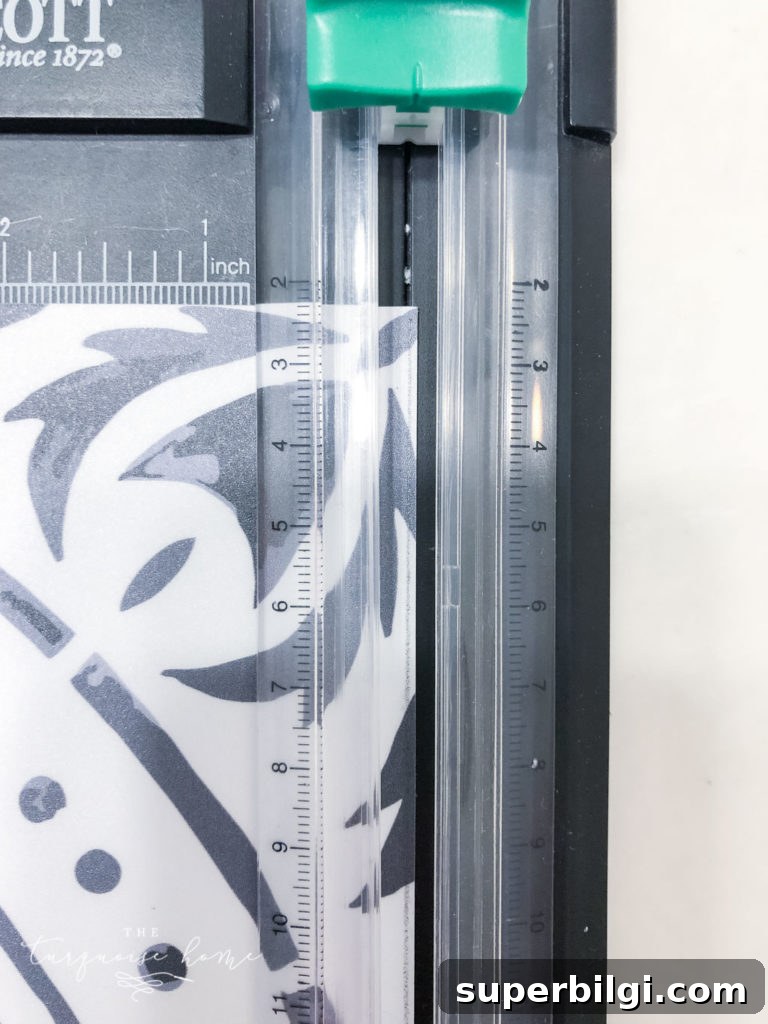
If your tiles are completely flat, you’ll likely have no issues. For beveled tile, ordering decals slightly smaller and painting grout first are both helpful precautions.
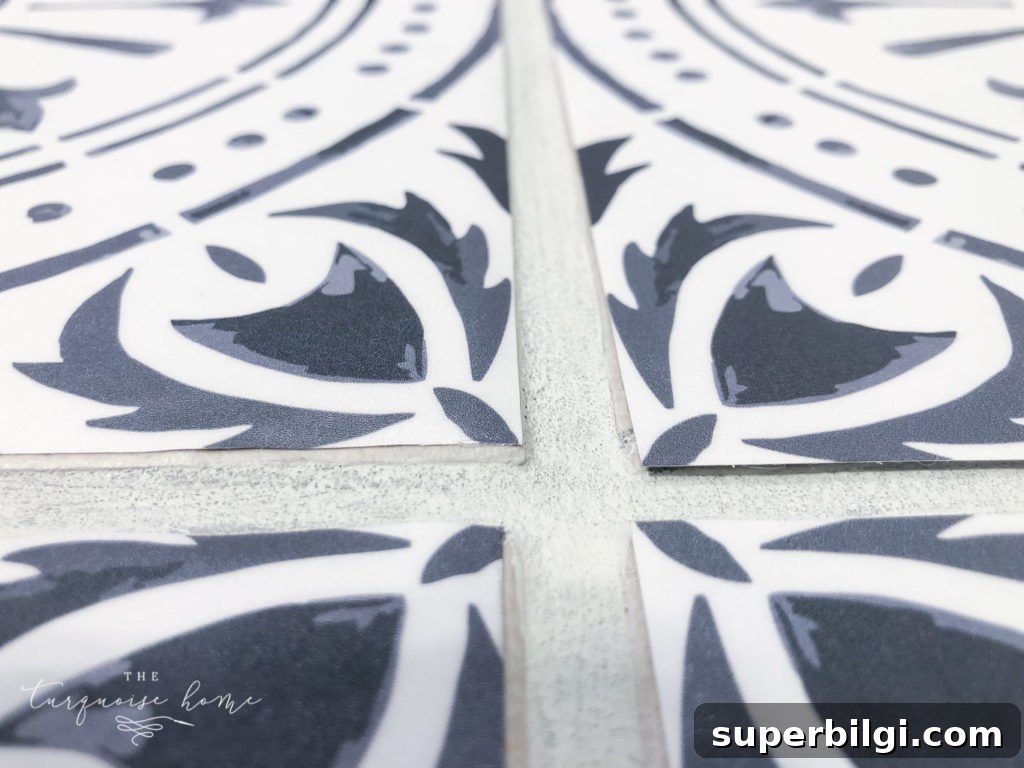
Practical advice: Order slightly smaller decals if you have beveled tiles, paint grout lines before applying decals, and wait 24 hours before light use and 72 hours before getting the floor wet so the adhesive can cure.
Update: I removed my bathroom decals after 18 months following a toilet overflow just before selling the house. For the price, I was happy with the value and the look while they lasted.
If I did it again…
- I would paint the grout lines first.
- I would order decals 1/8″ smaller than the tiles when tiles are beveled.
- I might level the surface by filling grout lines with a leveling compound and ordering decals with printed grout lines.
- Or I might choose a stencil approach if the tile surface was too irregular.
Final thoughts
Peel-and-stick vinyl tile decals are a fantastic, low-cost option for updating low-traffic rooms or vertical surfaces. They look beautiful and are easy to install when the surface is flat and properly prepped. For high-traffic or water-prone areas, consider more permanent options or take extra steps to level and seal the substrate.
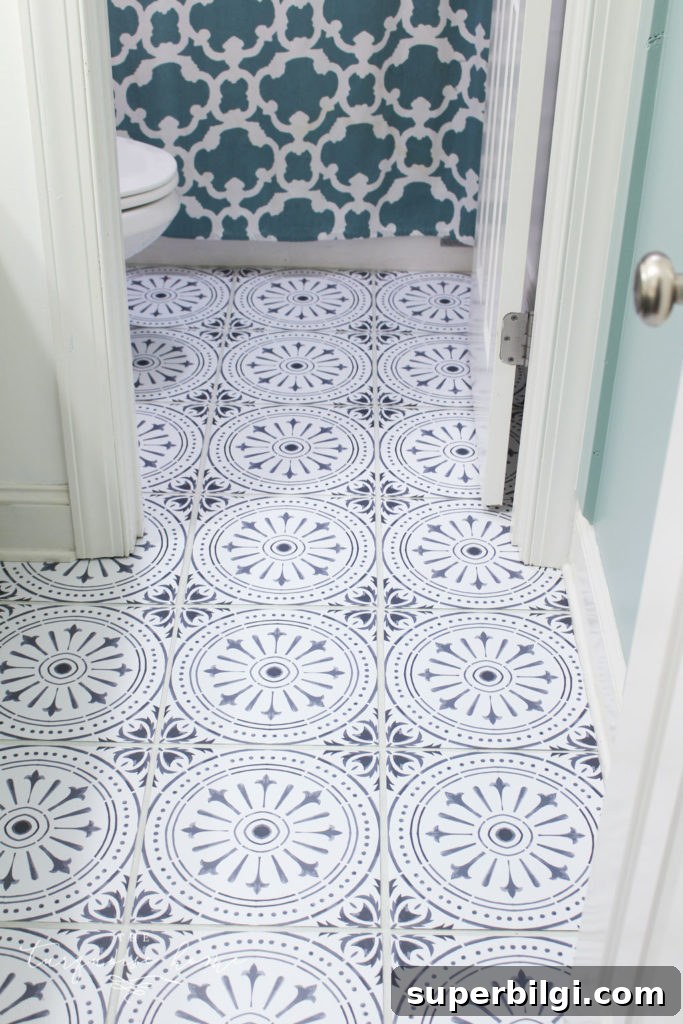
They are so pretty — and such an affordable way to change the look of a room.
If you’re weighing the decision, remember: for a small investment and a few hours of work, you can dramatically refresh a room. If it doesn’t work out perfectly, it’s reversible and relatively inexpensive to redo.
Frequently Asked Questions
1. How well do these stickers hold up?
In low-traffic areas they can last for a year or more without issue. In high-traffic zones like entryways or laundry rooms, corners may lift sooner. For those areas, consider a stencil or a more permanent flooring solution.
2. Are they waterproof?
They resist surface water, but prolonged standing water or a major leak can force water under the edges and cause lifting. If your floor is likely to get soaked, use a more water-resistant option.
3. Are they worth it?
For small rooms, rentals, or budget-conscious updates, they’re absolutely worth trying. They deliver a big visual change for minimal cost and effort. Just prep well and be mindful of tile bevels and heavy moisture.
Have you tried peel-and-stick tile decals? Share your tips and experience below to help others decide.
Want to See More Bathroom Projects?
The Girls’ Bathroom Refresh Mood Board
How to Patch a Hole in Drywall
The Best Peel & Stick Vinyl Tiles
Girls’ Bathroom Makeover Progress
DIY Board and Batten in the Girls’ Bathroom
How to Make Grout White Again